Plate mould
PP
PRODUCT
INJECTION
MOULD
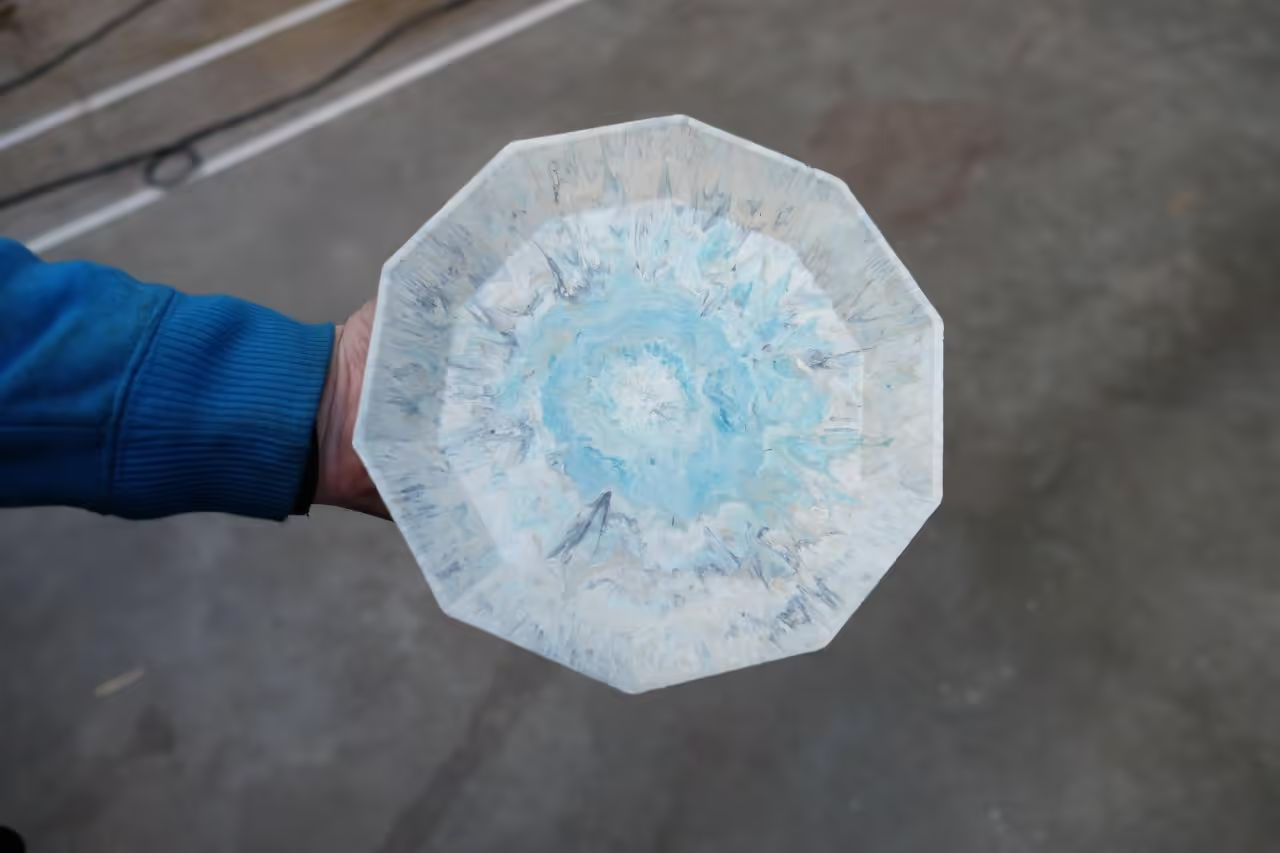
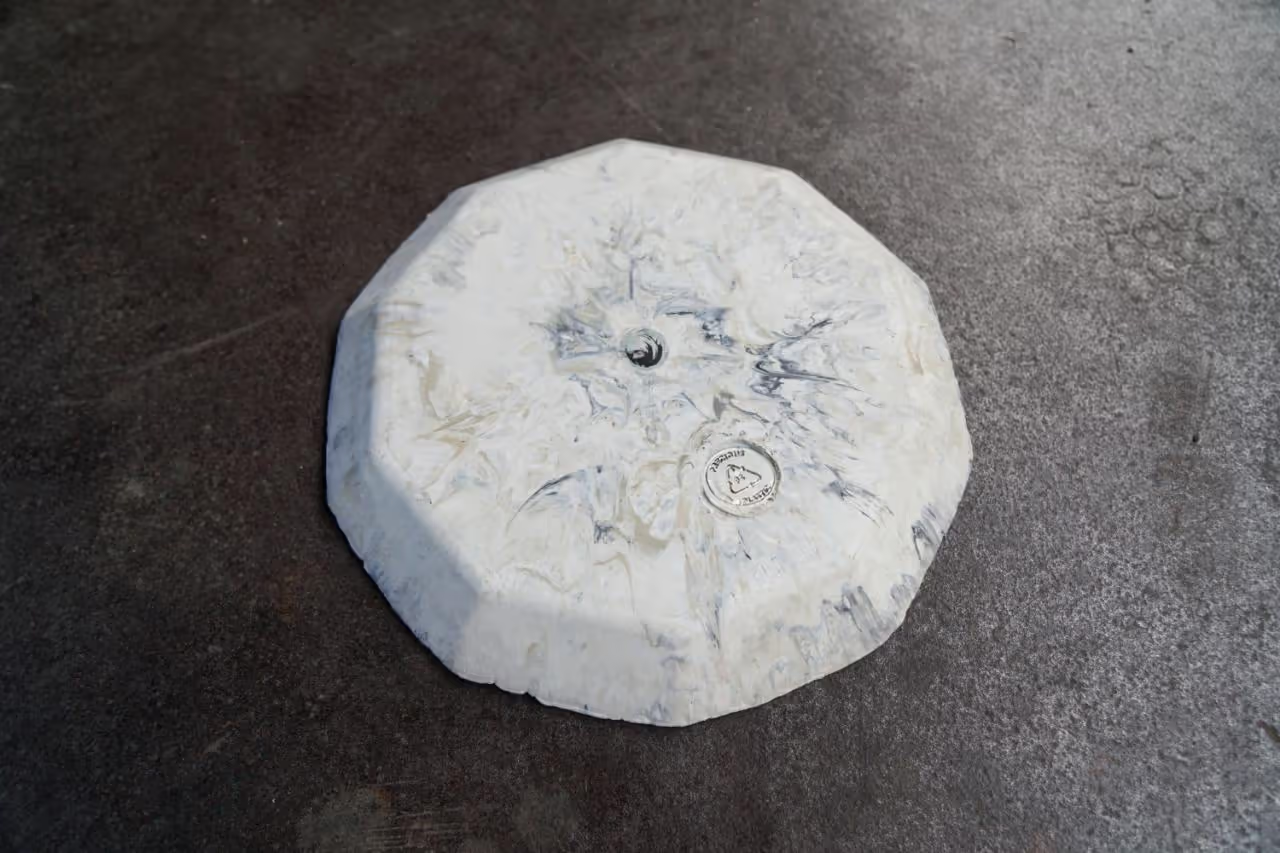
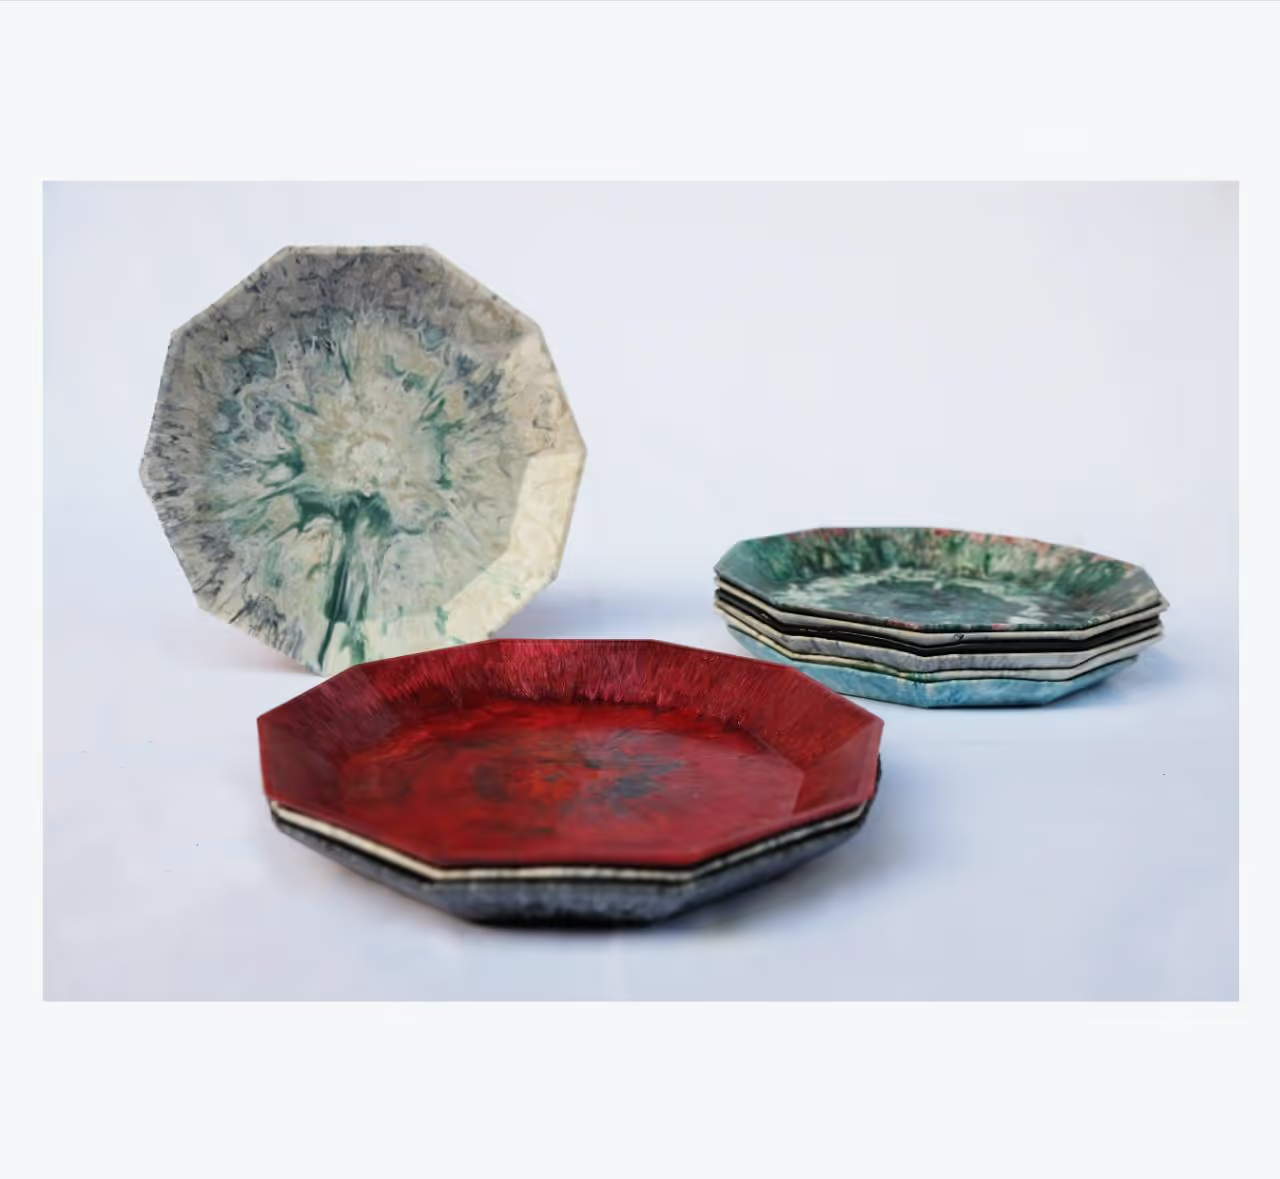
This tutorial demonstrates the creation of an aluminum mold for injecting a plate measuring 0.12 inches (3mm) in thickness. The plate is suitable for serving dry items such as nuts and various objects. It should not be used for direct food consumption unless a suitable coating or lacquer is applied.
For a demonstration of the plate's creation, visit: https://www.youtube.com/watch?v=YzjTm3FRLVY&t=5s
Special thanks to Paul Denney.
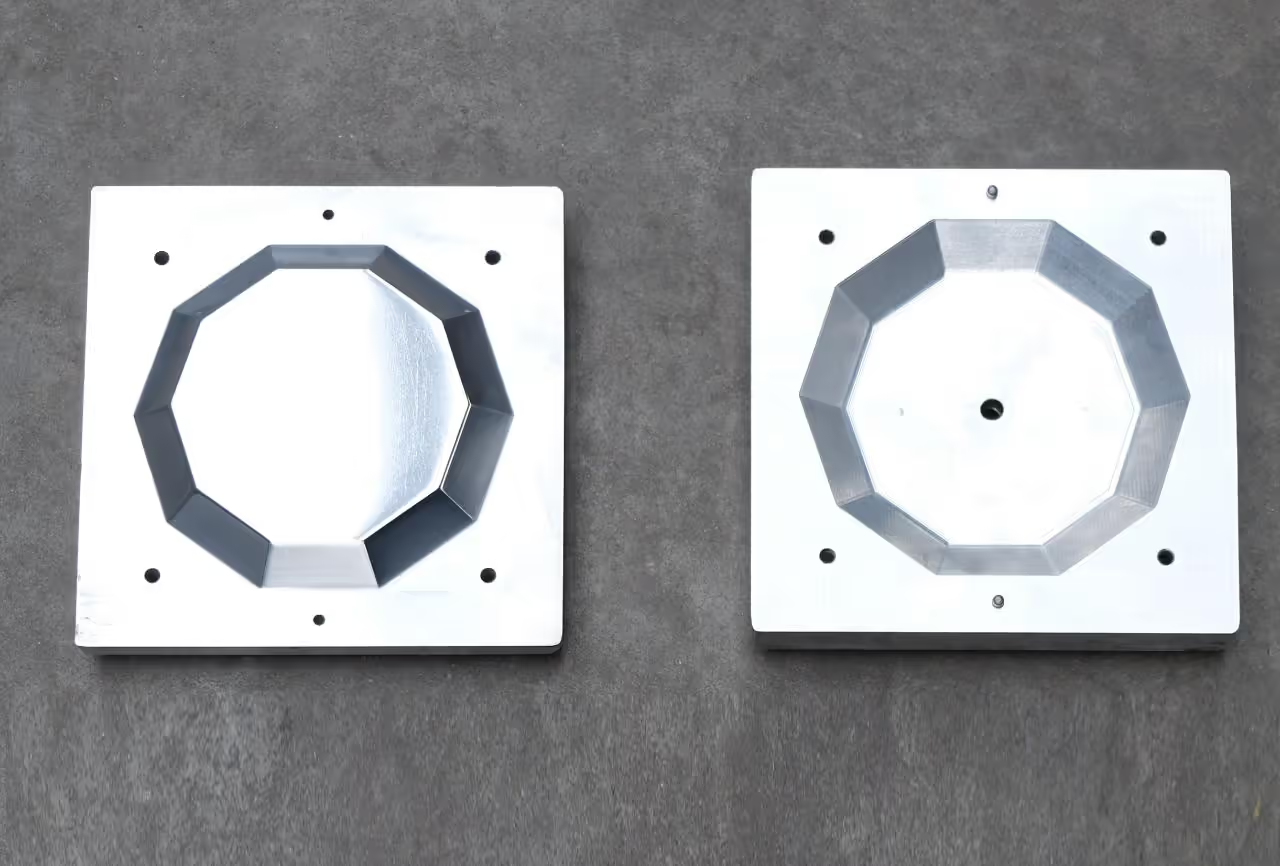
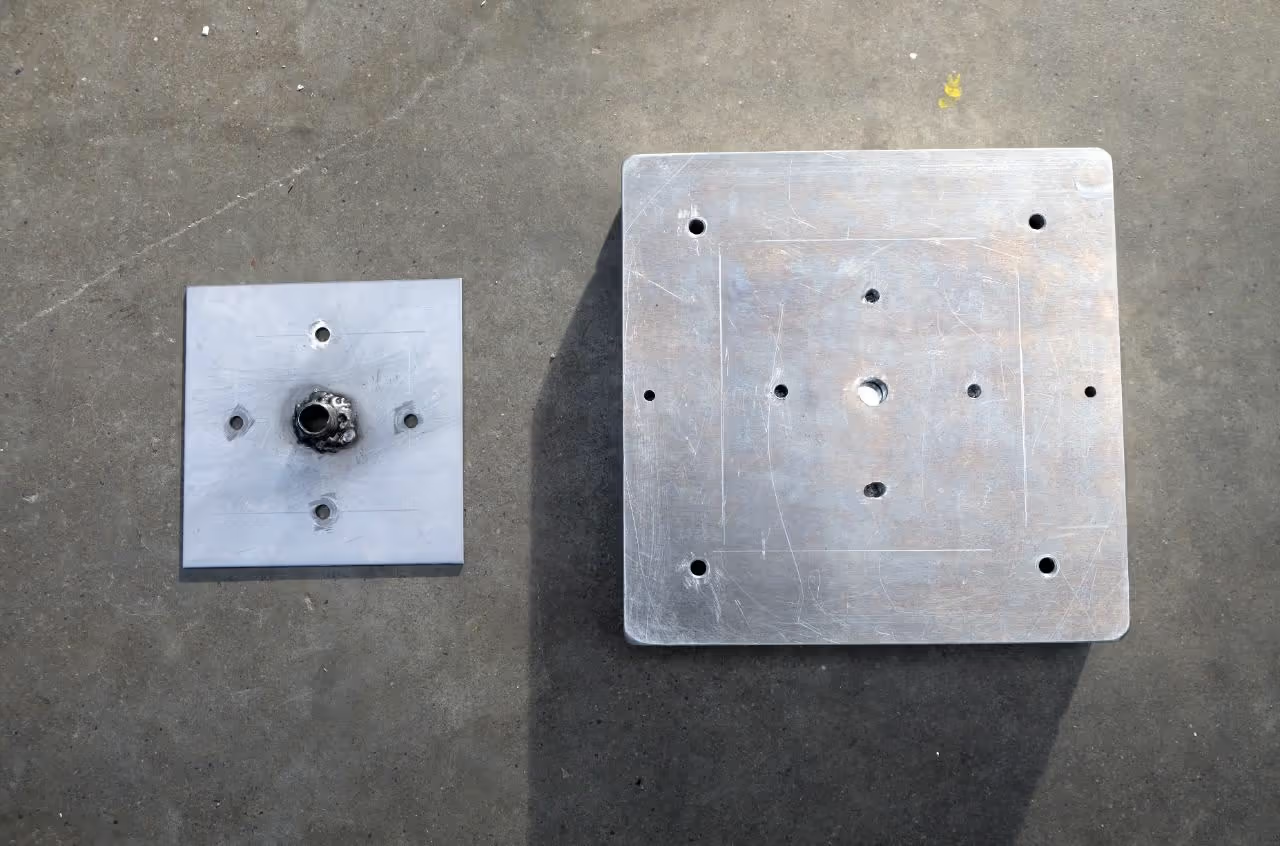
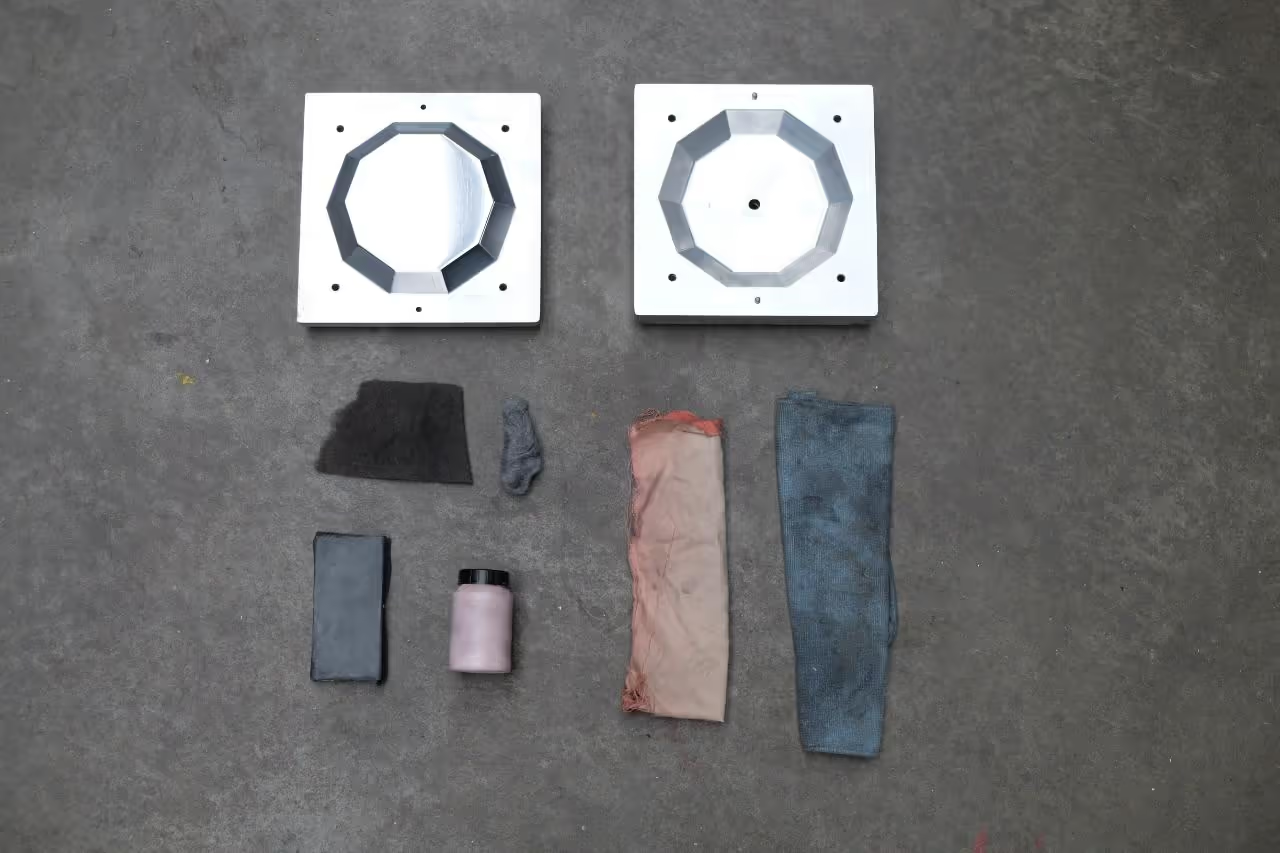
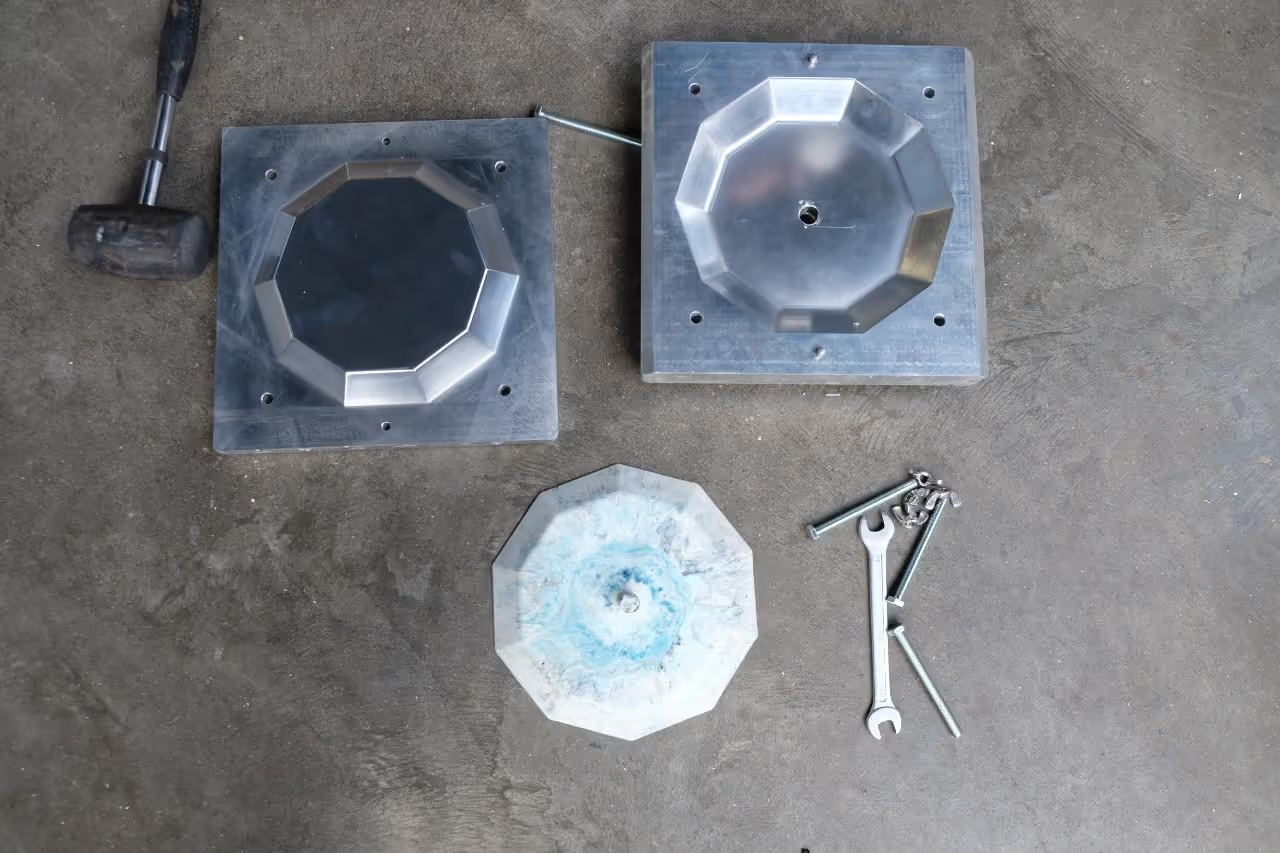
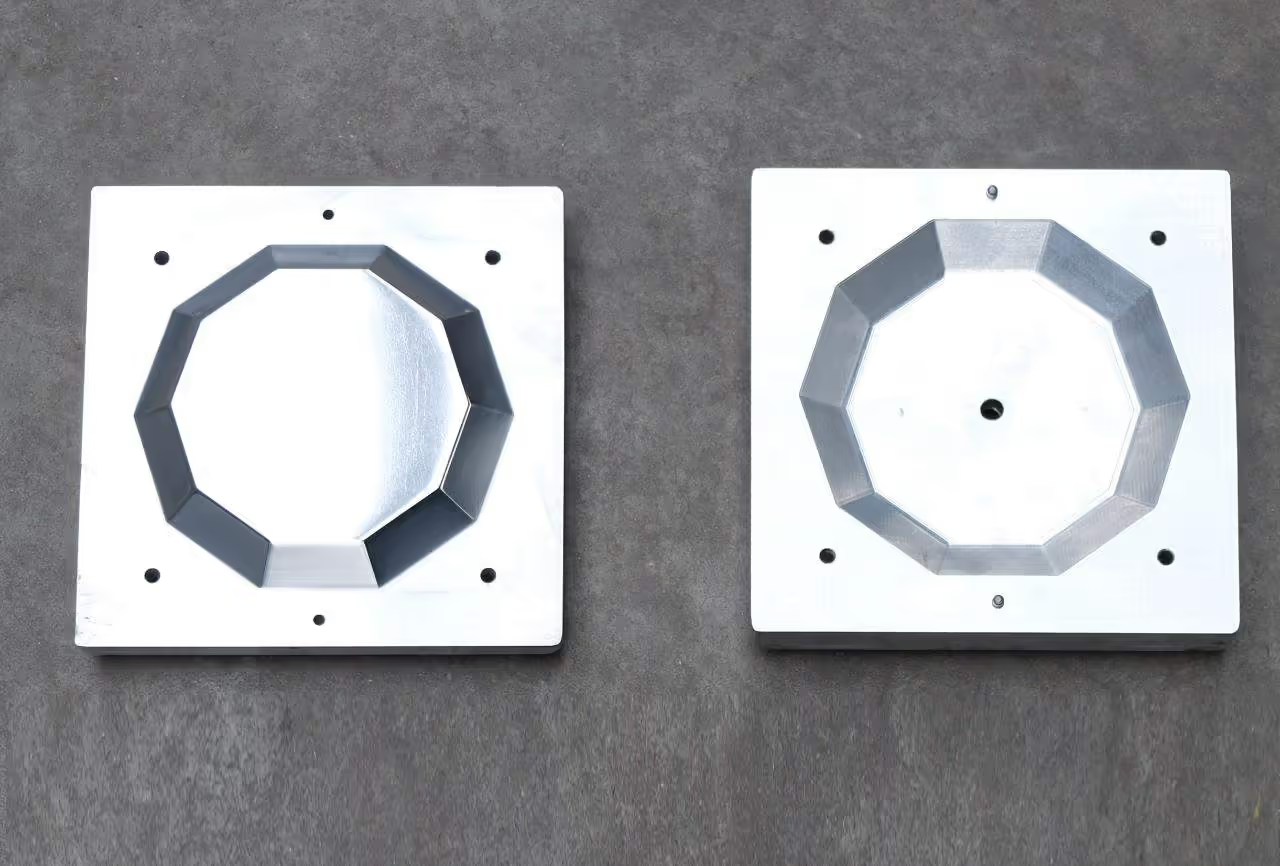
To create a plate using the injection machine, a three-part mold is necessary: a bottom part and a top part, both made of aluminum, and a connector part made of steel. The top and bottom parts will be CNC-milled from aluminum blocks, while the connector part will be fabricated manually.
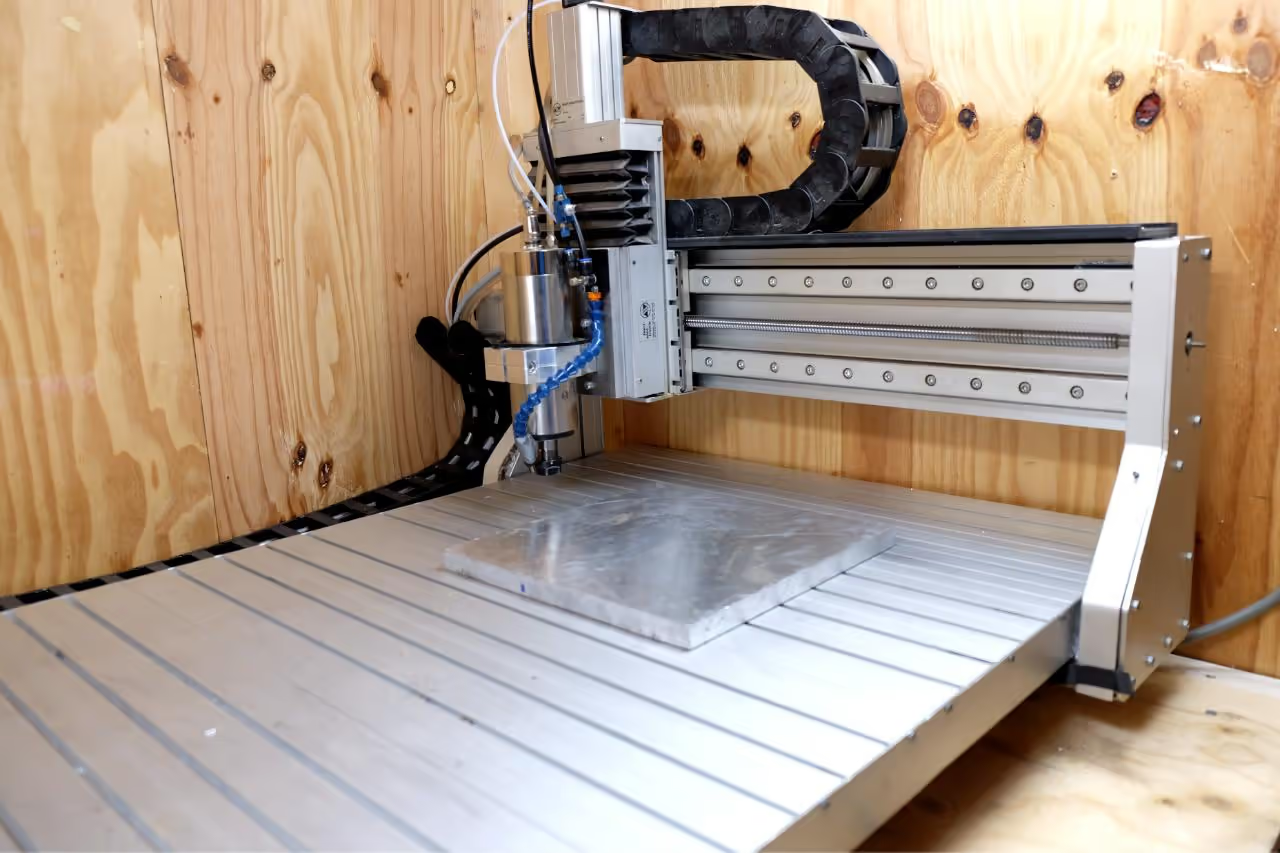
Begin with the CNC milling process. Download the attached STEP file and use it to mill two separate aluminum blocks. Each block should measure at least 10.24 inches x 10.24 inches x 1.57 inches (26 cm x 26 cm x 4 cm). Note: The maximum width for molds is 11.02 inches (28 cm).
The STEP file includes six reference points to aid in accurately drilling the aluminum blocks. If a CNC milling machine is unavailable, you may send the files to a CNC service provider, keeping in mind this option may incur higher costs and extended time.
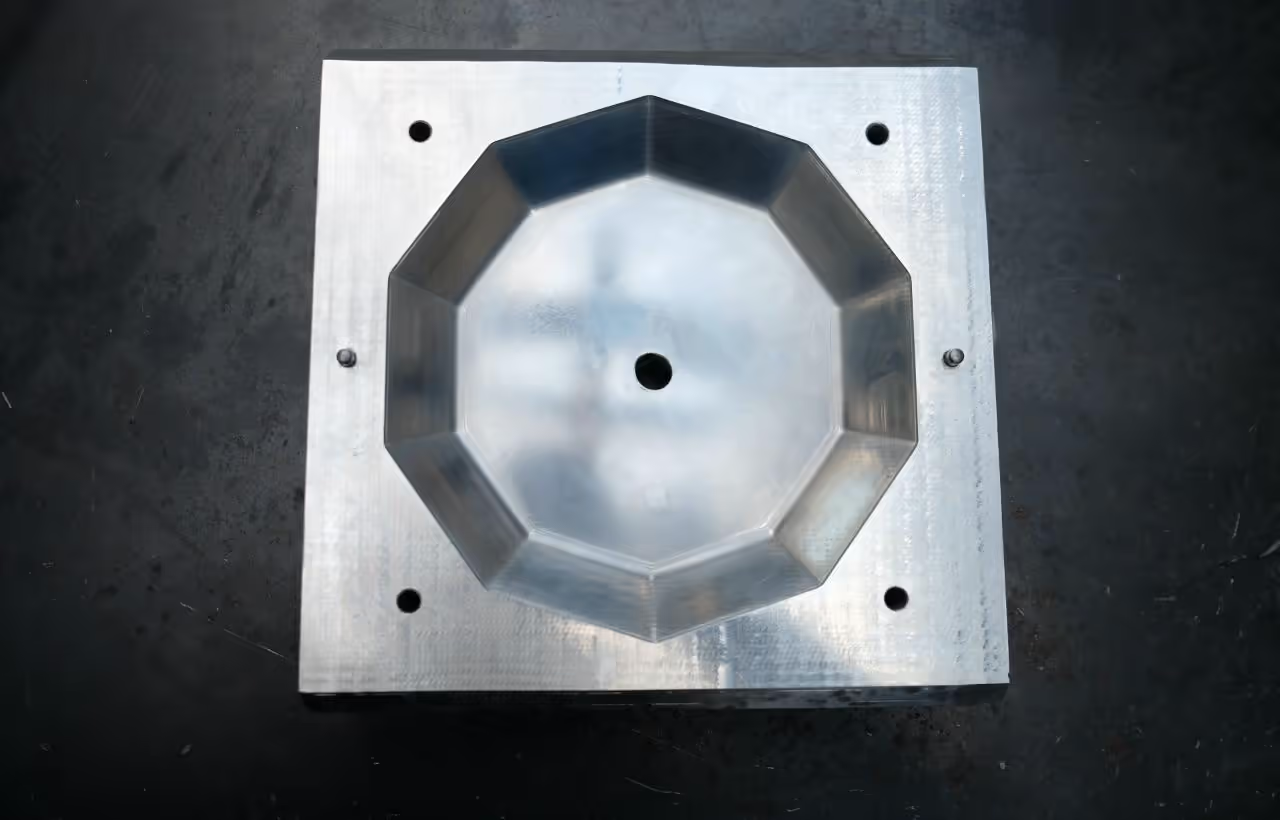
After the mold is cut, polish it to achieve a high-quality surface finish. You may do this yourself or request the CNC service provider to perform the polishing.
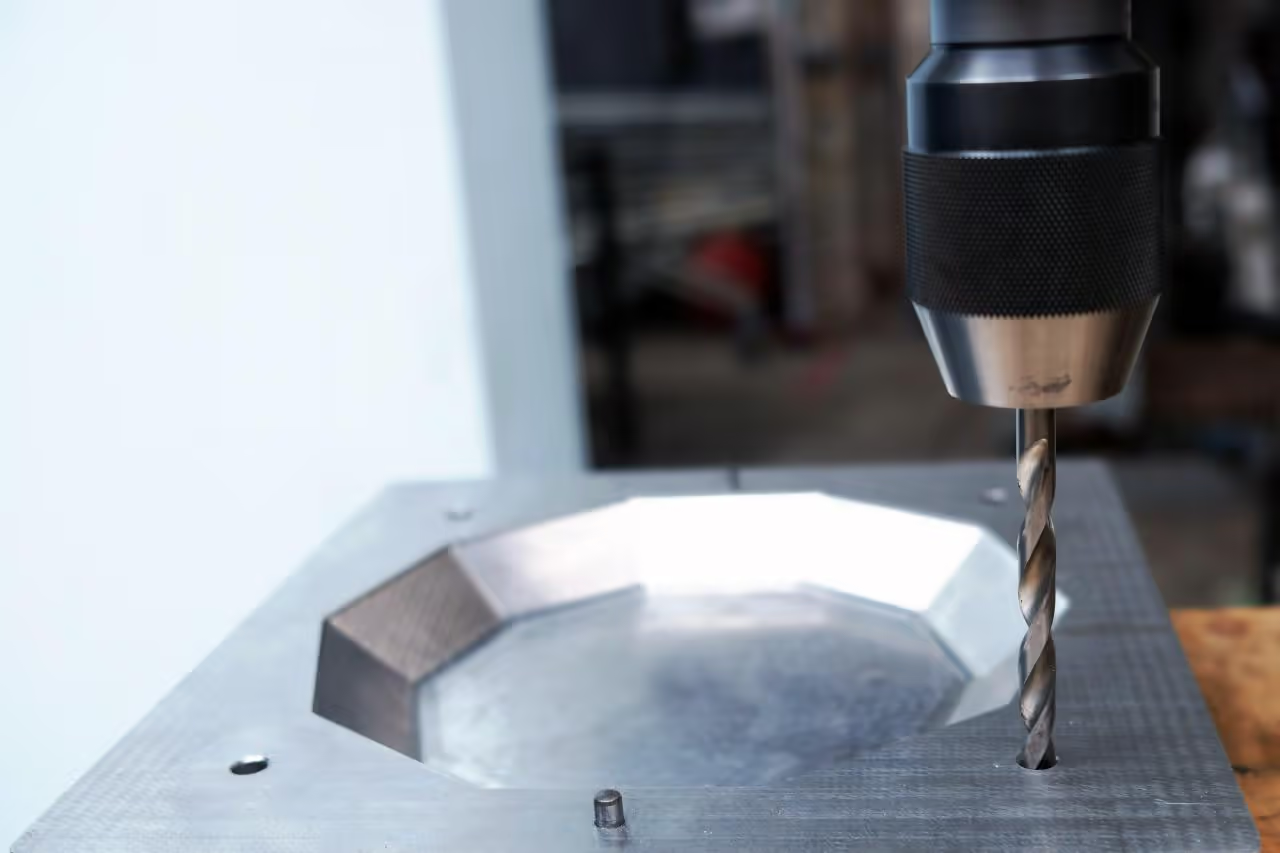
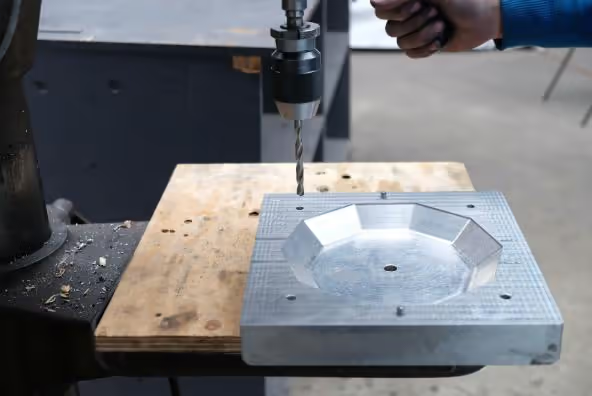
We need to create holes in the mould parts. There are two types of holes required, making a total of six holes, excluding the injection hole, which will be addressed later.
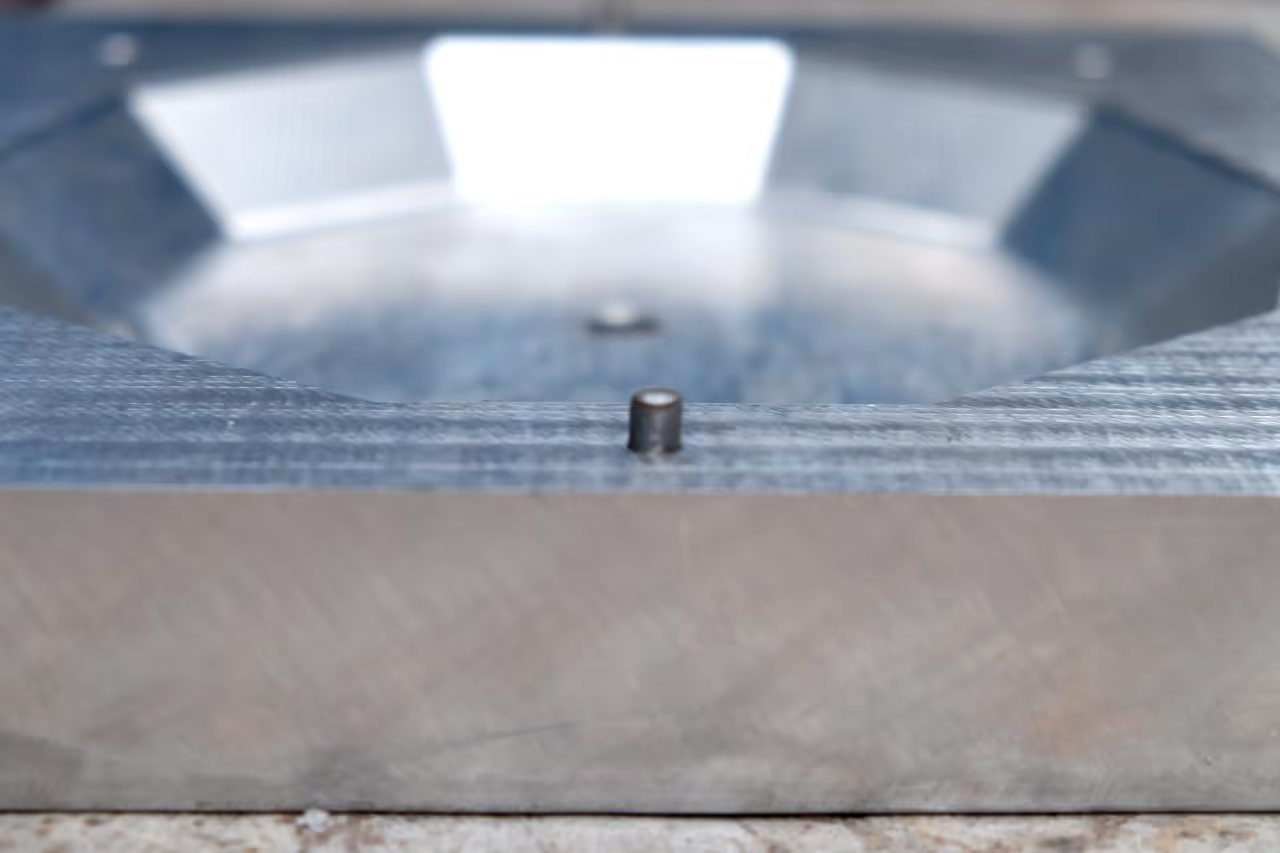
First, drill two halfway holes on the inner sides of the aluminum (aluminium) blocks to accommodate metal dowel pins. These pins ensure the mould aligns correctly during injection. Drill holes corresponding to the dowel pin size you are using. For instance, if using 0.25 inches (6 mm) pins, drill accordingly. The mould will open and close more easily with use.
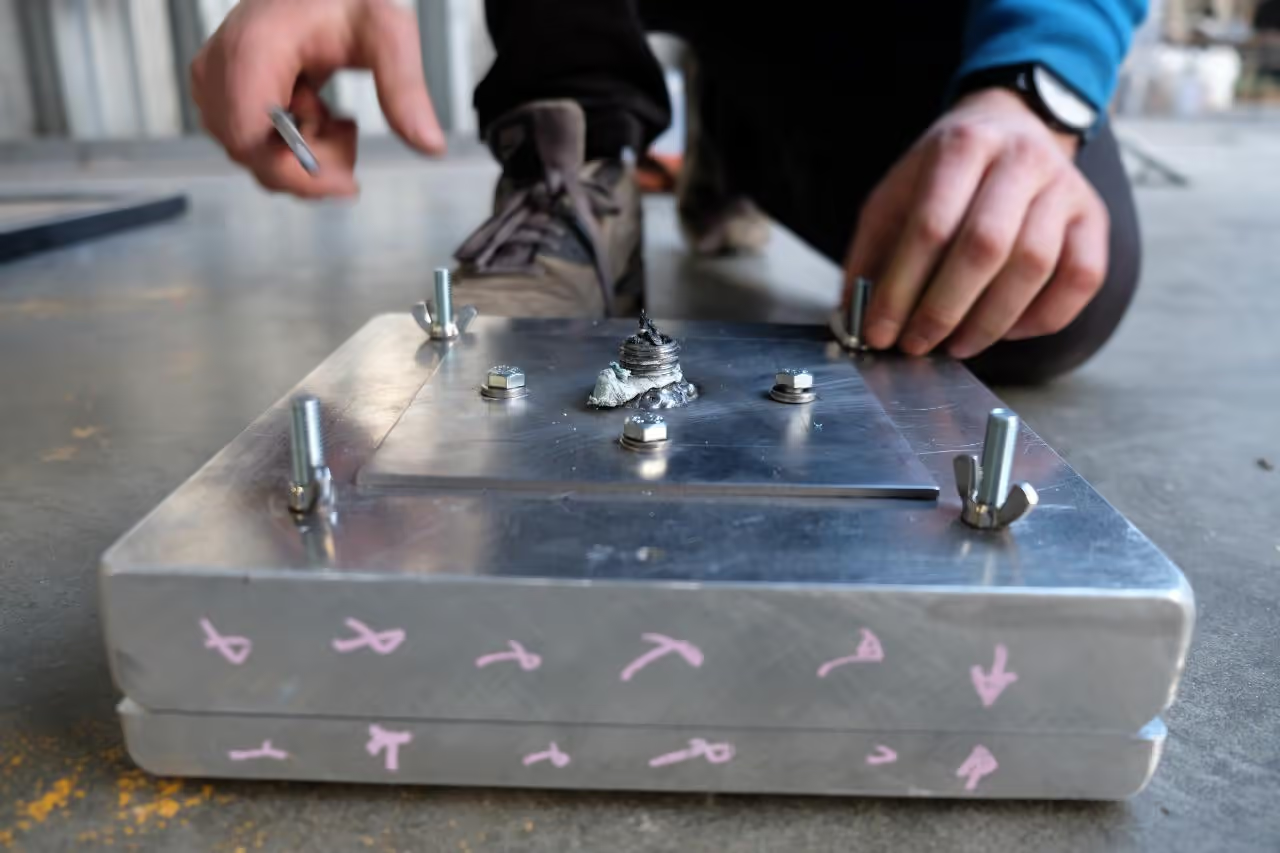
Next, drill four holes at the corners of the aluminum (aluminium) blocks for bolts and nuts to secure the mould. Use the marked drill indicators or align the mould properly to ensure correctness.
Drill a hole (0.51 inches) in the center of the bottom mold part with a 13mm bit. This facilitates the flow of plastic from the injection machine into the mold. A central drill indicator is available in the STEP file.
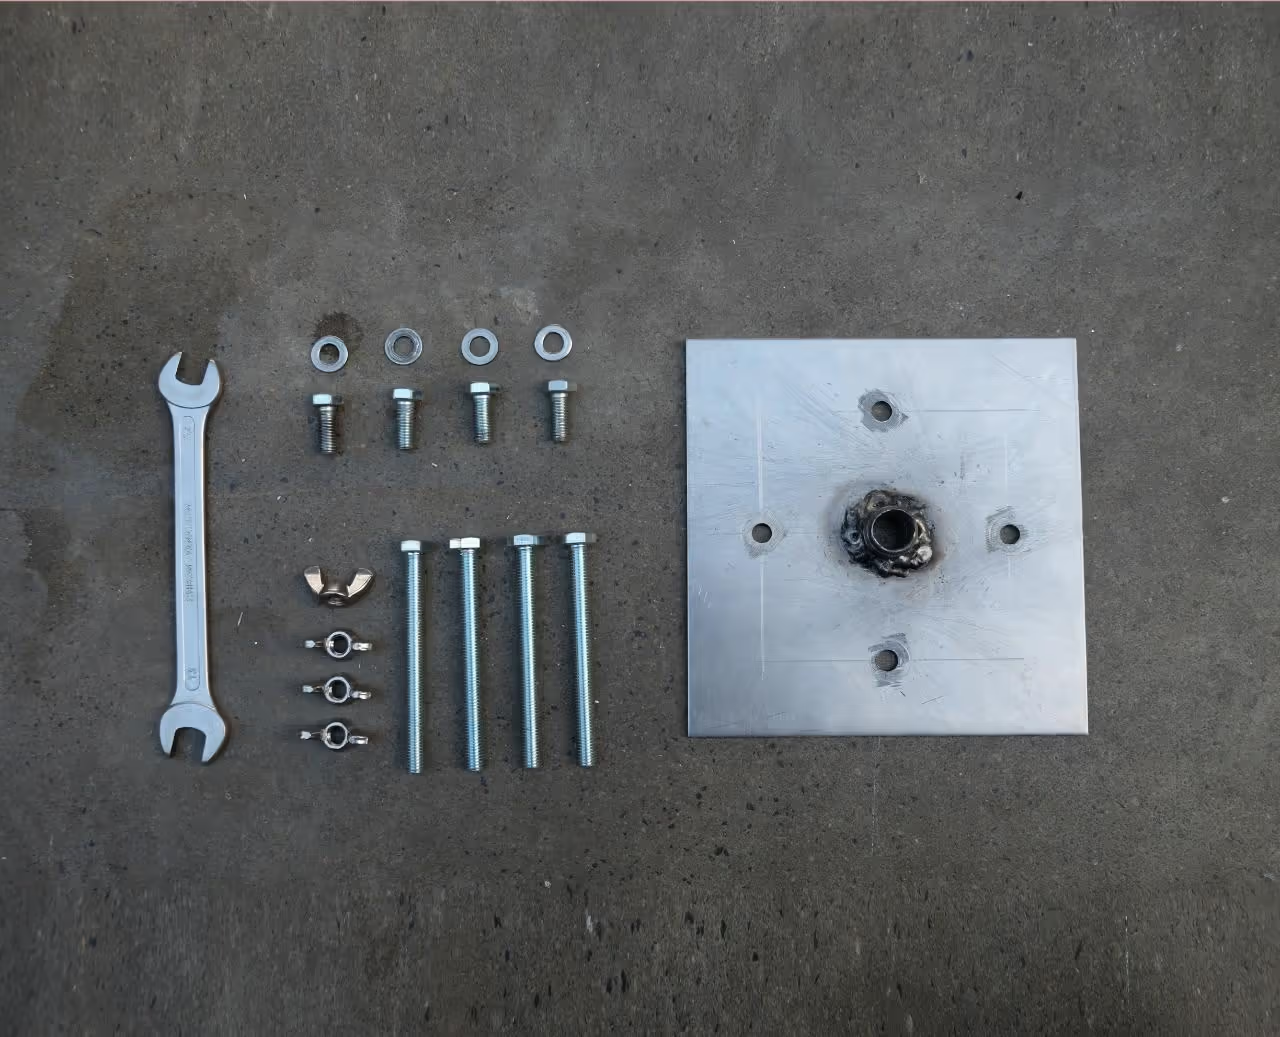
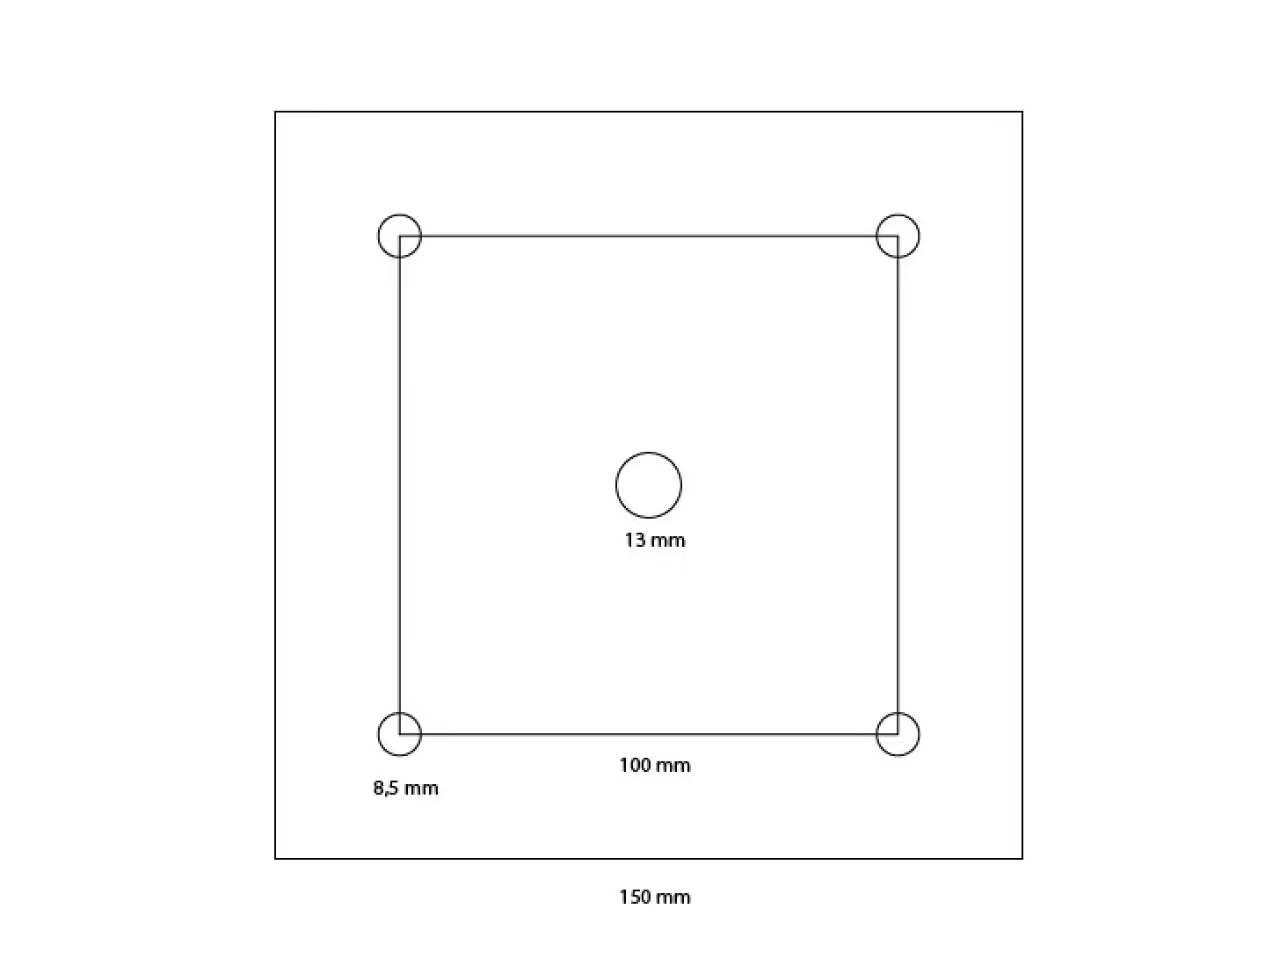
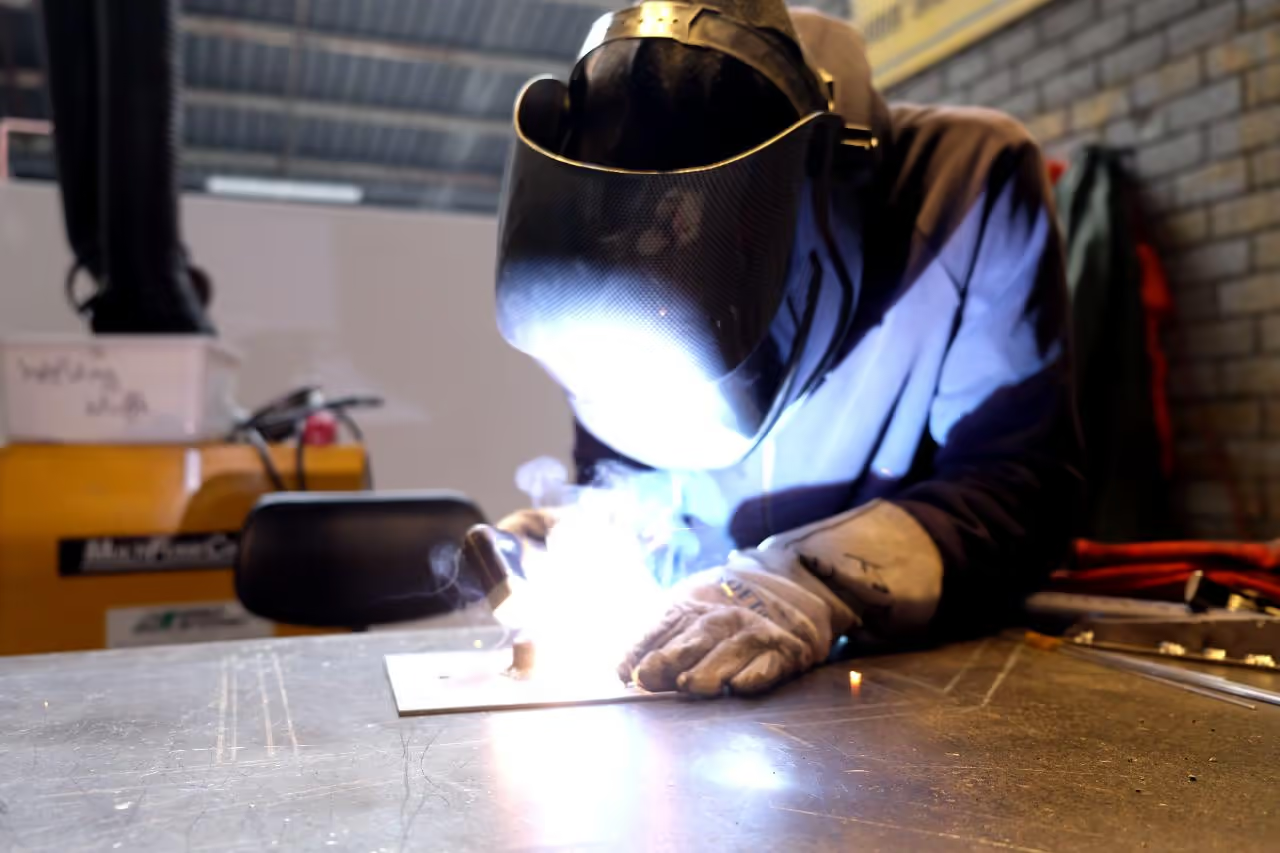
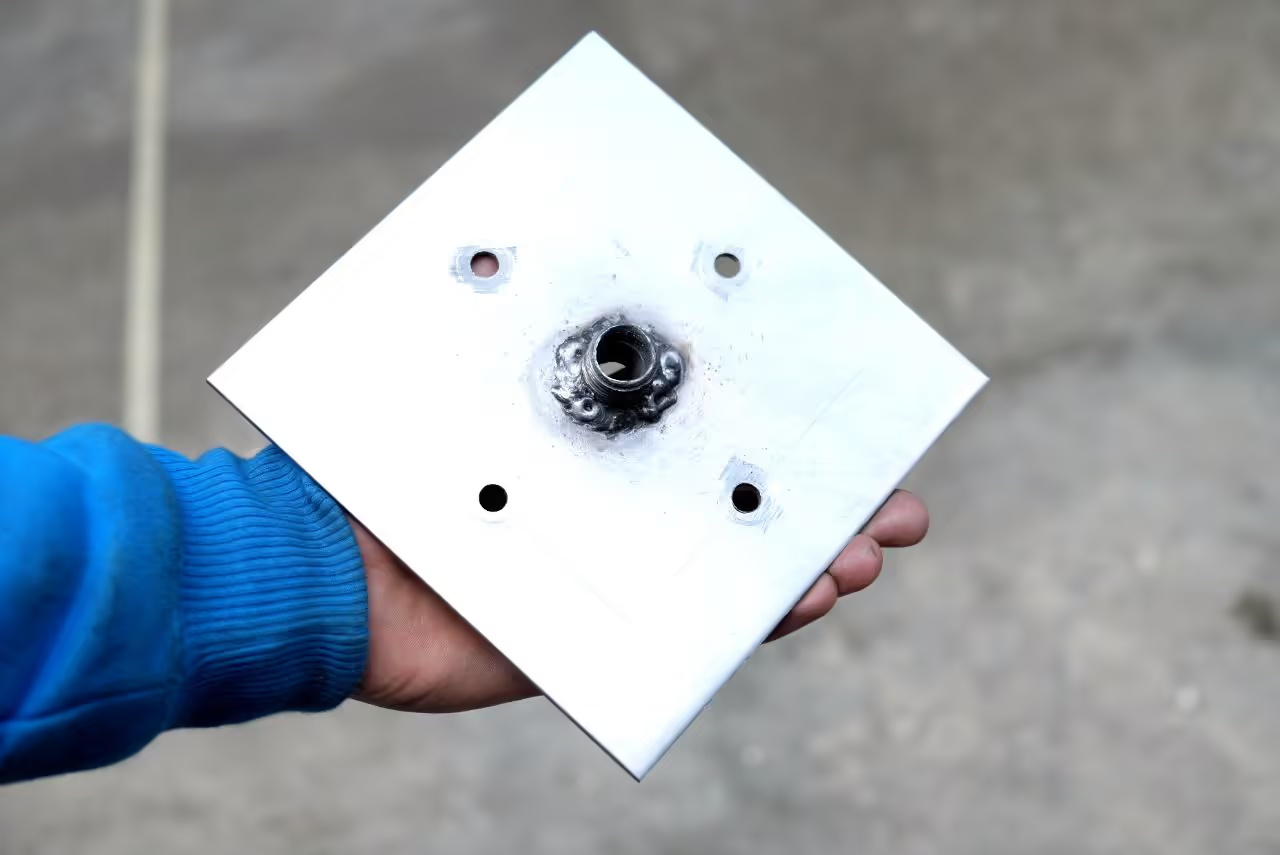
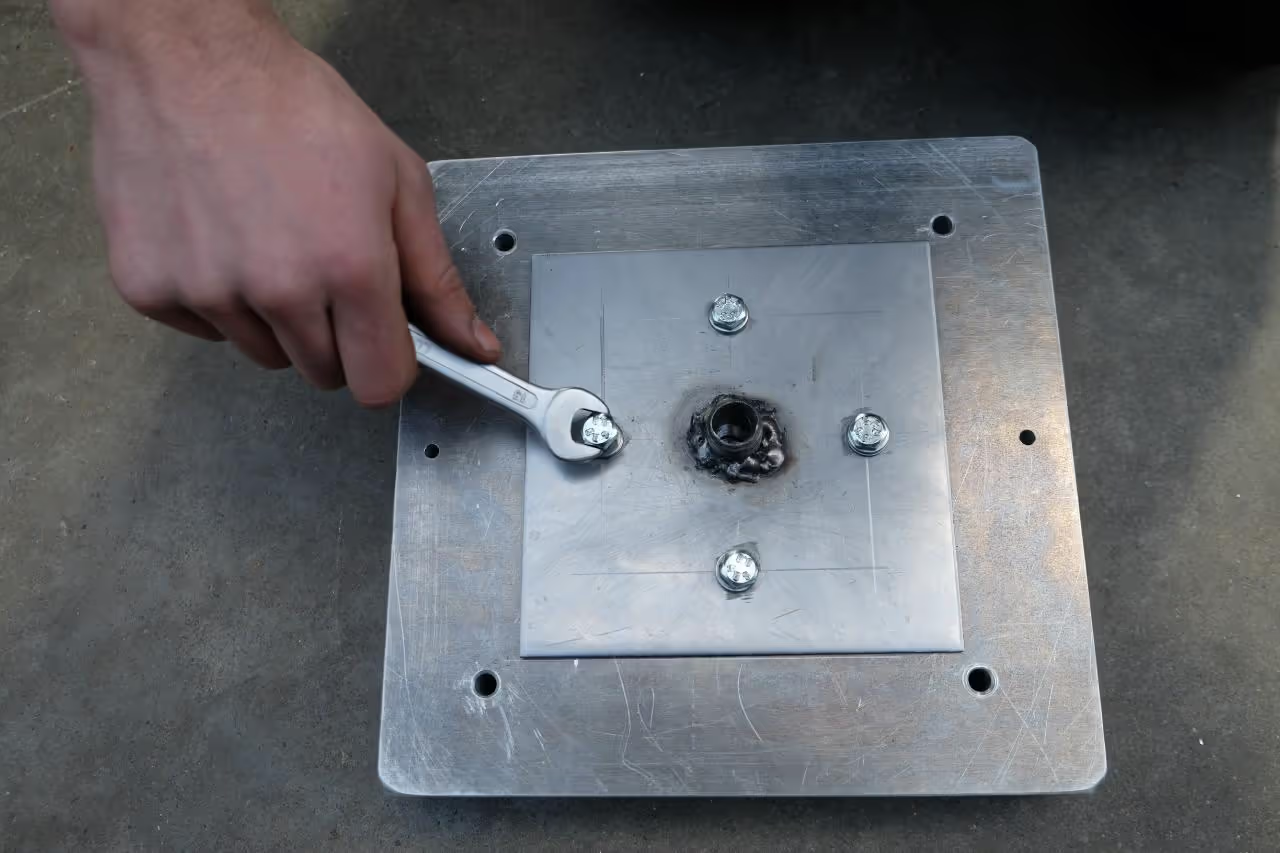
To create the connection plate, acquire a square steel sheet measuring 59 inches by 59 inches (150 cm x 150 cm) with a minimum thickness of 0.2 inches (0.5 cm) and a nozzle compatible with your injection machine (e.g., 1/2 inch BSP type). Verify the connection types for the injector. Mark the centers for the holes following the drawing and drill accordingly. Position the nozzle over the 0.5-inch (13 mm) hole and weld it securely to the plate, ensuring it is precisely centered to facilitate attaching the mold and optimizing plastic flow. Precise alignment with the mold and injection machine is crucial, so maintain accuracy throughout the process.
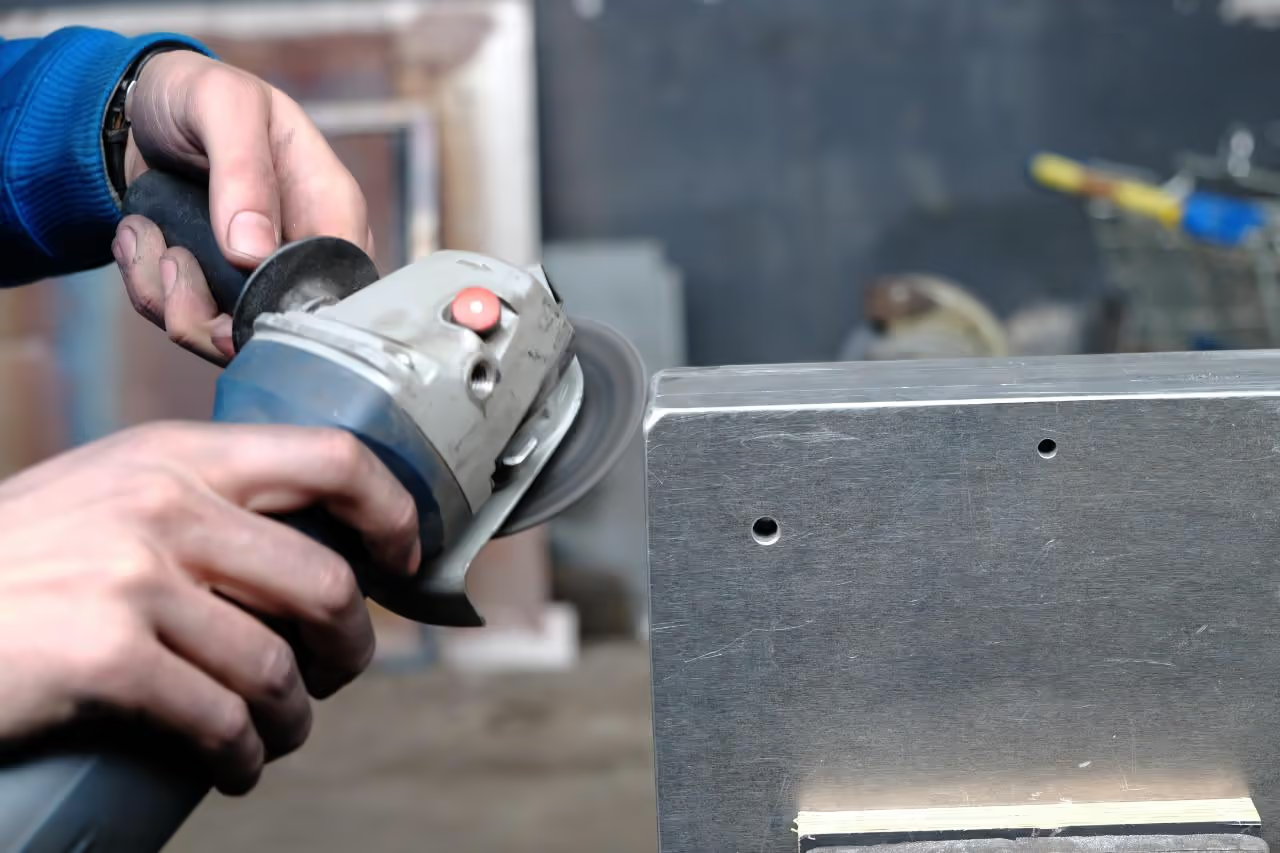
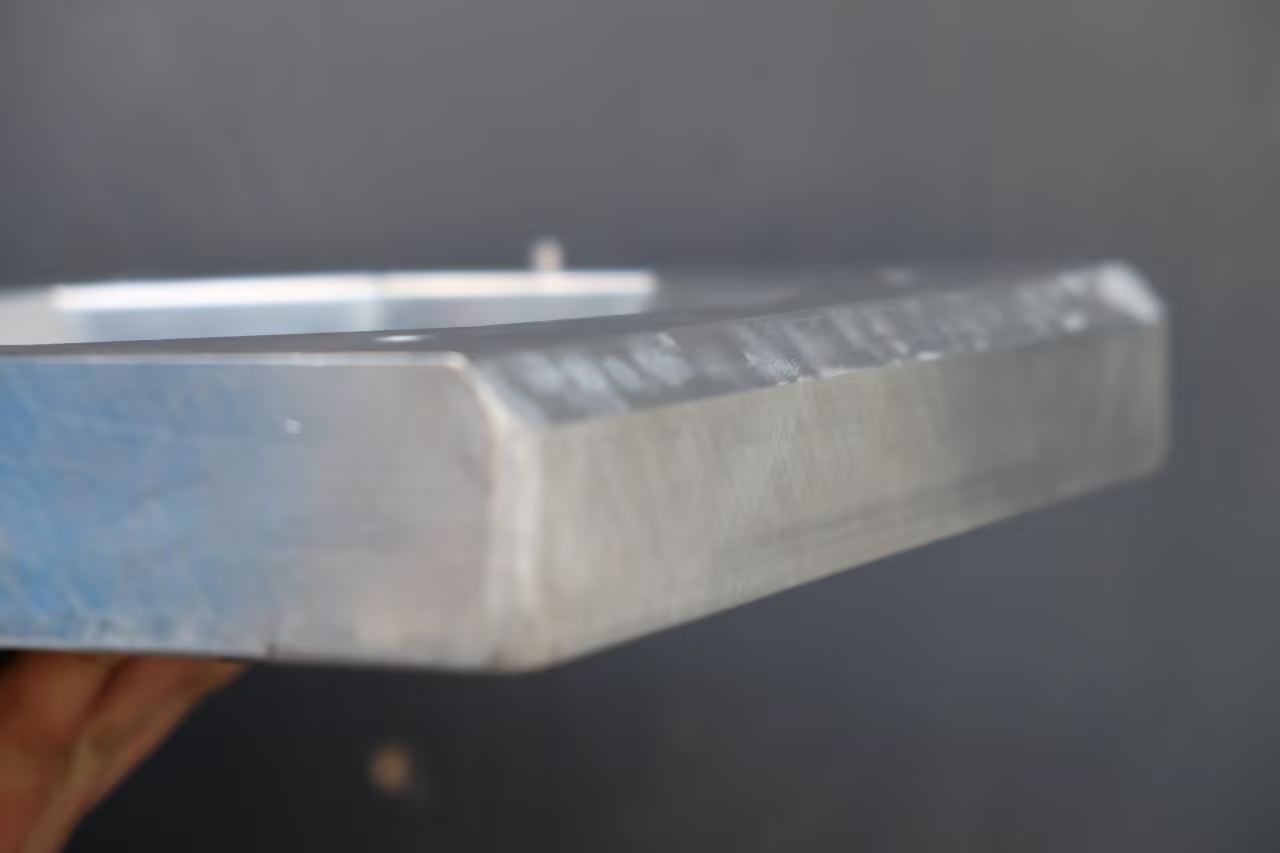
The mold will be more user-friendly if you sand the sharp edges, as CNC-cut aluminum can be very sharp. Consider adding an inclined edge to the bottom part to facilitate opening and closing. It's essential to sand and polish the inside for a clean product finish. A polished mold yields a high-quality product, whereas an unpolished one appears rough. Use a wooden block with sandpaper to maintain straight sanding. Begin with 120-grit paper and double the grit size with each step (120, 240, 440, etc., up to 2000). Clean the mold with a cloth to remove aluminum dust—do not blow it out as it is harmful to your lungs. Follow with metal-grained steel wool and fine steel wool. Finally, polish the mold with a clean cloth and polishing paste.
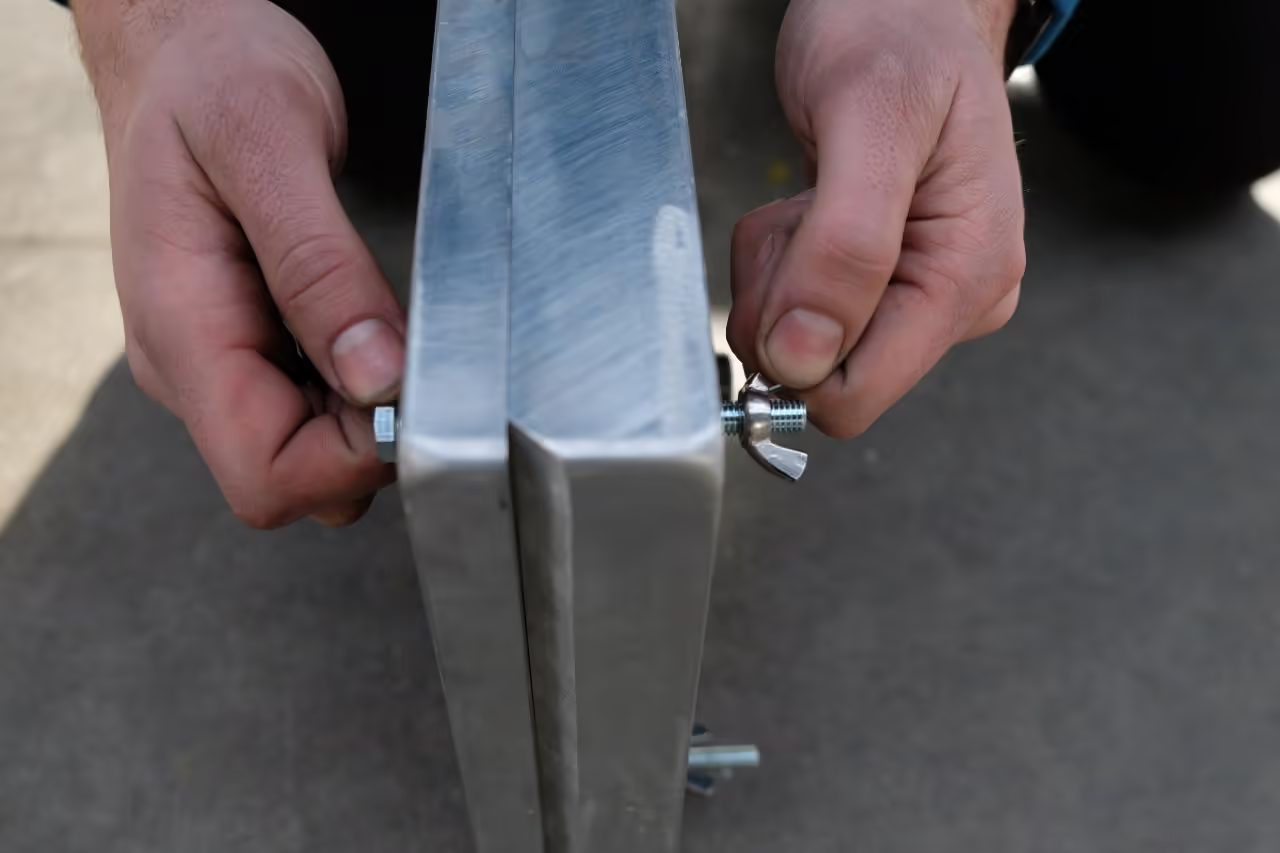
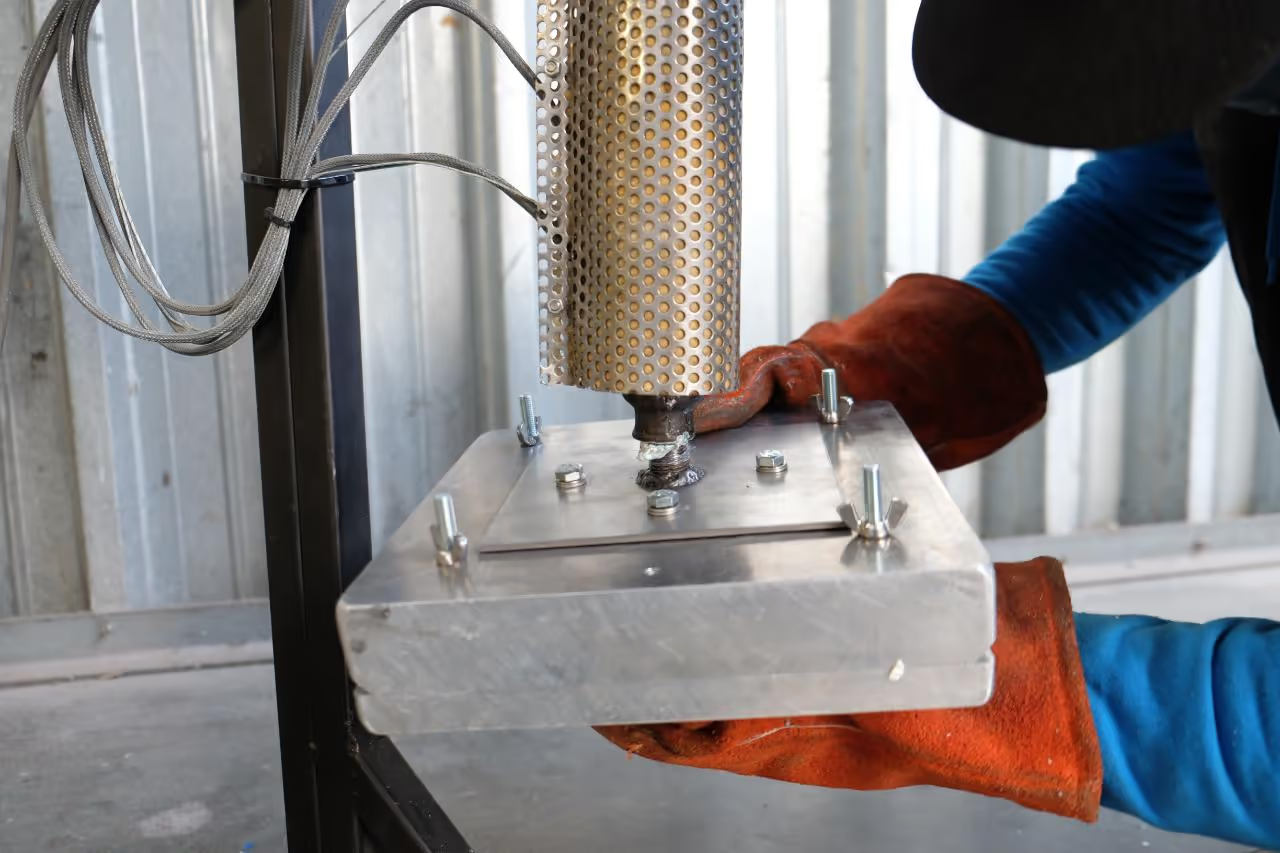
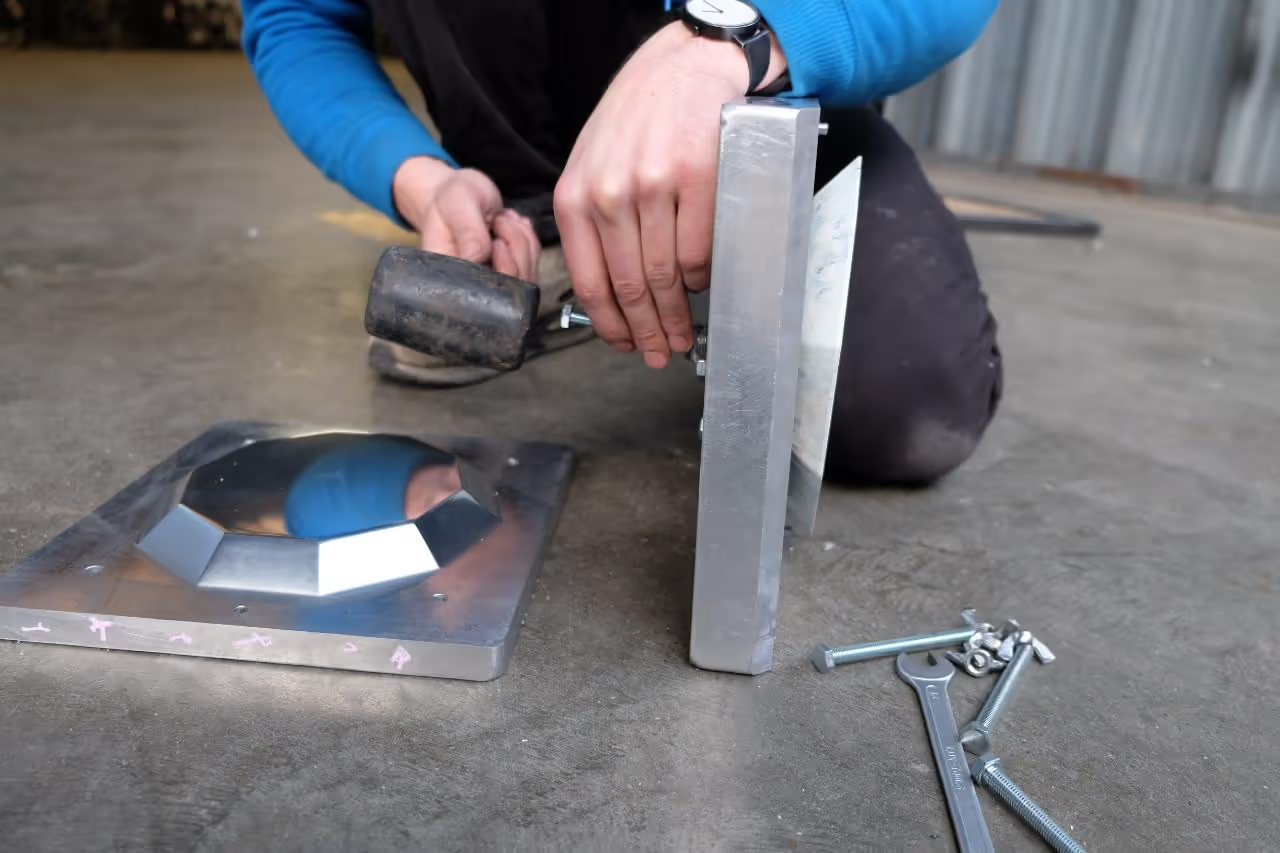
After preparing the mold, assemble the components. Connect the top and bottom parts using dowel pins for alignment, and secure with bolts and nuts. Attach the connector plate to the top and bottom parts of the mold. Your setup is now complete.
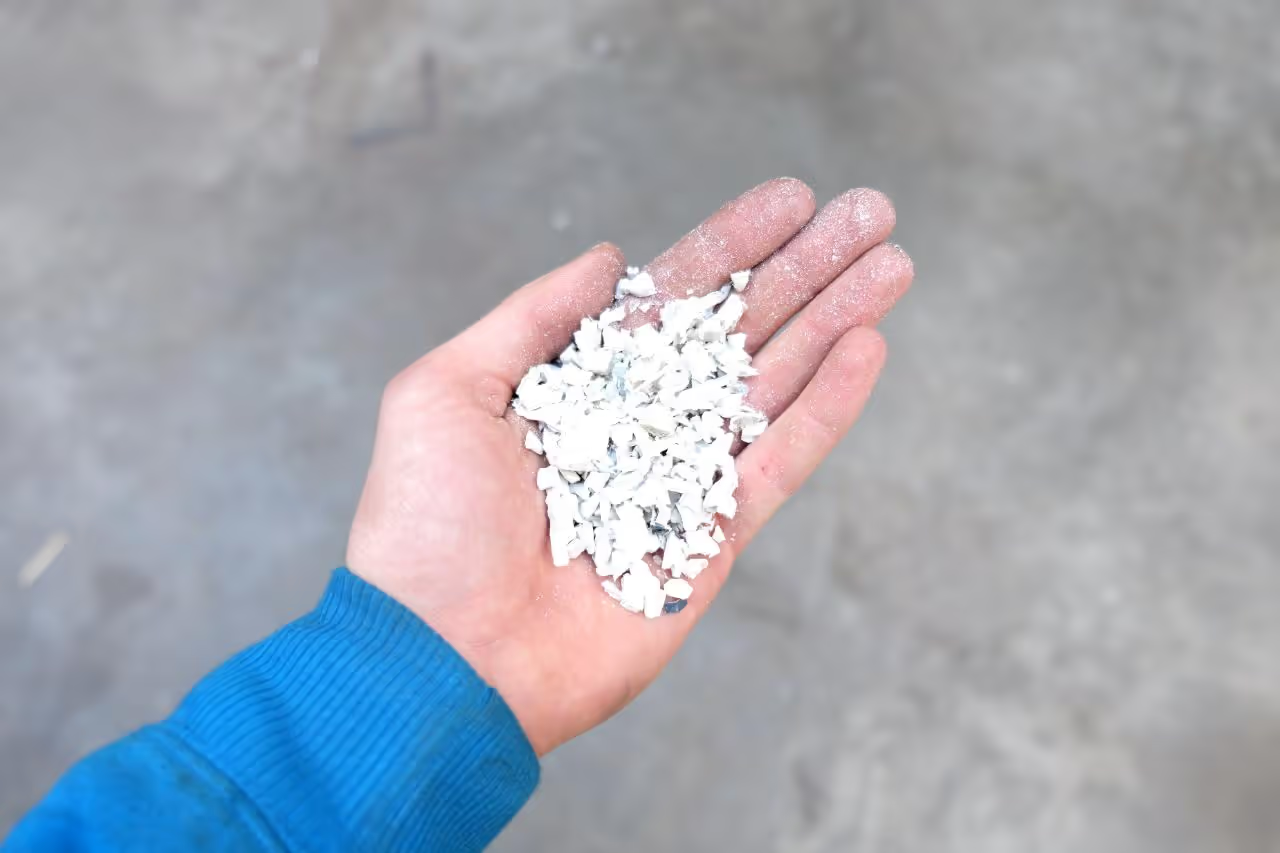
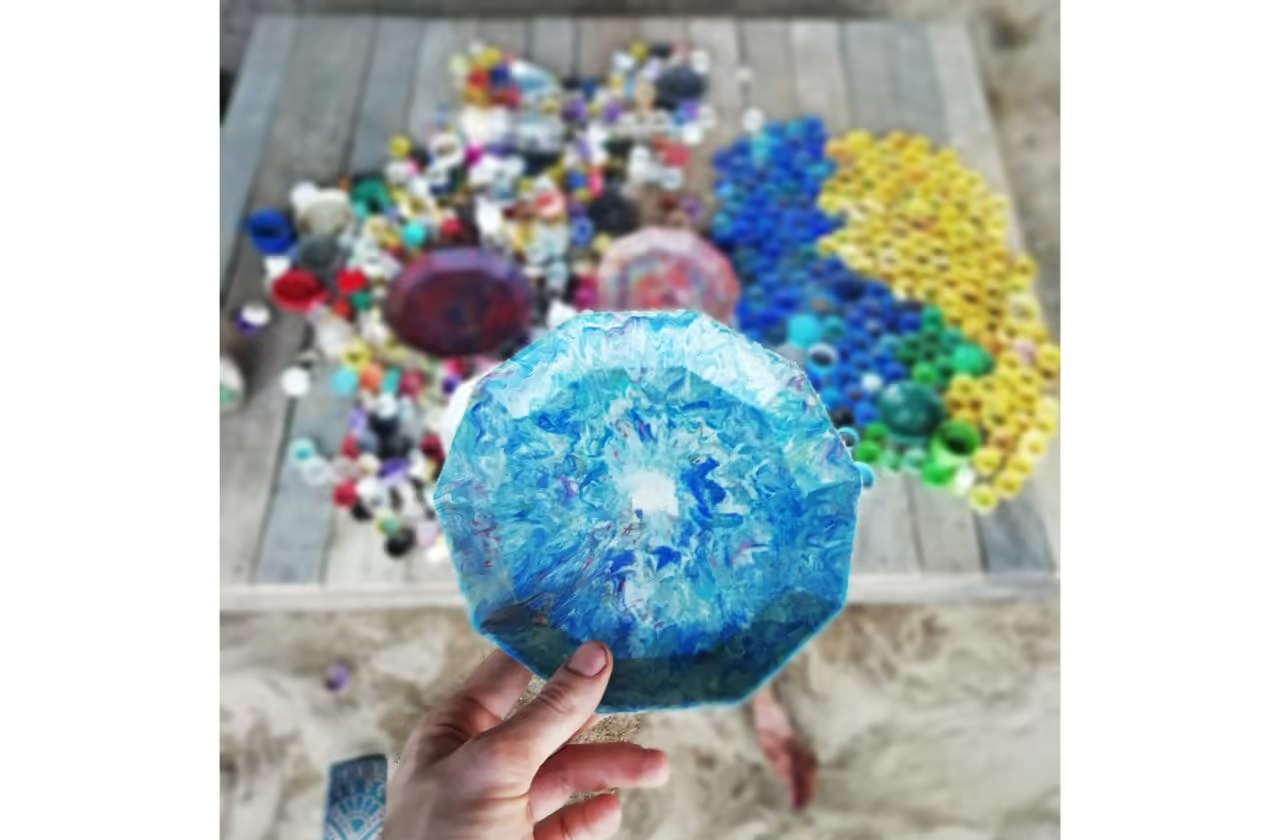
Use PP, HDPE, LDPE, or PS, with PP and LDPE being most successful. The standard injector's maximum capacity is 150g (5.29 oz).
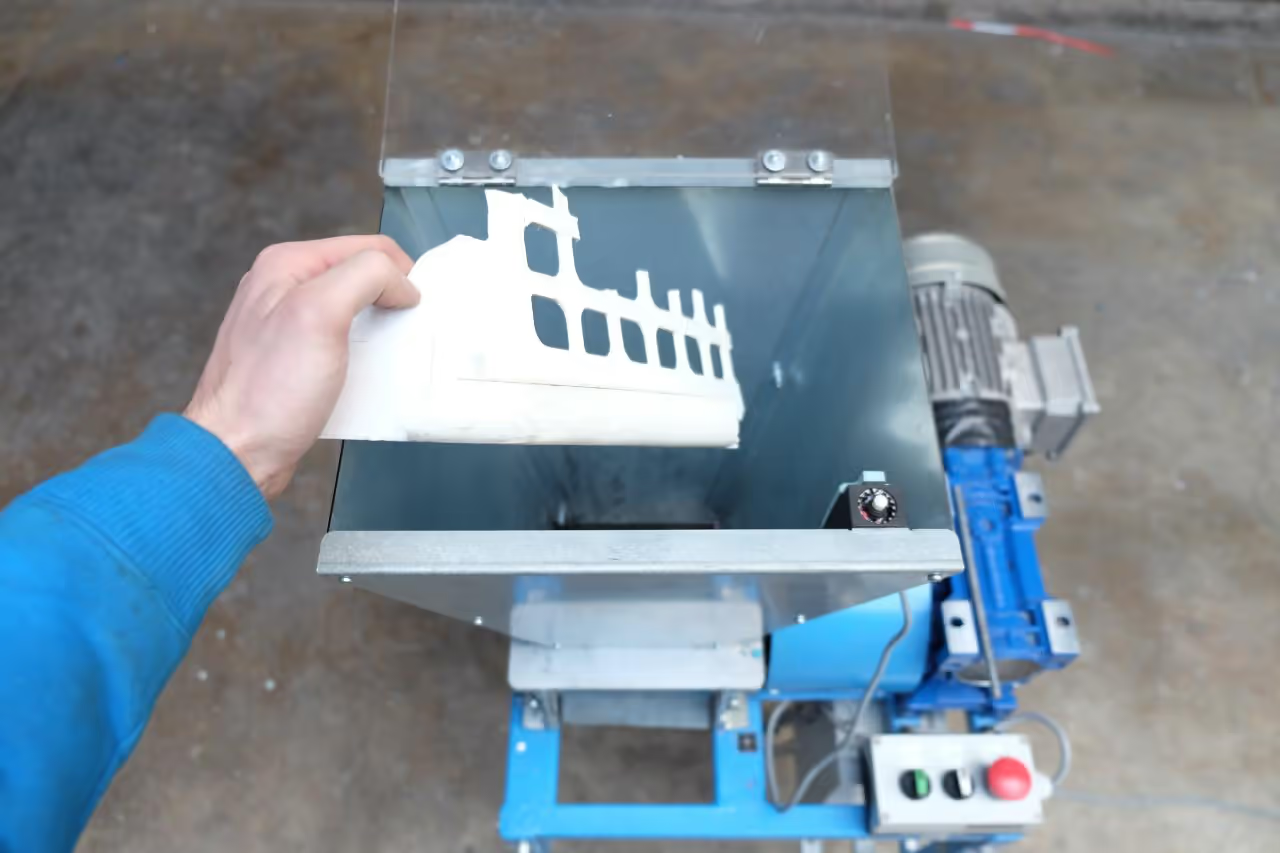
Material Loading: Fill the injector entirely with material, avoiding overfilling to prevent it from adhering to the hopper or injector exterior.
Temperature Settings: Adjust temperature according to the specific melting point of the material. Set the lower heating element slightly hotter than the upper to prevent premature solidification.
Injector Operation: Move the injector lever up and down to push the material into the barrel. Add more material as needed and keep the handle down to maintain pressure.
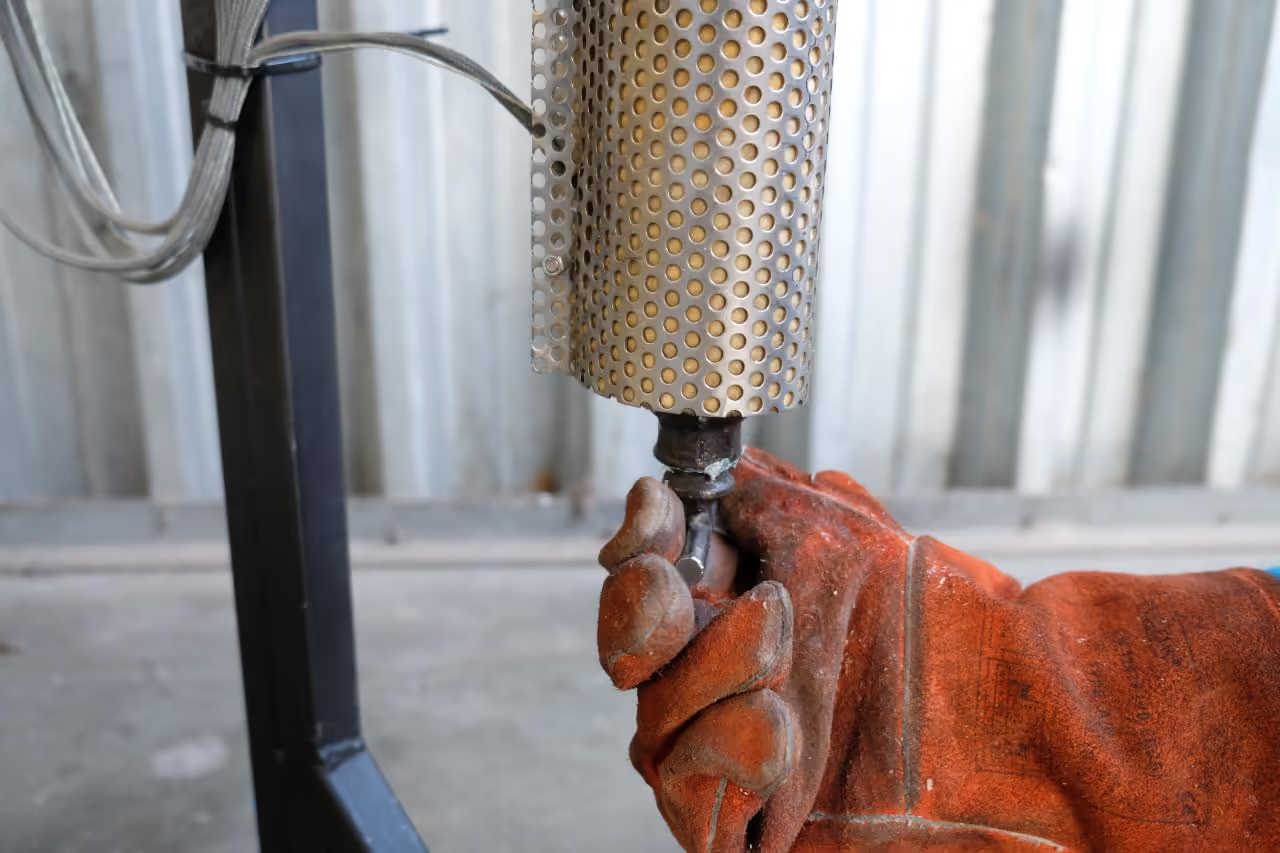
Heating and Preparation: After approximately 15 minutes of heating, lift the handle and open the injector. Trim any initial plastic drippings which may contain unmelted material and attach your mold to the injector.
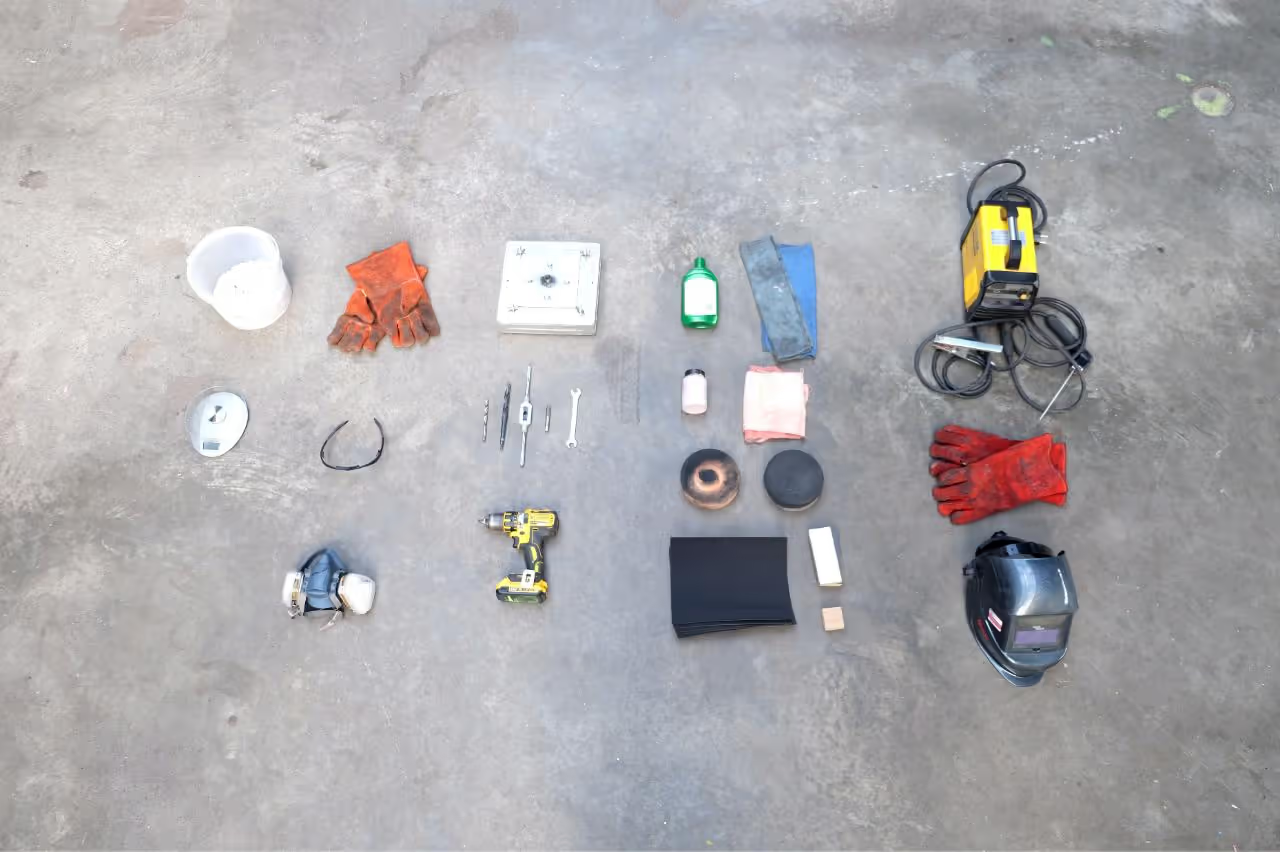
Safety Precautions: Use a protective mask, eye cover, and heat-resistant gloves during this process to ensure safety.
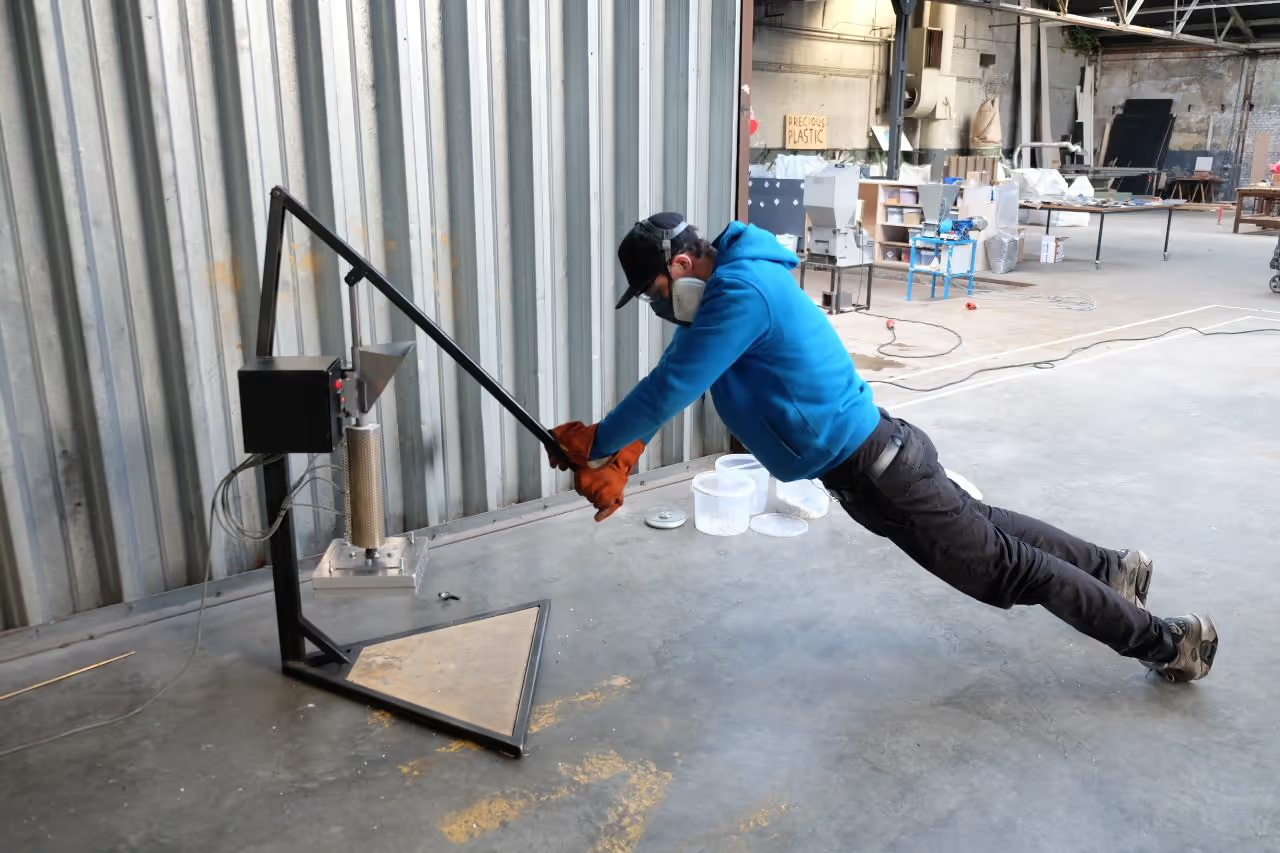
Plastic Injection: Use maximum force to pull down the injector handle and achieve a continuous injection, maintaining pressure for 30 seconds. Avoid segmented pressing. If additional force is required, seek assistance.
Keep the handlebar lowered. Quickly remove the mold from the injection barrel and re-seal the injector's connection point to prevent leakage. Use water to accelerate cooling. Once the mold has cooled, unscrew the bolts to open it. Use a hammer and pin to remove the plate via the nozzle connector at the top.
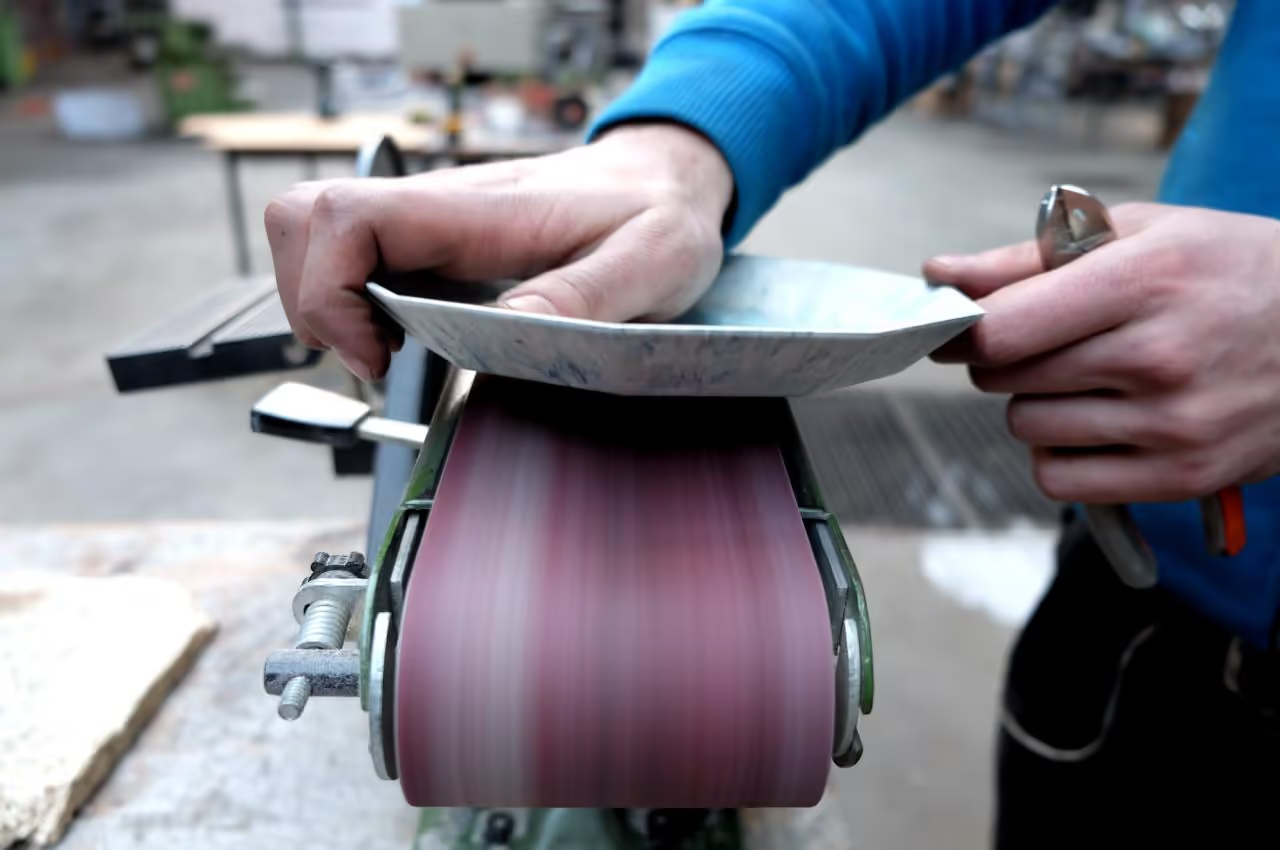
Trim the excess material at the injection point using sharp pliers. Sand any uneven areas for a smooth finish, using a machine or by hand if preferred.
*Disclaimer: As the source of the plastics cannot be fully verified, avoid consuming food from this plate unless a lacquer is applied to the surface.
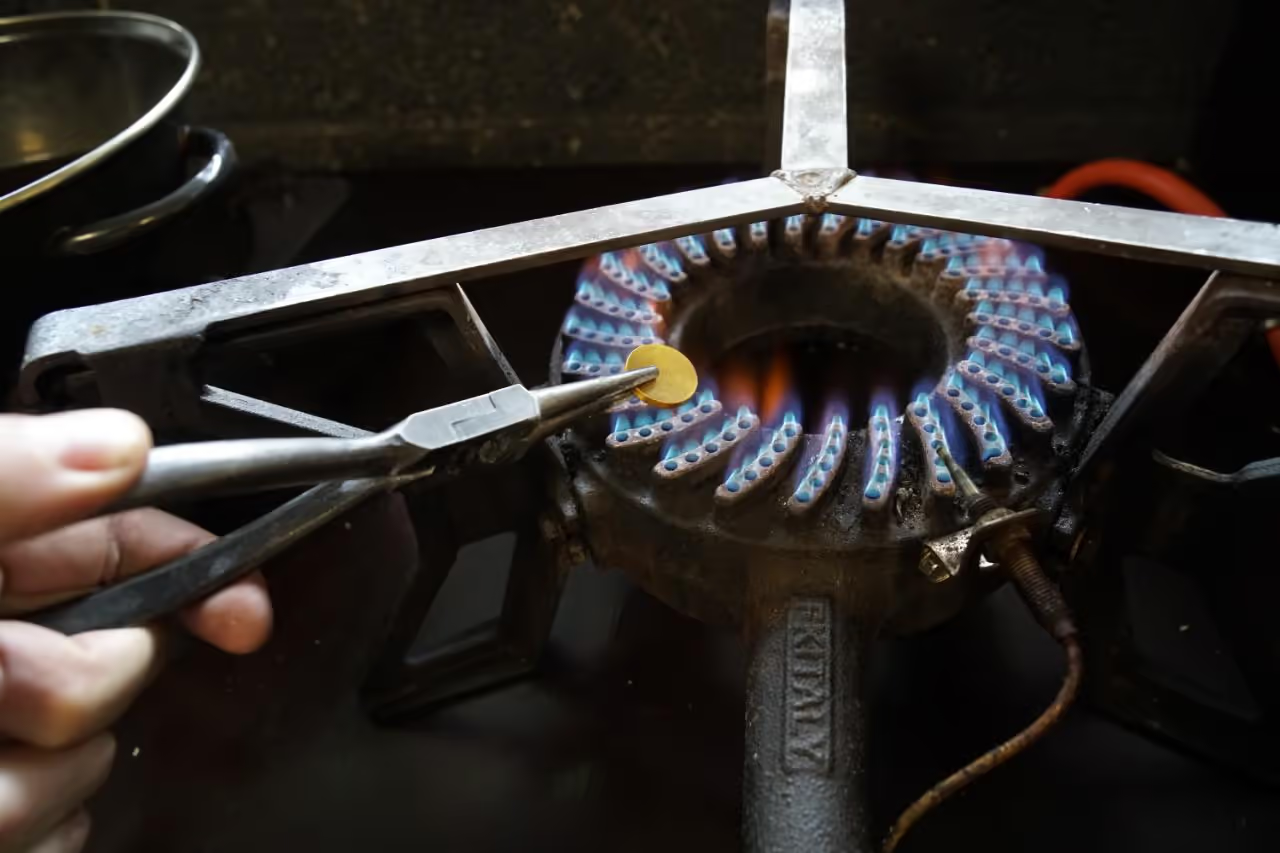
At this stage, add a plastic type symbol to your product to identify its material composition. This aids future identification and potential reprocessing. Various techniques exist for stamping the material; for instance, we used stamps obtainable online.
Enjoy a beverage of choice and appreciate your craftsmanship. For inquiries, feel free to email me at hoogewerfthomas@gmail.com or share a photo of your creation.
Witness the project in action in Panama: Watch here.
Special thanks to Paul Denney.
Since the plastic sources cannot be fully verified, avoid using the plate for food unless you apply a protective lacquer.