Make plaster moulds for large products
PRODUCT
INJECTION
EXTRUSION
MOULD
This guide details the process of creating and using plaster molds, an effective method for crafting larger, intricate products.
Plaster molds have a limited lifespan and may not be suitable for regular use in plastic processing. However, they are useful for producing large, solid items and as a prototyping method to test mold designs before milling them into aluminum blocks.
Select a model or object to create your plaster mold around, such as a self-made model, a 3D print, or a toy. Determine the number of parts needed for your mold; for our project, a two-part mold was used.
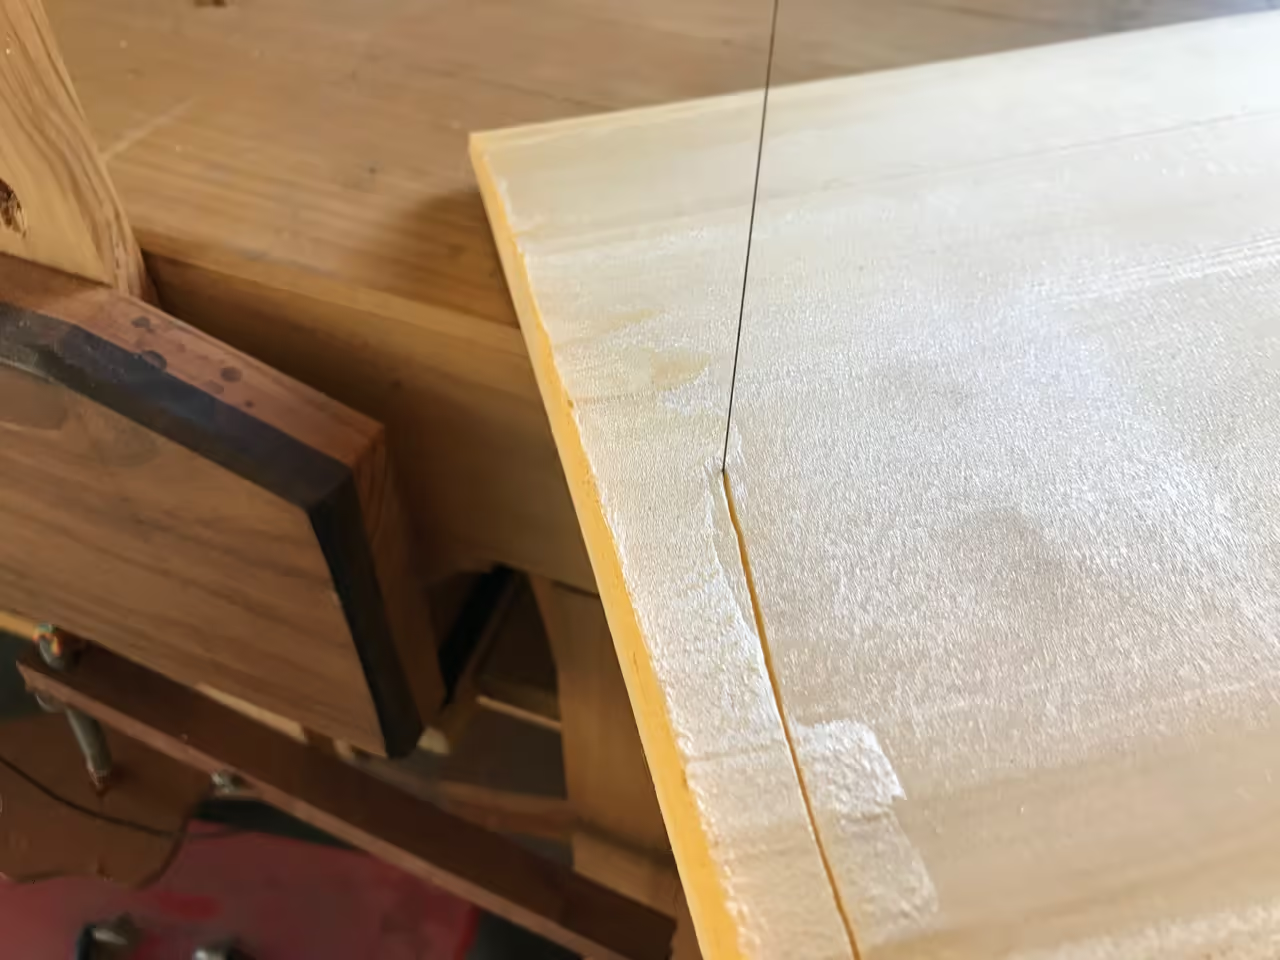
Here, the shape was cut from foam using a homemade hot wire and refined by hand sanding.
Ensure a smooth surface, as imperfections will be visible in the final product. Keep sanding, filling, and painting as needed.
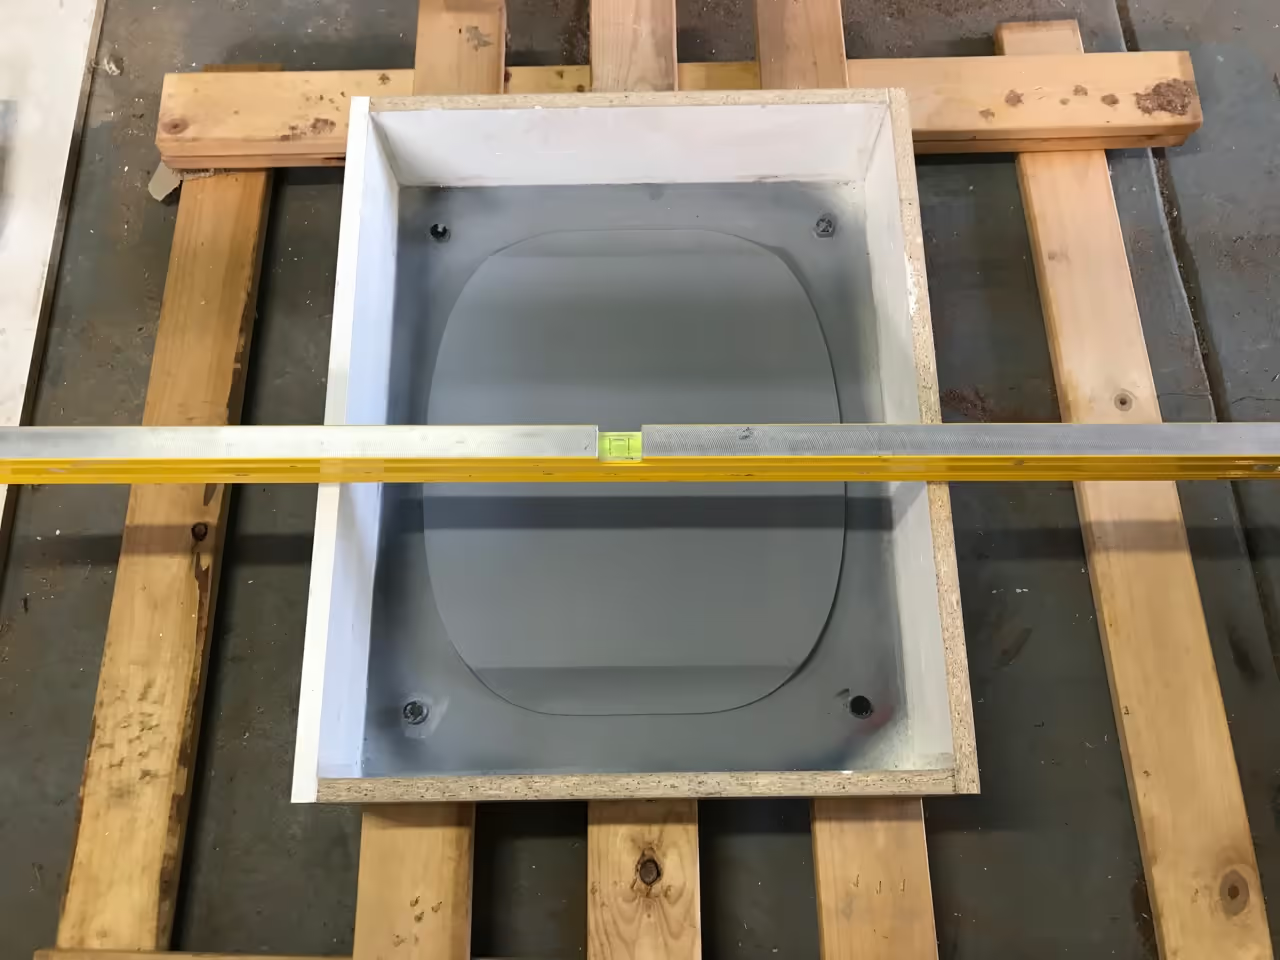
Construct a box around your model, ensuring it is sealed and secure to prevent it from floating when plaster is poured. Melamine or plywood may be used for the box.
Consider applying a mold release, such as petroleum jelly, to facilitate the release of the plaster.
Reference pins can be useful to ensure the molds align correctly later.
Mix the casting plaster following the manufacturer's instructions. Add chopped fiberglass for enhanced mold durability.
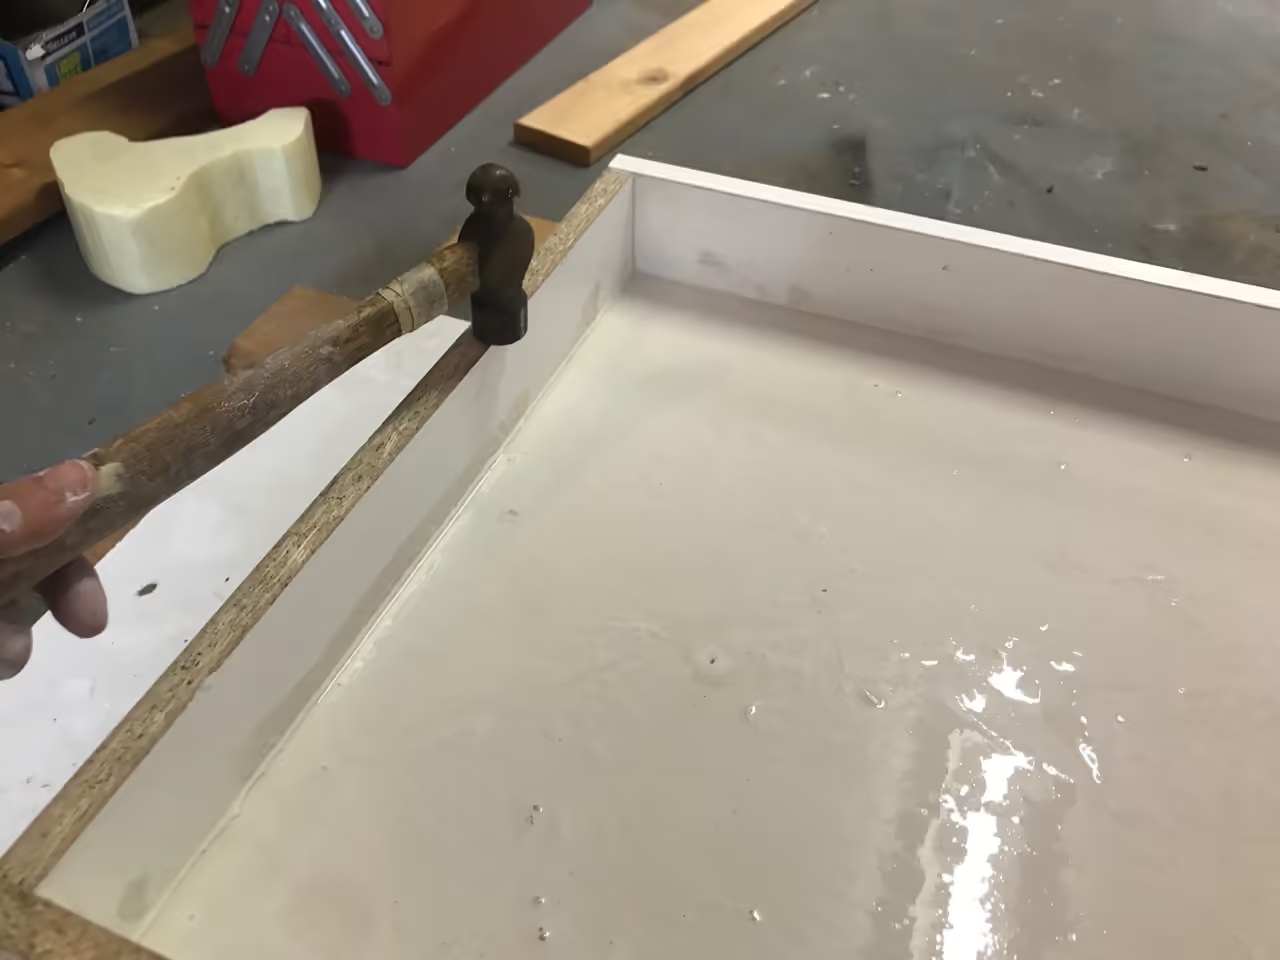
Pour the mixture into the box, filling it to twice the model's height.
After pouring, tap the box with a hammer for a few minutes to release air pockets.
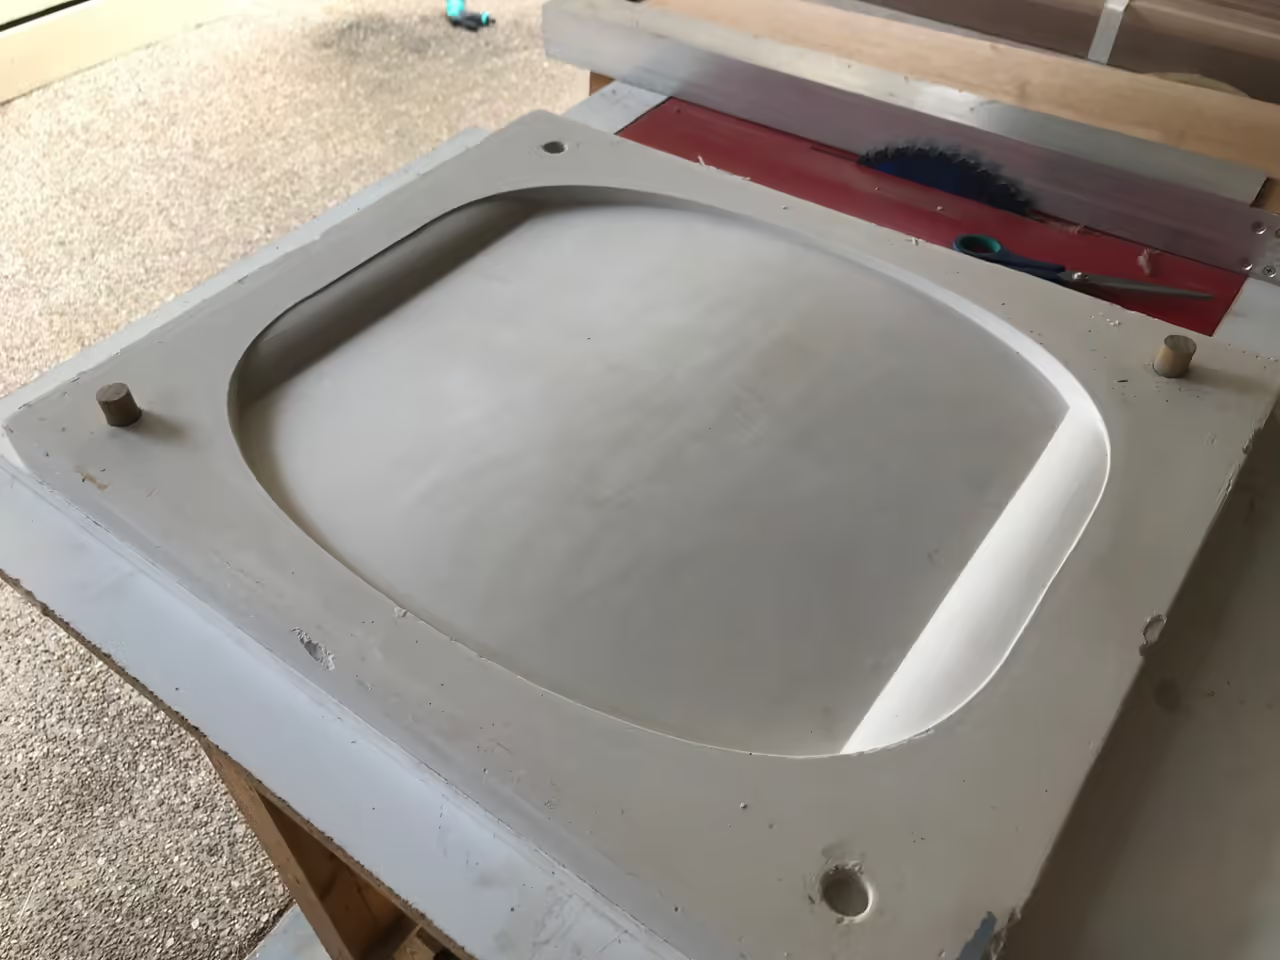
Let the plaster cure for two days before demolding.
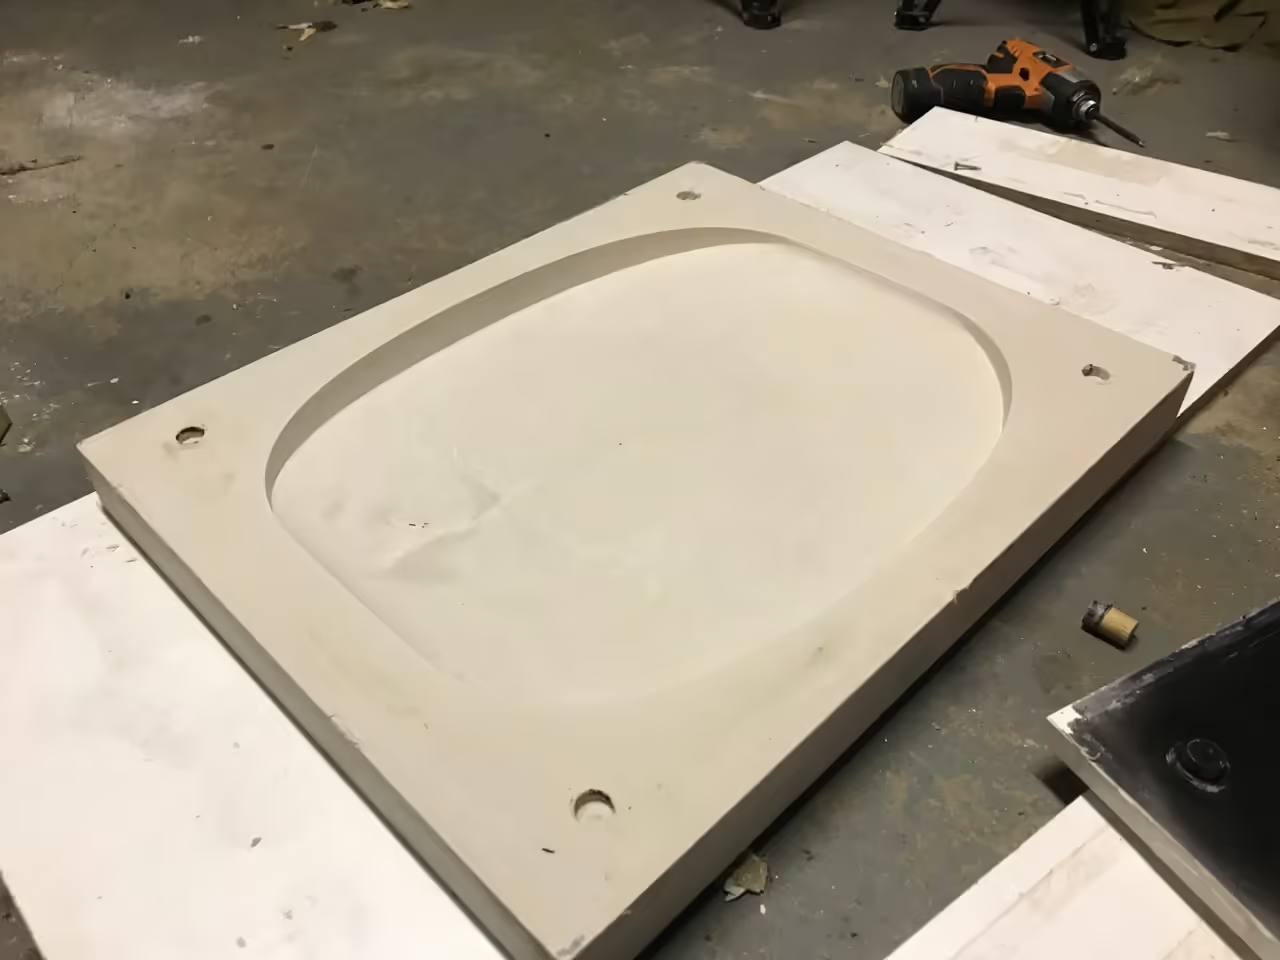
After completing both parts of your mold, allow them to air dry for a few days until they are touch-dry and noticeably lighter. This indicates readiness for the next step.
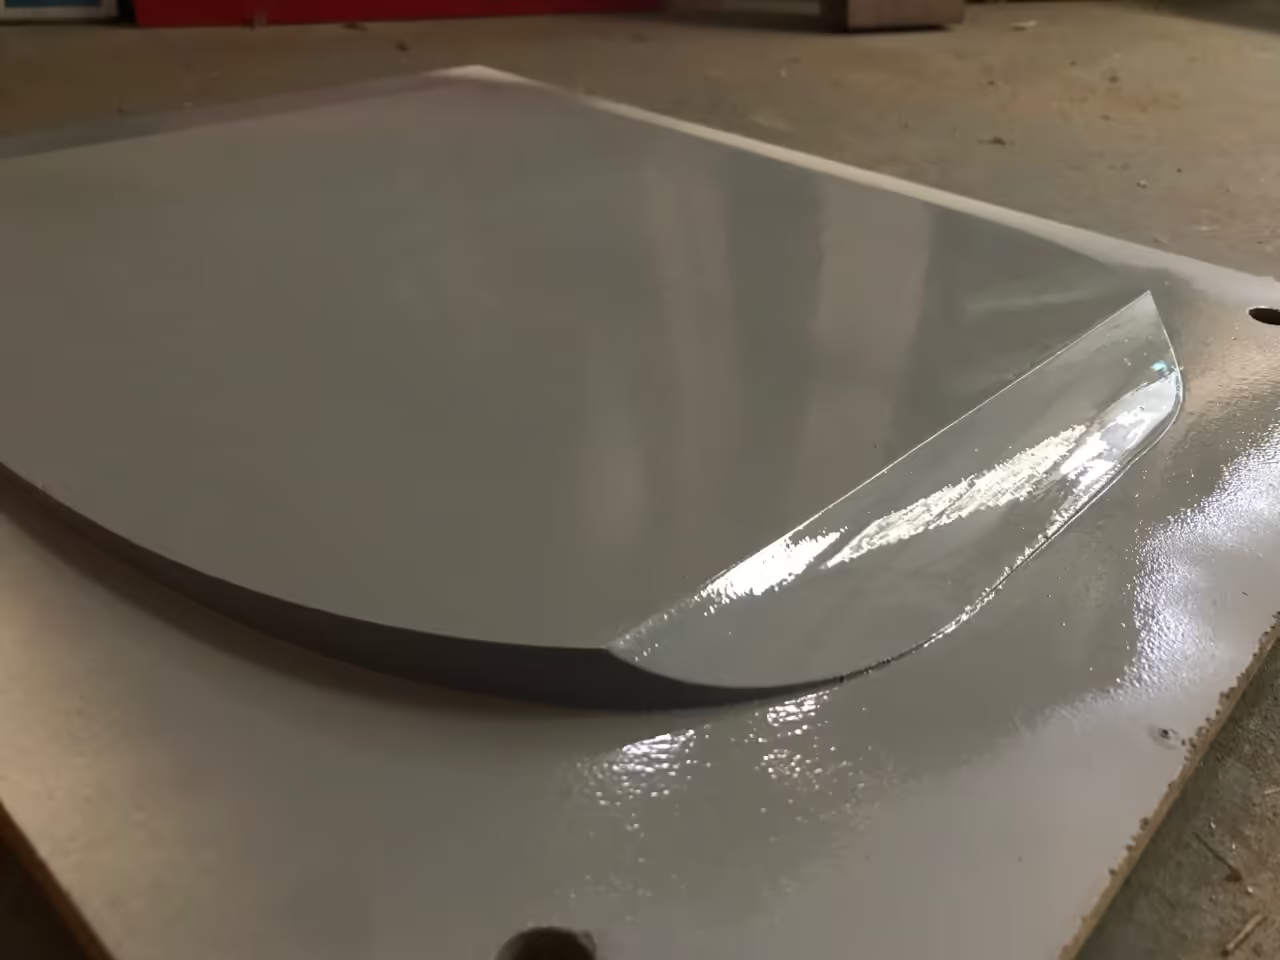
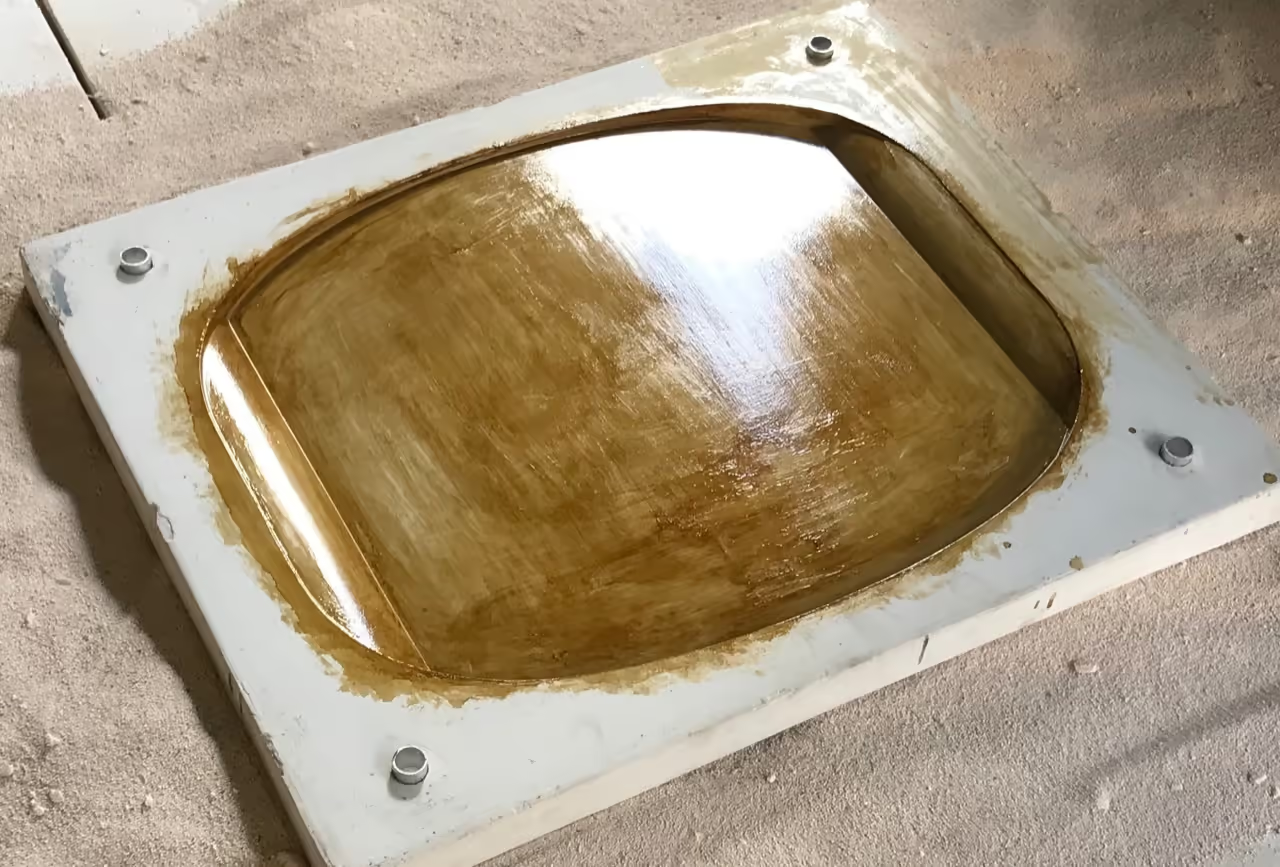
Optionally, apply a layer of shellac to the plaster surfaces. Once cured, use a mold release agent like silicone oil or petroleum jelly to prevent plastic from adhering, ensuring the mold's reusability.
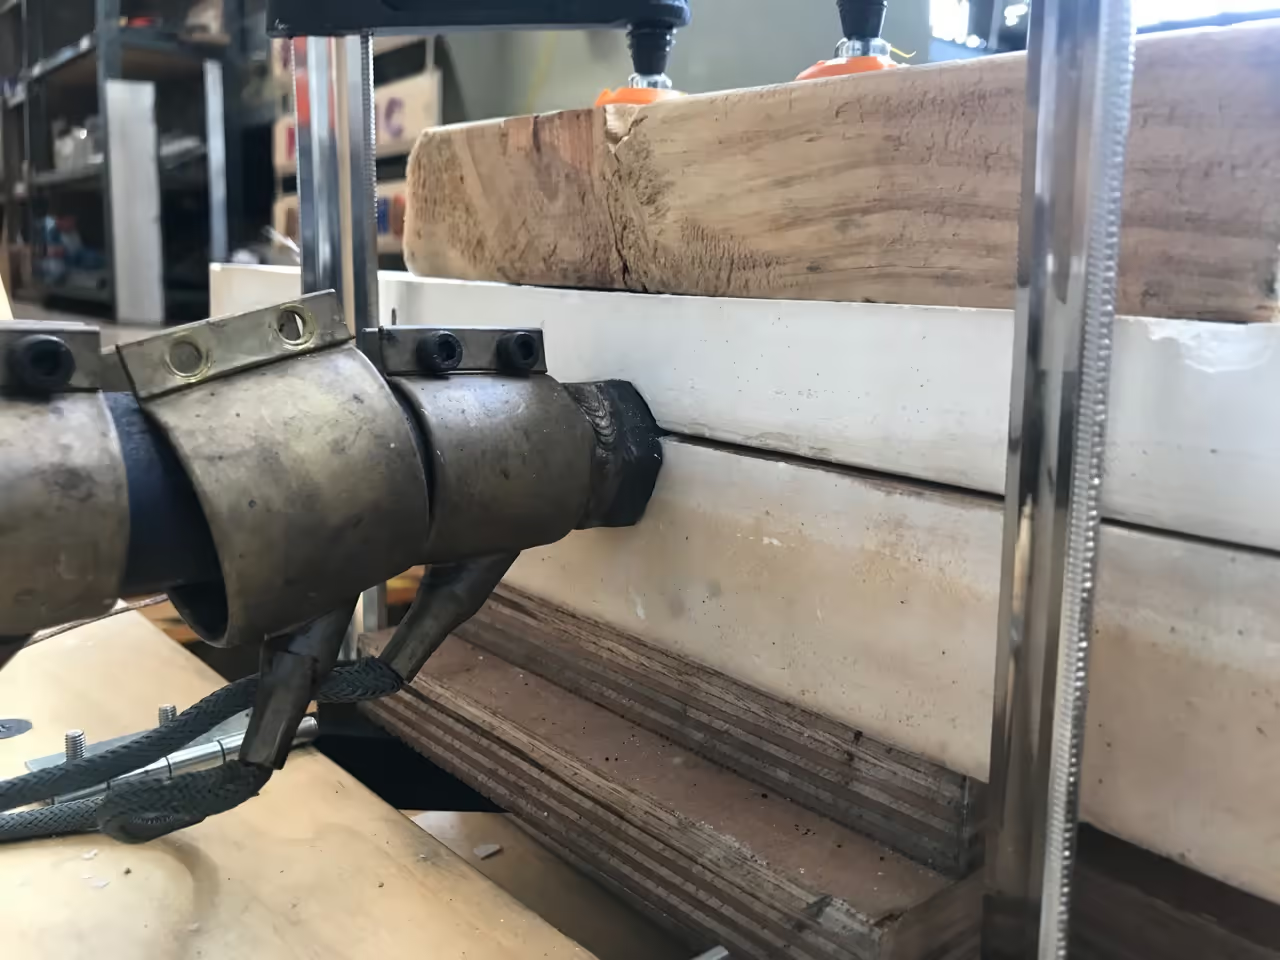
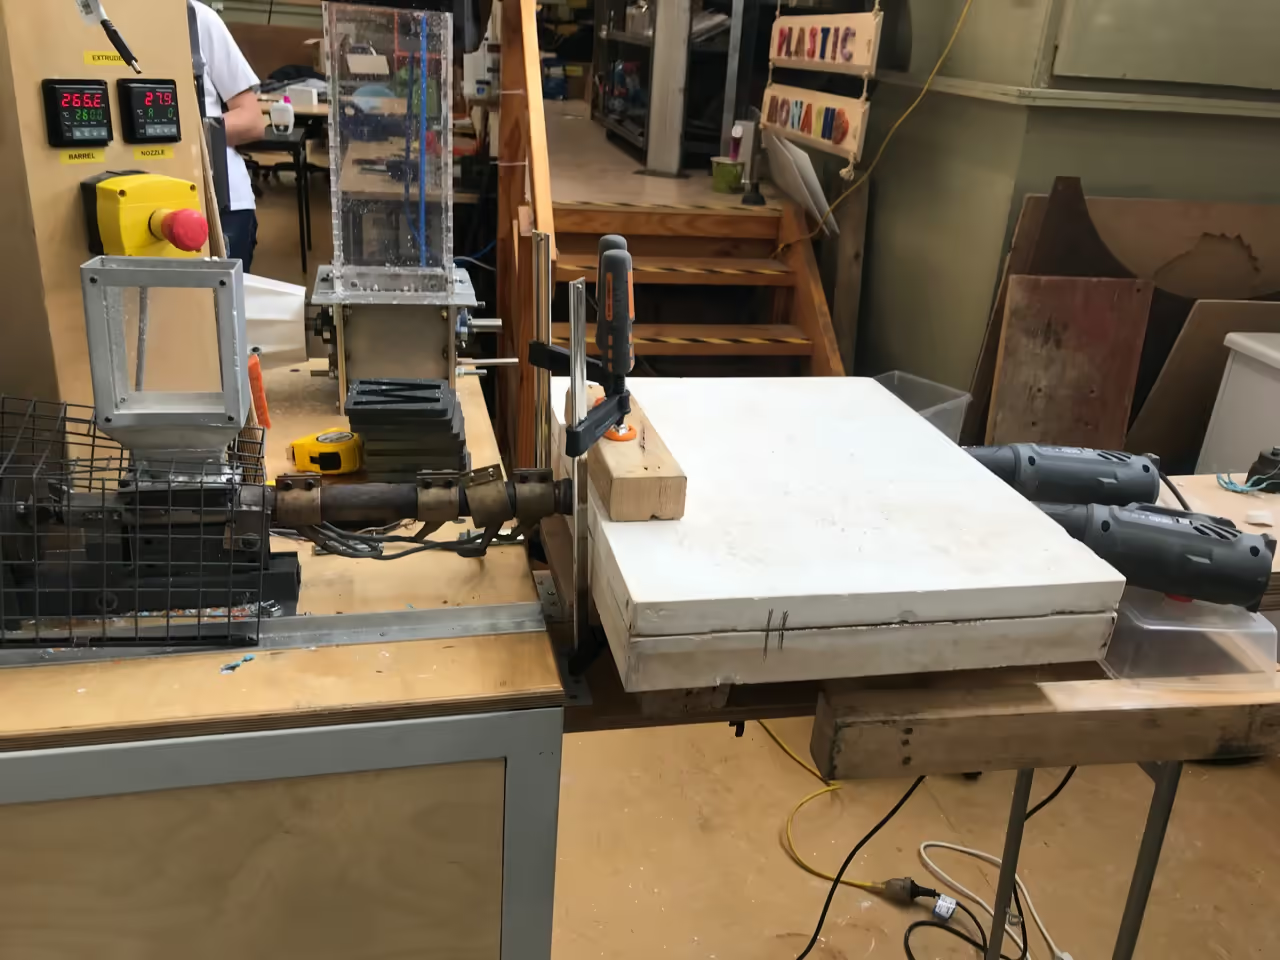
Align and Clamp the Mold: Secure the mold parts together so they are properly aligned.
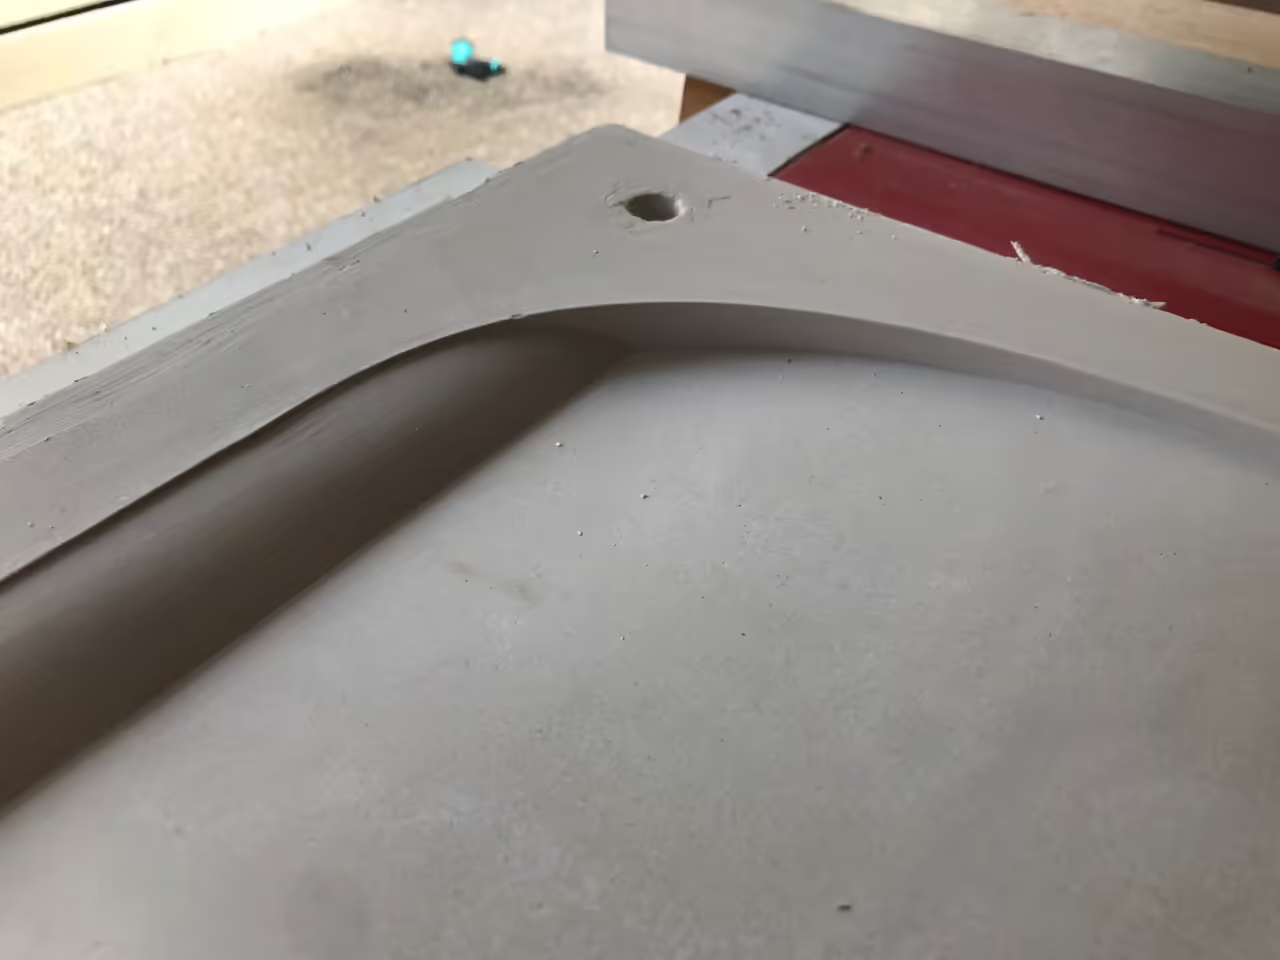
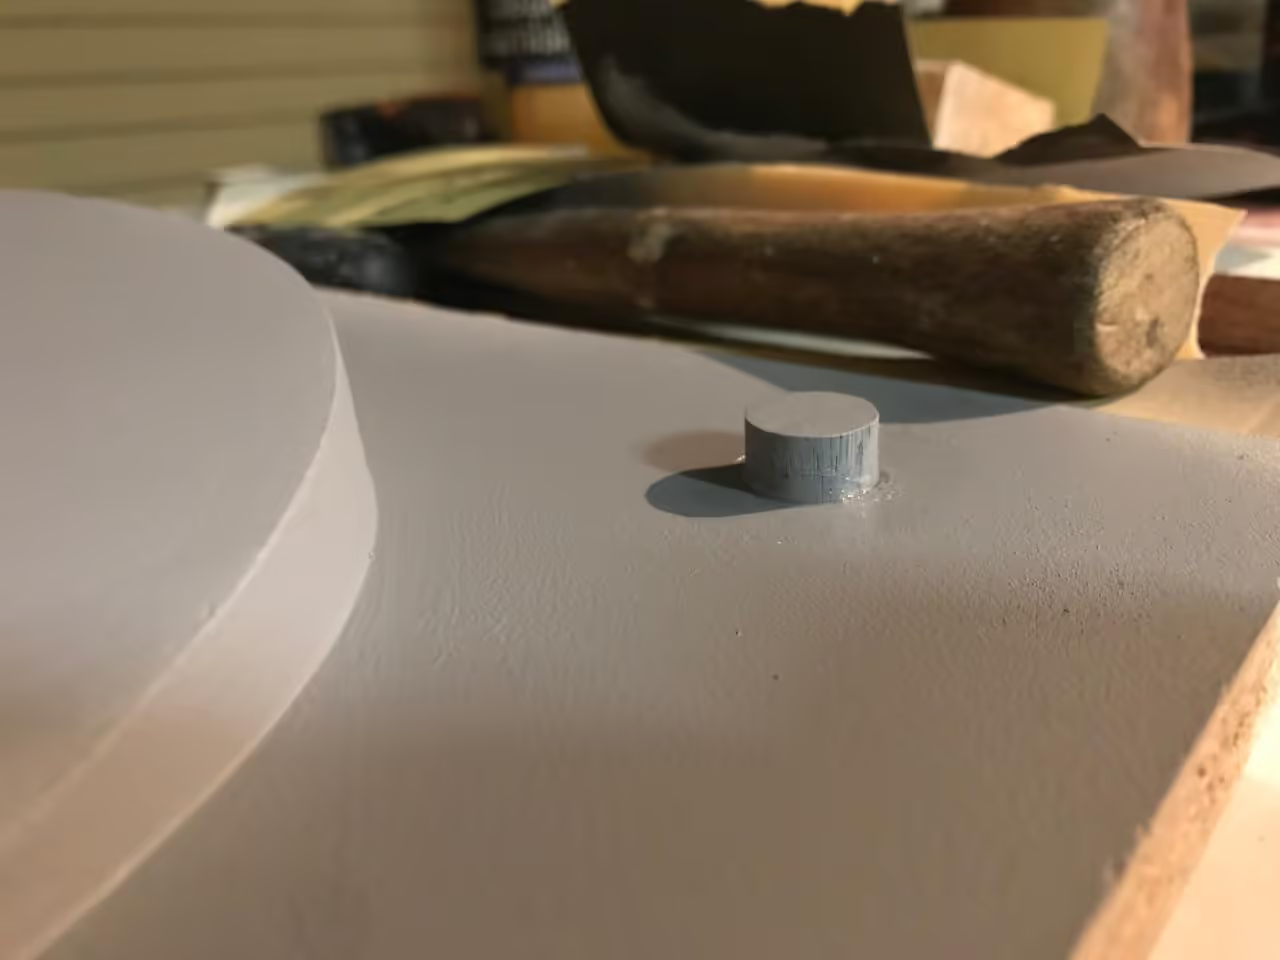
Drill a Large Hole: Create a large hole for attachment to the extruder machine.
Drill Indicator Holes: Add smaller holes at various points to signal when the material reaches a certain level and to help relieve pressure buildup.
Due to its slow nature, maintaining the mold's internal temperature is crucial. Ensure it remains heated; one effective method is by drilling large holes to allow hot air circulation from two heat guns.
Begin by heating your plaster mold. Simultaneously, activate the extruder and prepare the plastic. Once the mold is hot, commence the injection process. The duration may vary, ranging from a few minutes to several hours based on the product size. In this instance, it required approximately 2.5 hours to fill the mold.
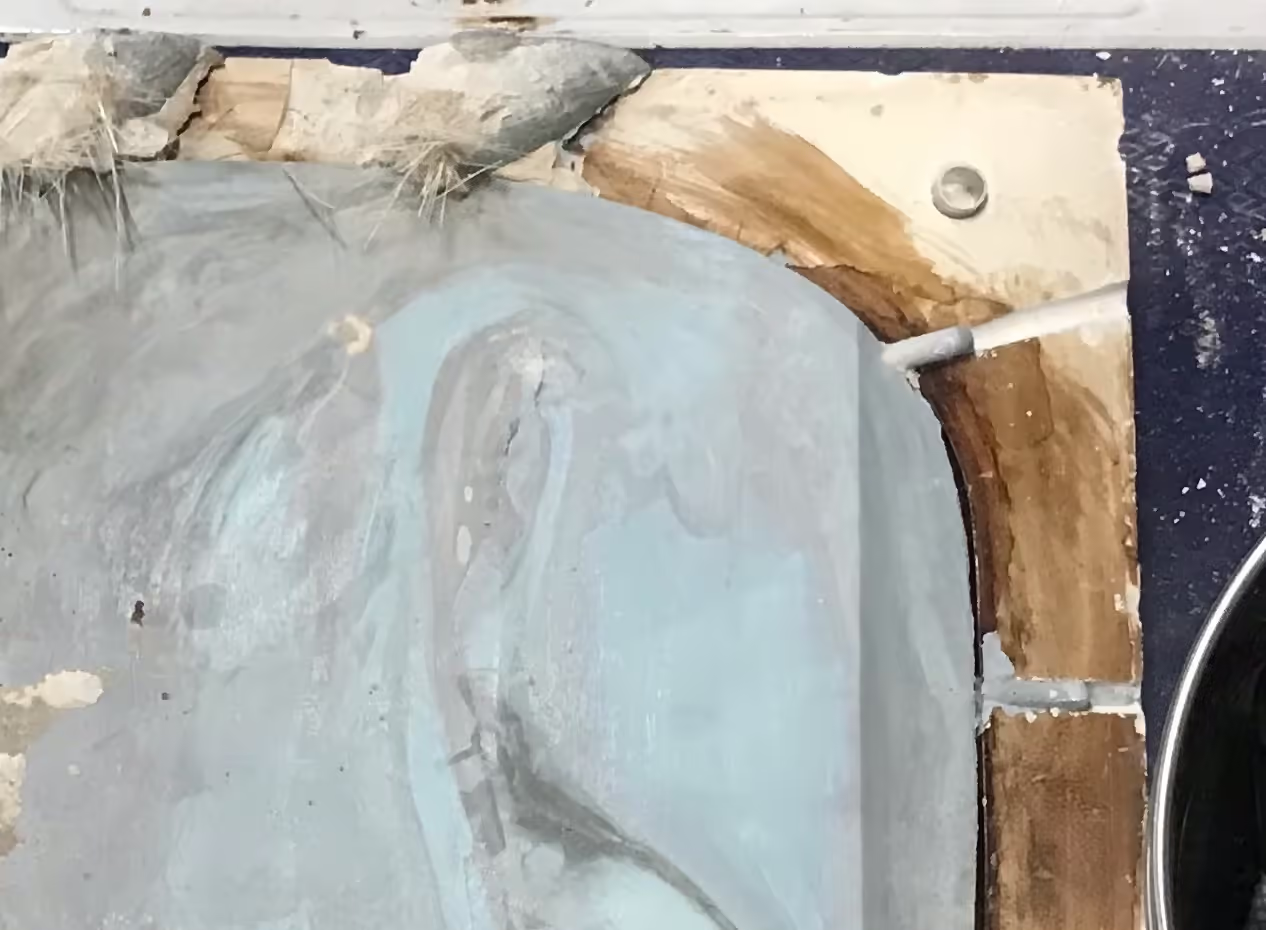
When the plastic reaches all reference points, indicating full injection, switch off the heat guns and extruder. Plug all holes to preserve pressure within the mold.
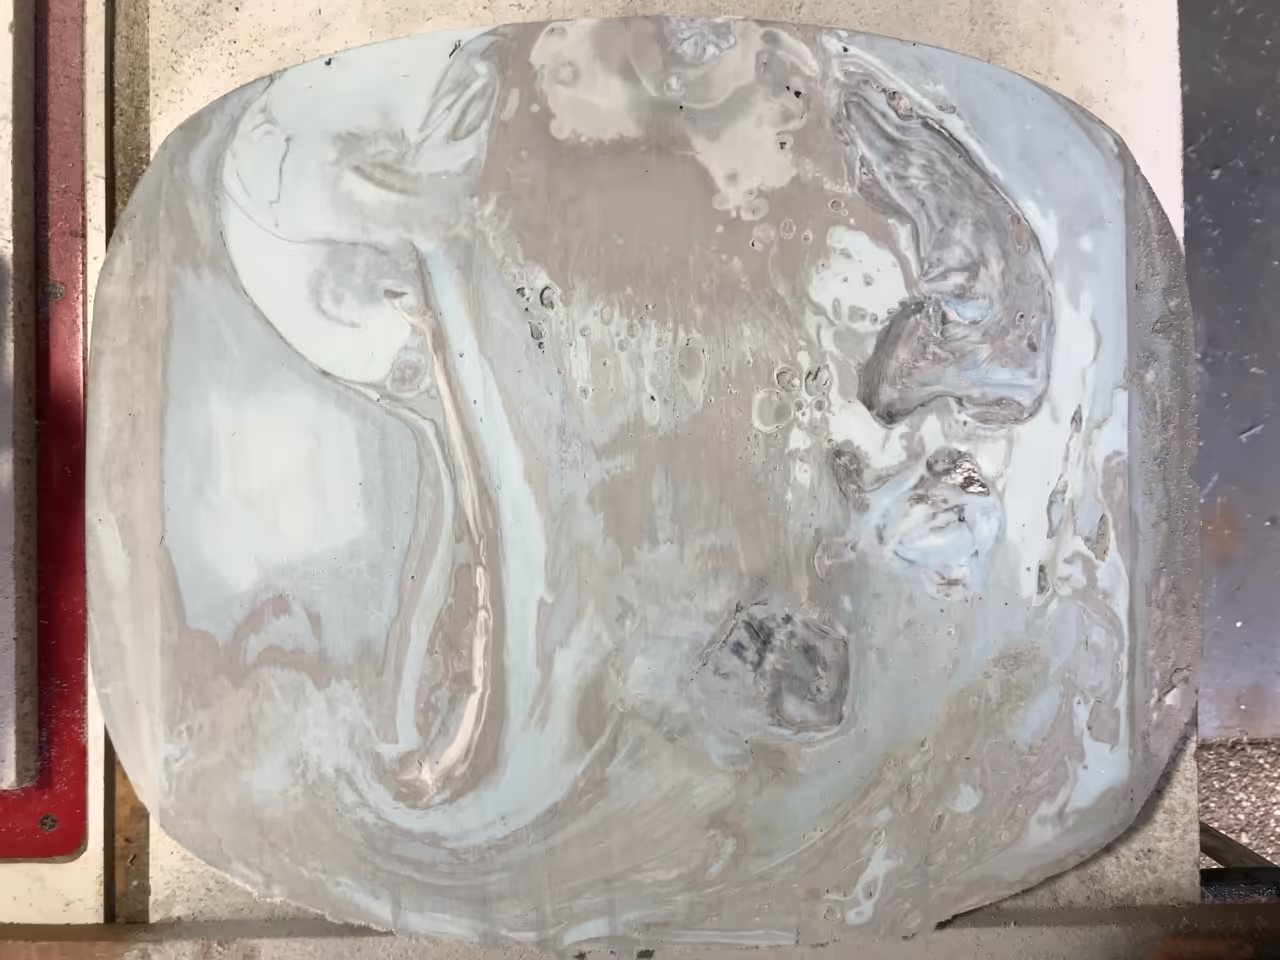
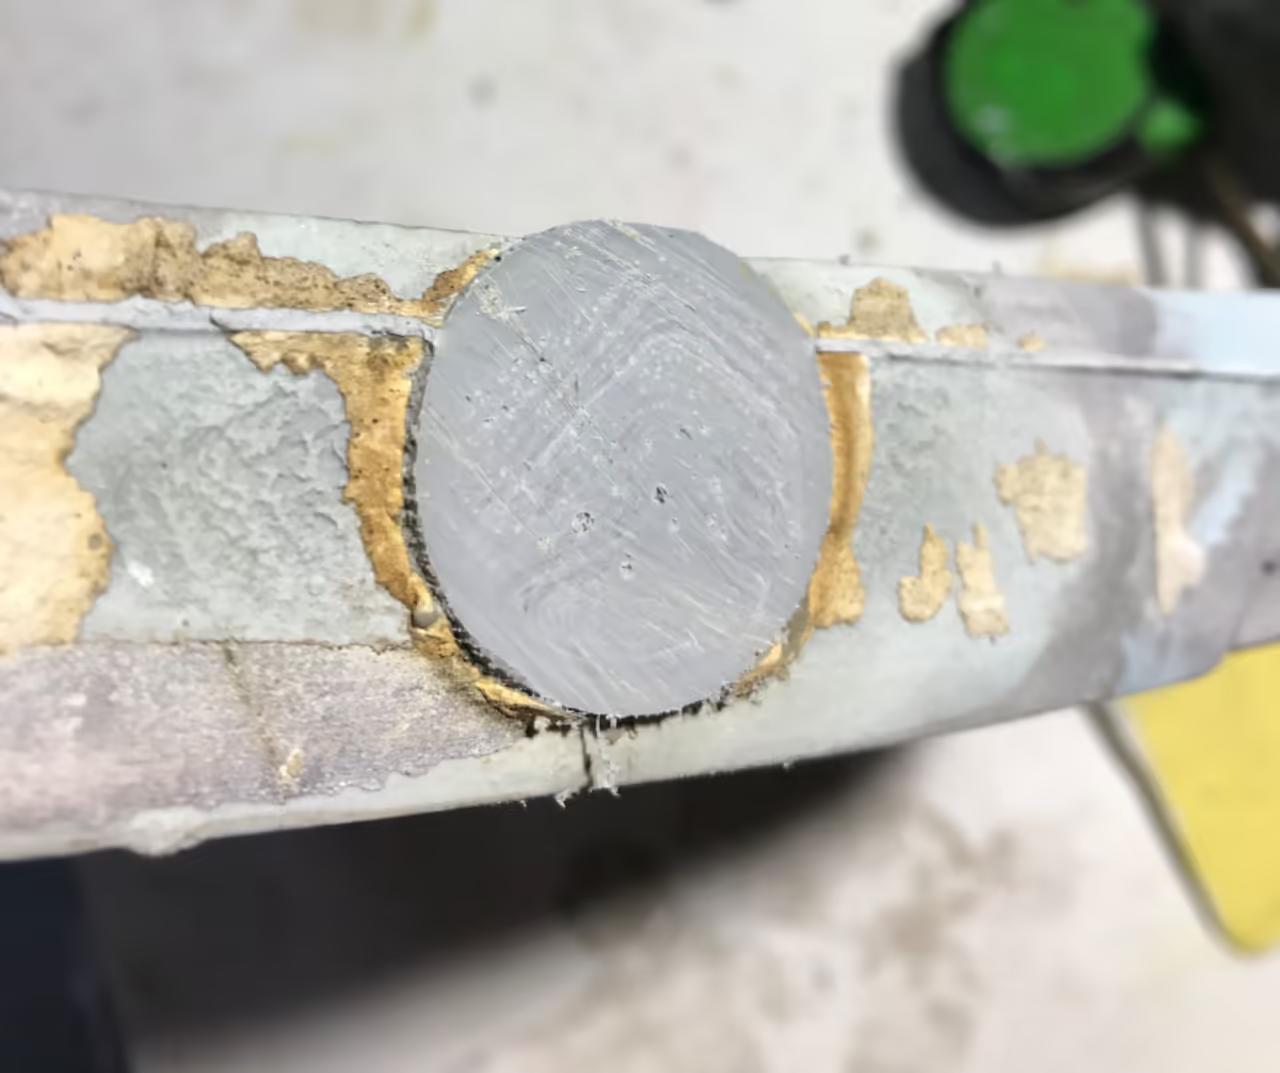
Allow the product to cool at room temperature, which may take up to 12 hours due to the insulating properties of plaster. Carefully demould your product, ensuring the mold remains intact for future use.
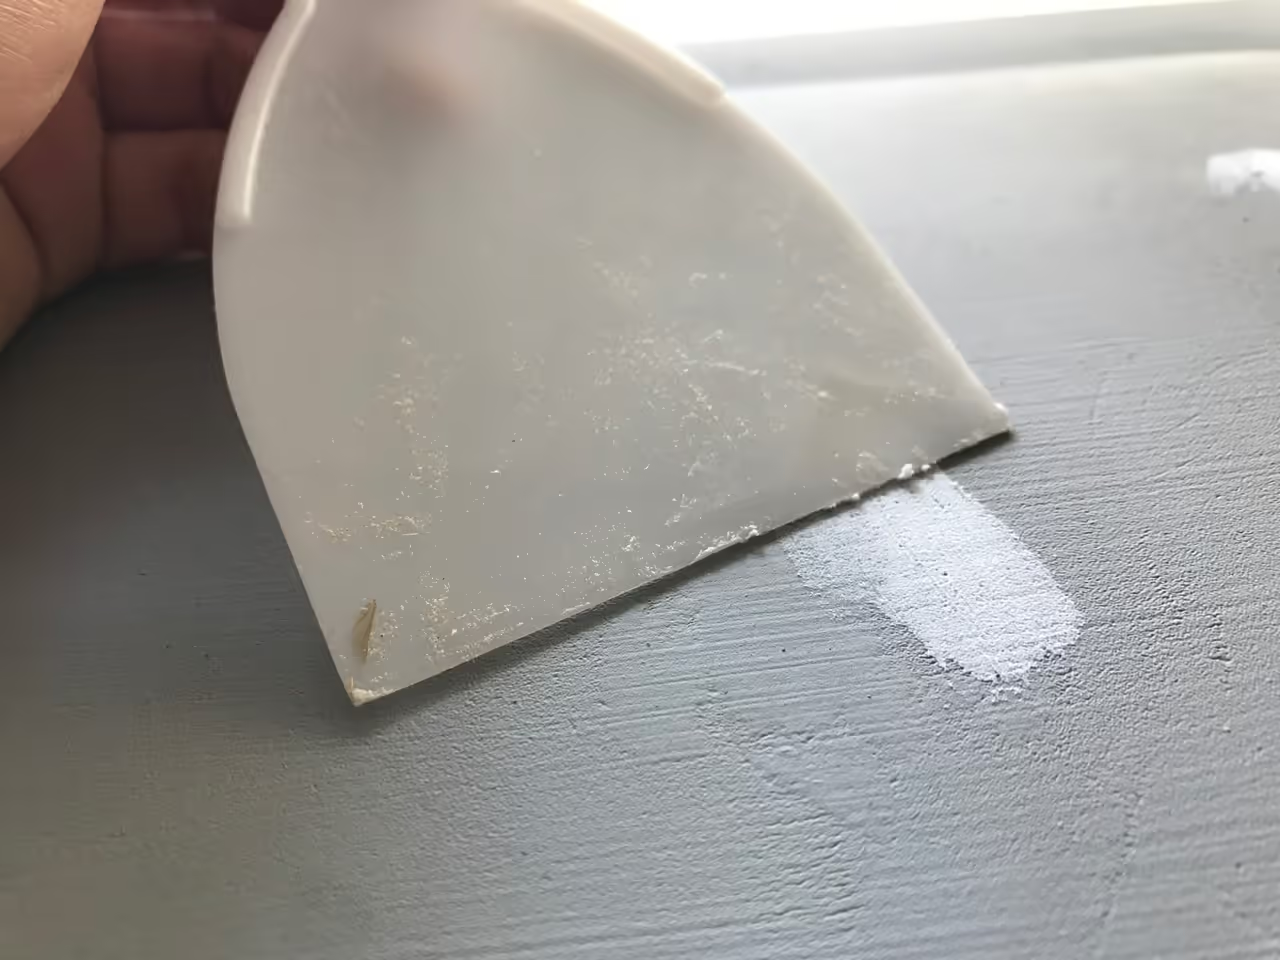
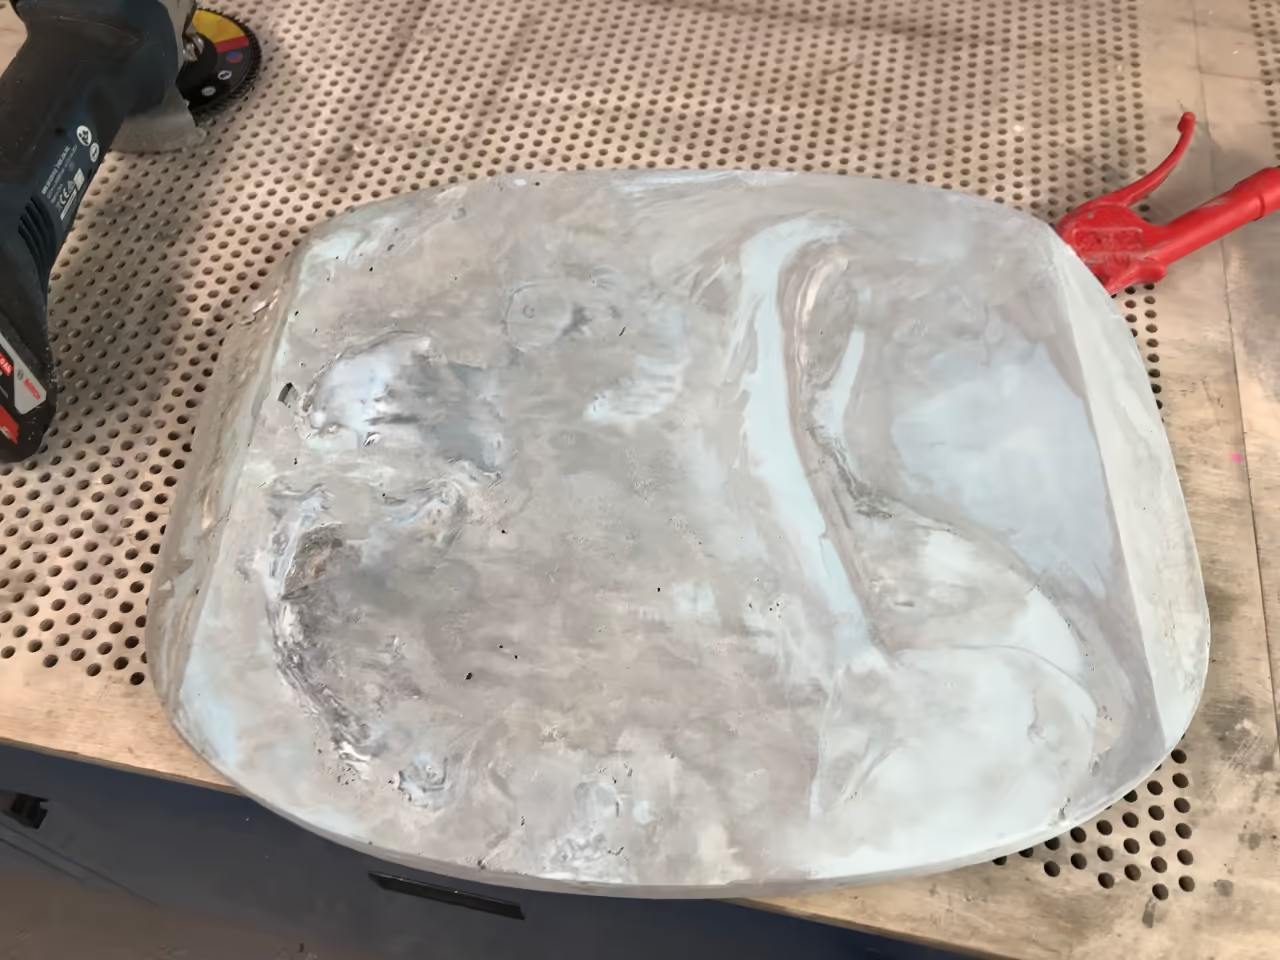
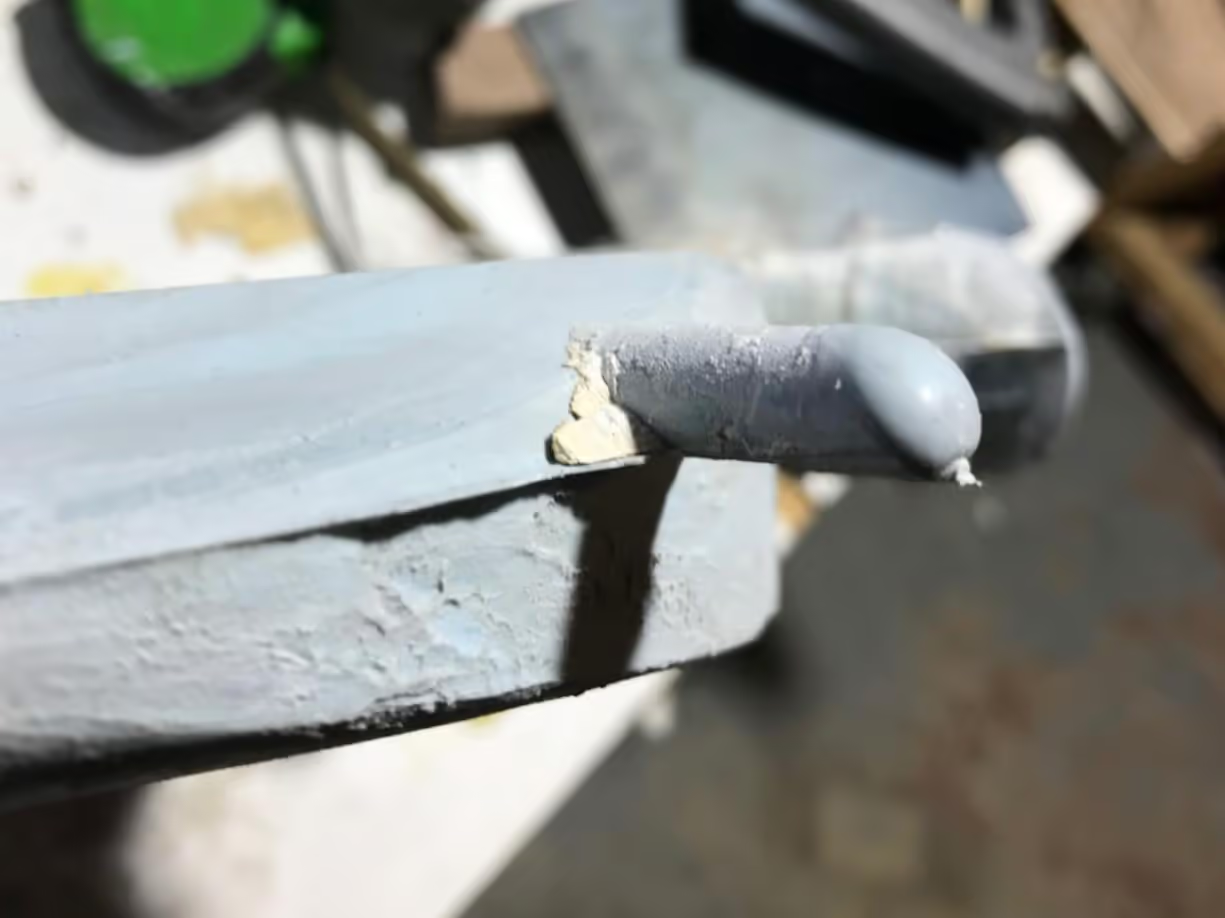
If completed correctly, minimal post-processing is needed. Remove the injection point and relief channels. Clean the part line with a knife to reuse the shavings.
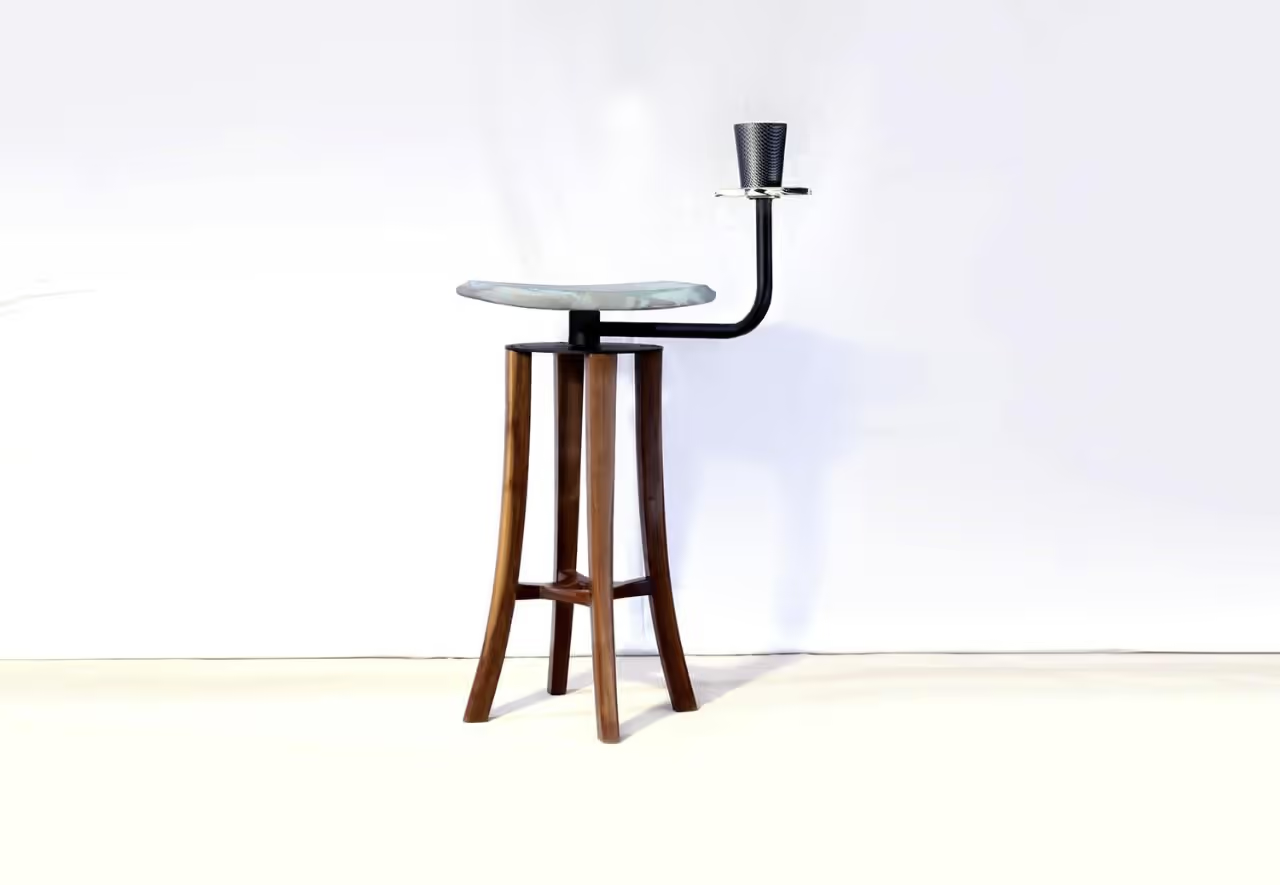
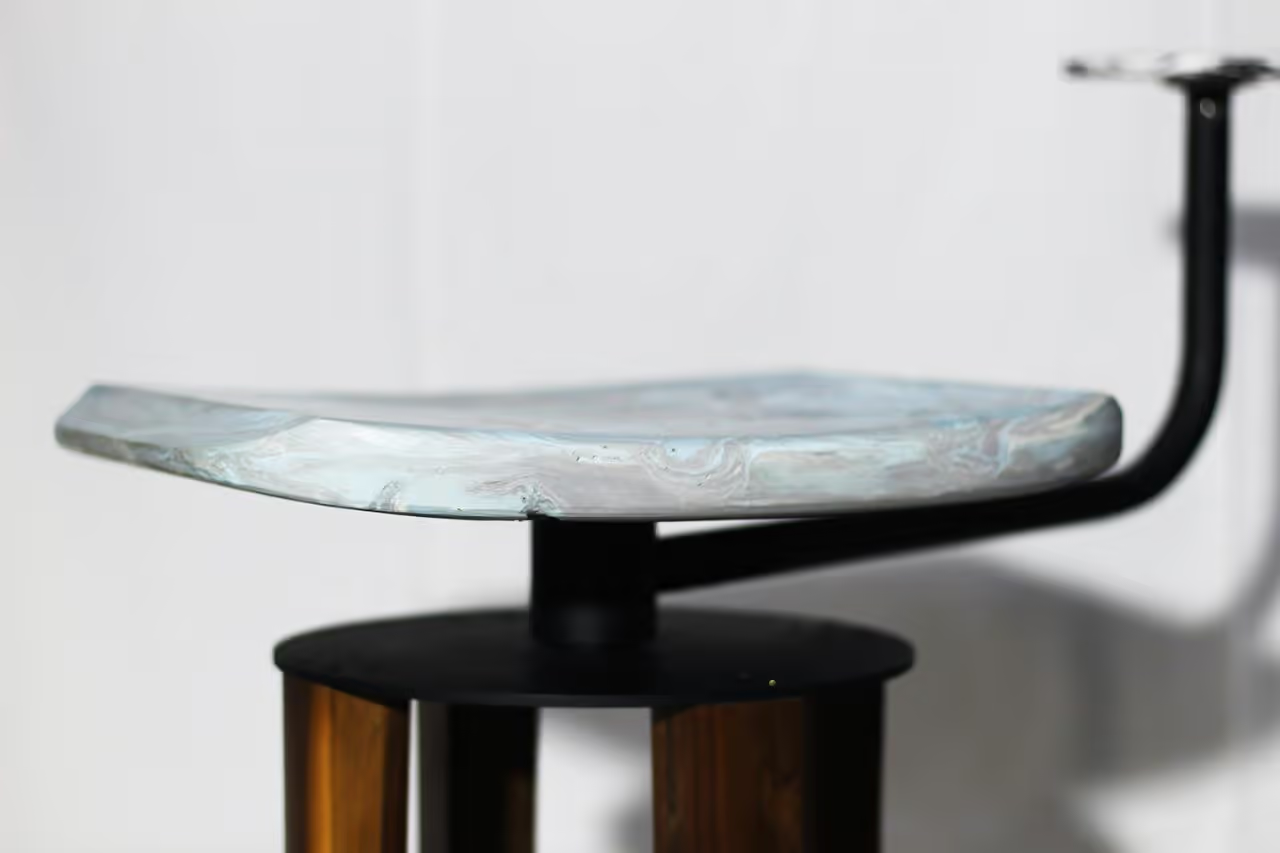
A time-consuming but effective low-tech mold-making technique. It cannot replace machined molds but is useful for prototyping larger, more organic shapes. This tutorial results in a stool crafted from old polypropylene chairs, showcasing the technique's potential for unique designs.
You can adjust the contrast by varying the colors of the plastics you feed into the extruder. In this tutorial, similar colors were used, resulting in minimal contrast, but this can be controlled to achieve the desired appearance.