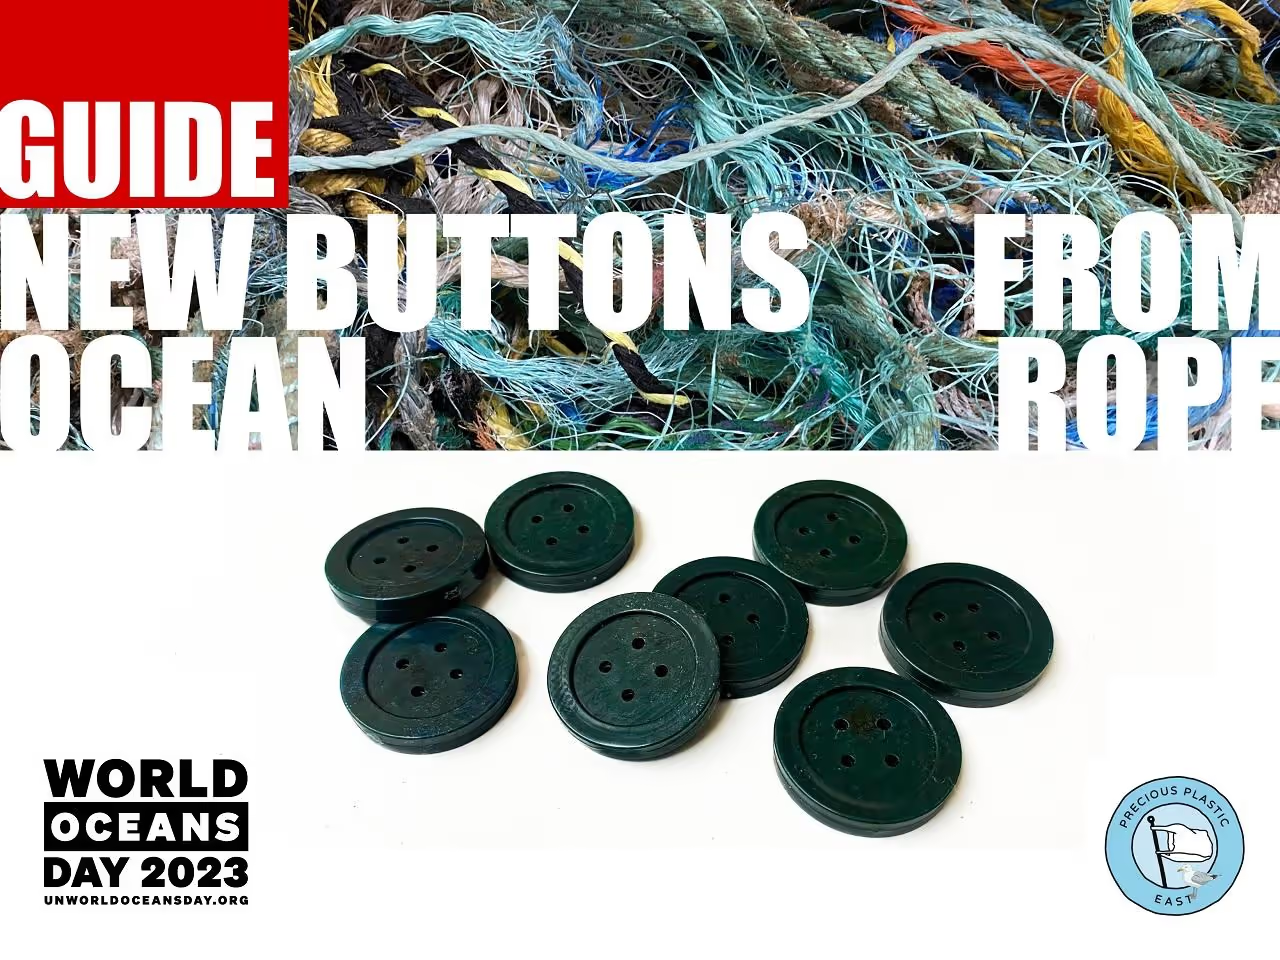
Make buttons from Ocean Rope
PRODUCT
MOULD
PP
INJECTION
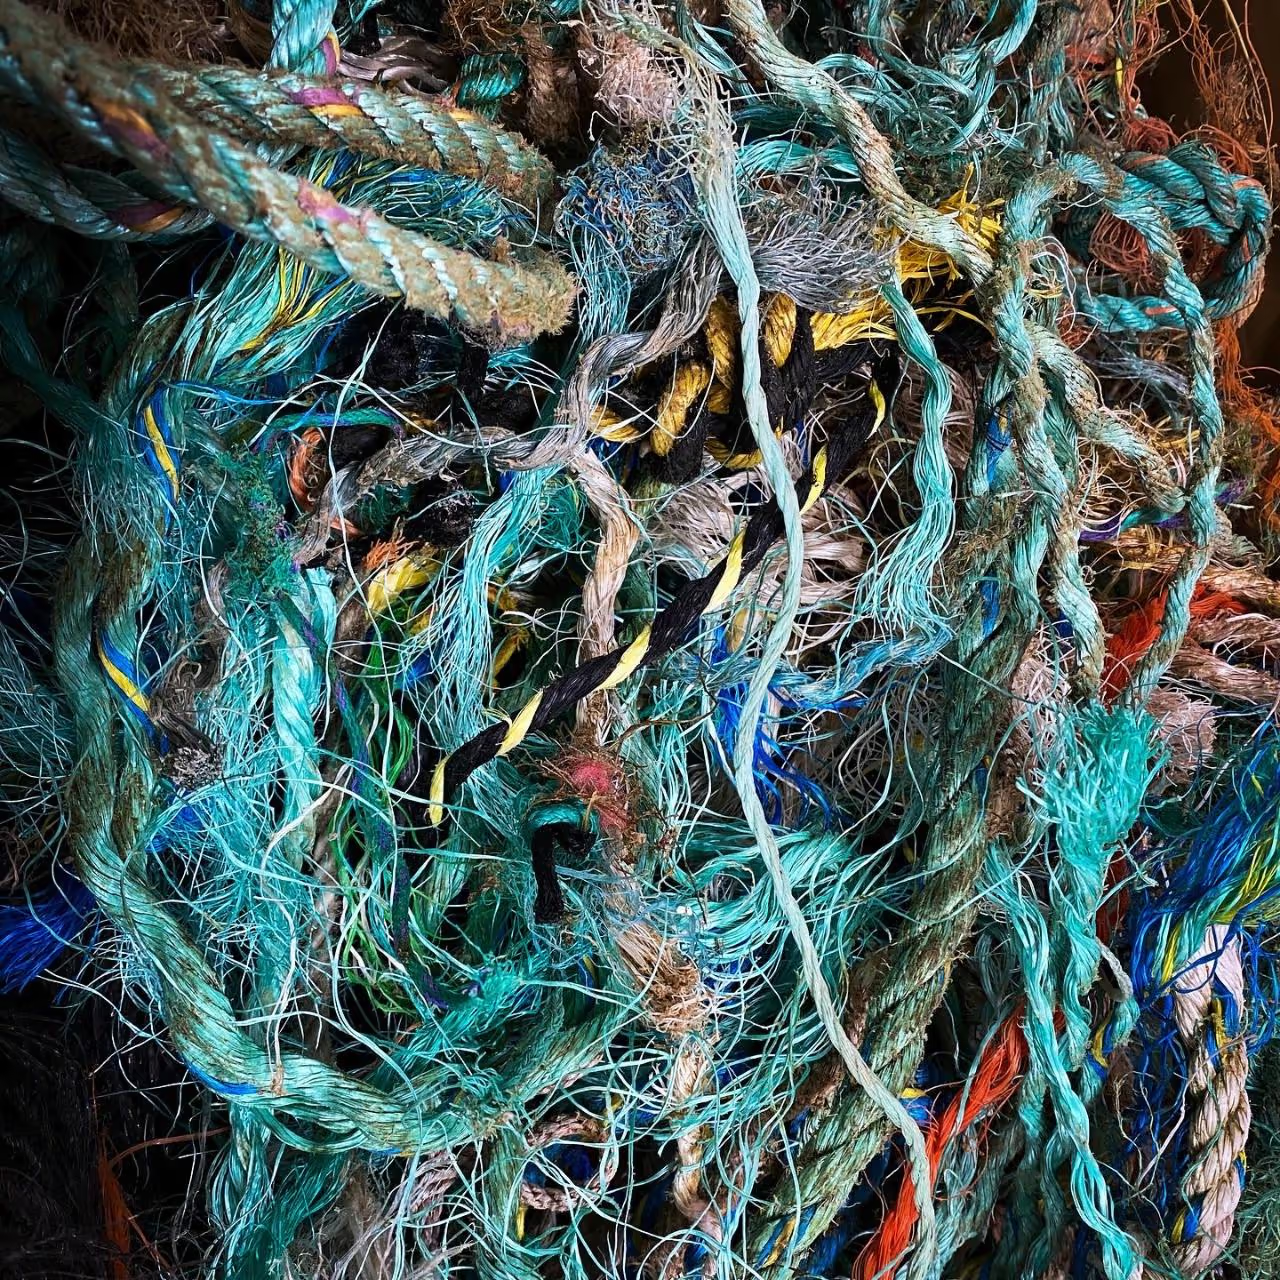
In our coastal workshop, we often prototype using plastics collected from beach cleans along the 100 miles (160 km) of the Norfolk coastline. Ocean rope, frequently found by beach cleaners, was among our first materials for experiments. This rope, typically polypropylene, is non-stretchy, often brittle, and light aqua blue.
On World Ocean Day, we highlight our commitment to removing ocean plastics and repurposing them. Addressing plastic pollution requires not just recycling but also significant production restrictions. Our efforts are centered on education and advocating for policies that reduce plastic production.
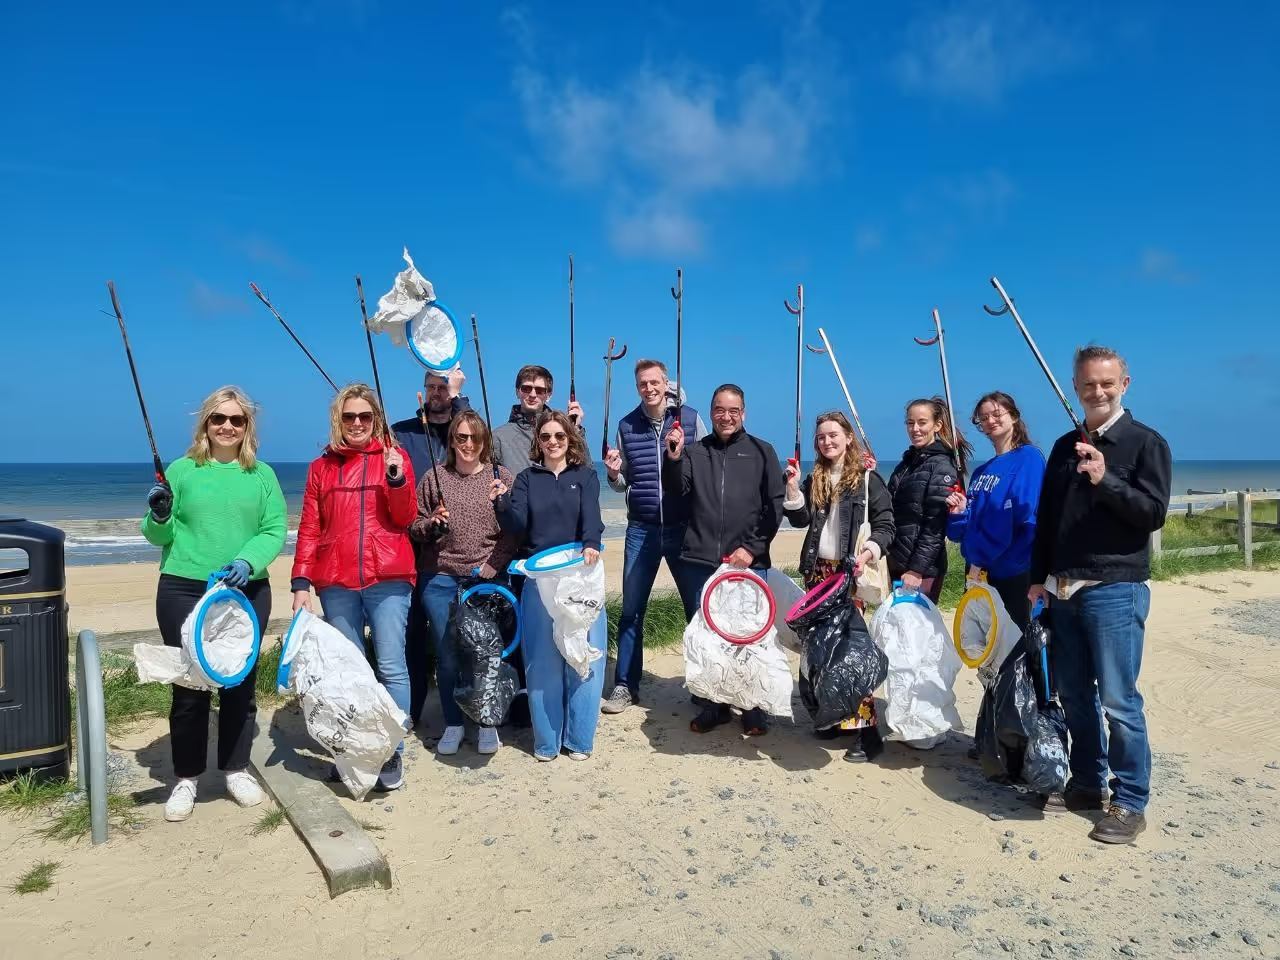
When approached by beach clean groups in Norfolk eager to donate plastics, we collaborated with them over the past year. They regularly collect significant amounts of rope from the Norfolk coastline.
If you're in a coastal area, contact local beach clean groups. These groups often value opportunities to recycle plastic due to their commitment to marine conservation.
For those not near the coast, consider finding beach clean groups elsewhere as a resource, though sourcing local plastics is advisable.
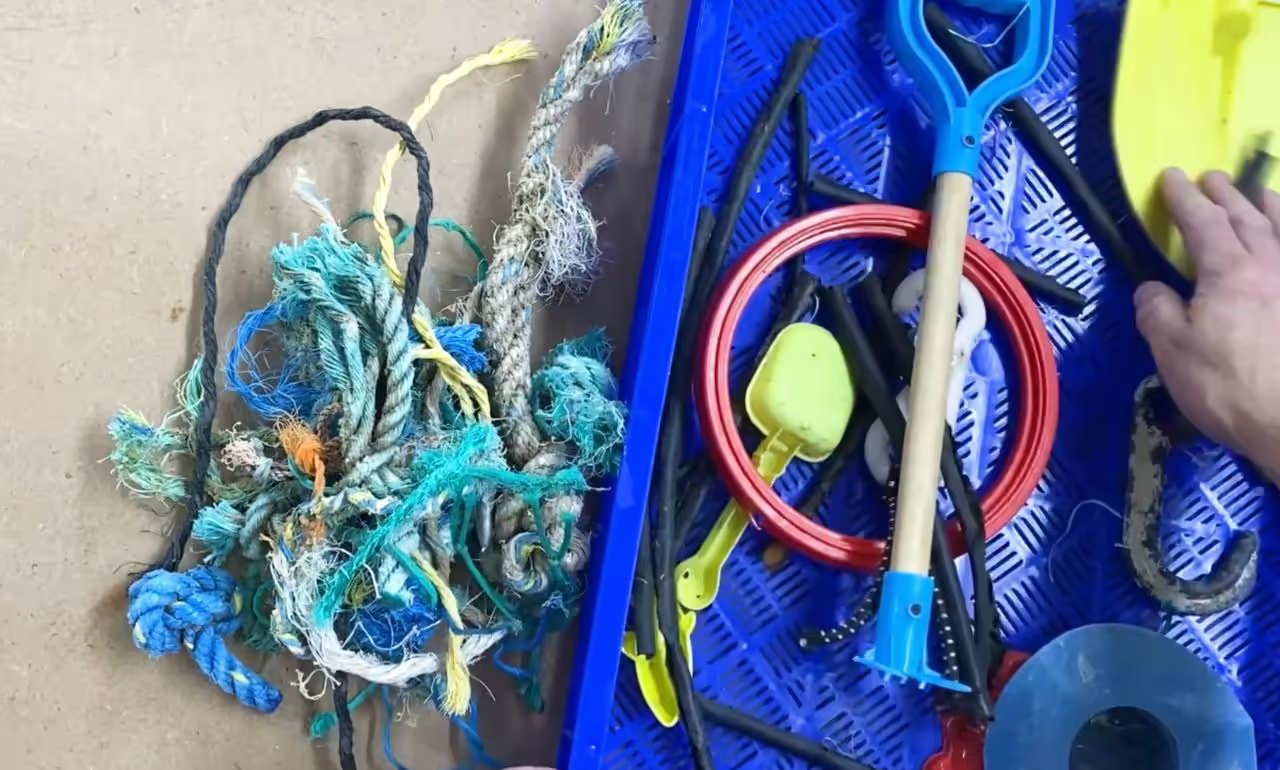
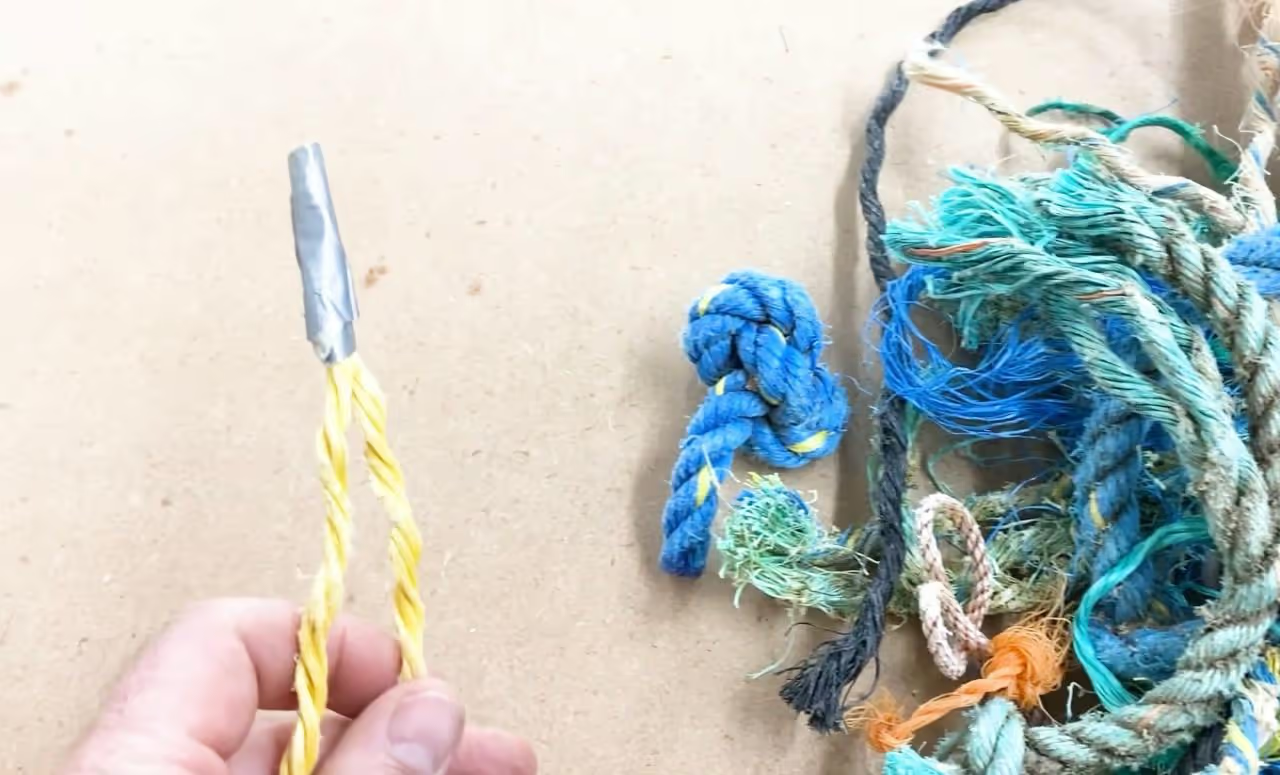
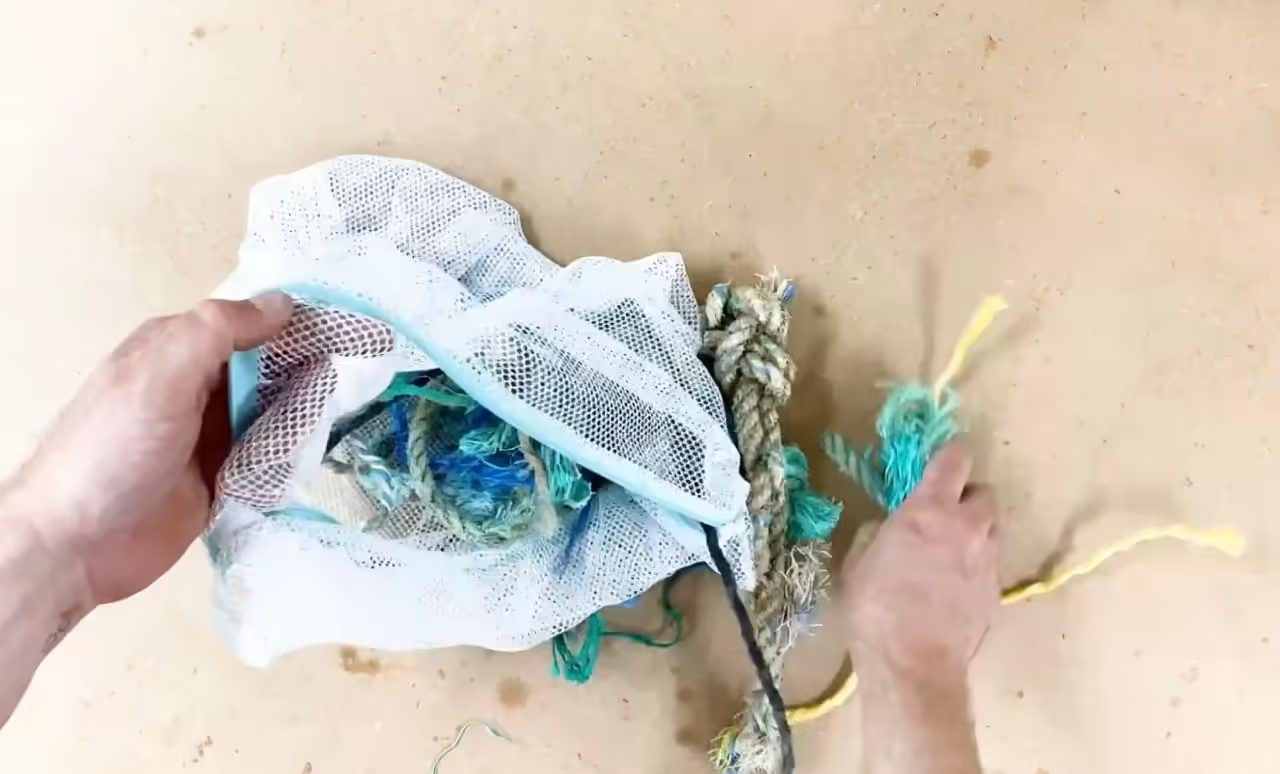
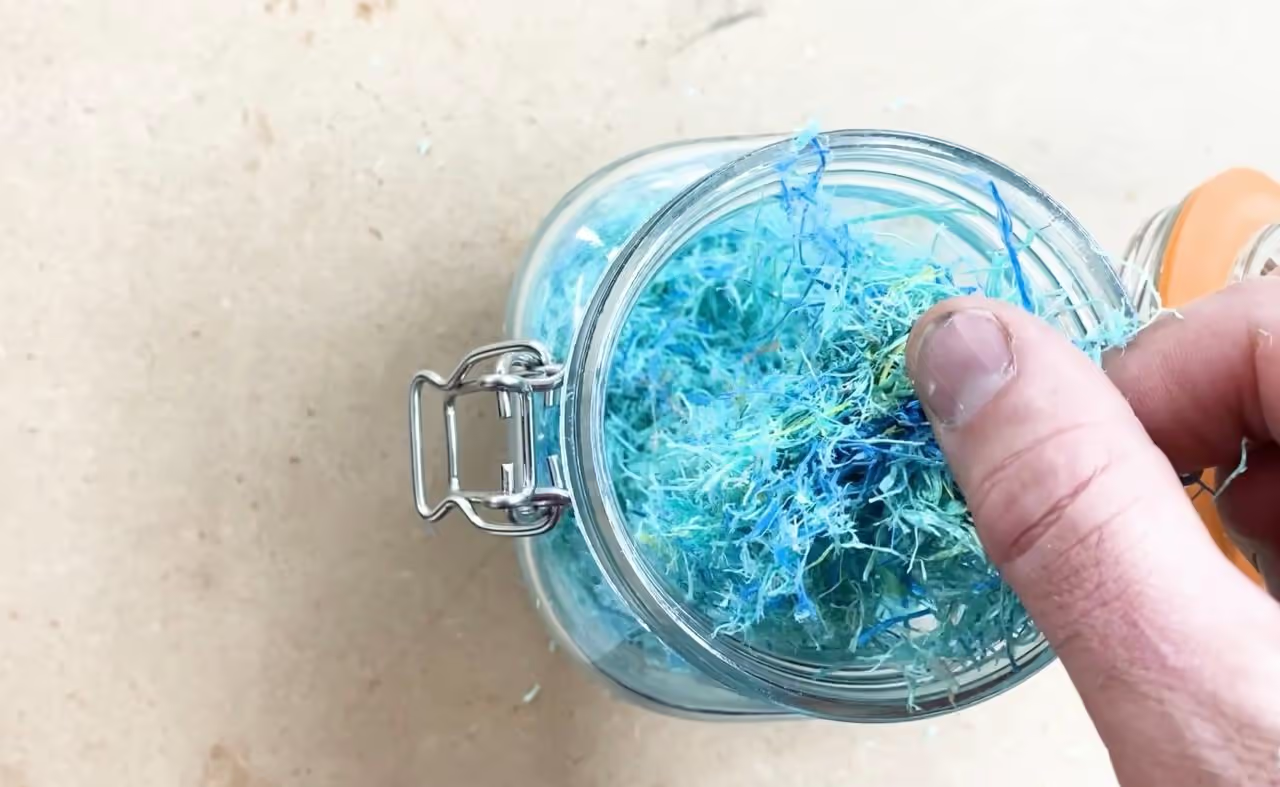
Inspect your rope to identify polypropylene (PP) material and remove any attached items such as duct tape or zip ties. This ensures only desired materials remain for cleaning.
Identifying PP ocean rope is straightforward, though not foolproof. These ropes typically have a plastic appearance, are non-stretchy, and feel brittle or crunchy. Common colors include light aqua blue, black, yellow, or white, with light blue being the most recognizable.
Use scissors to remove duct tape or zip ties. General dirt will be addressed in the subsequent cleaning step.
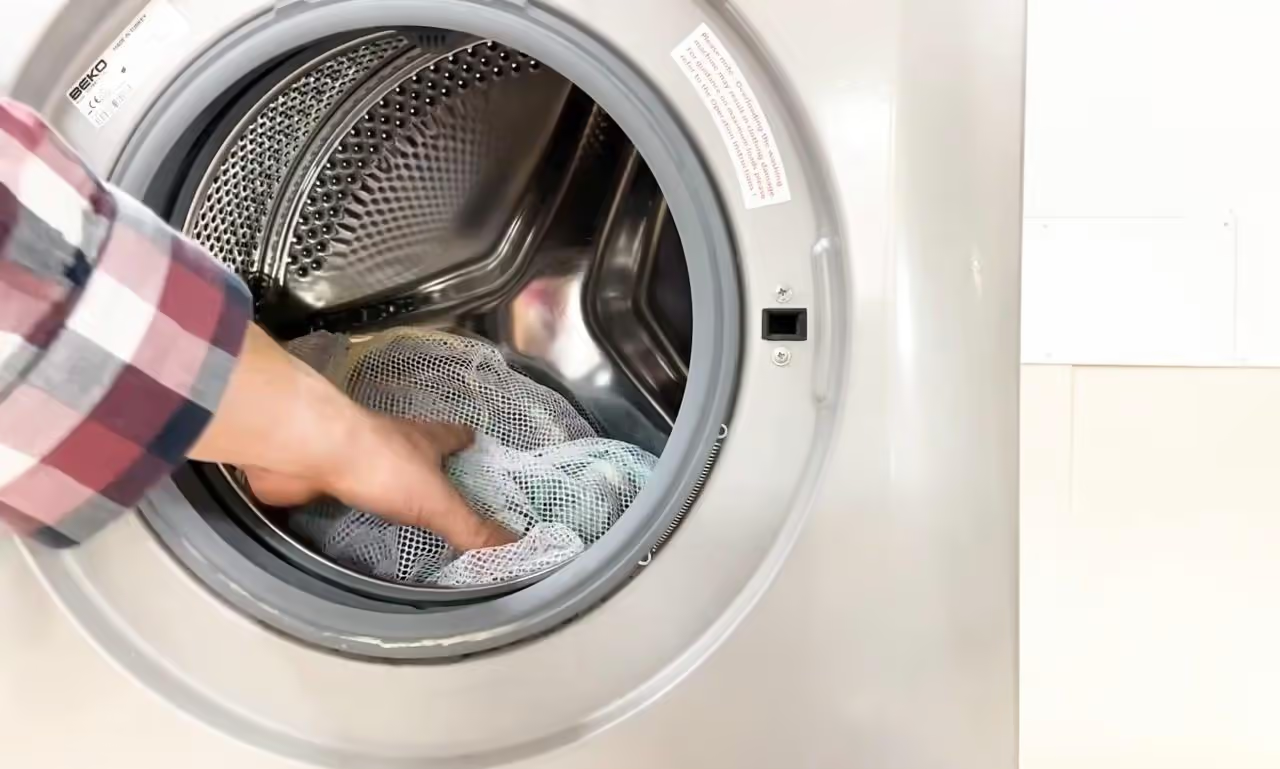
Cleaning and drying the rope is simple. Use a laundry bag, washing machine, and an airing cupboard. The washing machine can employ a standard 40°C (104°F) cycle with unscented detergent.
For drying, leave the rope in the laundry bag and place it in an airing cupboard overnight or on a sunny windowsill. After a few hours or a night, the rope should be dry. If not, rearrange the rope and leave it for additional time.
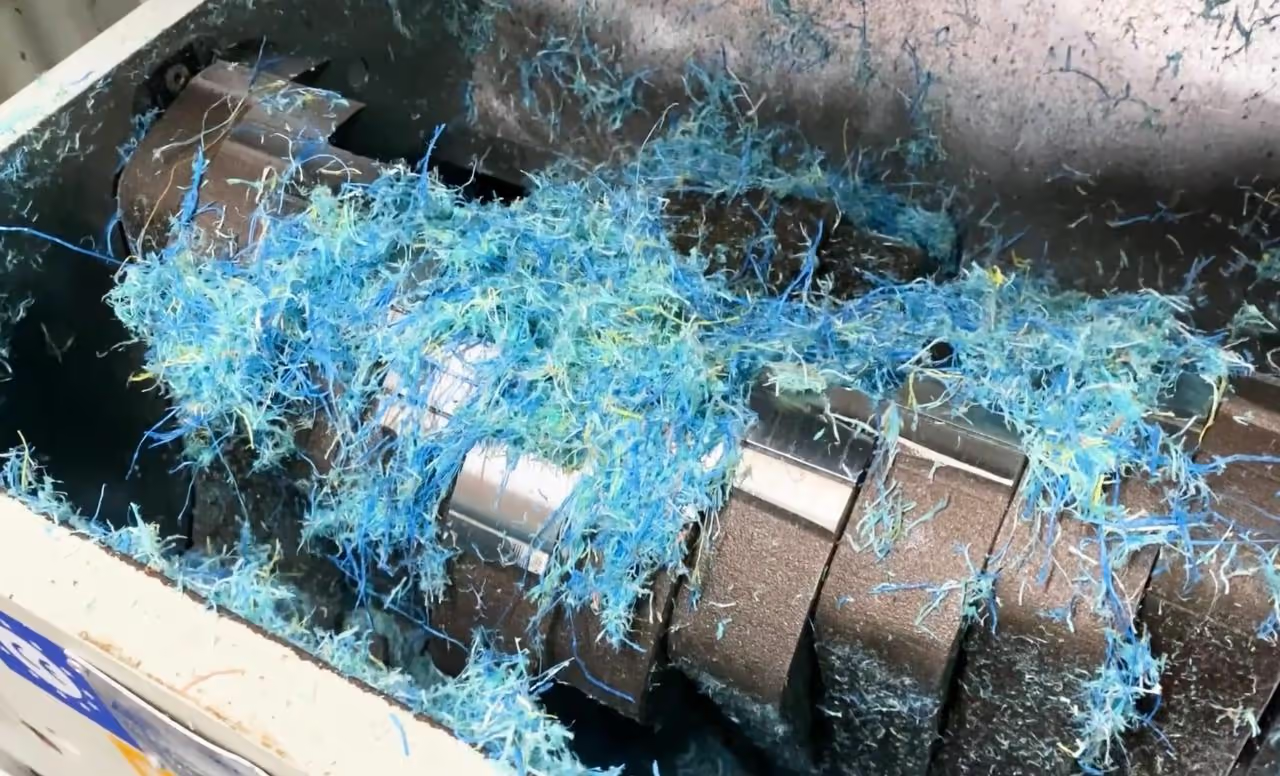
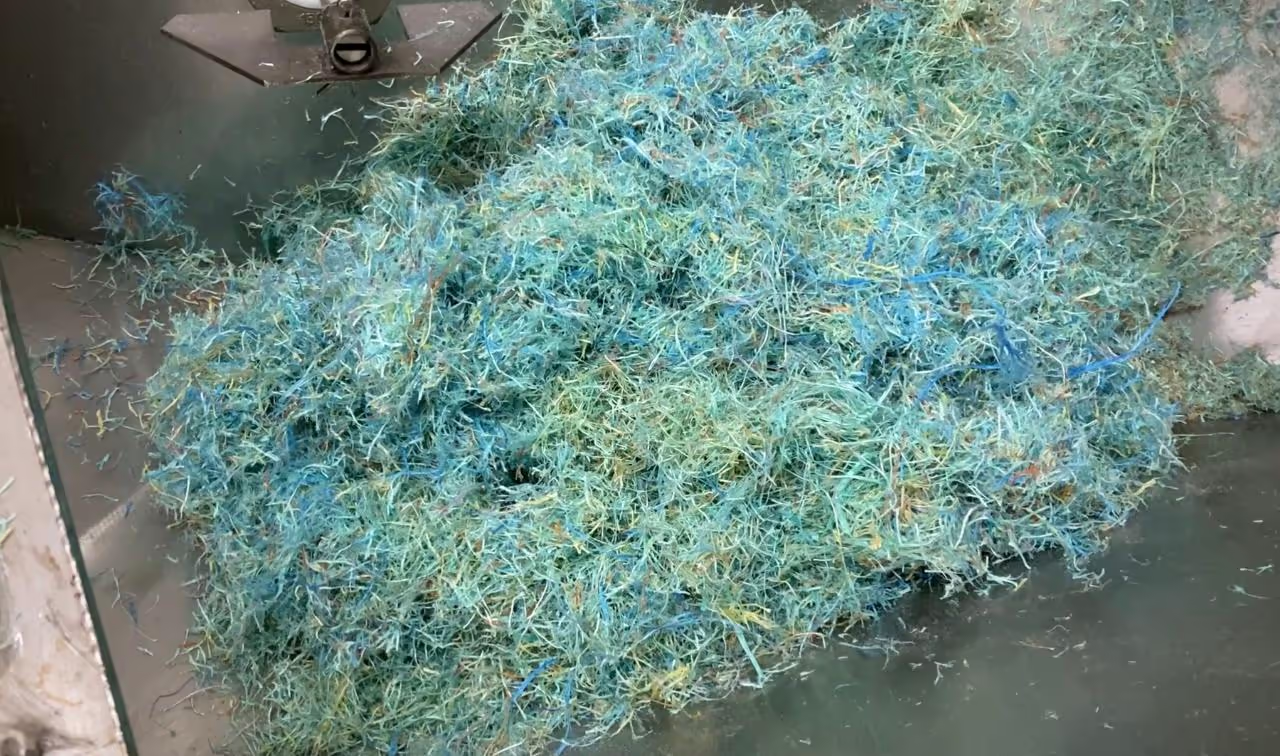
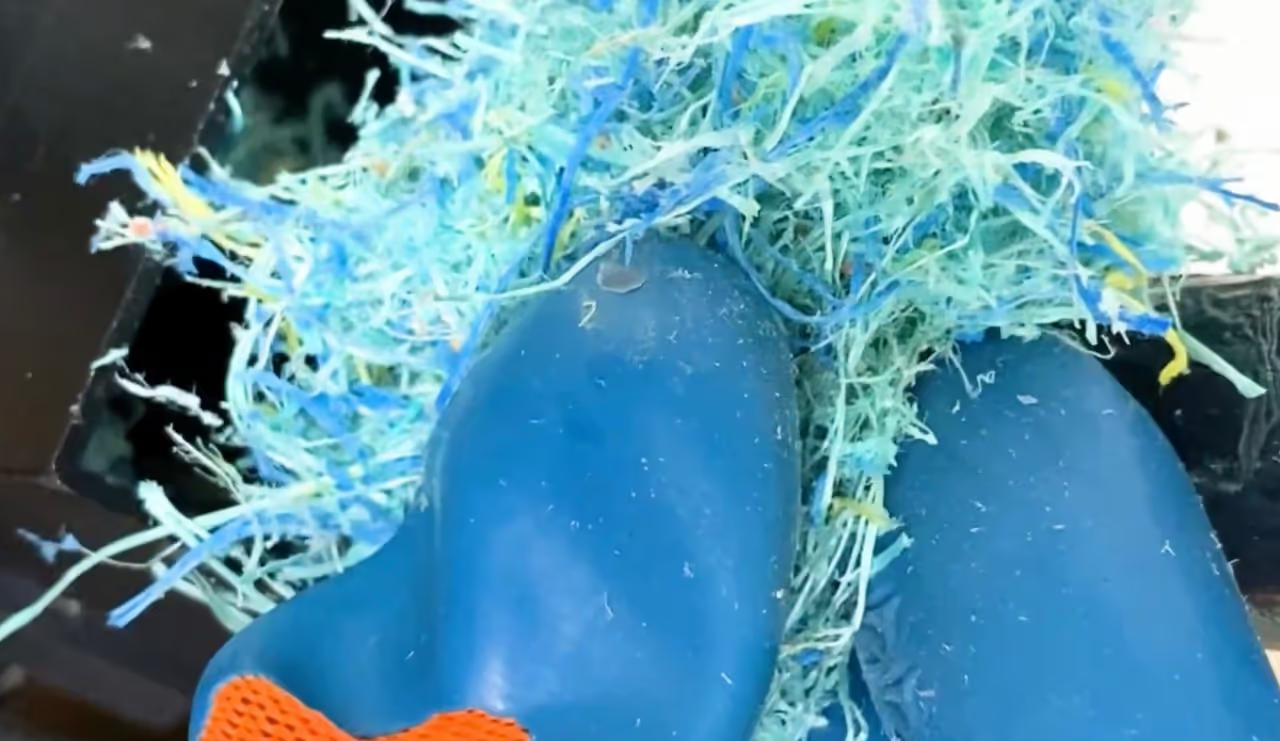
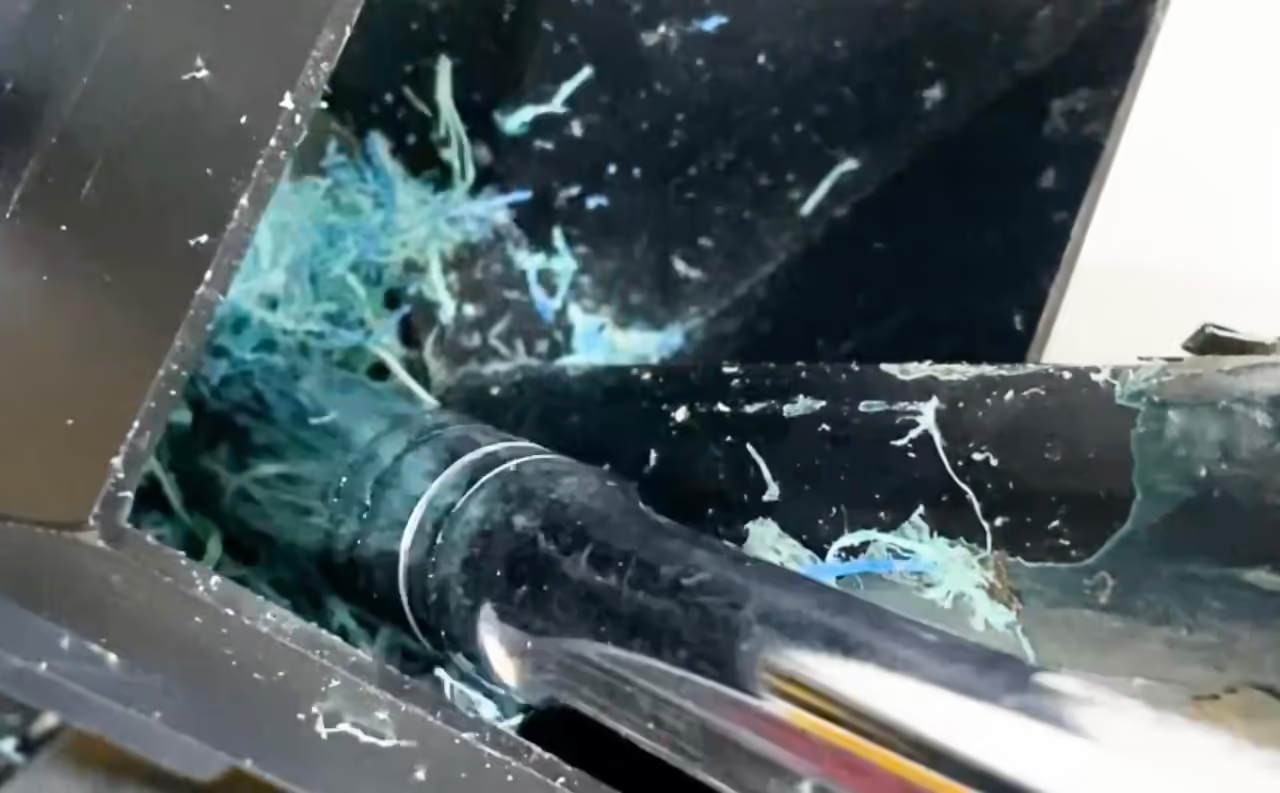
Shredding ocean rope differs significantly from shredding hard plastics like DVD cases or soft drink bottle lids. We encountered ropes up to 1.4 inches (36 mm) thick from beach cleanups, necessitating the use of a larger commercial shredder over a smaller one. It is advisable to assess your rope's thickness and your shredder's power before proceeding.
During our process, we observed that only a minimal amount of shredded rope collected in the bin below the blades. Prolonged shredding might alter this outcome. After a brief shredding period, we retrieved the shredded material from the bin and carefully removed the remaining pieces from the shredder with gloves, after ensuring the machine was unplugged.
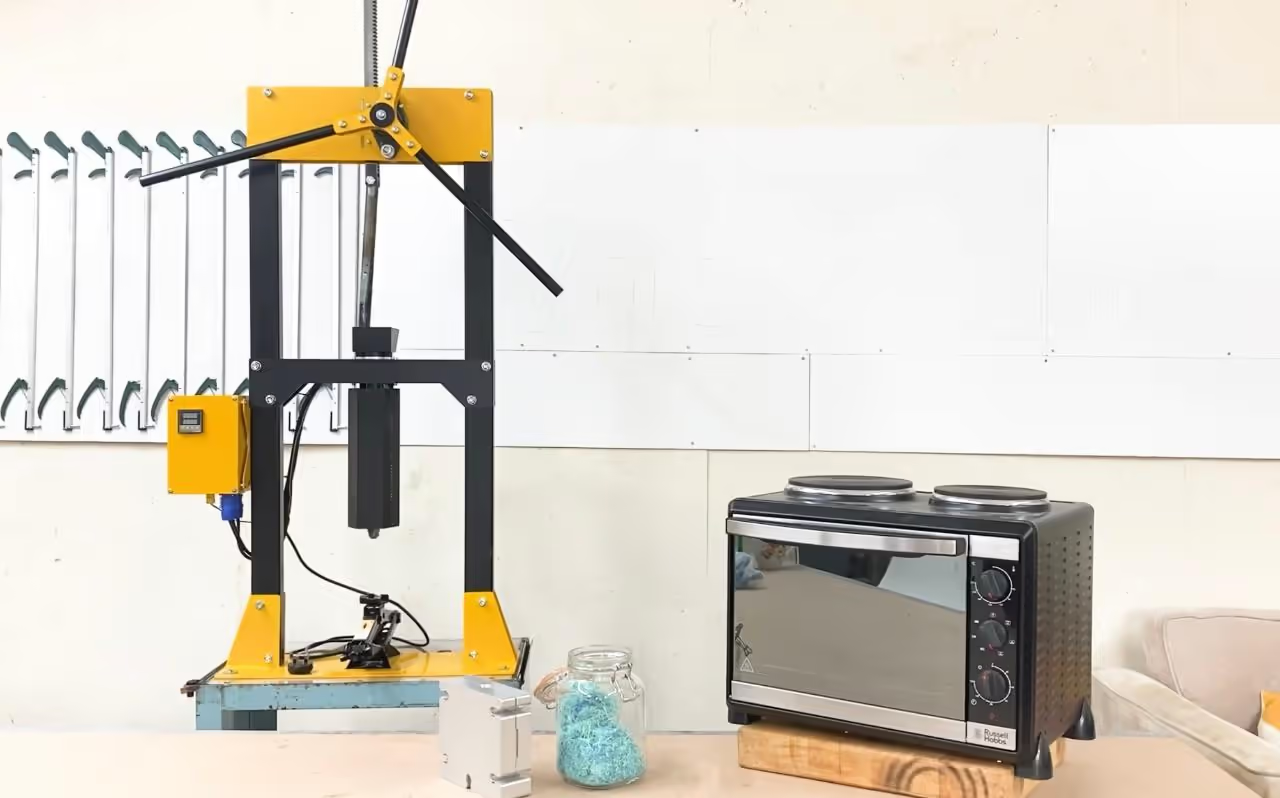
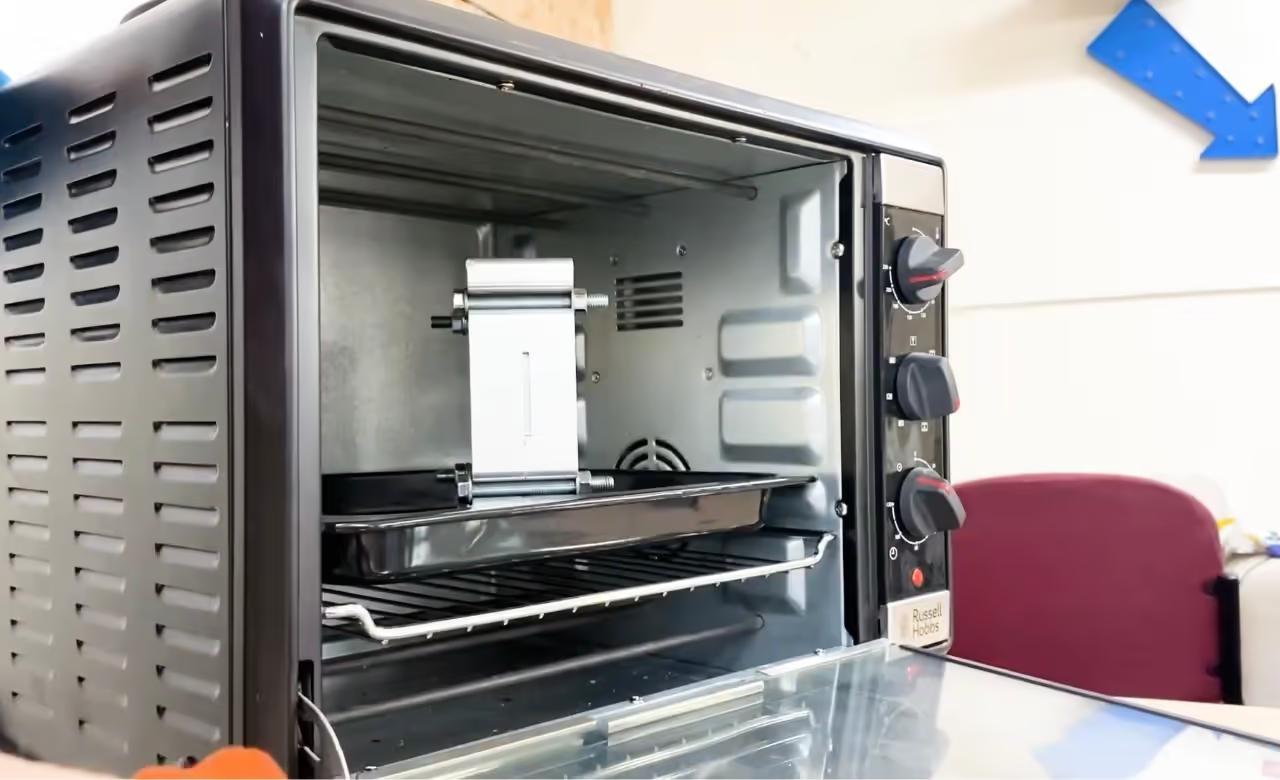
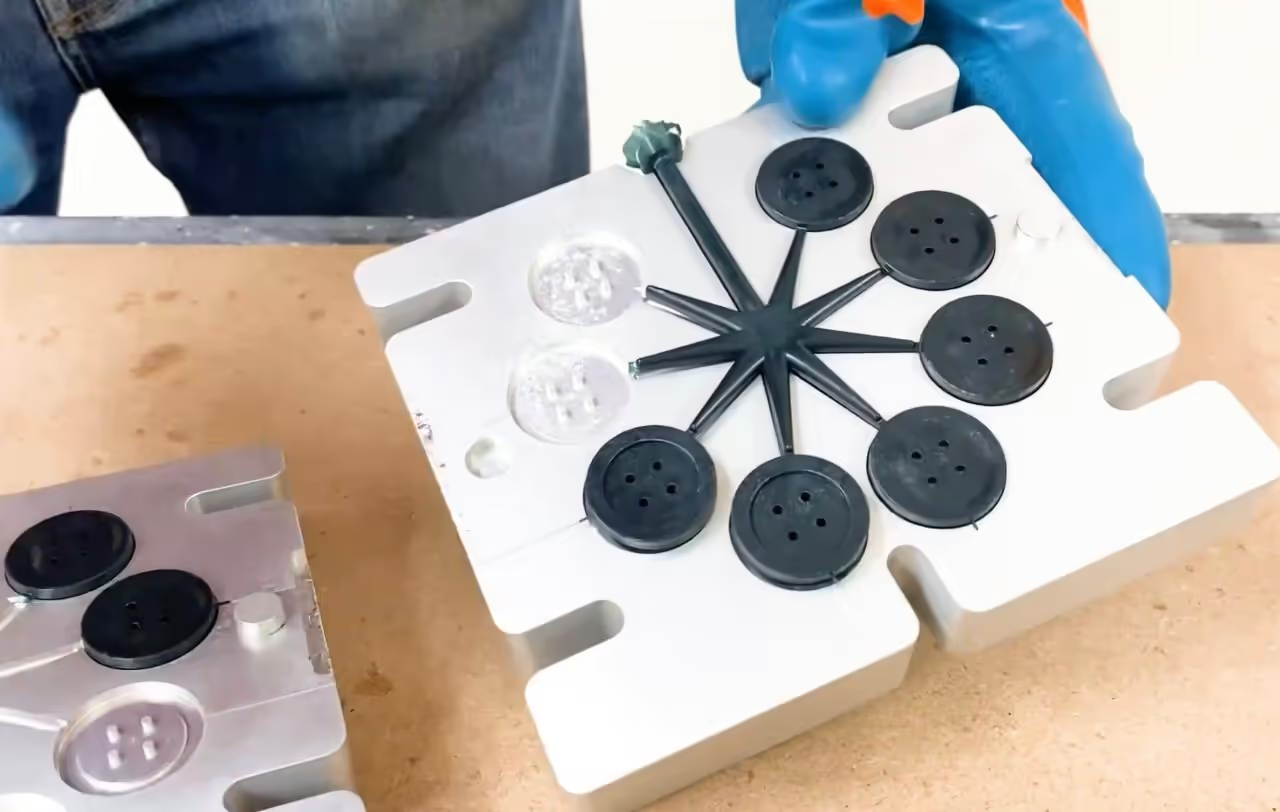
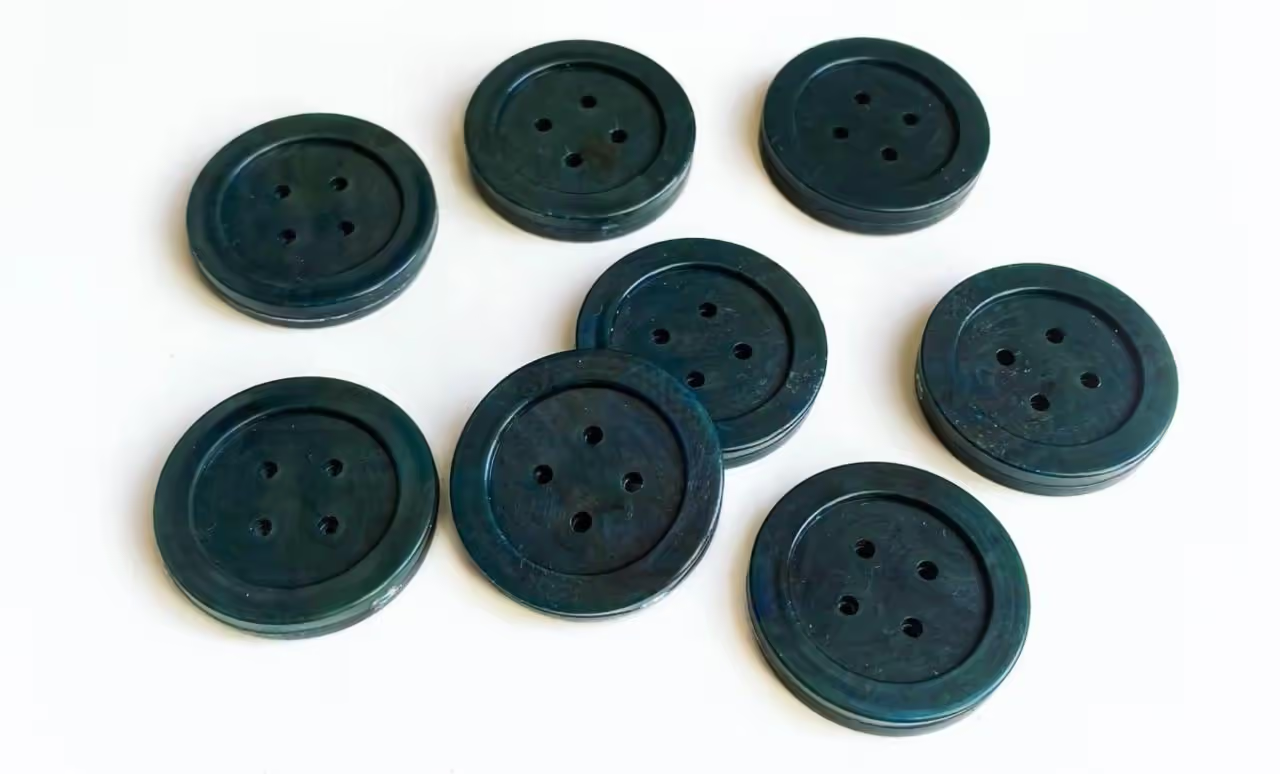
Now that your material is prepared, select your mold and machines. We used a large button mold with ocean rope, heating it in a mini oven beforehand. We noticed light corrosion on the mold's inner face, which we removed with fine sandpaper.
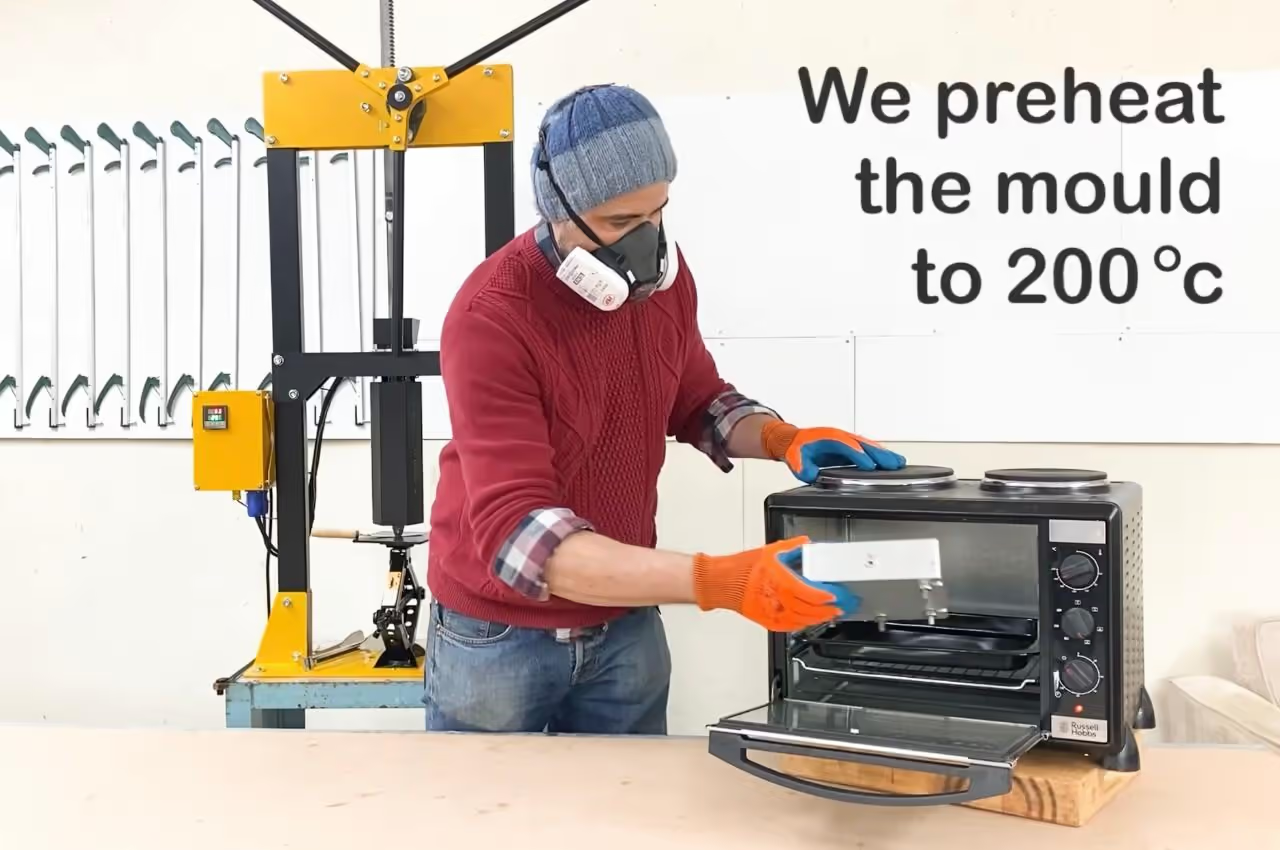
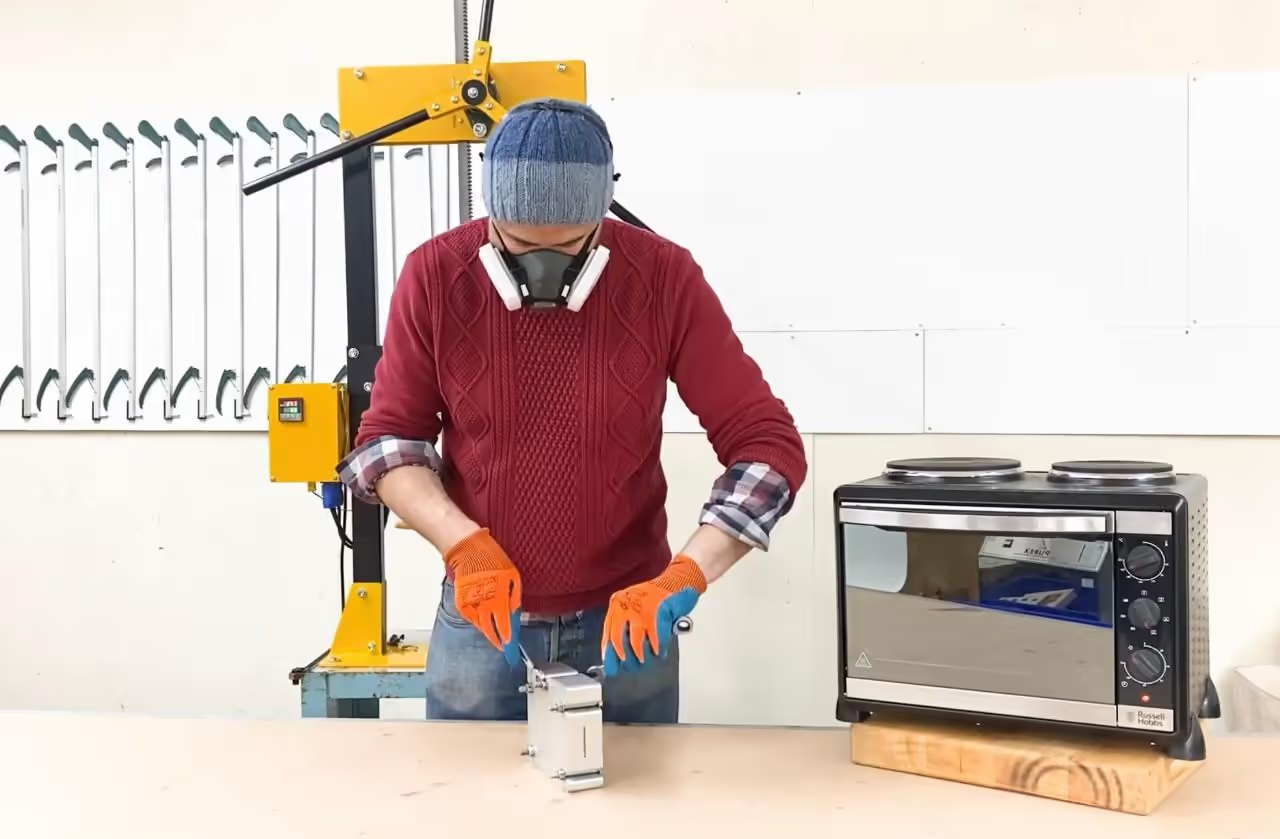
Wear personal protective equipment: a charcoal-activated mask and heat-resistant gloves. Ensure proper ventilation. We recommend a fume extractor or opening doors for airflow. Heat your mini oven to 200°C (390°F).
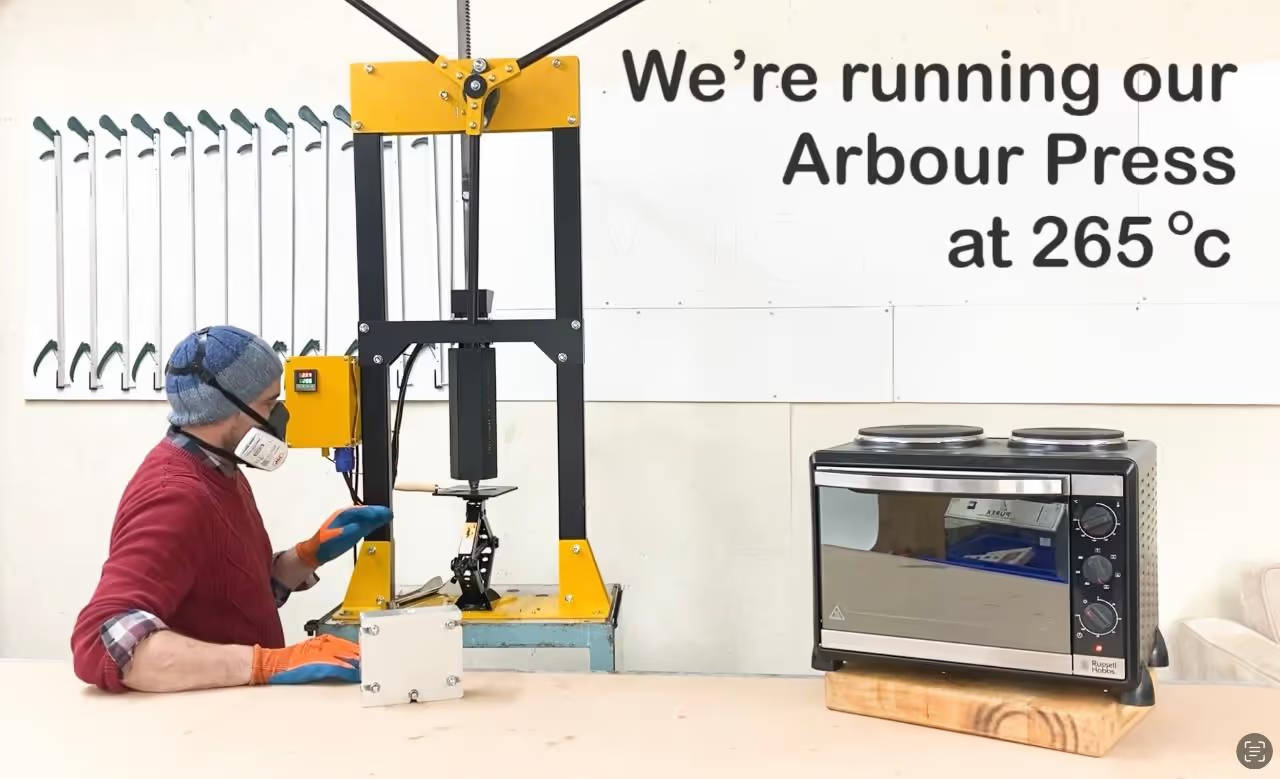
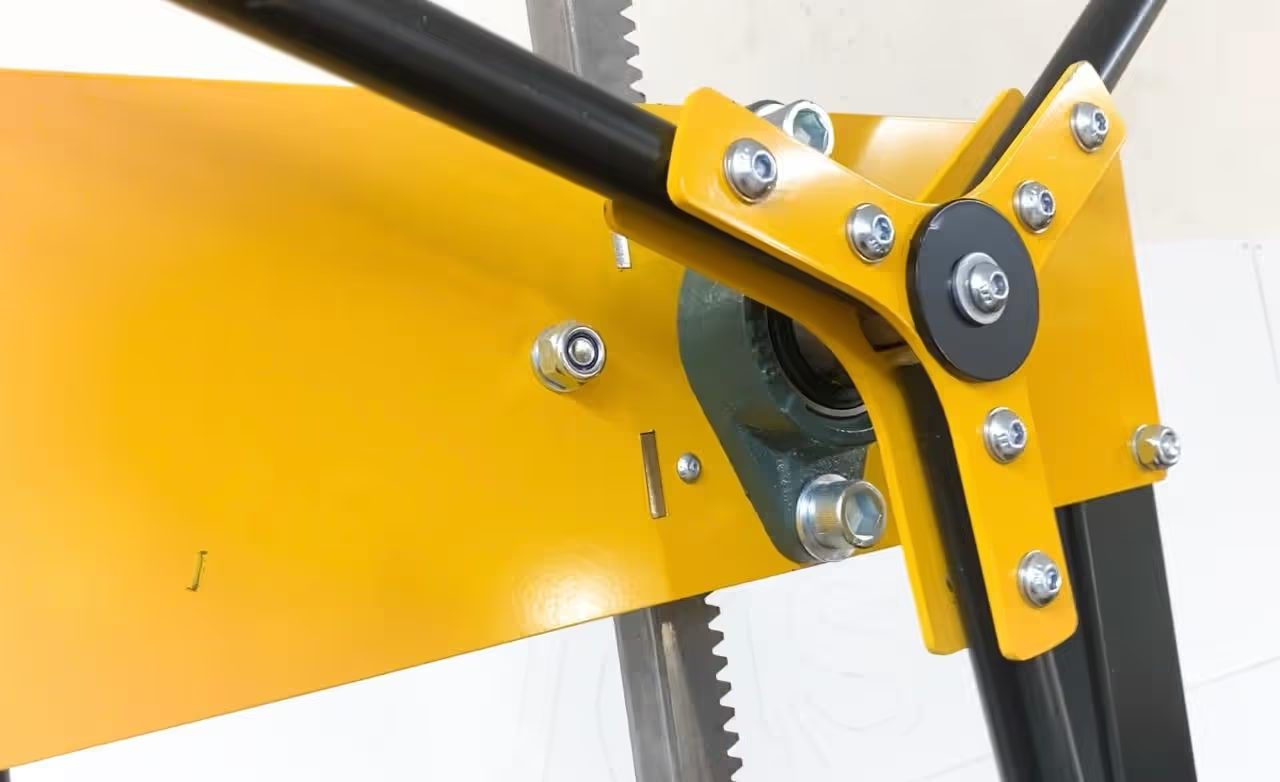
Set up your Arbor Press or injection molding machine in a well-ventilated area on a stable surface and switch it on. We operate our Arbor Press at 265 degrees Celsius (500 degrees Fahrenheit).
Loading shredded rope into your injection molder differs from loading shredded hard plastics. Instead of pouring granules into the hopper, the shredded rope requires careful insertion. Wearing heat-resistant gloves, place the shredded rope in the hopper, then use a metal rod to guide it into the chamber. Finally, use the Arbor Press shaft to move it into position for injection.
For the first use of the day, allow the Arbor Press to sit for 20 minutes after the plastic is inserted and the temperature stabilizes, as shredded rope may contain more air than shredded hard plastics.
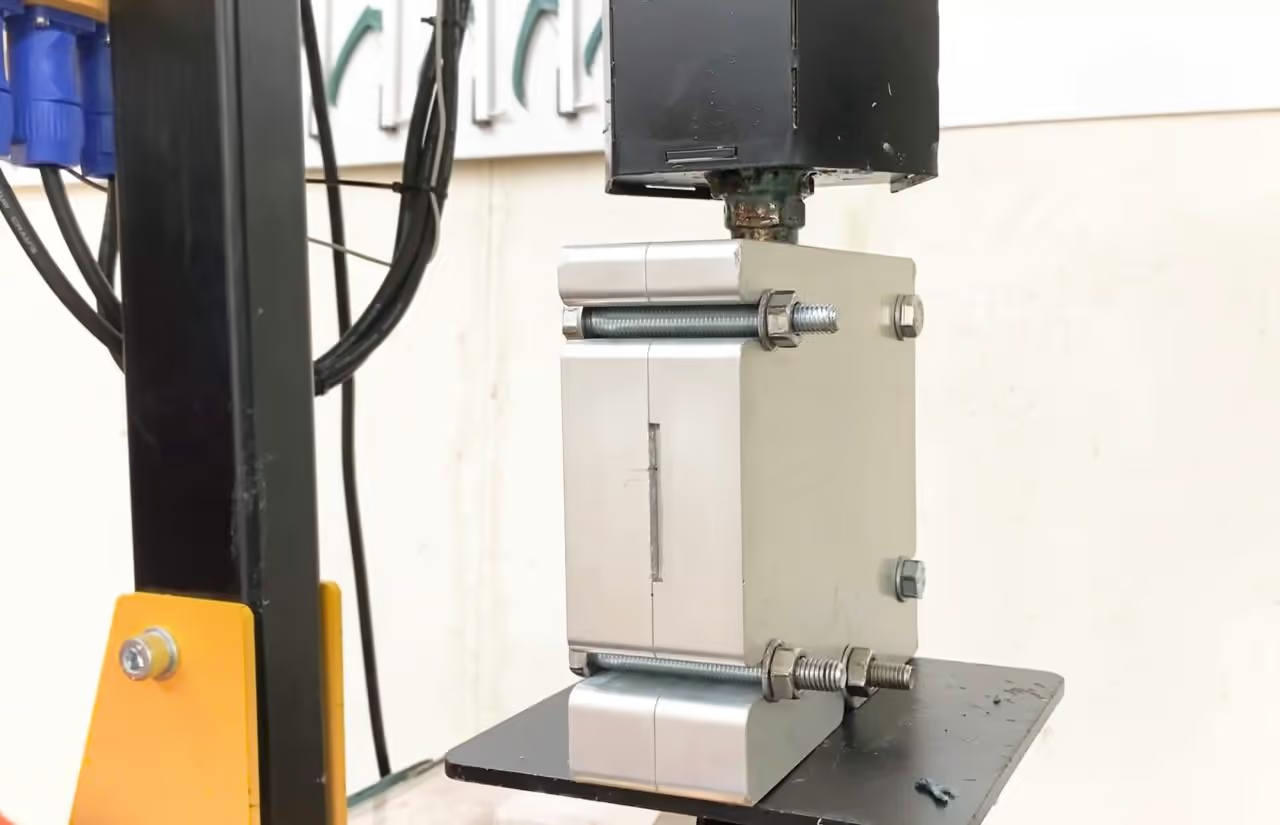
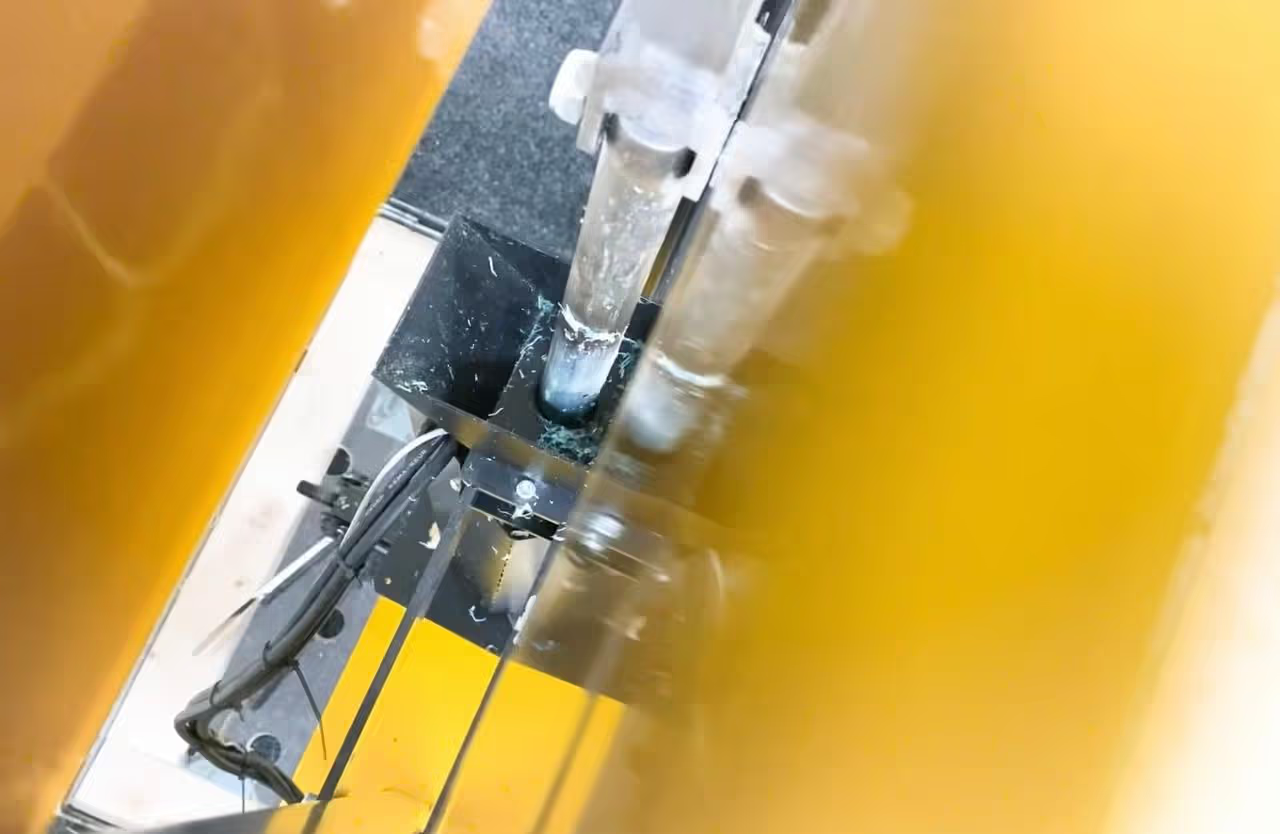
Once the mold (mould) is heated and the Arbour Press is prepared with the rope for the mold, remove the mold from the oven. Ensure there is adequate space on the workbench for the filled mold and safe movement around the Arbour Press. Lower the jack, control the plastic flow, and position the mold under the nozzle. Then, engage the mold with the Arbour Press nozzle and apply pressure to inject the plastic.
Be attentive to the mold and pressure during injection. We noted minor condensation from the mold and resistance when full. We reduced pressure slightly, lowered the mold with the jack, and placed the filled mold on the workbench, ensuring the Arbour Press was secure.
In the final step, manage your anticipation and stay focused. Assess the plastic within the mold by observing any visible material at the nozzle's injection point. Generally, wait a few minutes before proceeding to open the mold.
Wear gloves to guard against heat and potential injury. Carefully remove the bolts securing the mold, using a spanner with caution. Place the mold on a workbench and use a tool to gently open it.
Buttons may sometimes detach easily, but occasionally they adhere firmly due to plastic cooling and shrinking around mold elements. If you need to lever the buttons out, do so carefully to avoid scratches, as they are difficult to remove. Use a small flat-head screwdriver and any remaining sprue to dislodge stubborn buttons. Conclude by trimming any mold marks from the buttons.
No software mentioned in the tutorial.