Make an HDPE Knife
PRODUCT
HDPE
SHEETPRESS
MELTING
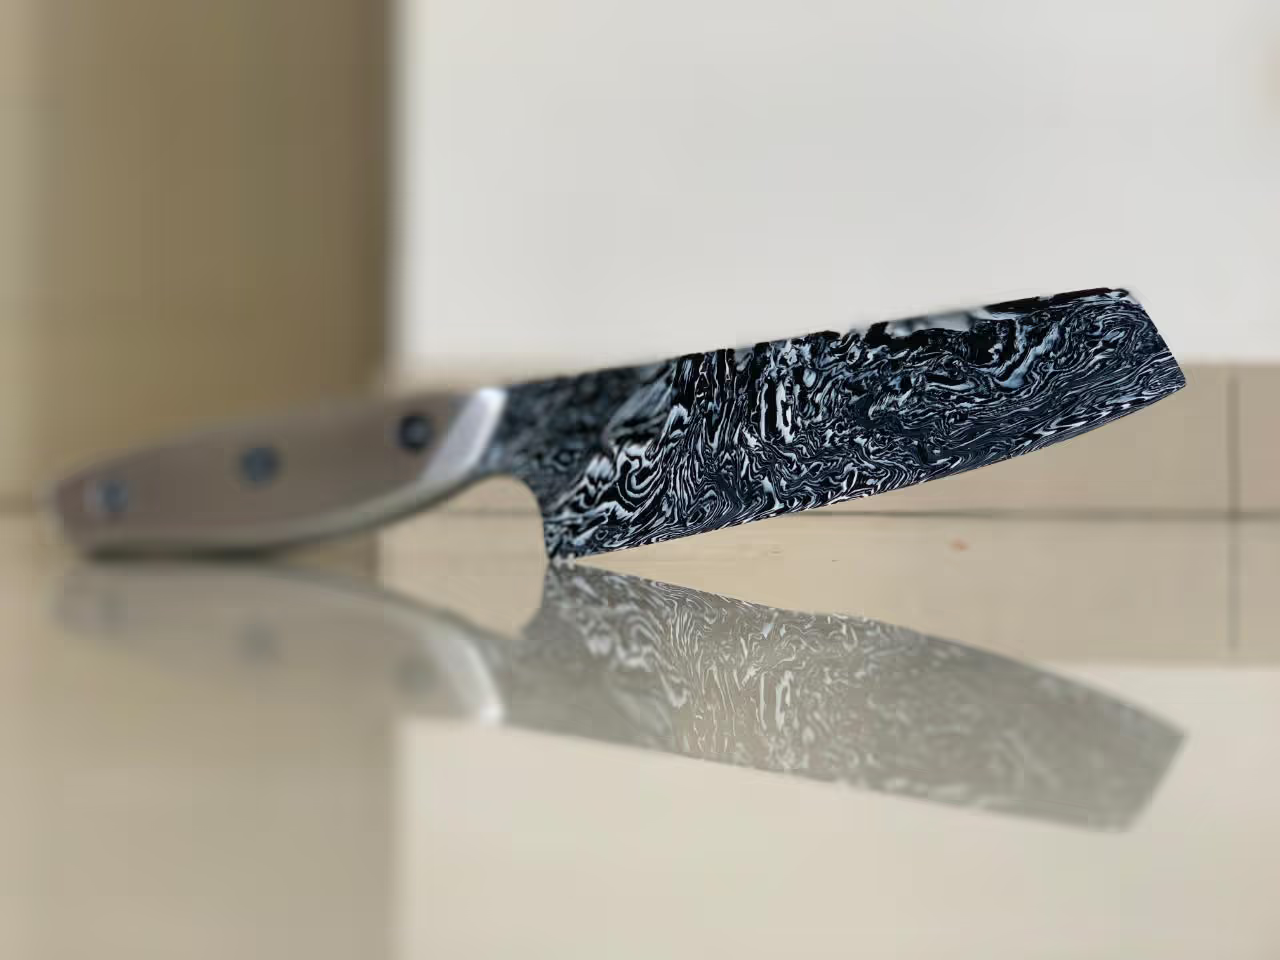
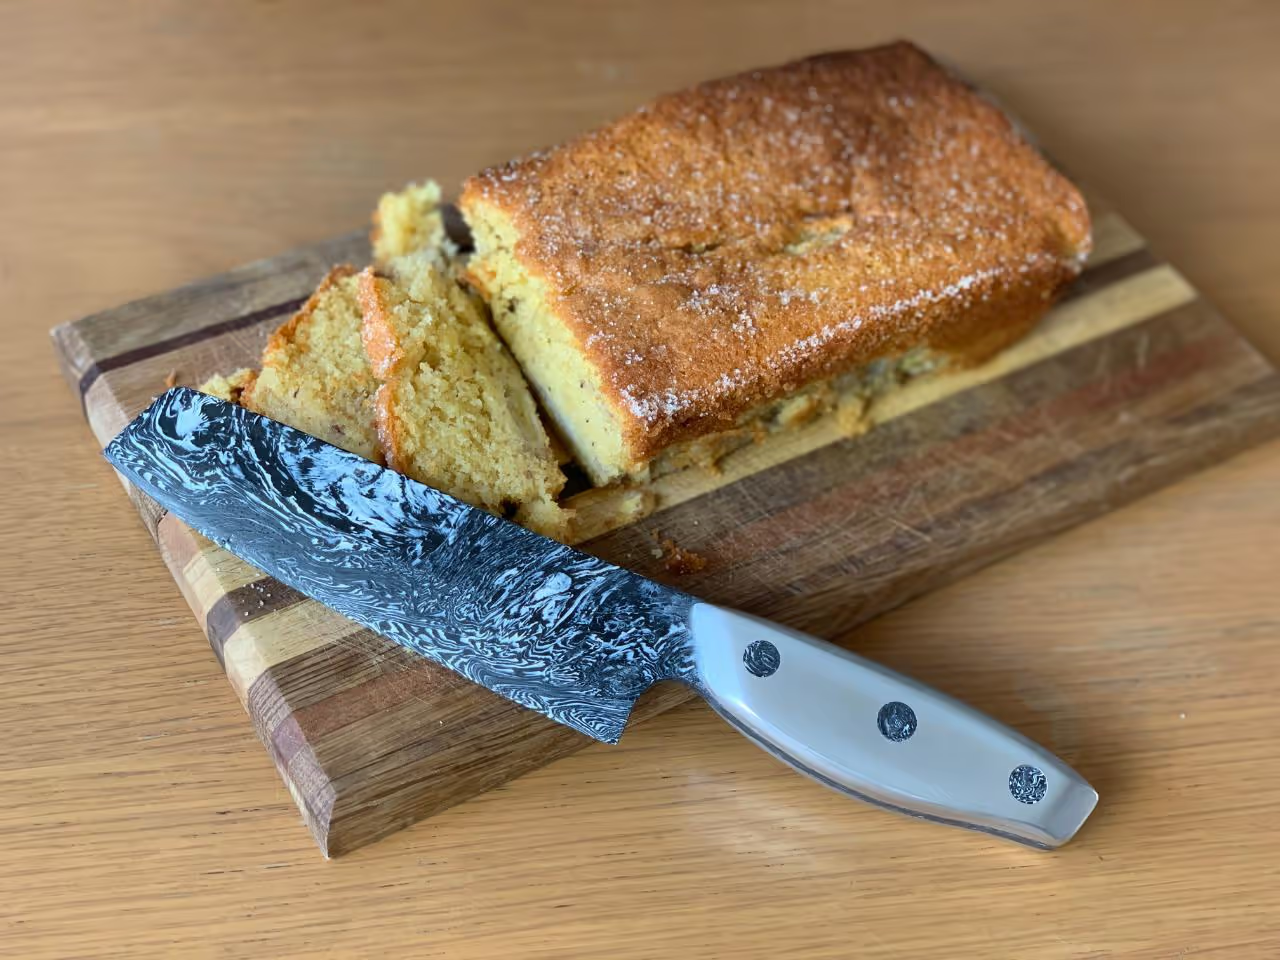
This guide demonstrates the creation of a 'reverse knife' with metal scales and a plastic blade using simple home techniques. Although the knife cannot maintain an edge like a metal blade, it is suitable for cutting cake, fruit, and vegetables. A viewer noted it is also ideal for cutting lettuce, as metal knives can cause browning at the cut edges.
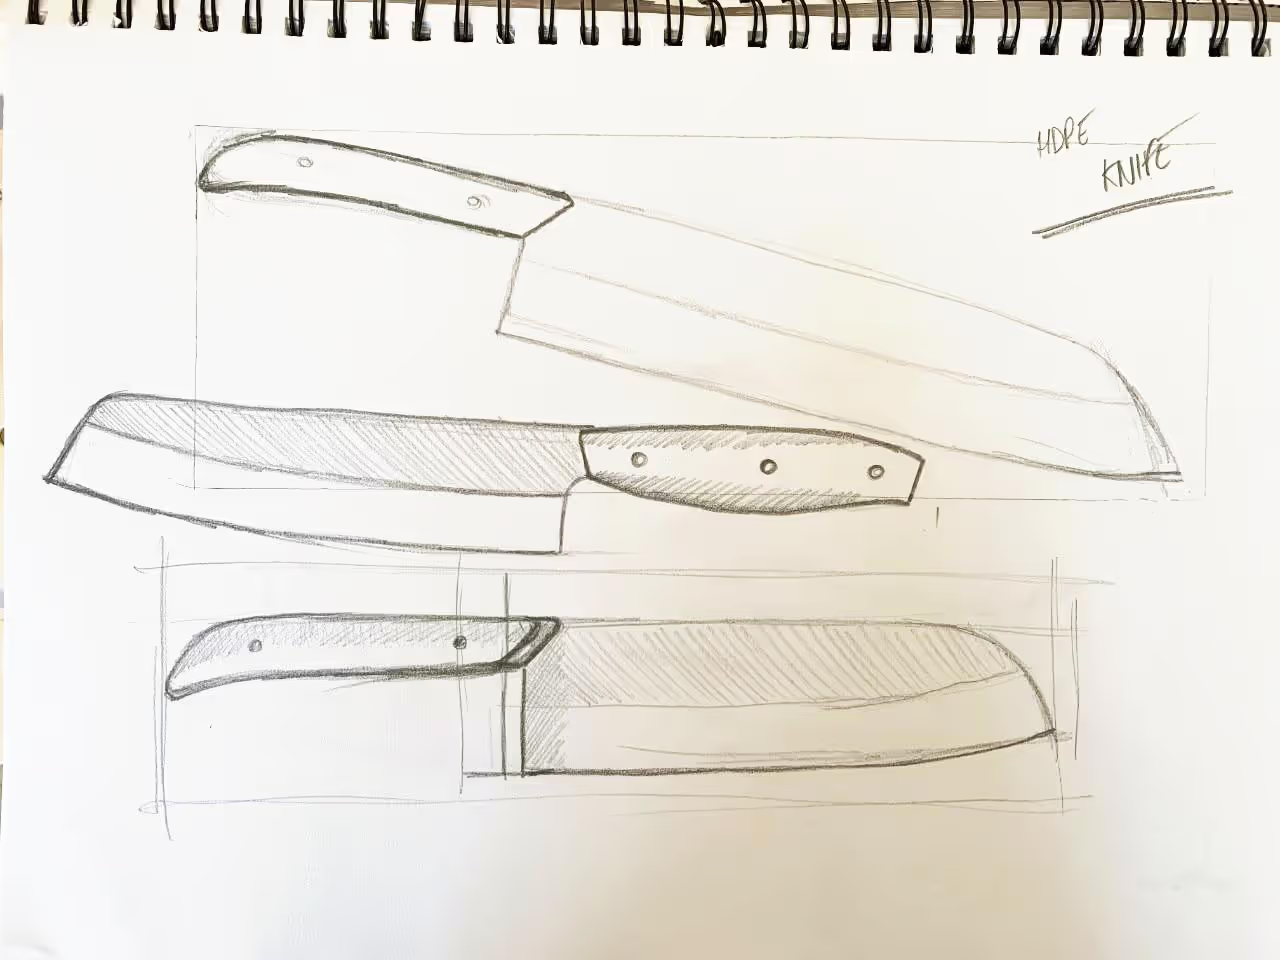
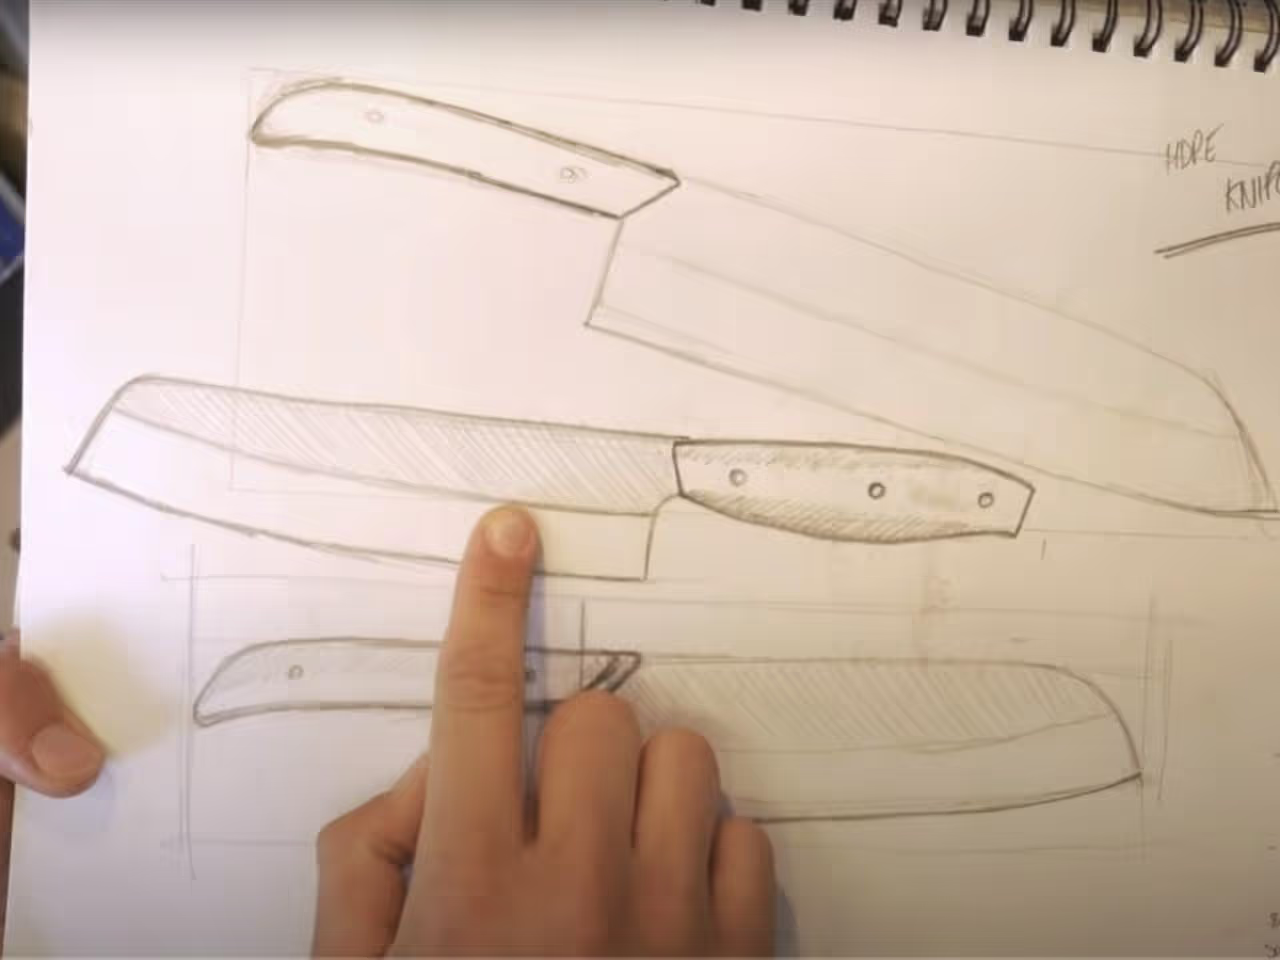
We designed a 'santoku' style knife and created several variations. We then invited feedback on our designs through social media engagement.
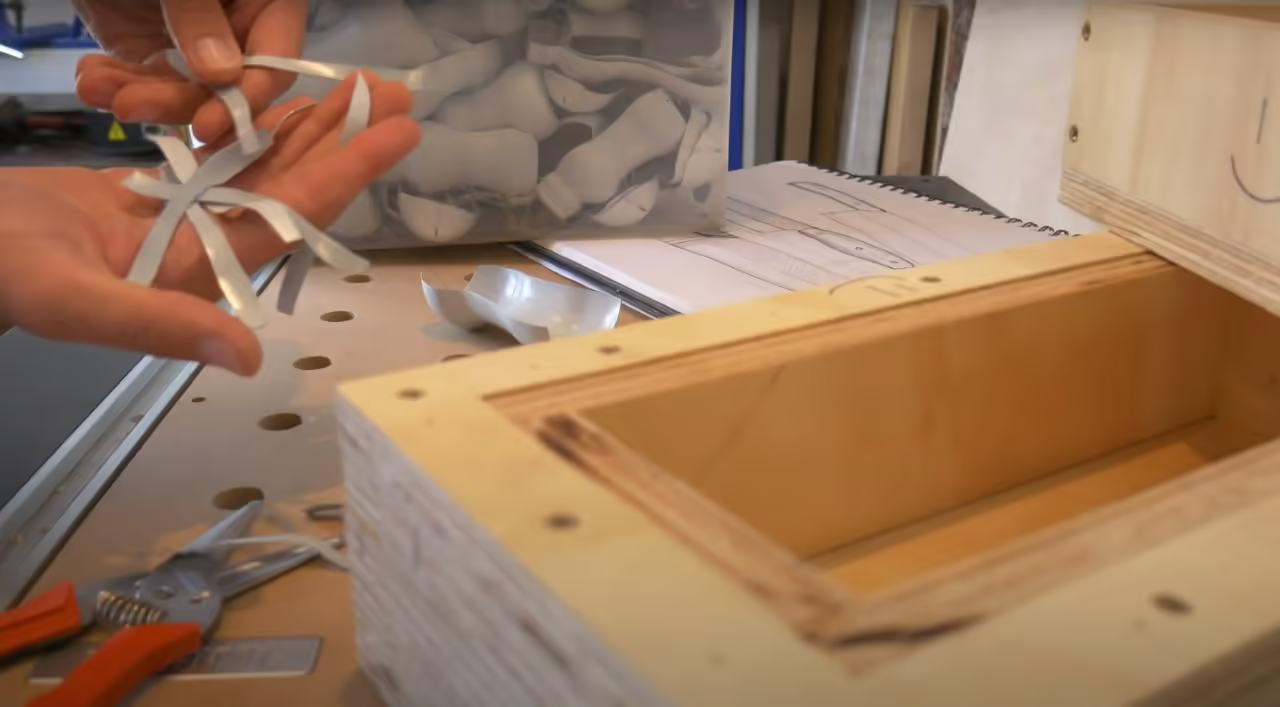
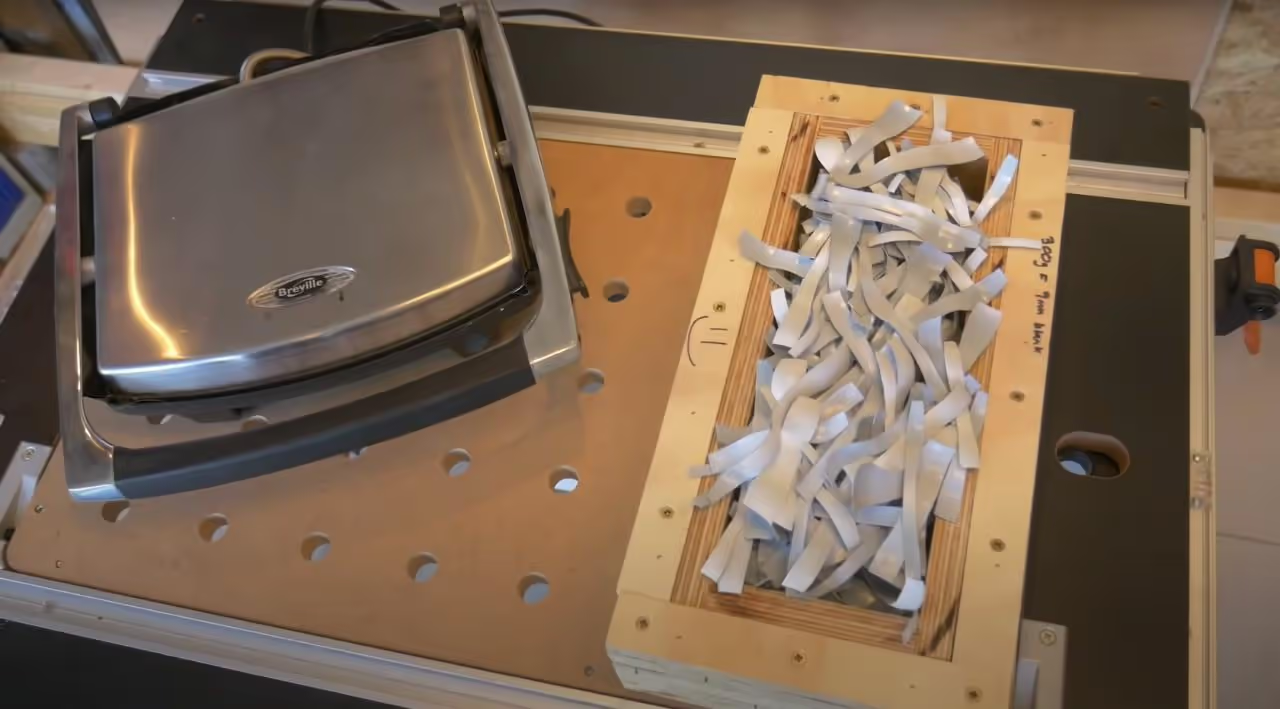
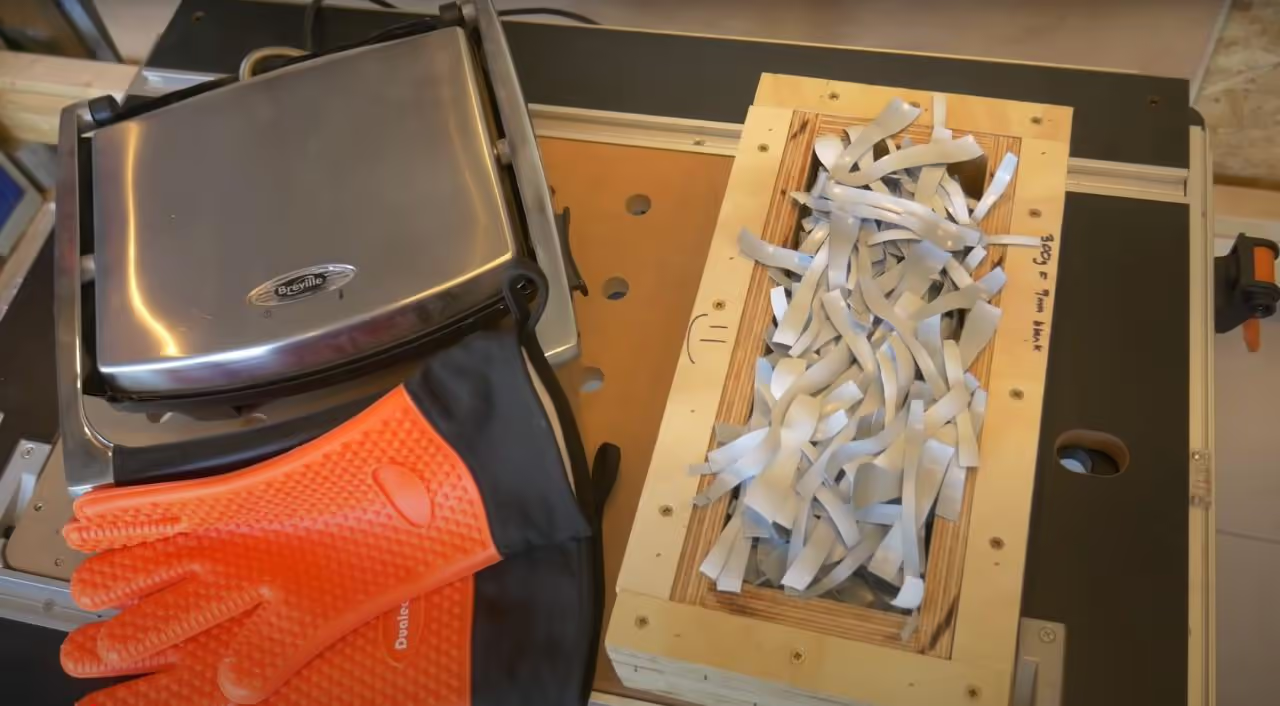
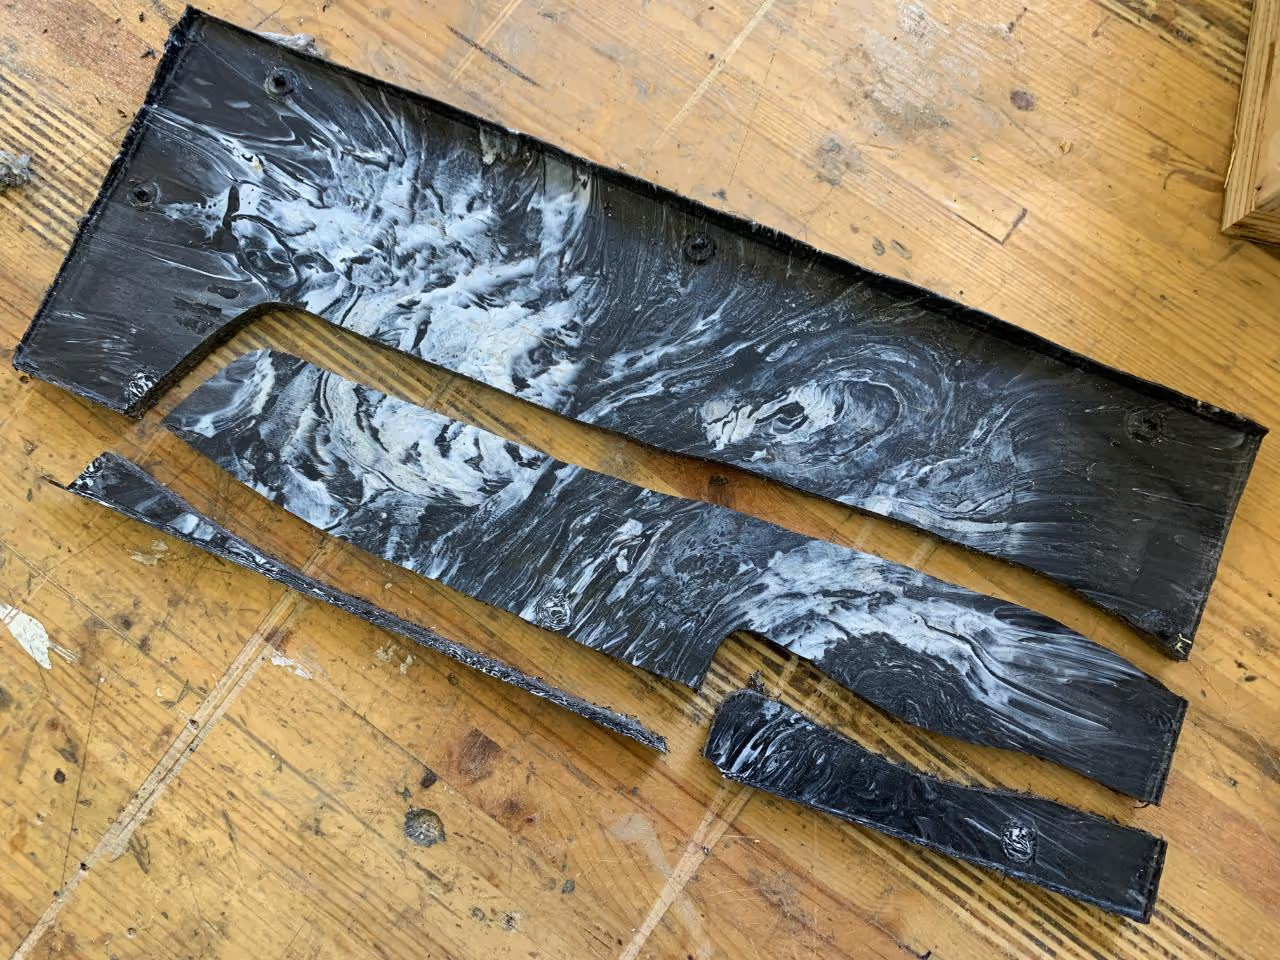
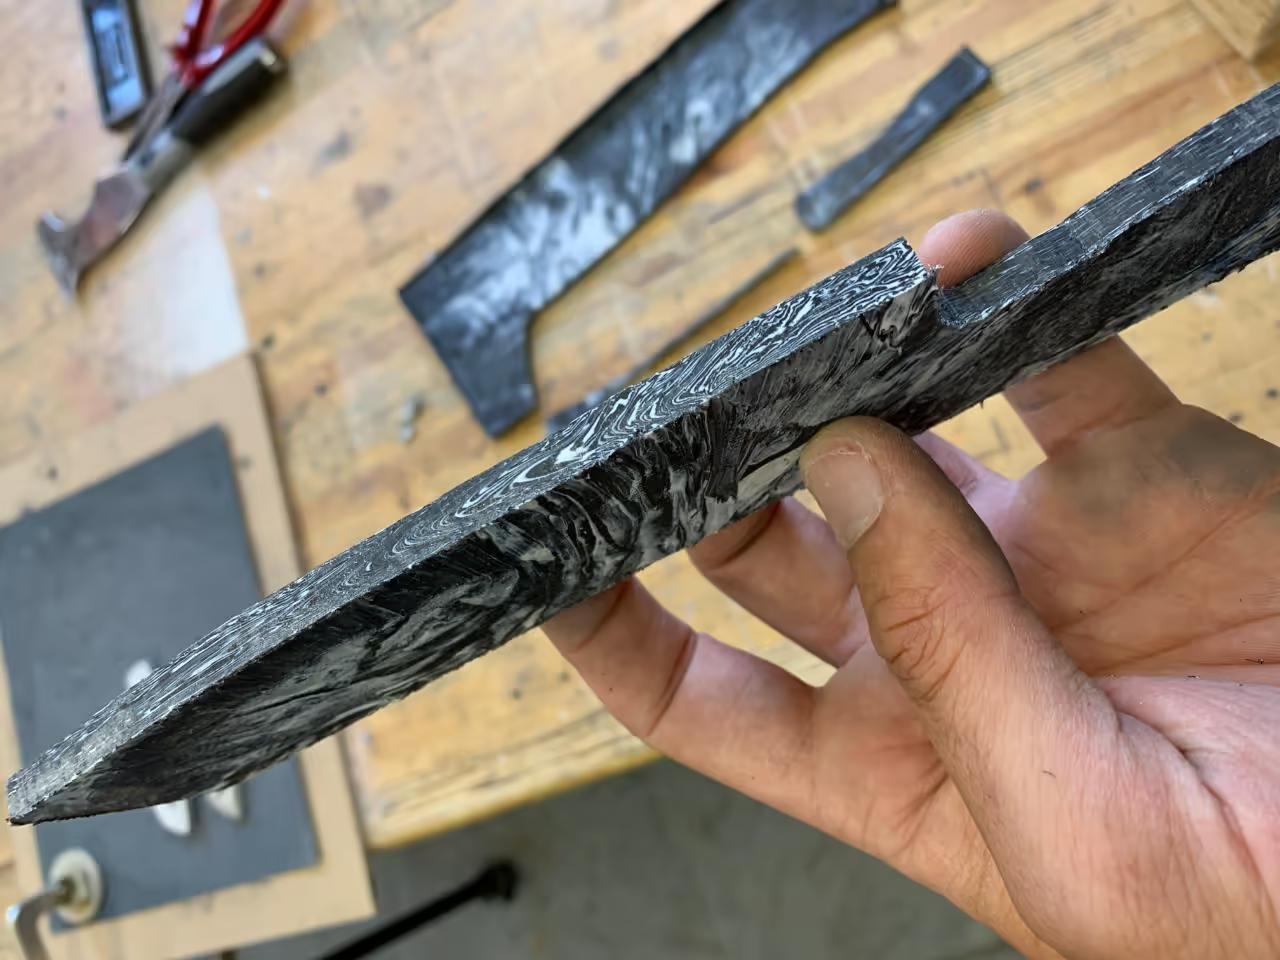
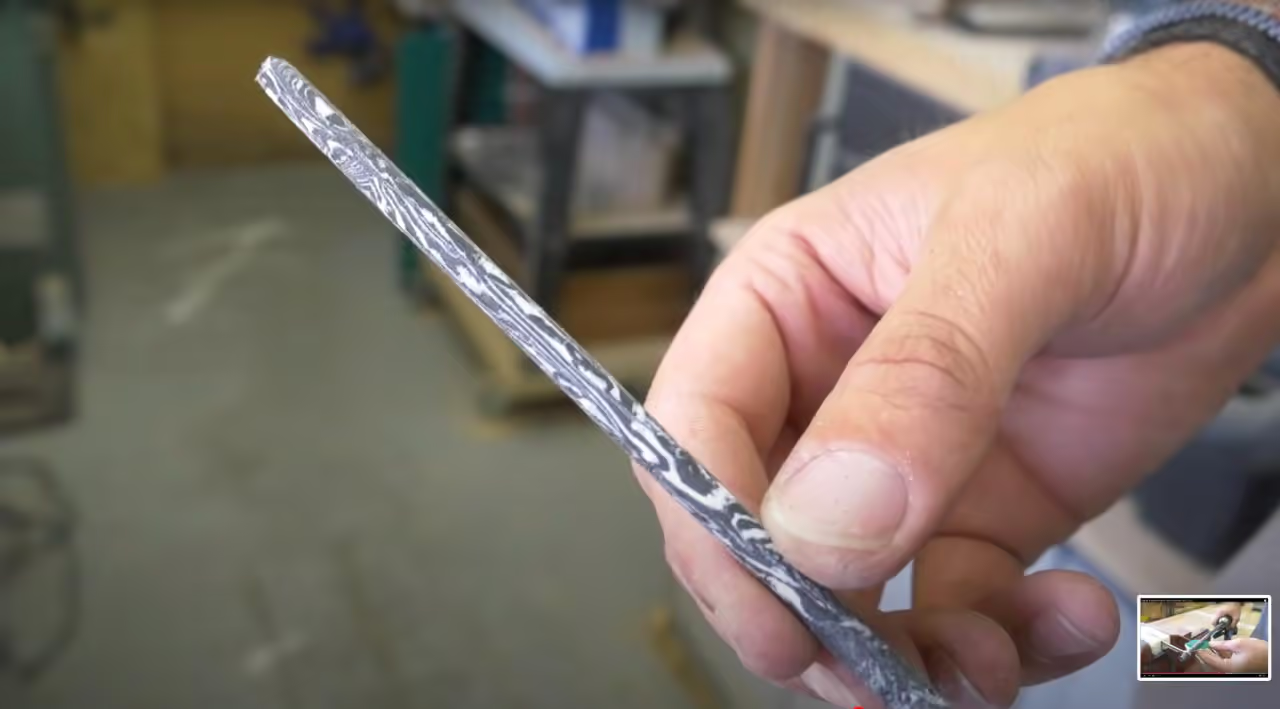
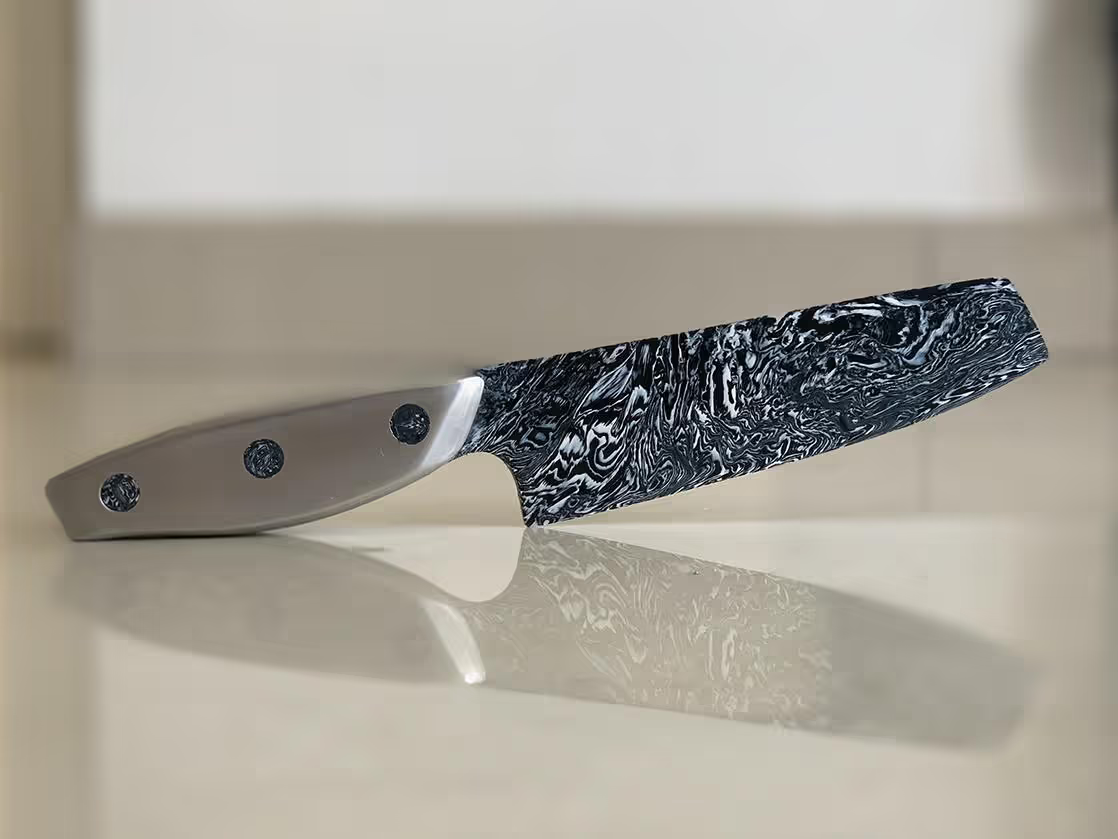
For this design, a black and white marble effect was achieved using 'Fortisip' bottles, which are white with a black core. The bottles were cut into thin strips for melting; all plastic used was pre-washed and dried.
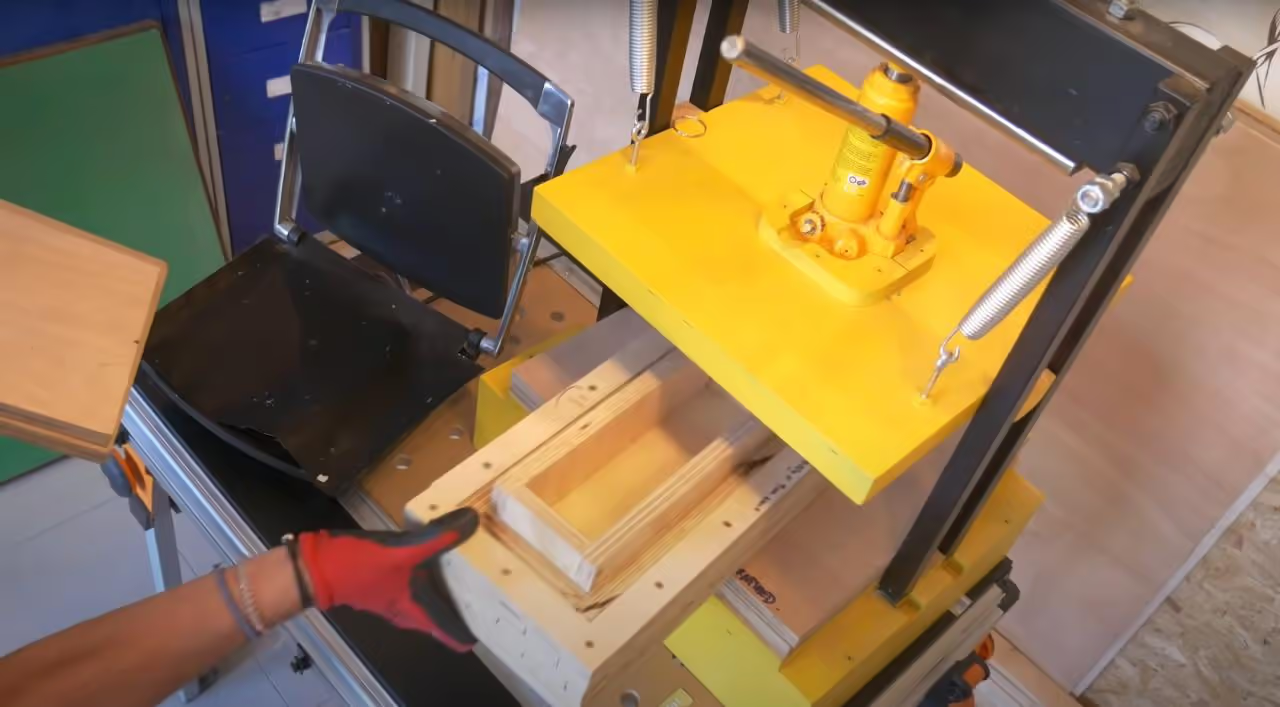
The mold is a stacked plywood construction with varnished inner faces to prevent sticking. For detailed instructions on mold construction, refer to our HDPE Stool video.
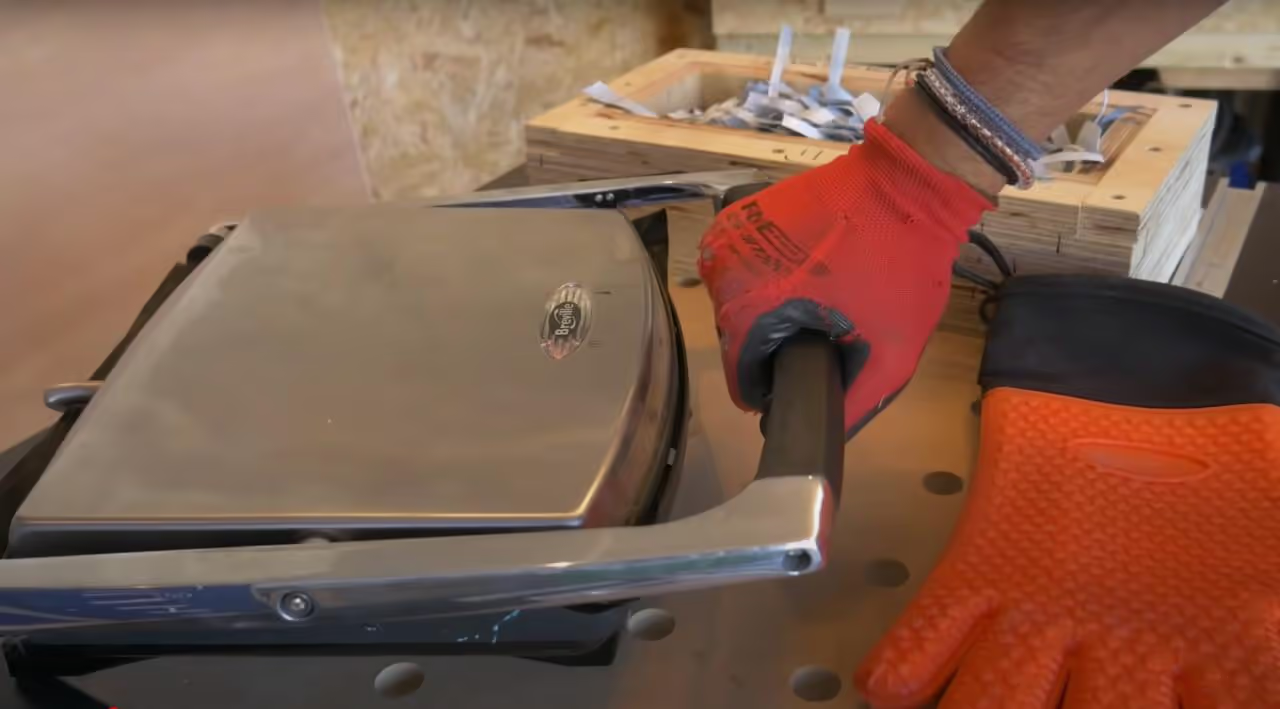
For melting HDPE, a flat plate sandwich toaster is employed. A small toaster oven may also be used for larger quantities requiring prolonged heat. For this project, a thickness of approximately 8mm (0.31 inches) for the blade is targeted, which the sandwich toaster can handle independently.
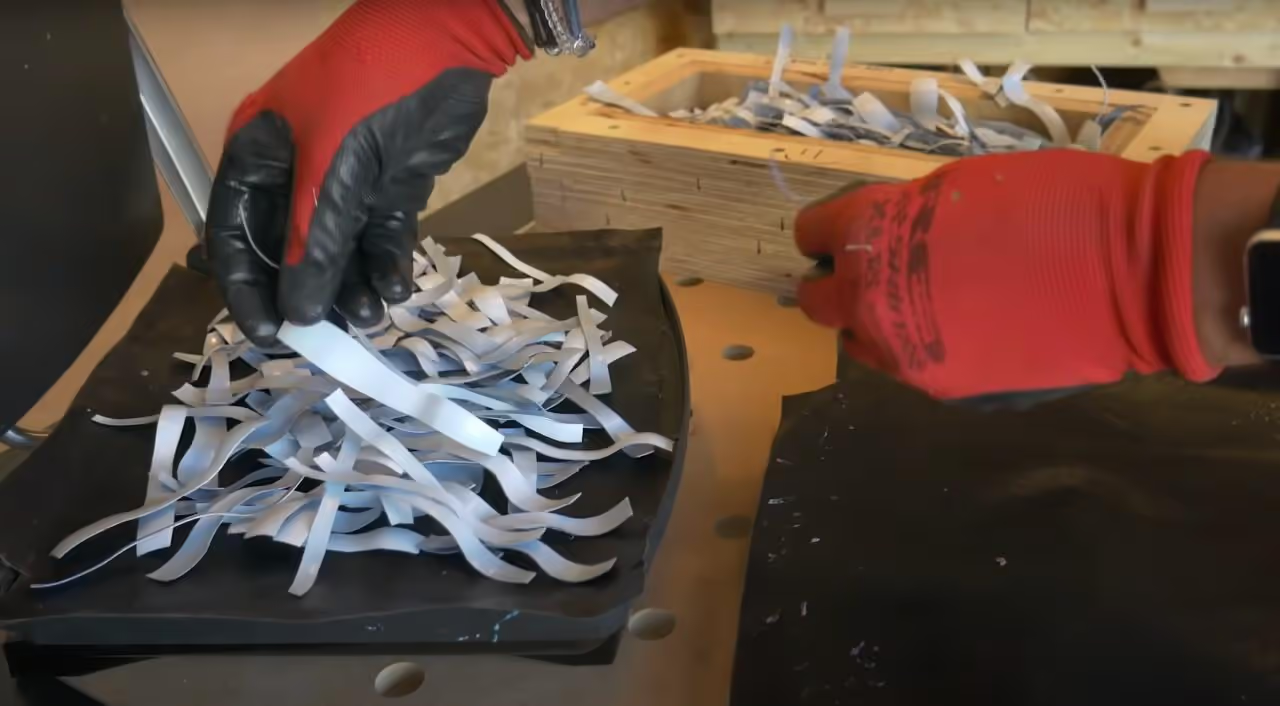
As the plastic melts, it shrinks significantly. Continuously add more plastic every few minutes, taking care to avoid air bubbles.
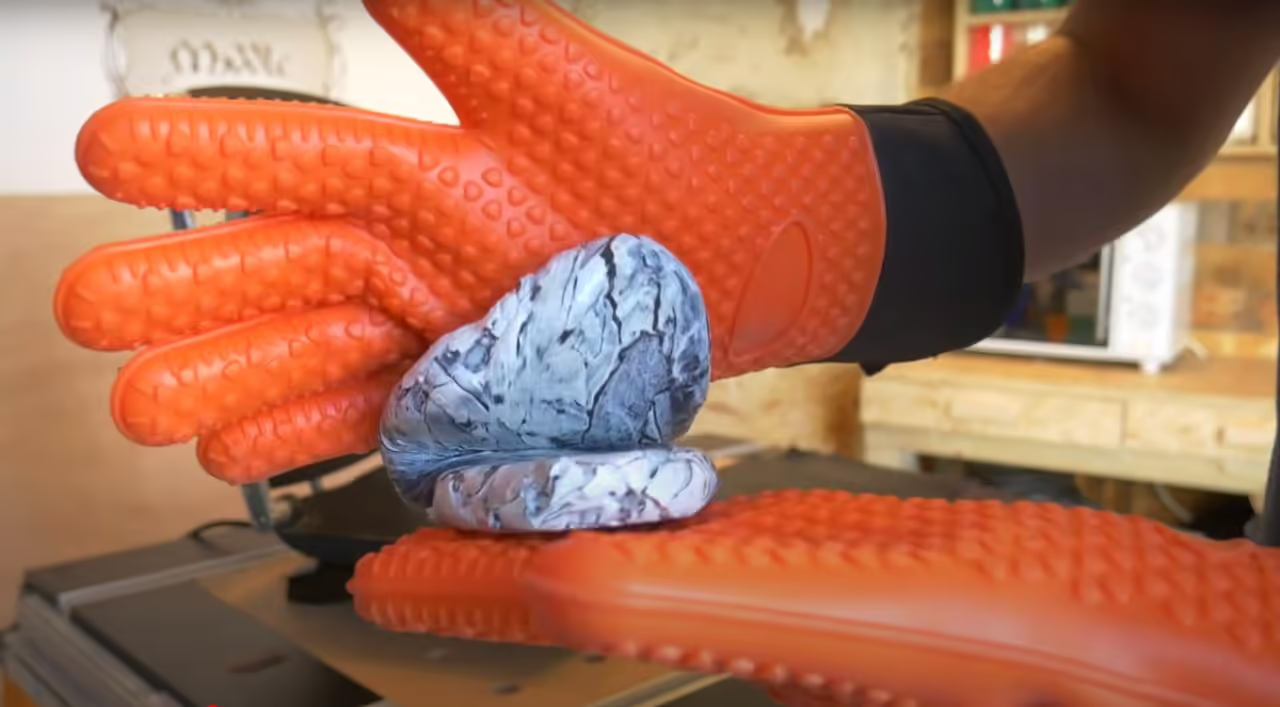
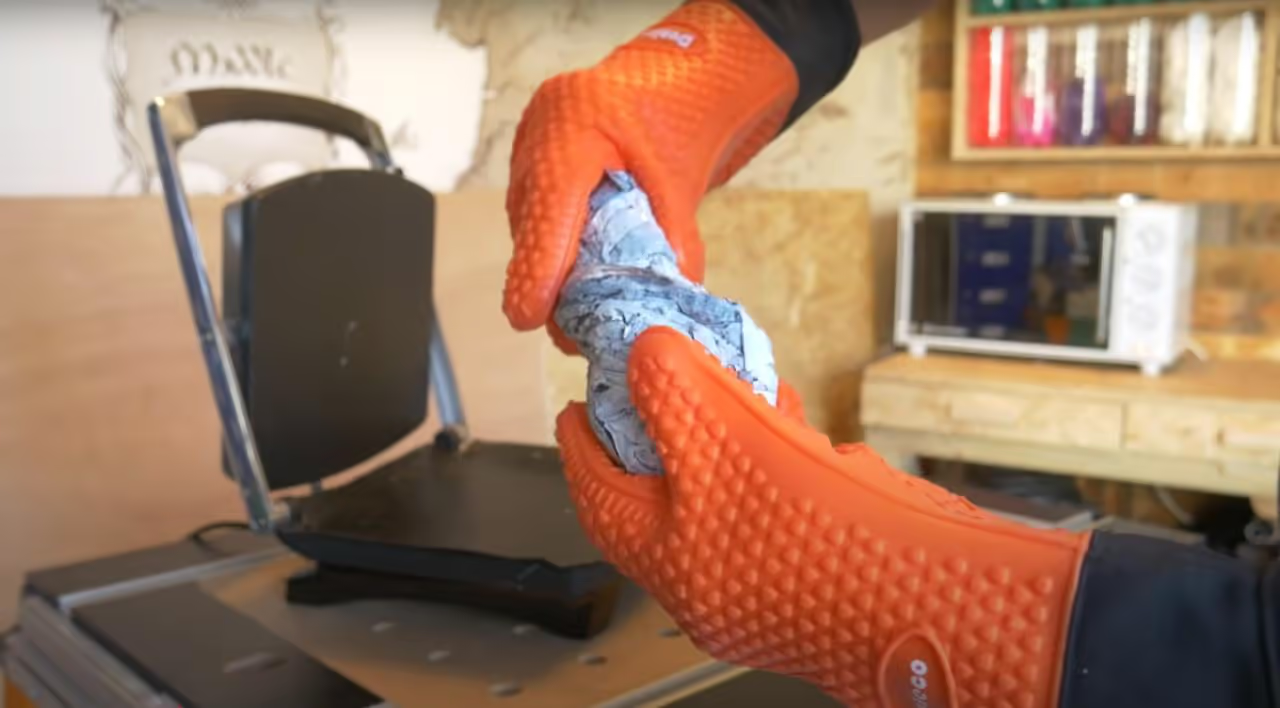
To enhance the marbling effect and minimize air bubbles, carefully handle the molten plastic to fold and twist it. Exercise extreme caution at all times. We recommend wearing two pairs of gloves; the outer pair should be silicone oven mitts, which are particularly effective for this task.
During folding and twisting, ensure no additional bubbles are introduced. Once satisfied with the result, promptly return the plastic to the sandwich toaster. HDPE cools quickly and must be as hot as possible before transferring to the mold.
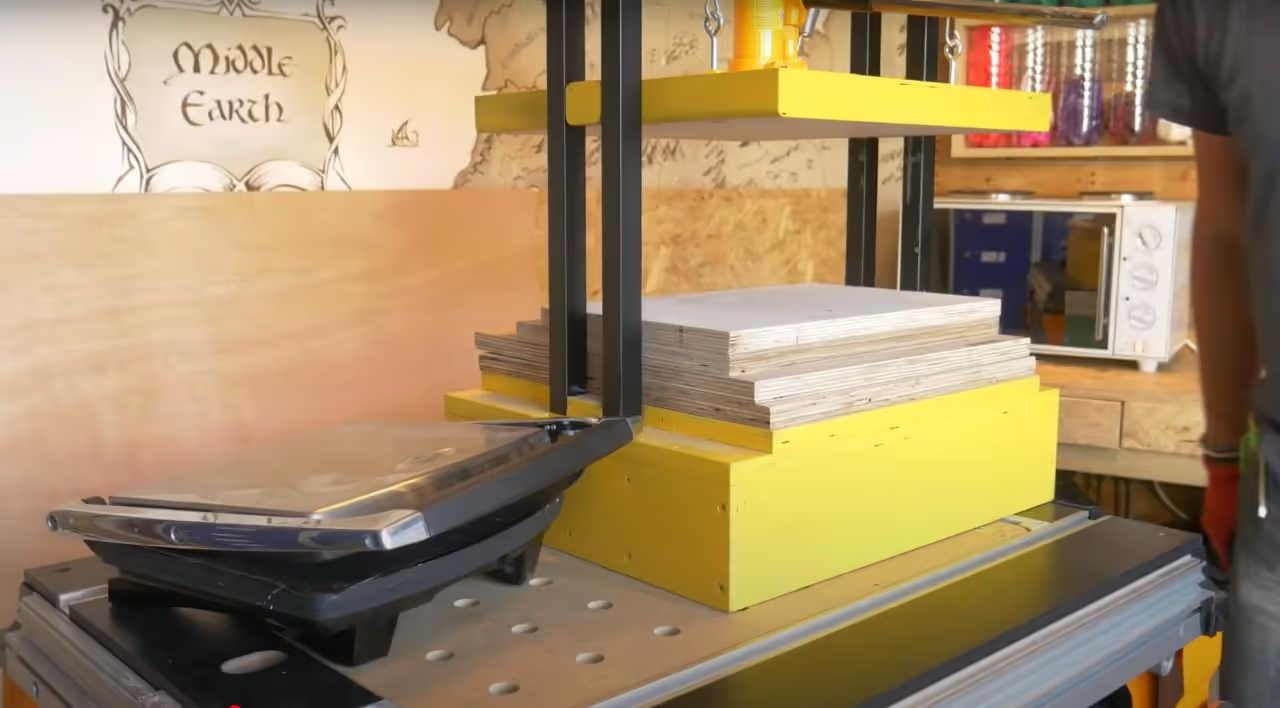
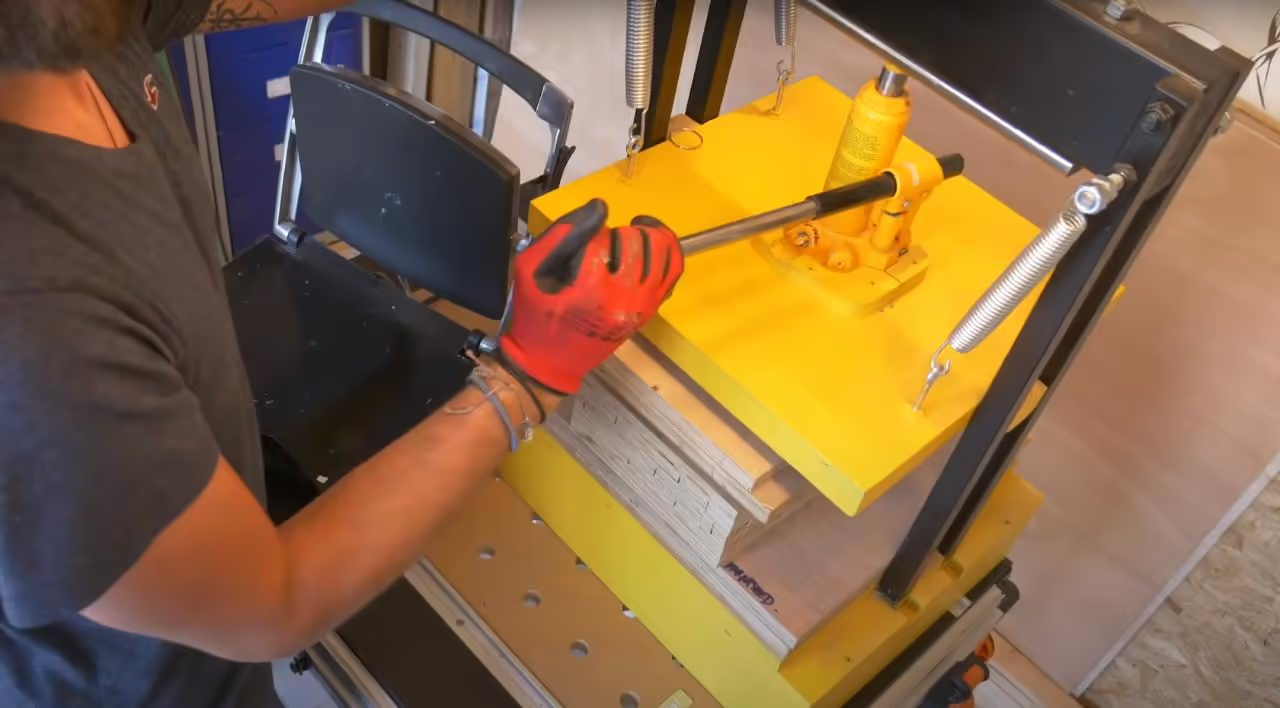
Once the plastic is sufficiently heated, transfer it into the mold, place the top plate, and insert it into the sheet press. We use a DIY 2-ton (1.81 metric tonnes) bottle jack press.
Allow it to cool overnight. As HDPE cools, it shrinks, so add more pressure every 5-10 minutes for the first hour to ensure a flat, warp-free sheet.
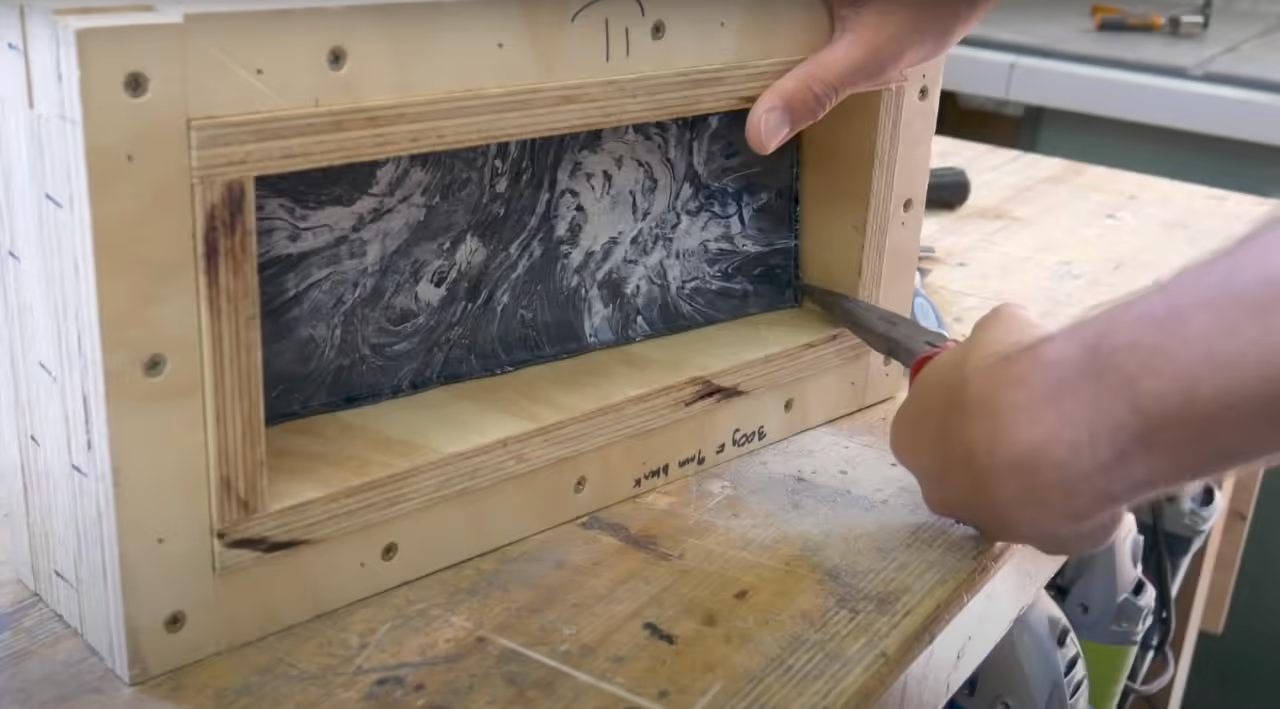
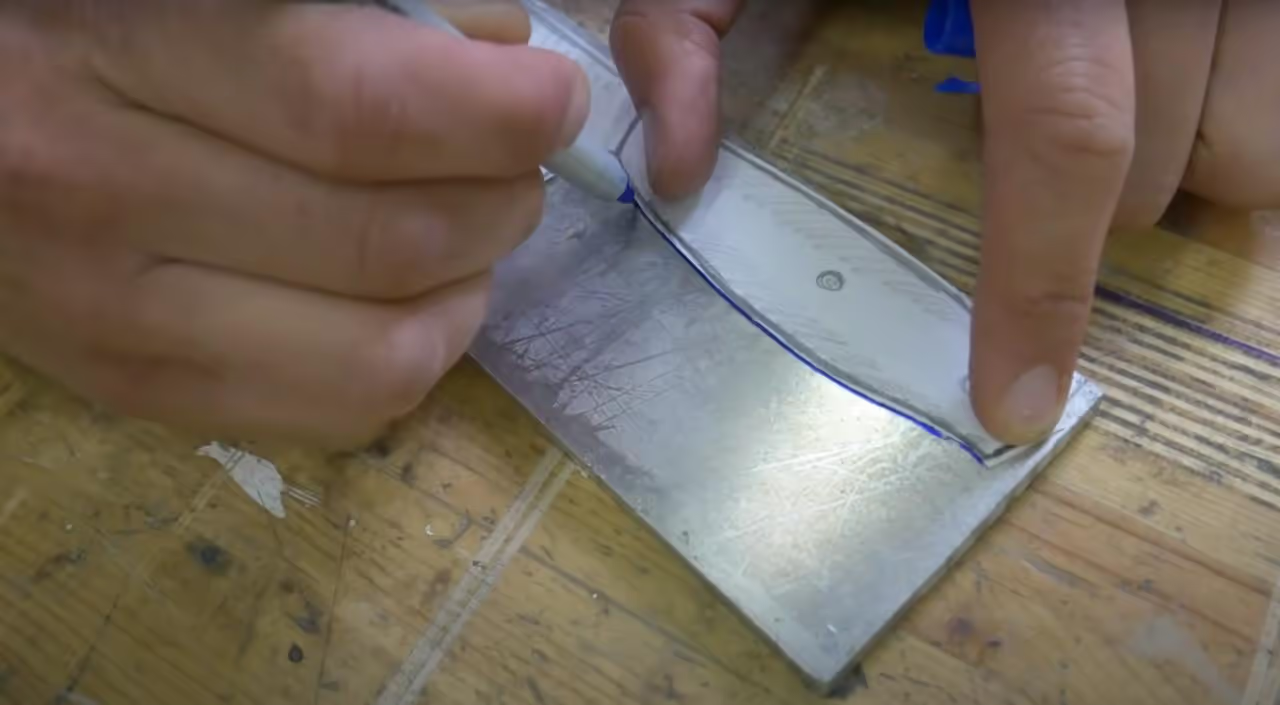
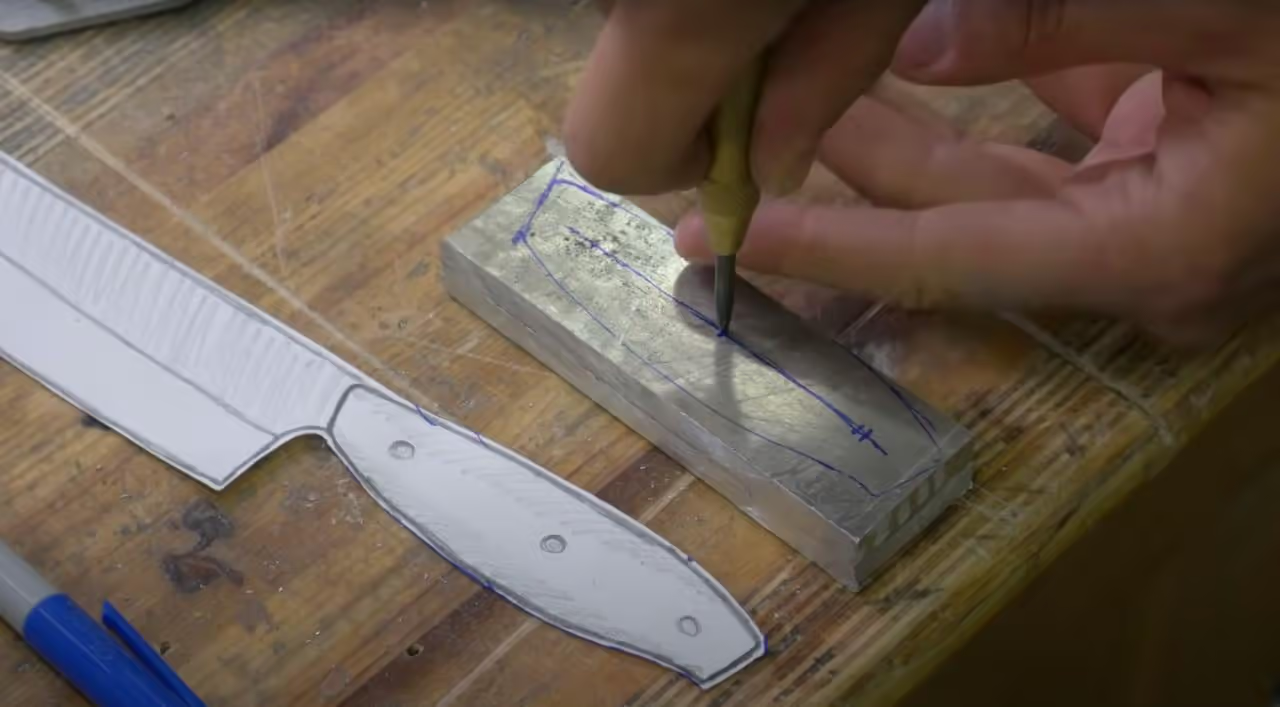
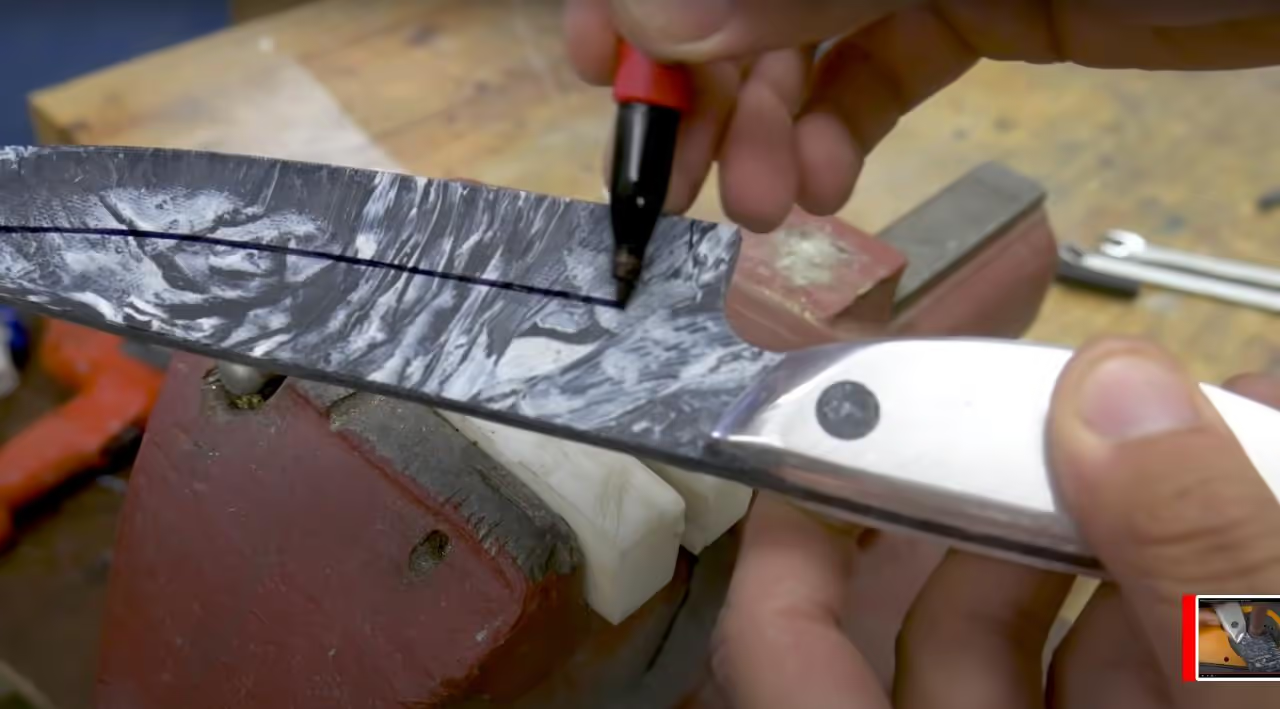
The sheet typically releases easily from the mold; however, pliers may be needed for assistance. After removal, trim any excess material and apply the selected template design.
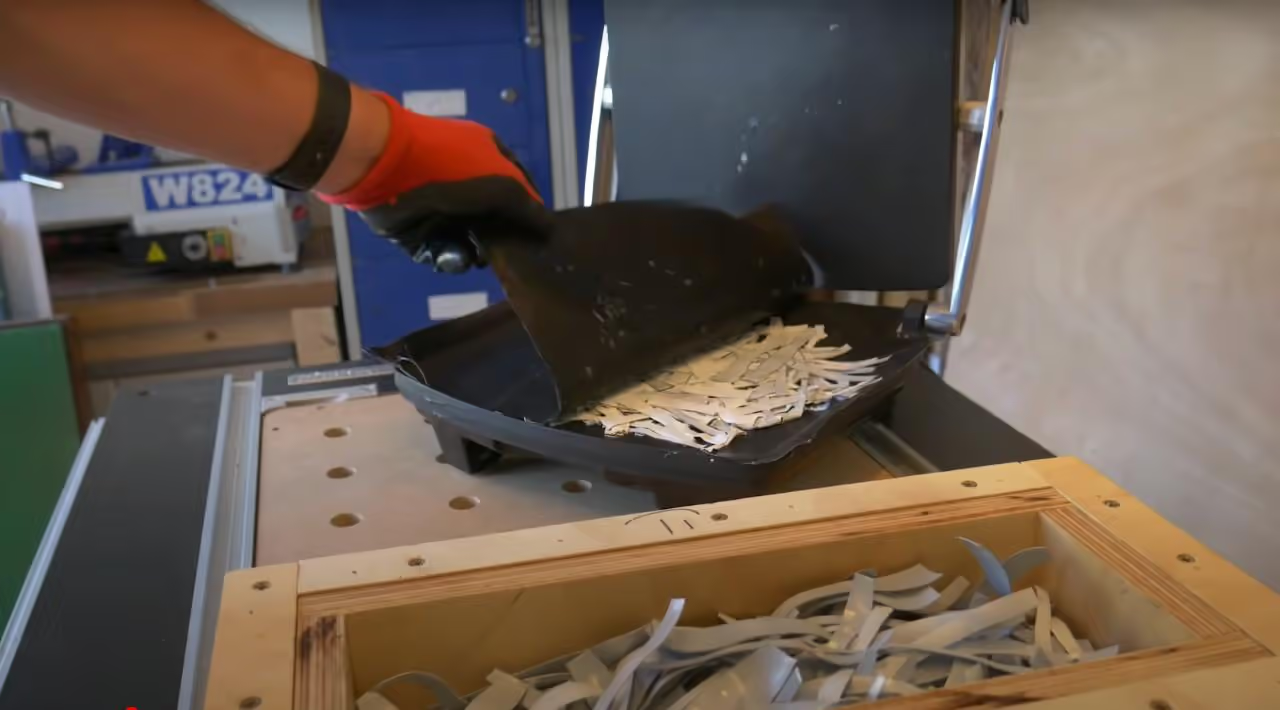
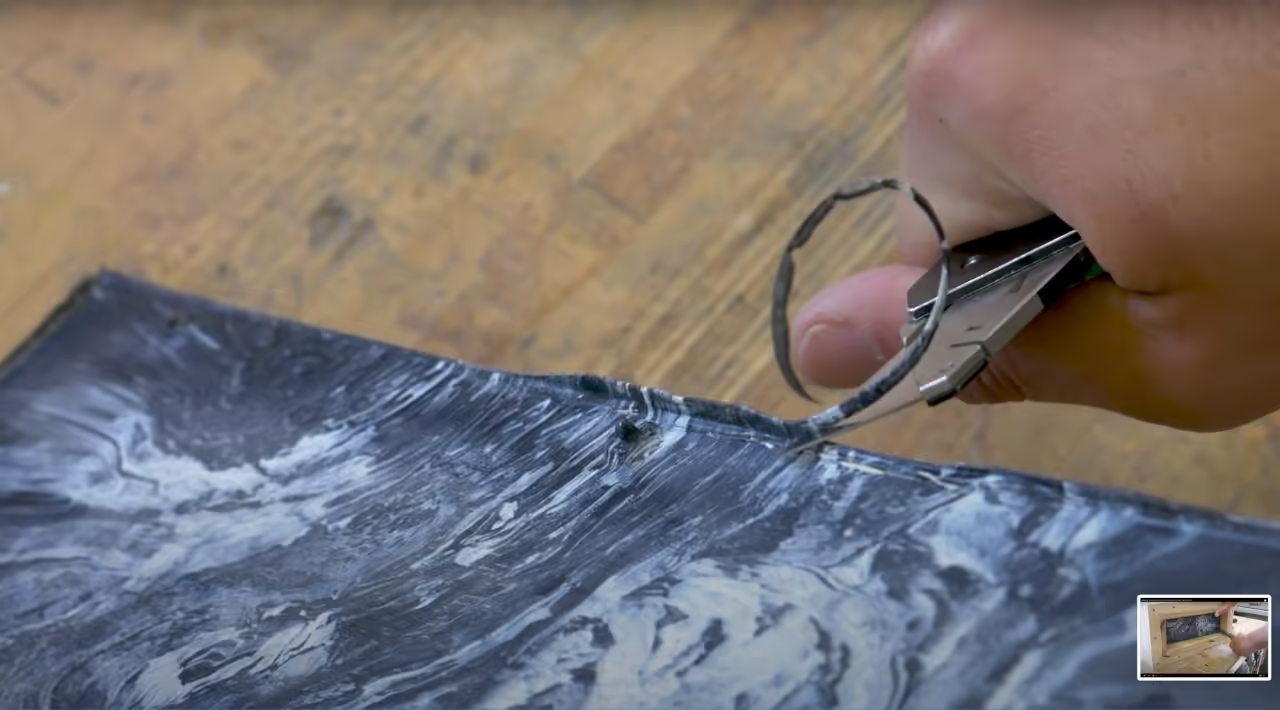
The scroll saw is preferred for its efficiency in minimizing waste. Waste material is saved for future use. Cutting reveals a glimpse of the marble effect on the blank.
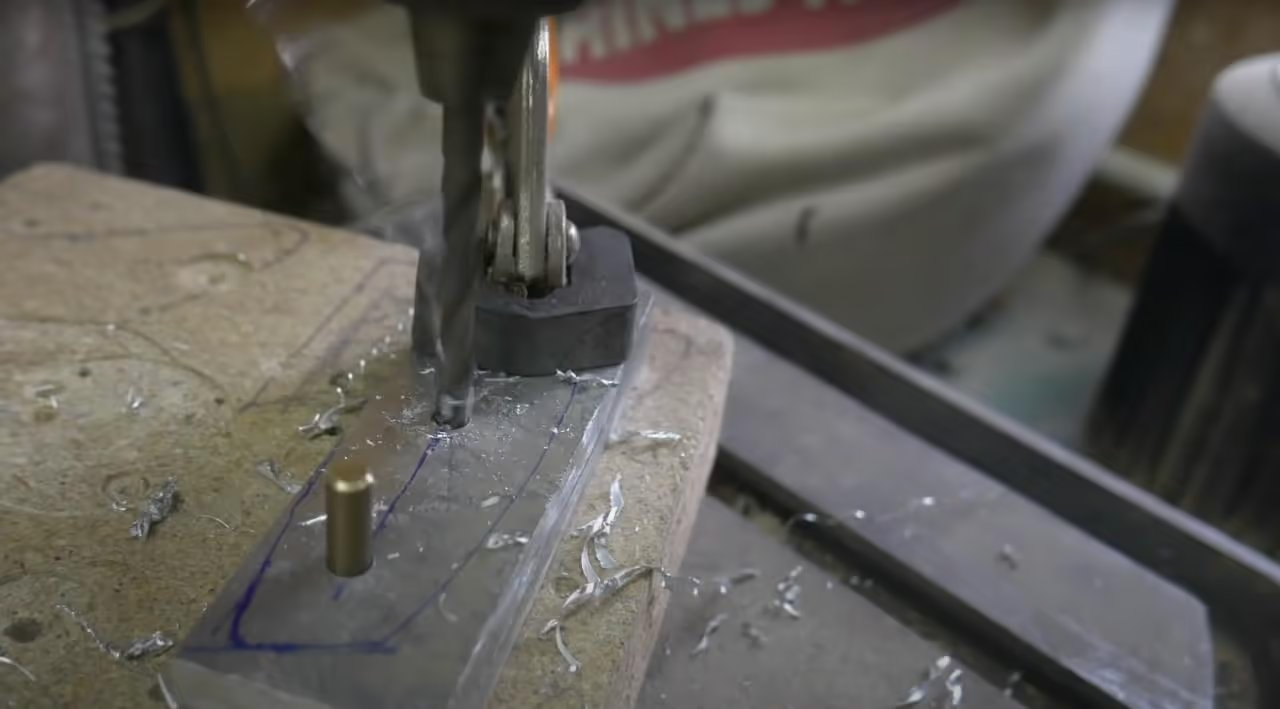
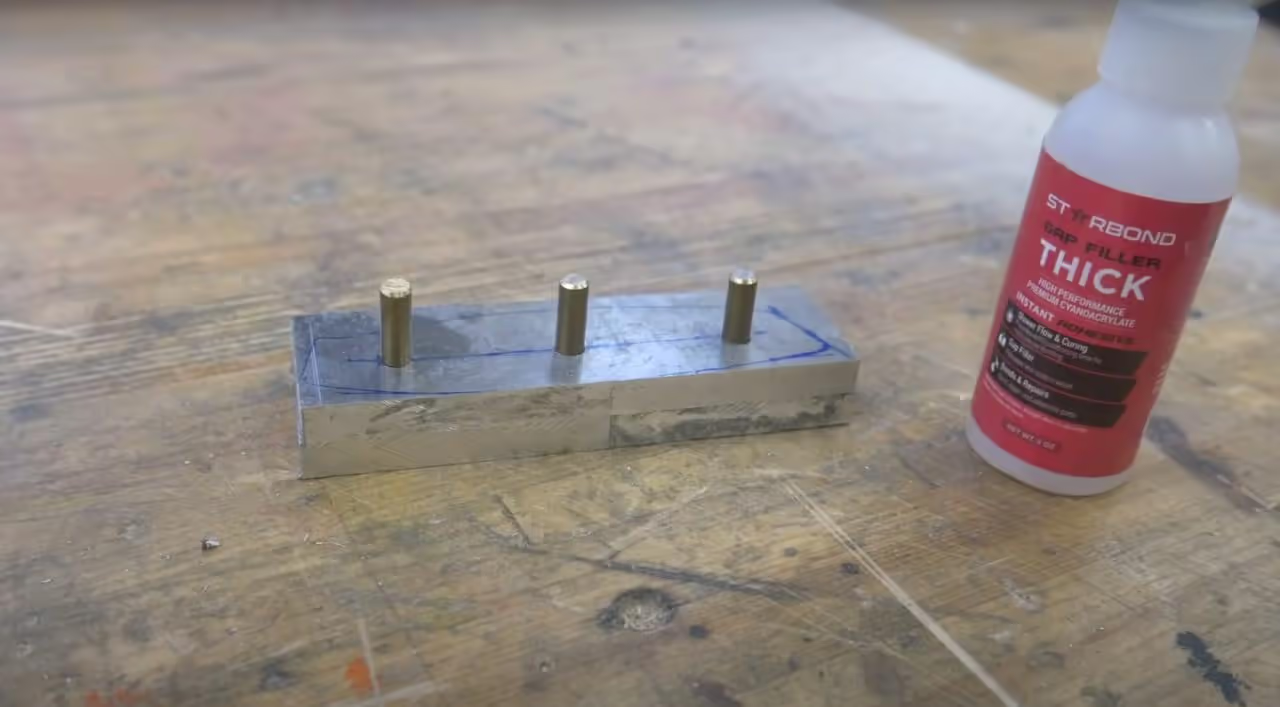
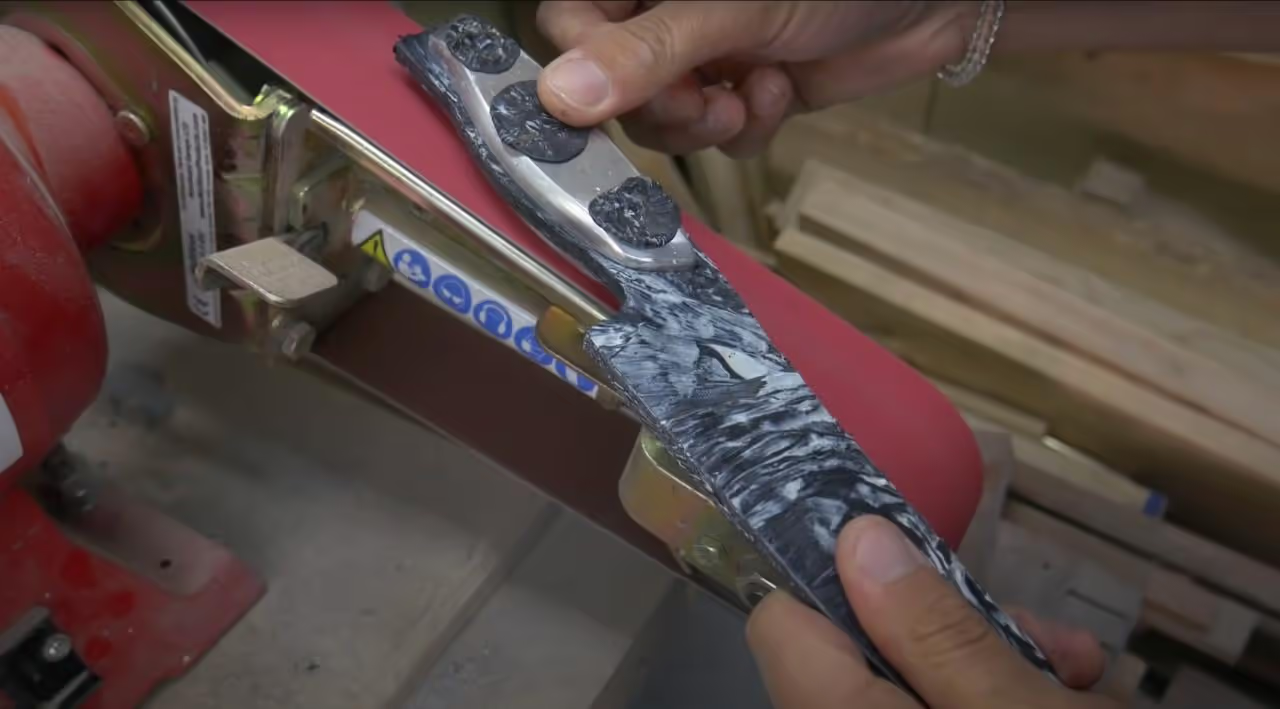
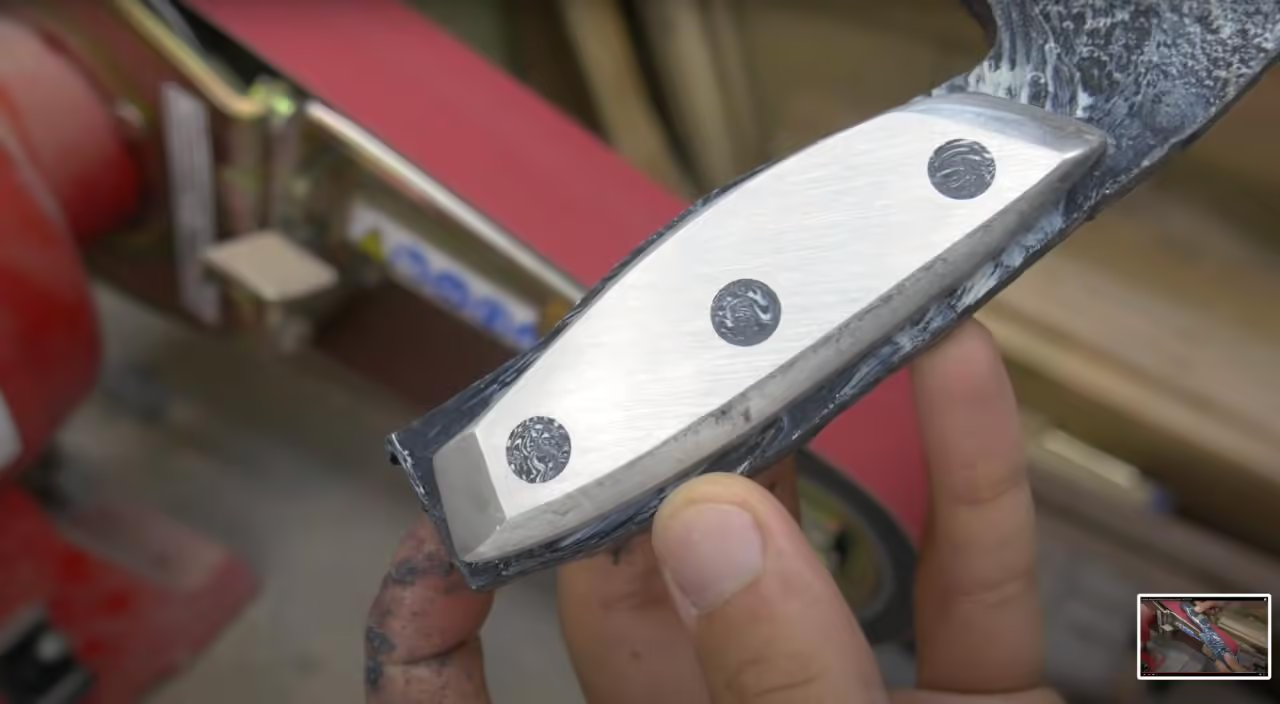
We used an 8 mm (5/16 in) aluminum plate for the scales. We traced the template onto the metal and cut out two pieces with an angle grinder. Then, we marked the three hole positions for the pins and made center punches.
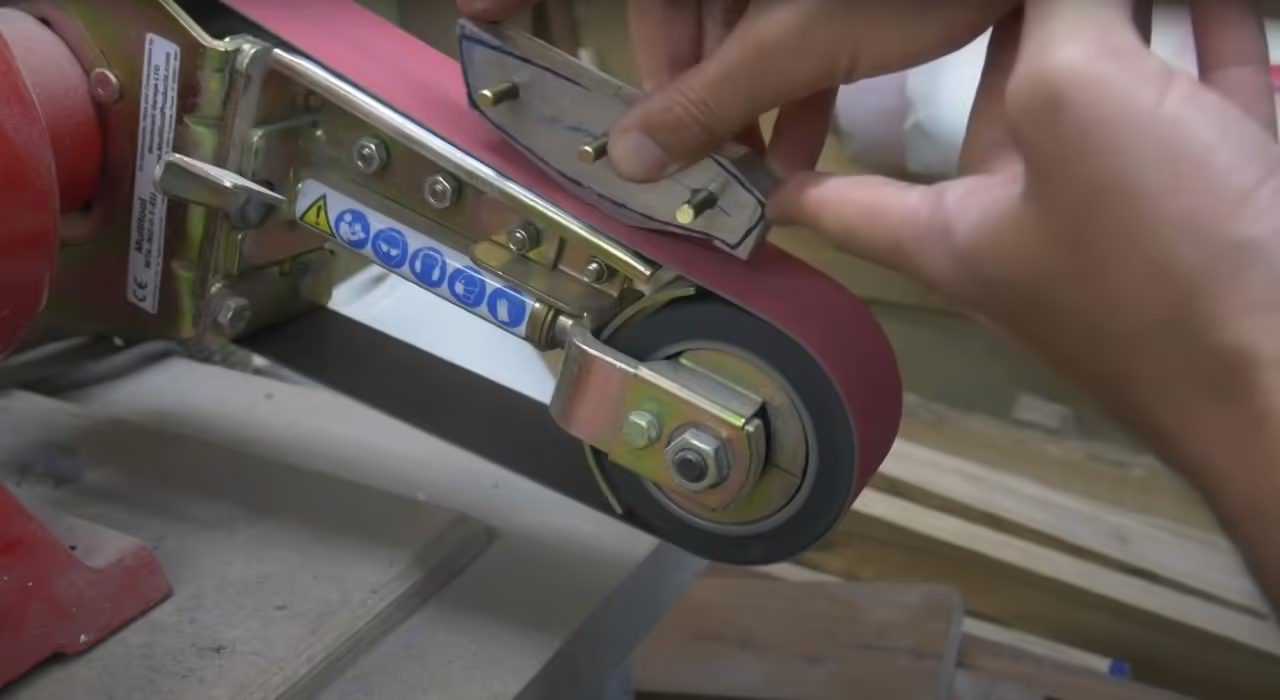
We drilled the three pinholes and used brass rods with a little superglue to hold the two scales together. This ensures uniform shaping on the grinder.
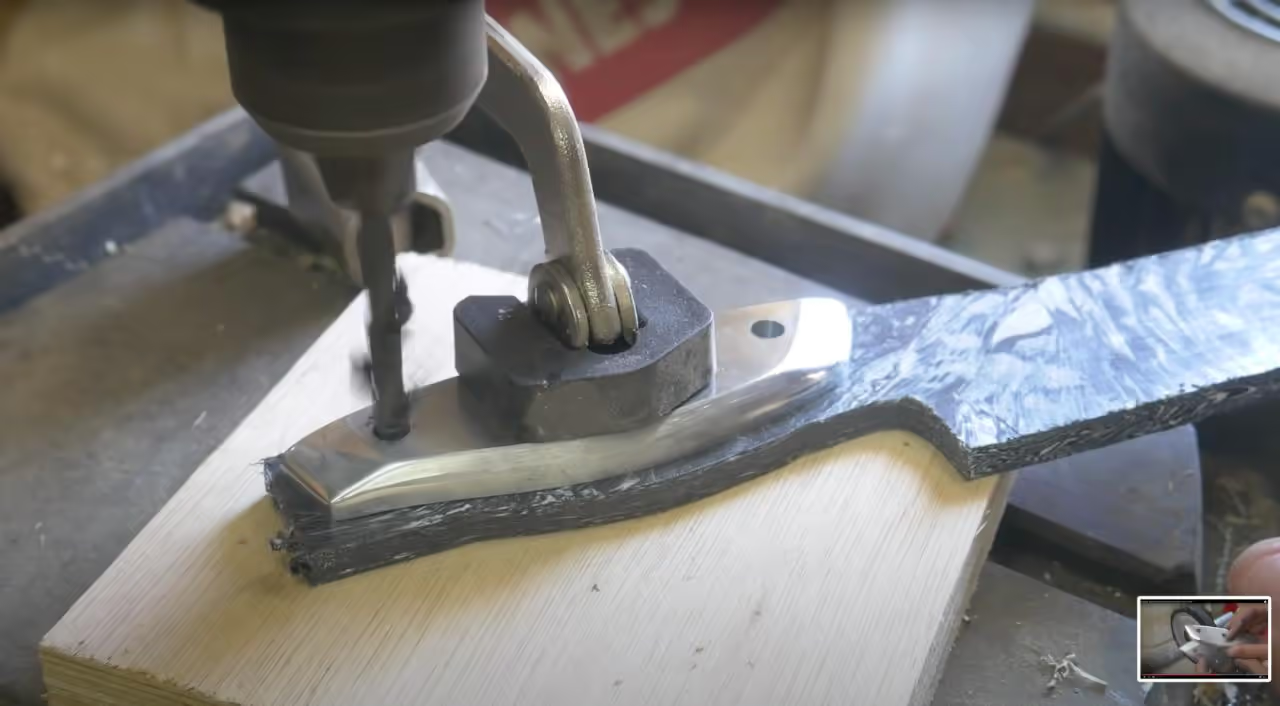
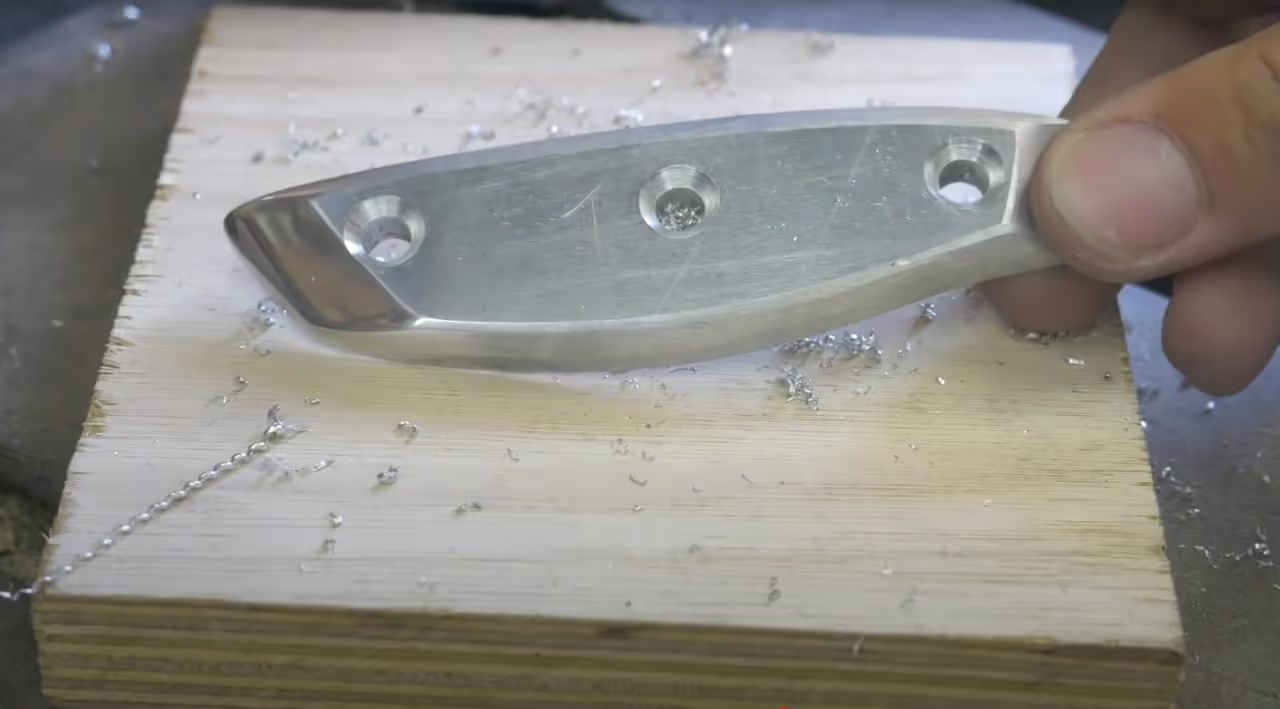
After shaping the scales, we removed the pins and aligned the handles with the plastic blade. These were then clamped in place, and we drilled to mark the exact locations on the plastic. We also added a deep countersink to the outer surfaces of the aluminum (aluminium) scales.
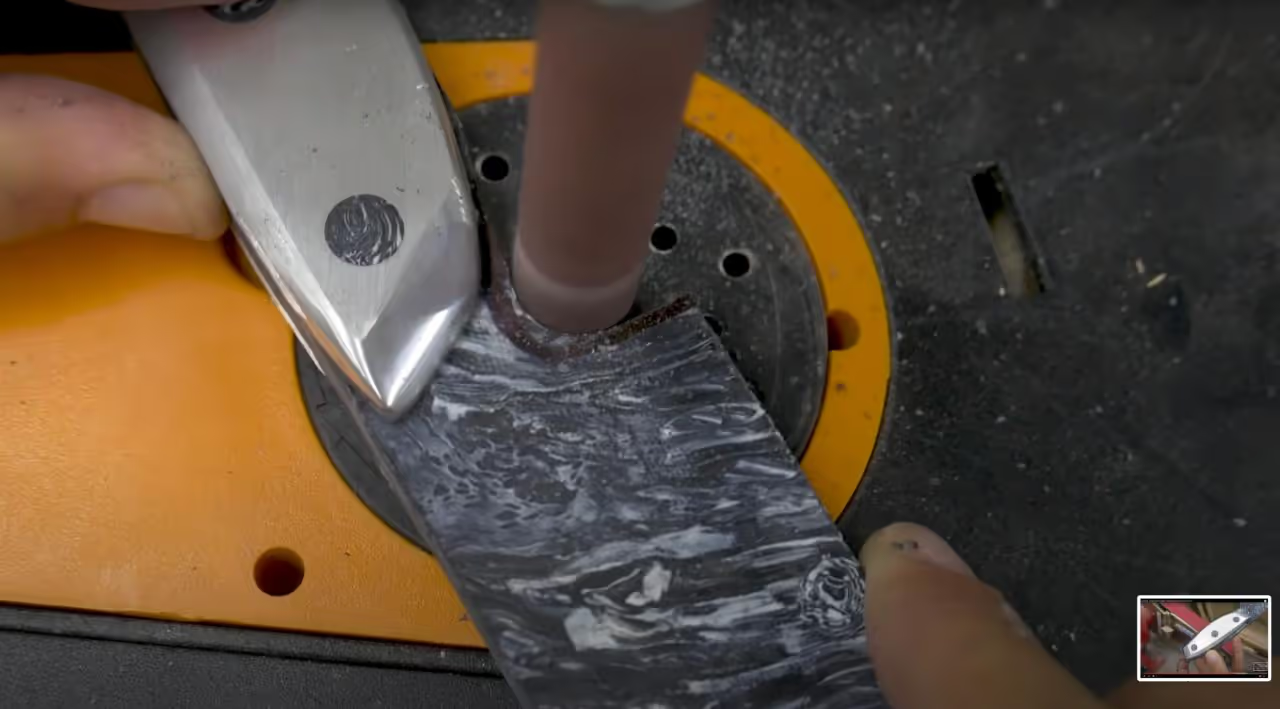
To match the blade, we crafted pins from leftover HDPE. We cut a long, thin piece, chiseled the corners, and used a drill with sandpaper to form a dowel. This dowel was then cut into pieces for pins.
This was our first attempt, and it was successful.
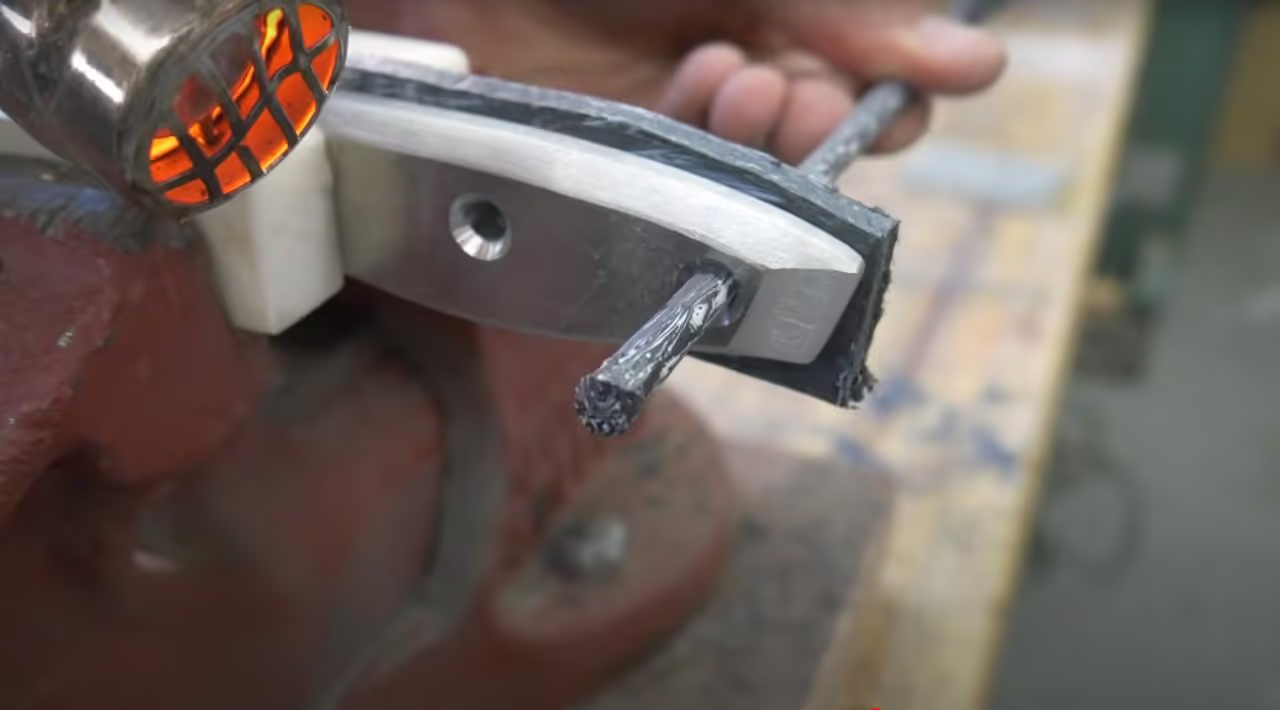
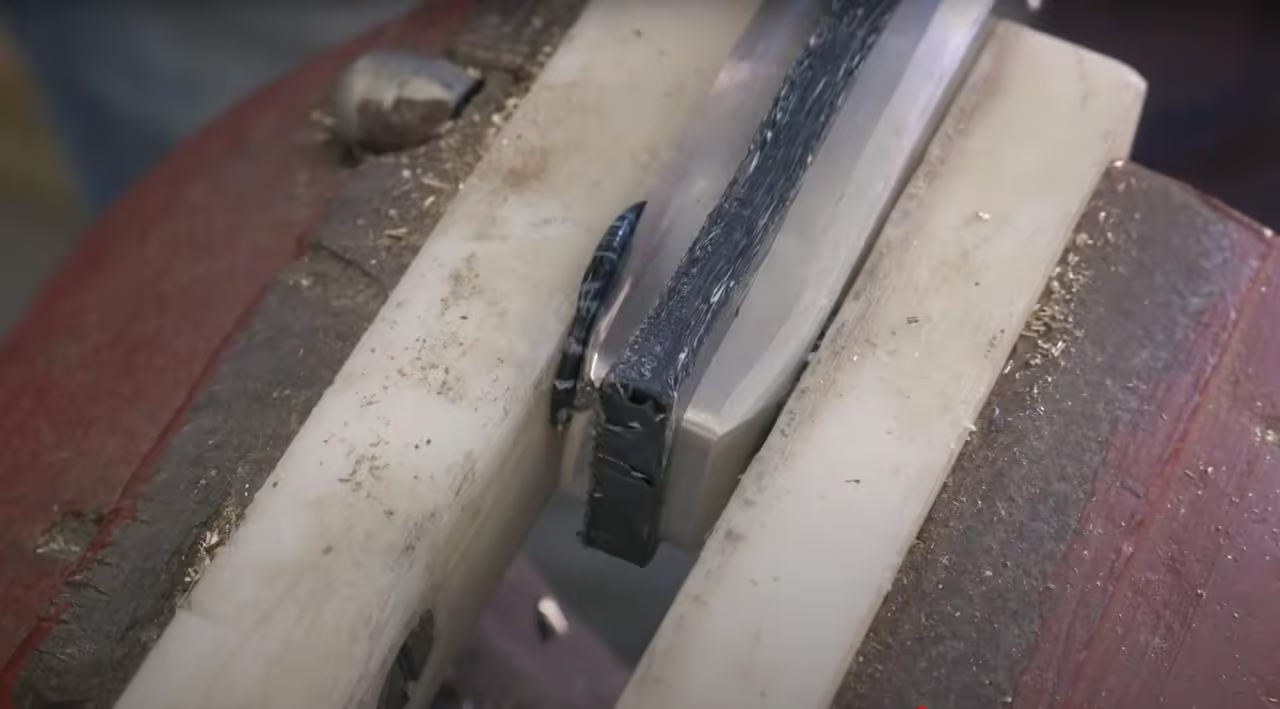
We inserted the pins into the handle and used a heat gun to soften the plastic until it could be pressed against a hard surface. This initial step ensured the pins were roughly positioned. After repeating this for all three pins, we carefully heated both sides of each pin, avoiding the plastic blade, and secured them tightly in a vice. As the plastic cools and shrinks, remember to tighten it every 5–10 minutes.
We carefully sanded the pins flush with the surface of the aluminum (aluminium) scales. Due to the low melting point of HDPE, it can warp easily, so we kept it cool by frequently dunking it in water. The pins turned out well.
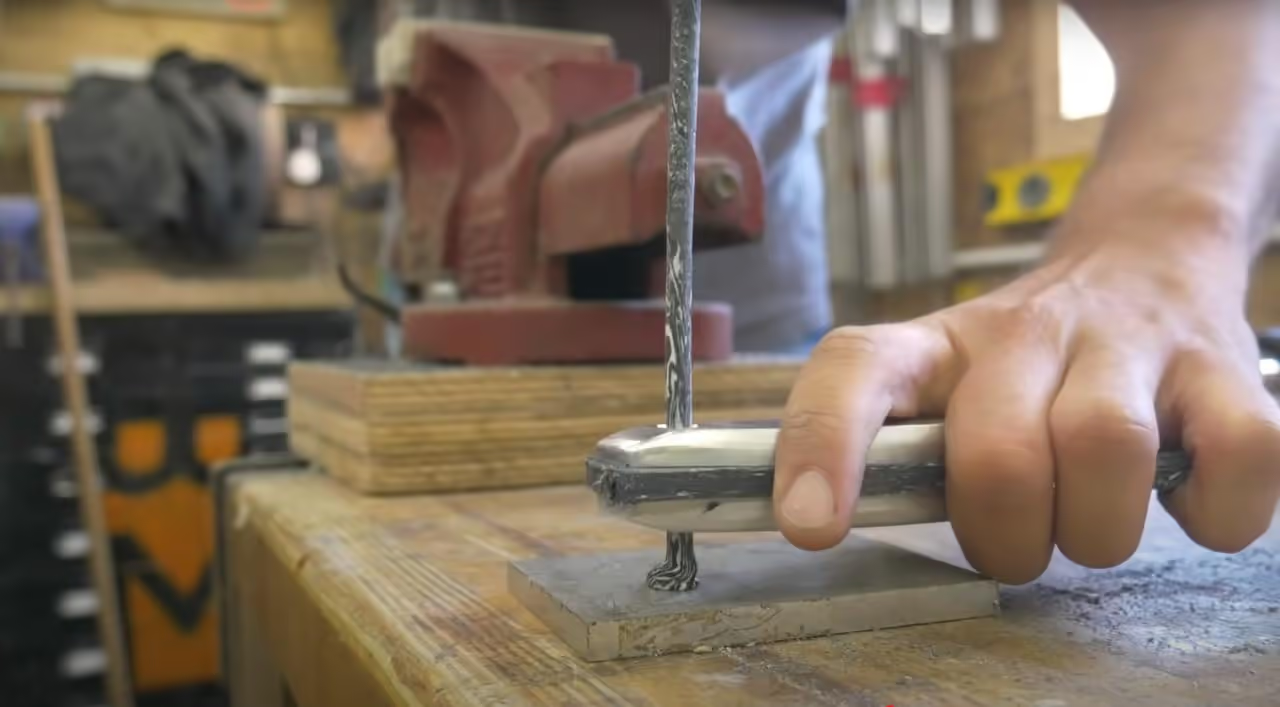
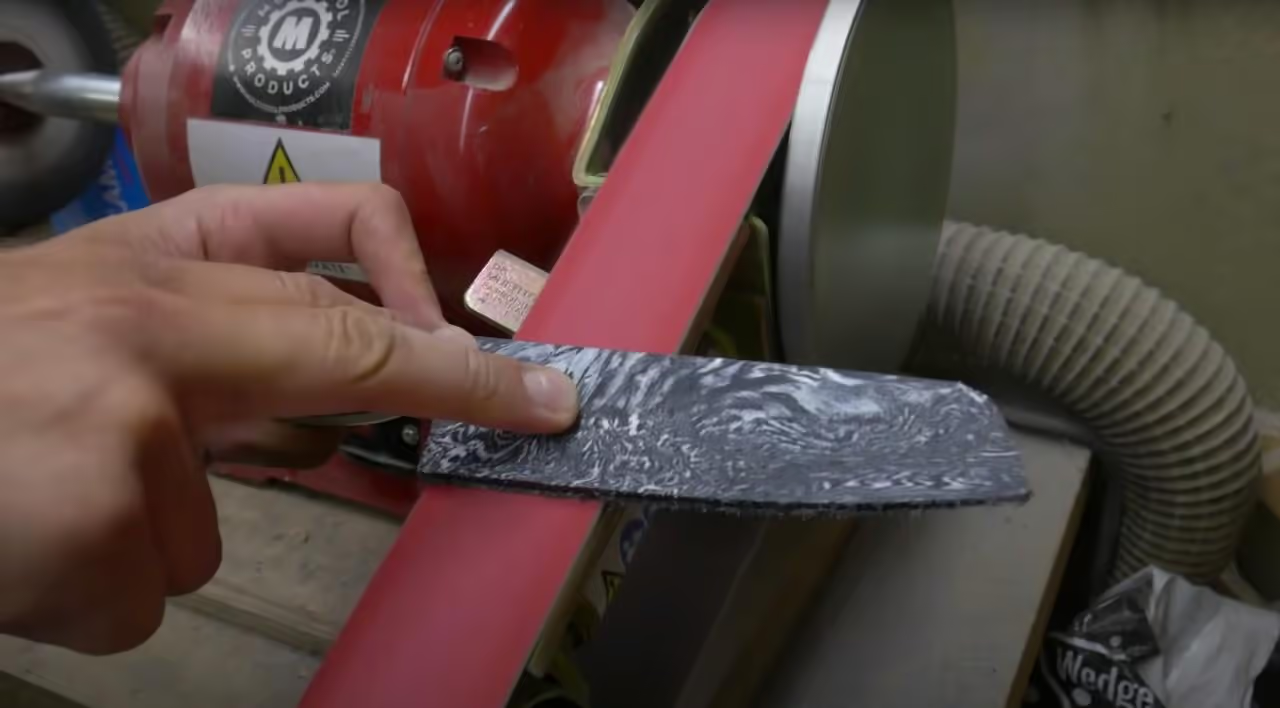
We refined the shape of the plastic blade with a belt grinder and spindle sander, drawing and sanding to the bevel line. It was challenging because the plastic becomes fragile near a sharp point, risking potential splitting at the edge, so we avoided making it too thin.
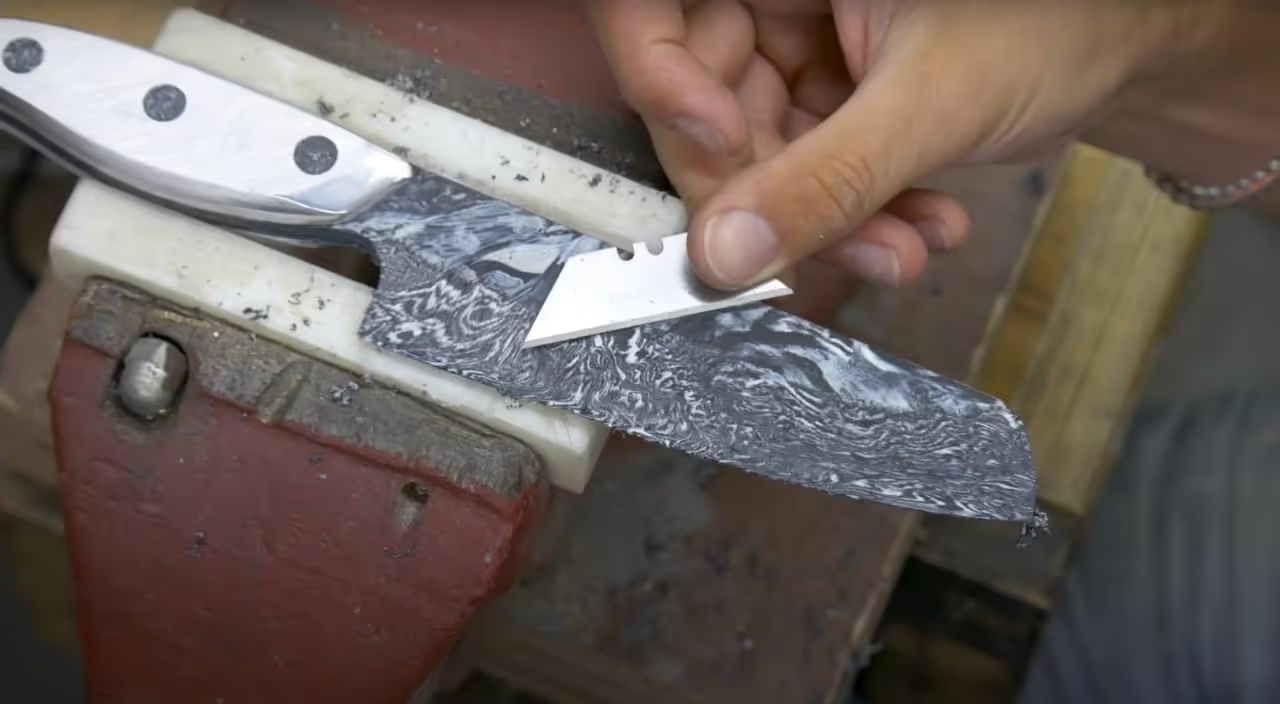
HDPE polishes well with sharp tools. To enhance the marble effect, use a razor blade to scrape the plastic surface, achieving a smooth finish without the need for further sanding.
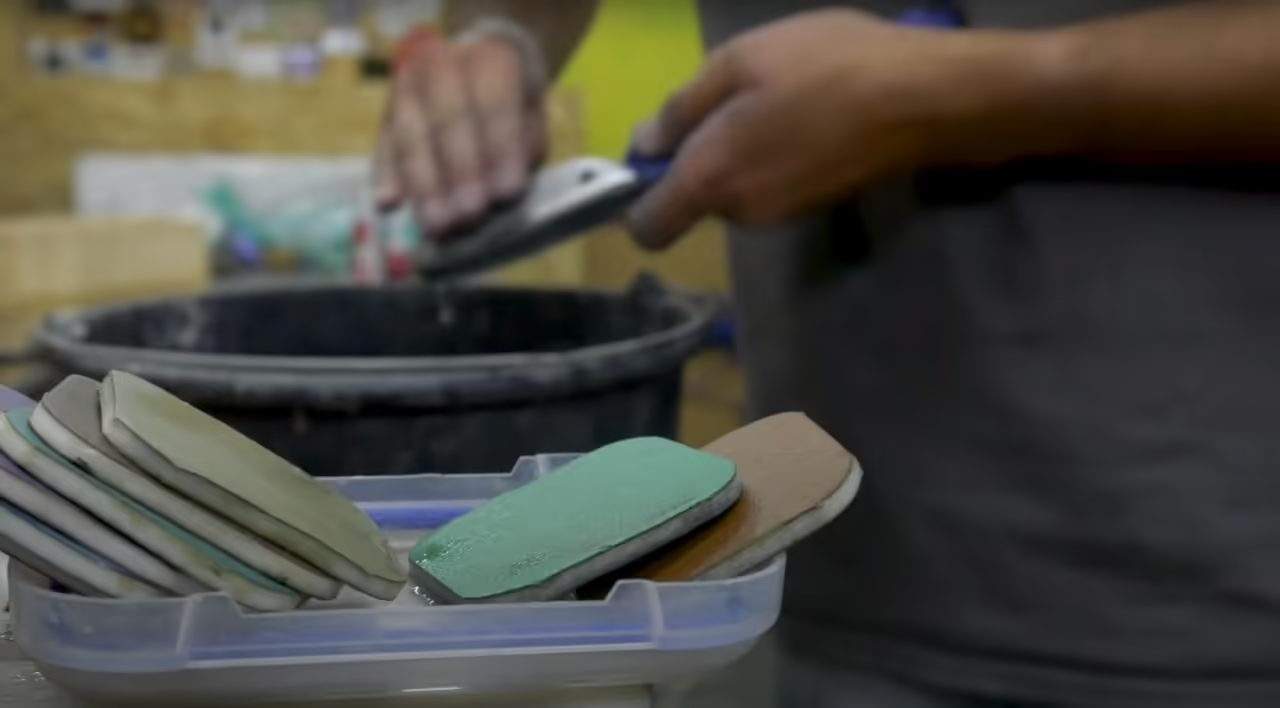
For finishing, wet sand the handle with paper up to 2000 grit, then use Micro Mesh from 2000 to 20,000 grit for optimal results.
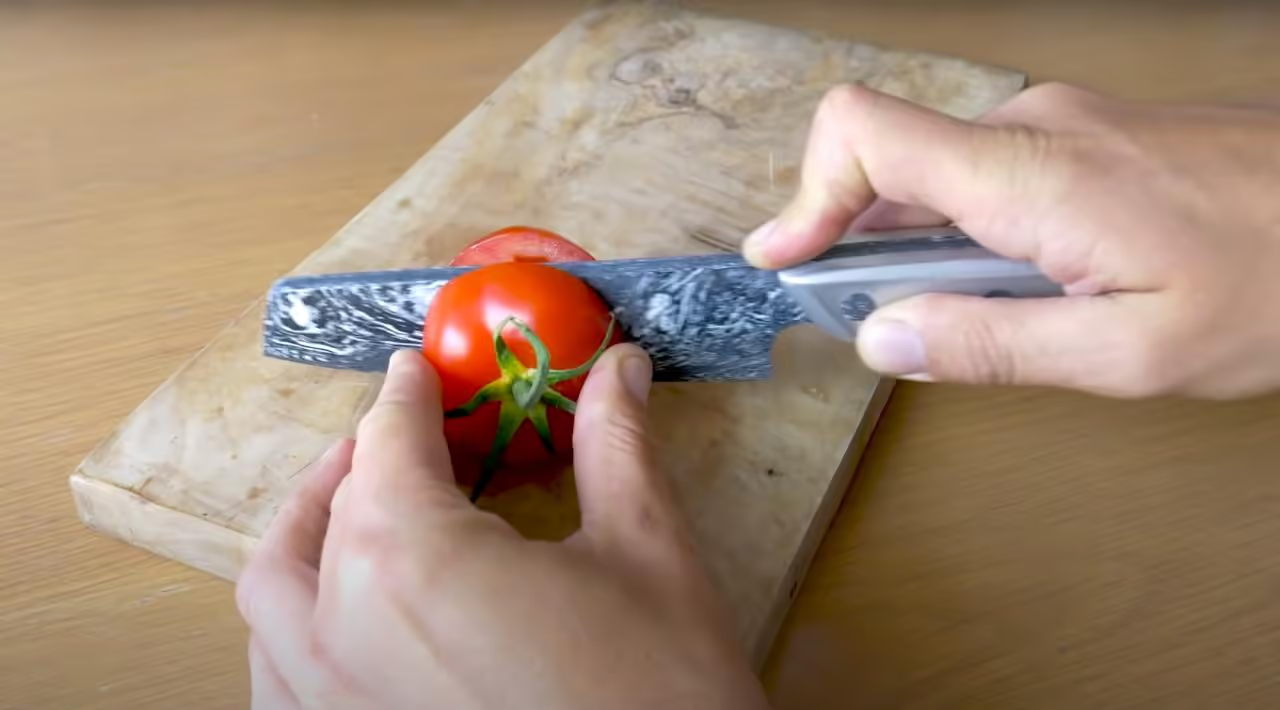
We inquired what our supporters wanted us to cut with the knife, and the top requests were a cake and a tomato. We successfully cut both, although the blade had some difficulty with the banana cake's crust.
Most images are screen captures from our video, linked below. Your feedback is welcome.
We hope this guide is helpful.
Matt & Jonny
Brothers Make