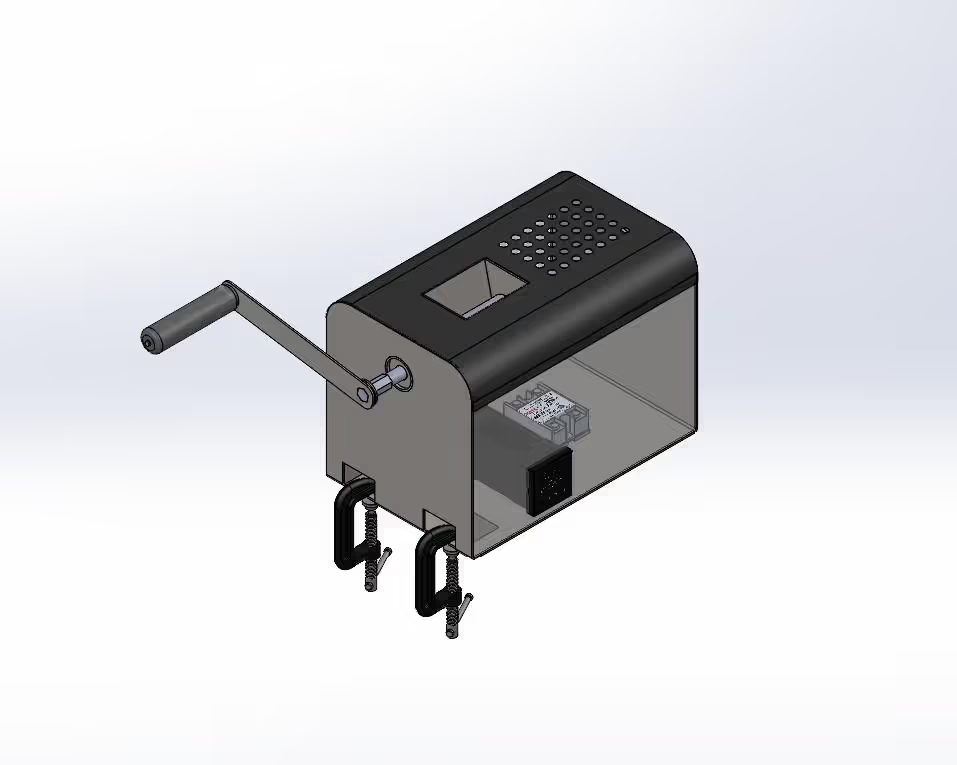
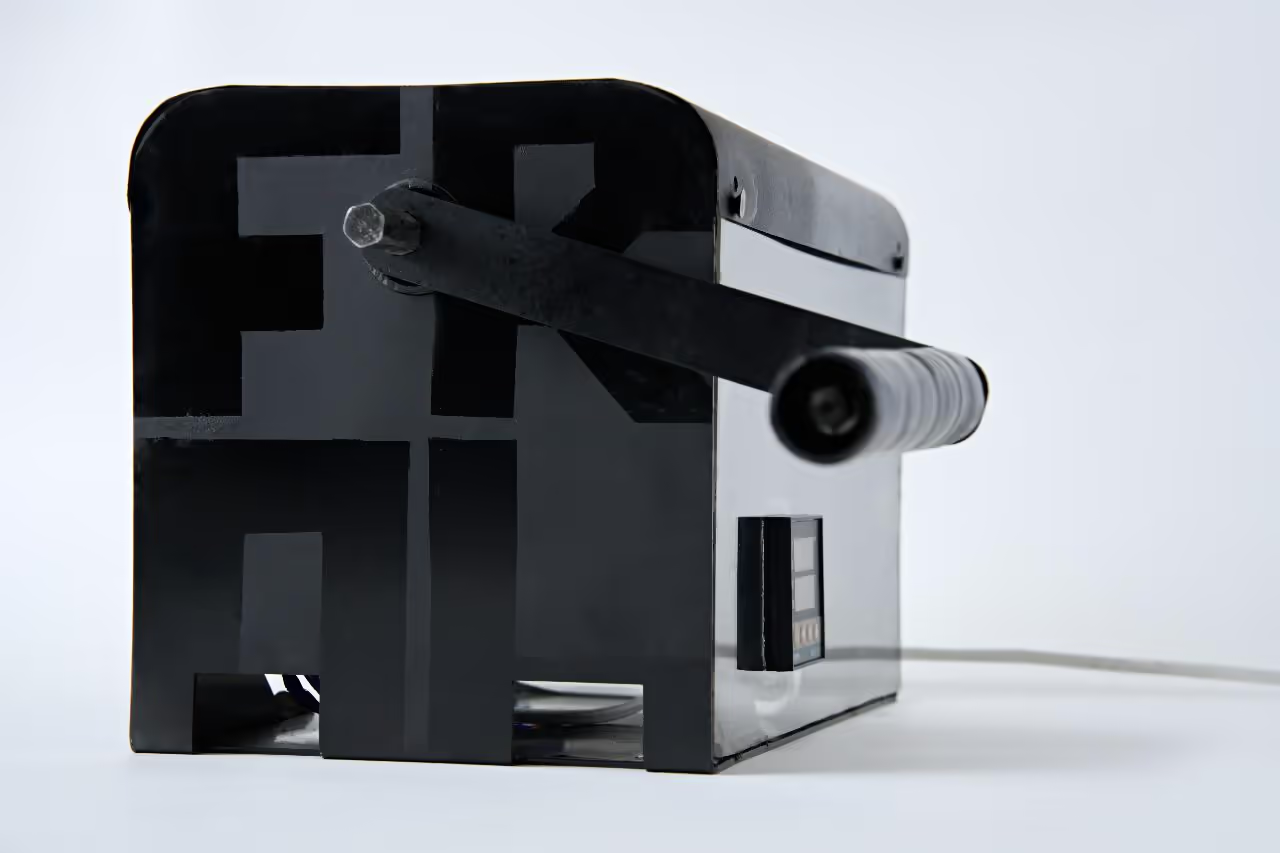
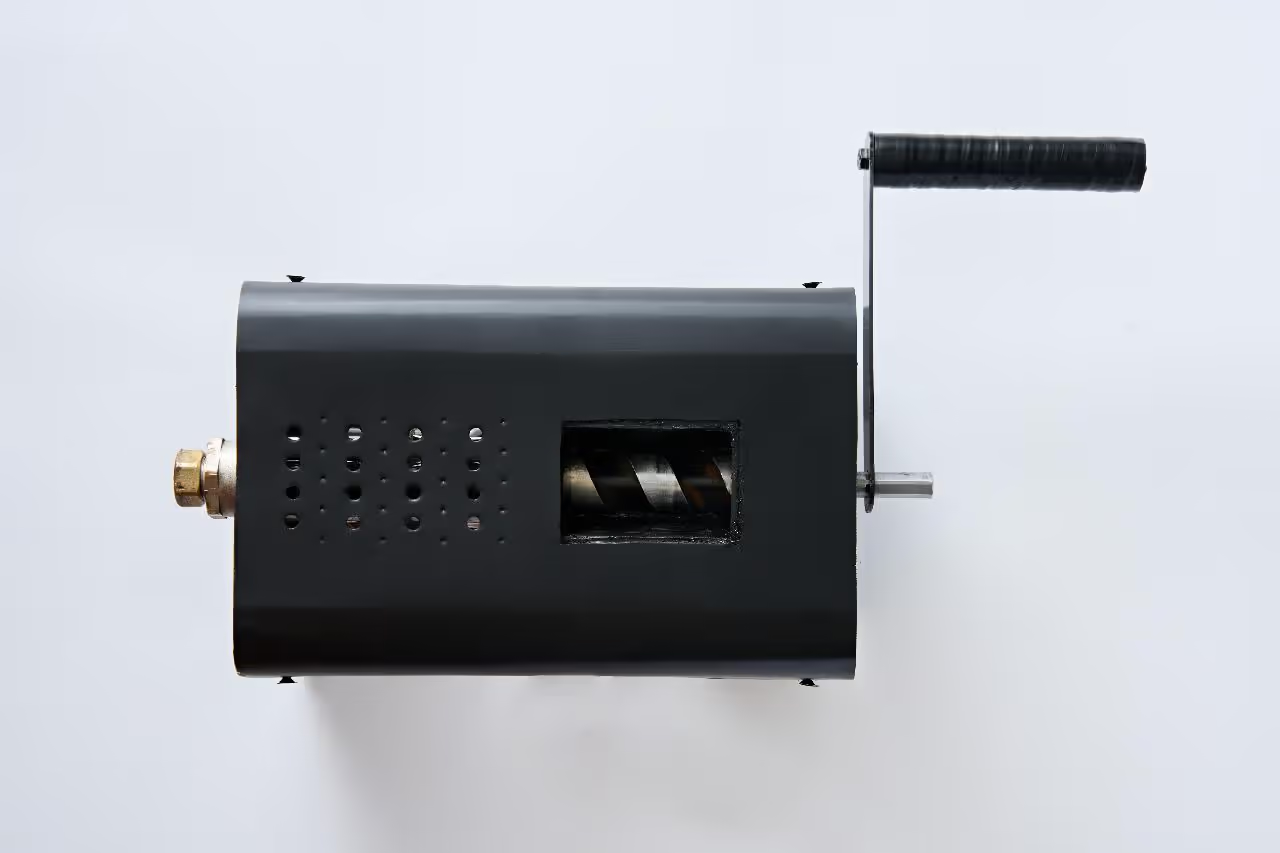
Desktop hand table extruder
EXTRUSION
MELTING
OTHER MACHINE
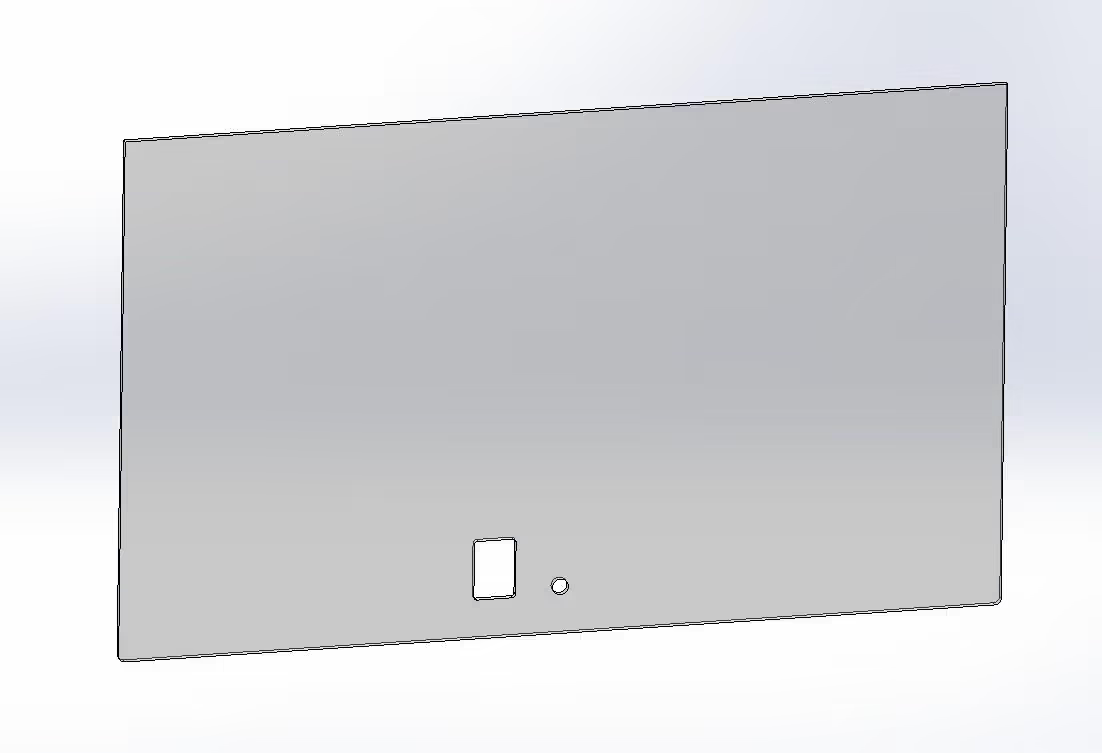
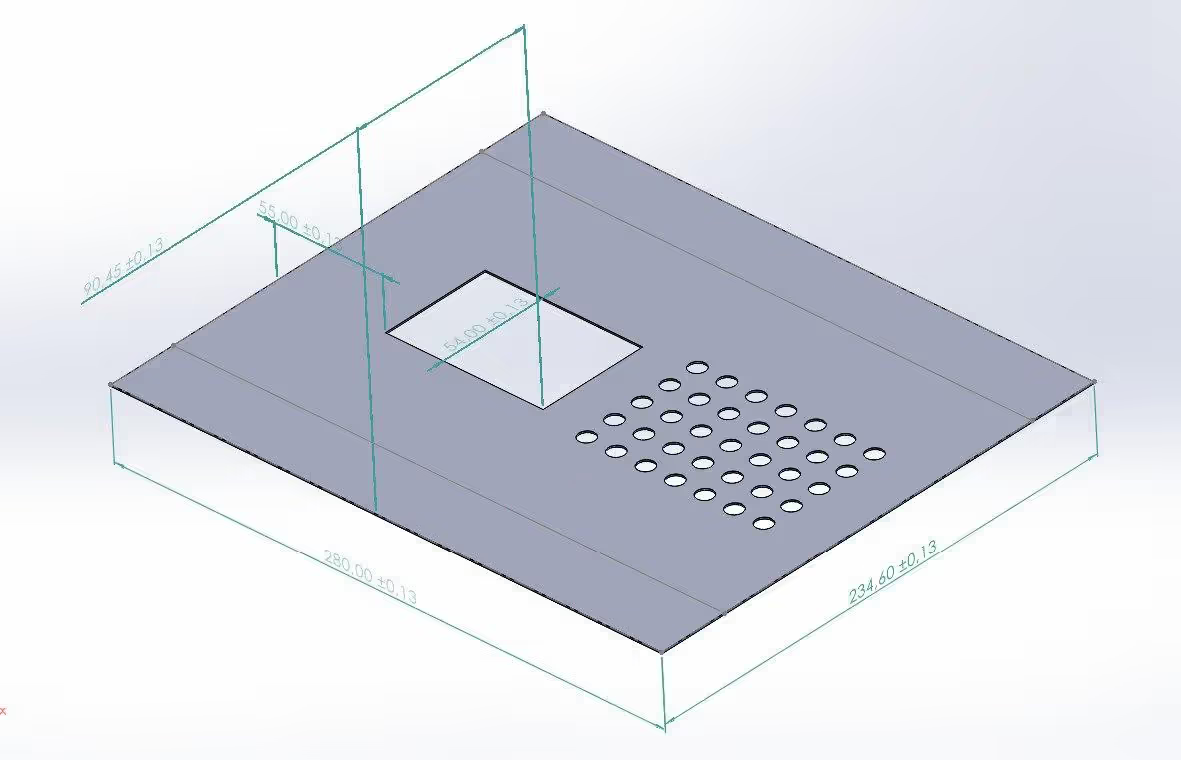
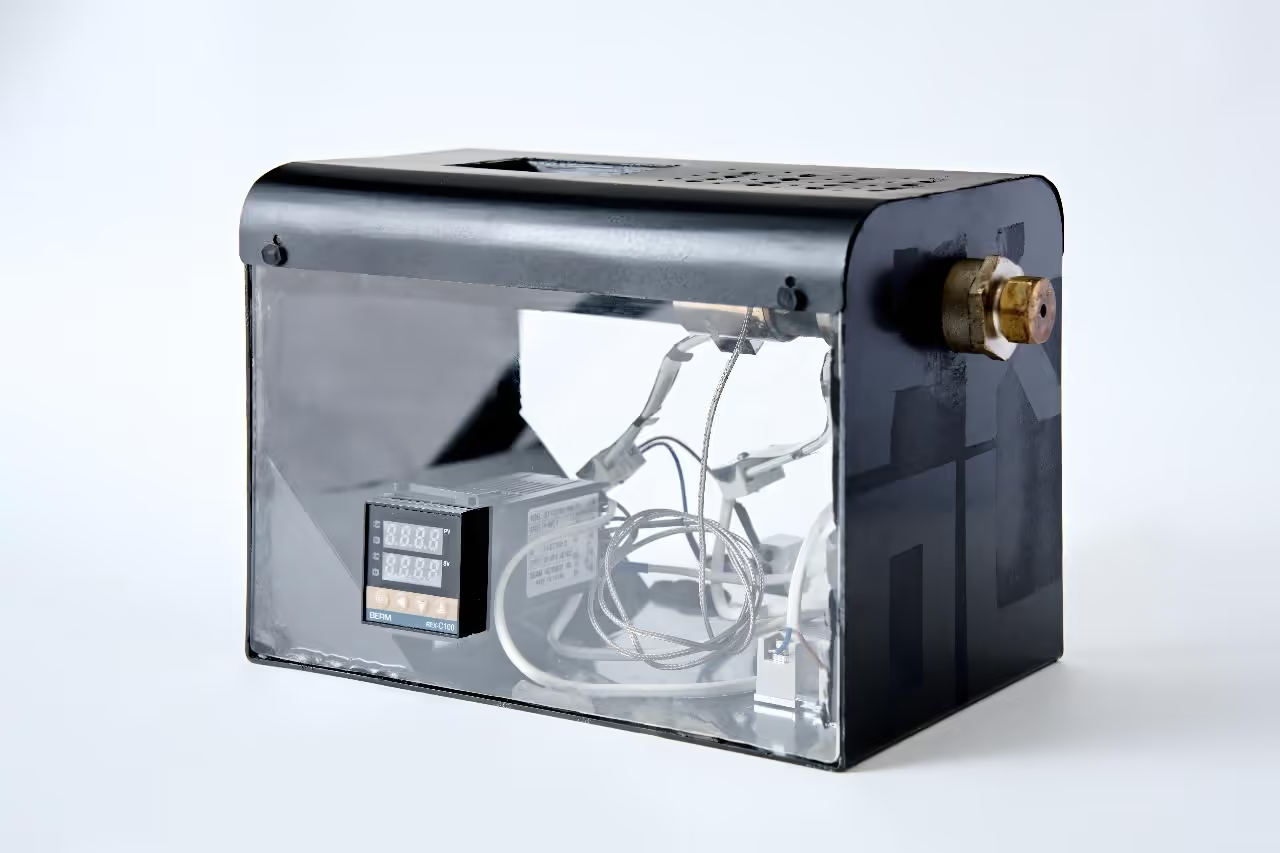
Desktop extruder for home use. Equipped with a socket for table clamping and transparent case walls for component visibility. Features a surface for pre-drying plastic.
Included:
This extruder is intended for small batch production and public demonstrations. It is my design, but you are welcome to modify it.
To use, add plastic, turn the handle, and create your product.
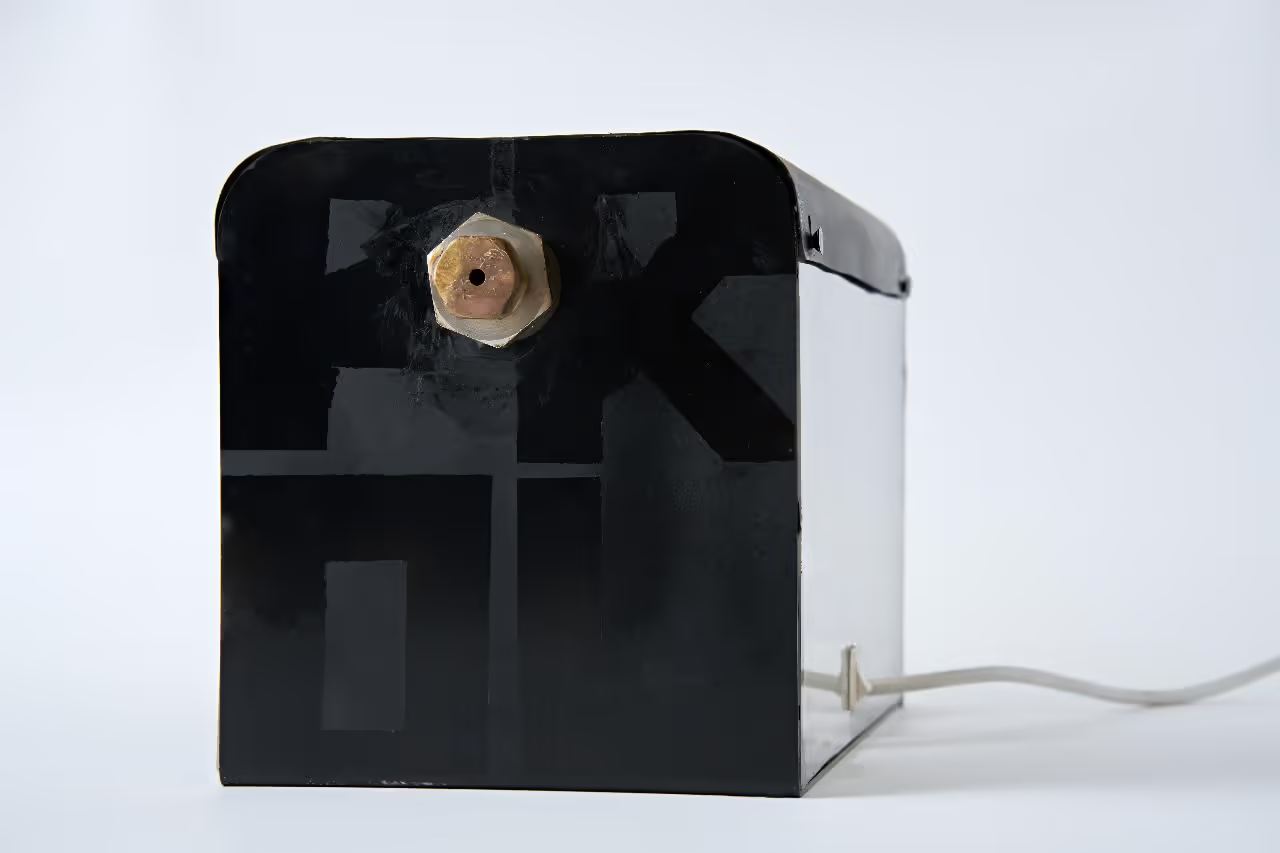
Suitable for working with plastic at melting temperatures up to 572°F (300°C). Originally built for 220 volts; can be adapted as needed.
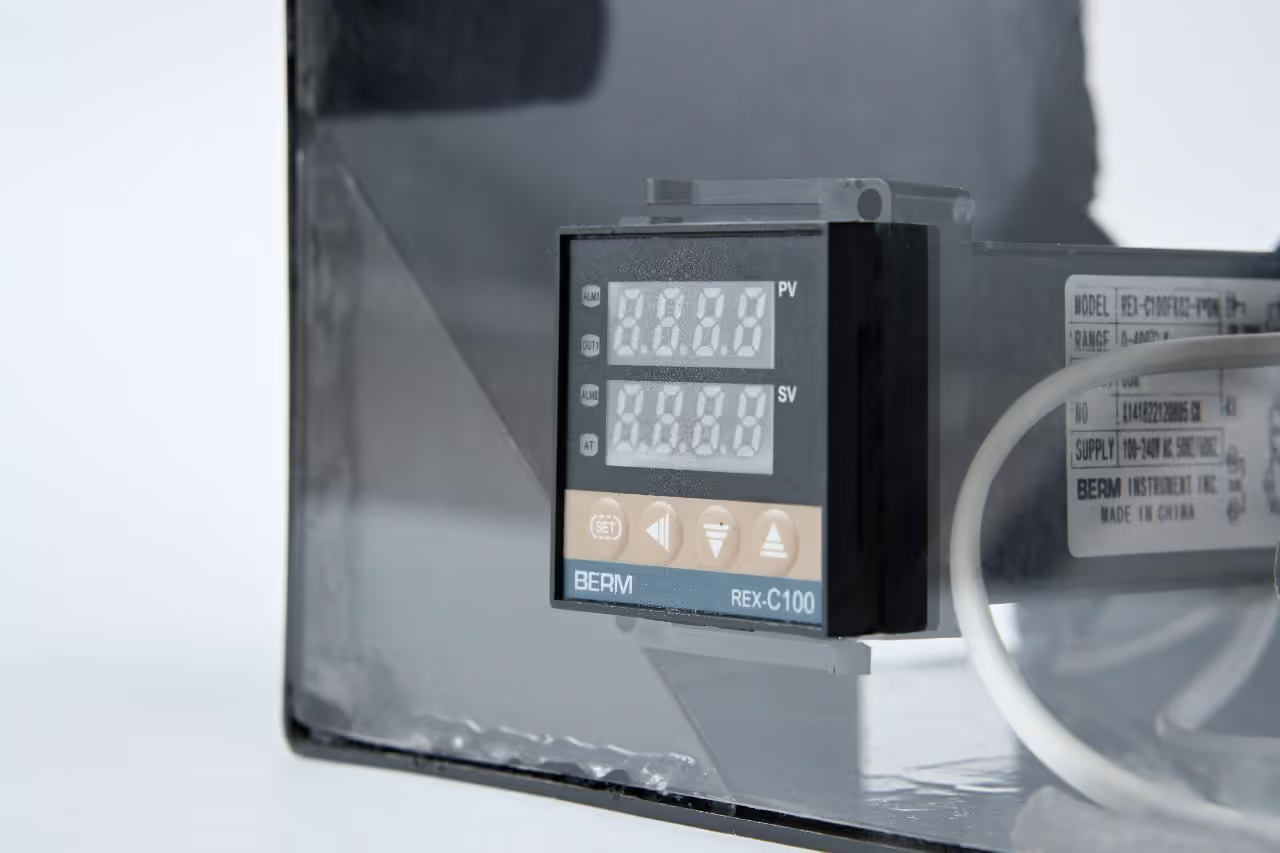
It may take some time for shipping, so it is advisable to begin with that. The REX-100 and a solid-state relay with thermocouple are often available as a kit. For heating, use two ring heaters and include a switch at the back.
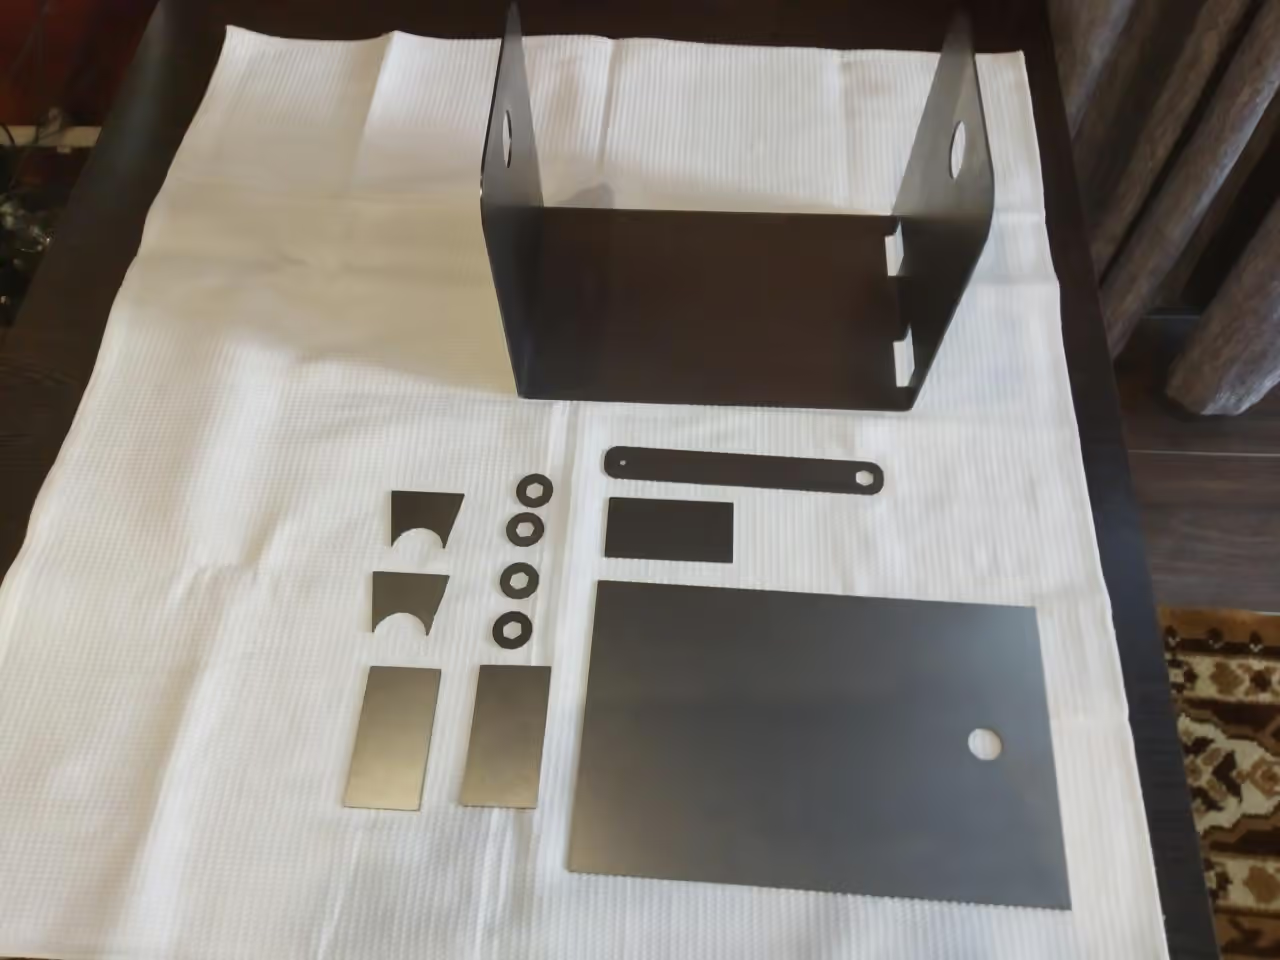
Various materials were used for the project:
Consult with the local manufacturer to determine the required file format for laser cutting and bending and convert your files accordingly. Common formats include .dxf, .cdr, or .dwg.
Thin sheet steel for the roof can be manually cut and bent. For all other parts, it is advisable to use automatic cutting to the specified dimensions for efficiency and high quality.
You may not need to purchase cutting materials, as they are often included in the plexiglass steel cutting service, preventing leftover waste.
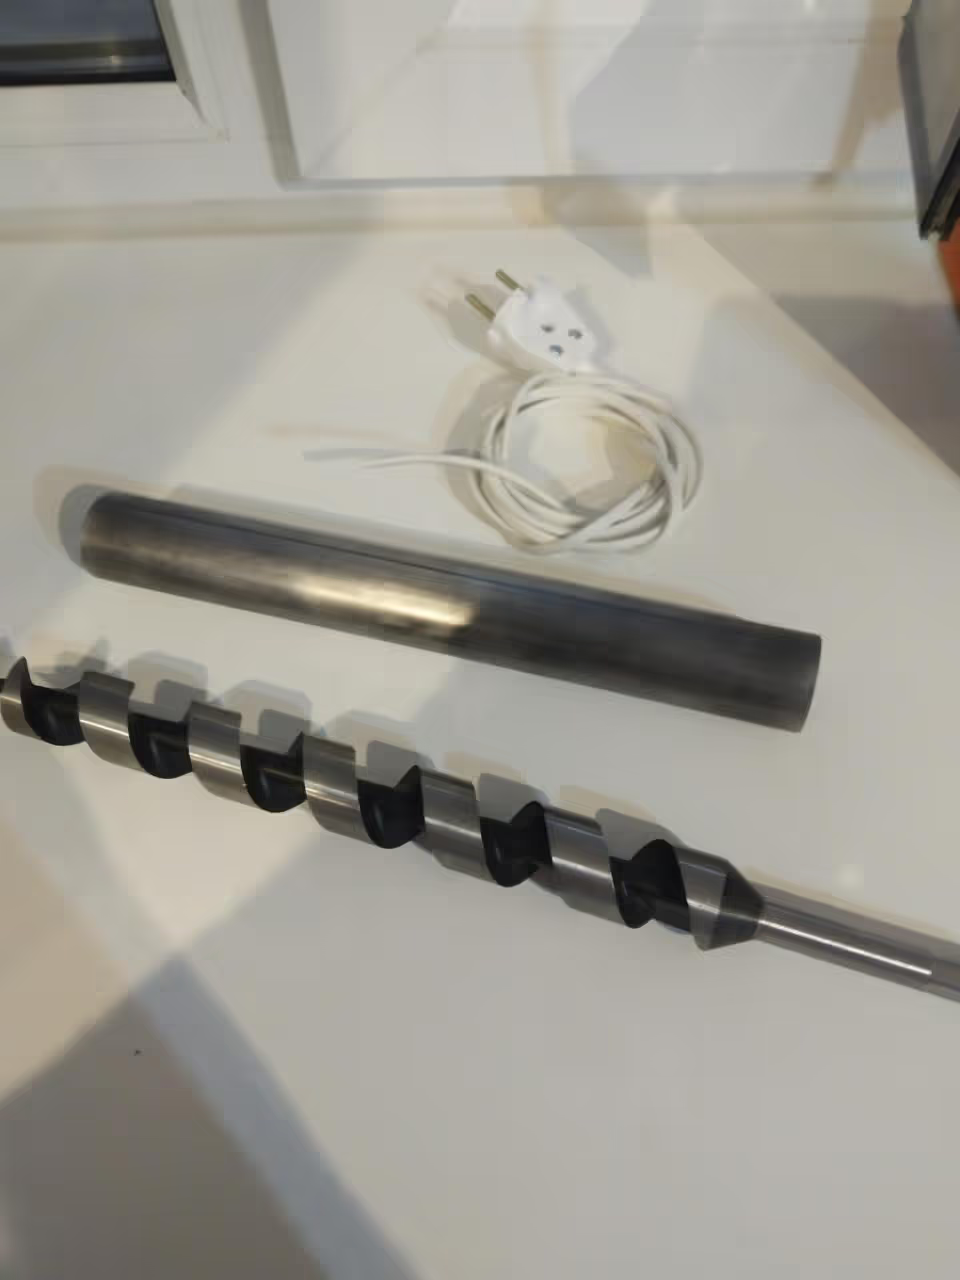
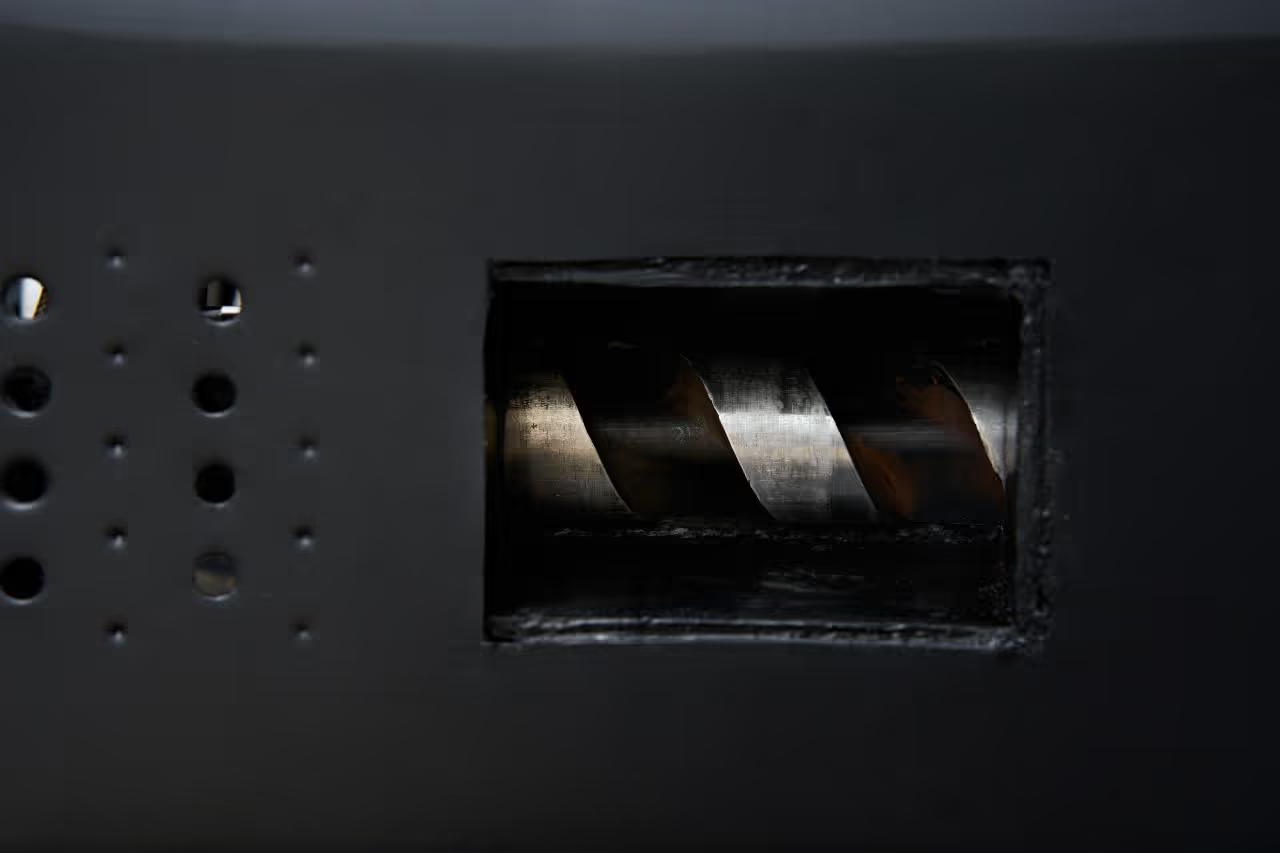
For the heated pipe, options include threading a regular pipe or welding a pre-threaded flange. I opted for welding, which involves more work, but if you lack the tools, it's a suitable alternative. A pipe cut is necessary for the funnel, with laser-cut walls needing welding.
I utilized a 28 mm (1.1 inches) by 350 mm (13.8 inches) wood twist drill instead of a professional auger. Paint was applied to prevent corrosion. Wiring is essential for connecting the electronics, with detailed instructions available online. Clamps are needed to secure the setup to the table.
Incorporate design elements to enhance the machine's aesthetic appeal. Completion achieved.
.SLDPRT files) [1].dxf, .cdr, or .dwg for laser cutting) [1]Links are illustrative; specific suppliers depend on regional availability.