Bicycle Shredder V2
HACK
SHREDDER
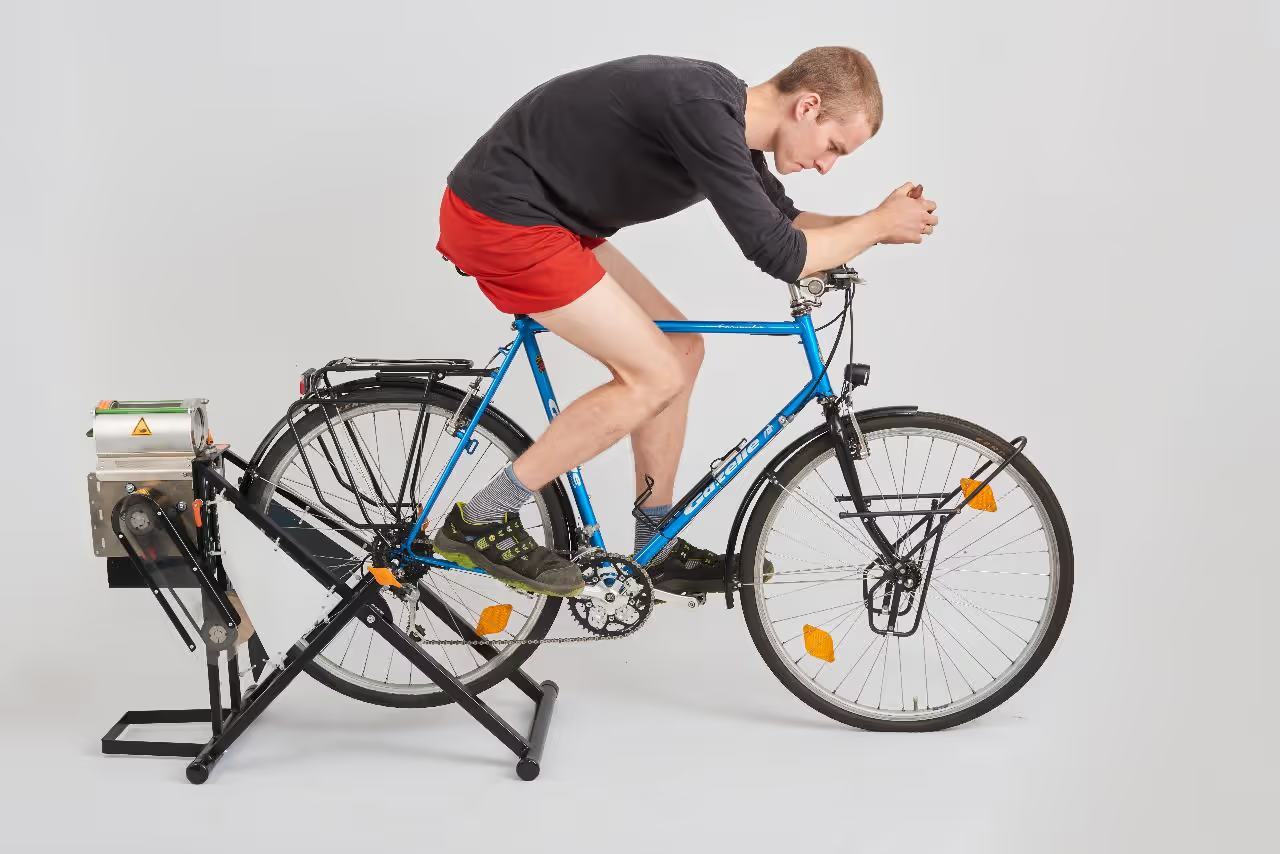
This tutorial provides an overview of constructing a bicycle shredder. Eighteen months ago, we released a video on building the original bicycle shredder. We have since improved the design and documentation and now present the enhanced second version.
The download package contains numerous files and drawings. While it may seem overwhelming initially, the following steps provide further insights into the shredder's design. A brief introduction video and an assembly video are forthcoming to enhance understanding of the construction.
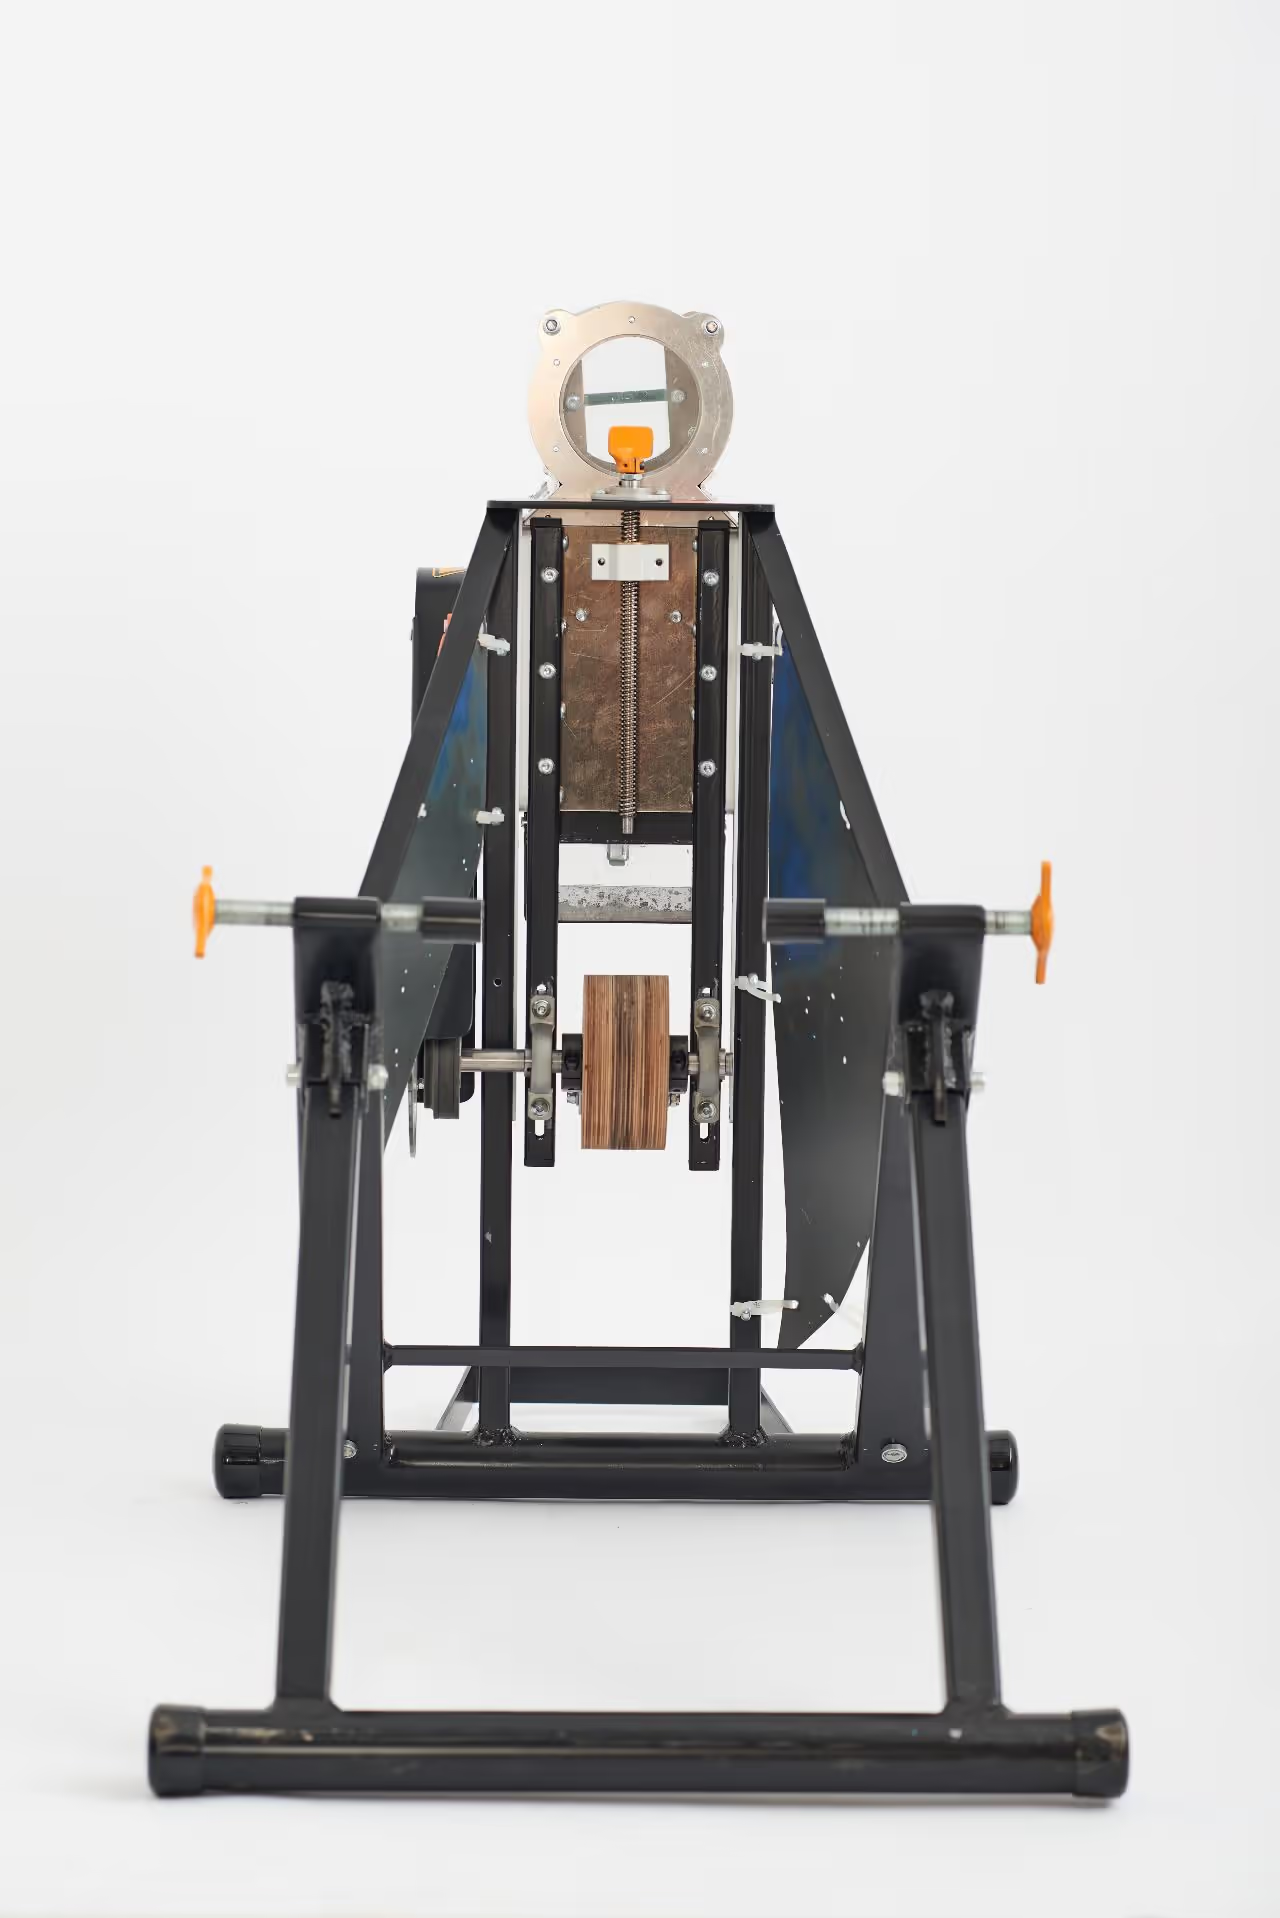
Most low-speed shredders observed online or within the community tend to be large, heavy, or inefficient. Opting for high-speed shredding utilizes inertia effectively. We chose to shred materials using human-powered high-speed methods.
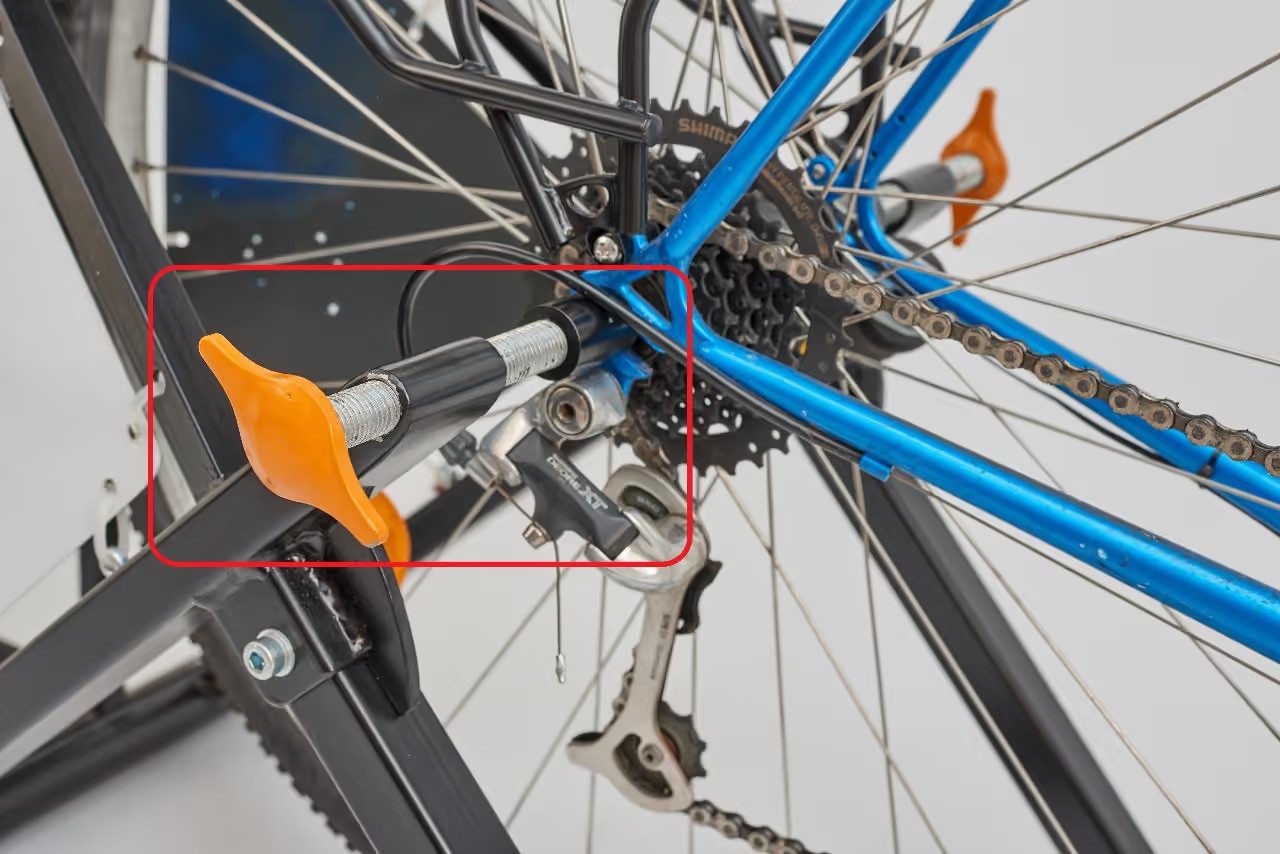
Various designs exist for constructing the axle. We opted to invest in standard parts to minimize further machining costs. We use span sockets for this reason. However, we recognize these components may not be available in all regions. Explore local resources and capabilities to discover alternative methods for axle manufacturing.
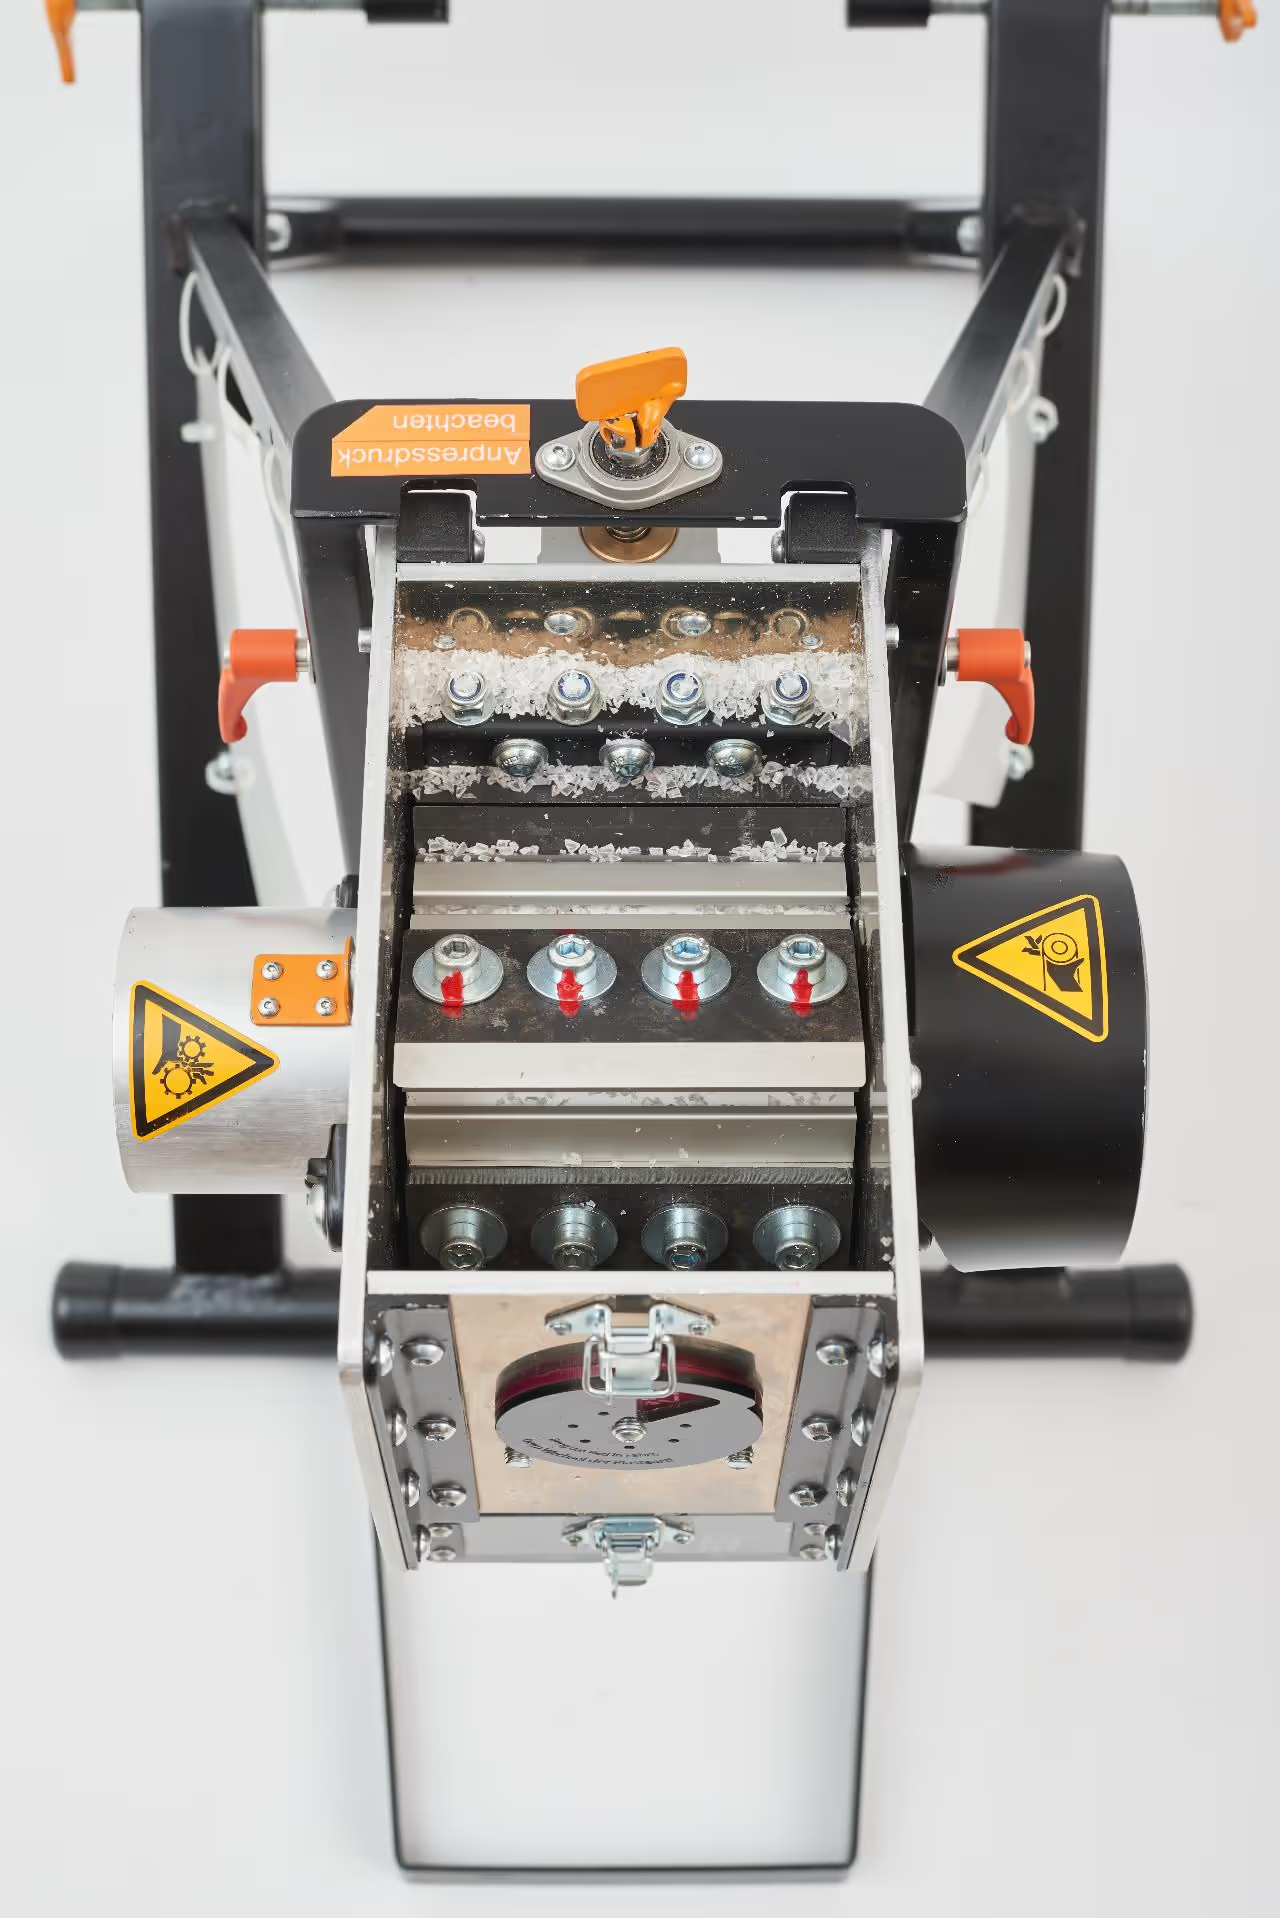
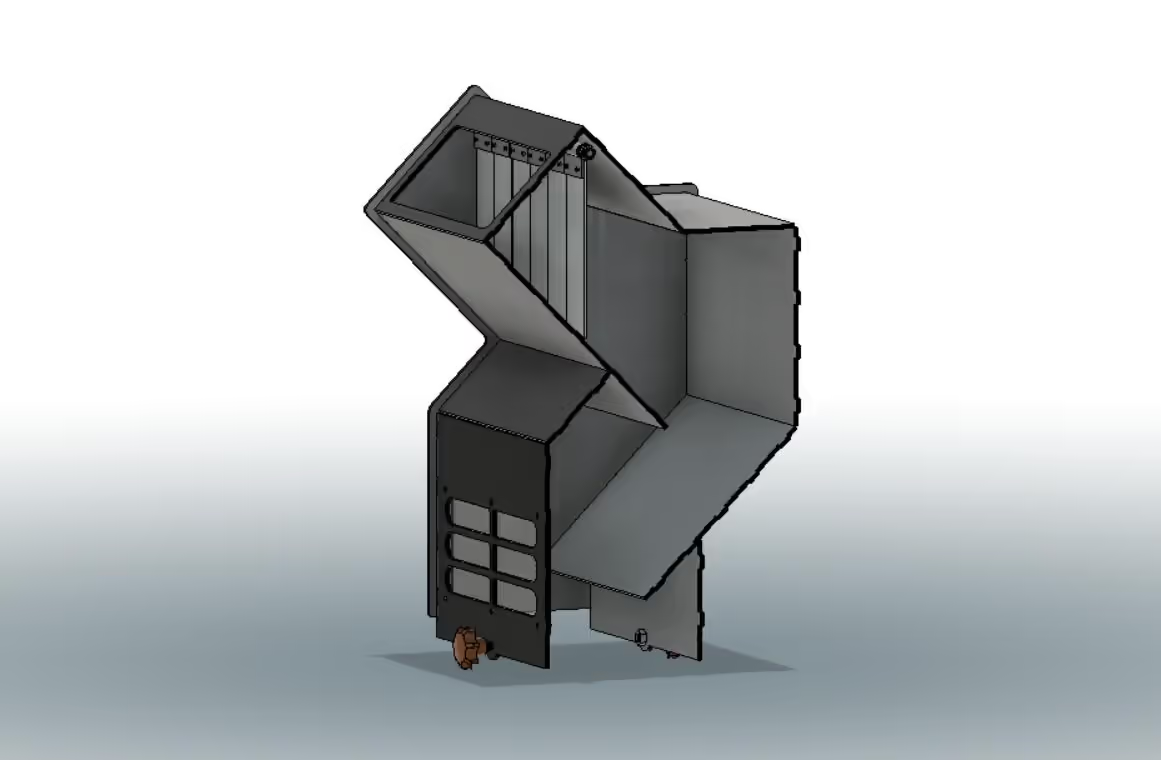
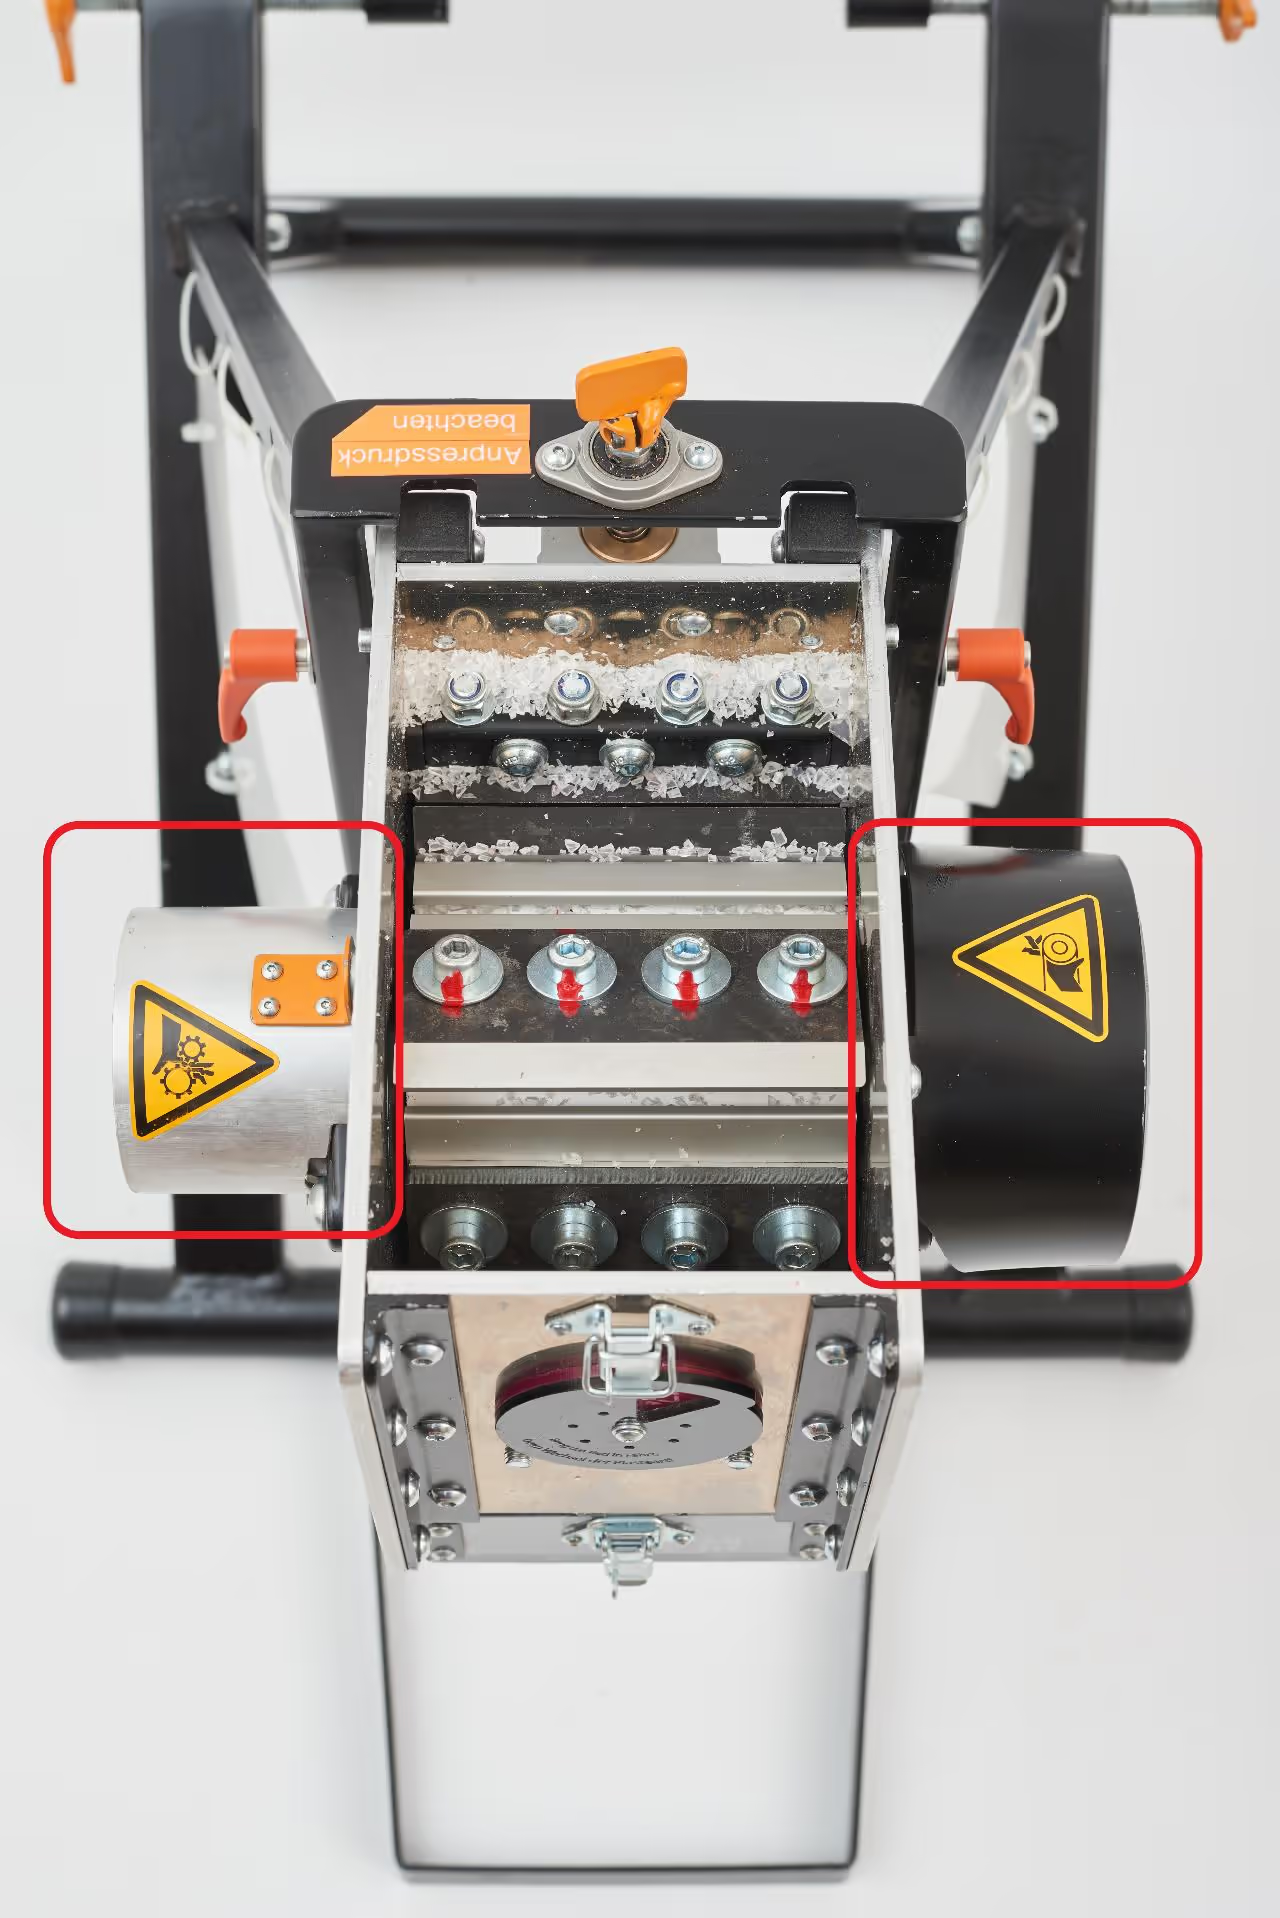
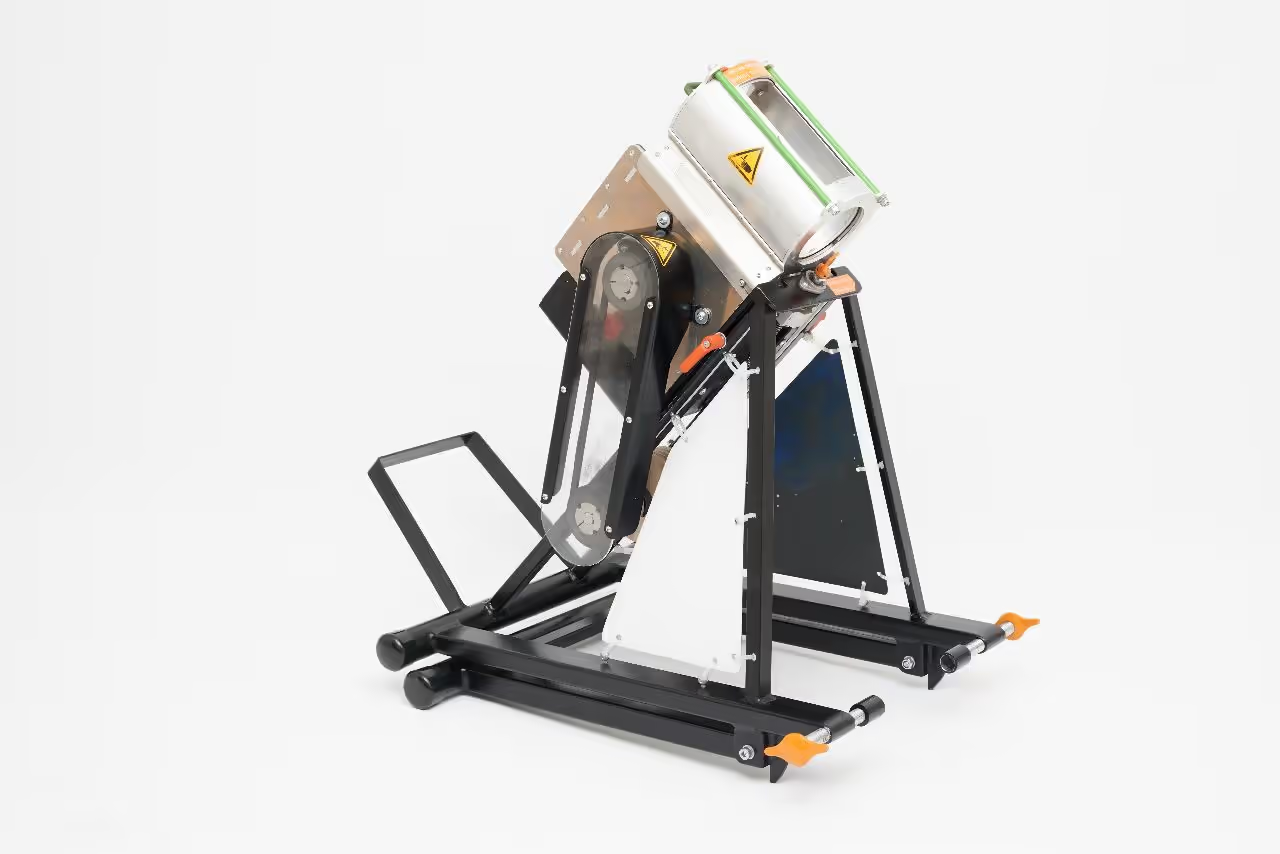
For effective shredding with the bicycle shredder, the cutting mill's knives must rotate at high speed. To safely introduce plastic into the cutting mill without opening it, we initially experimented with various pipe lock designs. However, these proved unreliable, leading us to create a more traditional hopper instead. Although the new hopper is larger and heavier than previous versions, it provides increased stability and safety during operation.
The sieve and collection box are constructed from bent and welded metal sheets. Use a sieve with holes approximately 5-8 mm (3/16-5/16 inches) in diameter. Smaller holes may reduce the plastic to dust. Ensure the metal sheet is of sufficient thickness for stability and the locking system; 1.5 mm (1/16 inch) is recommended.
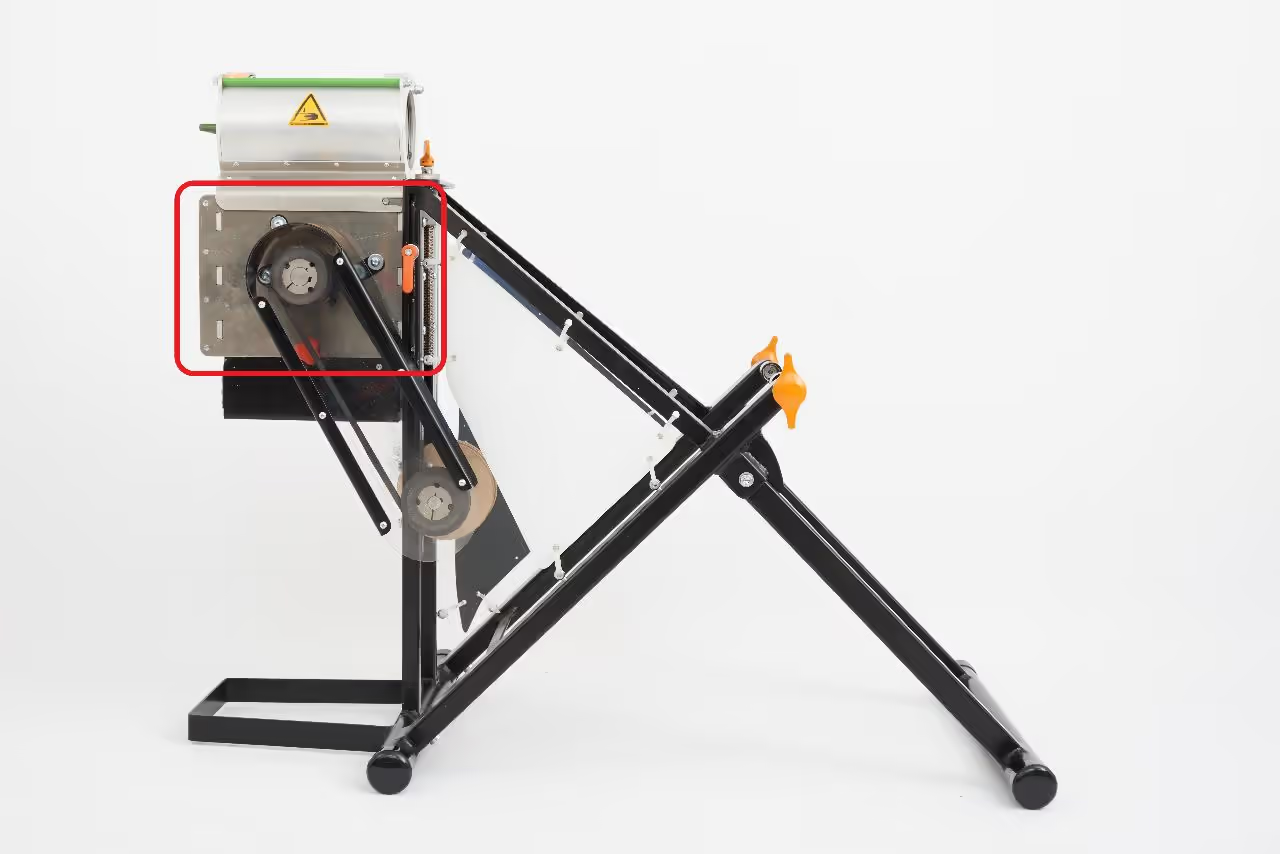
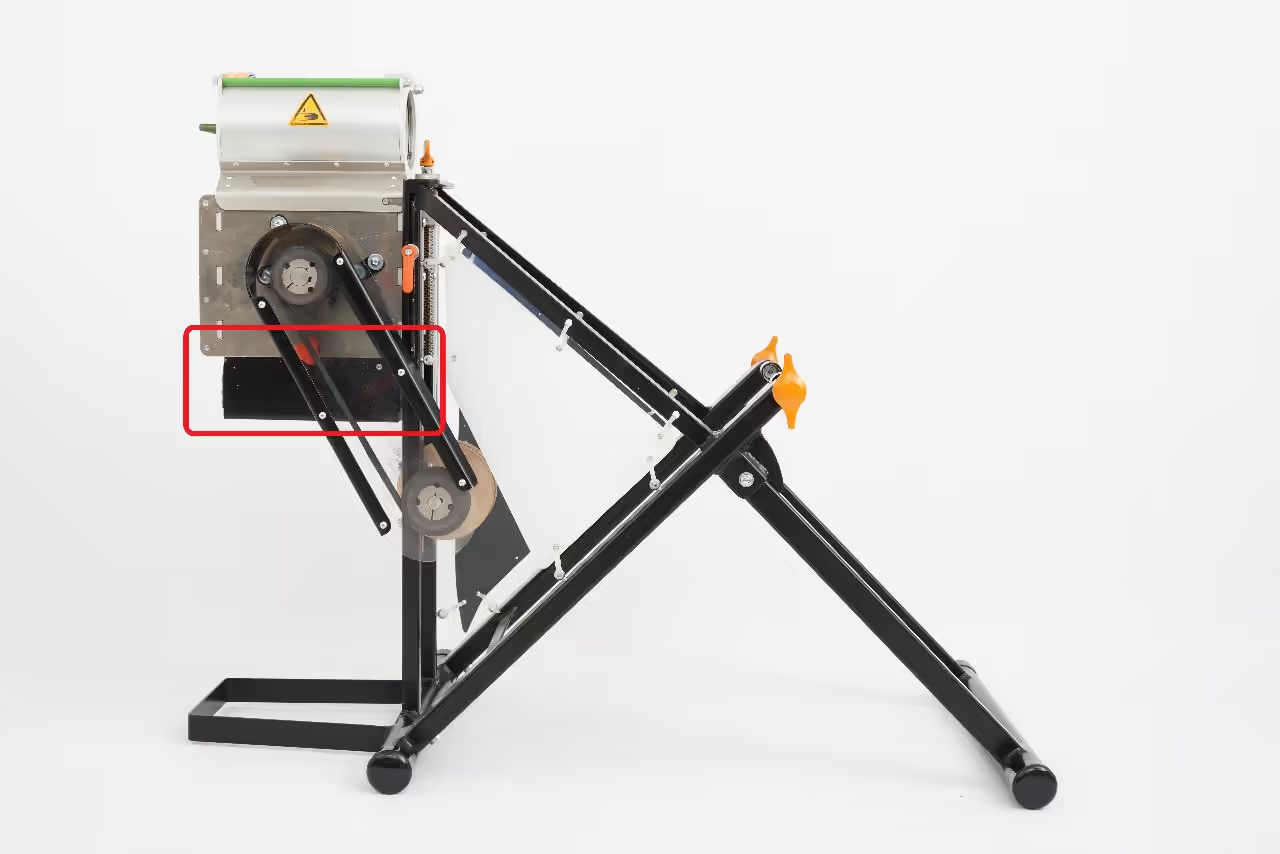
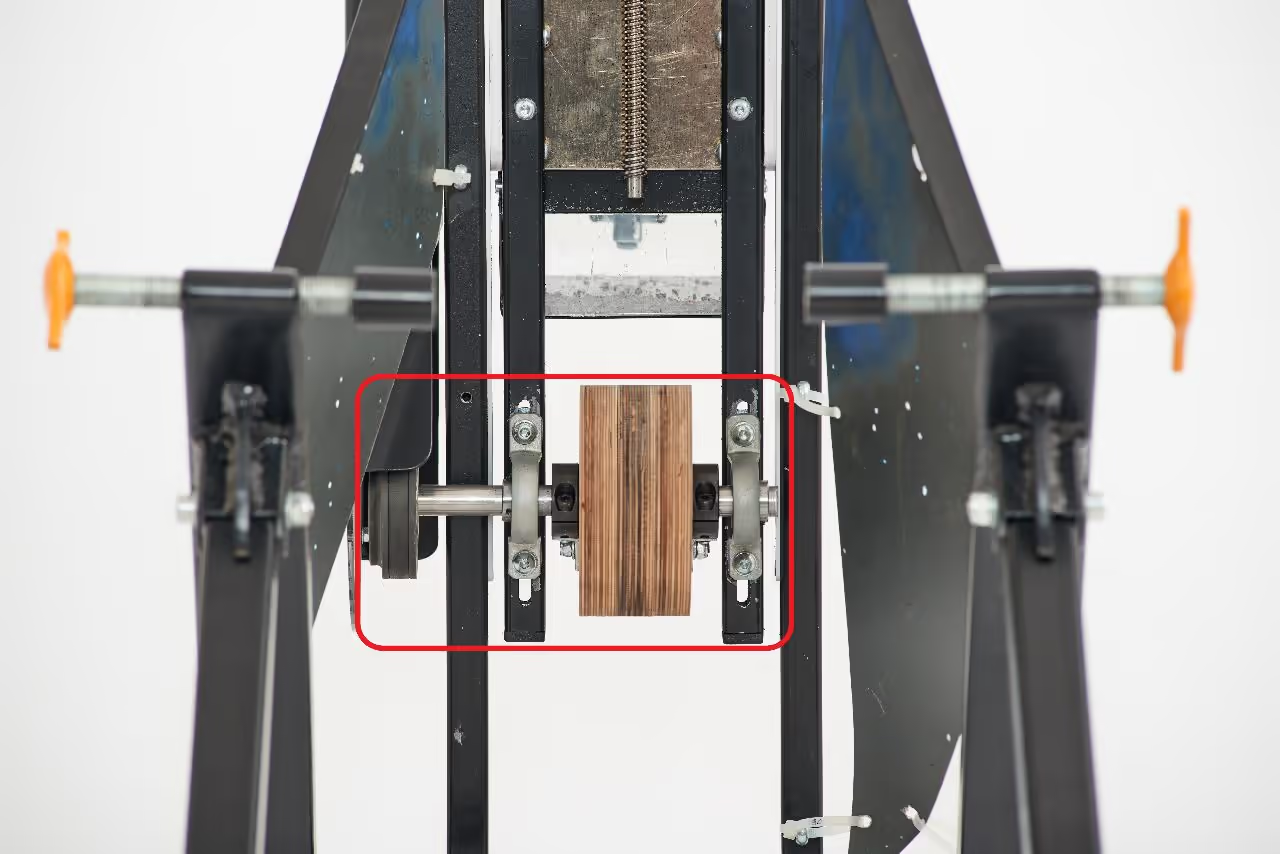
The friction wheel transfers speed from the rear wheel to the cutting mill. We make the wheel from plywood because it can be milled using our CNC machine. However, better materials, such as certain plastics, are available for the friction wheel.
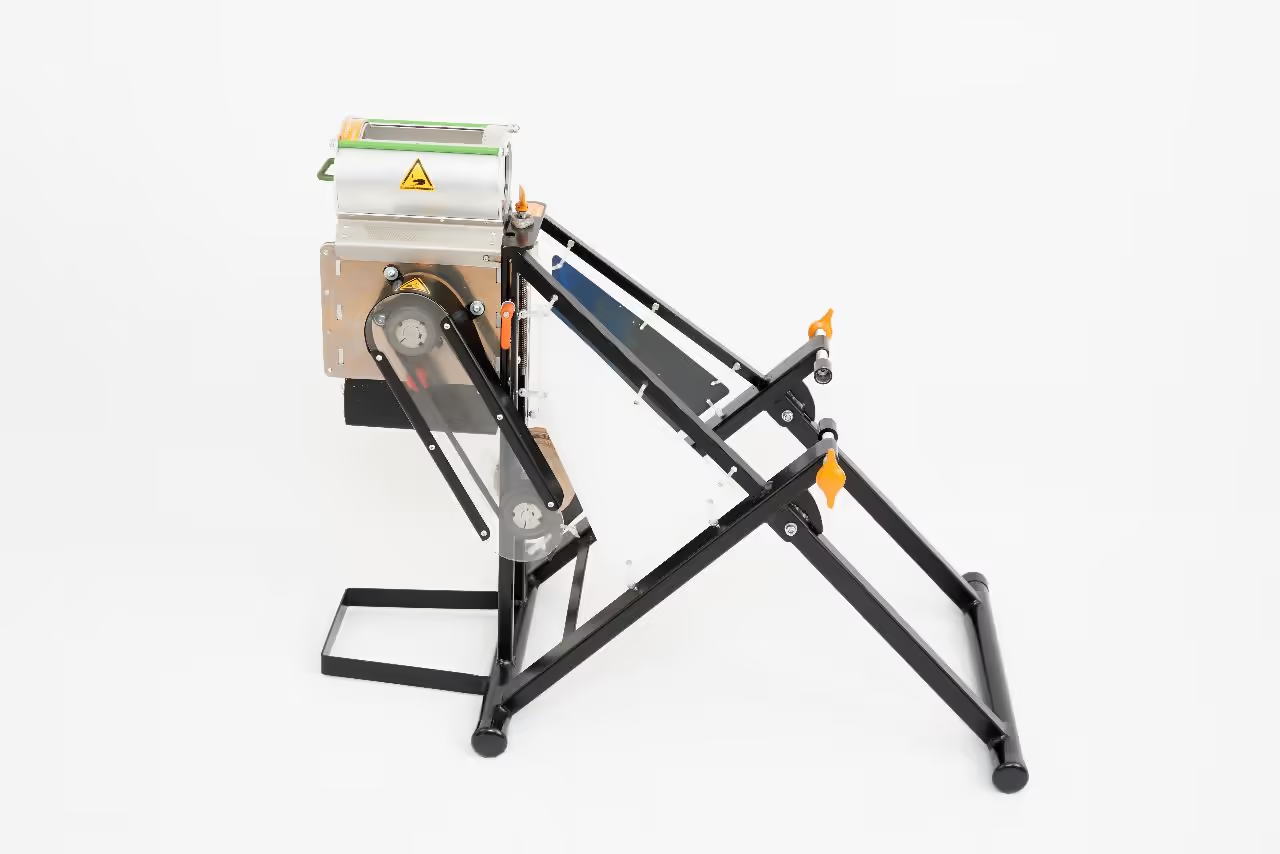
Constructing the steel frame necessitates expertise in welding and metalwork. Beginners should consult an experienced metalworker. Use plywood sheet gauges to maintain correct distances between steel tubes and employ large 45° angles to streamline the welding process.
Ensure all holes and slots are drilled and milled into the steel tubes prior to welding, as alignment becomes challenging afterwards.
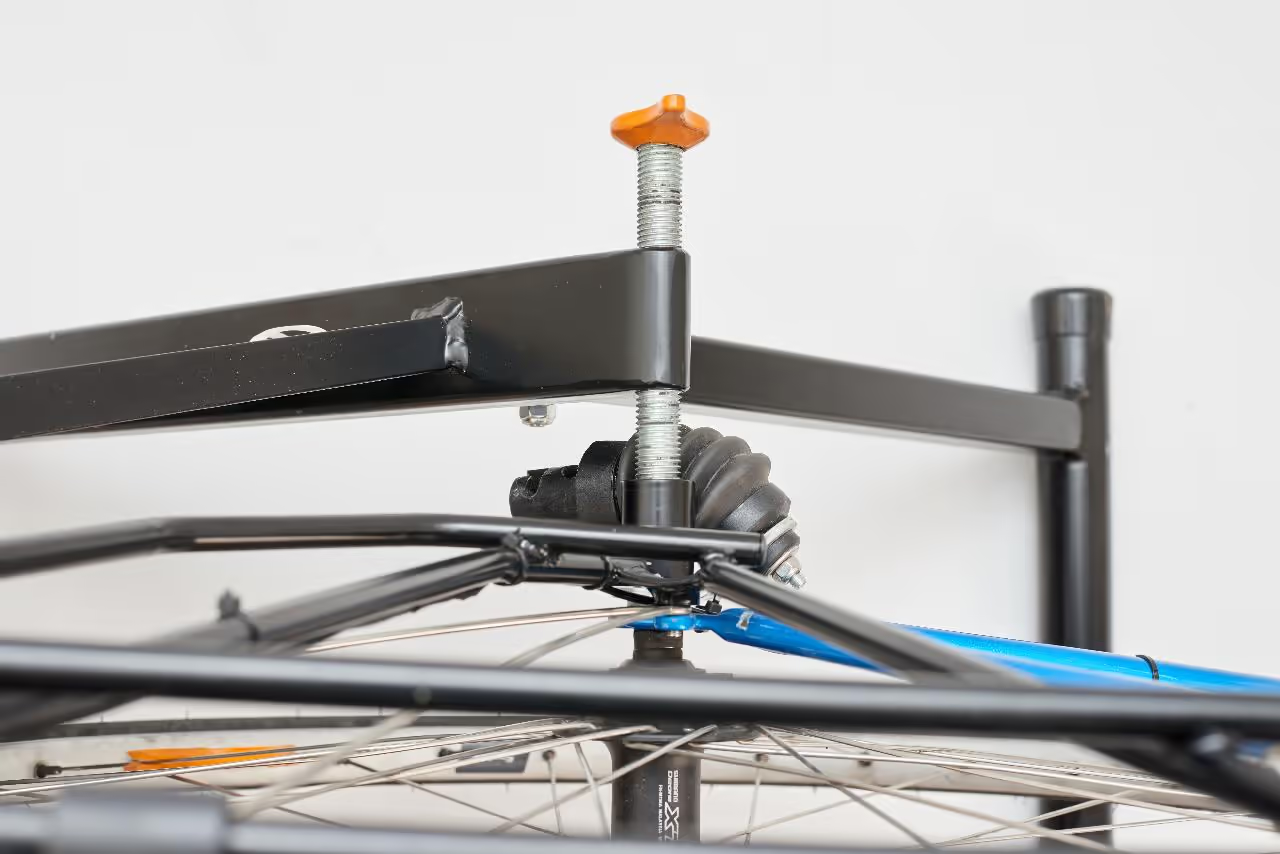
For welding M16 nuts, align both nuts to properly secure the rear wheel. Use a 14mm (0.55 inches) diameter steel bar for this purpose.
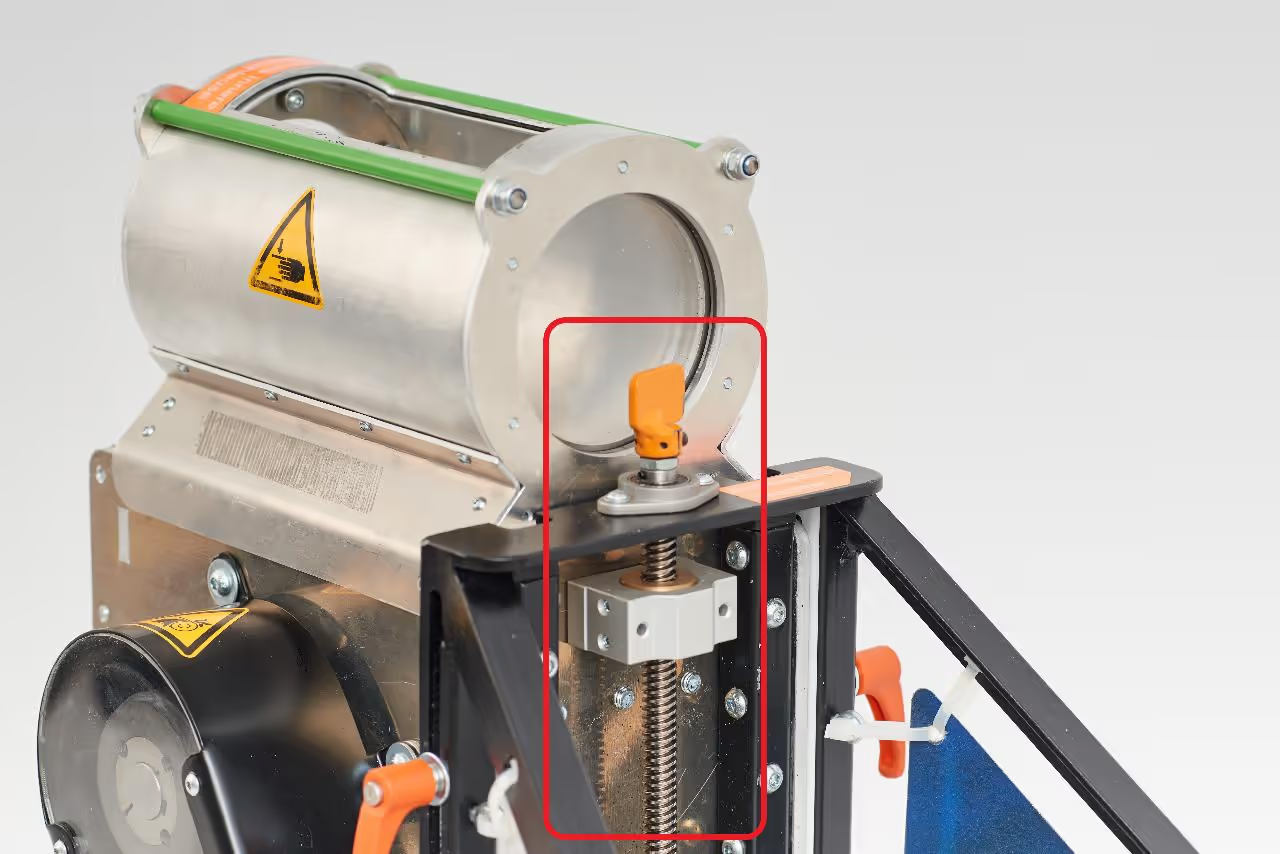
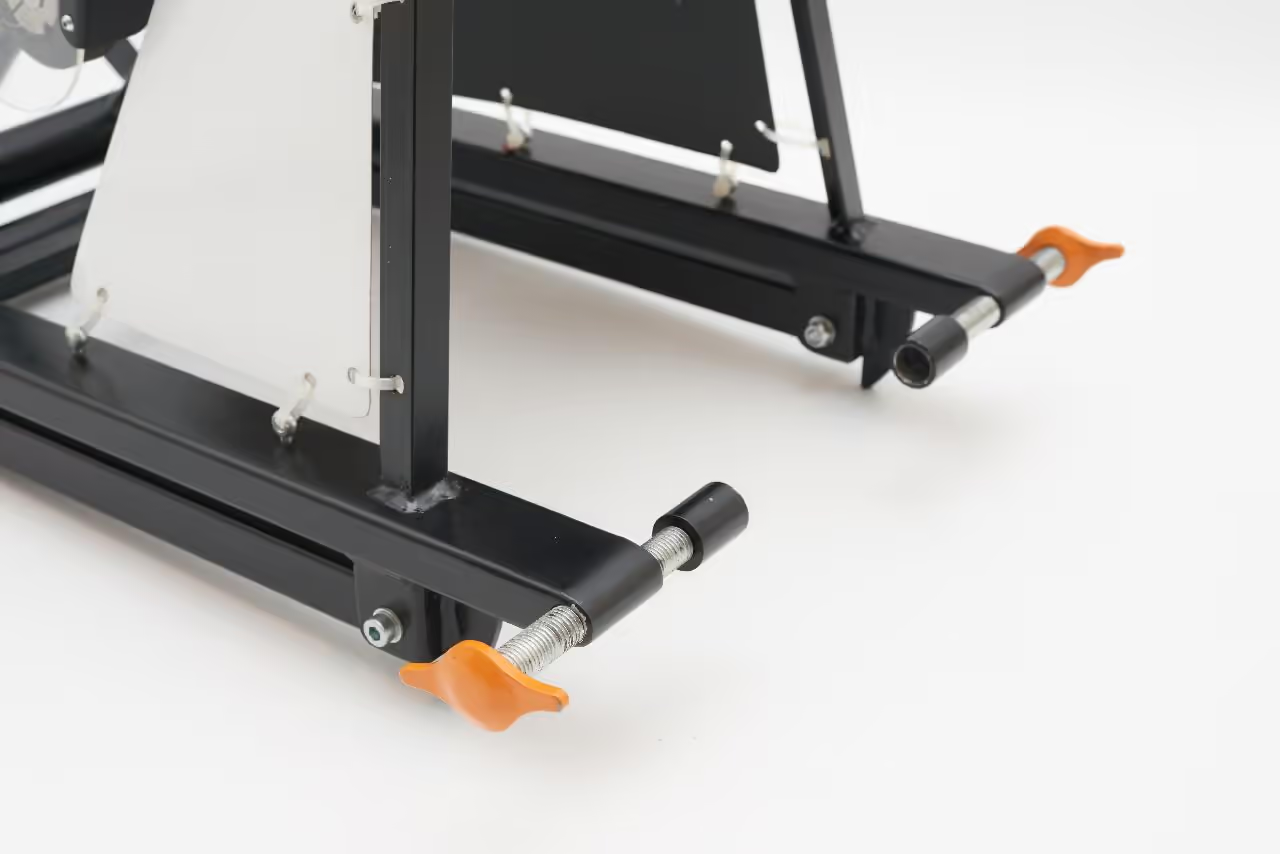
Adjusting the height is a simple task. A small steel strip is welded to a clamping ring for the turning knob, and the rest consists of standard components.
The wheel-mount involves considerable lathe work but is straightforward. For the turning knob, we cut a piece from a thick metal sheet and welded it to a nut. Alternatively, you can create the knob using steel strips and an angle grinder.
Workshops involve diverse participants, and safety is a top priority. We implement a color-coded system for handling equipment:
In addition to our color system, we use standard warning signs and machine-specific instructions. We also install safety features like belt and shaft protections.
Your suggestions for improving machine safety are welcome.
To build the enhanced bicycle shredder, key components and resources are organized into three main categories, each containing critical elements extracted from the tutorial documentation[1].
Consult the design package and adjust components based on regional availability of materials like span sockets[1]. Prioritize safety protocols during assembly and operation.