Upgrade your Toaster Oven
MELTING
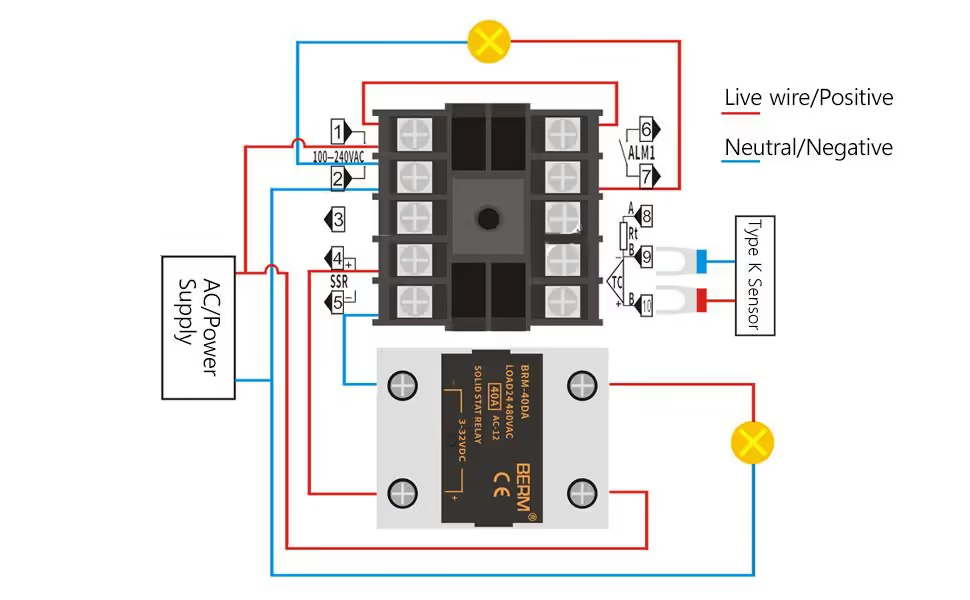
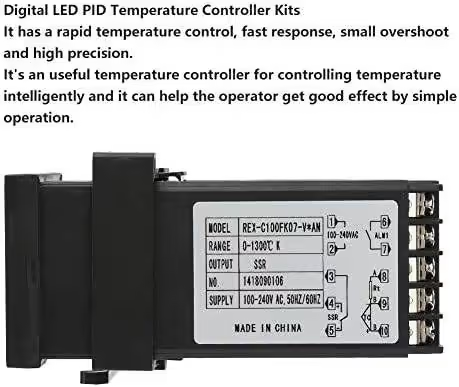
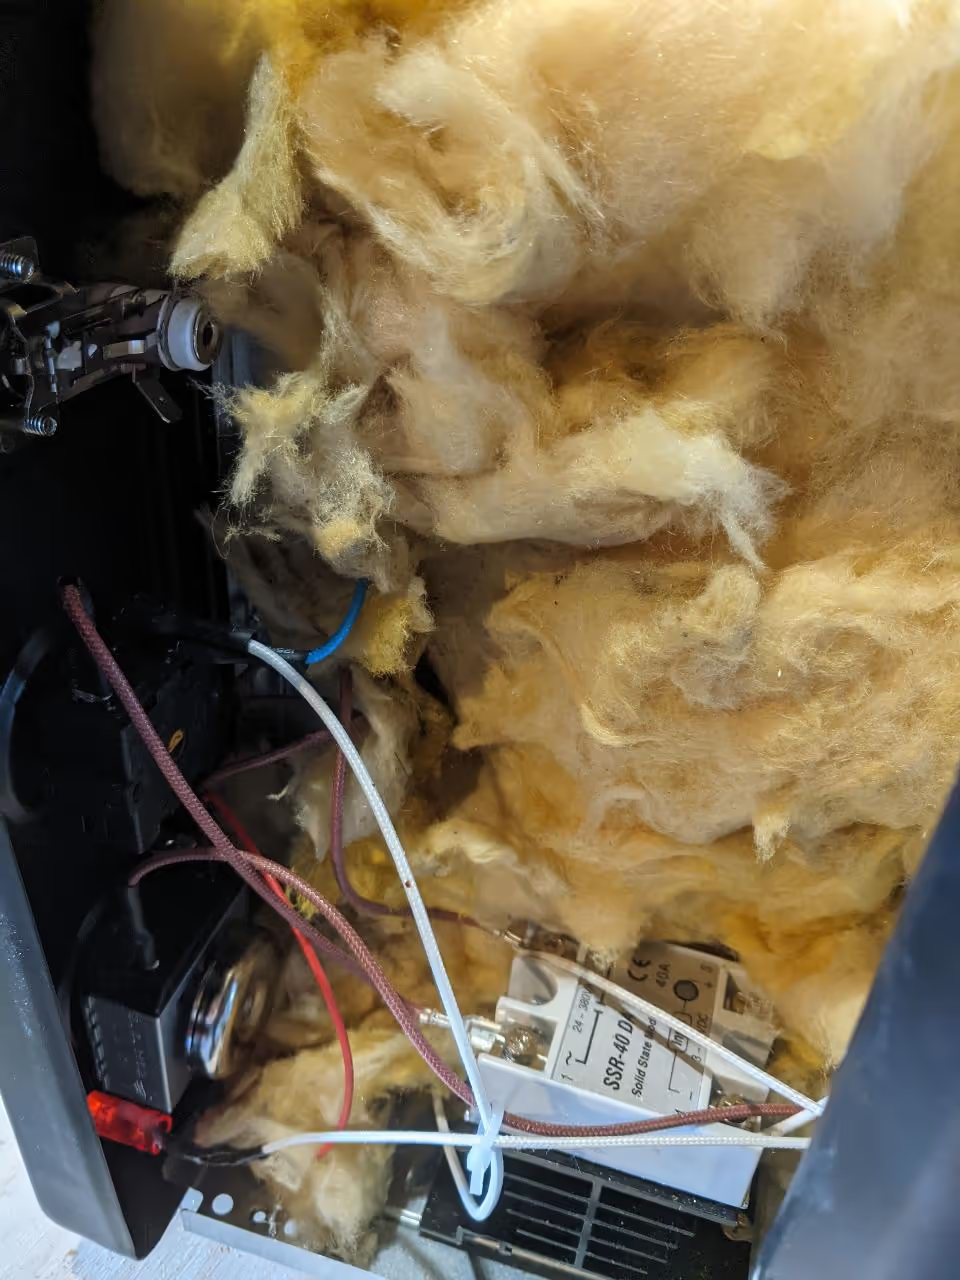
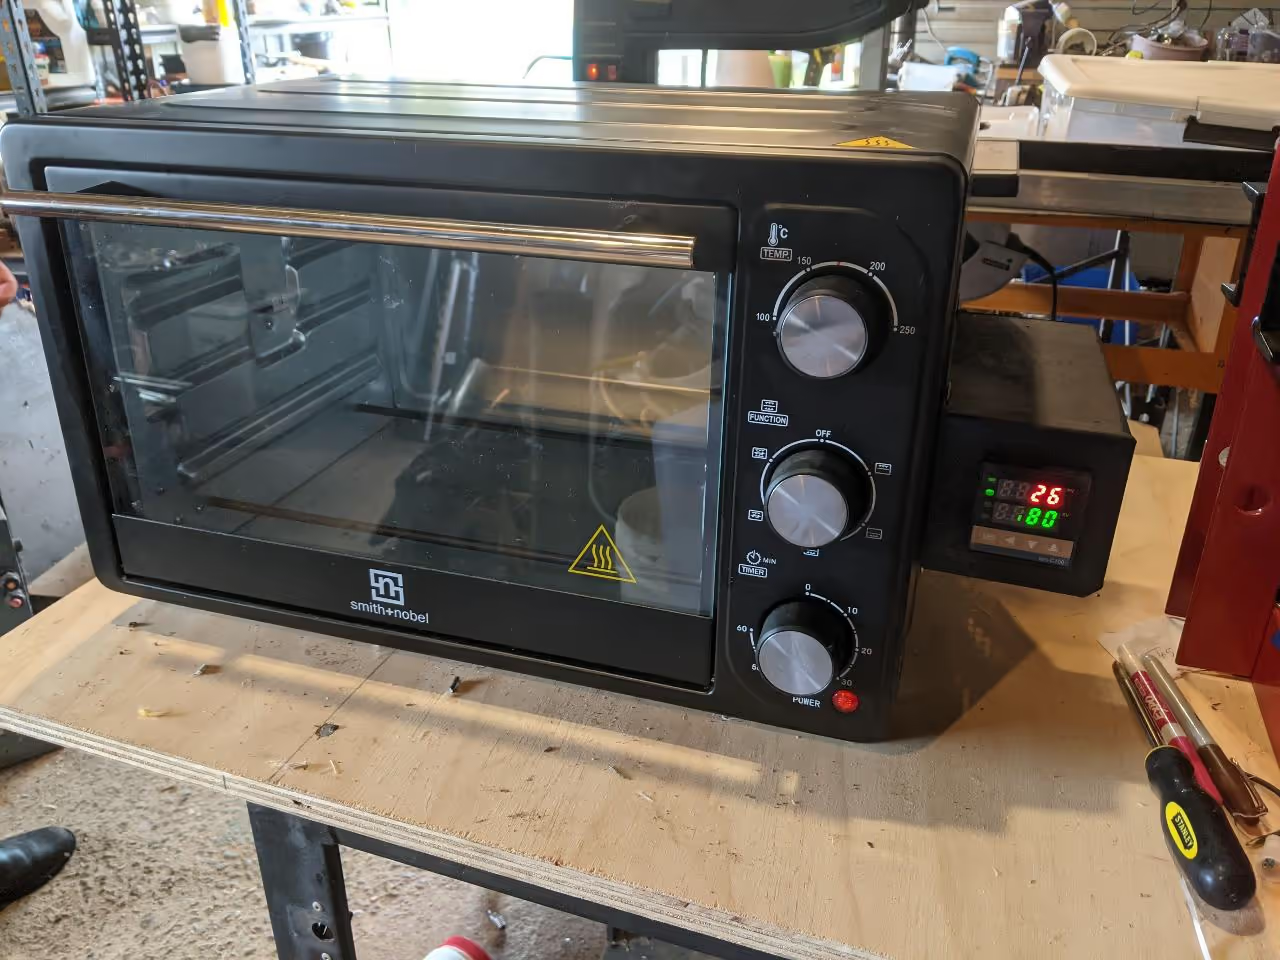
This modification aims to enhance the heating efficiency and temperature accuracy of an entry-level toaster oven by replacing the original thermostat with a REX-C100 Digital PID Temperature Controller, available from various online retailers at a low cost. Additionally, install fiberglass insulation, which can withstand temperatures up to 1004°F (540°C), to improve heat retention. Be cautious when placing insulation to avoid obstructing the oven's mechanical functions. Fiber cement may also assist in insulating the oven.
Unplug the Device: Ensure the toaster oven is disconnected from the power source before beginning any work.
Use Proper Tools: Employ insulated screwdrivers and wear electrical safety gloves.
Check Connections: Verify that all wires are securely connected and properly insulated.
Test the Modification: Operate the modified oven in a controlled setting to confirm correct function and prevent overheating.
Seek Expertise: Consult a qualified electrician if any electrical modification is unclear.
Monitor Initial Use: Observe the oven closely during its first use to identify any fire hazards.
Handle Insulation Safely: Wear protective gloves, long sleeves, and a mask when dealing with fiberglass insulation to prevent skin and respiratory issues.
Follow Instructions: Adhere to the manufacturer's guidelines for both the toaster oven and the REX controller.
Do Not Leave Unattended: Never operate the modified oven without supervision.
Prioritize safety when working with electrical devices. If unsure about your skills or safety, obtain professional help.
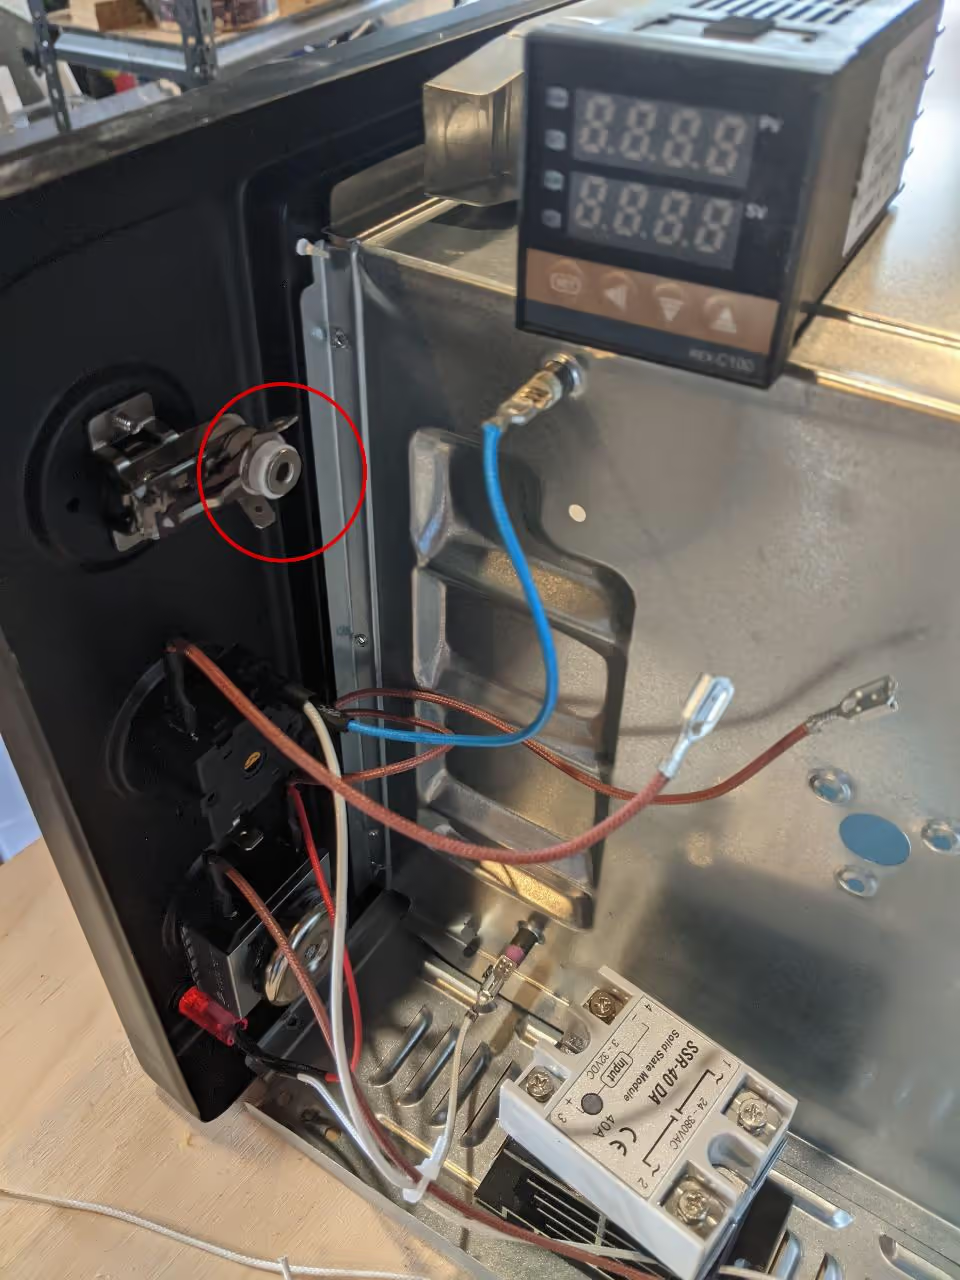
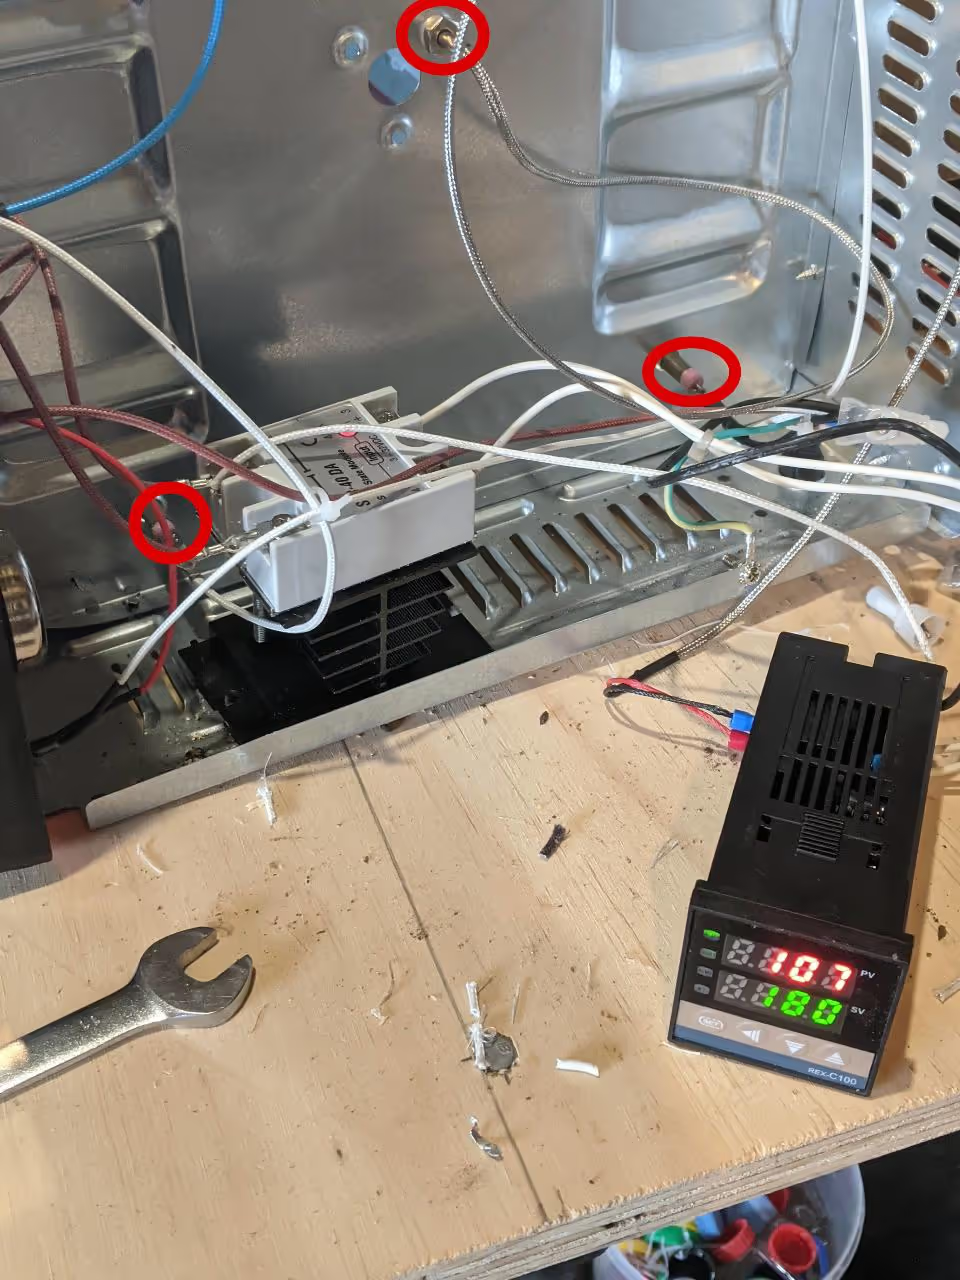
With the K-type probe, I removed the rotisserie motor from the toaster oven and secured the probe in one of the existing holes. You may need a suitable nut for the probe and might have to drill a hole in the oven wall to position the probe in the heated area. Note: In Picture 1, the probe and two heating elements are circled. When the oven is on, electricity flows through the elements. Apply fiberglass insulation around them to avoid short circuits from the probe wire. Only place insulation between the wall and all wires of the toaster oven; the SSR should not be covered as it requires cooling. The oven in the photo is powered on; do not switch it on until all covers are reattached. I am a qualified electrical fitter-mechanic.
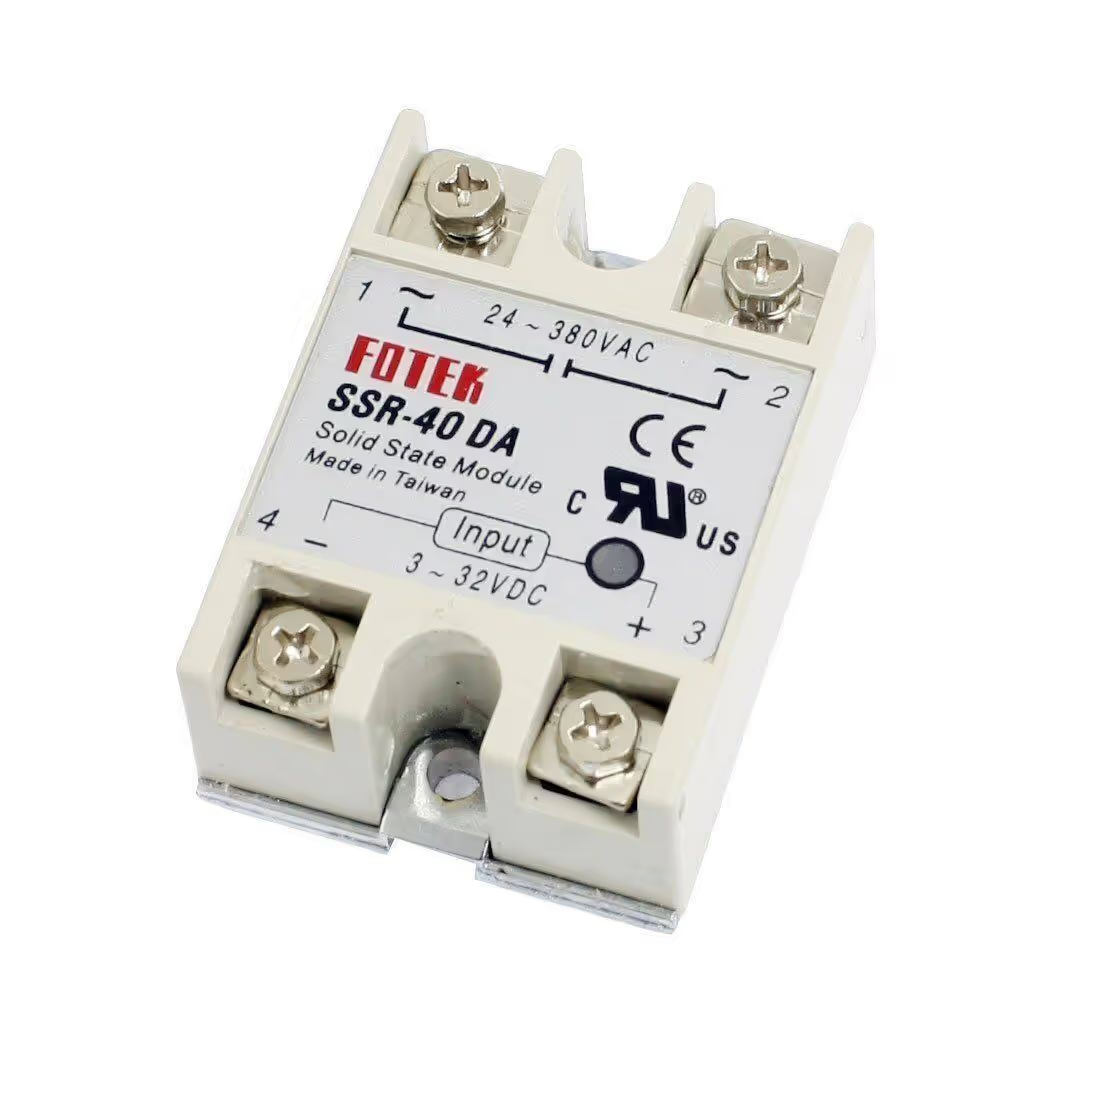
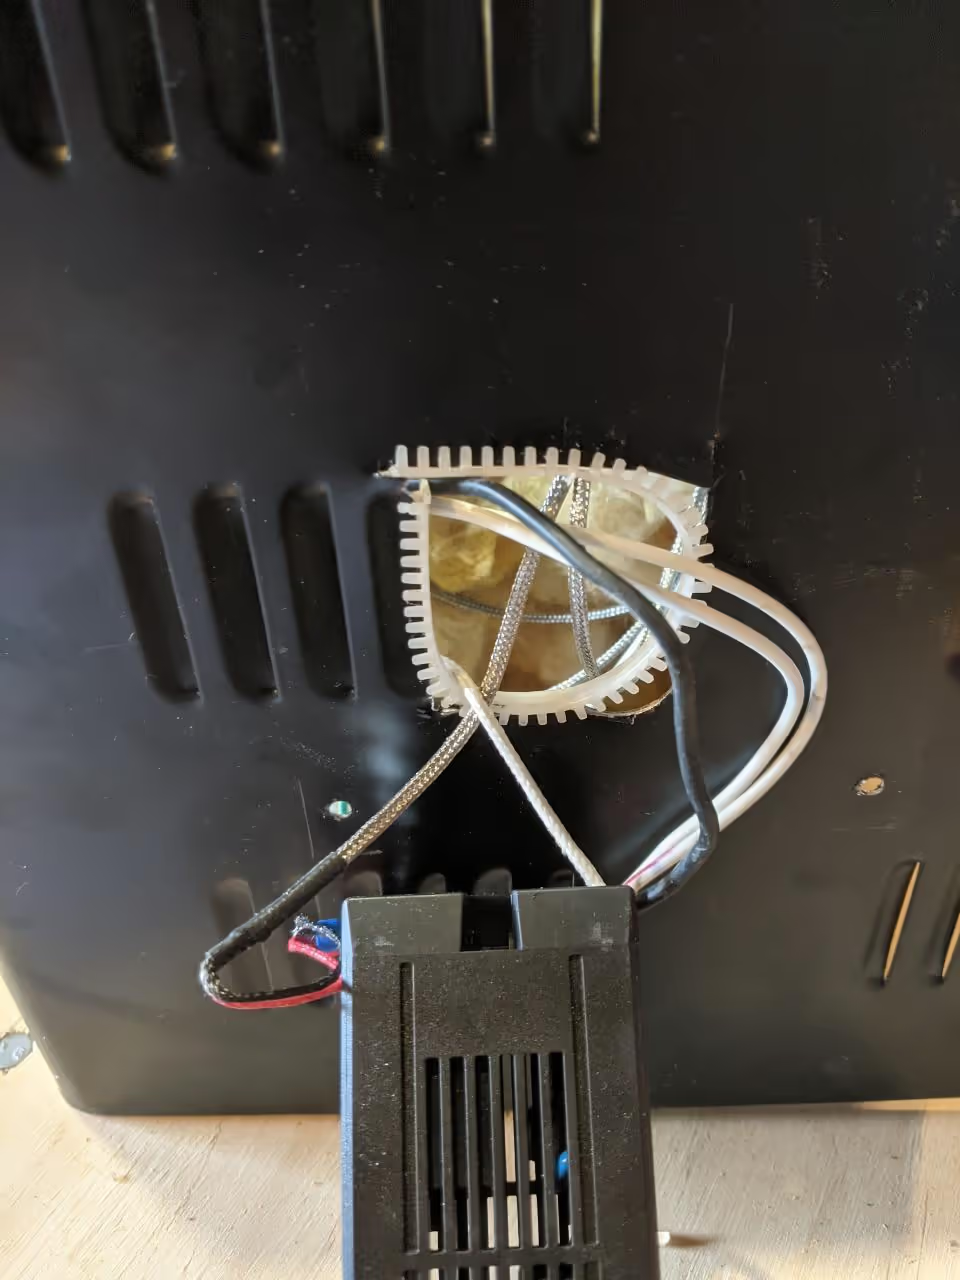
Insulate the wiring compartment of the toaster oven to prevent overheating of the SSR (Solid State Relay). Protect wires going from the compartment to the REX-C100 Digital PID Temperature Controller, as sharp metal edges can cause shorts. For housing the PID controller, fabricate a metal bracket or use a modified plastic container on the oven exterior.
Plan your steps carefully. For further assistance, please reach out.
Here are the references organized by category: