UAO vertical manual injection machine
INJECTION
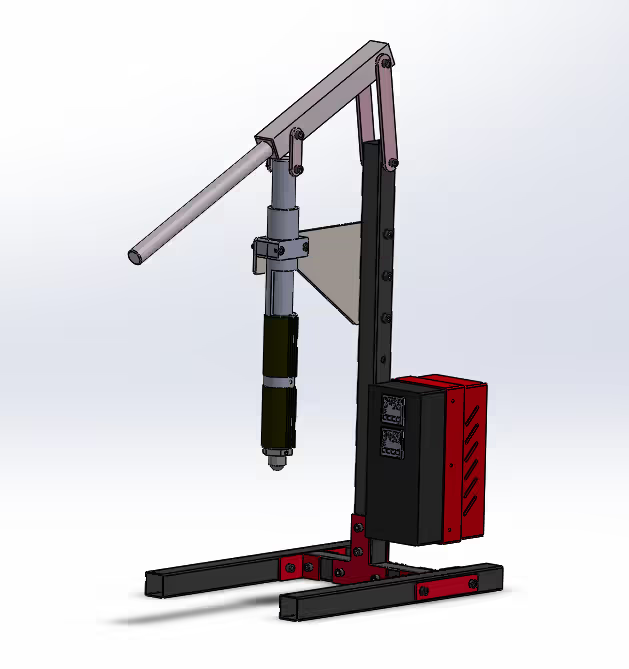
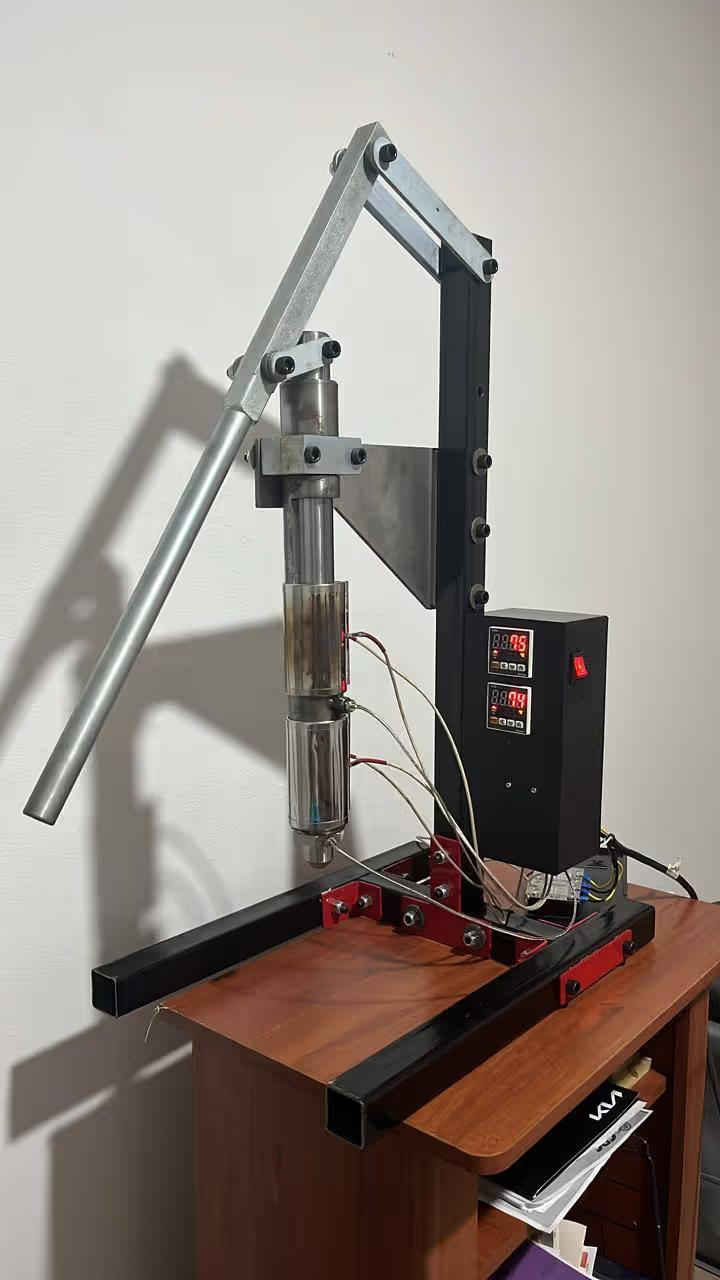
Following the initial models, I designed a manual vertical desktop injection molding machine in SolidWorks, incorporating most details. This machine, which requires no welding, has an injection capacity of approximately 90 grams (3.17 ounces) and operates at 110 volts. The parts have been manufactured, assembled, and successfully tested. I aim to enhance temperature regulation by implementing the PID technique. Currently, I am constructing the mold. The 3D model of the machine is available in the "Ensamblaje.SLDASM" file. Additional resources include DXF files and building drawings.
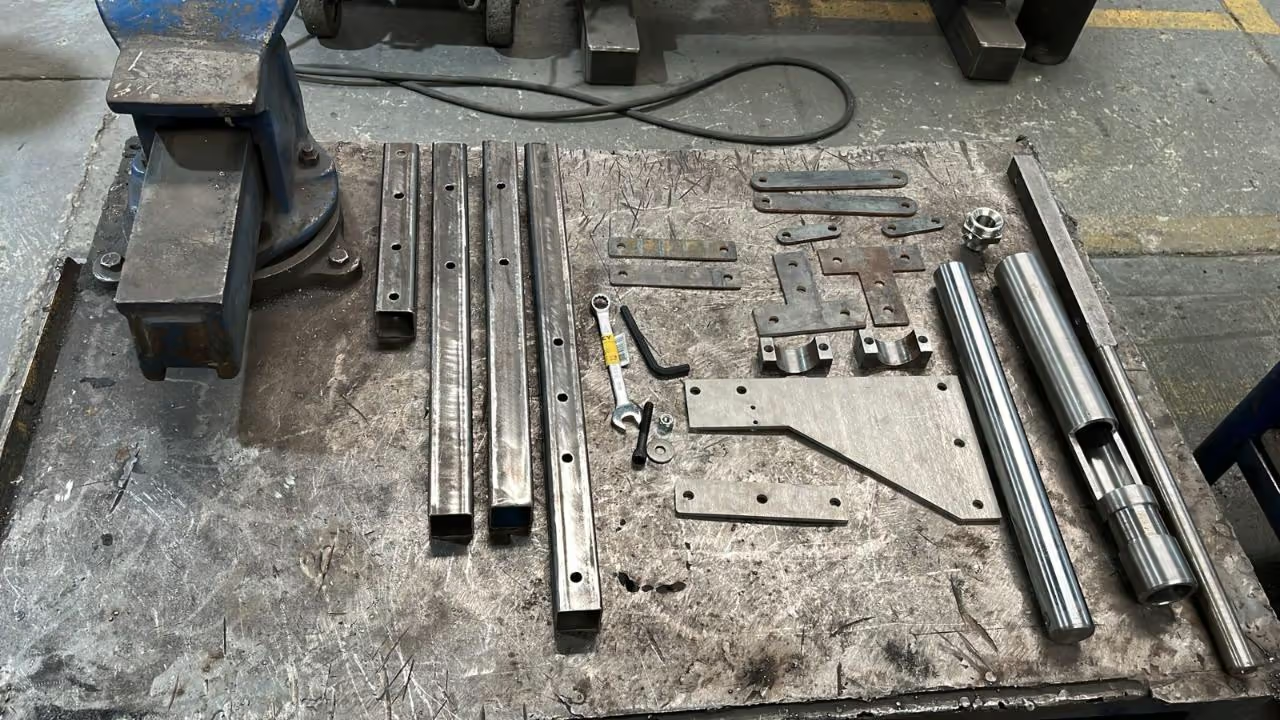
First, gather all necessary components for assembling the injector machine. Some parts are produced using tools such as lathes or water pressure machines, with straightforward manufacturing processes. Detailed drawings are available. The assembly consists of 20 parts and 19 screws with washers and nuts. Welding is not needed. A 5/16" (8mm) Allen key is required.
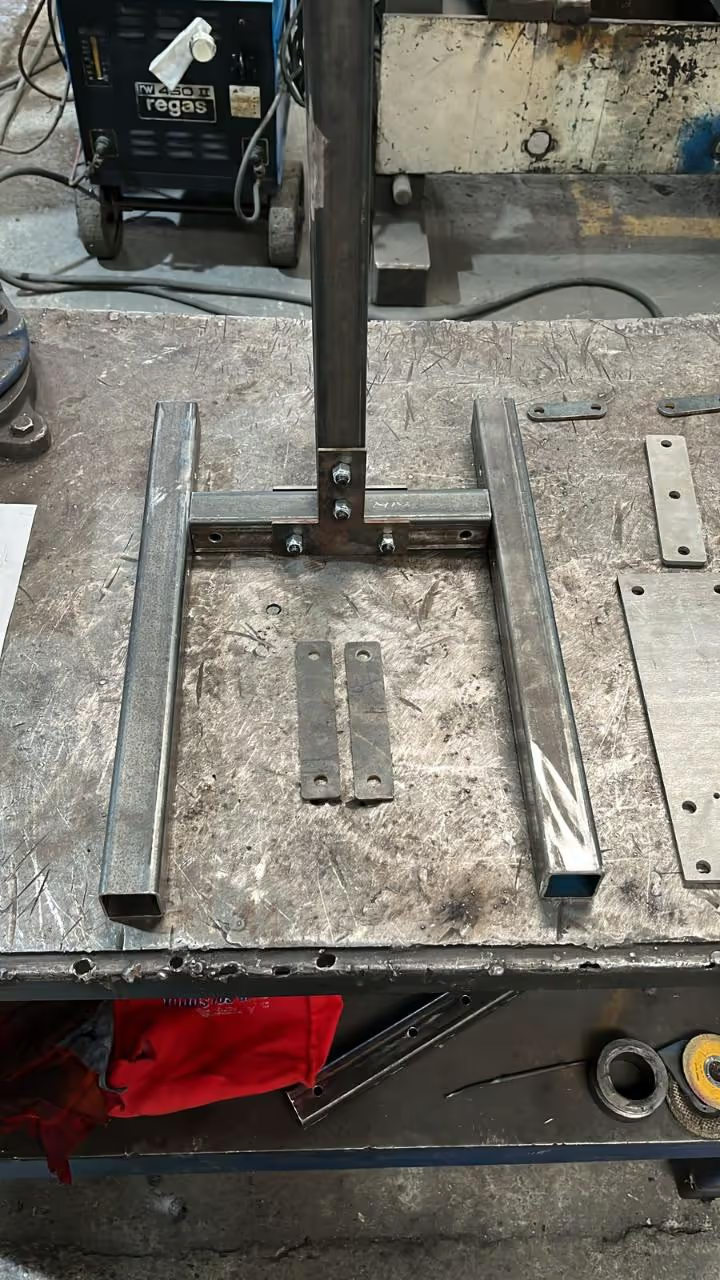
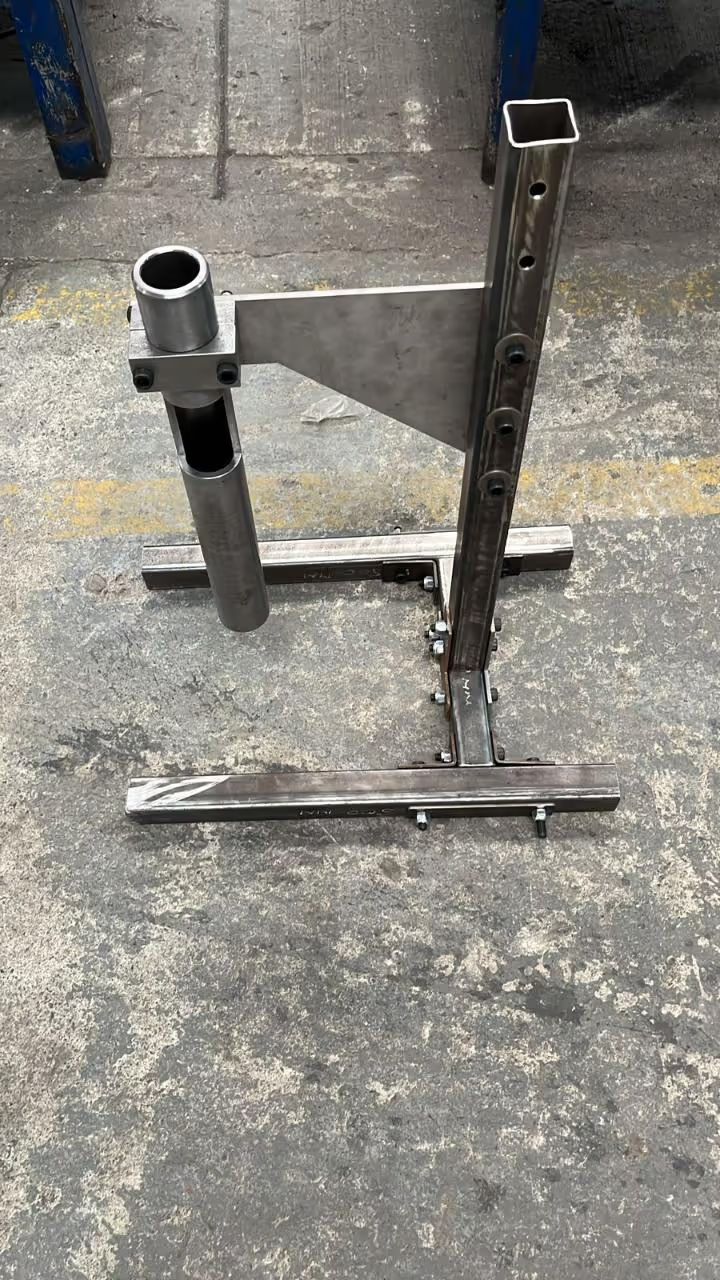
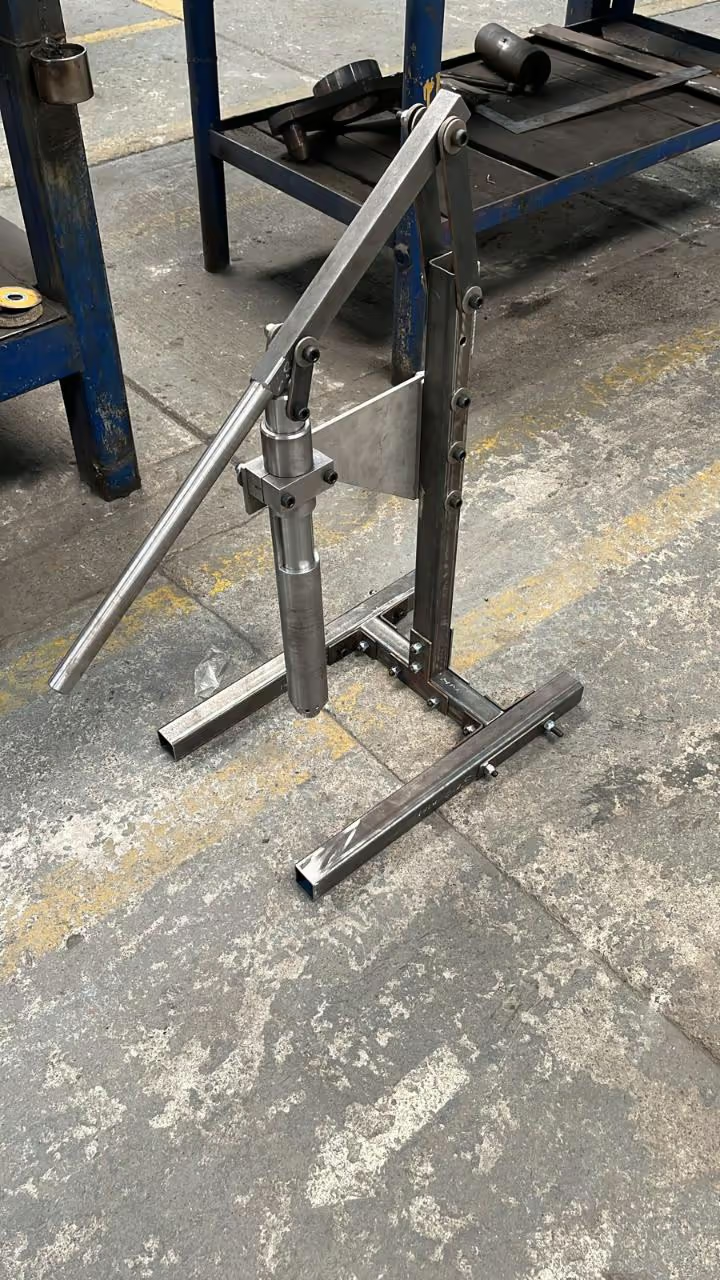
To assemble the base, you will need 4 square tubes, 4 plates, and 4 90-degree bent plates, along with 10 screws and nuts (3/8"), an Allen key, and a wrench. Begin by arranging the tubes into an H shape. Insert the screws through the holes and tighten with the provided tools.
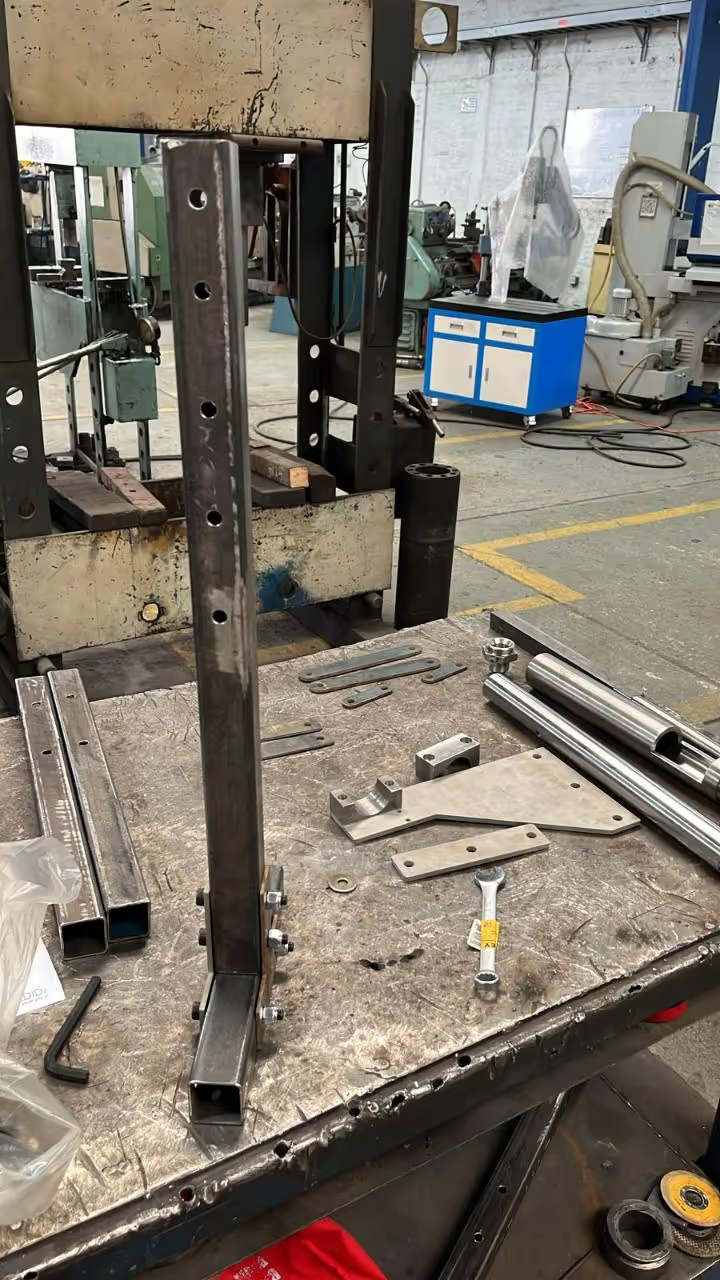
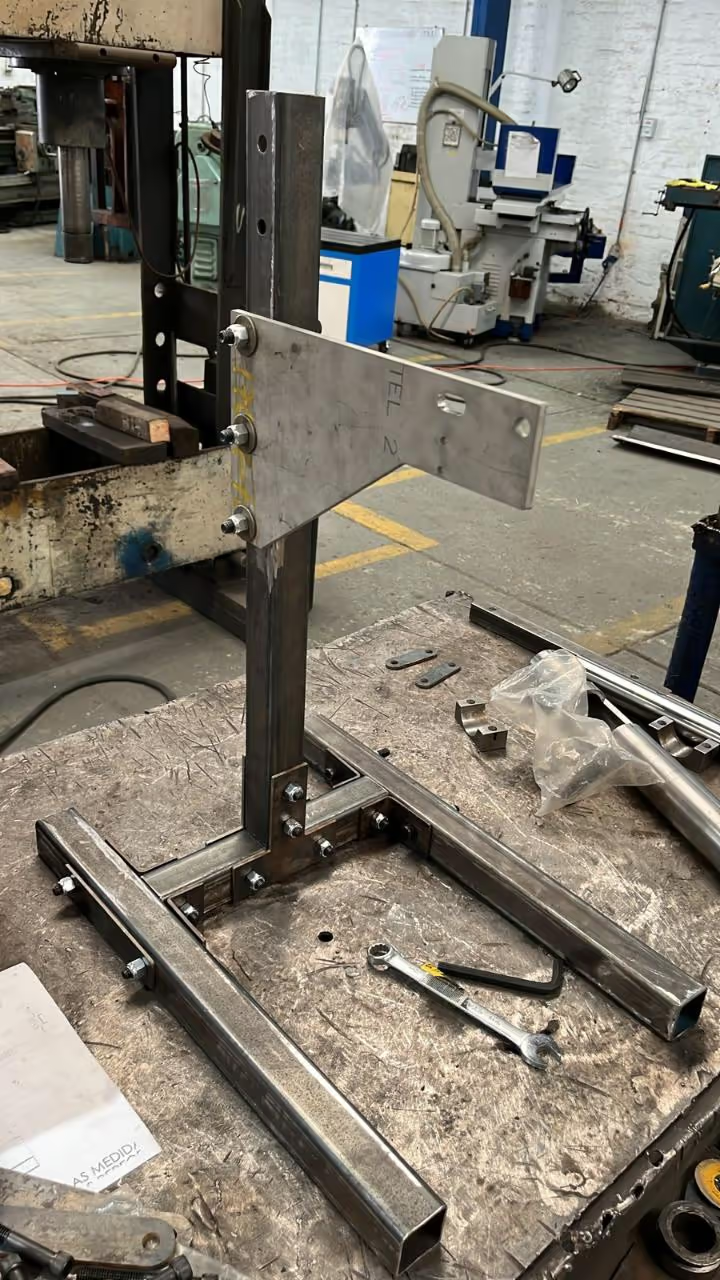
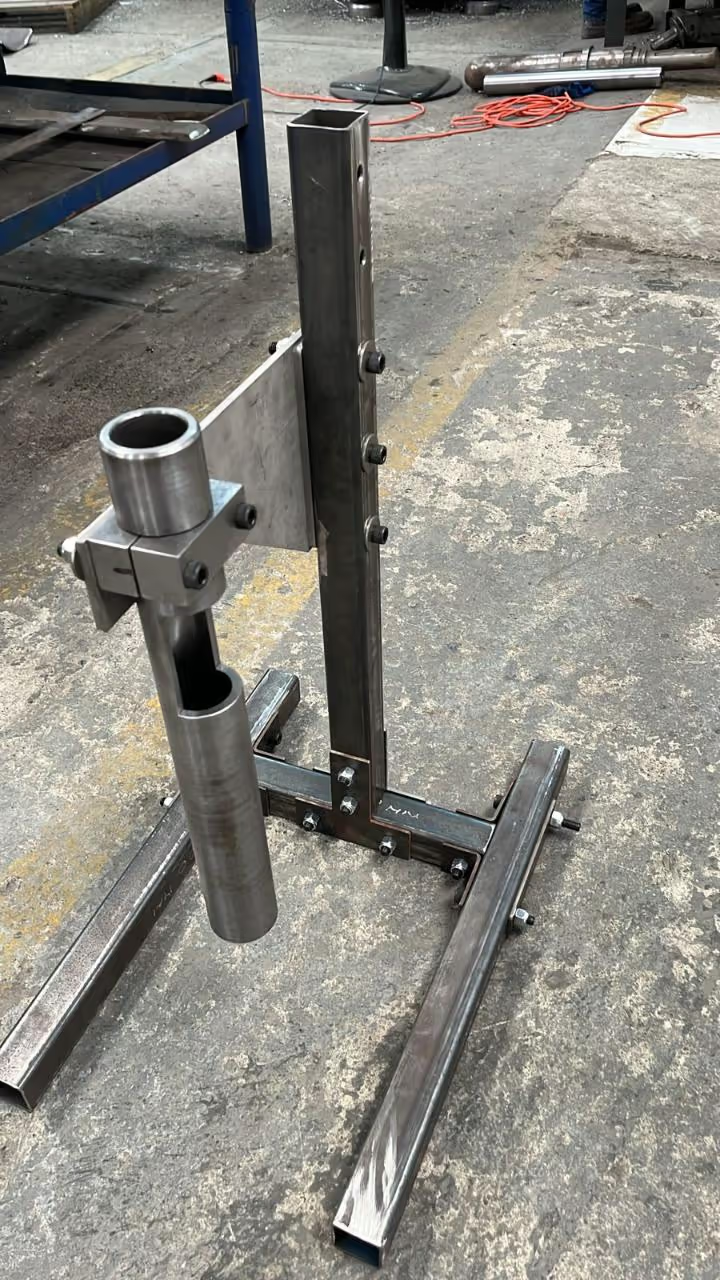
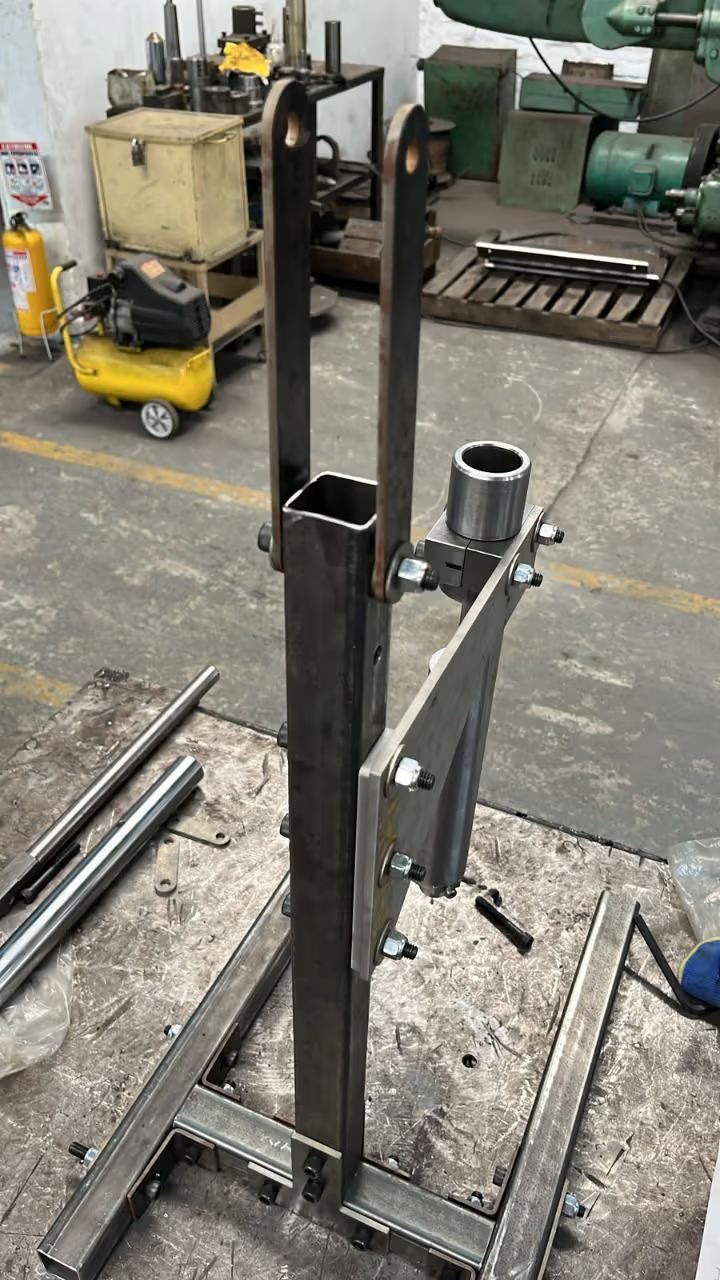
To assemble, use screws and nuts to secure the triangle plate that holds the clamps and barrel. Each hole is designed for 3/8-inch (9.525 mm) screws.
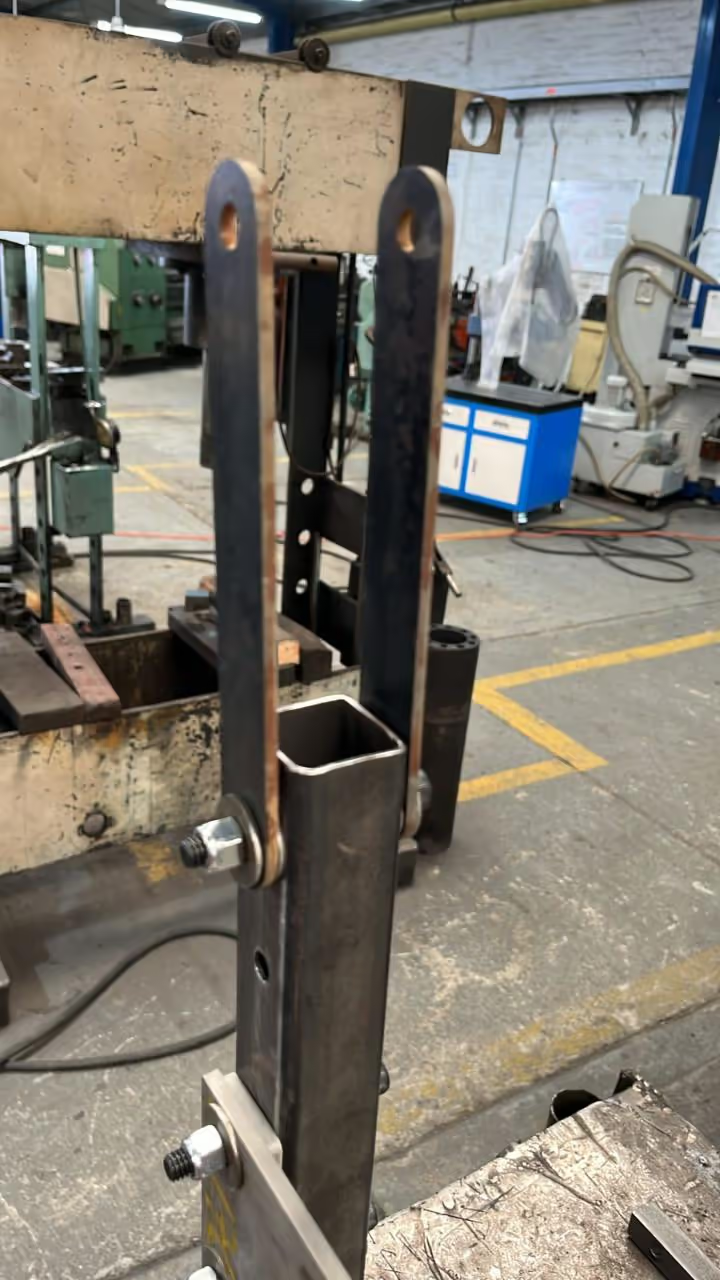
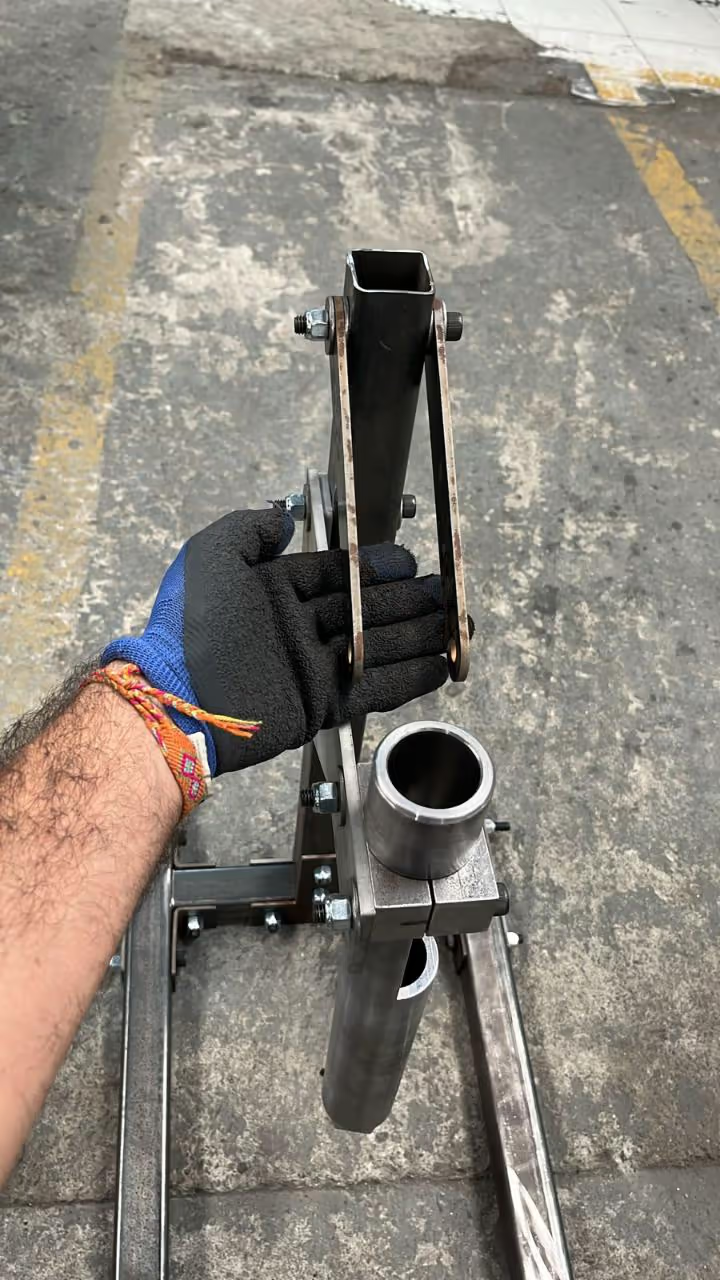
Utilize the two longest links, attaching them using two 2 x 3/5 inch (15 mm) Allen screws, along with double washers and nuts. Ensure the assembly is not overtightened, as this component needs to remain movable.
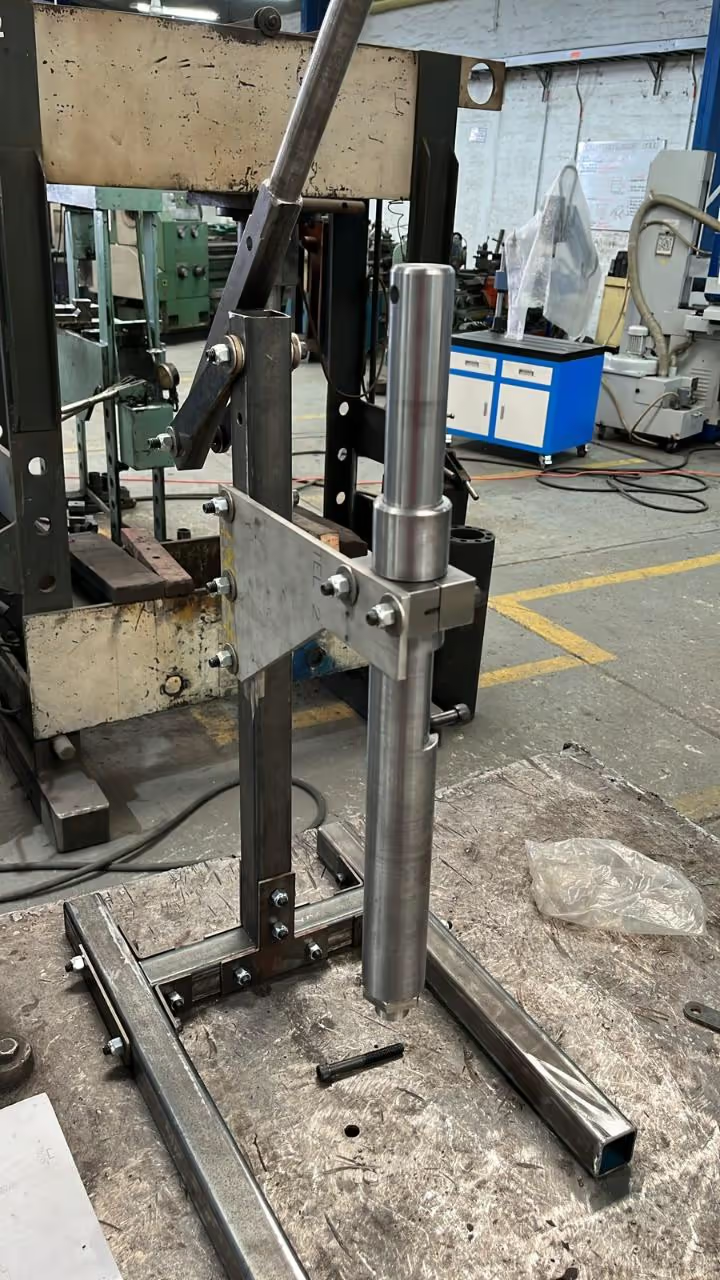
Install the shaft for injection purposes and the handler. Insert the shaft into the barrel and secure it with a screw. Ensure the nozzle is installed. Attach the handler bar to the mechanical link and use the short mechanical link to hold the shaft. Use a 3/8-inch Allen screw and an Allen key for the entire assembly process.
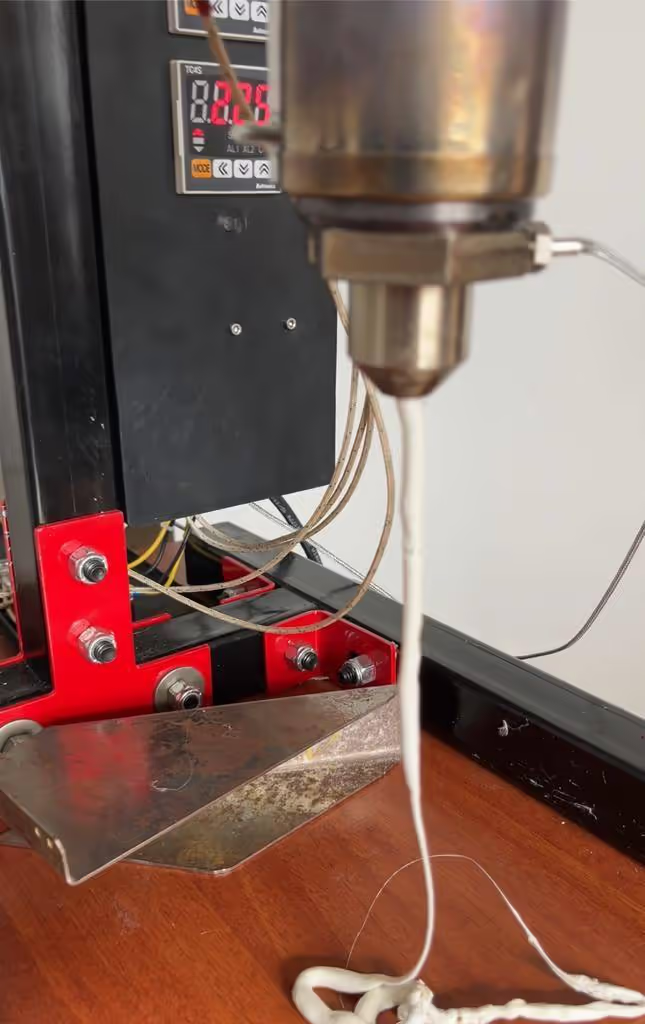
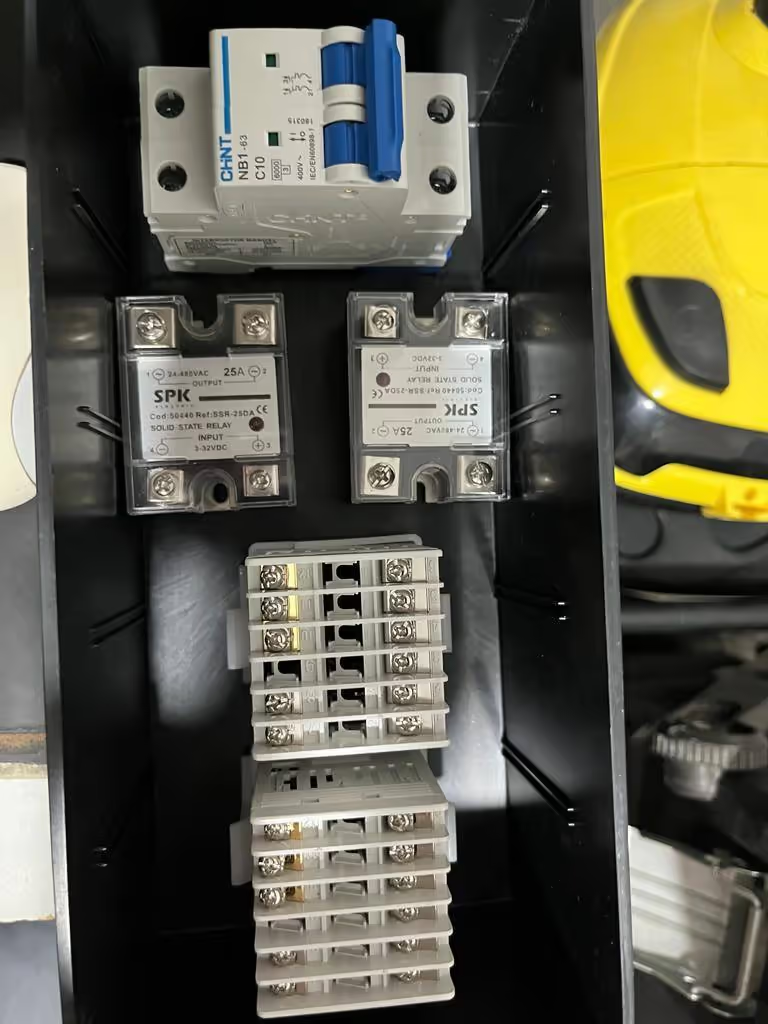
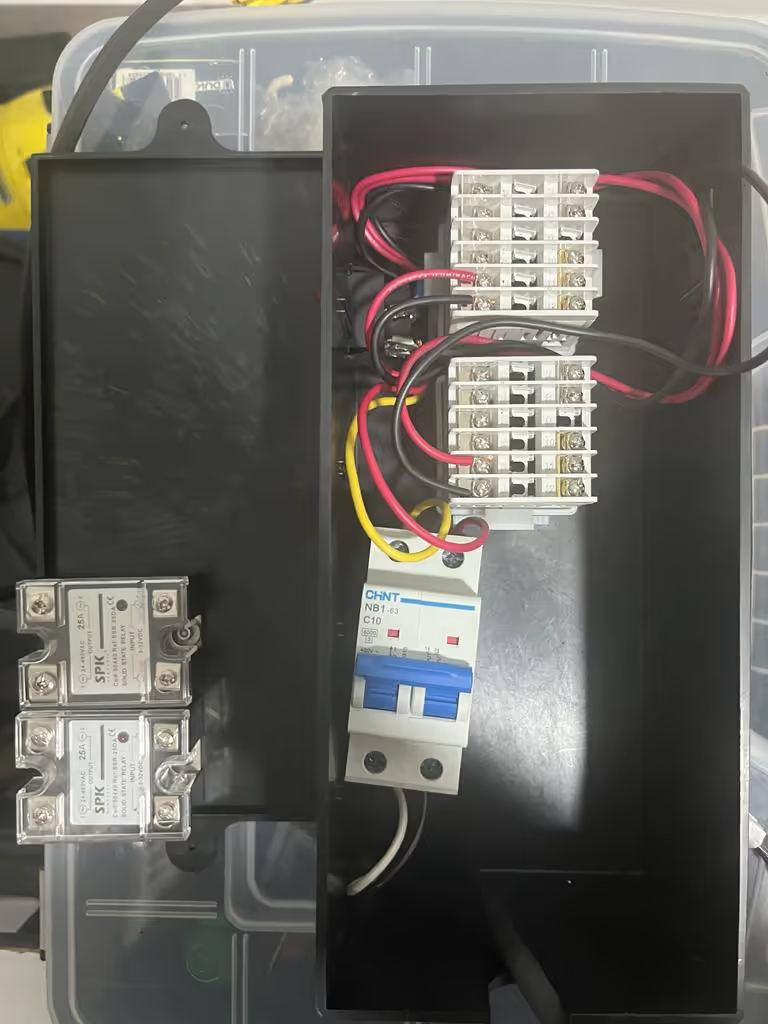
Install two temperature controls, two solid state relays, one current differential protection, one switch, and two resistors. To handle 100 grams (3.53 ounces) of material, resistors should support 550 watts at 120 volts. Use AWG 18 and 14 gauge wires for power. Two Autonics temperature controllers assist with PID temperature management.
The tutorial outlines a manual vertical desktop injection molding machine design and assembly process. Below is the extracted list of required tools, software, and hardware:
The design avoids welding and prioritizes screw-based assembly, with 19 fasteners and 20 custom-machined parts[1]. DXF files and fabrication drawings are referenced for component manufacturing[1].