Recycle plastic waste into 3d printing filament
HACK
OTHER MACHINE
EXTRUSION
SHREDDER
This guide demonstrates the process of converting plastic waste into 3D printing filament. It outlines key considerations and necessary equipment for optimal results.
For a visual guide, please watch our video:
YouTube Video
For more information, visit our website:
Qitech Industries
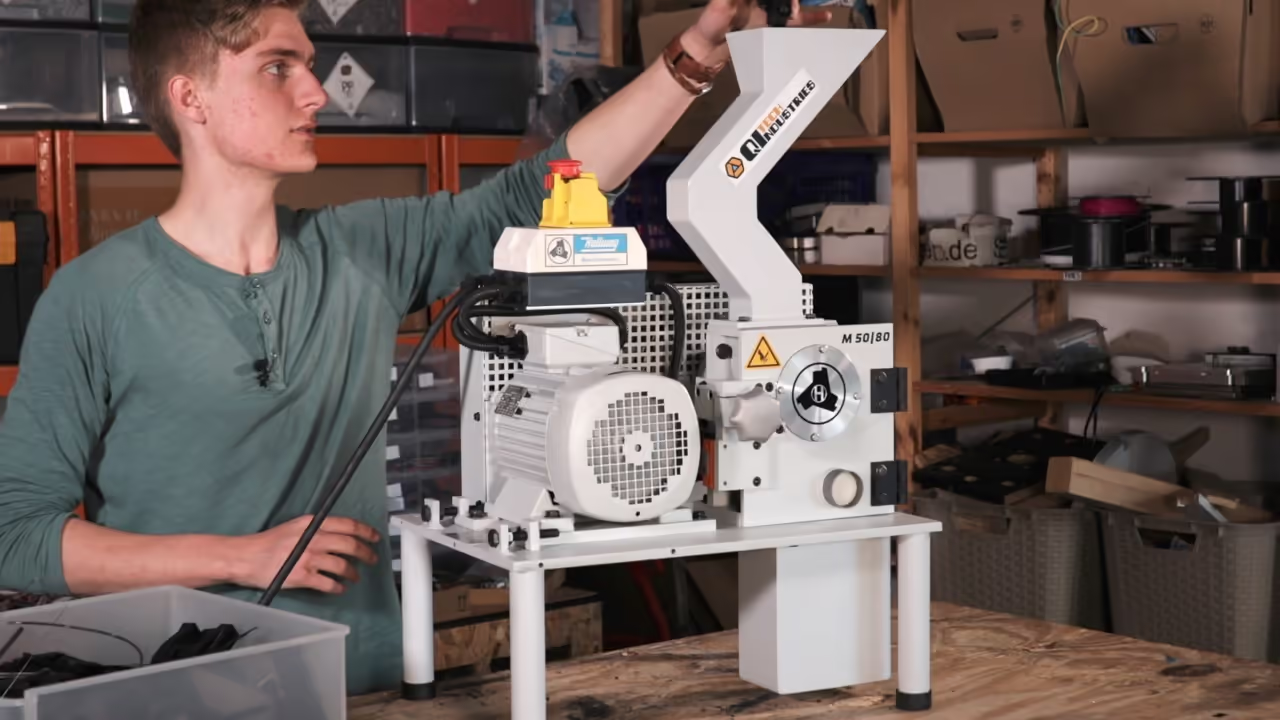
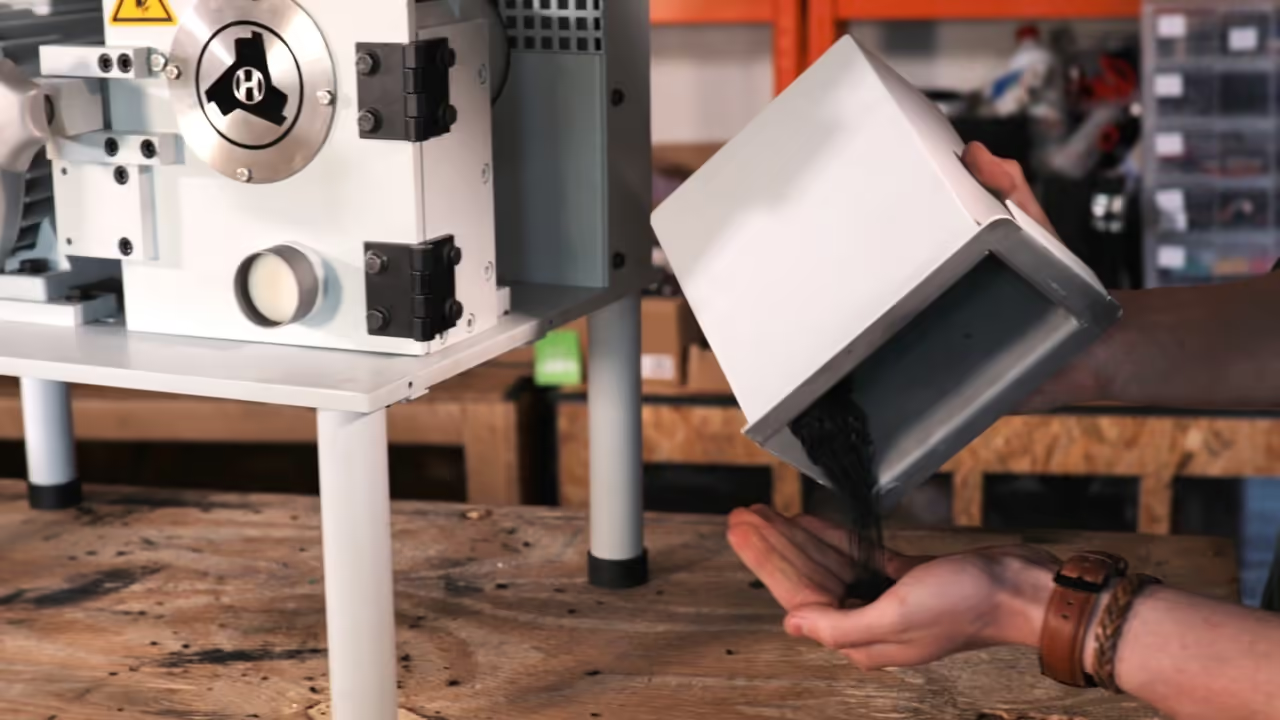
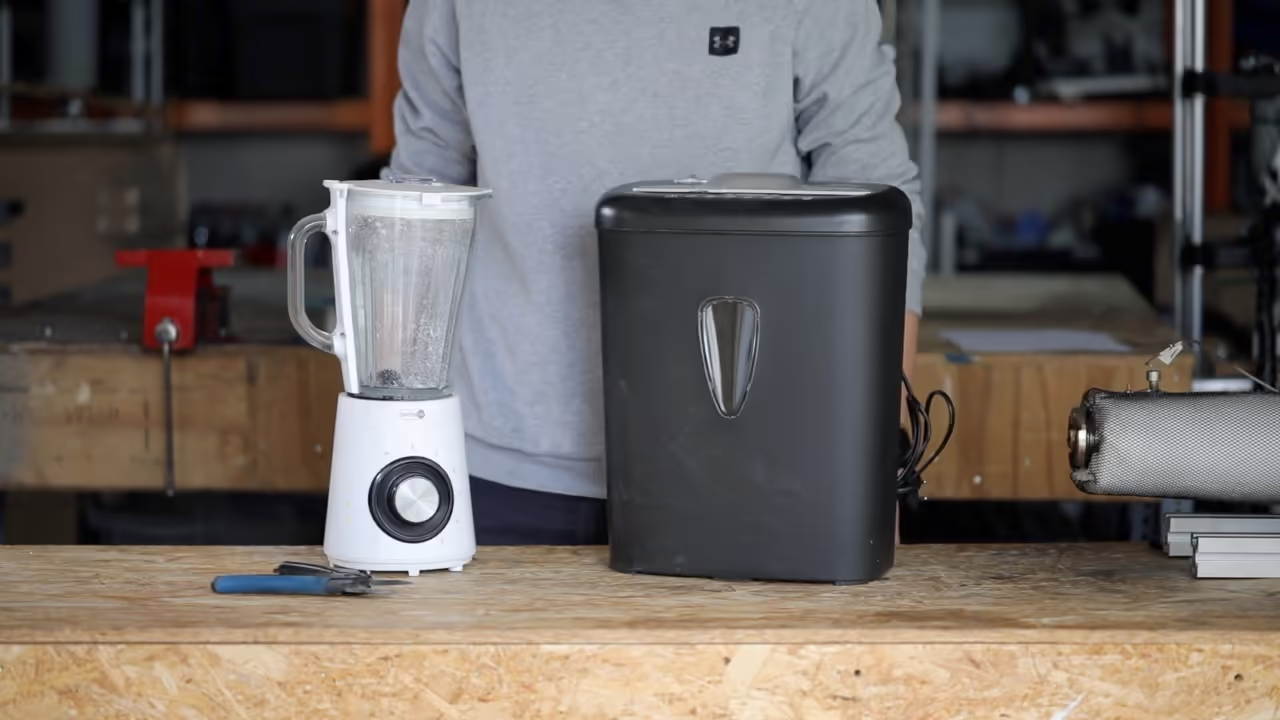
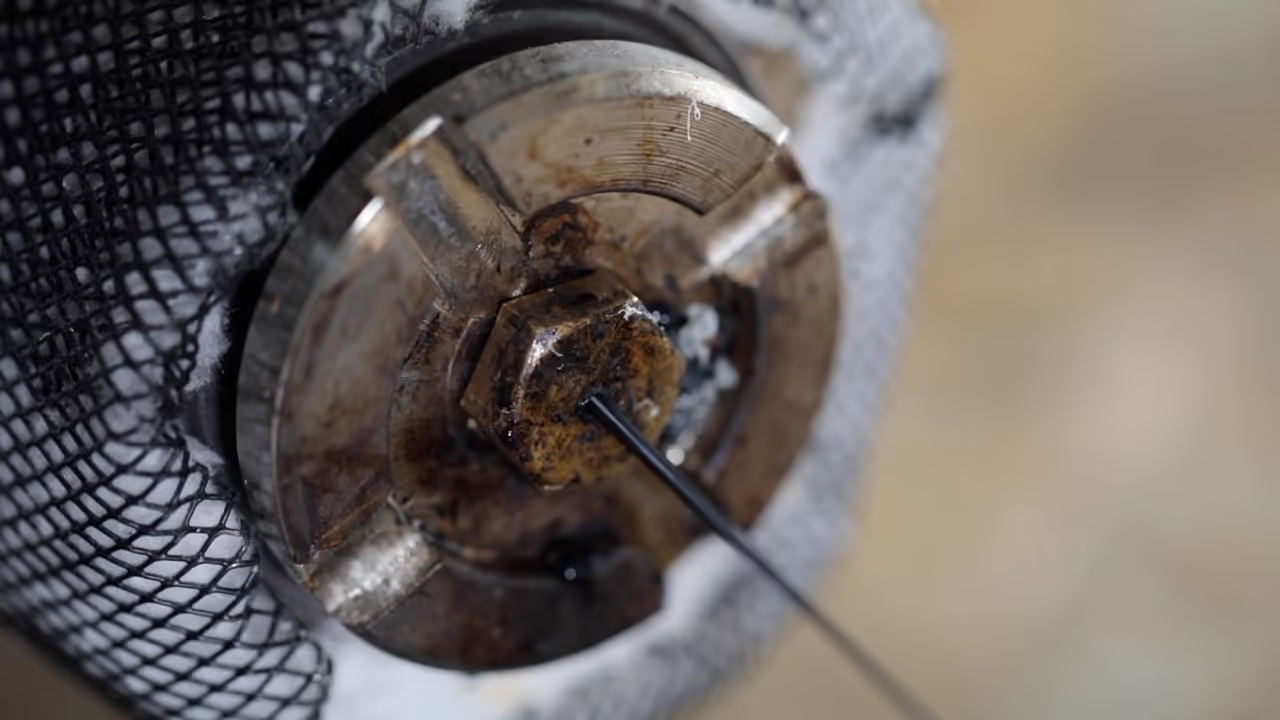
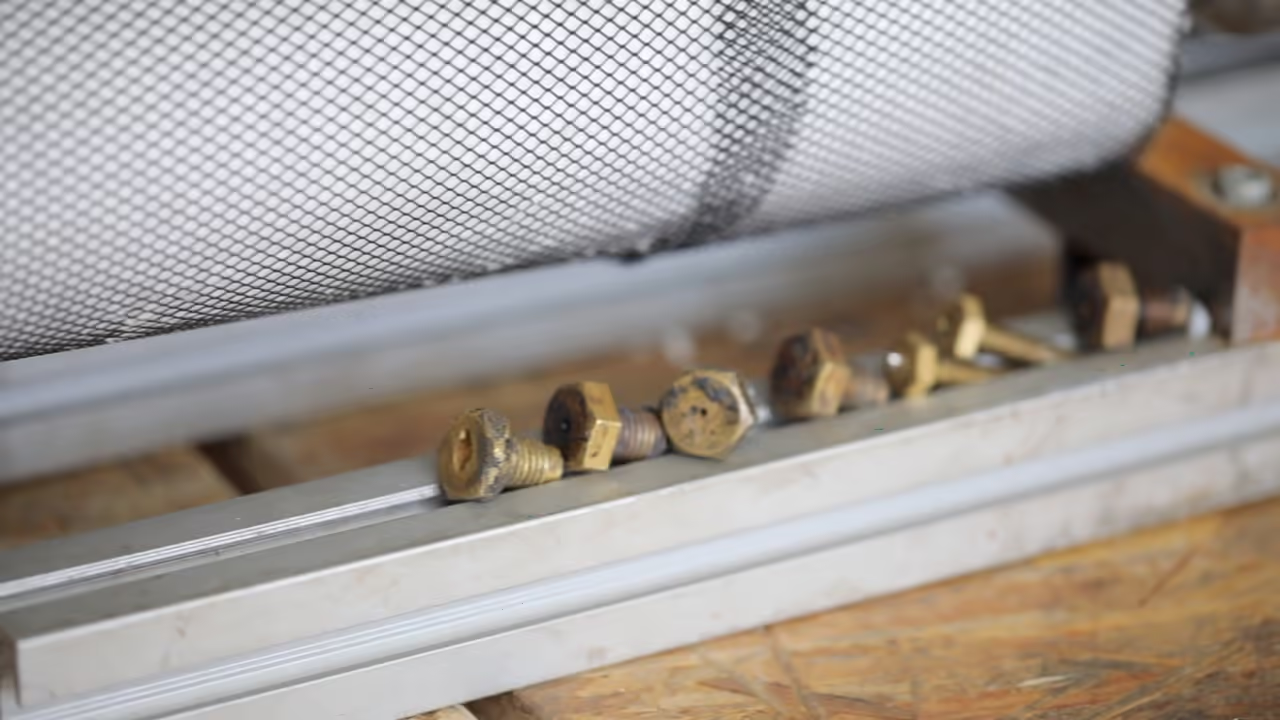
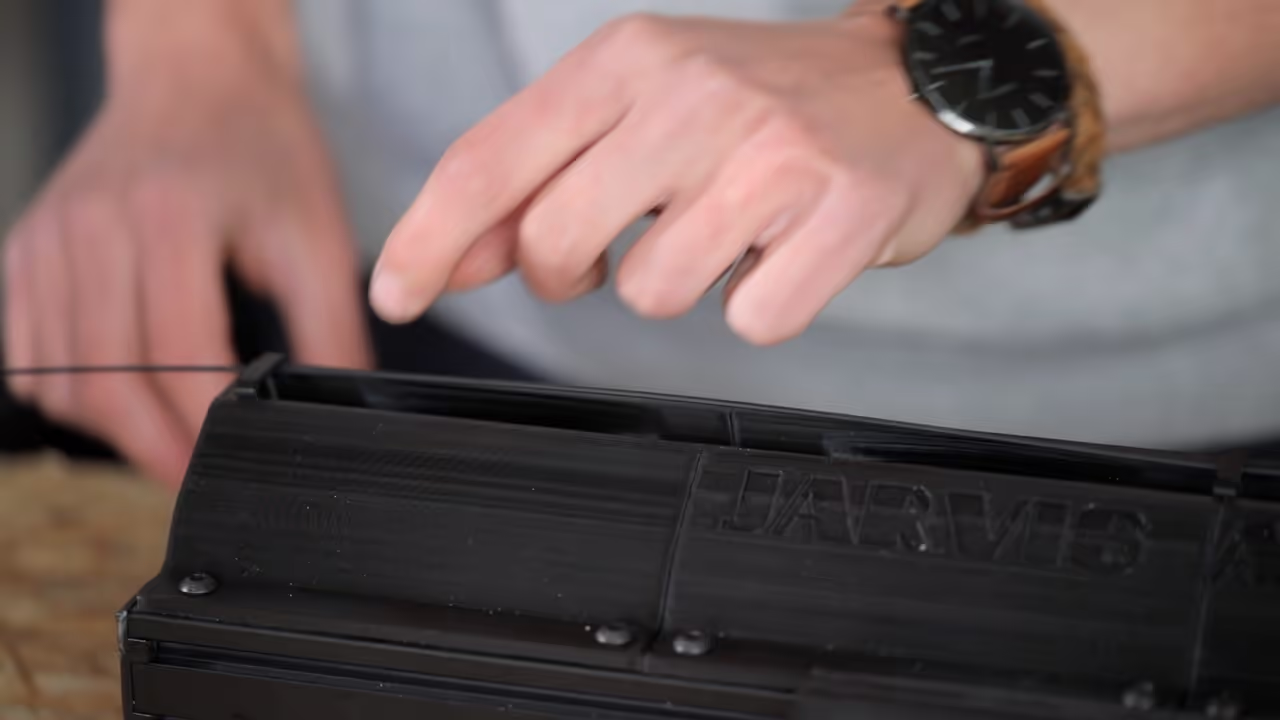
Begin by shredding the material. We utilize the JARVIS Shredder, but if you lack a shredder, consider nearby workshops or budget methods such as a hand-cranked shredder, document shredder, or scissors-blender combination. A more uniform granulate will enhance the final result.
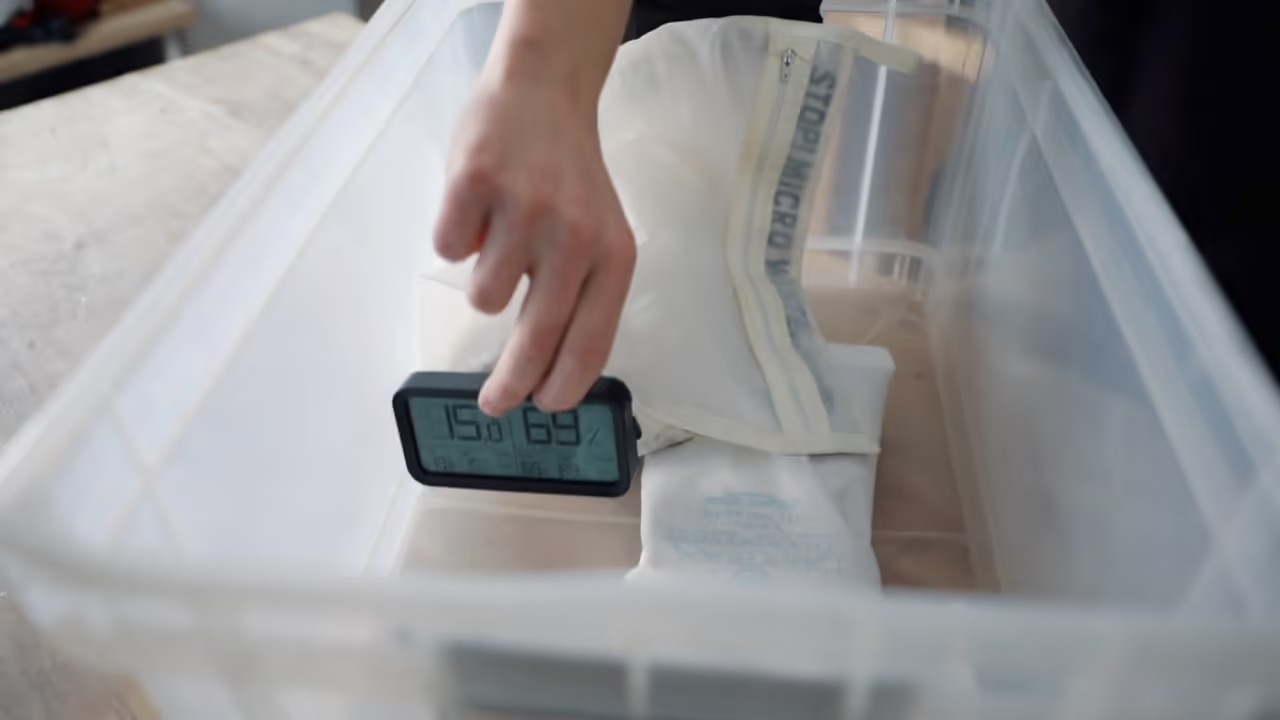
To proceed, dry the material. Refer to our comprehensive guide on drying polymers using a custom-built dry box available here:
The next key phase is extrusion, for which an extruder is essential. You can construct one using the provided blueprints or purchase one online. A comparison of different extruder models is available here.
Our experience with the 6th generation extruder highlights three critical factors for success:
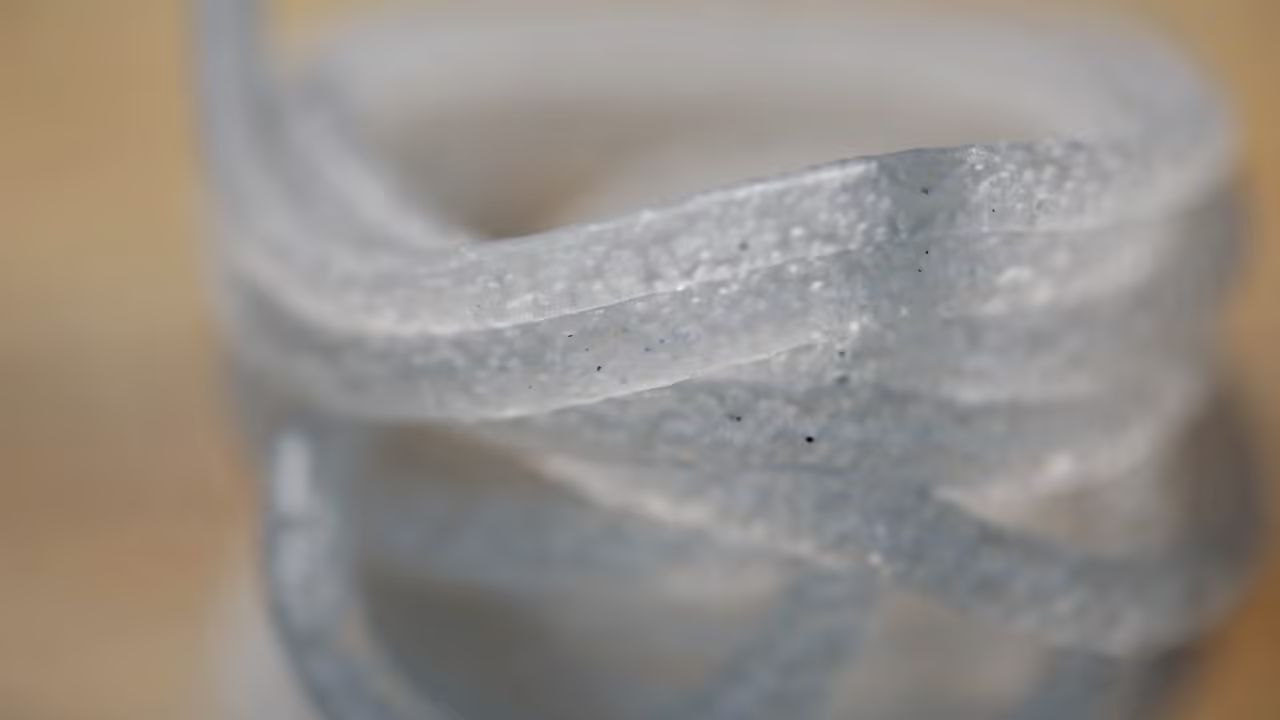
With hot filament exiting the extruder, it must be cooled and wound onto a spool. Cooling can be done with water or air; however, an air cooling system is recommended as it is simpler and effective for outputs under 6.6 lbs/hr (3 kg/h). A basic and economical option is to use a horizontally positioned tower fan beneath the filament. Our custom cooling unit, the JARVIS Airpath, allows precise fan control, ensuring the filament hardens sufficiently but remains flexible for easy winding. The winding process is optimal when the filament tracks adhere slightly to each other.
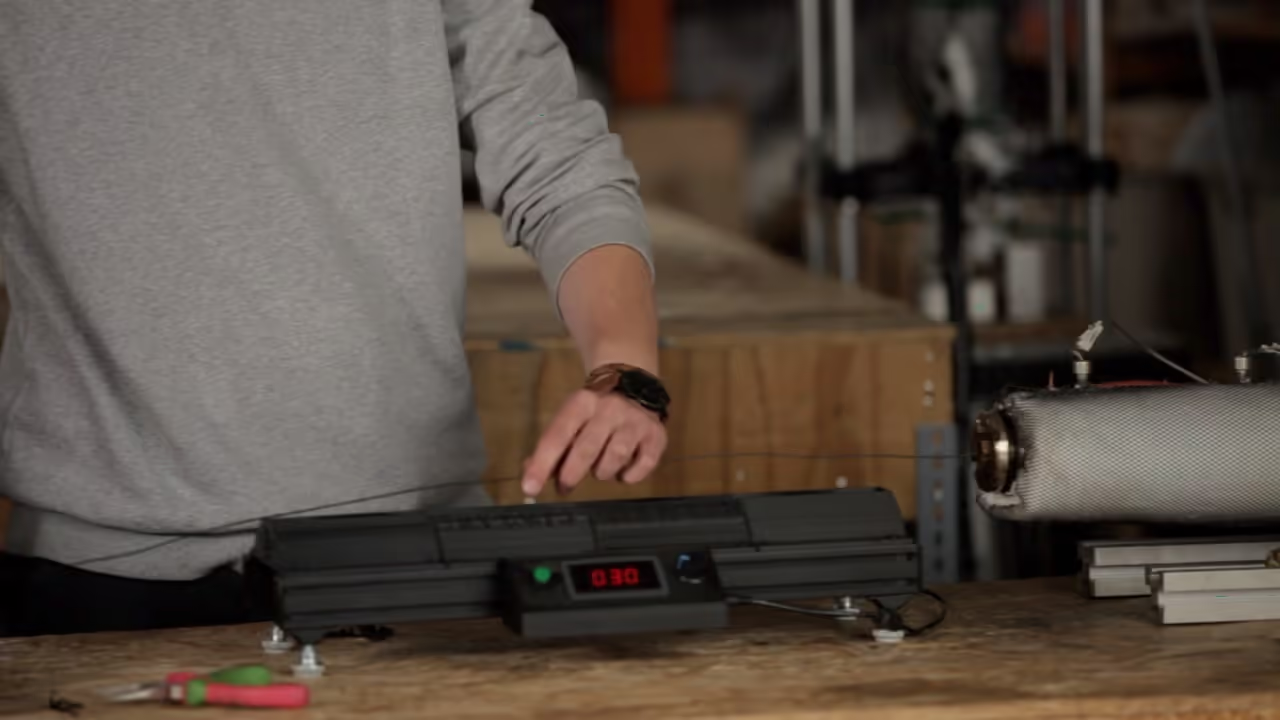
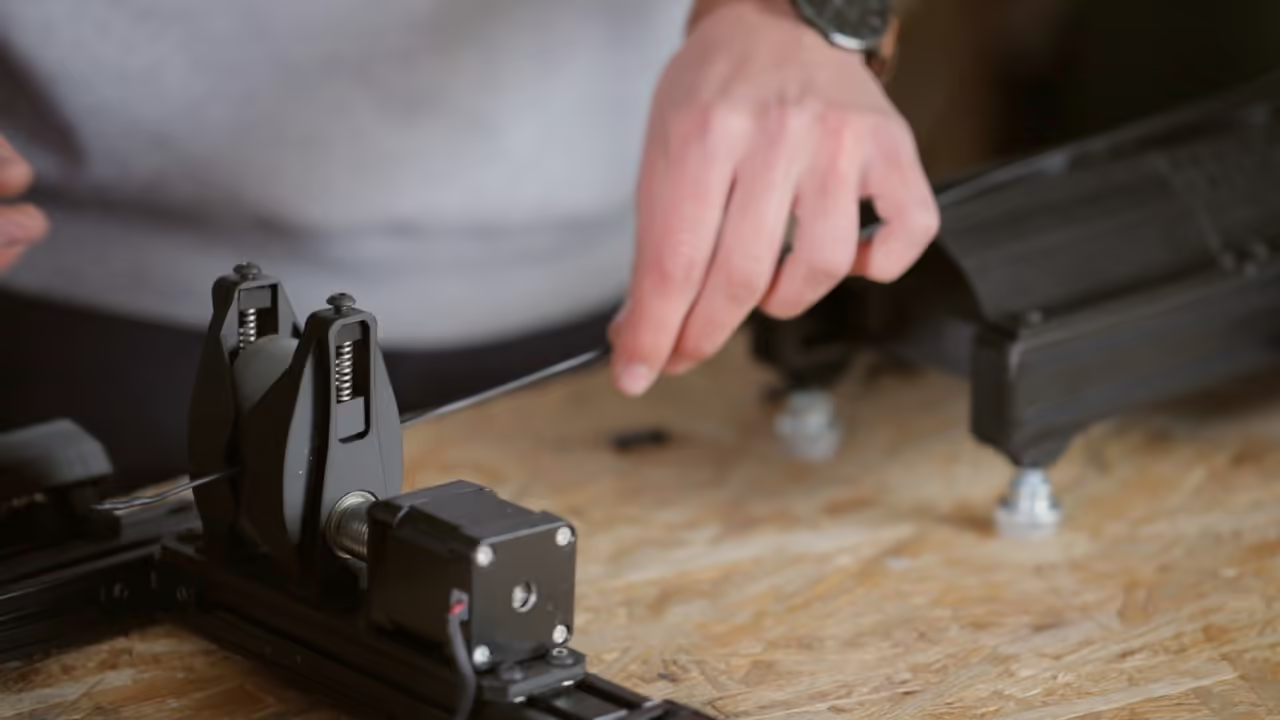
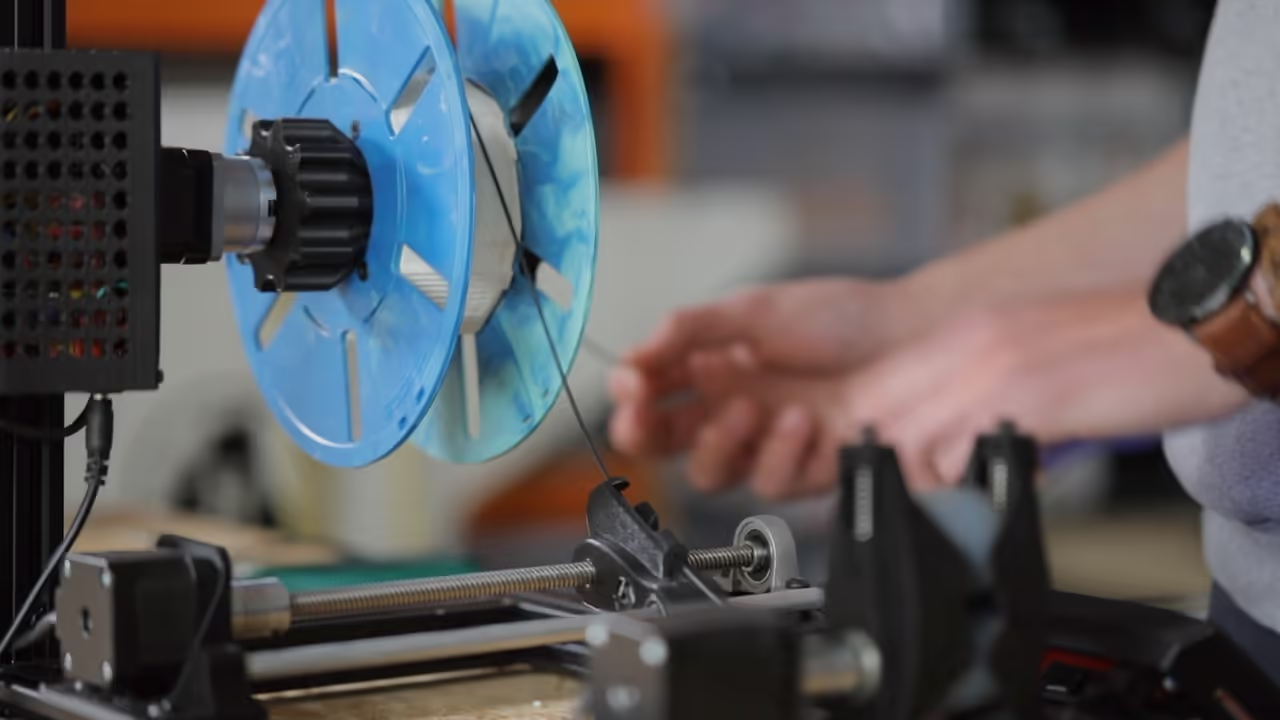
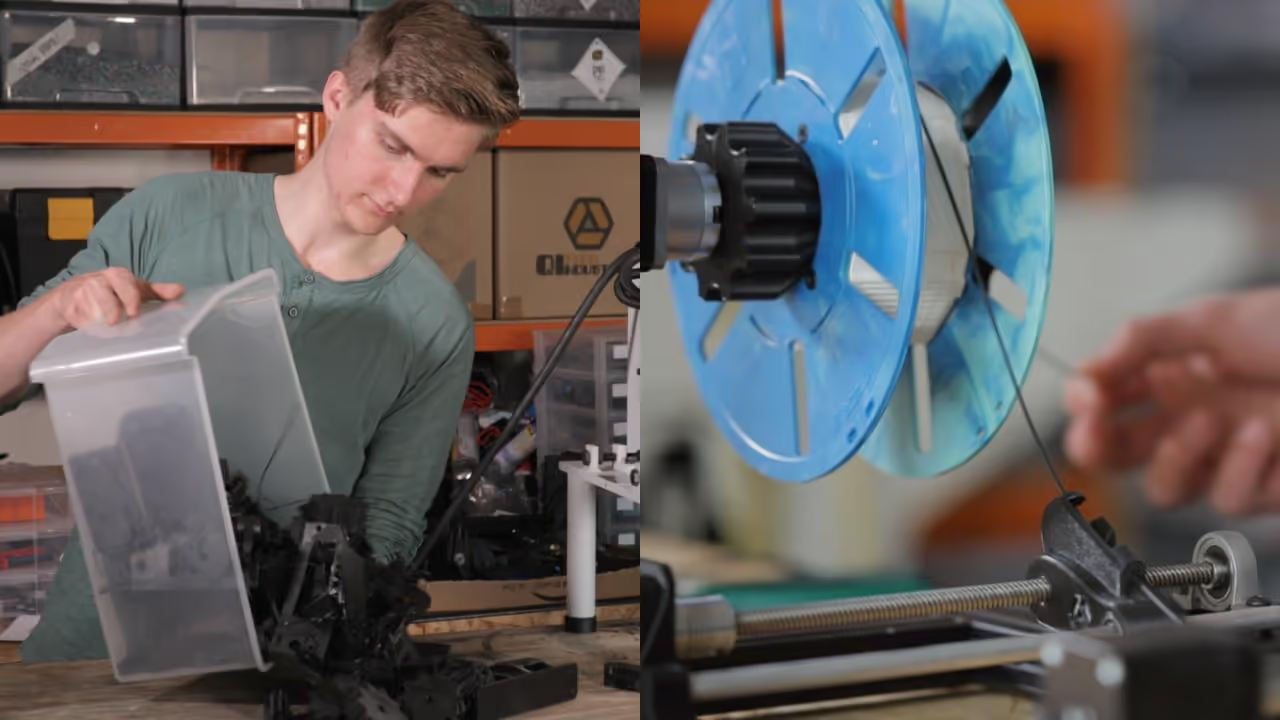
To prepare the filament for 3D printing, use a filament winder equipped with a pull unit, a guider (to distribute the filament evenly), and a rotating spool axis. It is essential to maintain tension in the filament to avoid loose spools.
For this task, we employ a winding unit that automatically adjusts the spool motor speed. This ensures precise winding and consistent filament diameter. Insert the filament into the puller, thread it through the guider, and onto the spool.
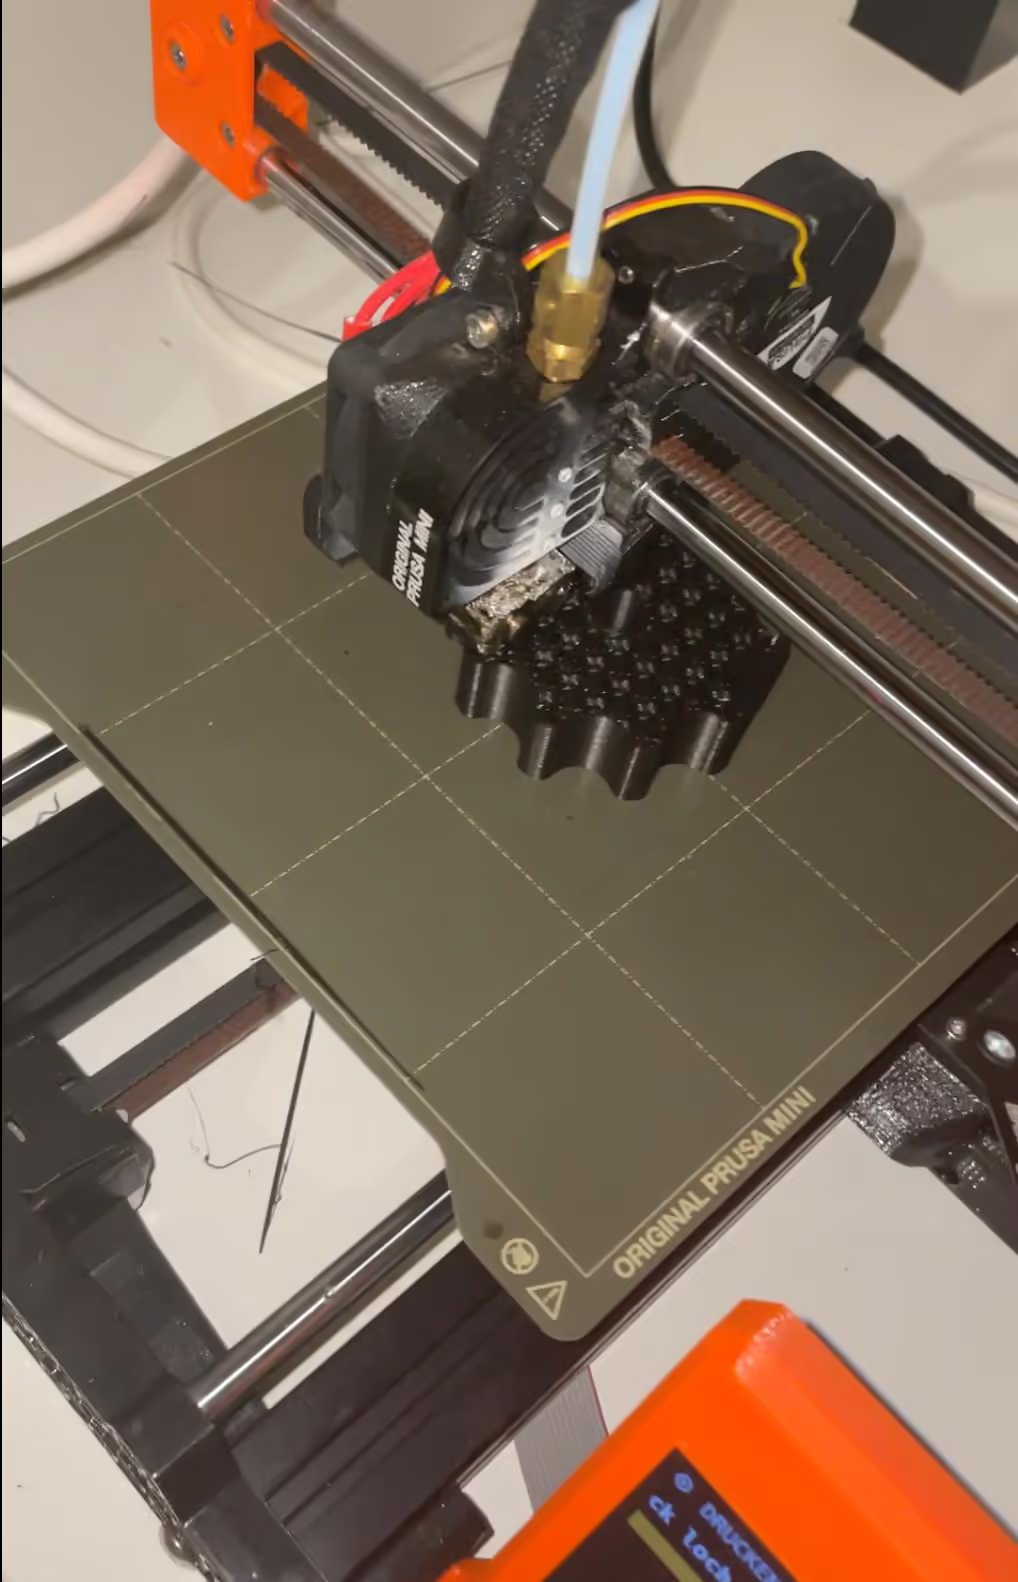
You can now use your new filament with a 3D printer.
No specific software mentioned in the tutorial.