No Touch Tool with 3D printed mould
LDPE
MOULD
PRODUCT
INJECTION
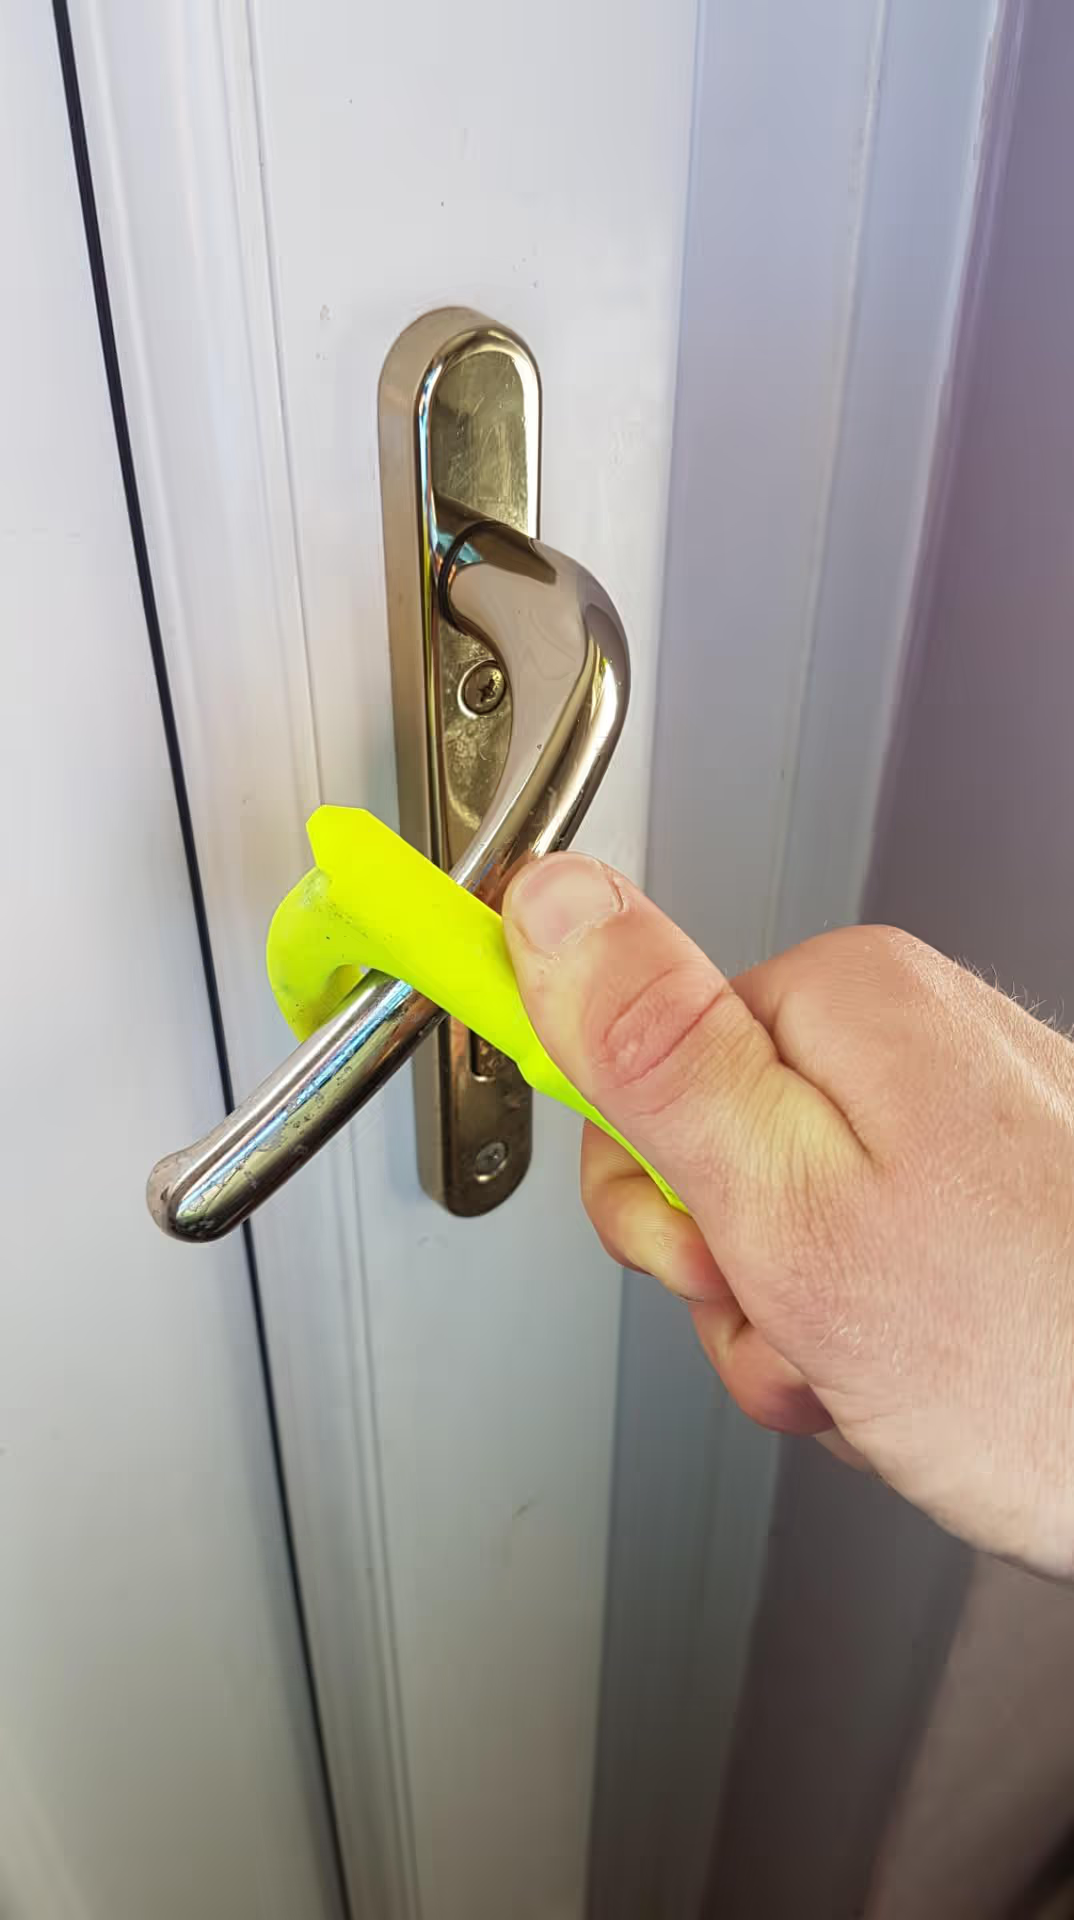
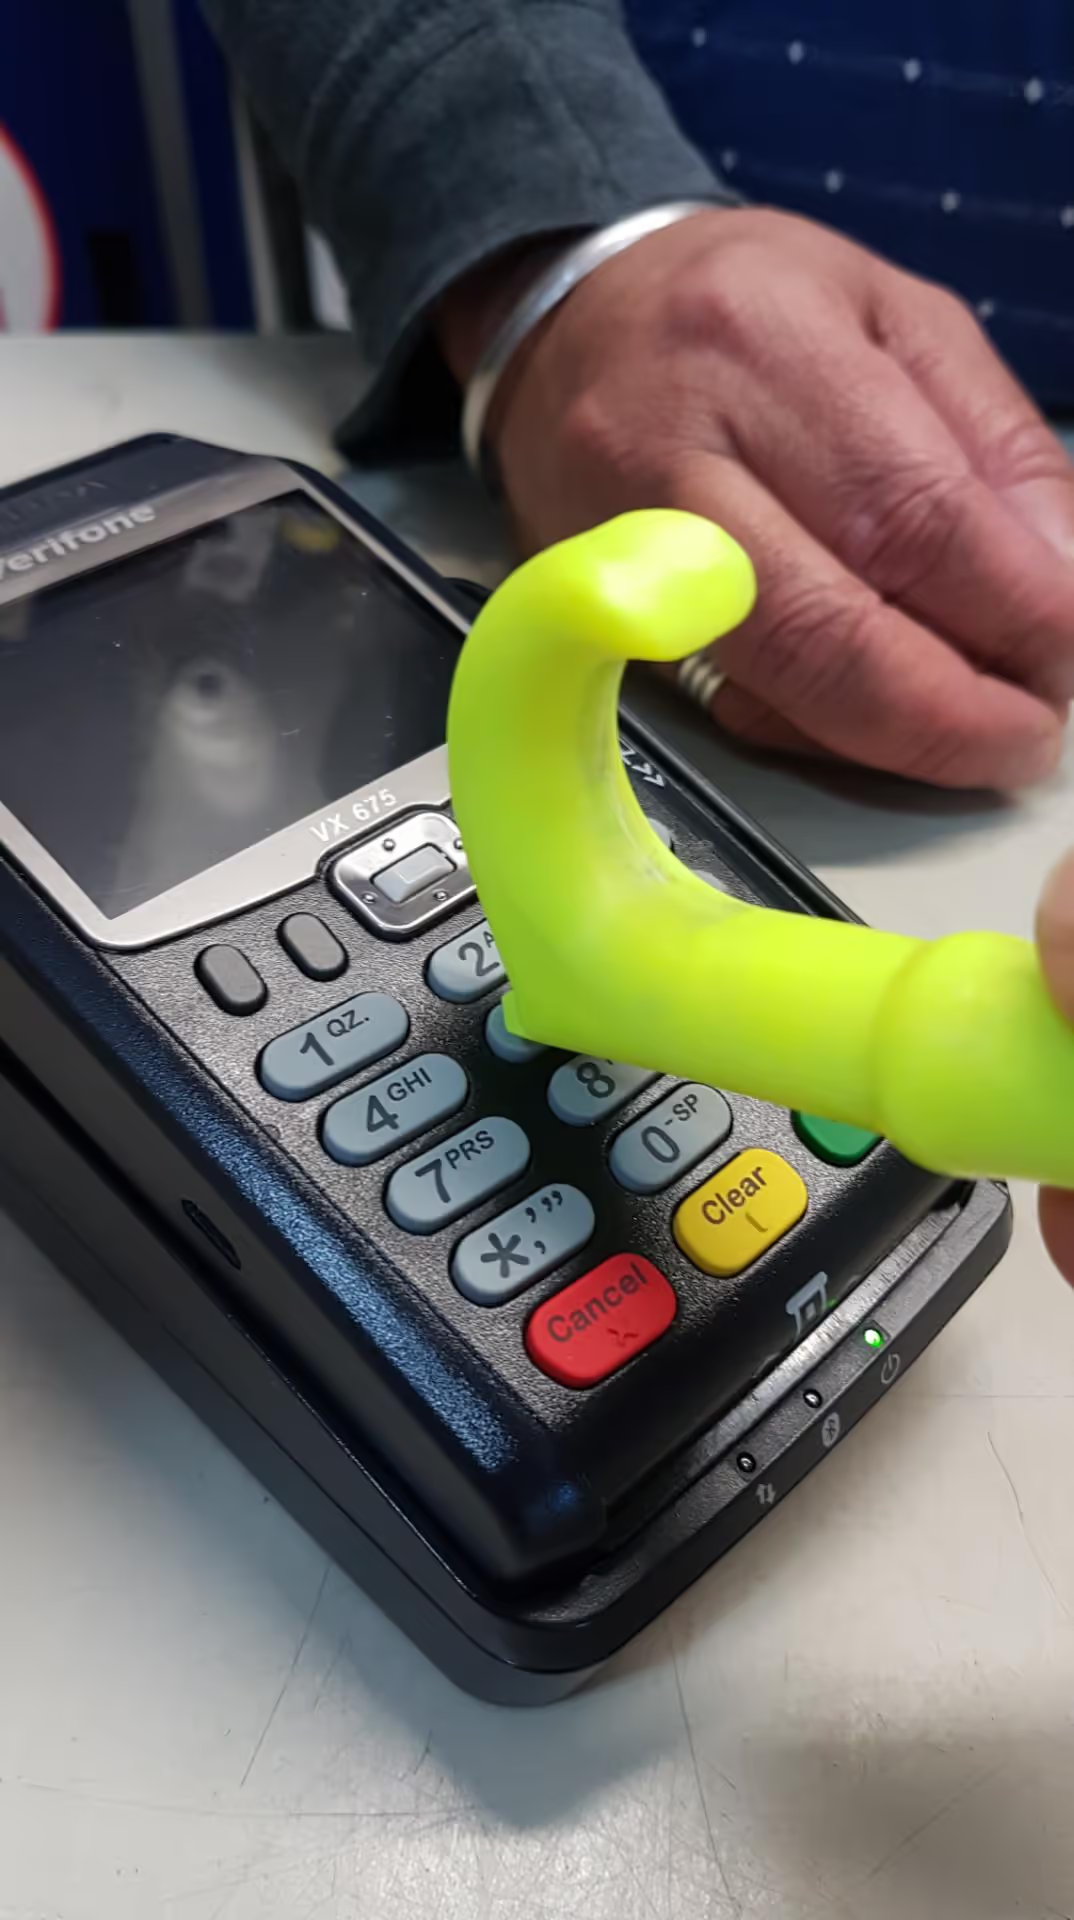
Develop a tool for engaging with frequently touched surfaces like door handles, pin pads, and light switches, reducing direct hand contact. This aids in minimizing the spread of Covid-19. Constructed from 3D-printed nylon, the tool allows for rapid mold production to address this need efficiently.
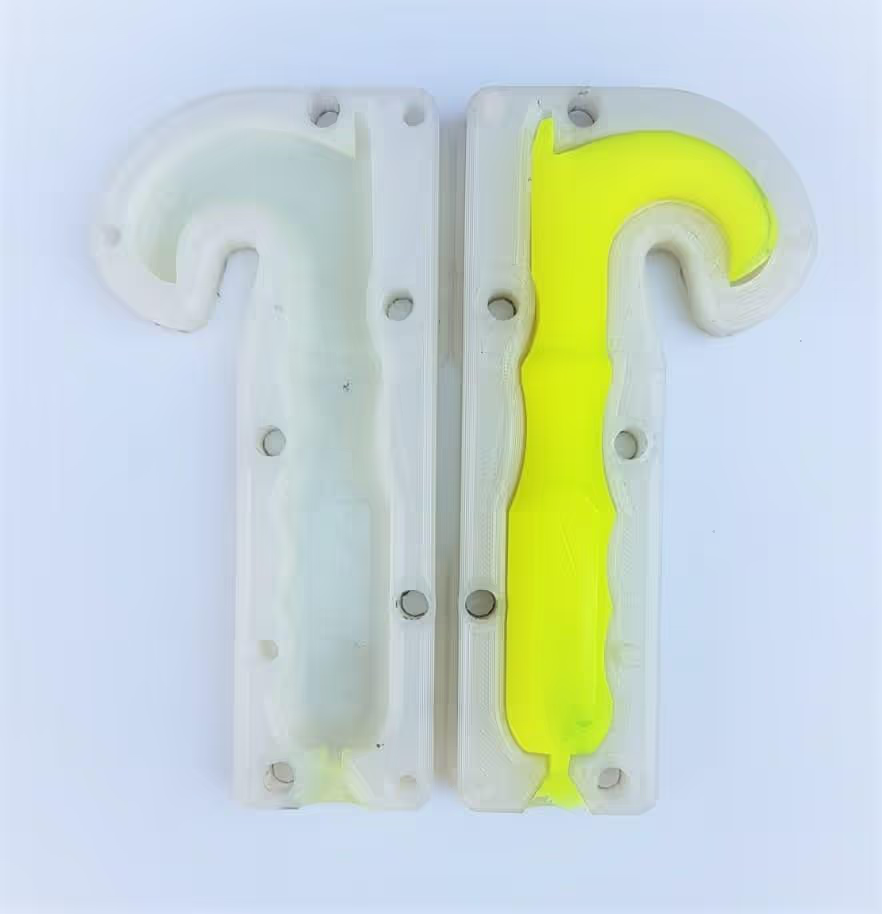
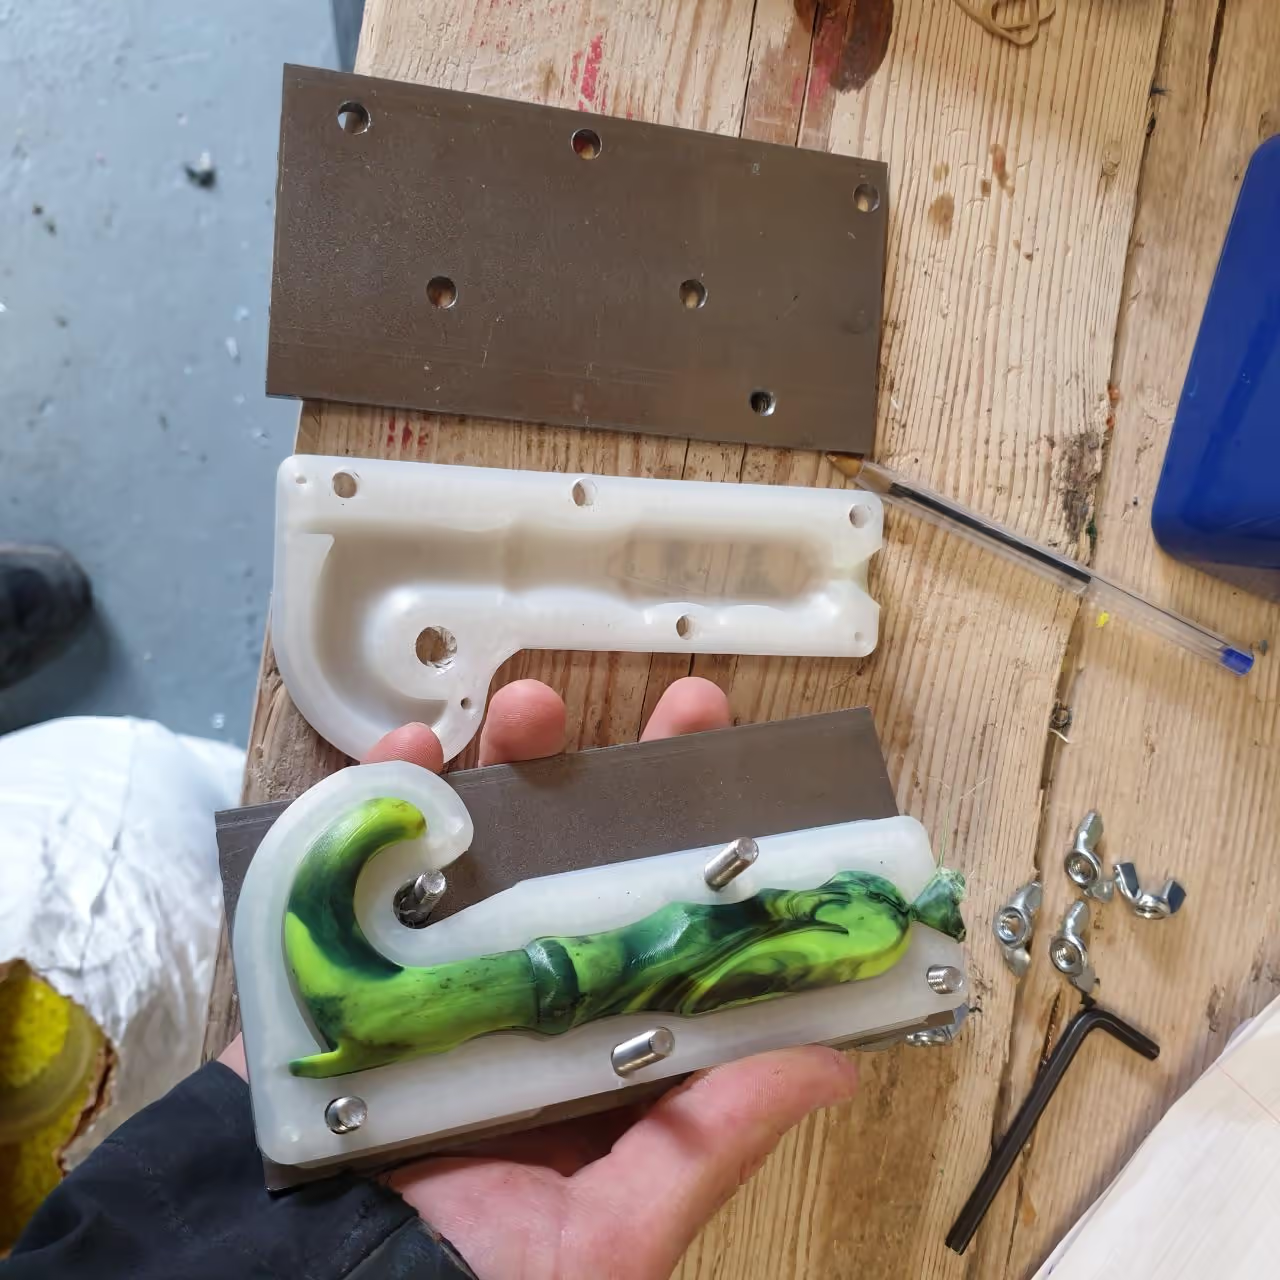
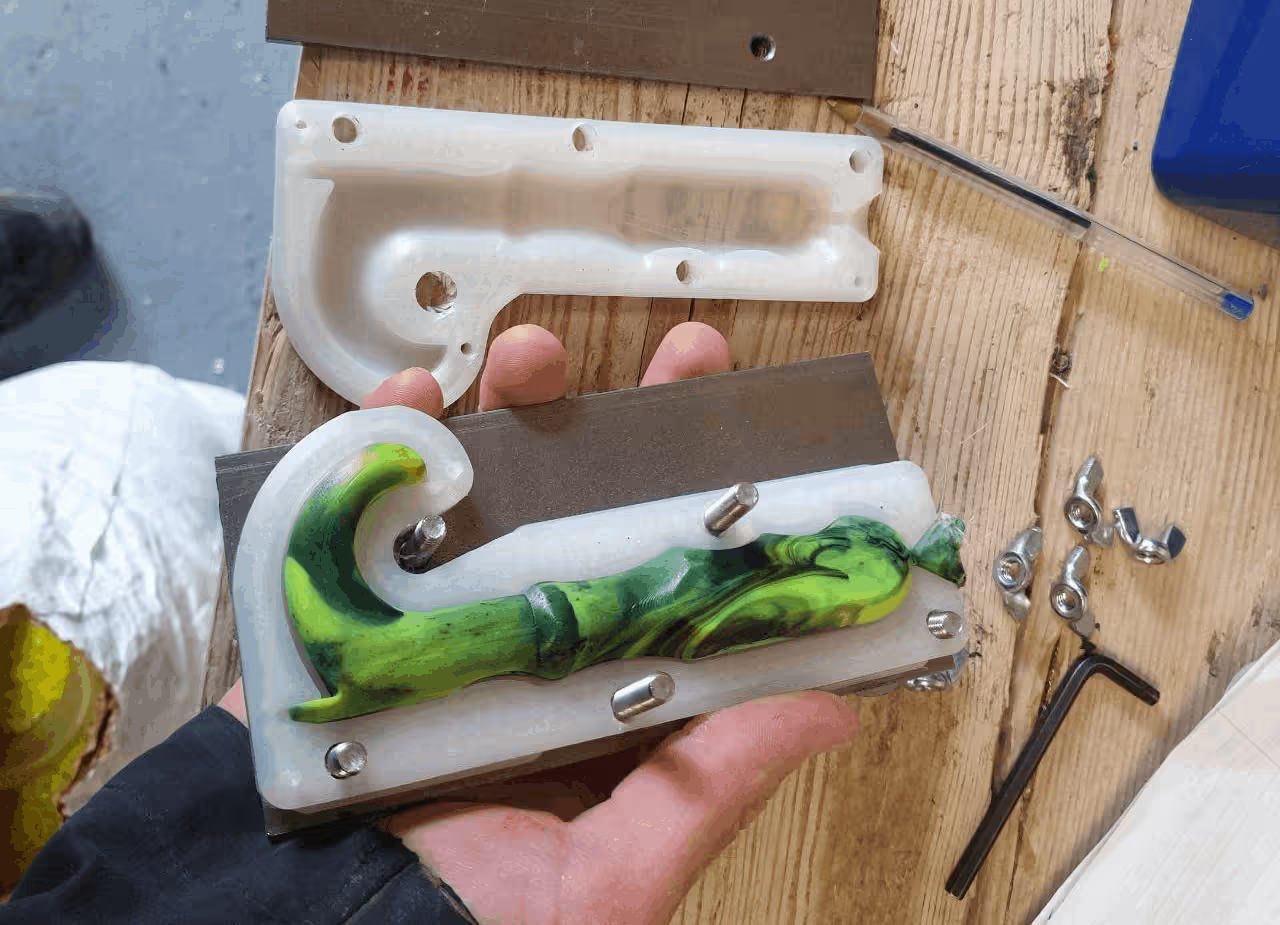
Nylon was chosen for the mold due to its higher melting temperature compared to LDPE, used for making the No Touch Tools. Employing 3D-printed molds ensures minimal plastic usage, in contrast to CNC-machined polycarbonate sheets. While metal molds are preferable for durability and quality, they are more costly and environmentally impactful. The nylon molds have endured over 100 injections with minimal wear and offer a cost-effective alternative to metal molds.
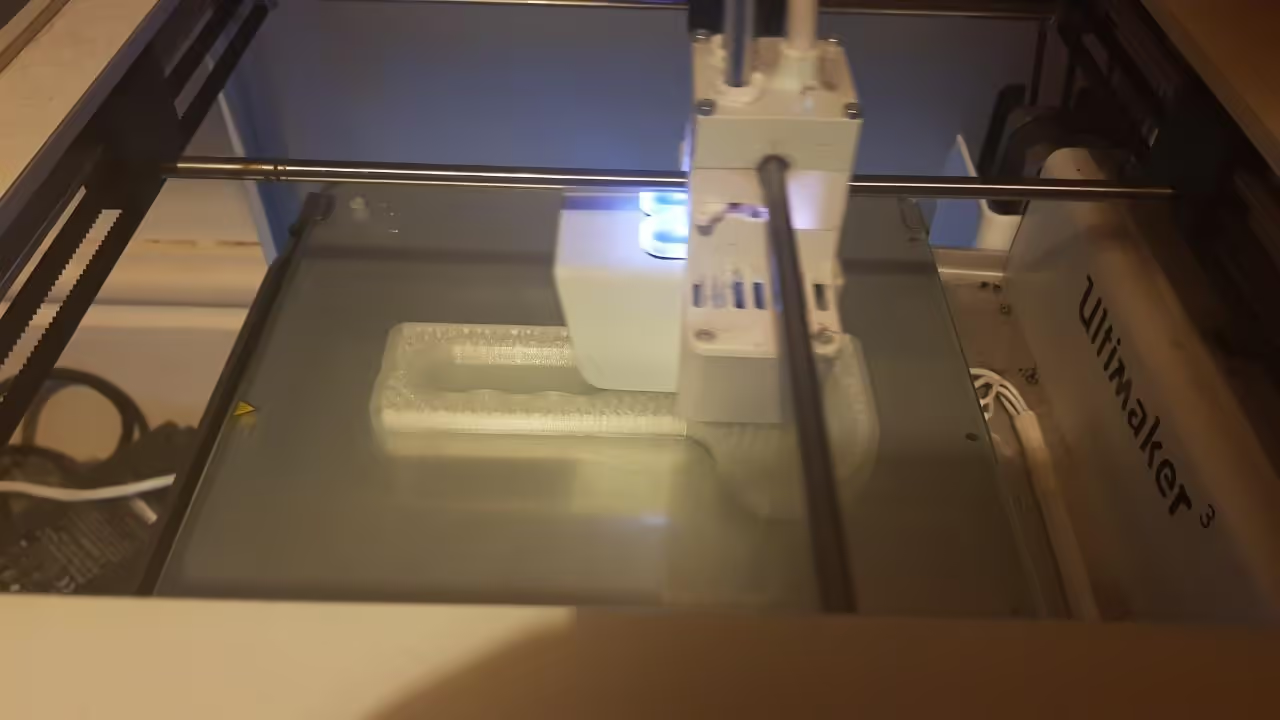
The molds were printed using an Ultimaker 3D printer.
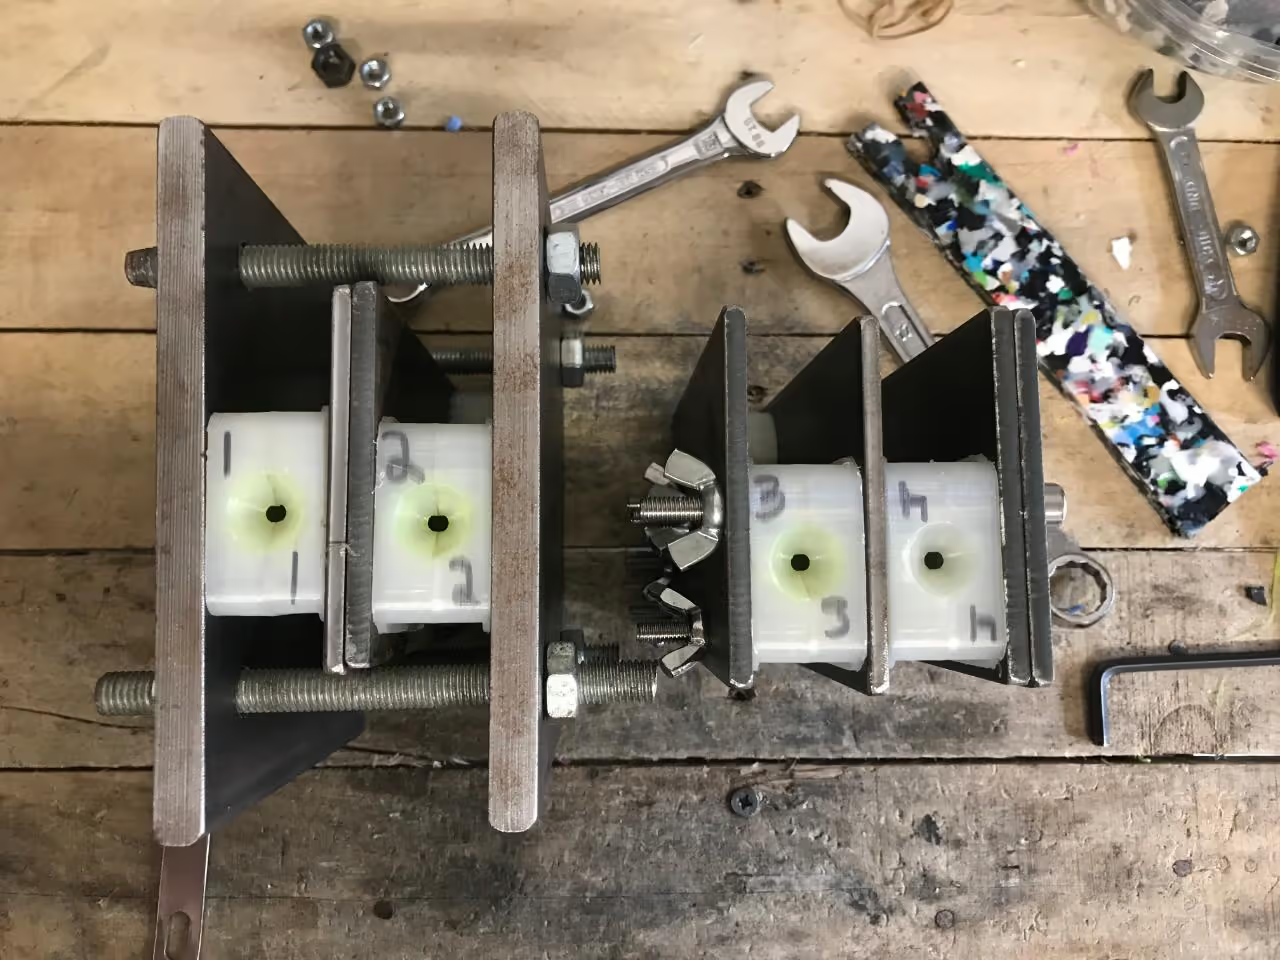
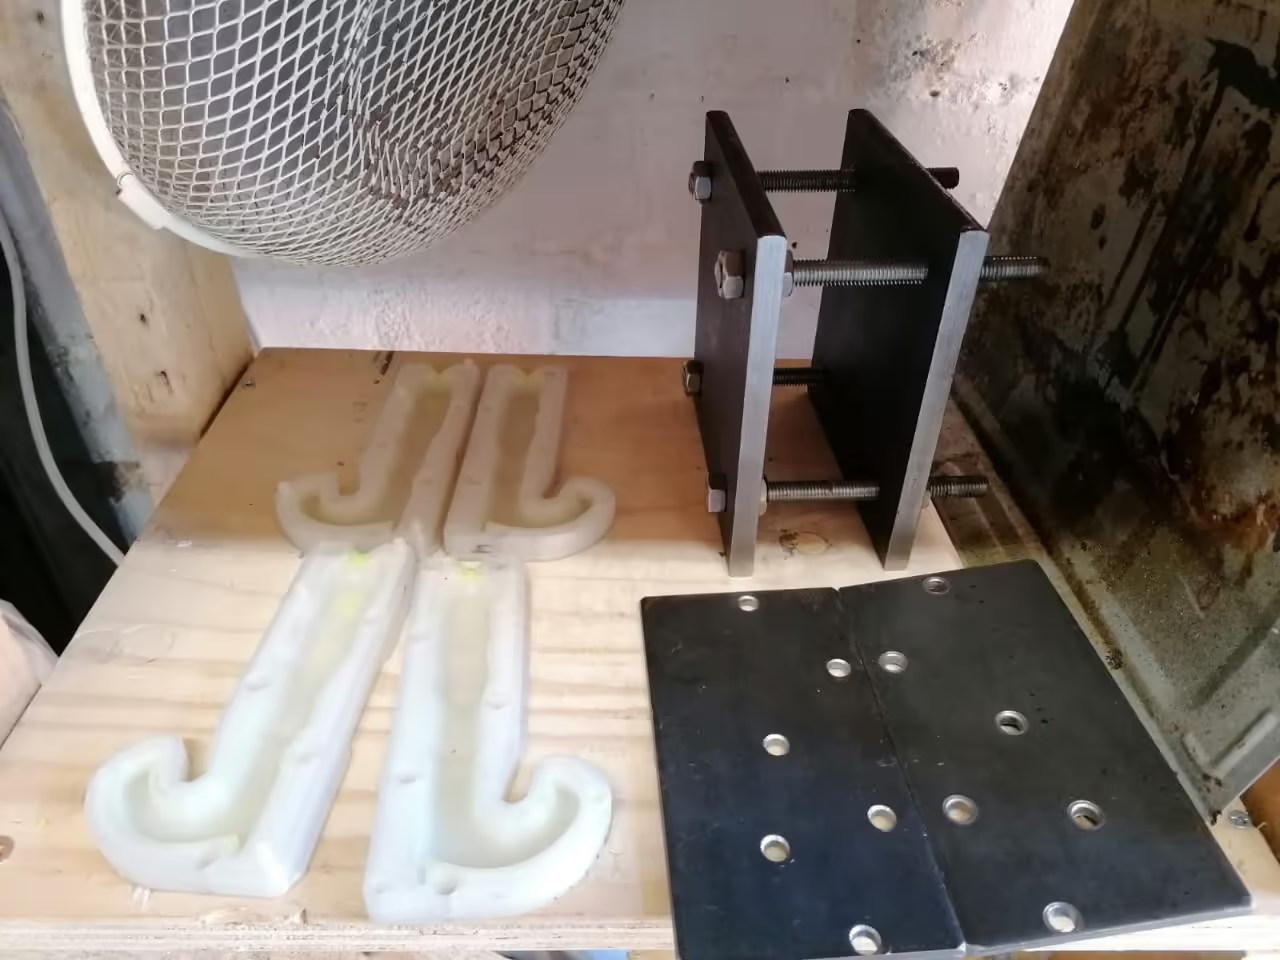
For even pressure and heat dissipation, we placed metal plates (0.39 inches) on either side of the mold. Alternatively, consider designing bolt slots in the mold halves for direct clamping.
Initially, we used through-bolts, which proved impractical. We switched to 0.39-inch steel plates clamped together with M10 bolts (0.39 inches). This improvement allows for easy mold removal and separation of parts, enhancing efficiency.
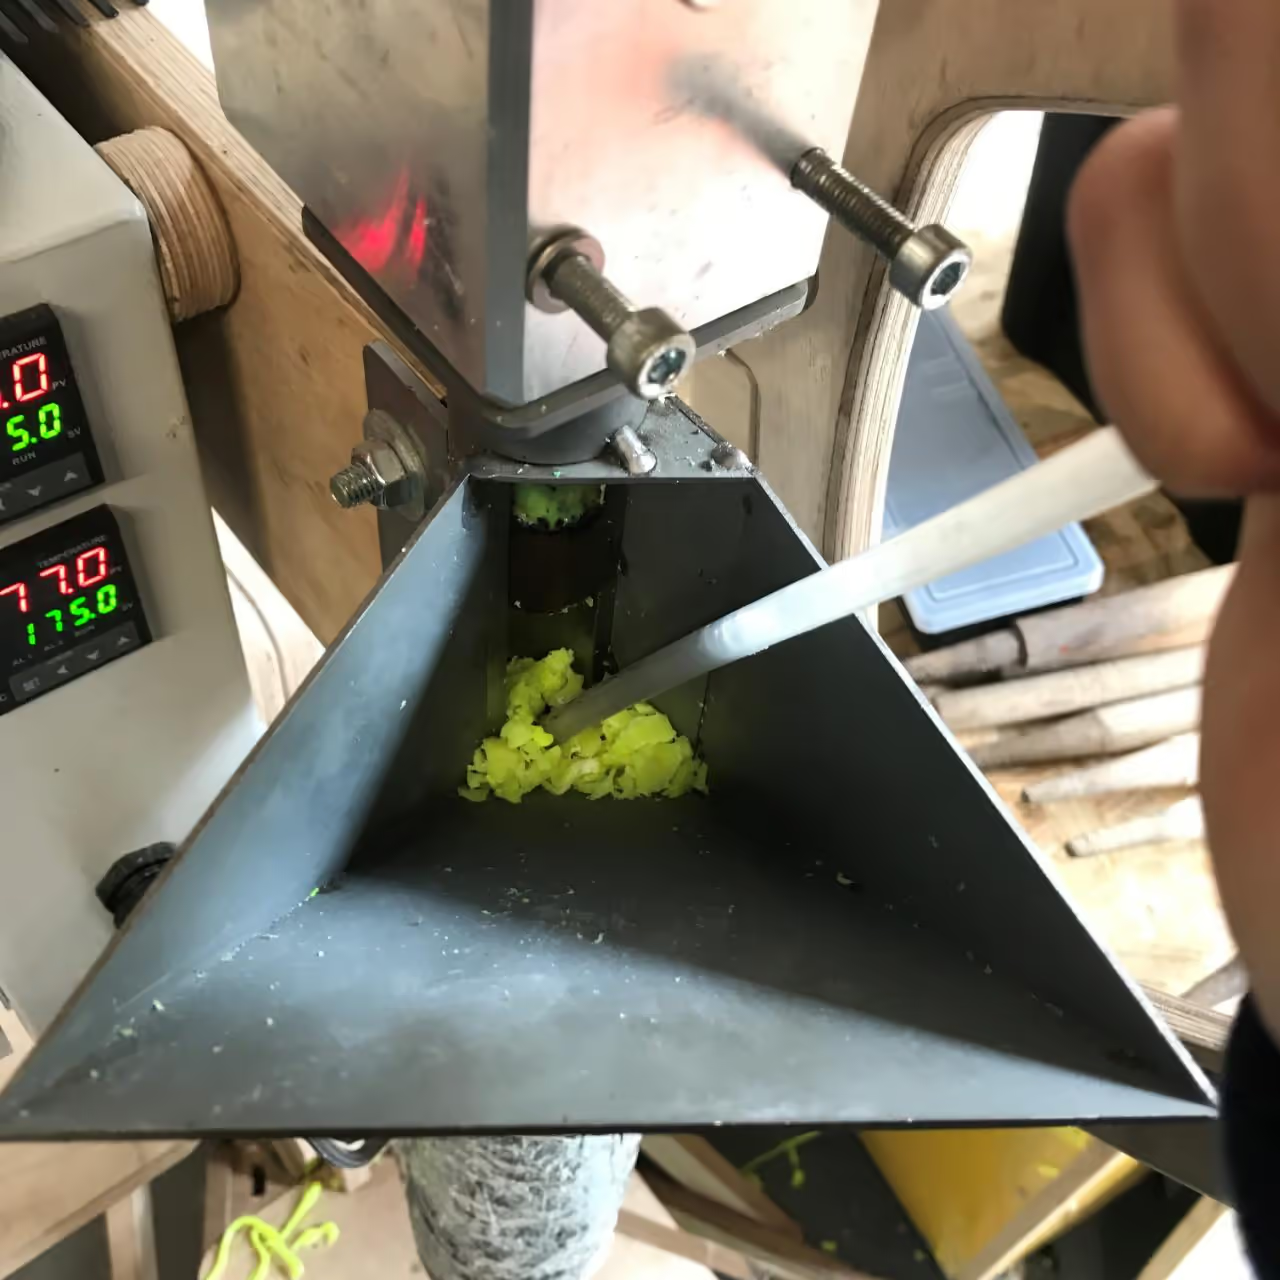
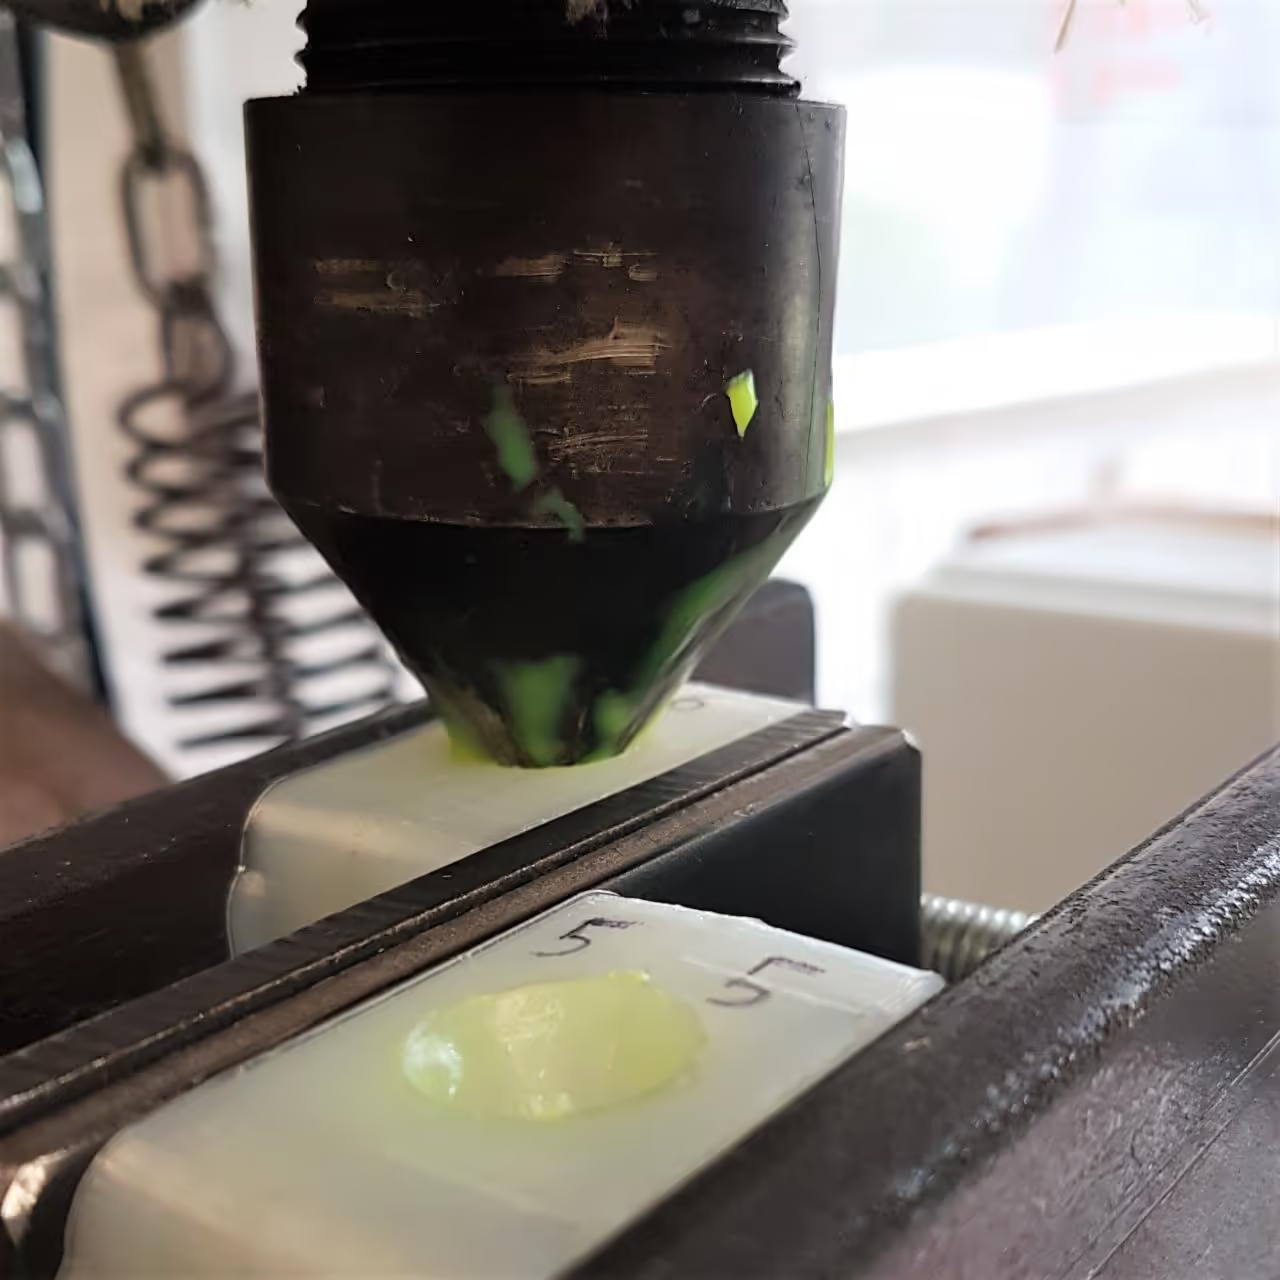
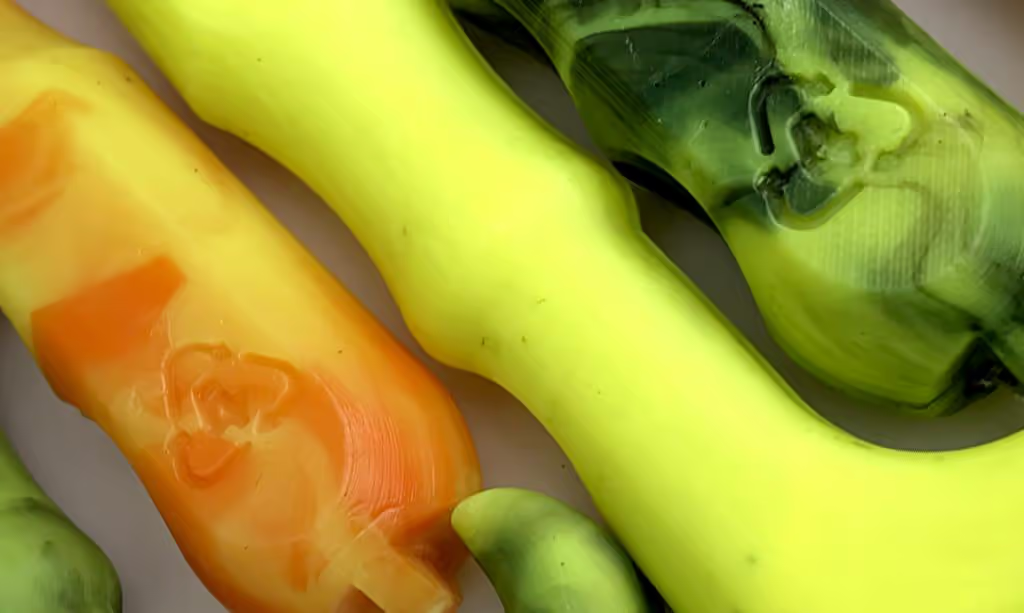
We use LDPE from wheel nut indicators, noted for their vibrant color and quality. Injection temperature ranges between 160-170°C (320-338°F). For each tool, 40g (1.41 oz) of plastic is placed in the injection molder. Initial leakage ensures proper flow and excess plastic ensures the mold is completely filled. The injection is performed manually and slowly, maintaining pressure once the mold is filled, as indicated by overflow. The use of nylon molds insulates the plastic, preventing rapid cooling, thus requiring sustained pressure post-injection.
After injection, keep the molds clamped for 3 minutes to cool before removing the No Touch Tool. Removing the part too early may cause deformation. Do not exceed 6 minutes, as excessive shrinkage can hinder release.
Unclamp the mold, carefully peel out the part, and allow molds to cool. A fan can accelerate this process. Using multiple molds and clamps allows for efficient cycle times, enabling new injections while previous ones cool.
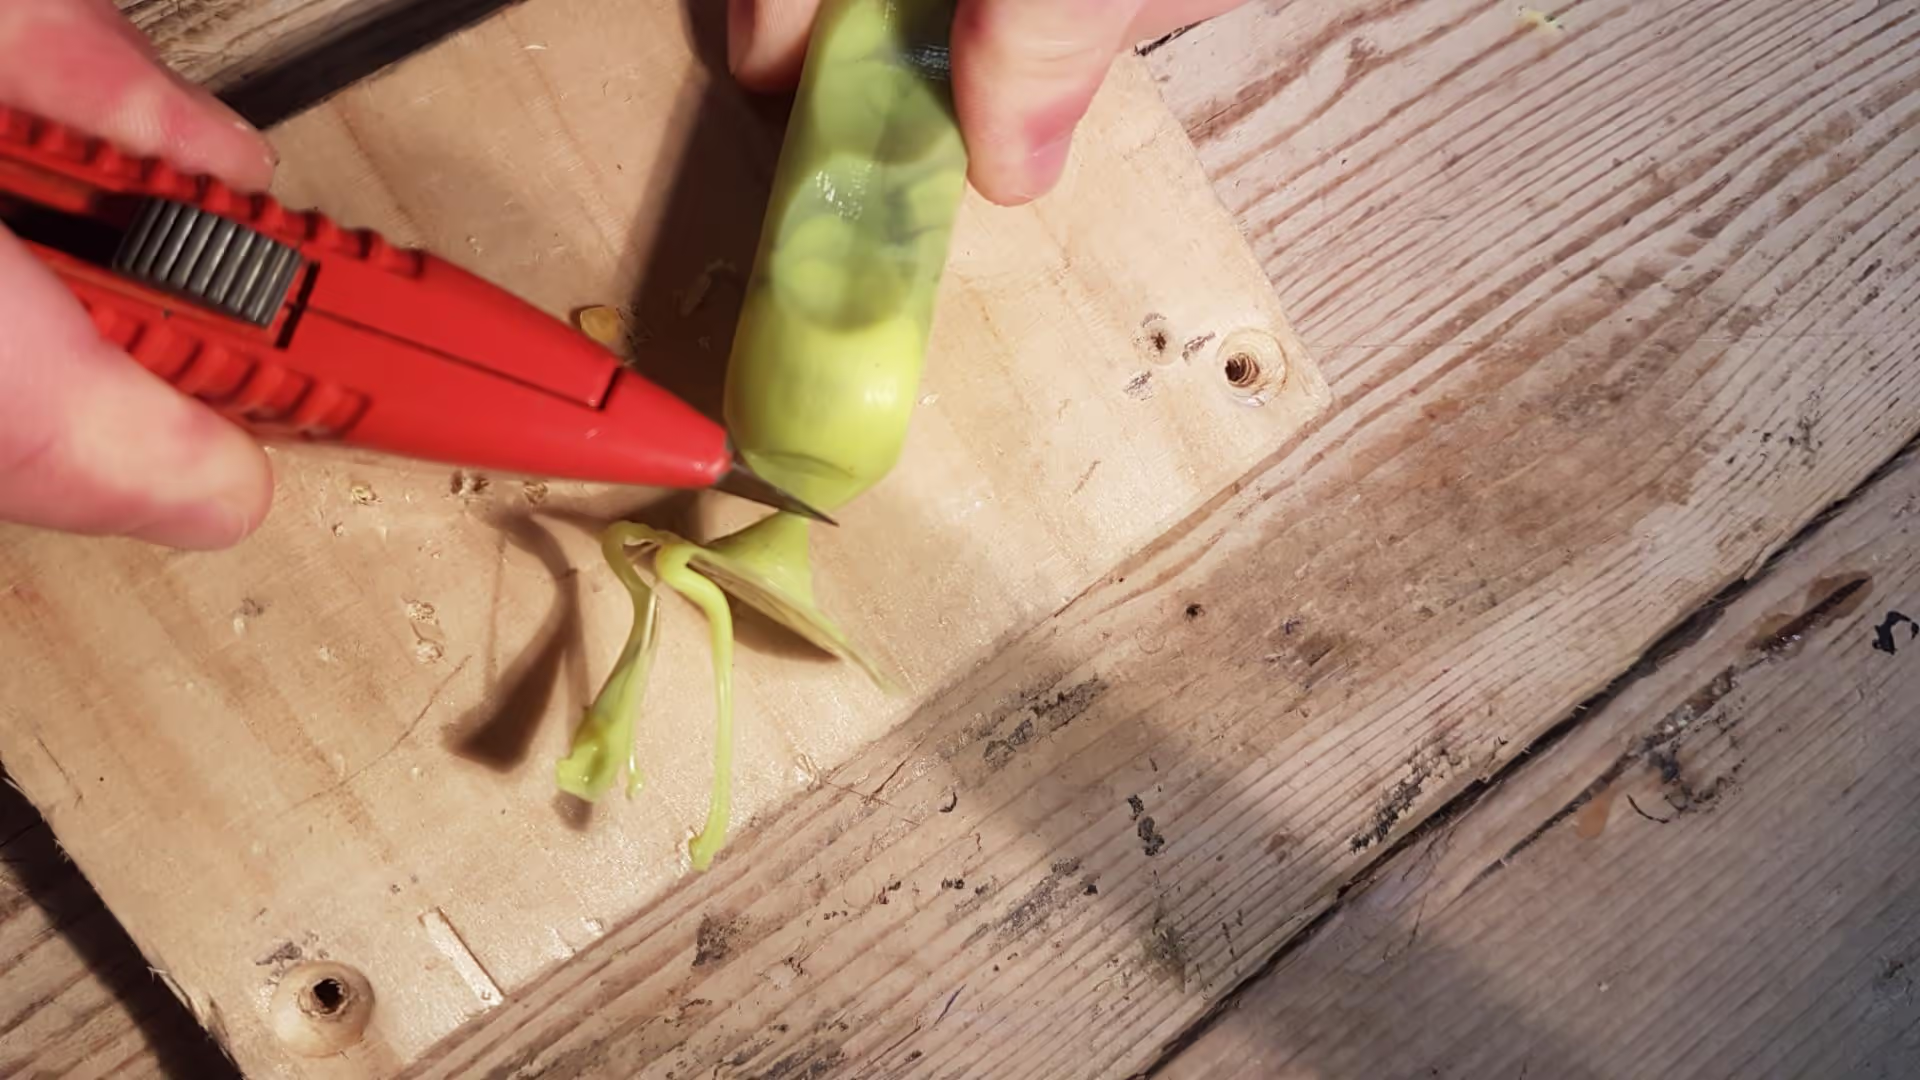
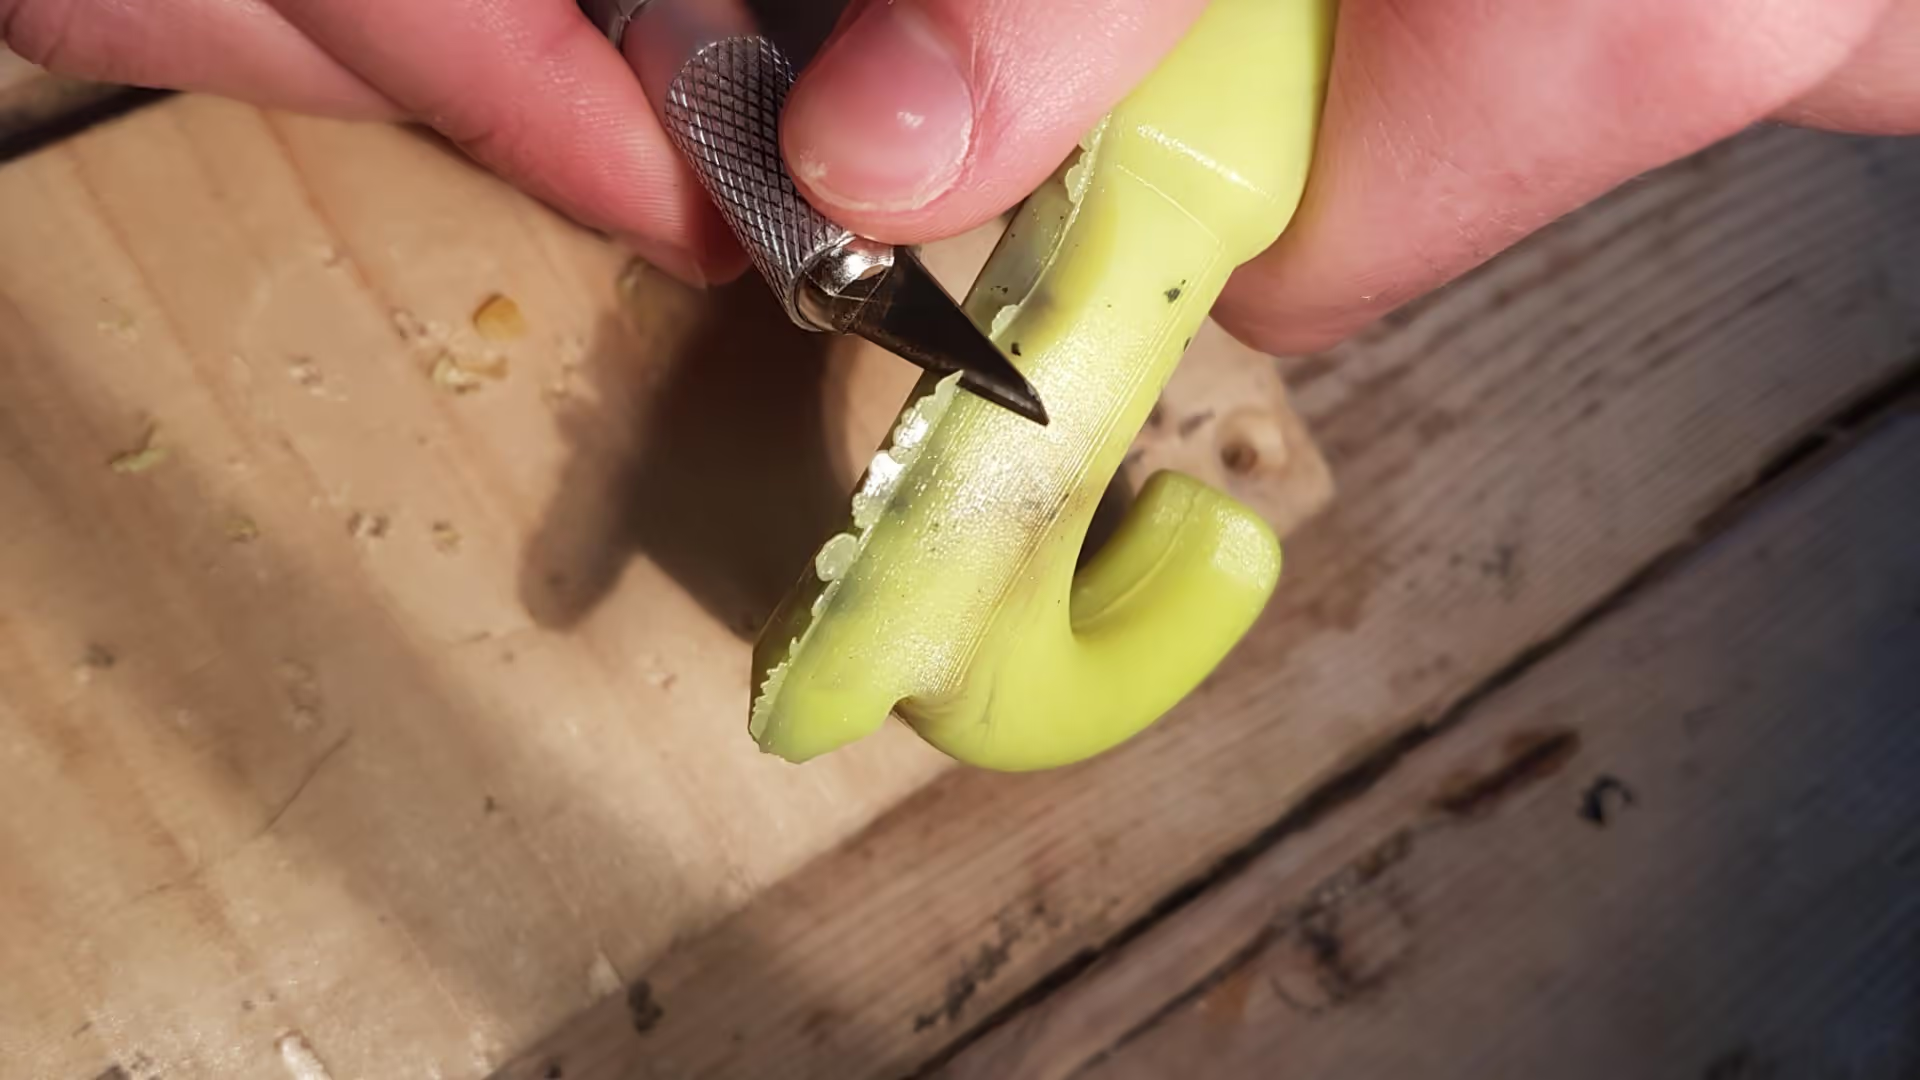
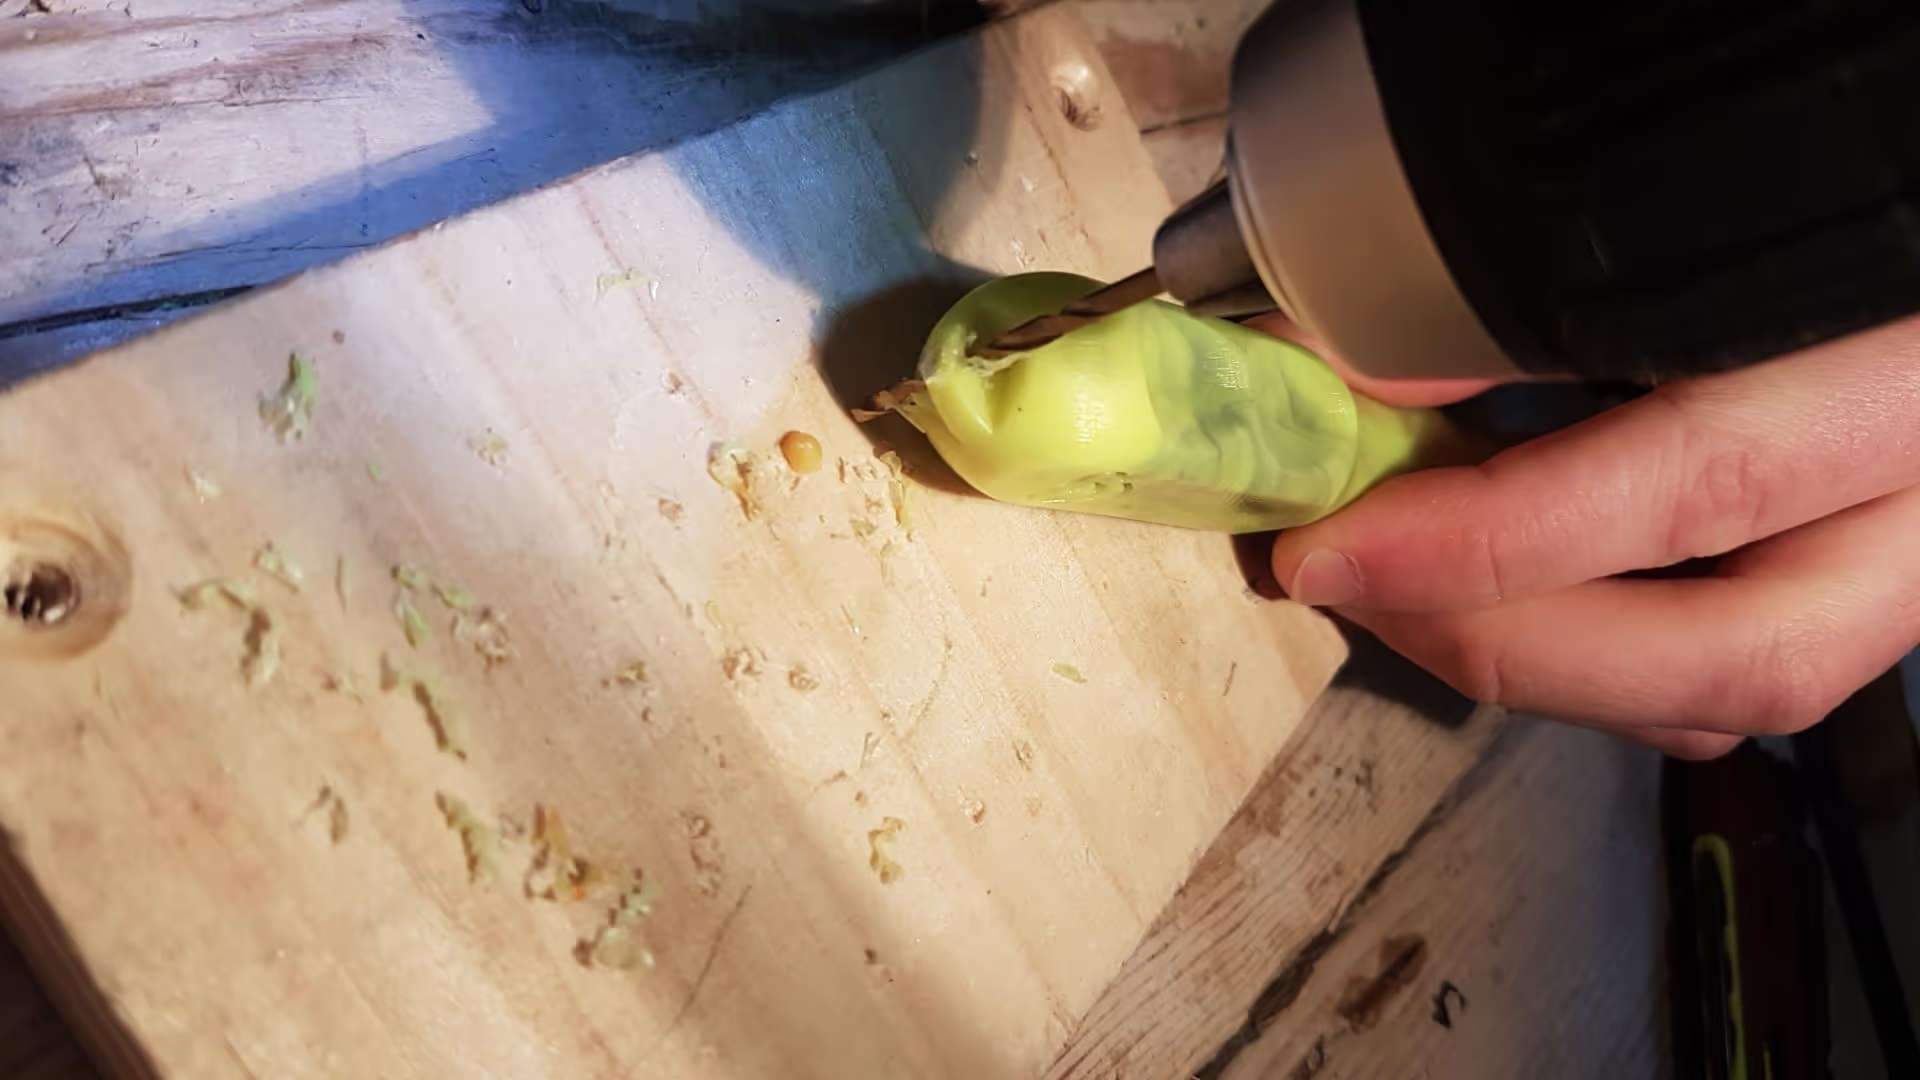
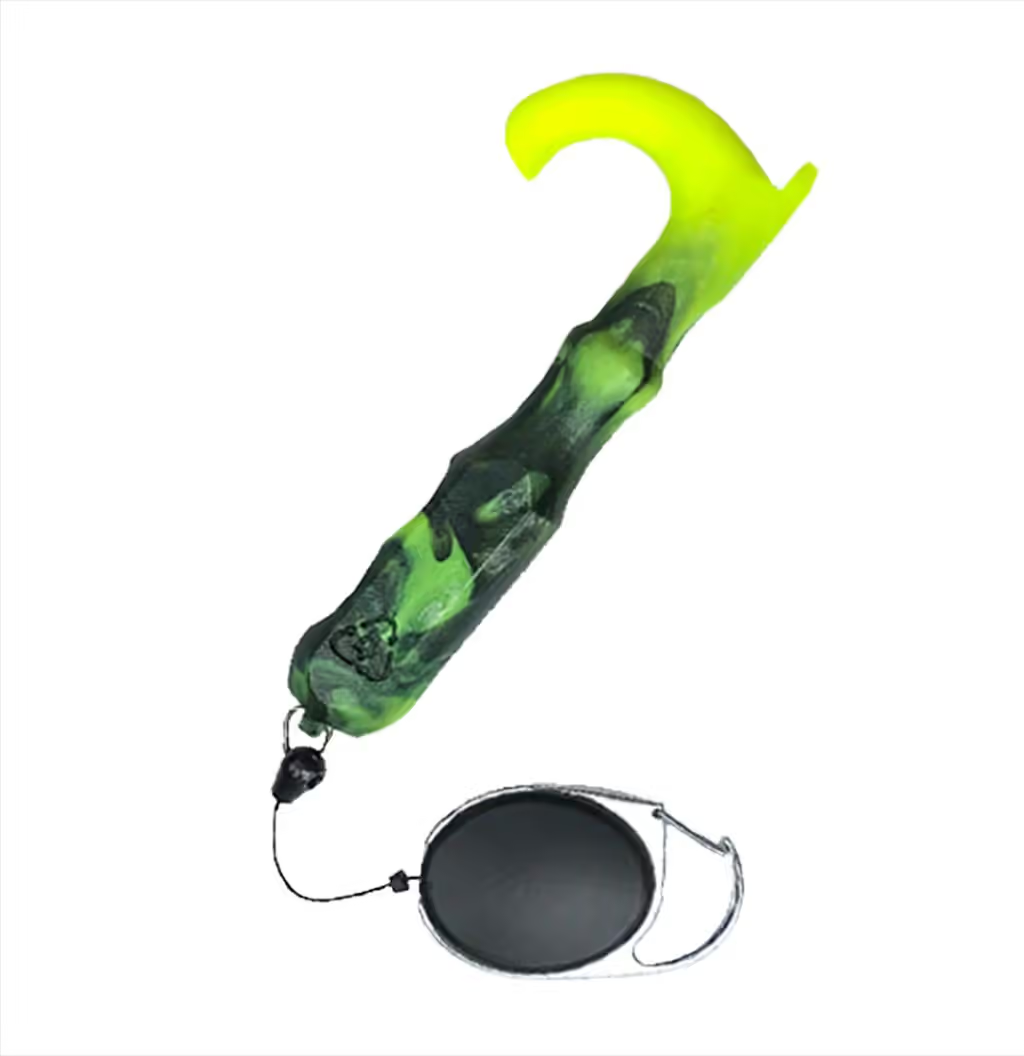
Use a sharp knife to remove the sprue and any flashing. Drill a hole at the bottom for a keyring. Attach a retractable lanyard to keep the tool accessible while minimizing contamination risk.
Utilize tools to avoid direct contact with high-touch surfaces. Stay safe.
To enhance efficiency or reduce tool costs, consider these methods:
Articles
Books
Papers
Youtube
Opensource Designs