Make Blueprints in FreeCAD

PRODUCT
OTHER MACHINE
RESEARCH
MOULD

Creating blueprints is essential for effectively communicating ideas to builders and manufacturers, whether you're involved in mold-making, machine-building, or other projects. FreeCAD, available on all platforms, is a versatile open-source software offering tools for 3D modeling and blueprint creation. This guide will instruct you on using FreeCAD to develop your own blueprints.

Browse Files

Table of Contents

    • Visit FreeCAD Download Page and choose the version for your operating system.
    • Adhere to the installation guide instructions.
    • You may use the provided model or design your own in FreeCAD.
    • Open a new document by selecting the new document option from the menu.
    • Go to File > Import and choose the desired file.
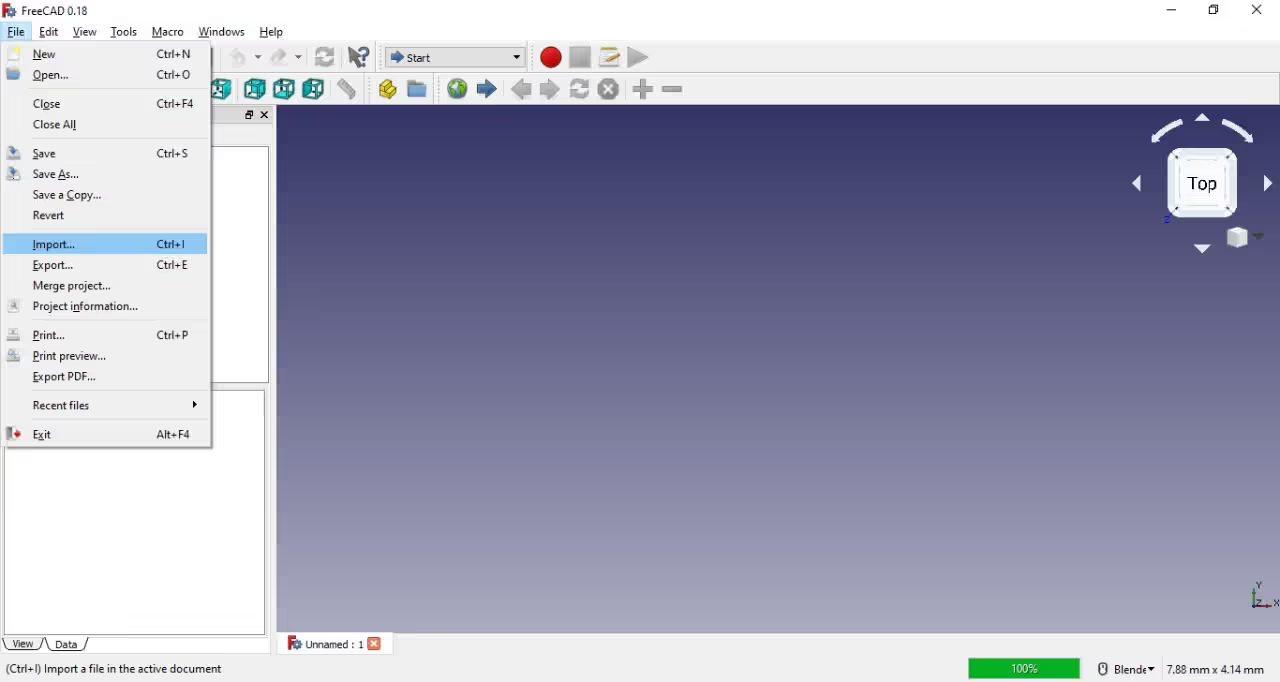
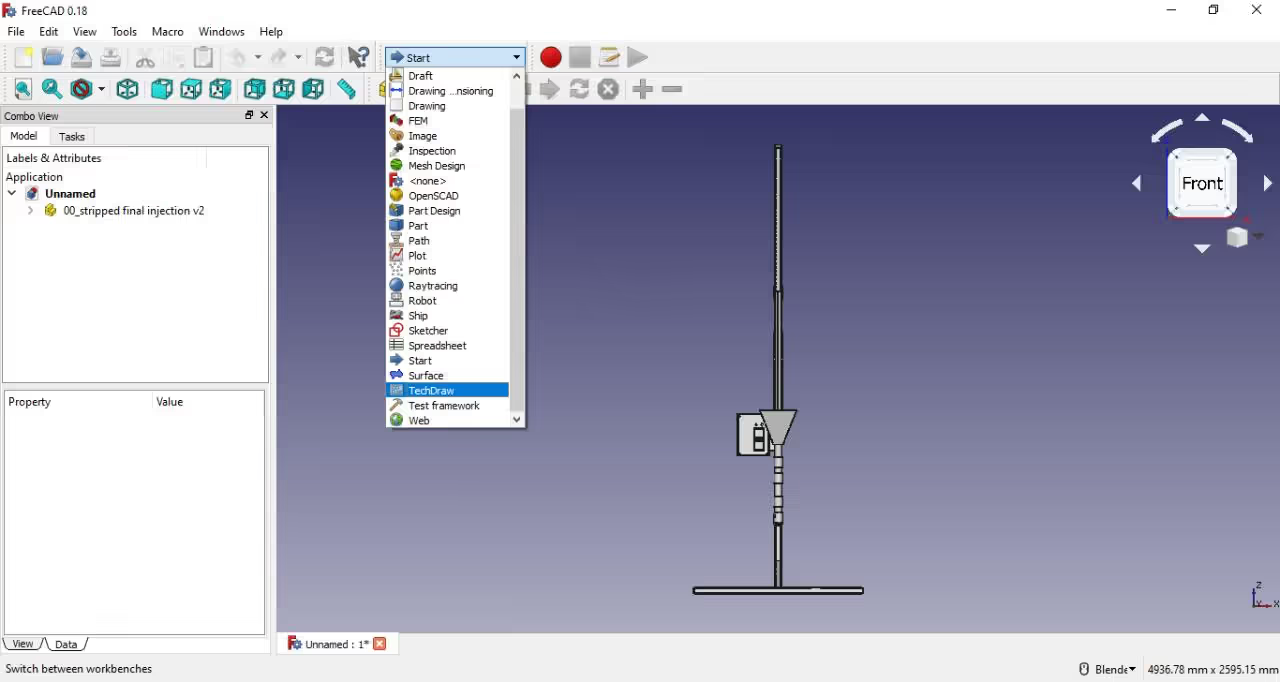
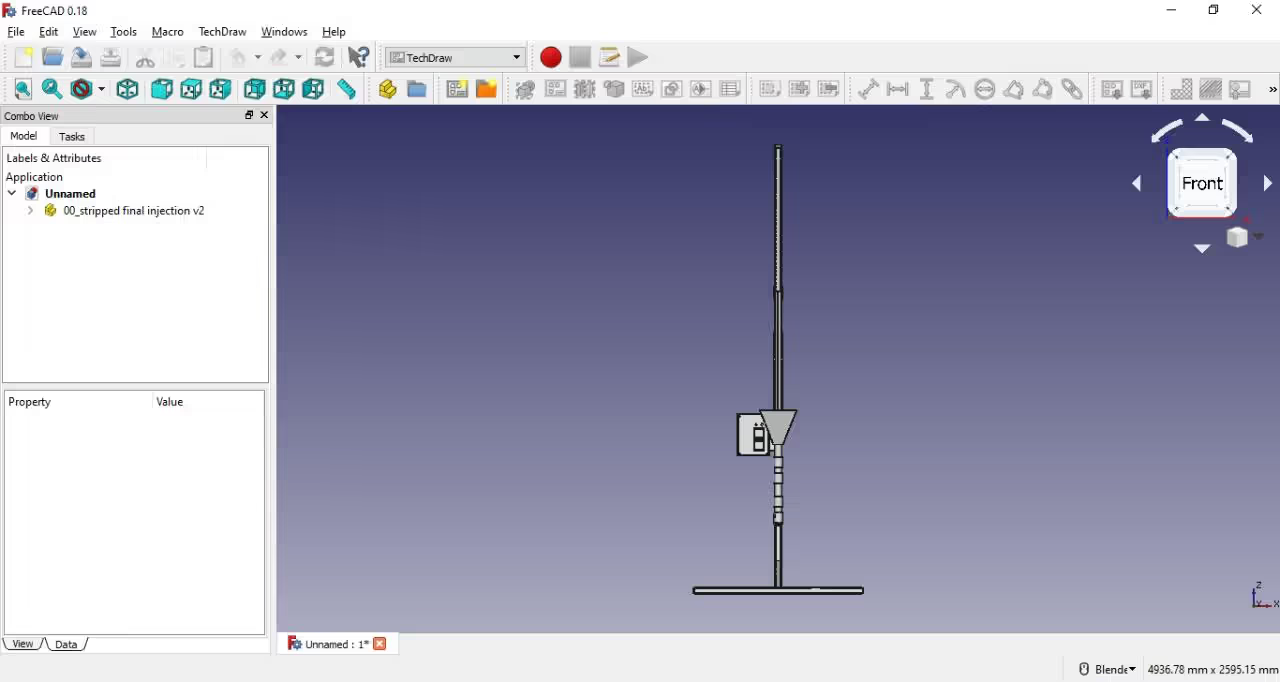
  1. -FreeCAD offers multiple workspaces, each with distinct functions.
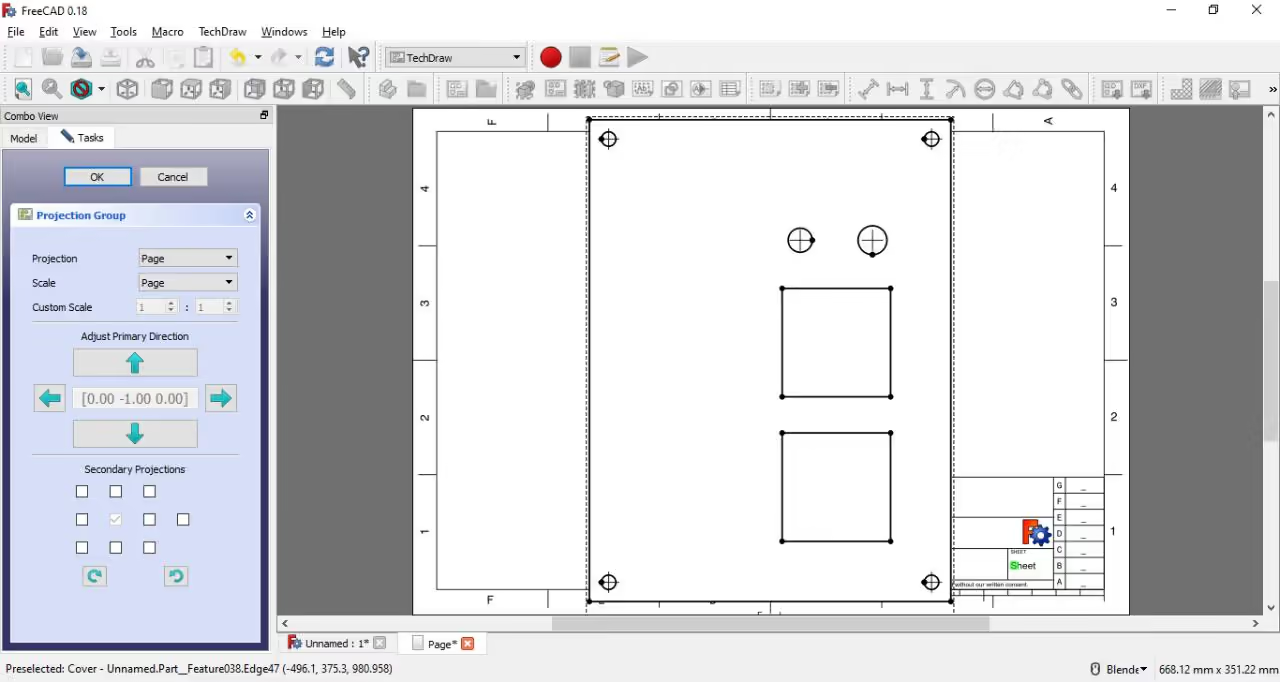
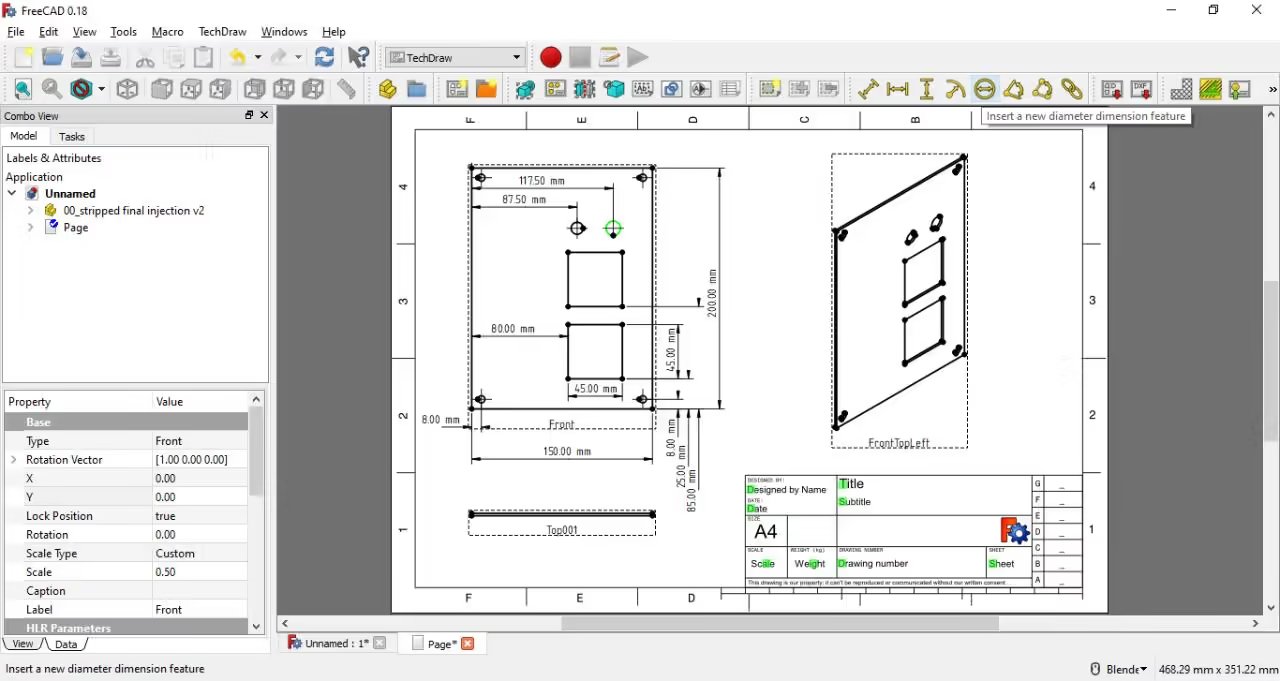
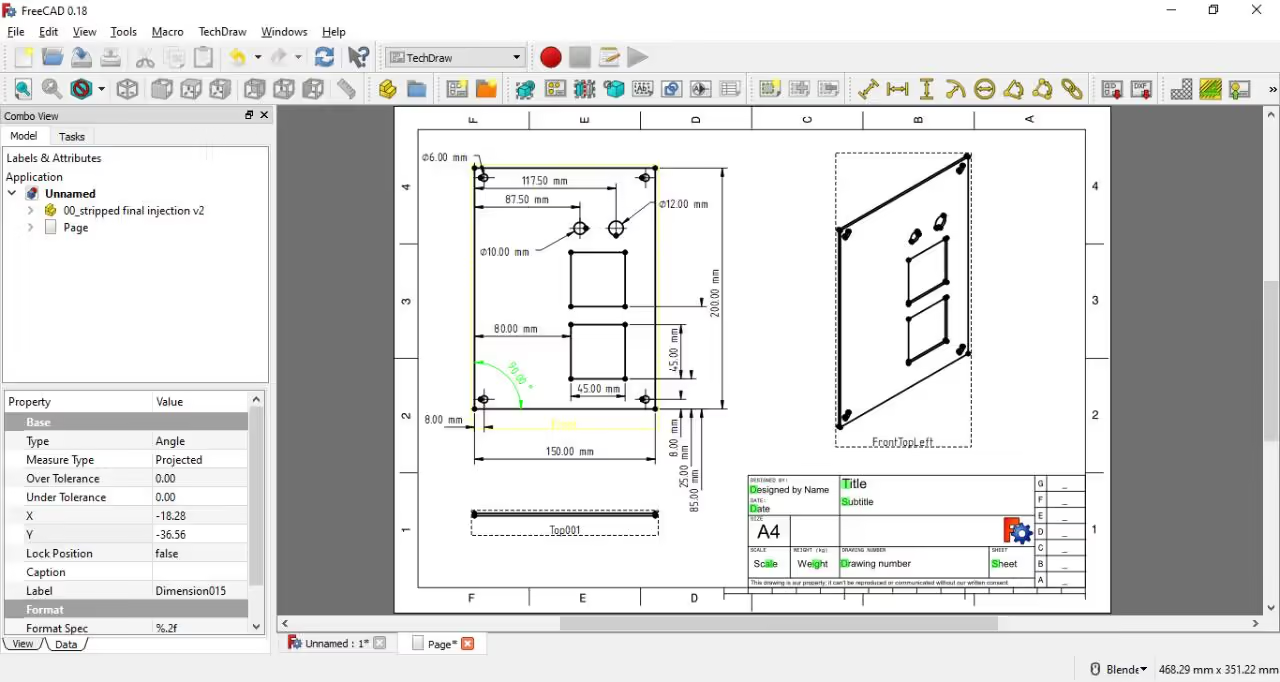
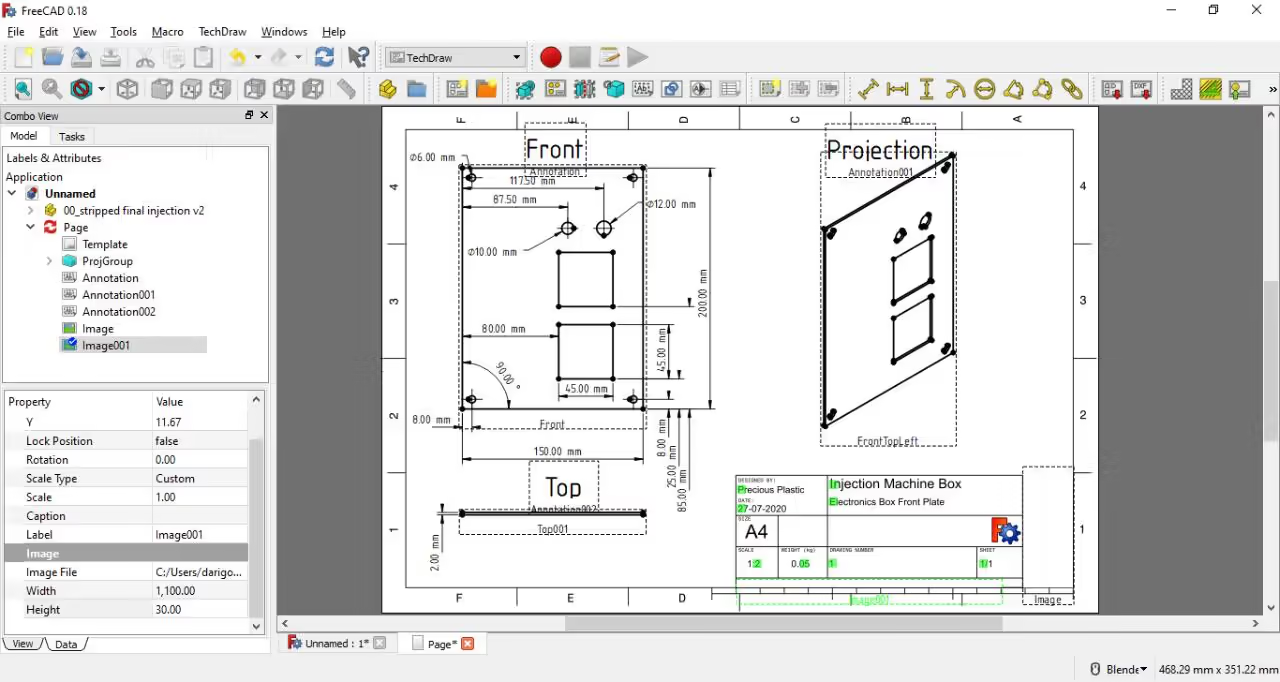
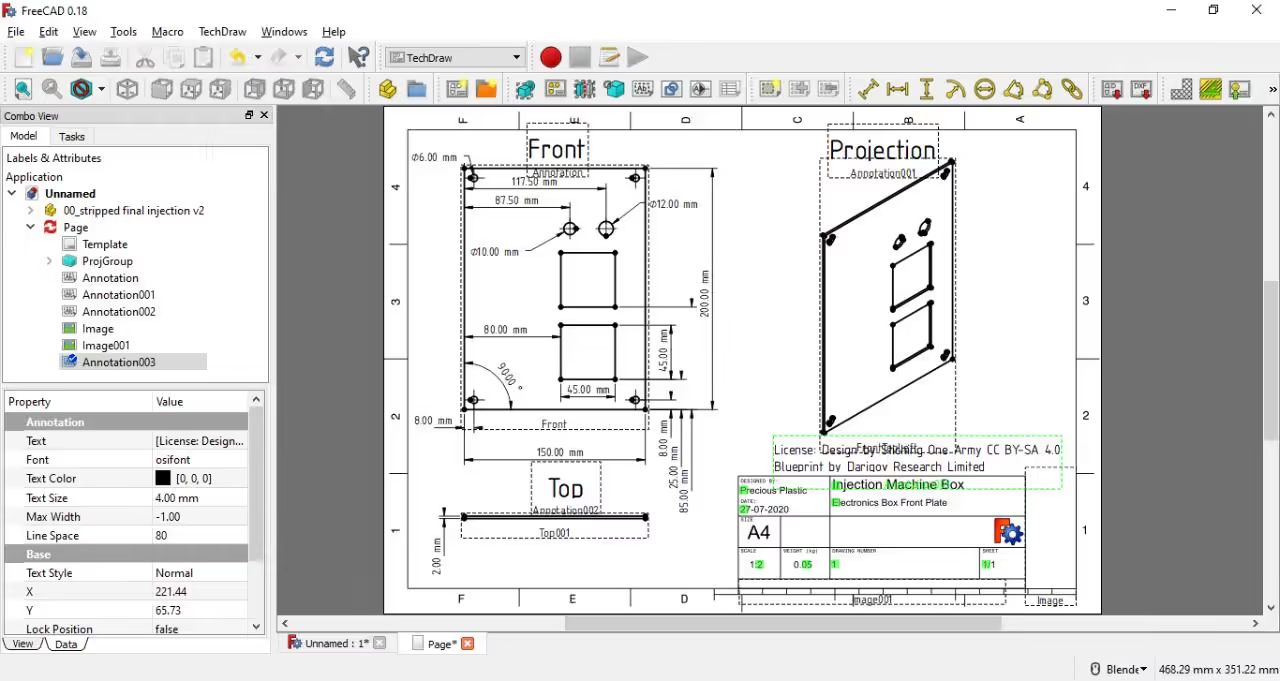
    -Select the TechDraw workspace from the dropdown menu at the top of the application.

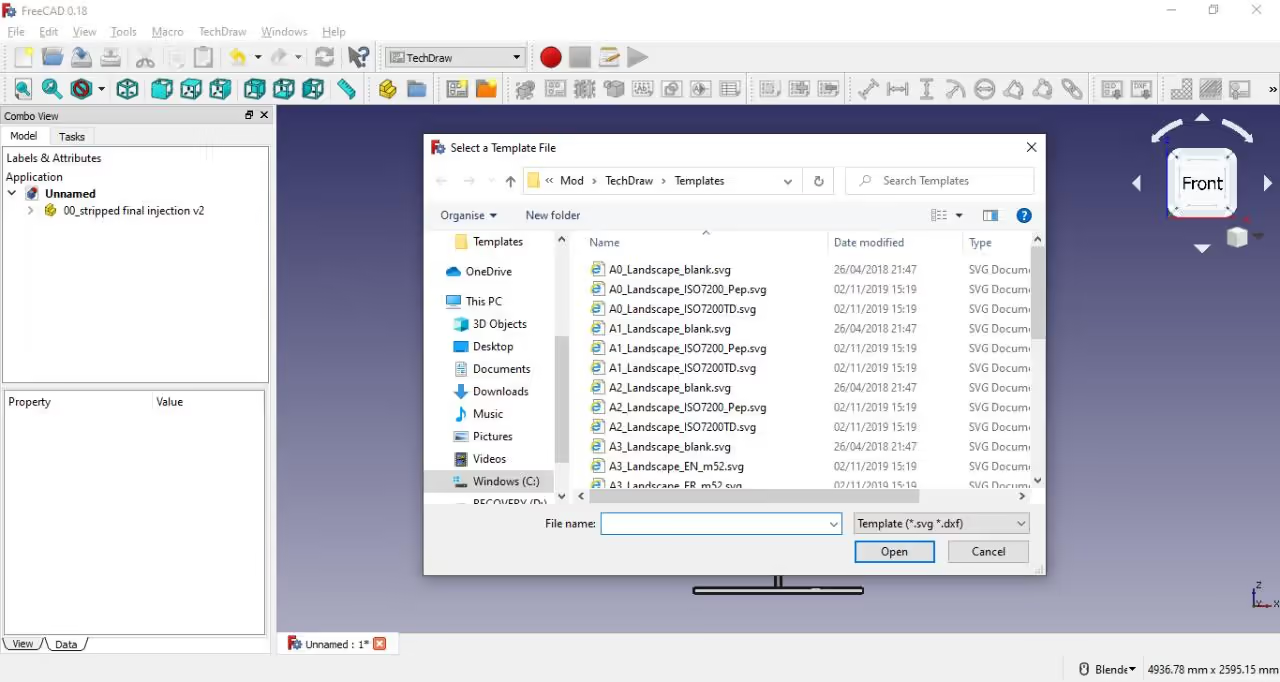
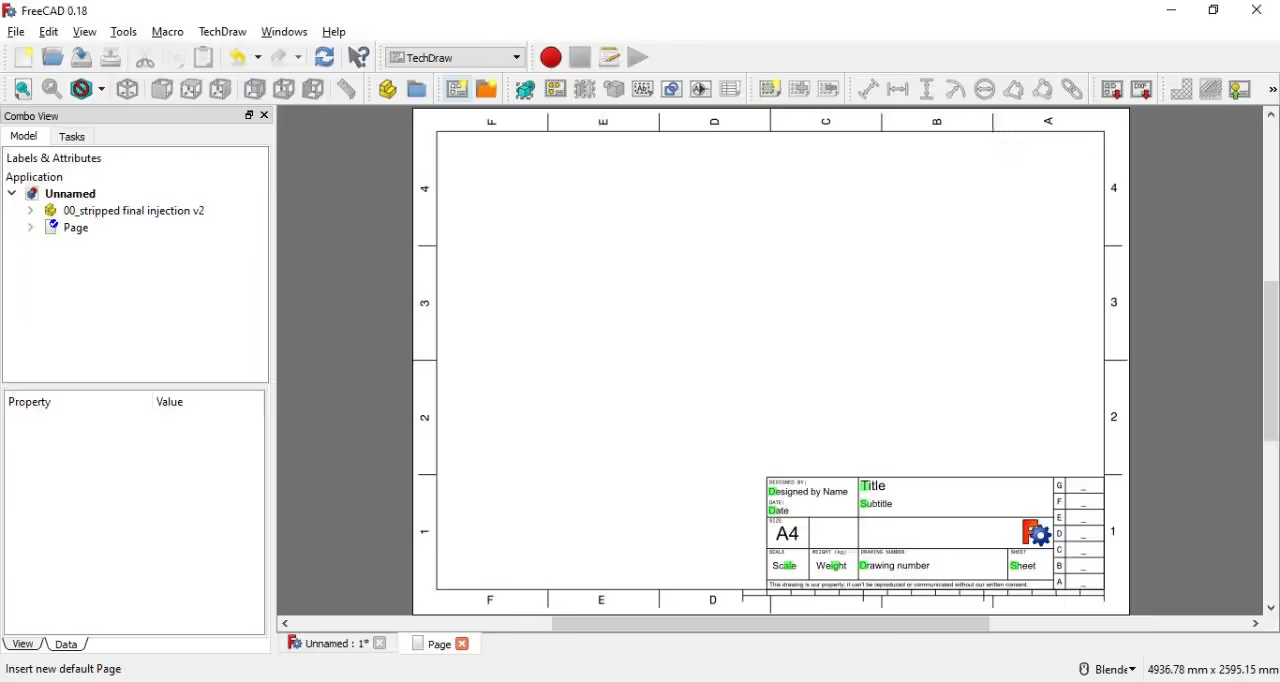
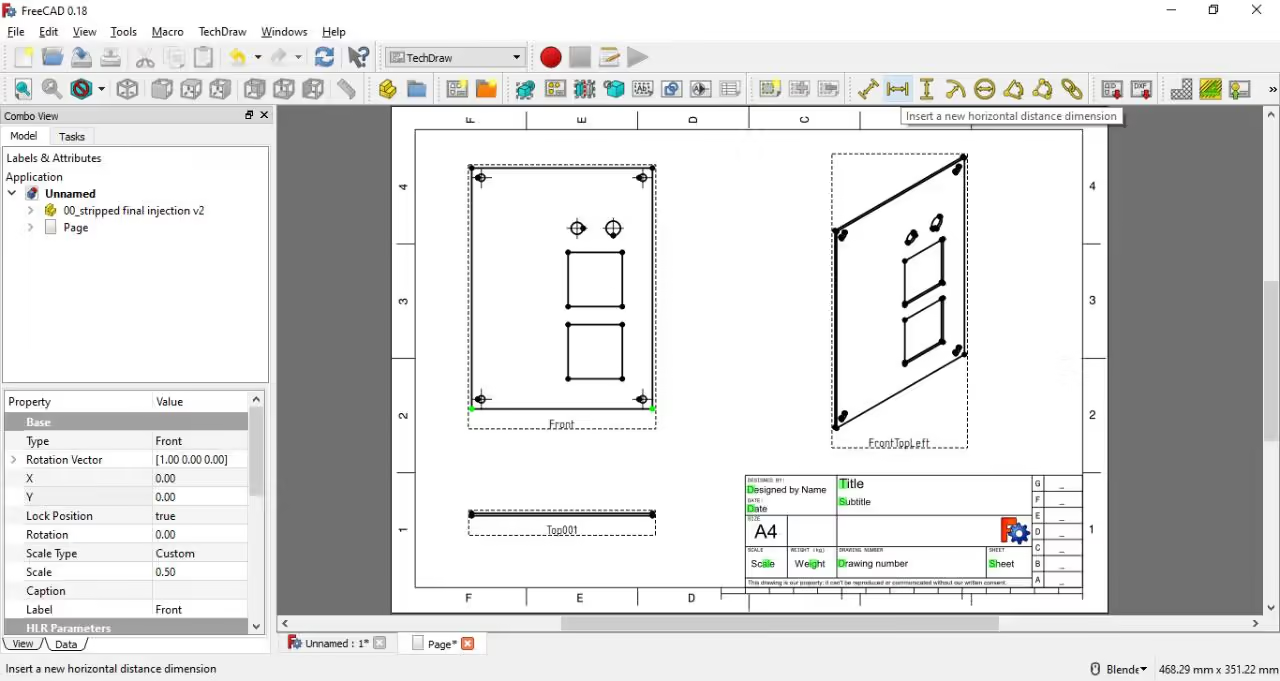
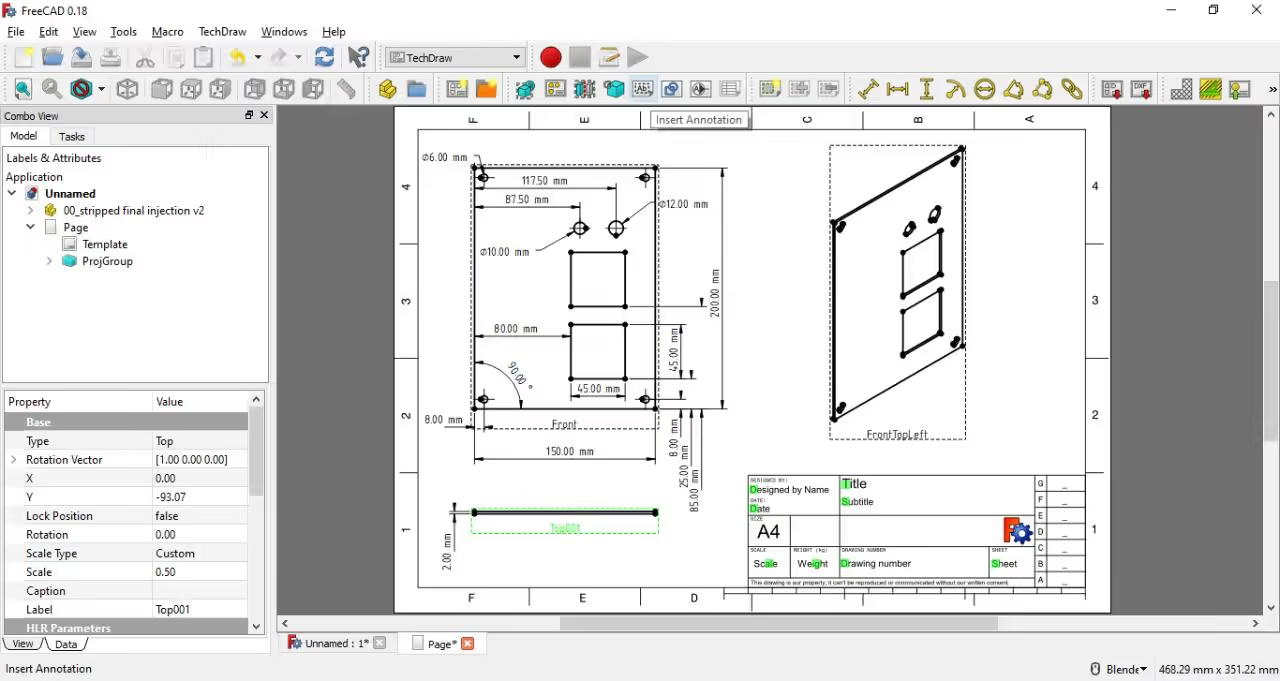
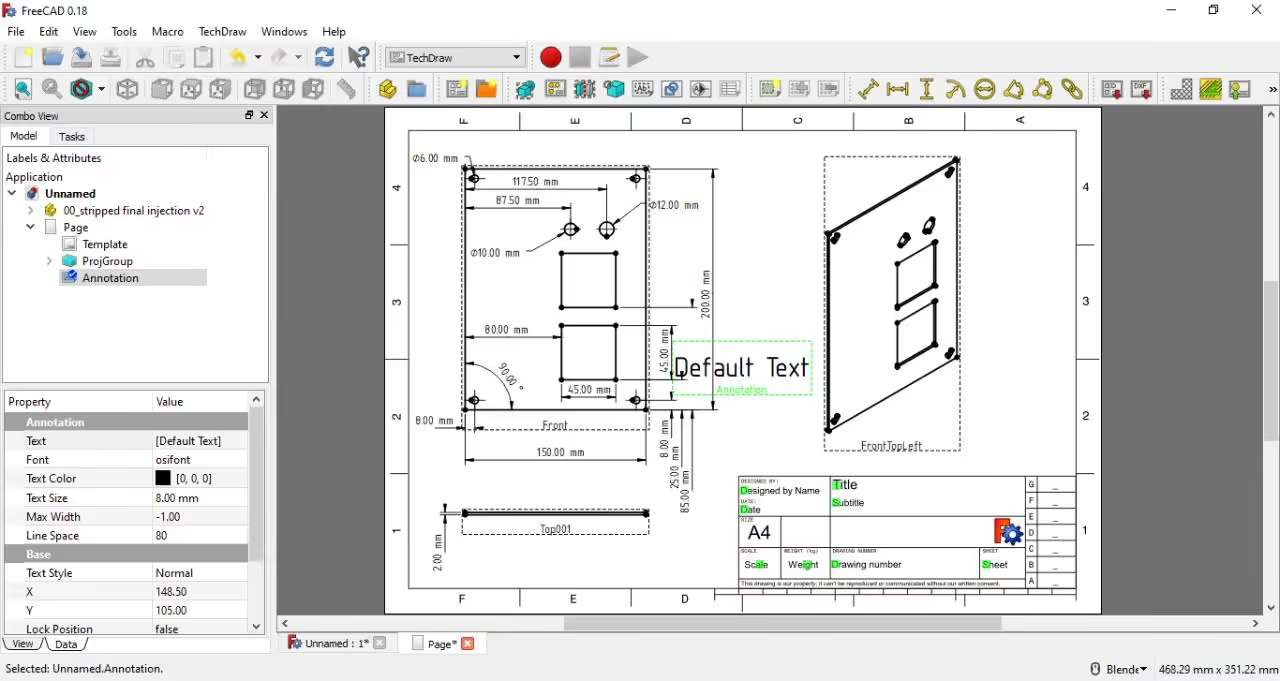
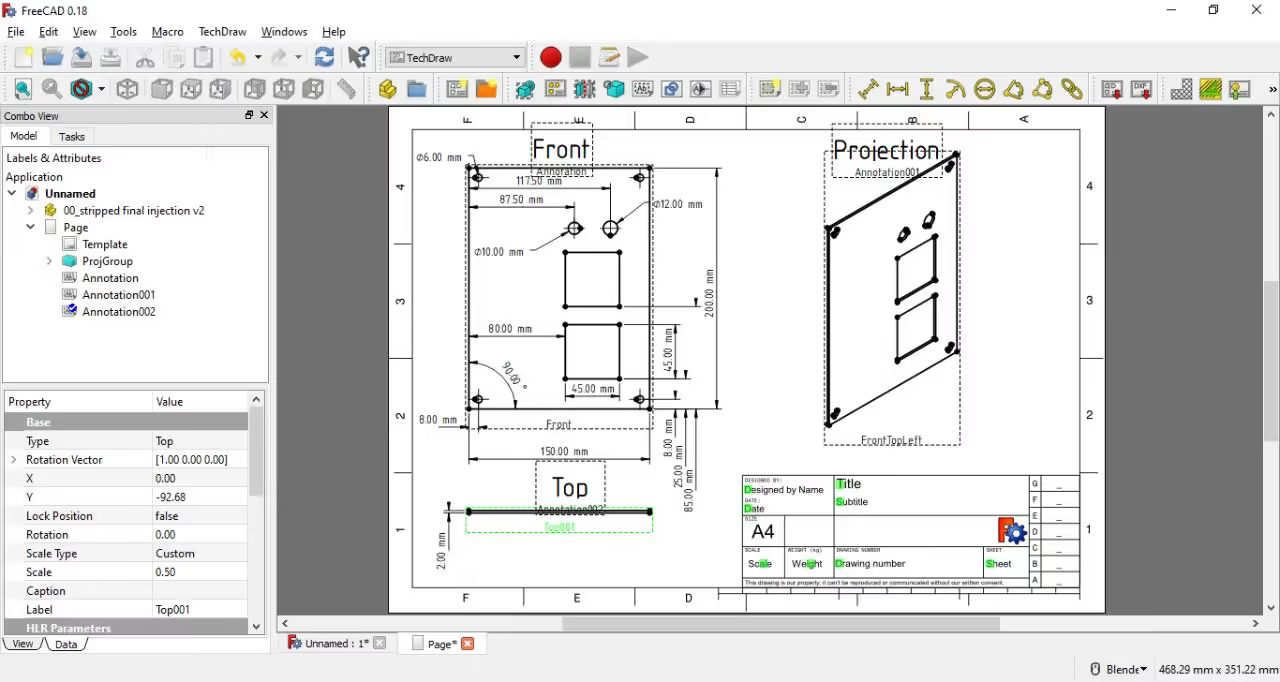
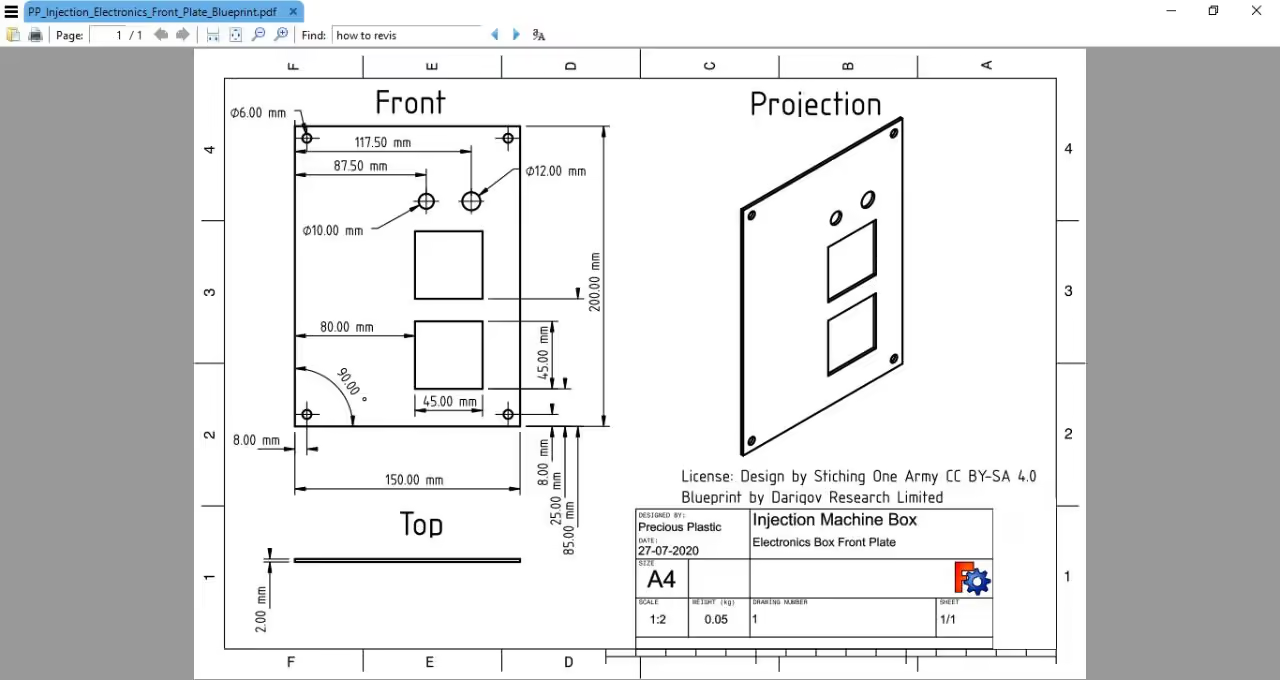
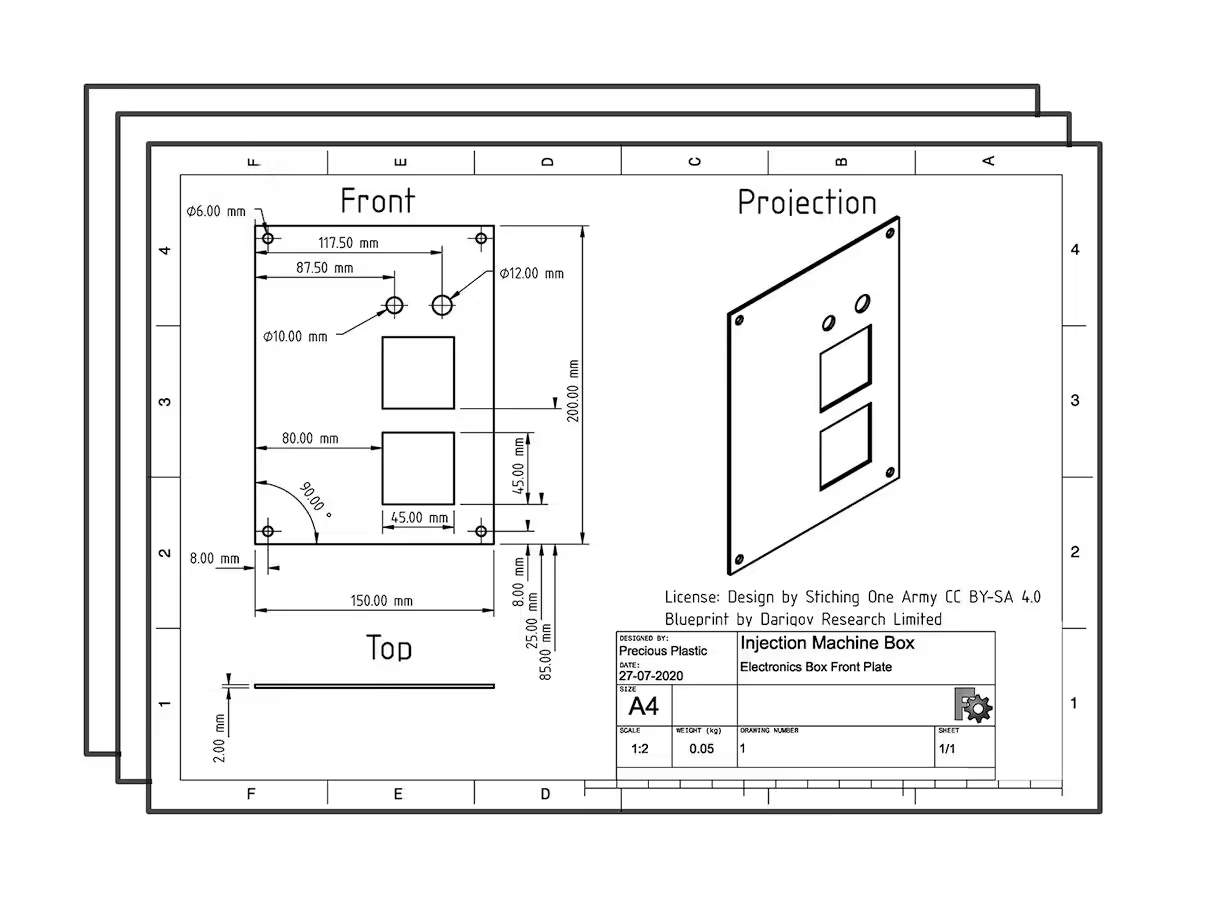
  2. FreeCAD offers multiple blueprint sizes and standards. Select one by clicking the folder icon in the TechDraw workspace or opt for the default using the "Insert new default Page" button. Users can also create custom designs in SVG format to suit specific needs.
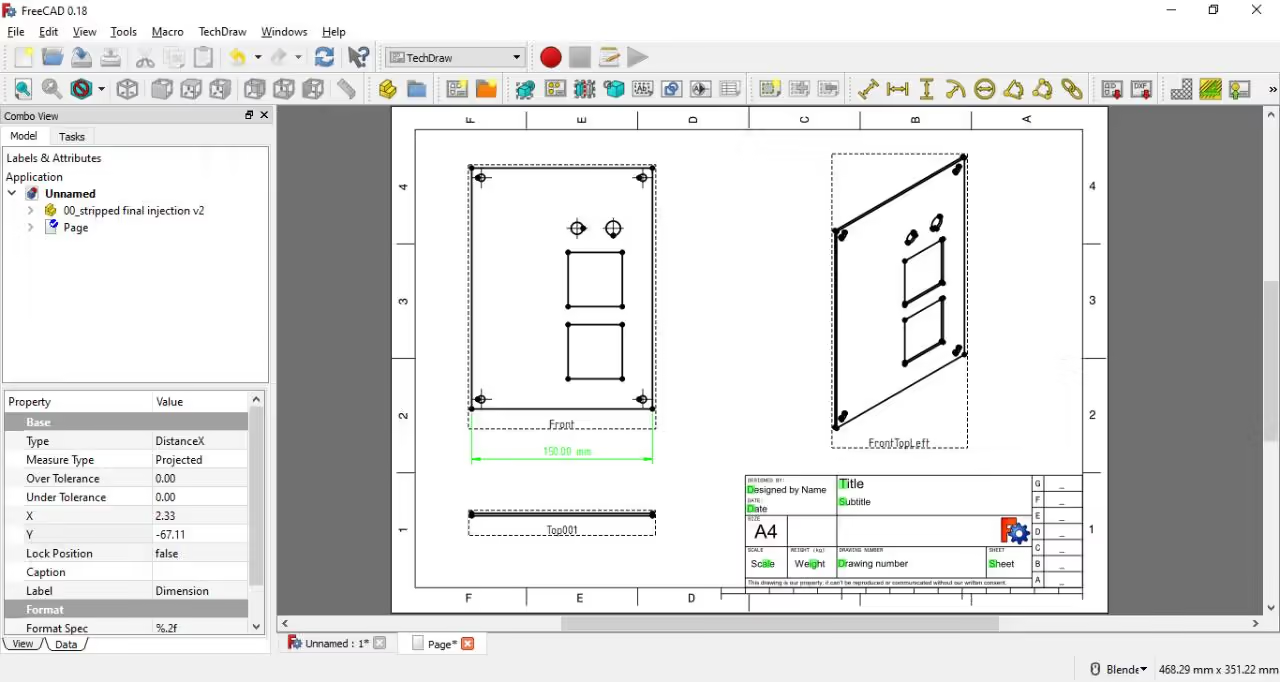
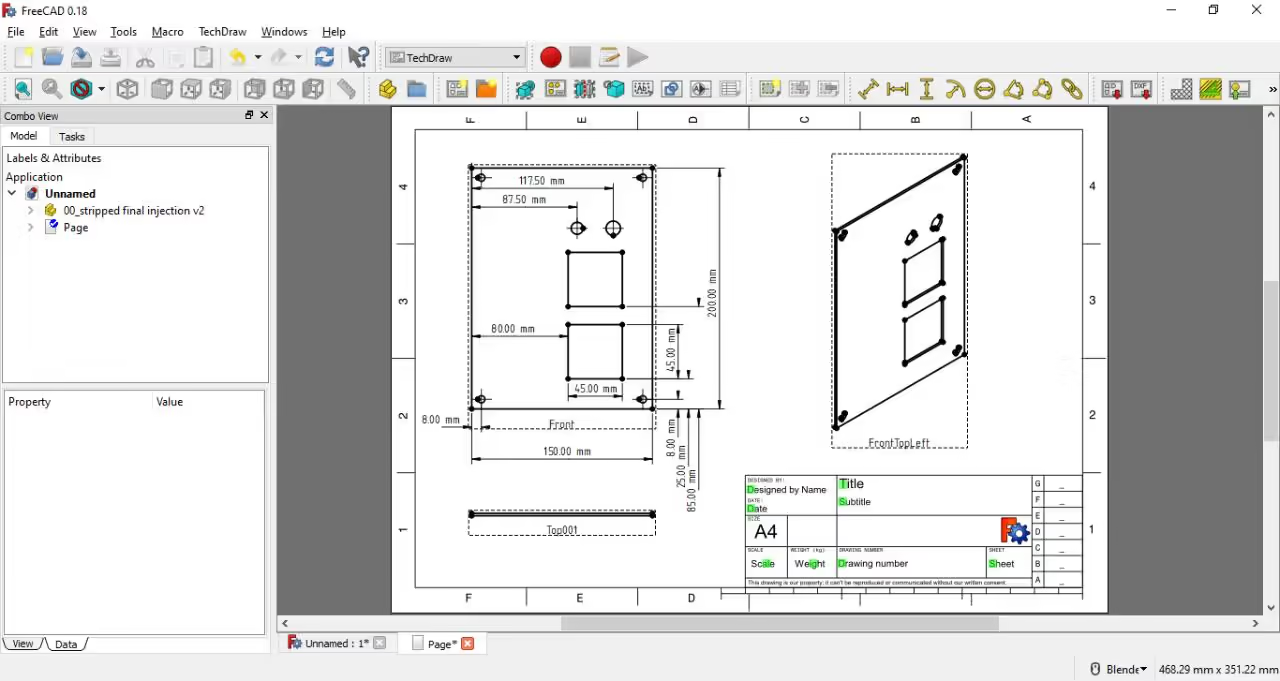
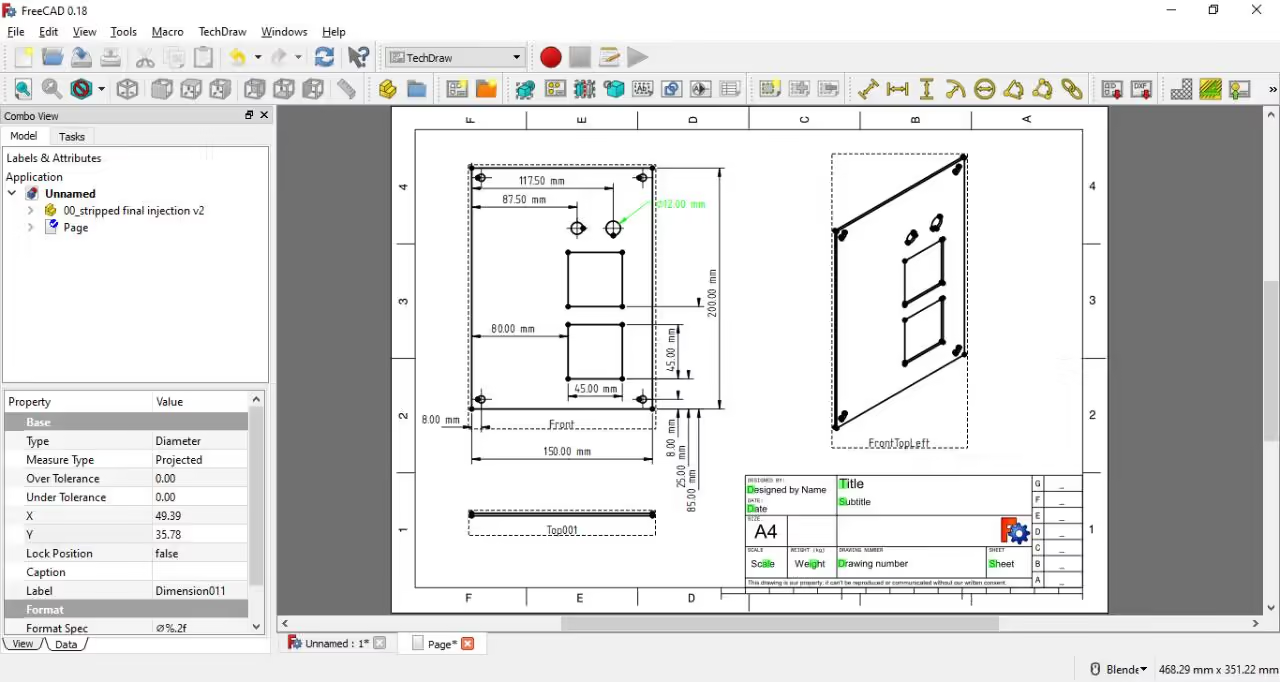
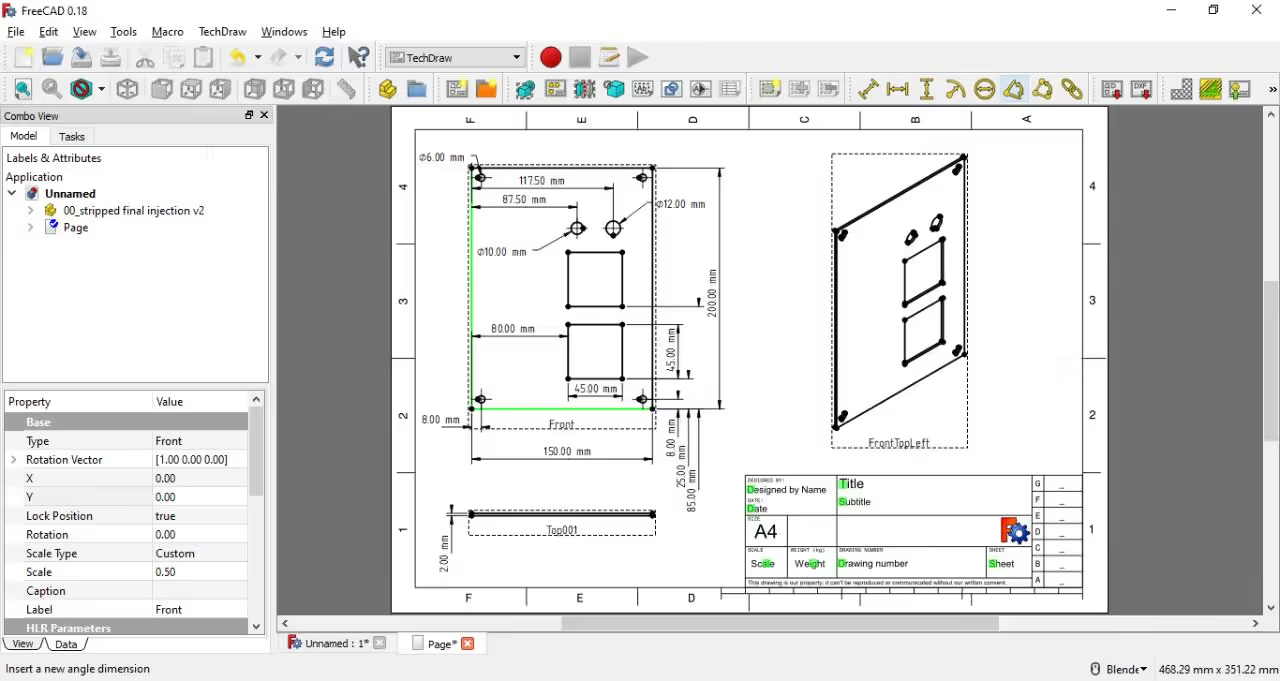
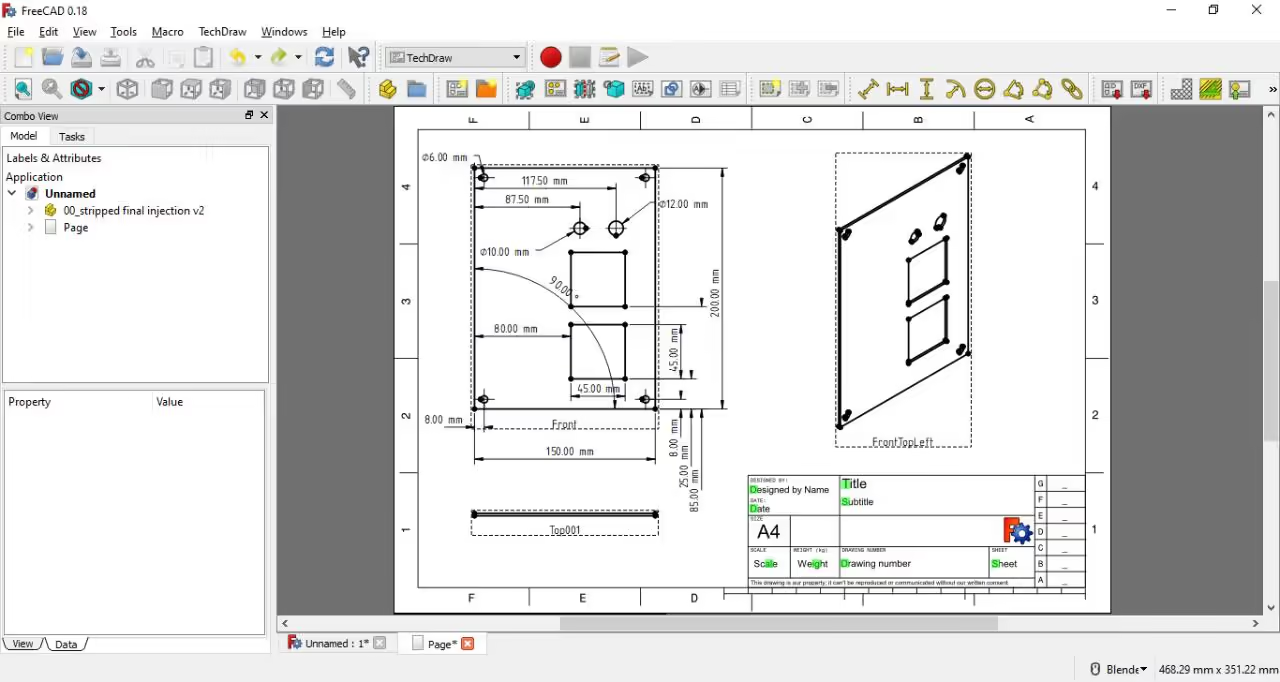
    • Select the item you wish to create a blueprint of by left-clicking it.
    • Hold CTRL and click on the page in the side menu.
    • Click the "Insert Projection View" button.
    • Open the page to view your drawing.
    • Adjust rotation, scaling, and visibility from the side menu.
    • Confirm your choice by clicking "OK" in the task menu.
    • If it does not update, click the refresh button in the top menu.
    • This method ensures that the blueprint and dimensions will update with changes to the base model.
    • Select two points by holding CTRL and clicking on the desired points.
    • Click the horizontal or vertical dimension buttons and position the dimension as needed.
    • Ensure the dimension is legible.
    • Repeat until all necessary information is displayed.
    • Select the circle to add a diameter
    • Click the Diameter dimension button
    • Adjust for legibility
    • Repeat for all circles in the drawing
    • Click the "Insert Annotation" button in the TechDraw workspace.
    • Adjust text and size in the left panel.
    • View names are added as frame titles, which are not visible on export.
    • Click the "Insert Annotation" button in the TechDraw workspace.
    • Adjust the text and text size in the left-hand panel.
    • View names have been added as frame titles for better visibility upon export.
    • Blueprint sections include detailed explanations.
    • Editable areas are marked with green boxes.
    • Click a green box to open a modal window for text entry.

    Ensure to include:

    • Creator's name
    • Date of creation
    • Notation dimensions
    • View scale
    • Version number
    • Presence of multiple sheets in the file
    • Remove the default text from the open source template.
    • Eliminate the details table on the right using a blank white .png file as a mask.
    • Select the "Insert Bitmap from file" button and use the provided masks.
      • Position and size it appropriately by adjusting parameters in the left-hand panel.
    • Complete the starter kit license, noting the modifications made to this blueprint.
    • We utilized an additional annotation, as previously demonstrated.
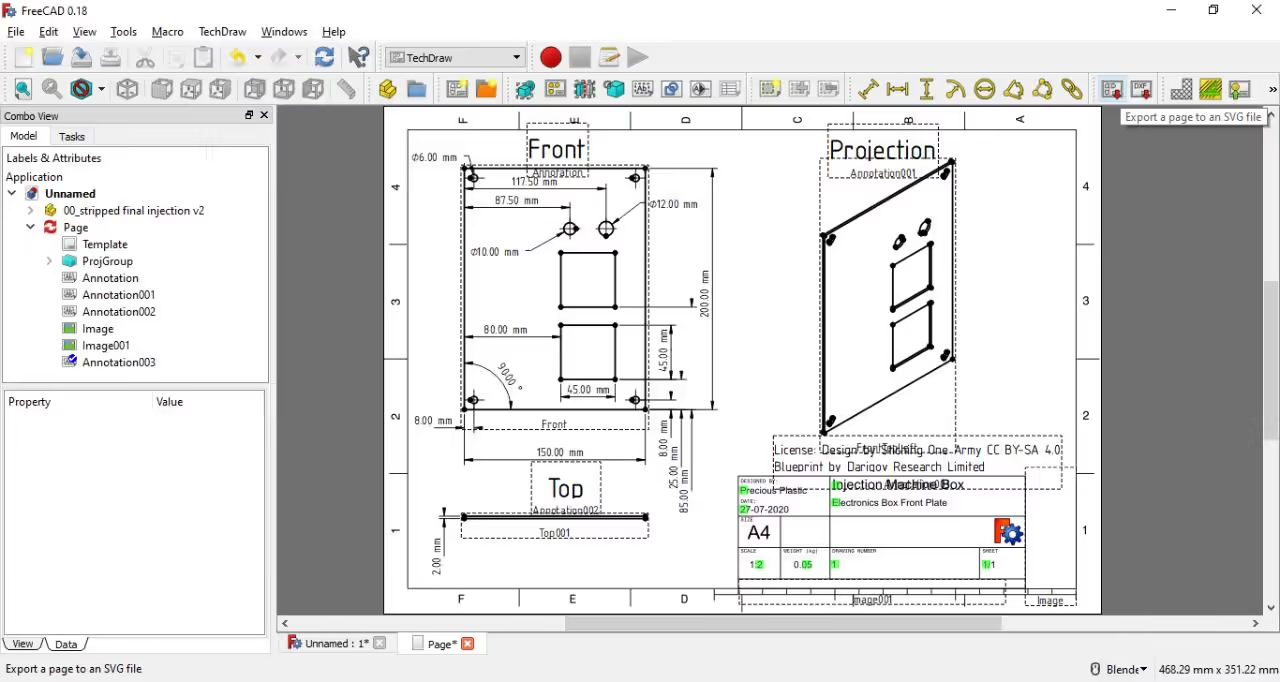
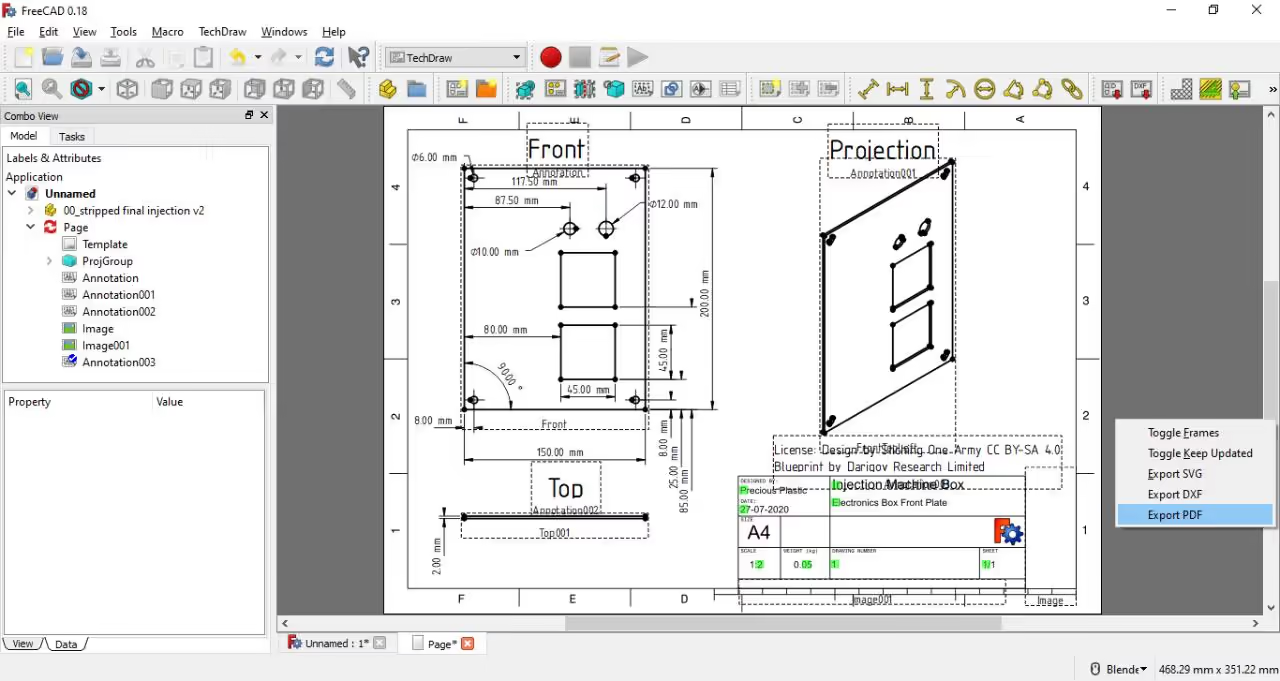
  3. -Export your files in formats like SVG, DXF, or PDF. -SVG and DXF formats have dedicated buttons in the top menu. -To export as PDF, right-click anywhere on the page and select "Export PDF." -Save the file in an easily accessible location.

    • Open source requires sharing the source and files.
    • Upload to platforms like GitHub or GitLab.
    • Share your work on our social media.

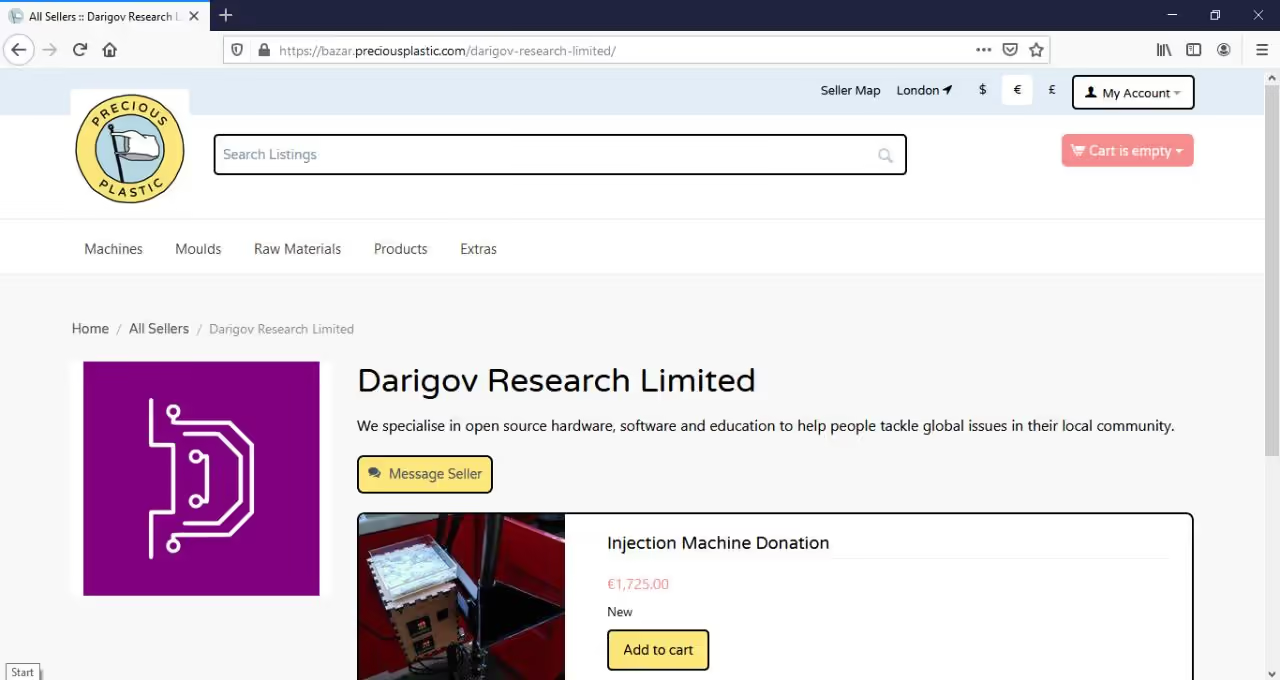
    At Darigov Research, we focus on open source hardware, software, and education to address global issues locally.

    Support us through donations or Patreon:

    Donate
    Patreon

    Website
    YouTube Channel
    Follow us on Twitter, GitHub, Instagram: @darigovresearch

  4. We have extensive experience building machines since V2. If you are interested in purchasing a machine or inquiring about our services for research and development purposes, please view our products or contact us directly.

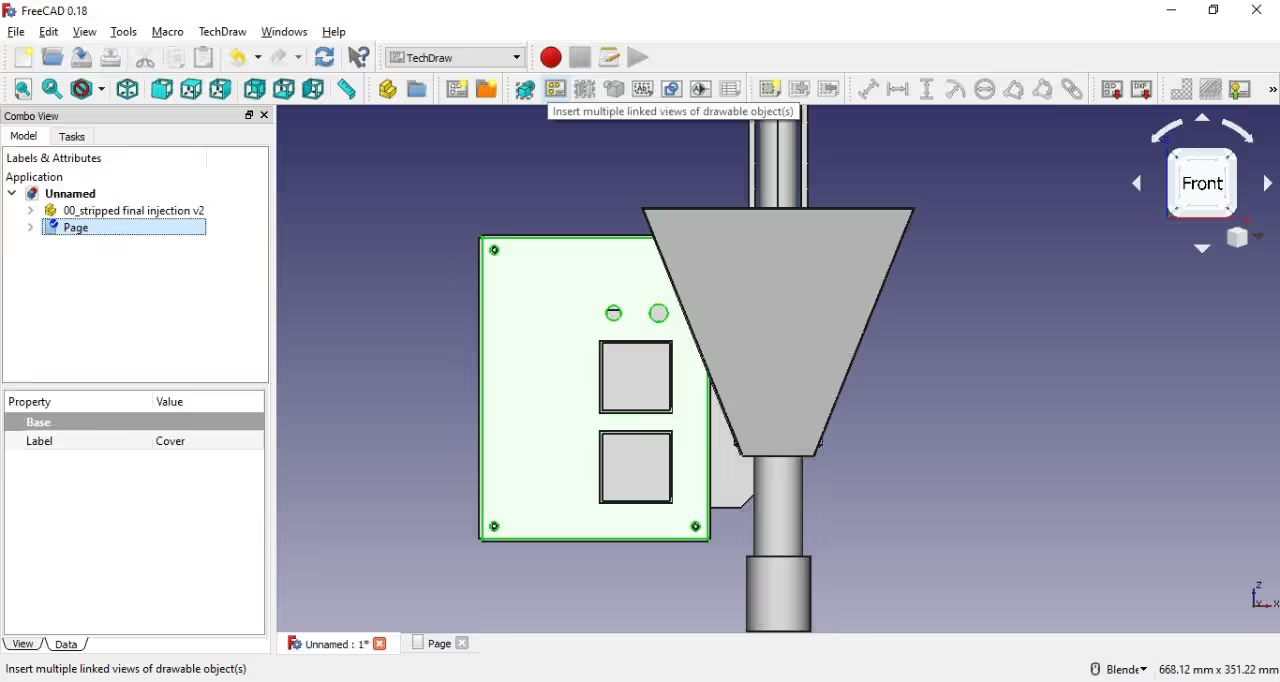
Here's the extracted toolset from the tutorial:

Required Software

  • FreeCAD - Open-source 3D CAD software for blueprint creation
  • Image editing tool - For creating/editing PNG masking files[1][2]
  • Vector graphics editor - For custom SVG template designs[1][2]

Required Hardware

  • Windows/macOS/Linux computer - Minimum specs to run FreeCAD[1][2]
  • Mouse - Recommended for precise blueprint navigation[1][2]

Export Formats

  • SVG - Vector format with dedicated export button[1][2]
  • DXF - CAD exchange format[1][2]
  • PDF - Printable format via right-click export[1][2]

Collaboration Tools

  • GitHub - Open-source file hosting[1][2]
  • GitLab - Alternative code repository[1][2]

Support Resources

  • Masking templates - Pre-made PNG files for blueprint framing[1][2]
  • TechDraw workspace - Built-in FreeCAD module for technical drawings[1][2]

References

Opensource Designs

Websites

YouTube