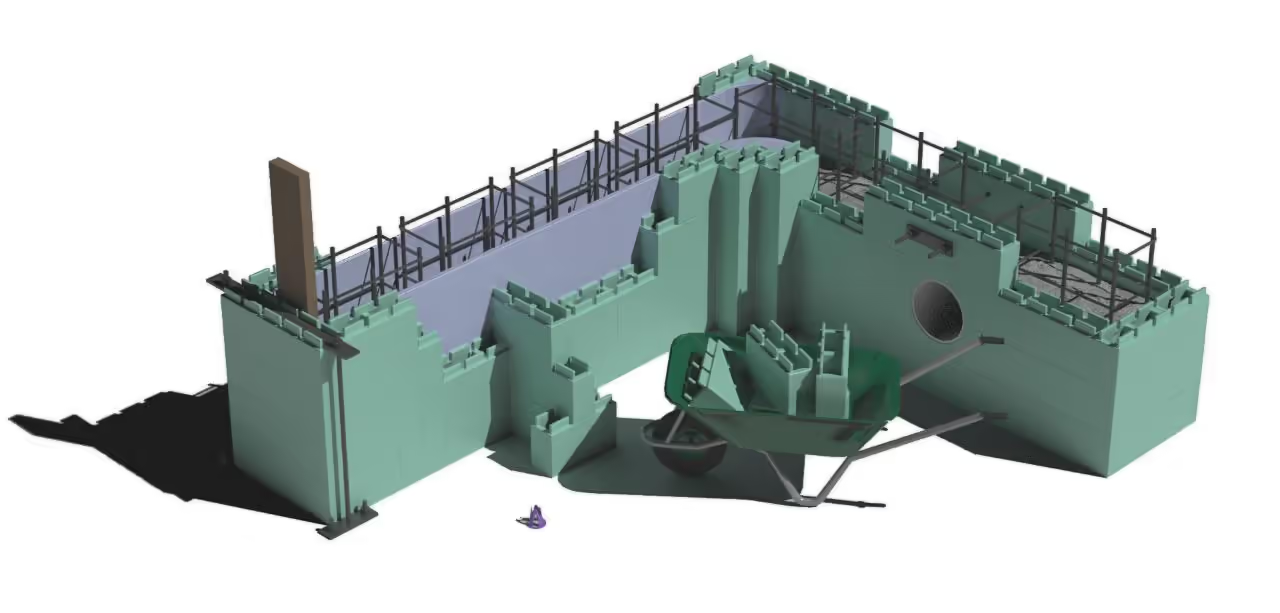
Modular Interconnecting Formwork

COMPRESSION
HDPE
HACK
PRODUCT
This guide outlines the general process of using plastic bricks to construct a concrete formwork. Formwork acts as a mold for poured materials, and in this method, the bricks serve as a detachable and reusable tool for creating these forms.
Formwork is used to create frames for pouring concrete, rammed earth, or other materials in construction. Traditionally made from wood, they can also be crafted from plastic.
We advise beginning with small projects to understand the process, iterating and expanding your ideas. Costs may vary considerably based on your project.
Current brick designs, paired with thin sheets produced by a sheet press, enable formworking. Detailed drawings for an optimized brick mold can be found via the provided link, with machining instructions to follow.
* To cut rebar, a reciprocating saw or grinder is recommended.
** Secure steel brackets using timber screws, formwork stakes, or powder-actuated fasteners.
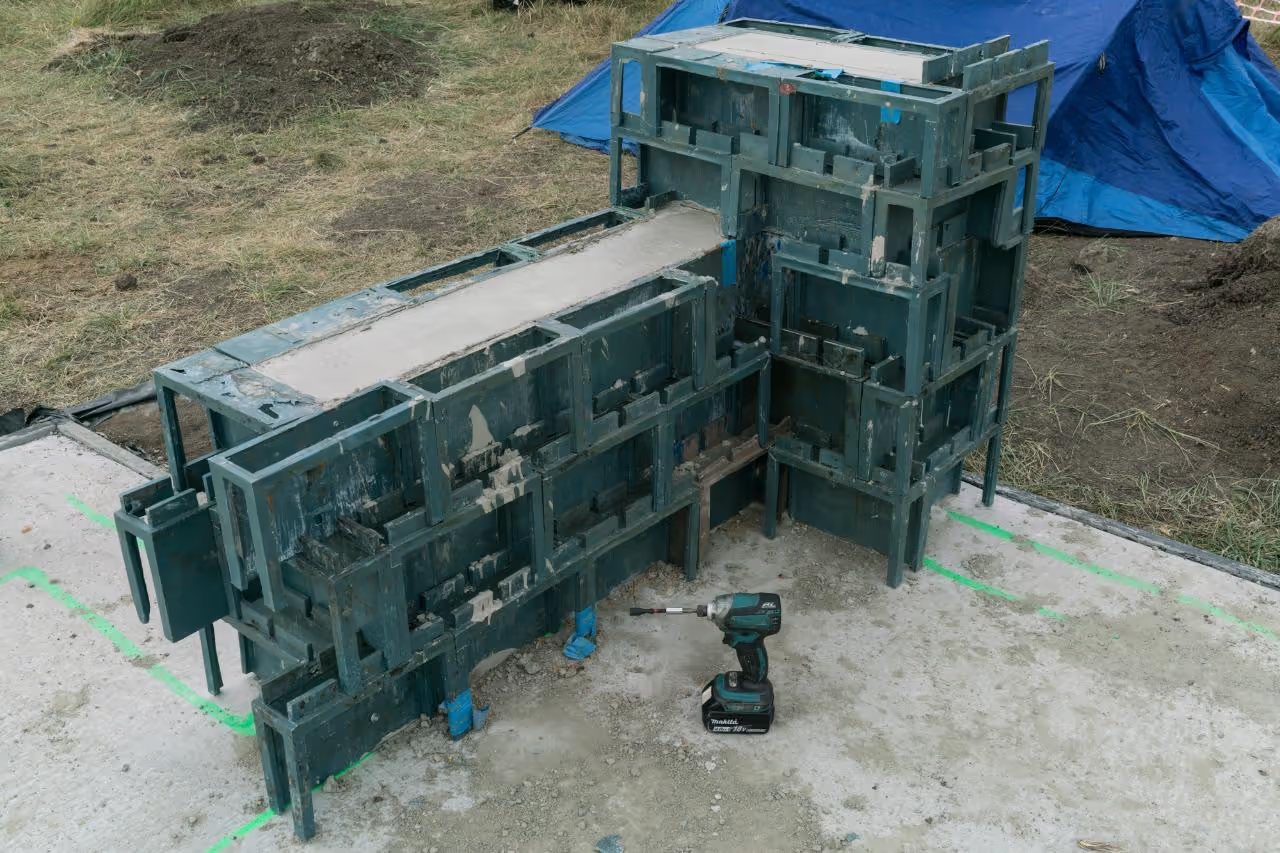
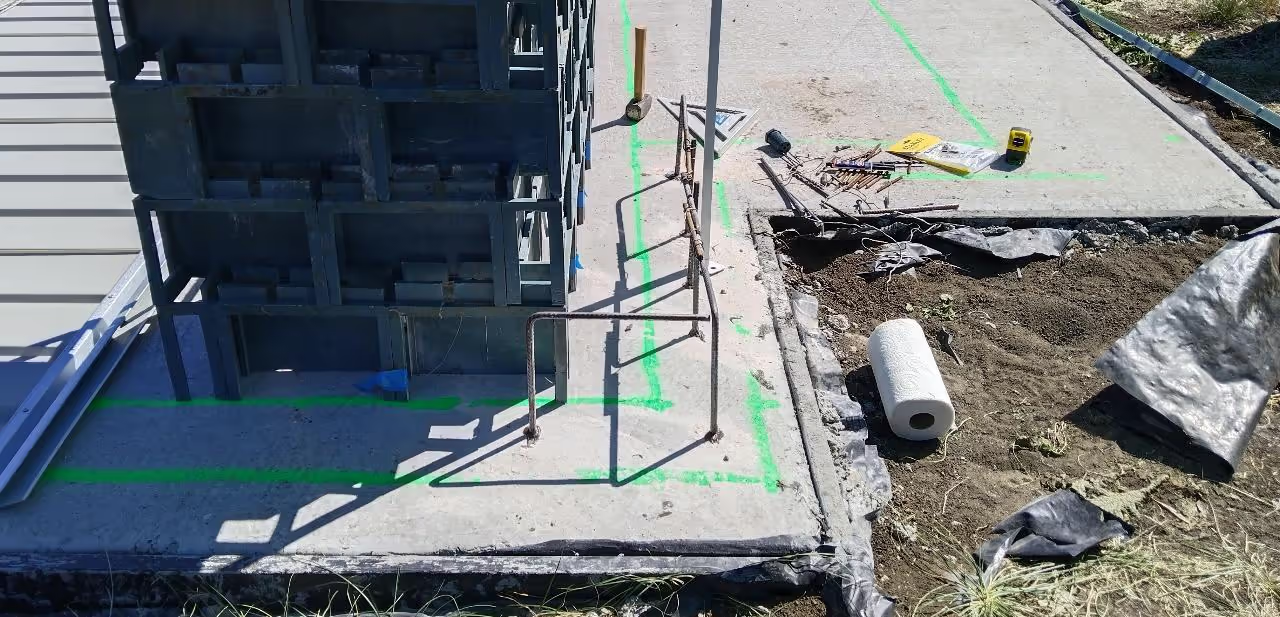
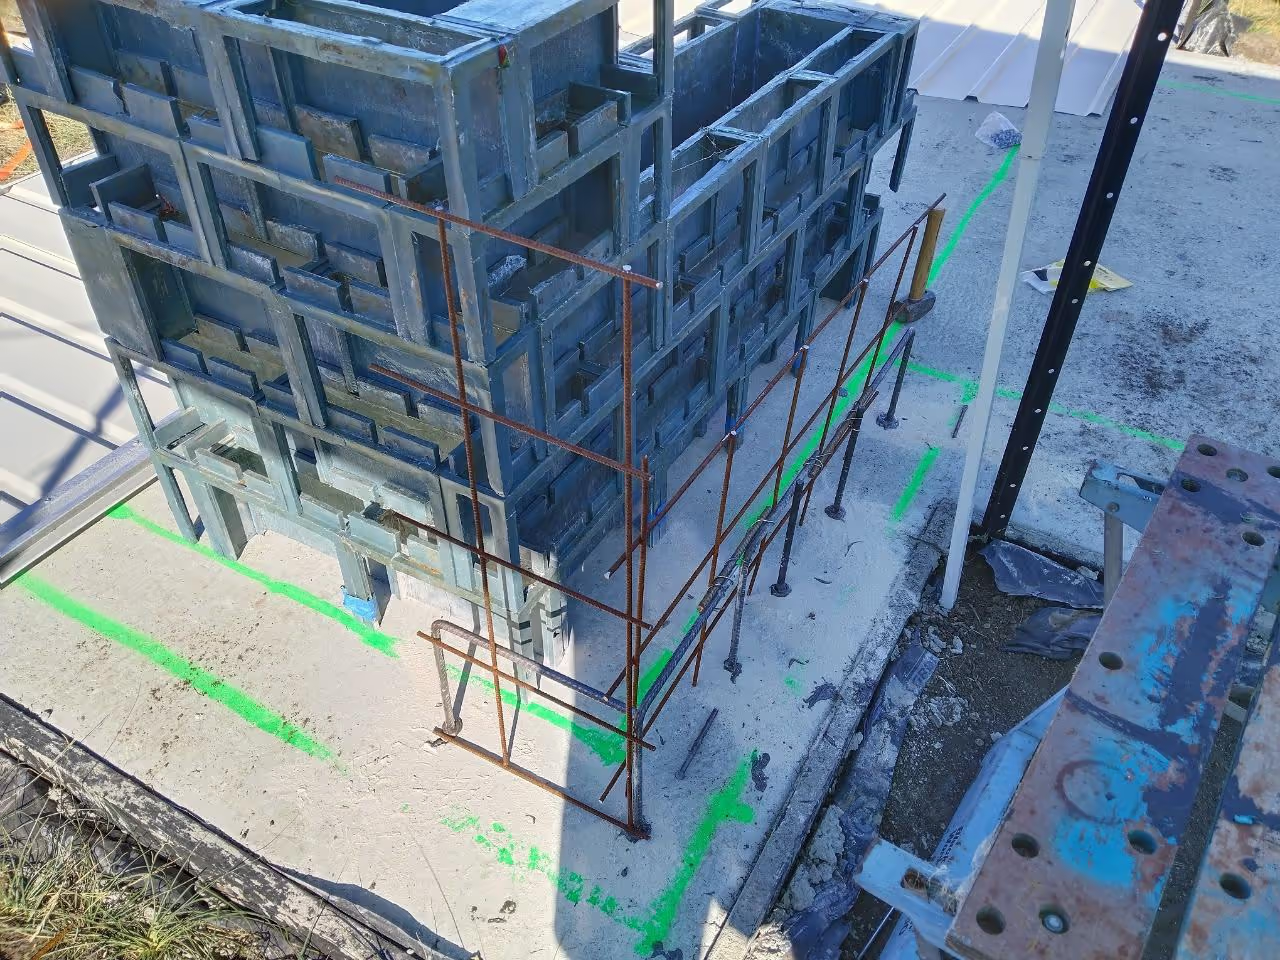
To mark where your wall will be built, use chalk, stringline, or spray paint and a diagram of your structure. We used green paint for marking.
Drill holes in the slab to the depth specified by your anchoring adhesive. Clear the holes of concrete dust. Inject the adhesive, then install starter bars, following adhesive instructions carefully. Wait up to 24 hours for the adhesive to set, and cover unattended starter bars with safety caps.
If necessary, install additional rebar using rebar ties and a rebar tie tool.
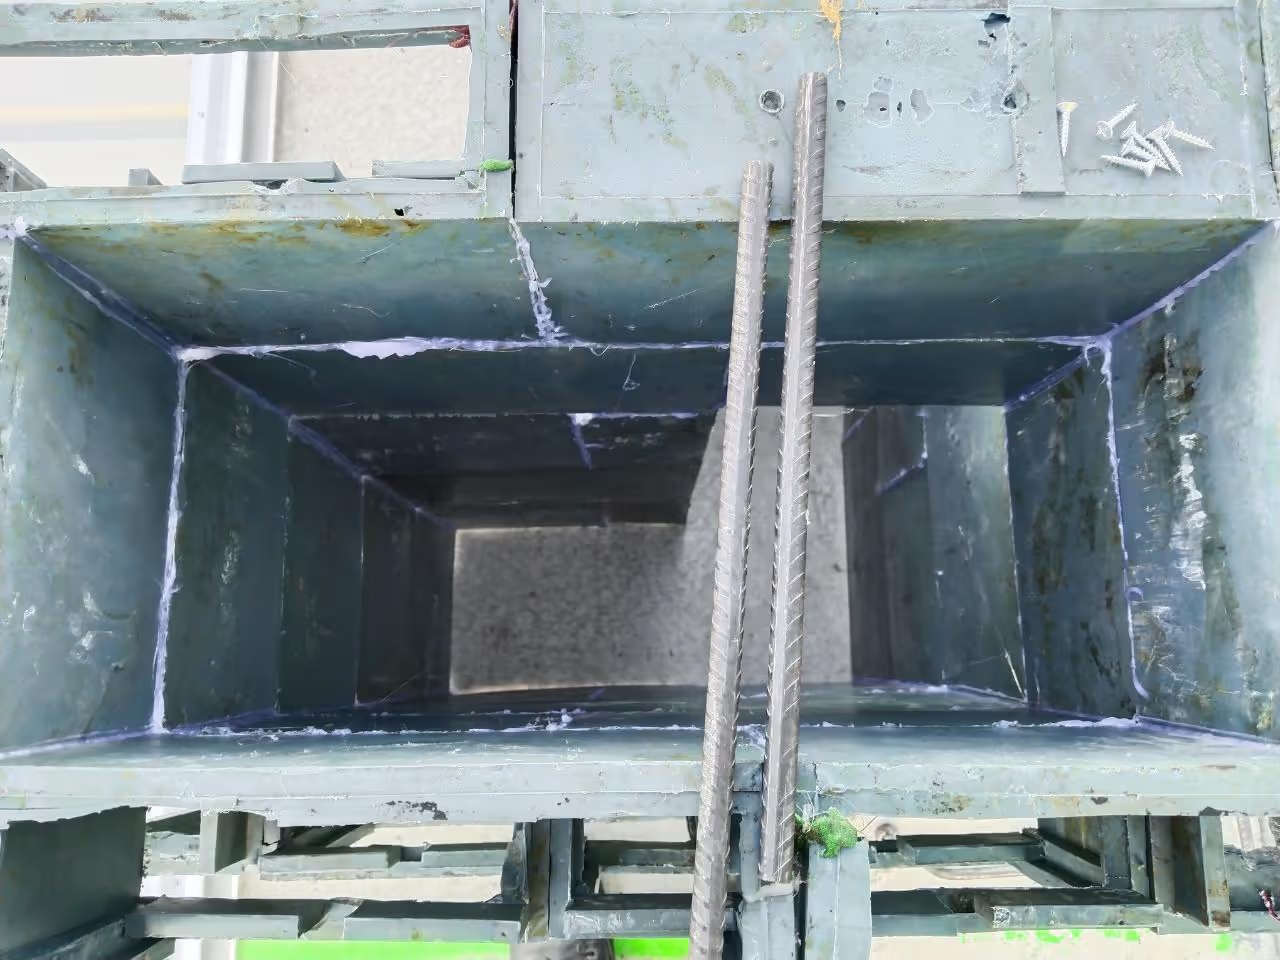
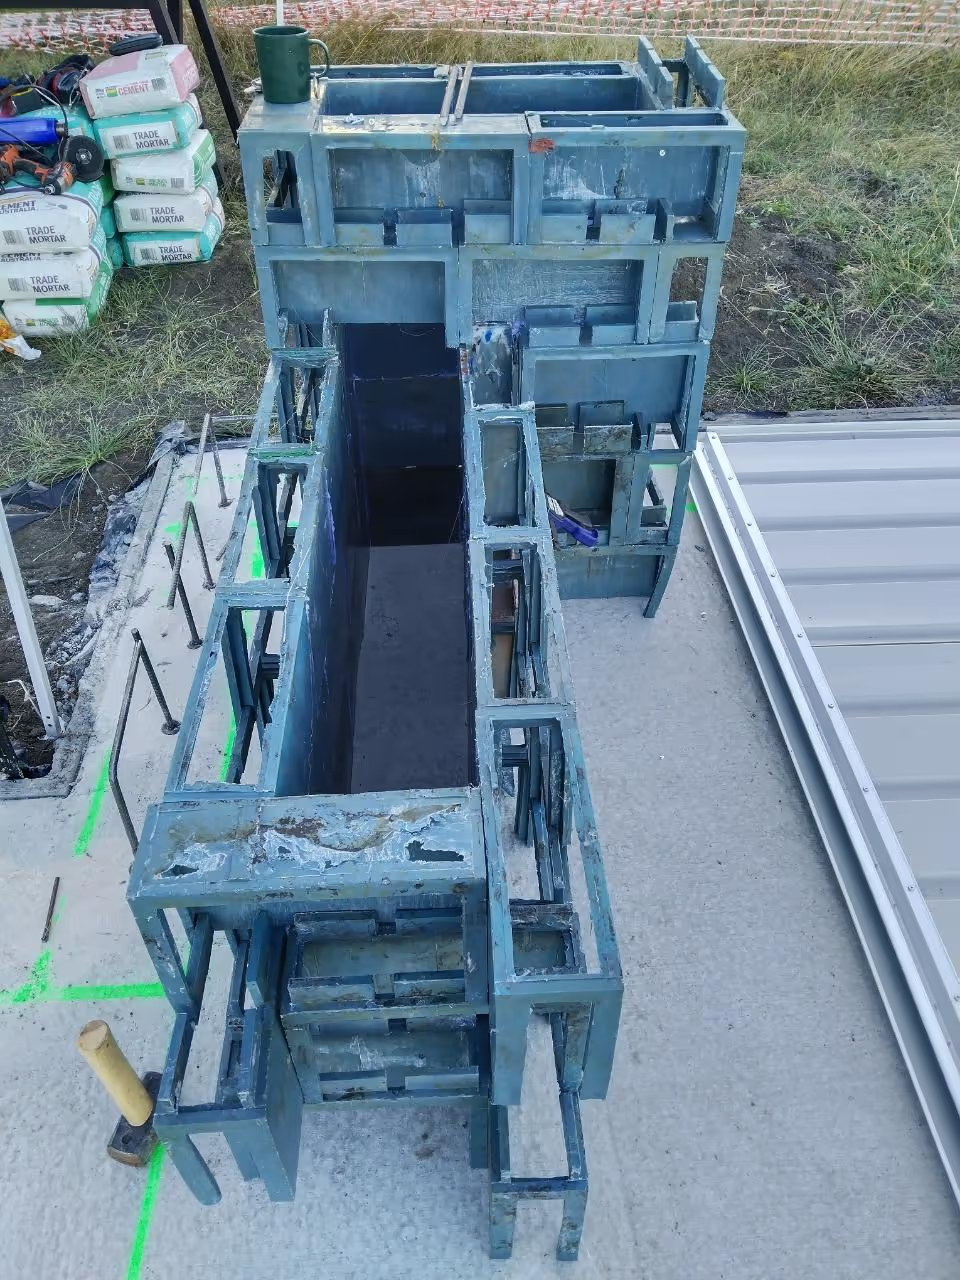
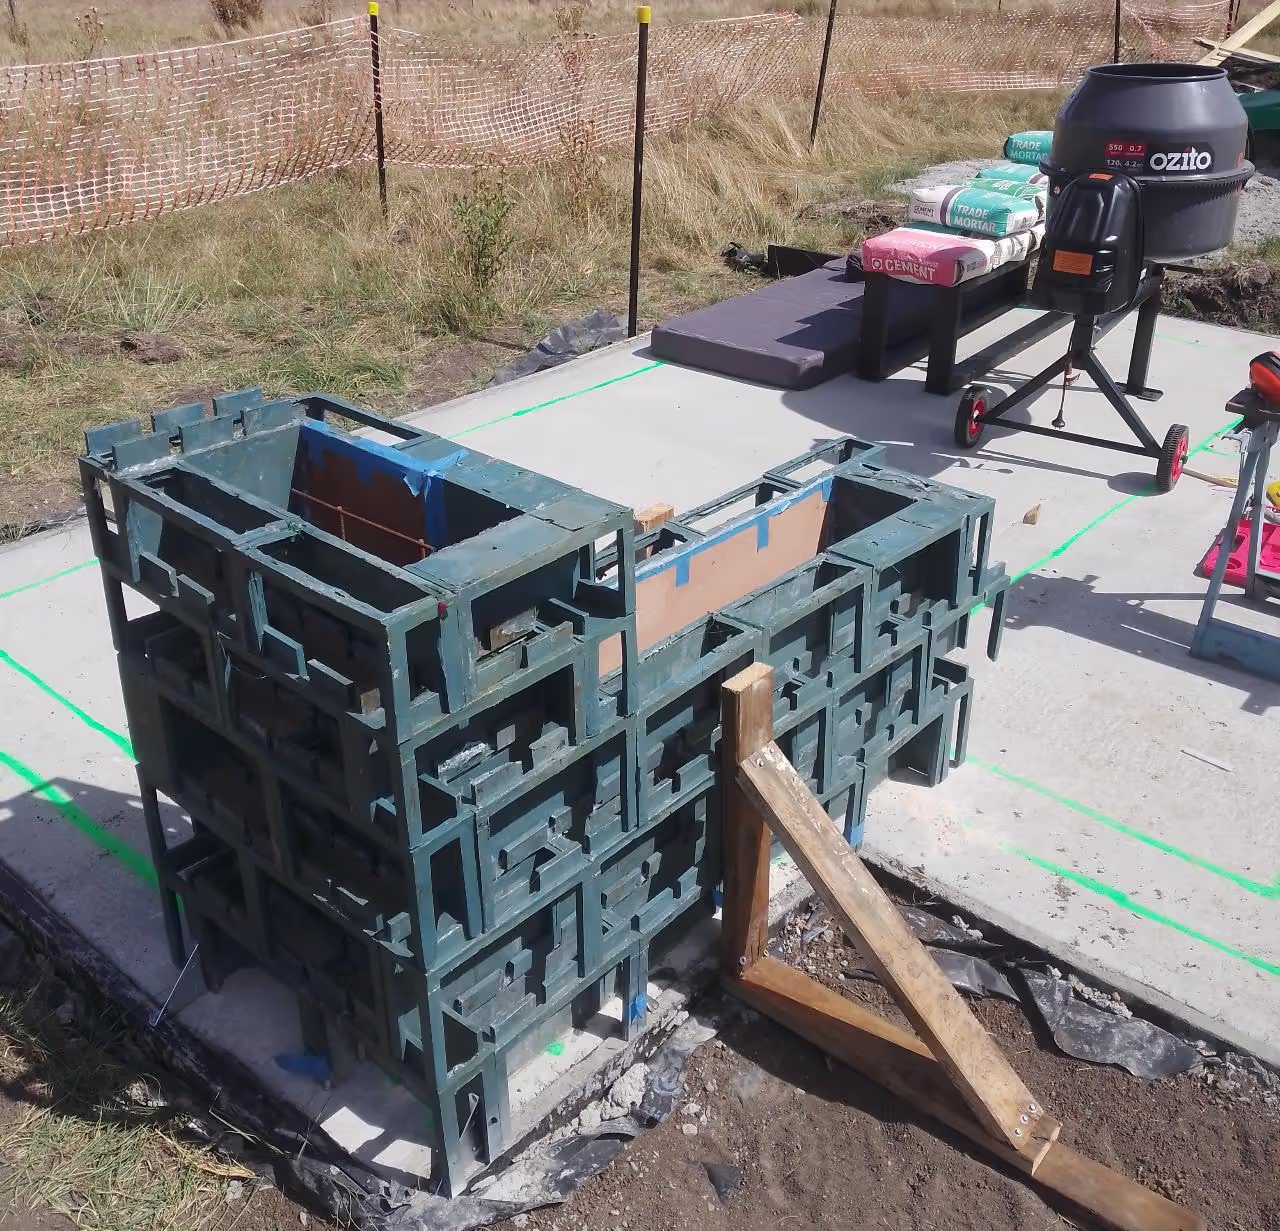
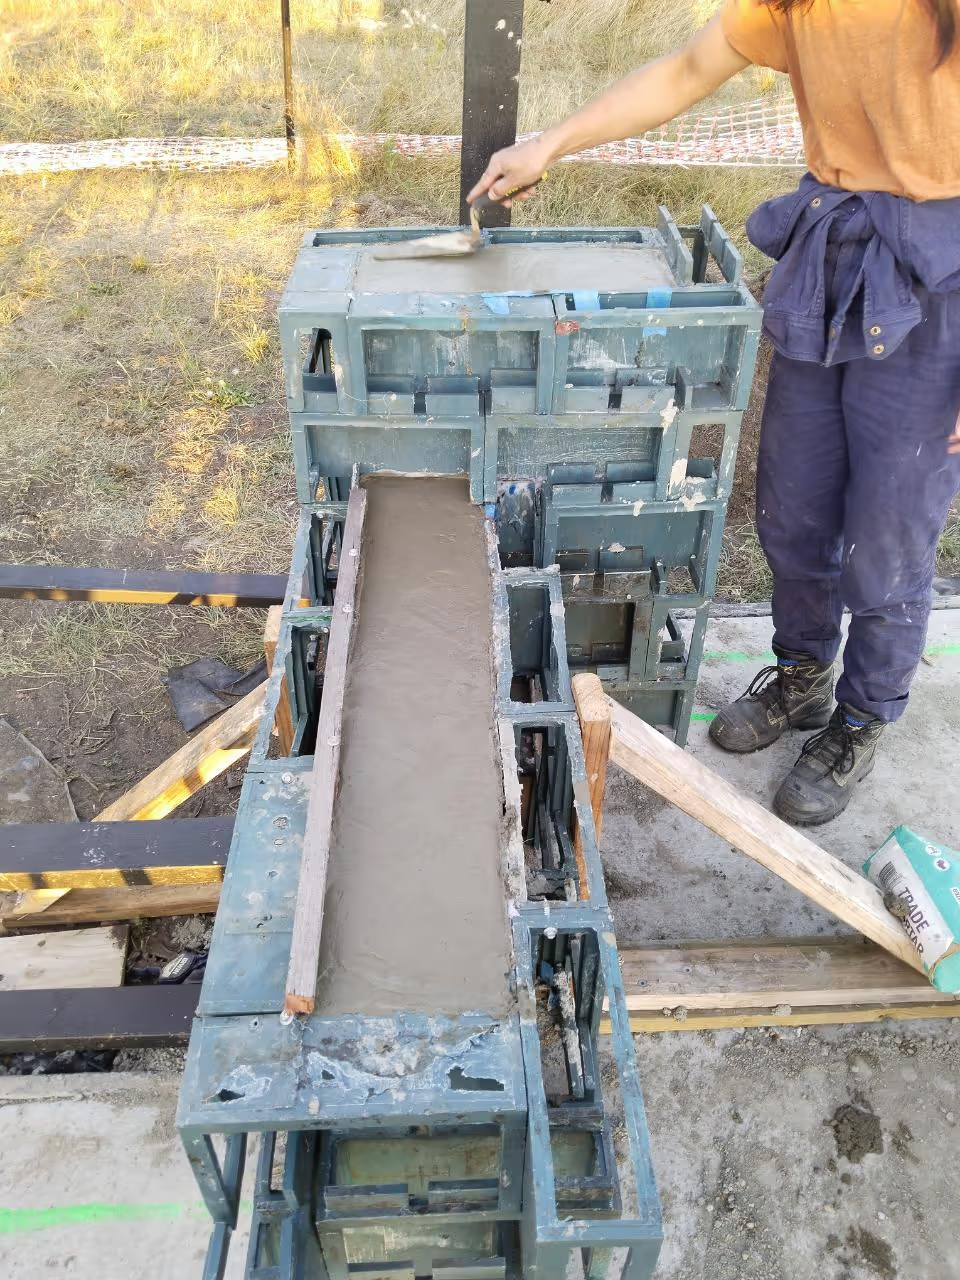
Following the outline marked in step #5, lay bricks in rows. For large seams between bricks, fill with hot glue while assembling the formwork. Use a trowel and a pipe to clean the glue in the seams. Alternatively, cover the bricks with a thin sheet, which can be taped to the bricks. It does not need to be strongly secured, as the concrete will press it against the bricks when poured.
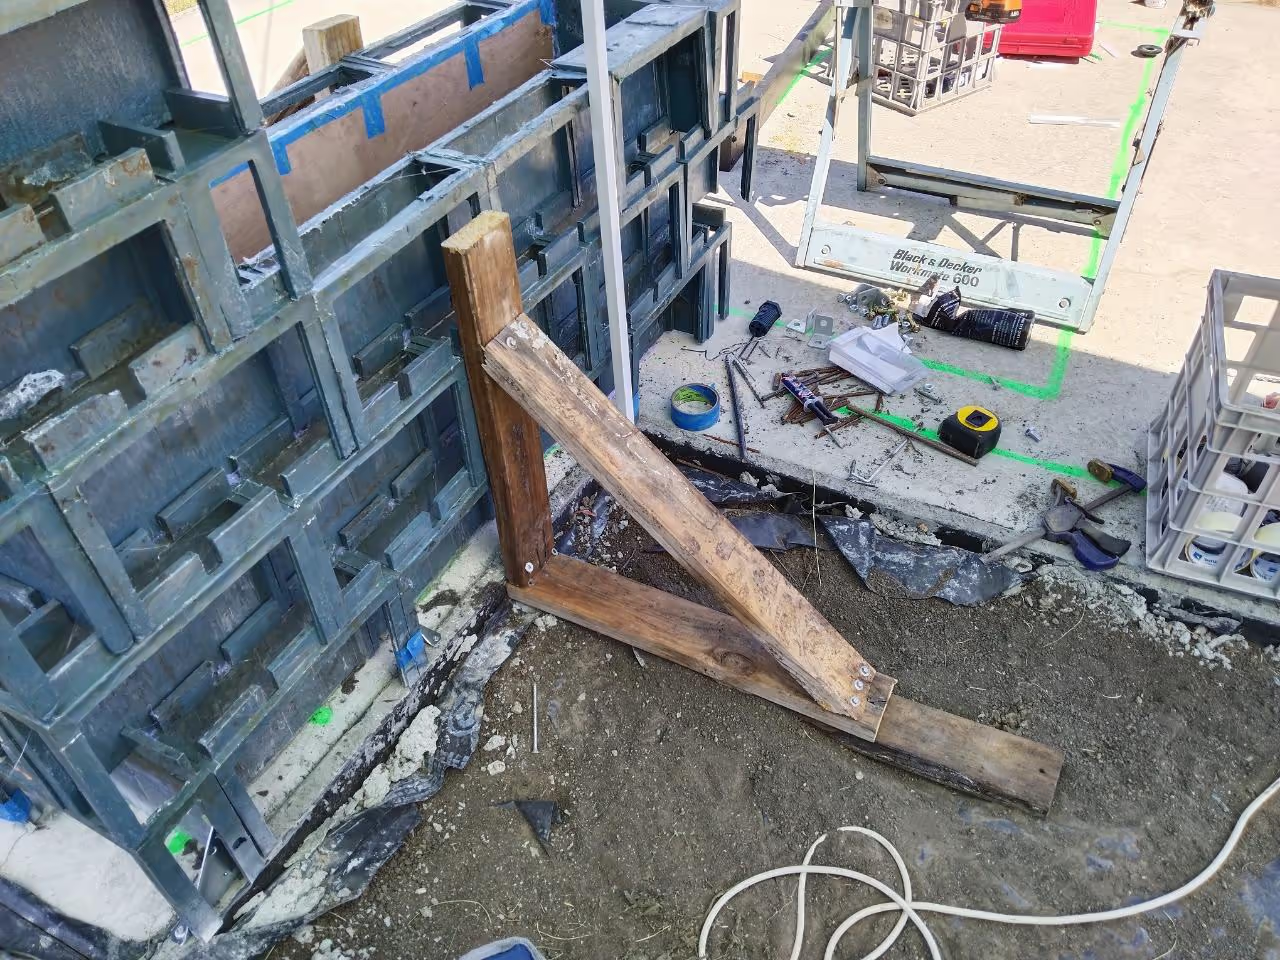
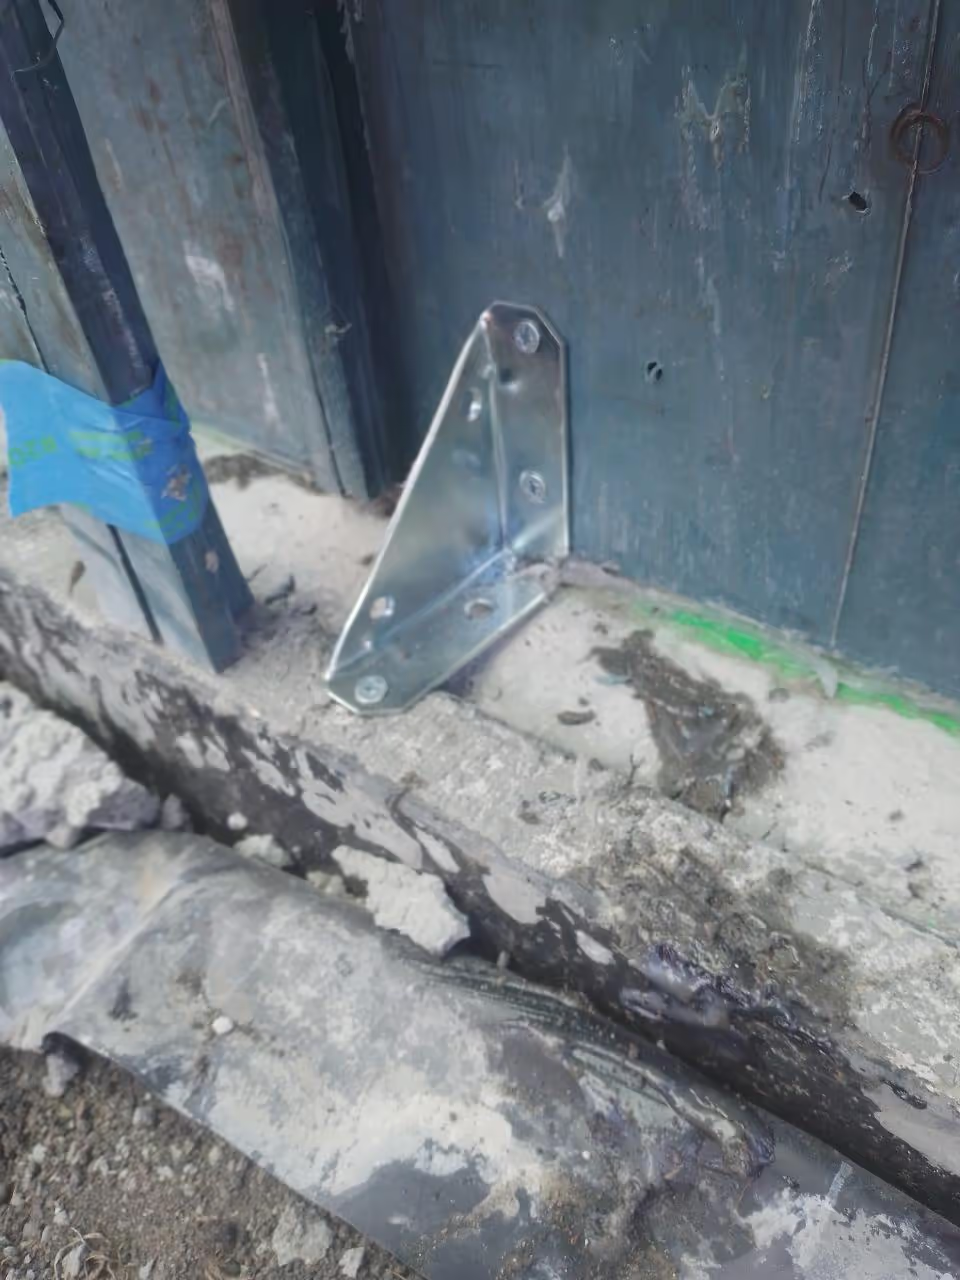
Installation methods will vary based on your site, but consider small steel brackets for securing formwork. Attach brackets to either timber or concrete slabs. This setup prevents formwork from lifting and stabilizes bricks against outward pressure from poured concrete.
Ensure each ground-level brick is supported from behind on the concrete-facing side. Secure at least every third brick to the ground to prevent uplift. Bricks in the top row should be linked to neighboring bricks, as these rows lack the interlocking support provided by other positions.
Alternatives to steel brackets include using simple chocks placed against the concrete-facing surface.
Before pouring concrete, inspect your formwork for potential issues. Improperly secured bricks, large seams, and misalignment can lead to failure. Concrete blowouts are dangerous and difficult to stop due to the mass of the material.
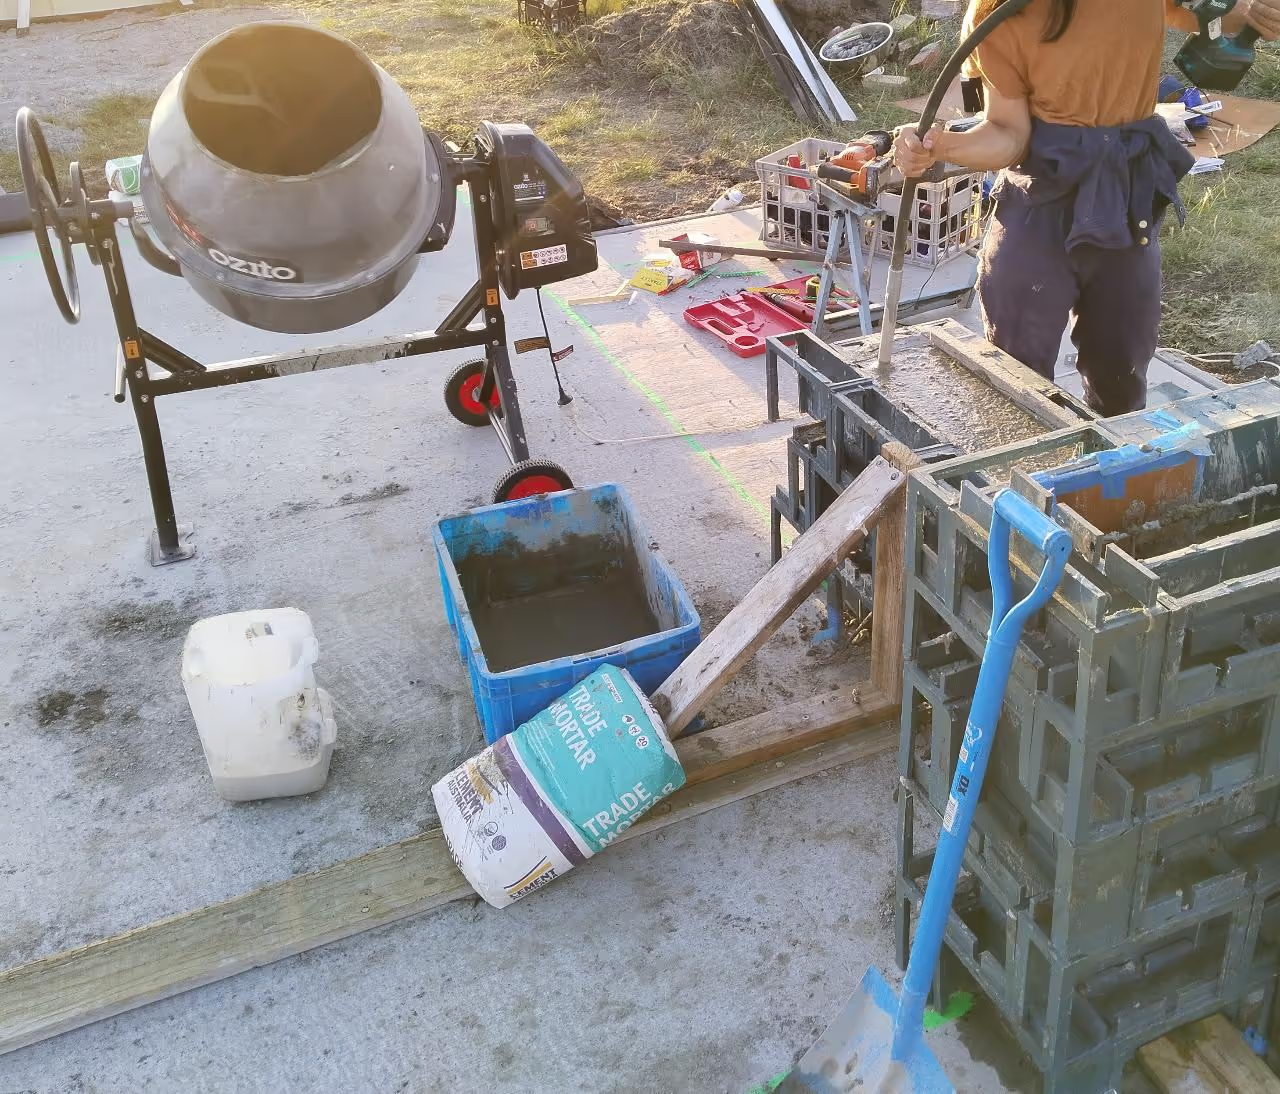
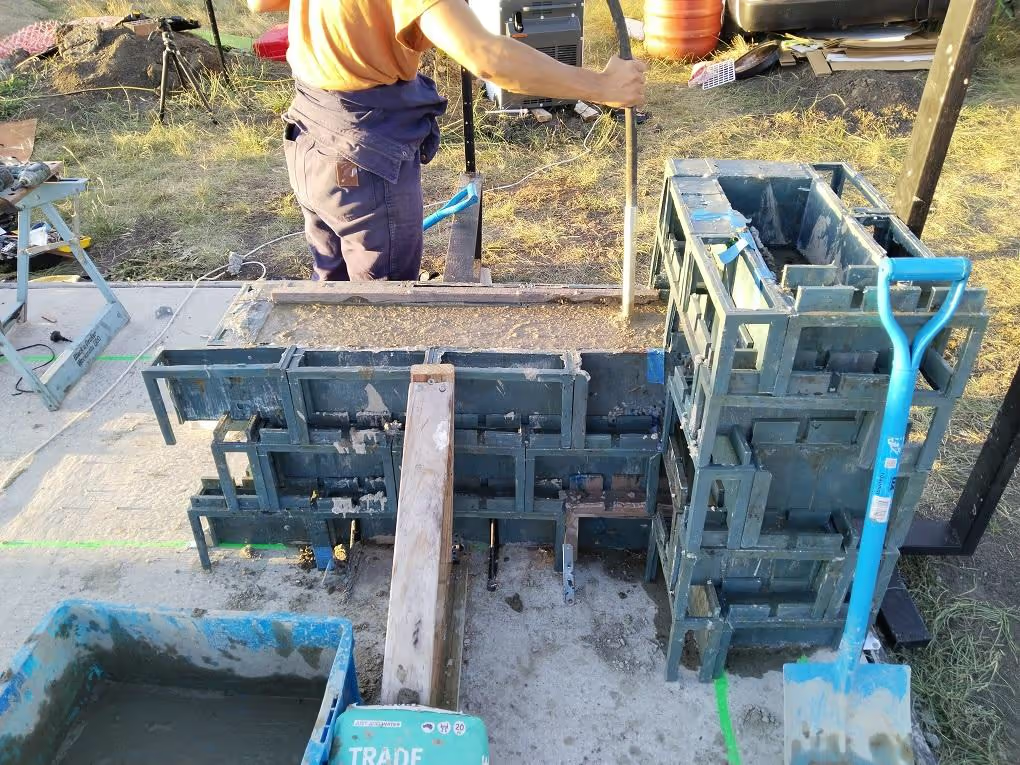
Once your formwork is secure, arrange your concrete mixer and ingredients for easy pouring. Ensure you have sufficient time to complete the pour before beginning.
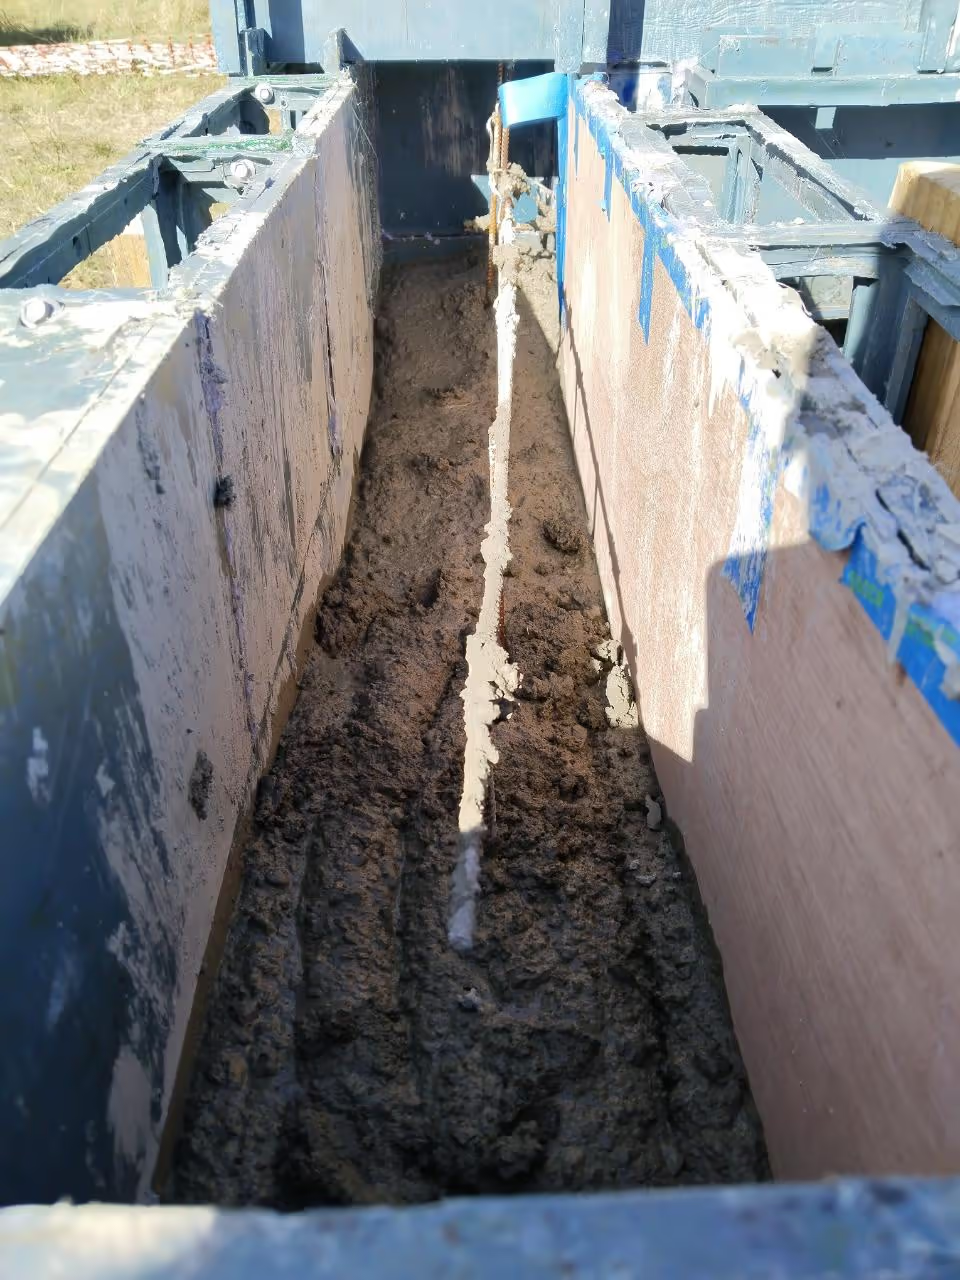
To begin, mix enough concrete to construct around 0.8-1.6 inches (20-40mm) of your wall. Place it into the formwork, ensuring it reaches the corners. Check the outer side of the formwork for any concrete leakage at the bottom. Mix and pour slowly, monitoring the base of your form until you reach approximately 6 inches (150mm) above ground level. At this stage, you have overcome the initial major challenge. Allow the poured concrete to set for 90 minutes to support the weight of additional pours, minimizing the risk of a blowout.
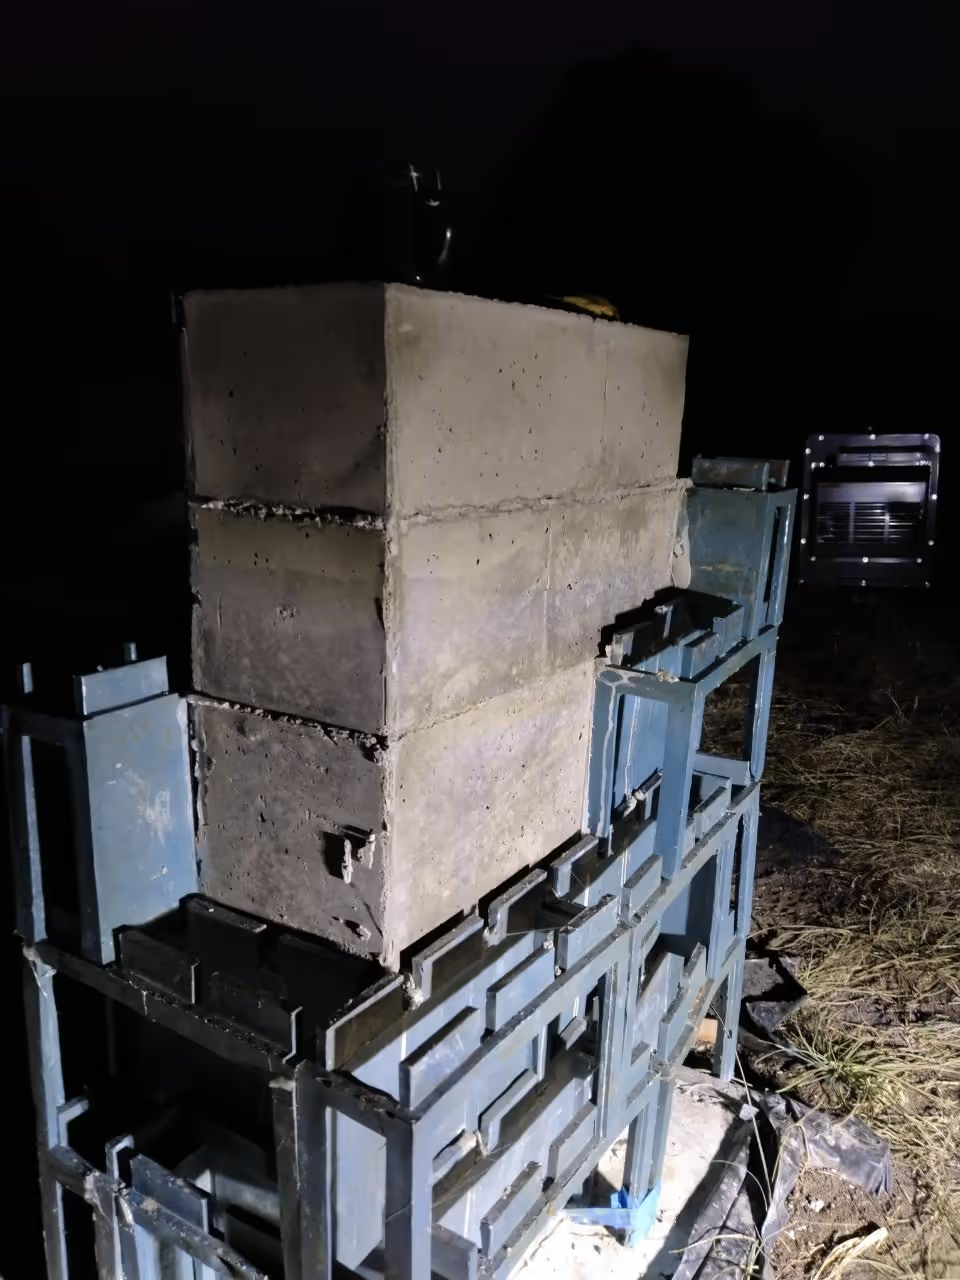
Once the initial concrete pour begins to harden, increase the frequency of subsequent pours. Continuously inspect the formwork as the height increases. In our instance, we poured approximately 60 liters (15.85 gallons) of concrete every 30 minutes after the initial section, ensuring air pockets were vibrated out. Using rapid-set cement could allow for a faster pace, but this is not recommended for beginners as it might set before proper vibration or complicate repairs in the event of a mishap.
Upon reaching the top of the formwork, use a trowel to smooth the surface. Edging tools can be used to create bevels on the wall's corners.
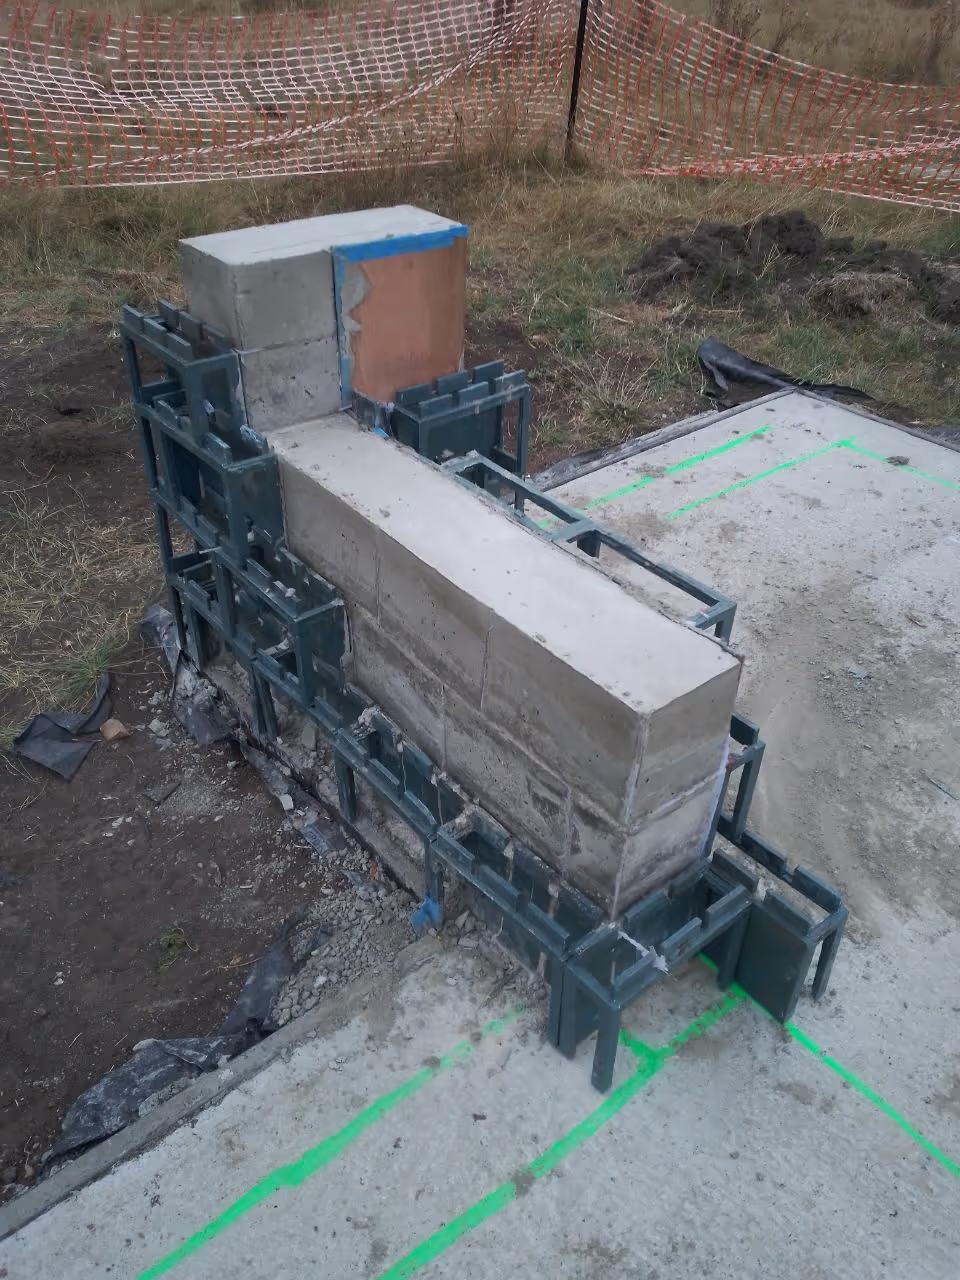
Once the concrete becomes a lighter grey, it is nearing readiness for formwork removal. We waited 36 hours to ensure it was sufficiently set, but consult the cement manufacturer's specifications and consider ambient temperature, as this affects setting speed. When uncertain, allow more time before proceeding.
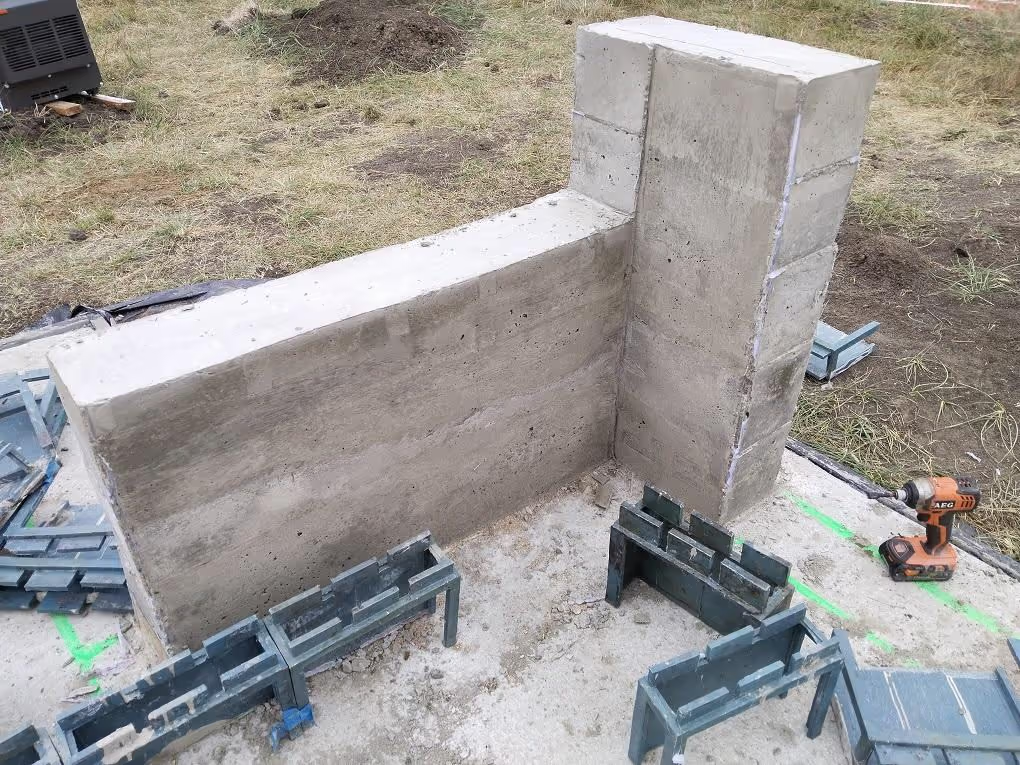
To demold, begin by undoing fasteners on the top layer and remove the bracing. Bricks can be removed by gently rocking them to lift them off the underlying teeth. Hot glue, if used, will break off easily.
In some cases, seams may not be adequately filled with hot glue, allowing concrete to seep in. To prevent this, clean the bricks immediately after demoulding, as the concrete will still be weak and crumbly. Wear safety glasses and use a wire brush for cleaning.
If you've made holes in your bricks, fill them with a hot glue gun using the same plastic you used for the bricks. It's advisable to do this on-site to avoid forgetting to check for cavities later.
Maintain a tidy construction site, as leftover hazards can affect future work. Clean your tools and materials after finishing.
Additionally, remember any important tasks relevant to your situation.
Safety equipment (eye/hearing protection, boots, dust mask) and additional tools like shovels or tape measures are also required but omitted here for brevity.