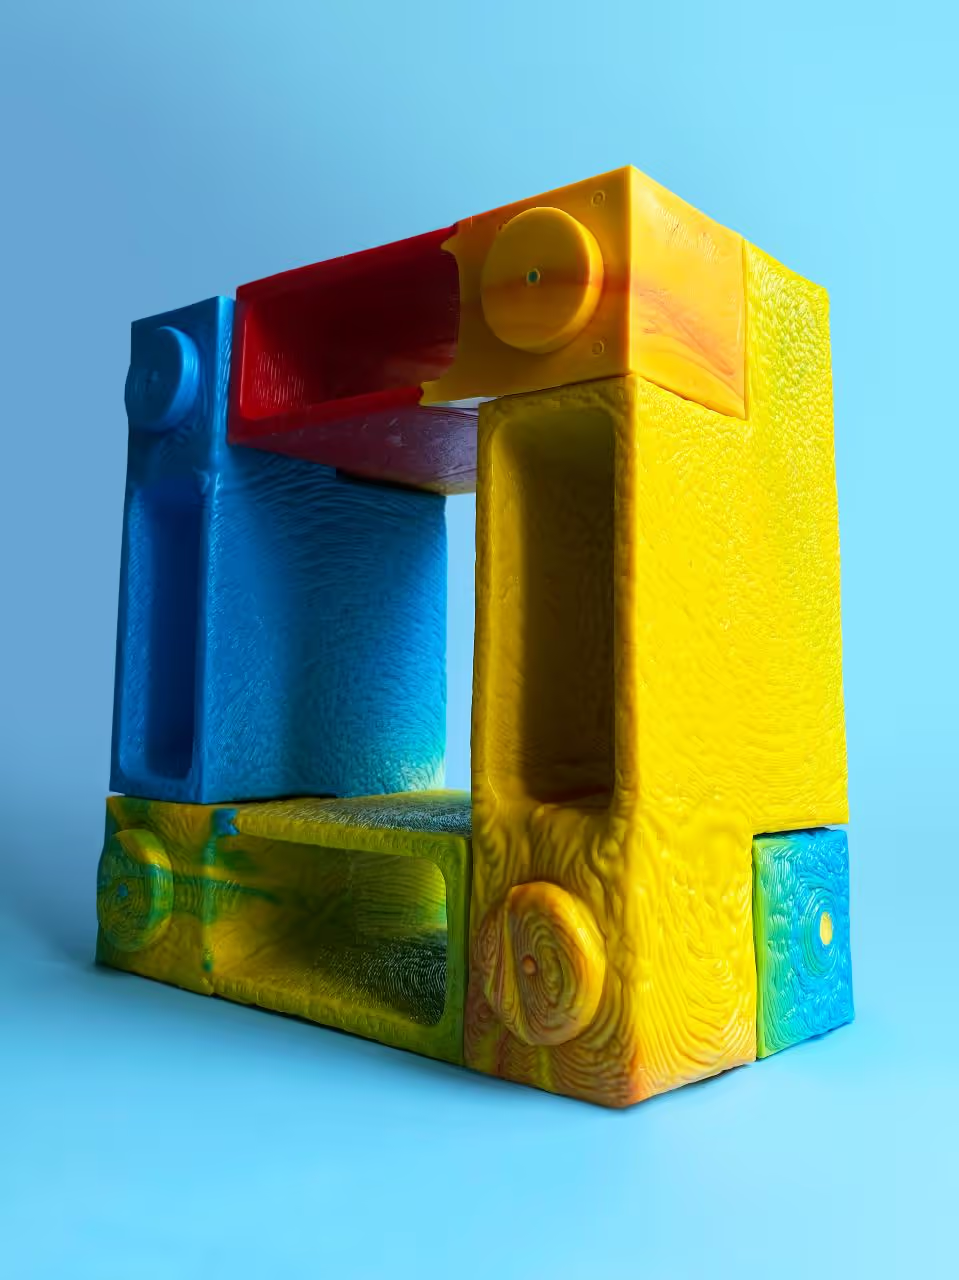
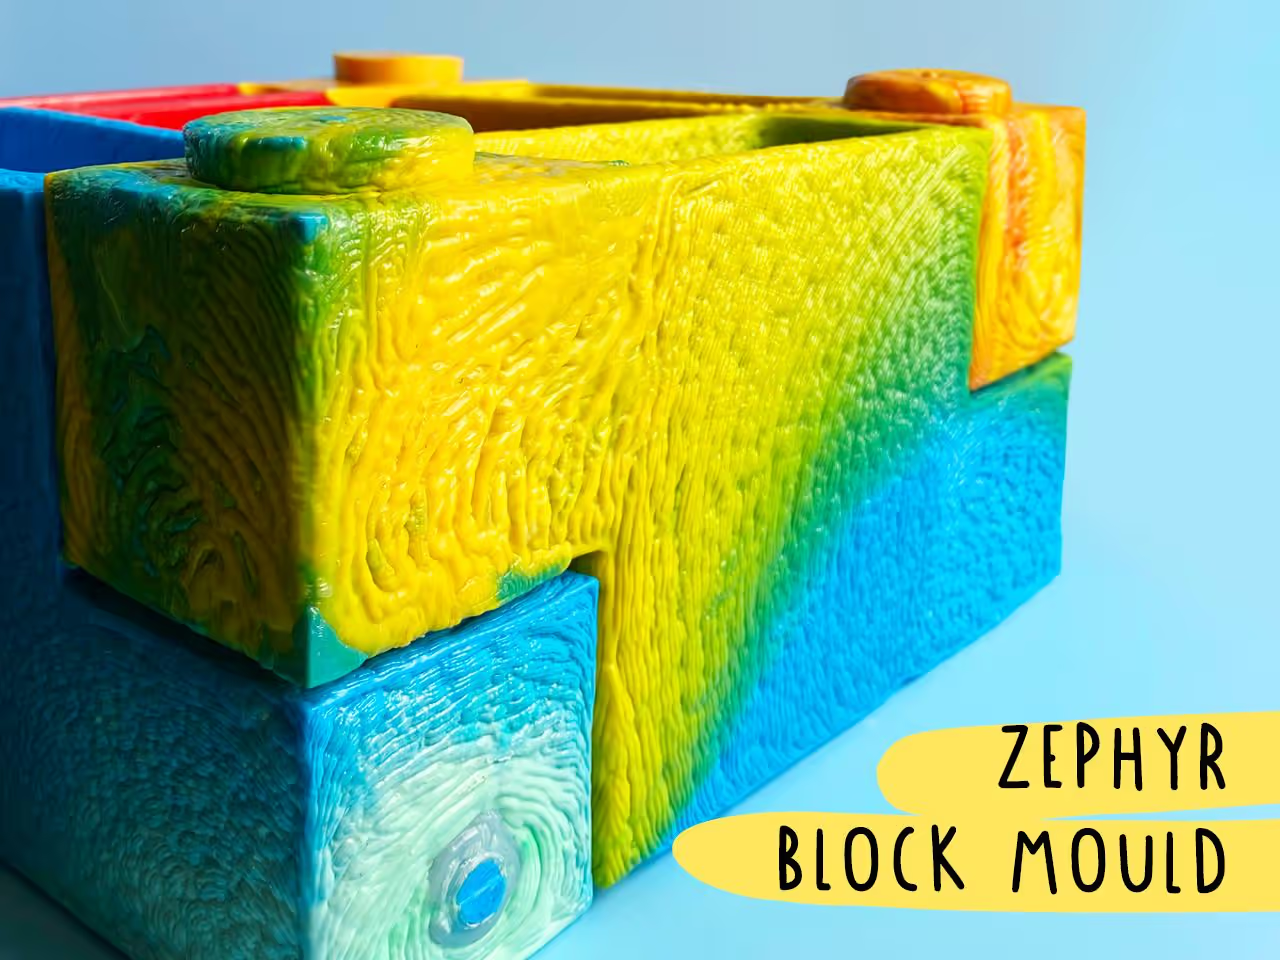
Interconnecting Zephyr Block Mould
HDPE
MOULD
Learn to craft the Zephyr Block, an interlocking structure element originating from Melbourne, Australia. This guide will assist in utilizing plastic otherwise discarded.
Included Files:
Steel Sheet: Approximately 800x500mm (31.5x19.7 inches), 10mm (0.39 inches) thick
Core Elements: Two machined steel or alloy pieces
Tools: Welder, Deburring tool
Bolts for Fabrication:
Nuts, Bolts & Washers for Assembly:
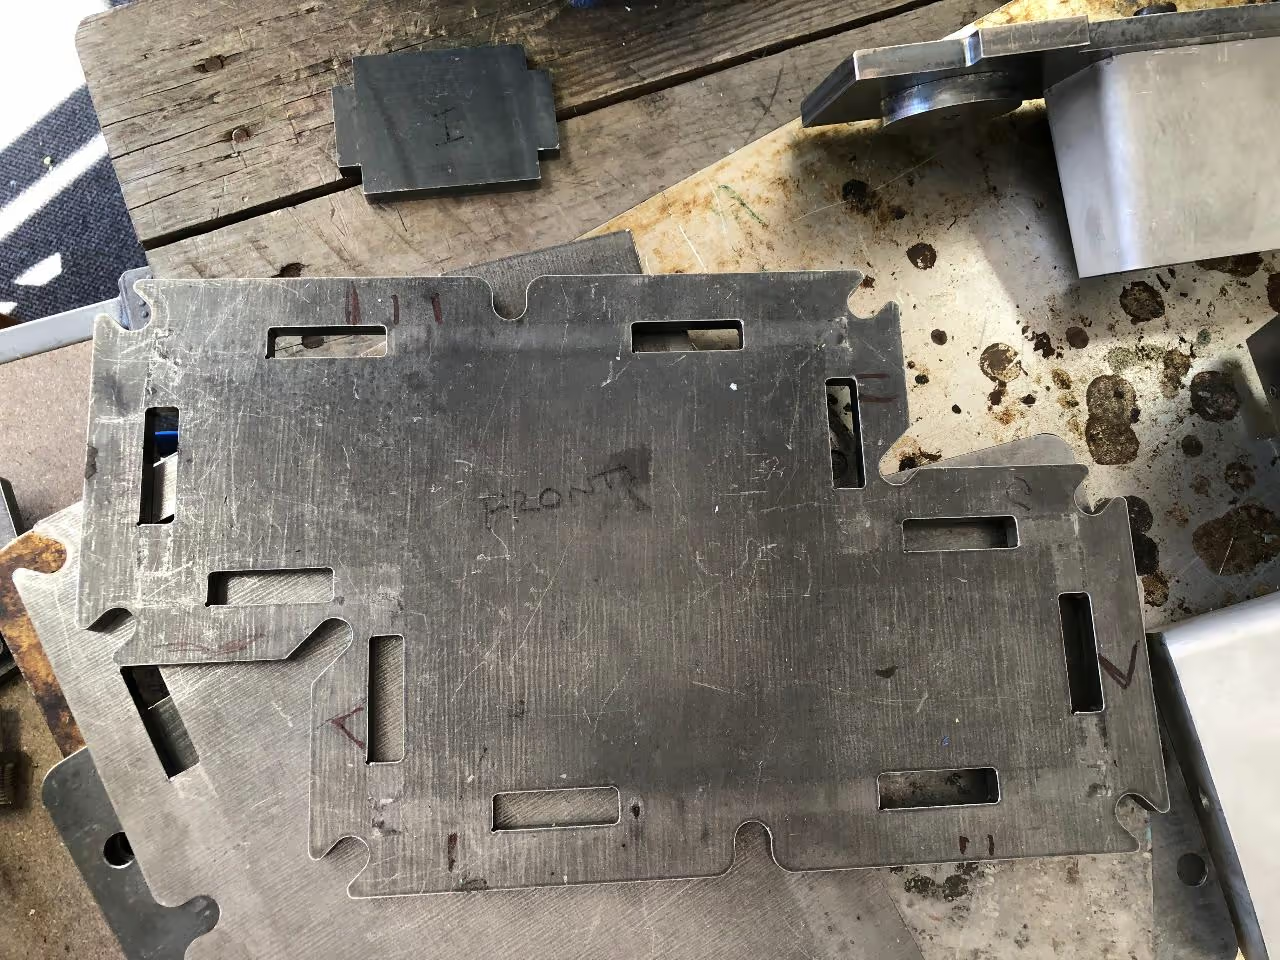
Cut each of the 14 pieces from 10 mm (0.39 in) steel using the provided DXF file. Use the engraving sheet to mark the interior of each plate and the edges of each tab for assembly guidance.
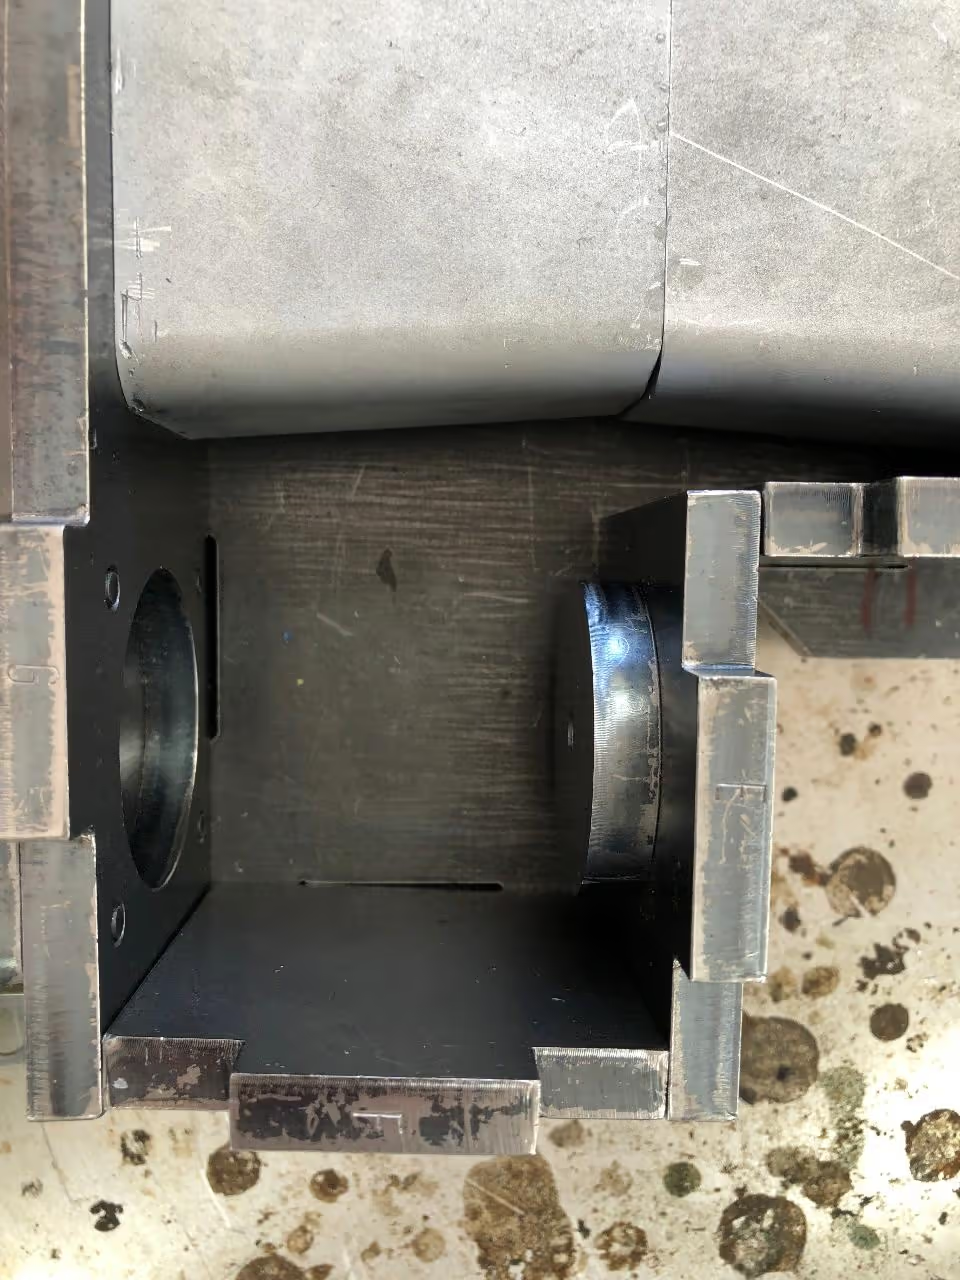
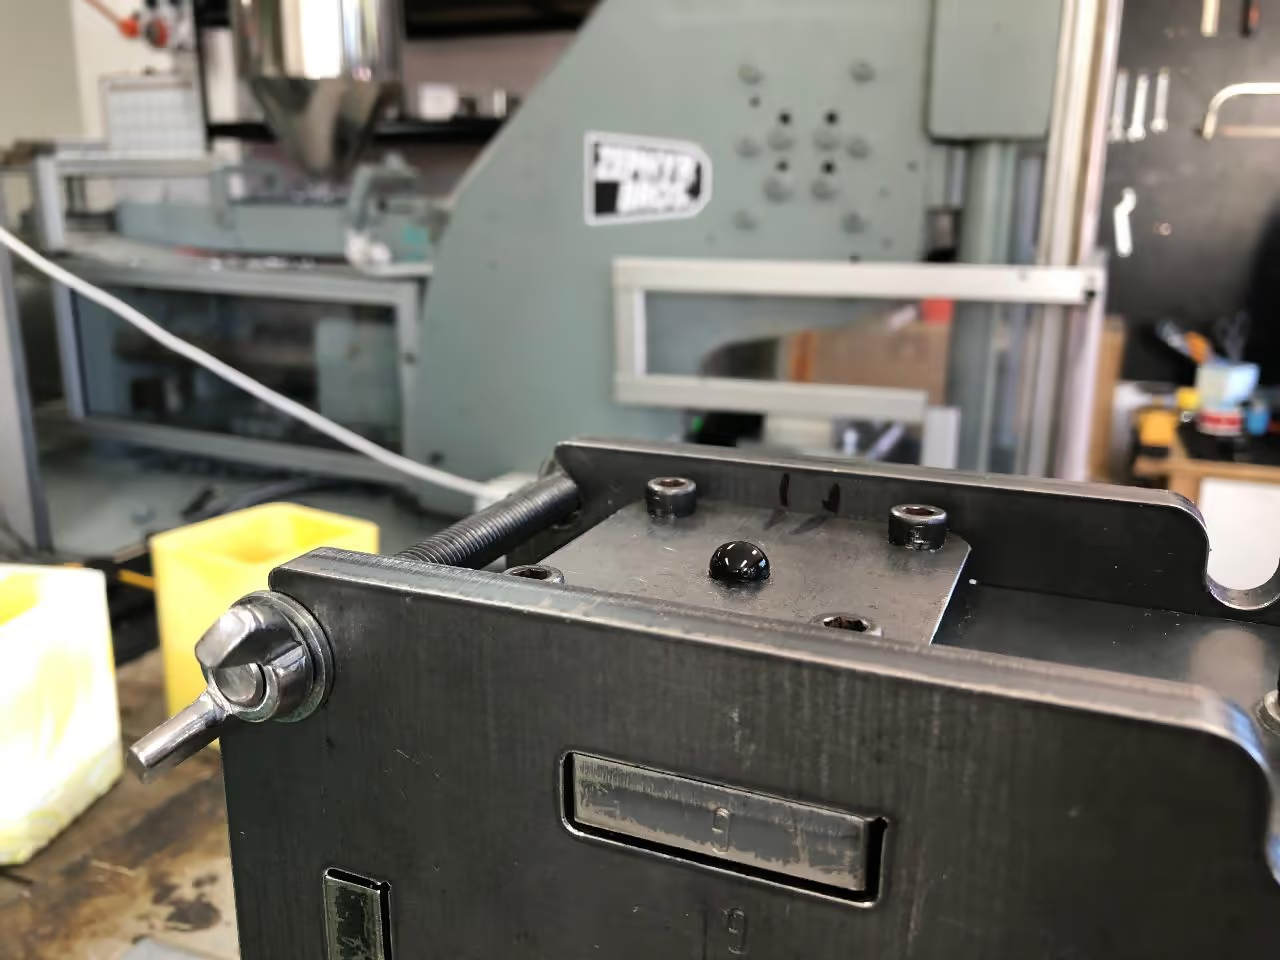
Steel Circles: Attach to panels using M10 x 20 bolts. These should remain movable to ensure proper alignment of bricks before filling the mold.
Alloy Cores: Secure to top panels with M12 x 1 inch bolts, as specified in the part identification guide.
Square Plates:
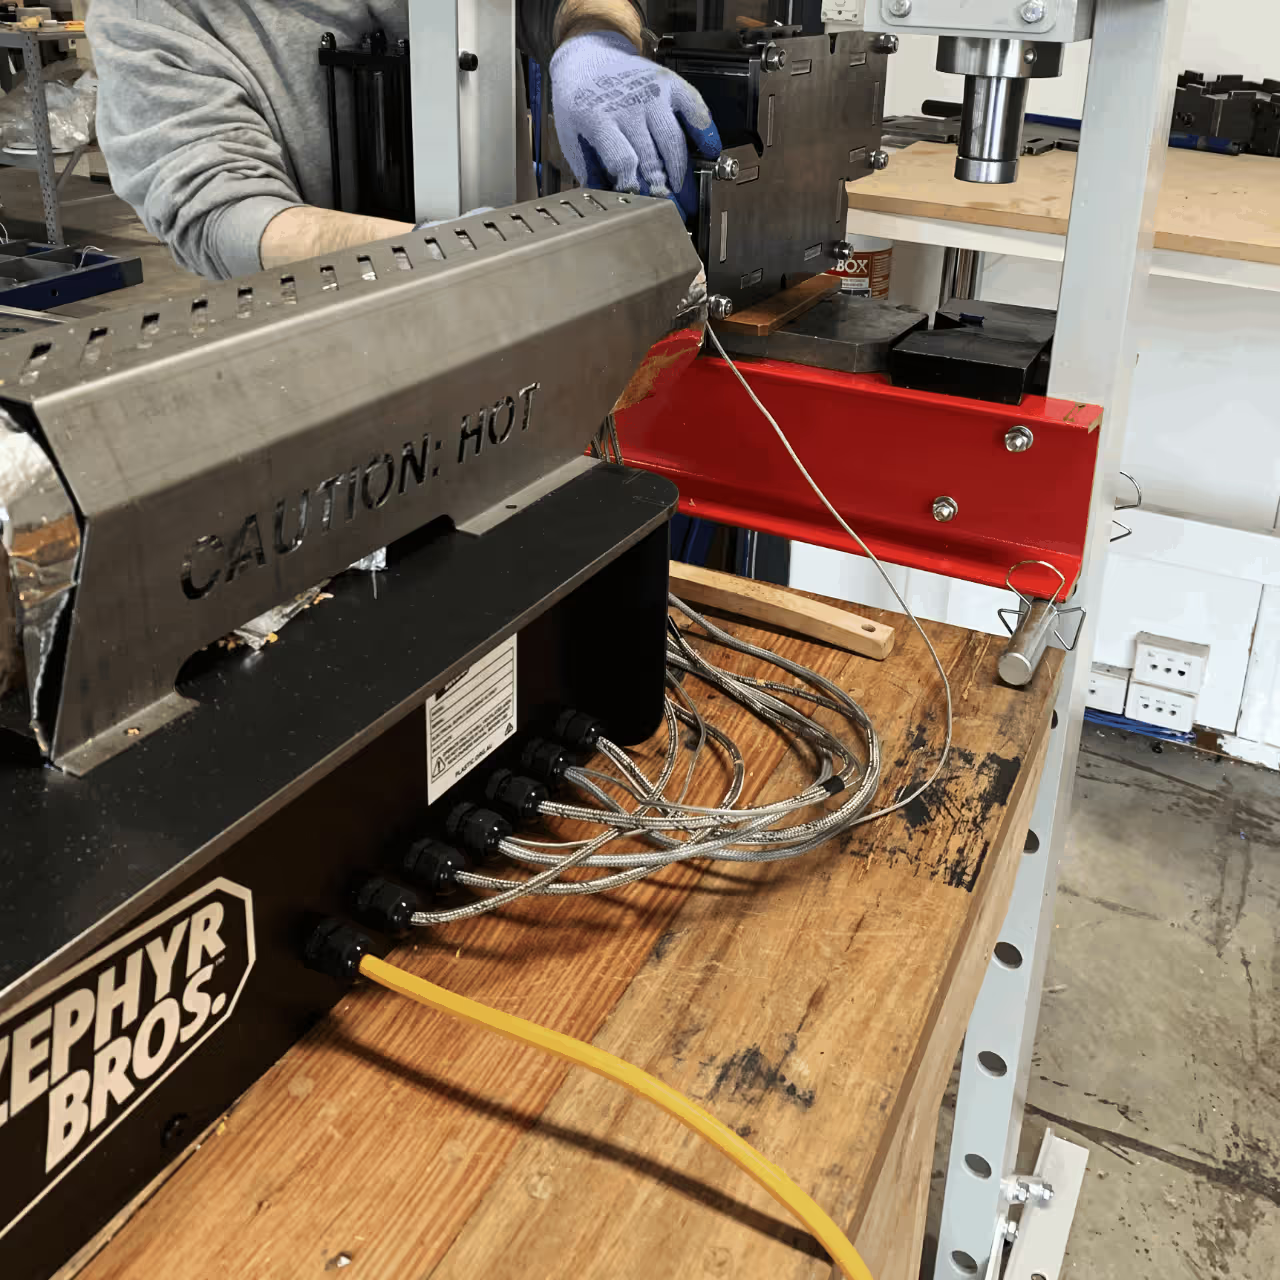
Nut Attachment: Weld a ½ inch BSP stainless steel nut to panel 1/A for extruder connection.
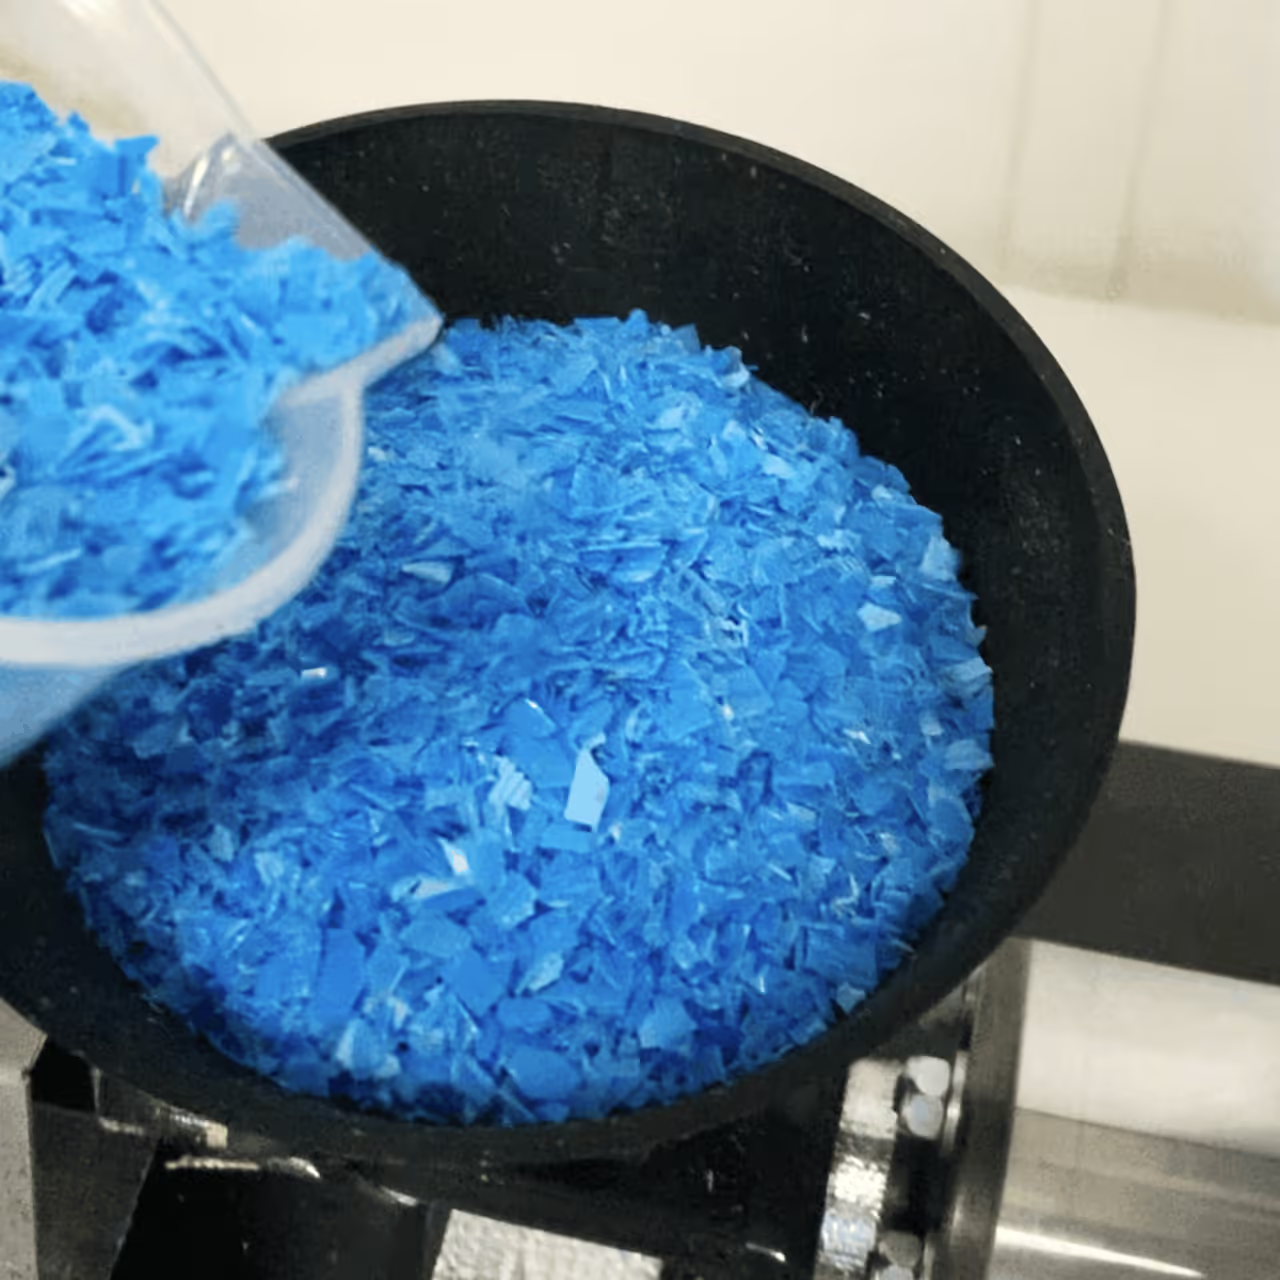
The mold requires approximately 3.3 pounds (1.5 kilograms) of shredded HDPE for the hopper.
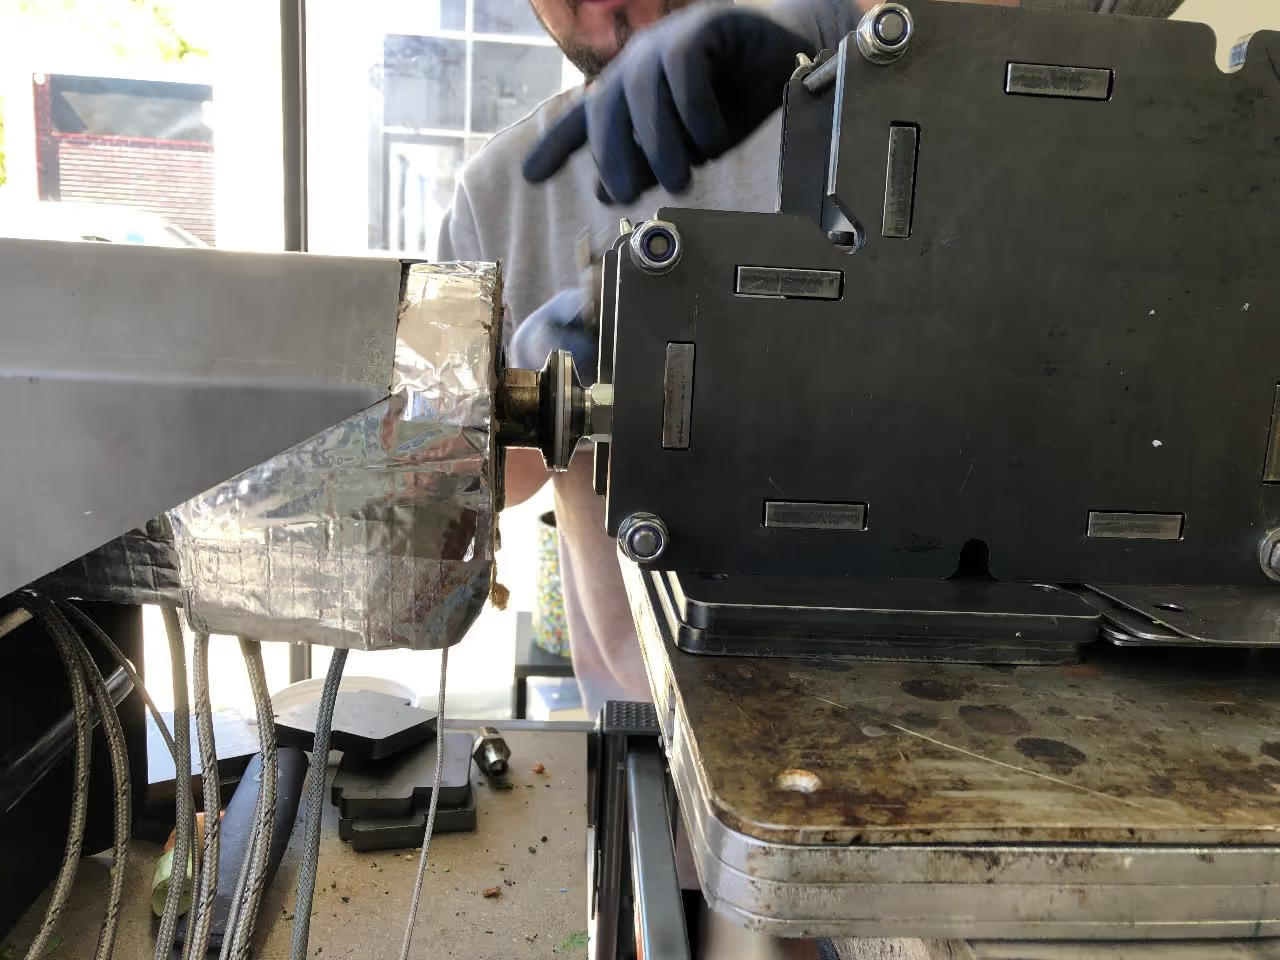
Attach the fitting to your extruder and activate the machine to melt the plastic.
Once ready, feed the material into the hopper.
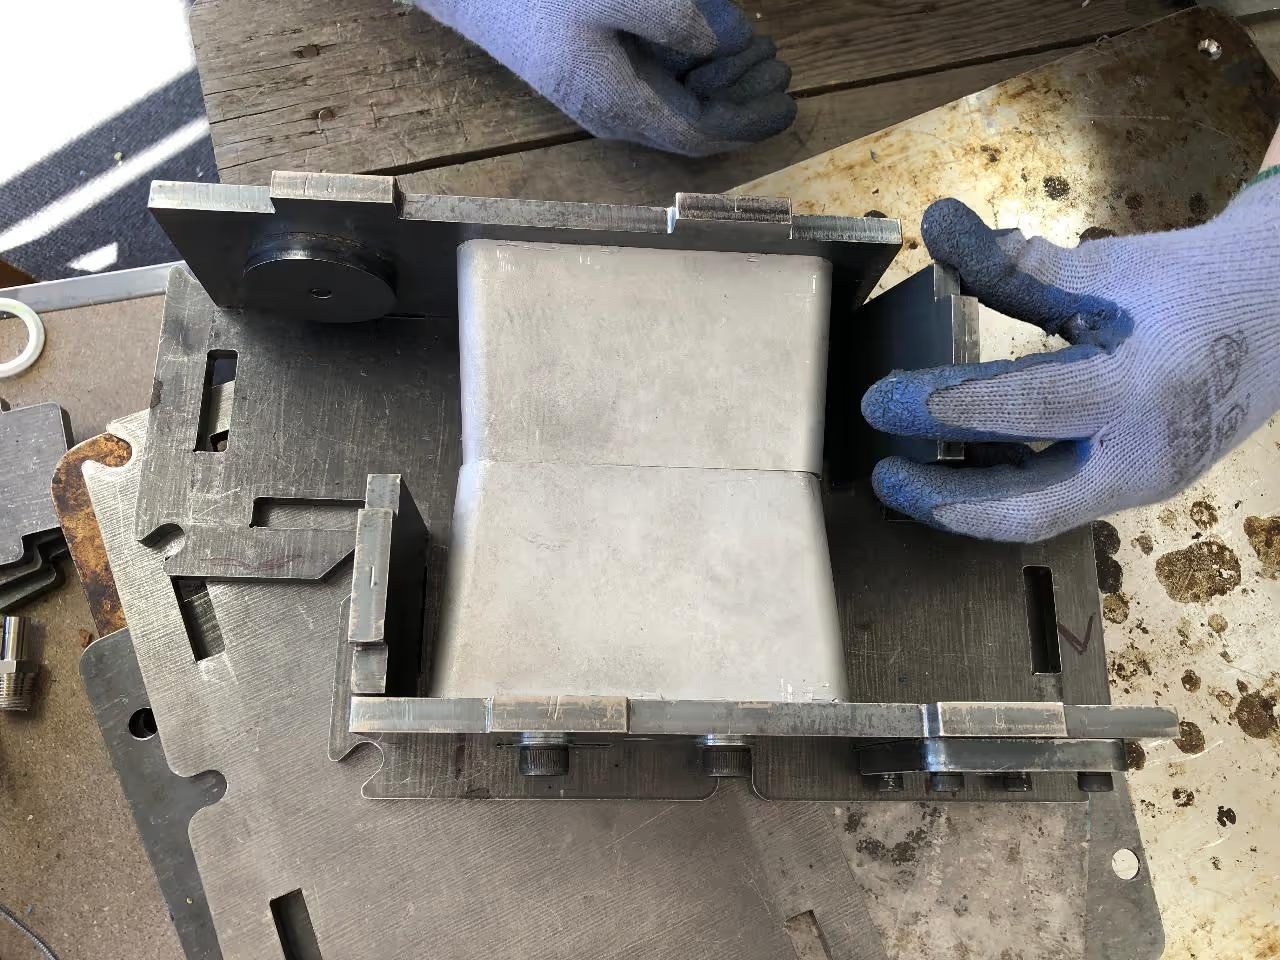
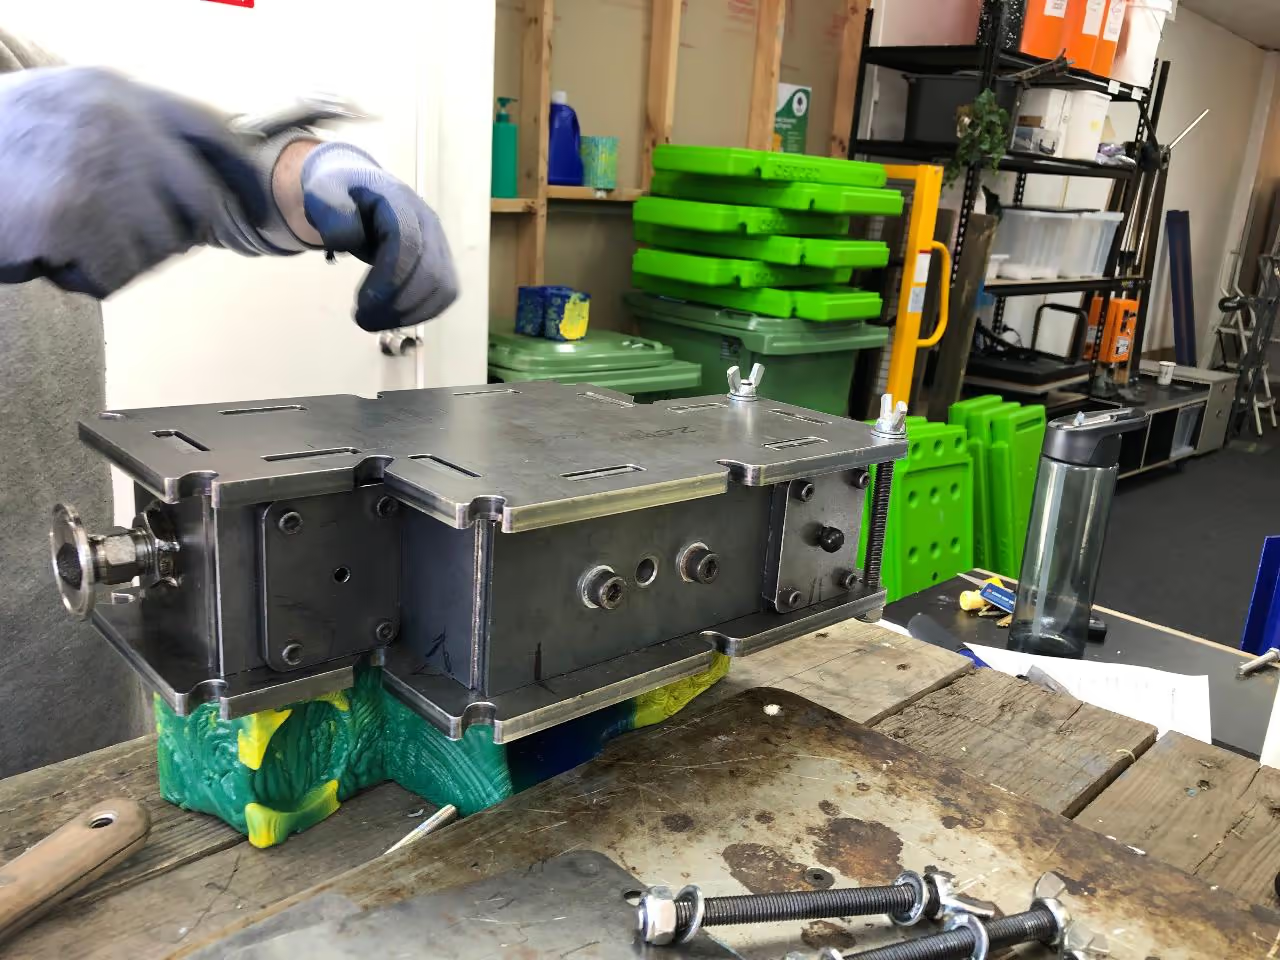
While the plastic melts, assemble the mold by placing one base plate on the surface and inserting each tabbed end into its corresponding hole. Connect the sides using either numbers (1-10) or letters (A-J). Secure each corner with M10 bolts, washers, and nuts or wingnuts.
Securely connect the mold to the extruder. Ensure the mold is positioned vertically.
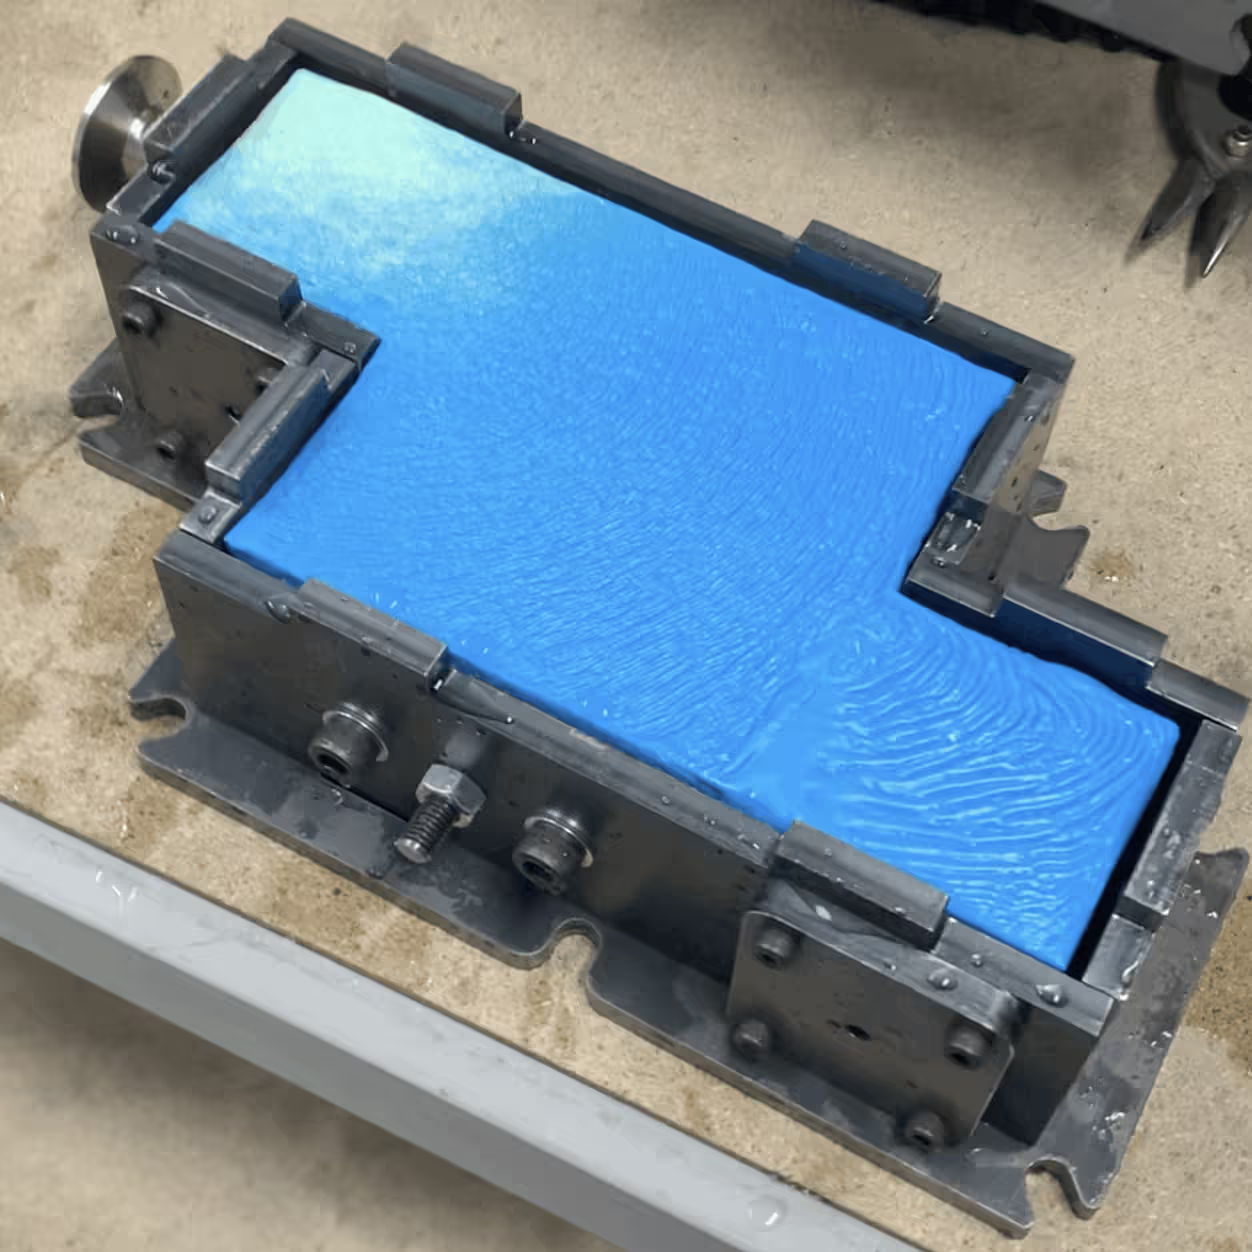
Running a machine at 356°F (180°C) and 35 Hz, the mold fills in approximately 6 minutes. Monitor the vent at the back for the first bubble of plastic, then turn off the machine and remove the mold.
Using heat-resistant gloves, open the mold by placing it on one of its plates and removing each bolt or nut.
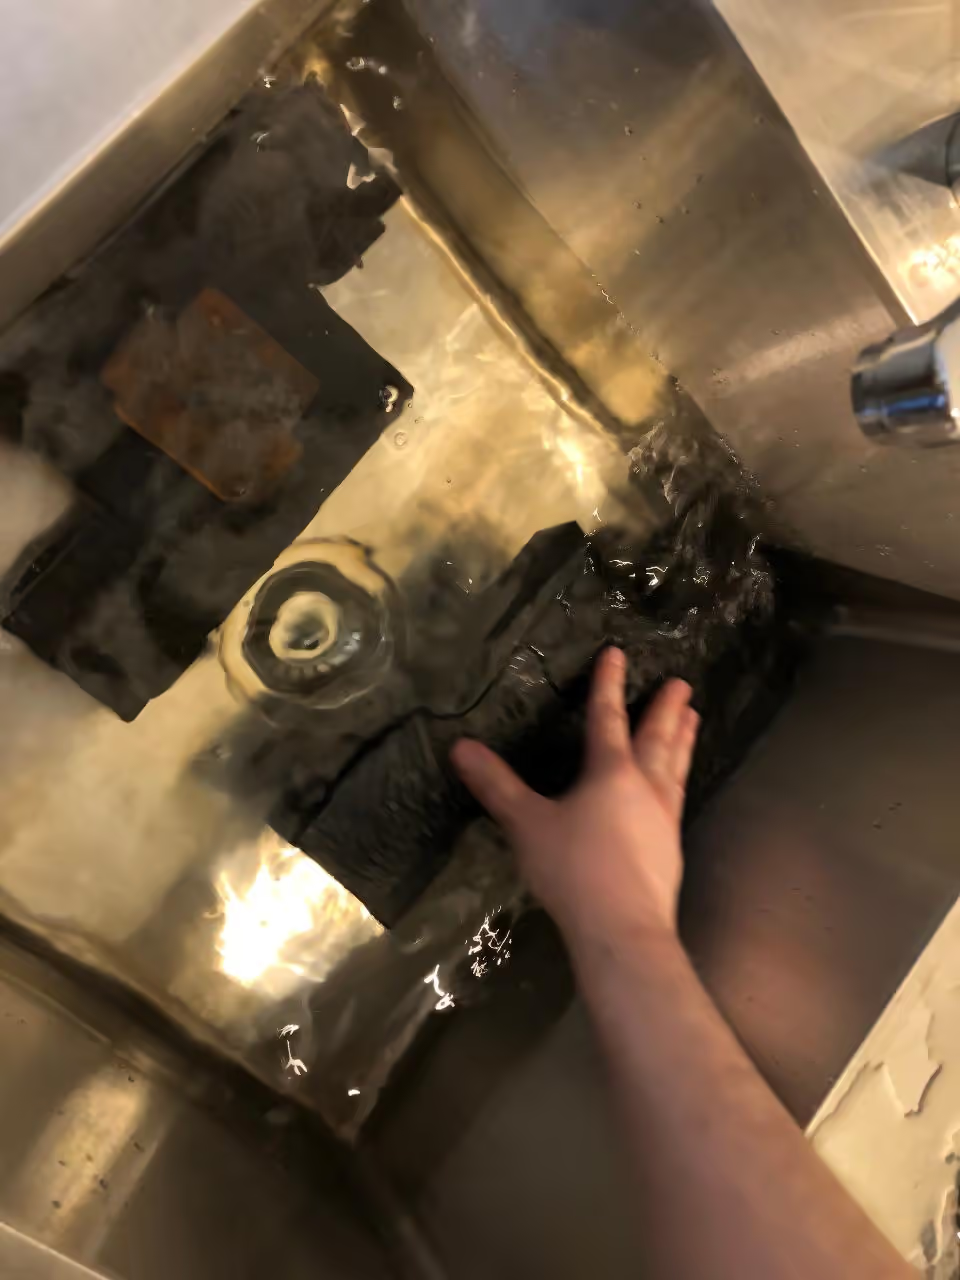
Once removed from the mold, immerse in a water bath to accelerate cooling.
A video detailing the process of transforming 91,500 used plastic bottle caps into blocks for a community garden.
Construct diverse structures such as office partitions, furniture, and garden beds while reducing plastic waste.
Discover our approach in building a community garden by reading the full case study here: plastic.org.au Case Study.