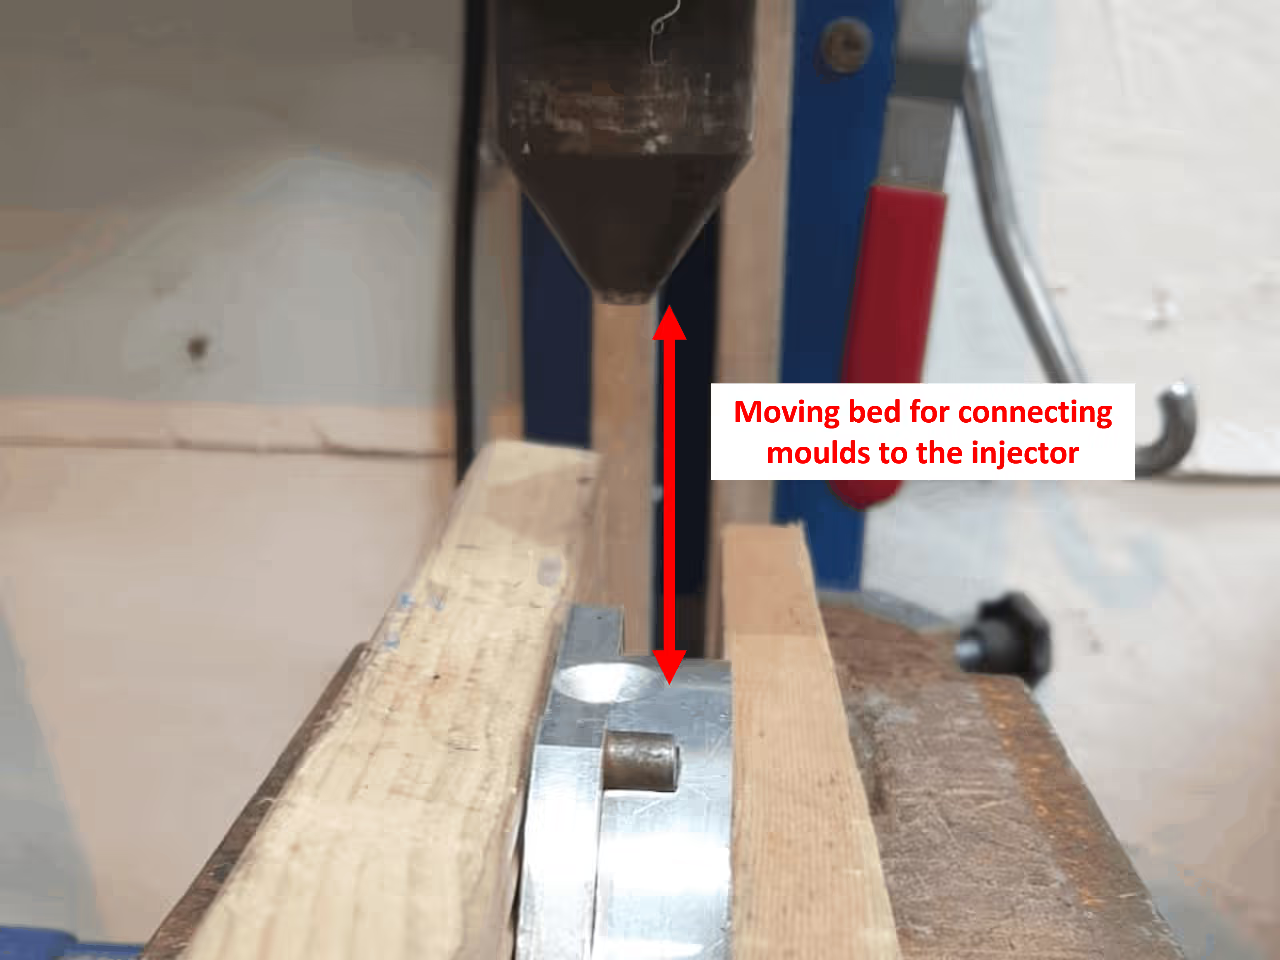
Easily (hands-free) connect moulds to the injector
HACK
PRODUCT
UNTAGGED
INJECTION
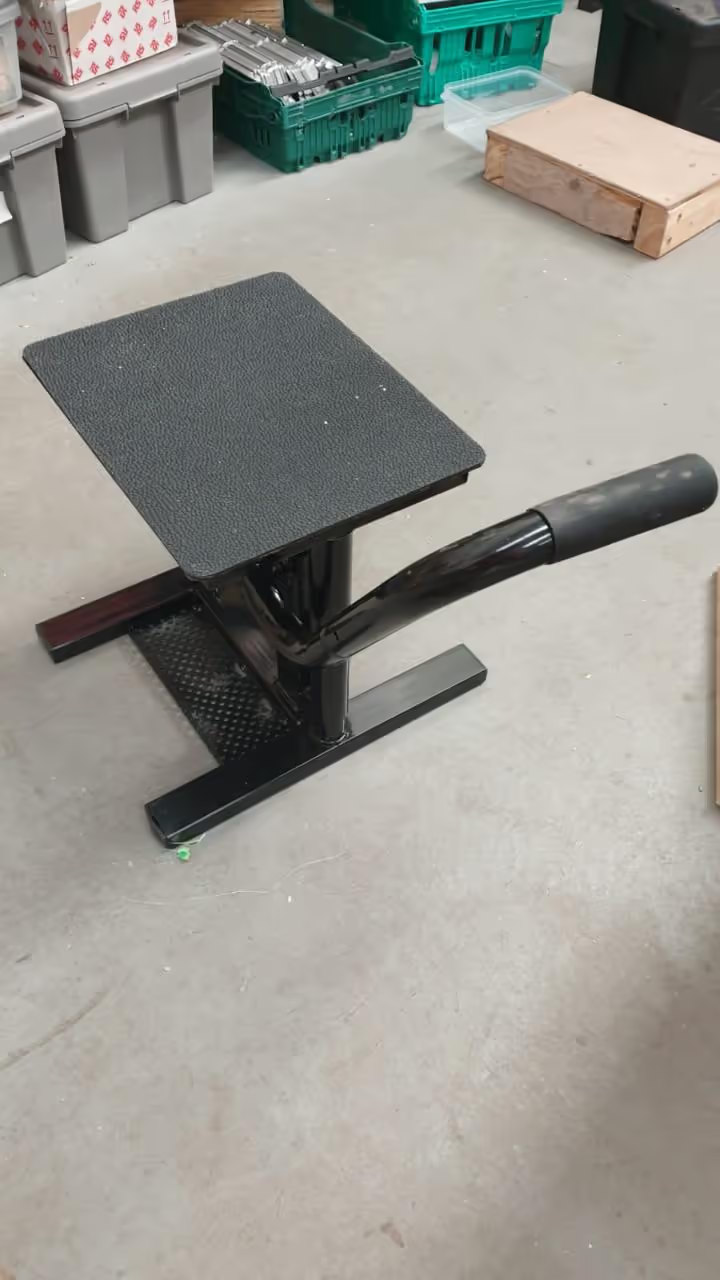
Traditional methods like screw-on molds, clamping beds, and car jacks often require significant manual effort and time to attach molds to injectors. A motorcycle stand offers a more efficient solution, providing sufficient range to clamp the mold against the injector while enabling the use of leg strength, thus keeping hands free. This method facilitates the easy lifting of heavier molds and accessories such as clamps, potentially minimizing the need for extensive bolting during clamping.
This approach is compatible with conical injection nozzles and chamfered molds. The equipment referenced in this guide is from PlasticPreneur.
Refer to the attached video for a detailed explanation of the process and required components.
We acquired our first stand from Facebook Marketplace. Consider checking bike workshops for old stands. Alternatively, search online for "motorcycle stand" or "dirtbike stand" to find one easily.
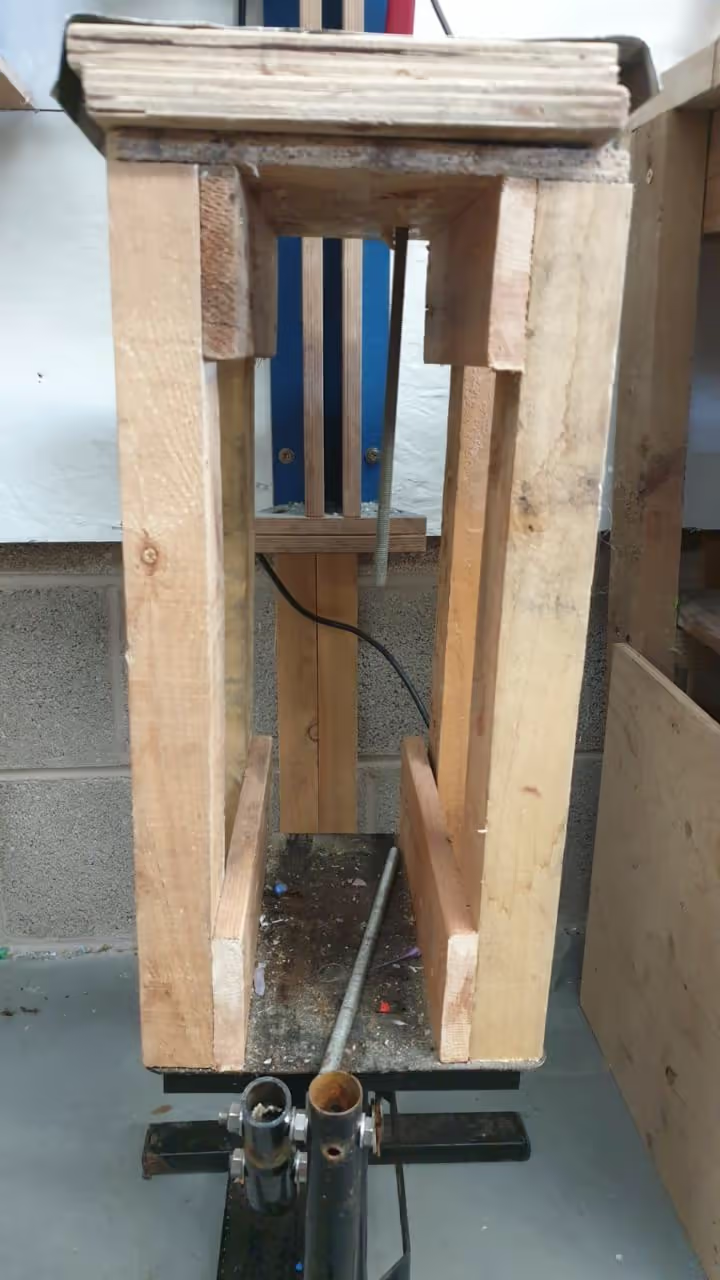
Four pieces of 3x2 wood (7.6 cm x 5.1 cm) are used at each corner of the stand's flat plate, topped with an additional flat wood piece to elevate the mould bed. Metal or alternative shapes can be considered if preferred. The gap between the pillars serves as storage for height-raising blocks.
If sufficient height is not present, wooden blocks can be added for elevation when using a floor-based injection moulder.
Alternatively, shorten the pillars and add a tufftuff jack on top, eliminating the need for variable thickness wooden blocks. The tufftuff jack, with a plate, adjusts the general working height, while a bike stand provides additional travel to align with the nozzle.
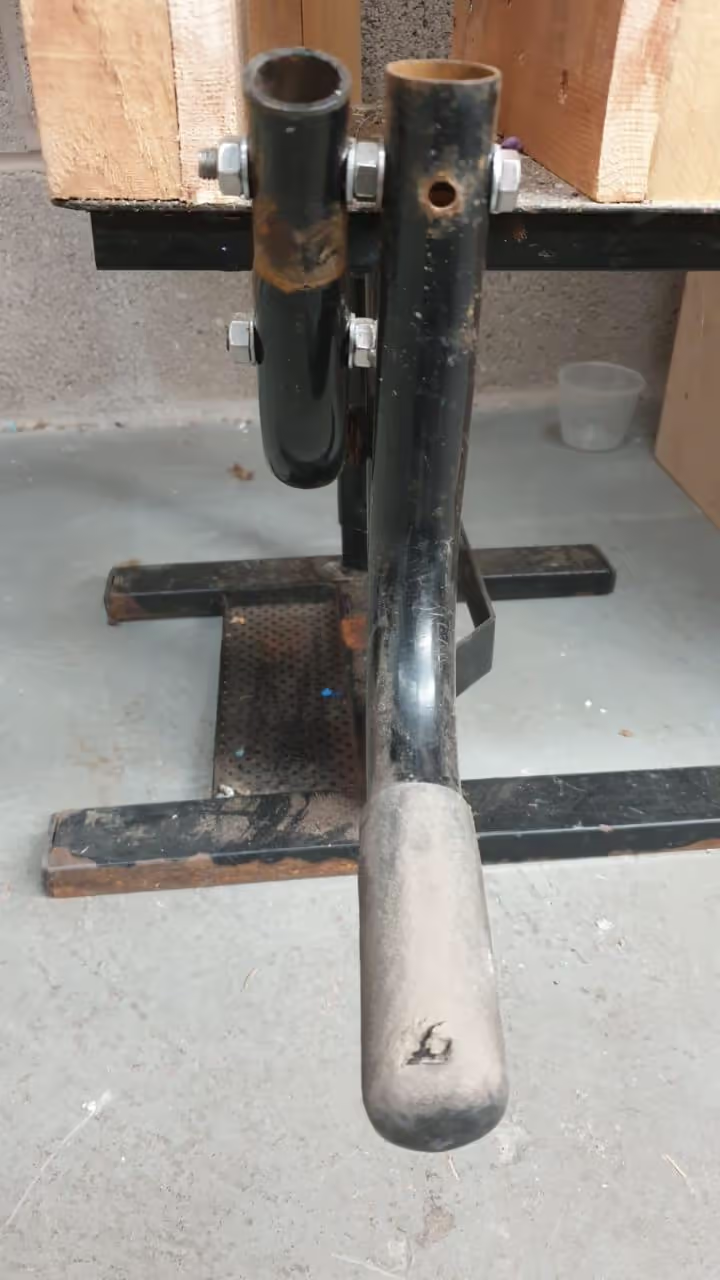
Initially, the lever is set at a height that may be challenging for frequent use. While this position offers a good workout, we opted for an easier adjustment. By reversing the arm that attaches to the lever, we achieved better functionality.
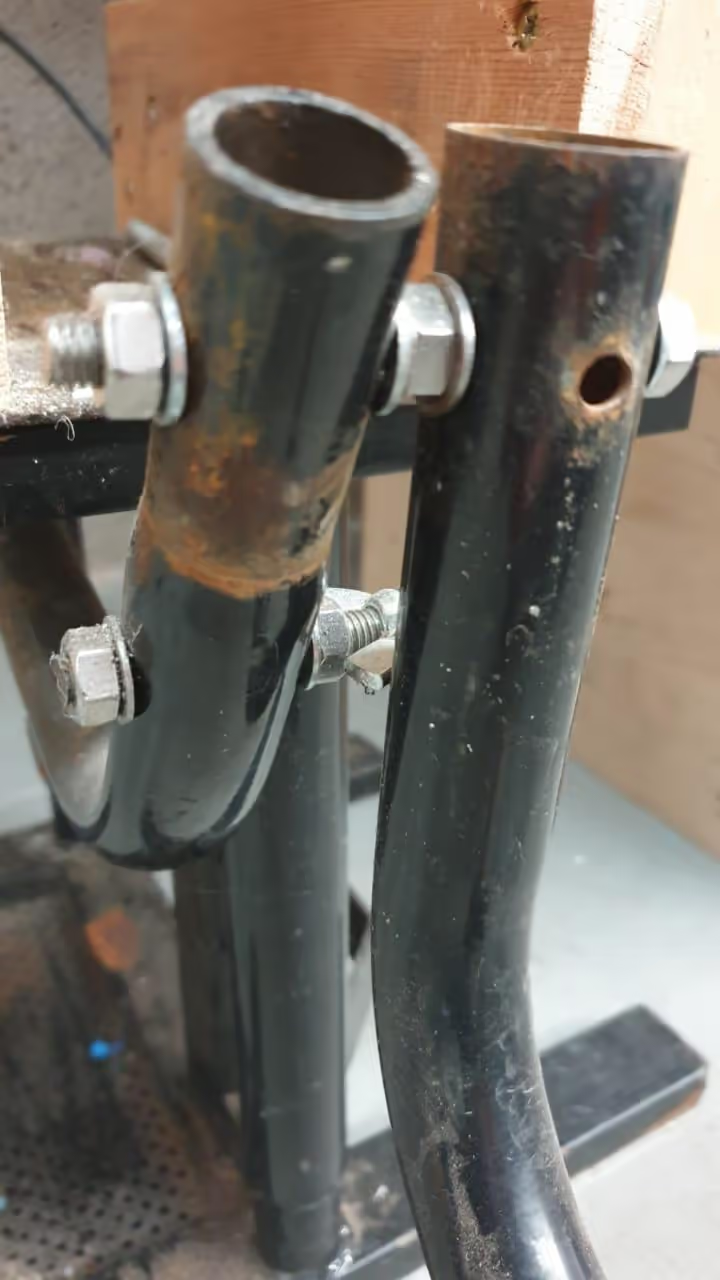
We added a new hole in the rod emerging from the base and corresponding holes in the arm. This allowed us to secure the arm with an M8 bolt, ensuring stability. An additional bolt was placed behind the arm to prevent excessive backward pivot, ensuring secure use.
Feel free to design an alternative system that might offer improved ergonomics or aesthetics. Be inventive!
For a comprehensive explanation, please watch the video.