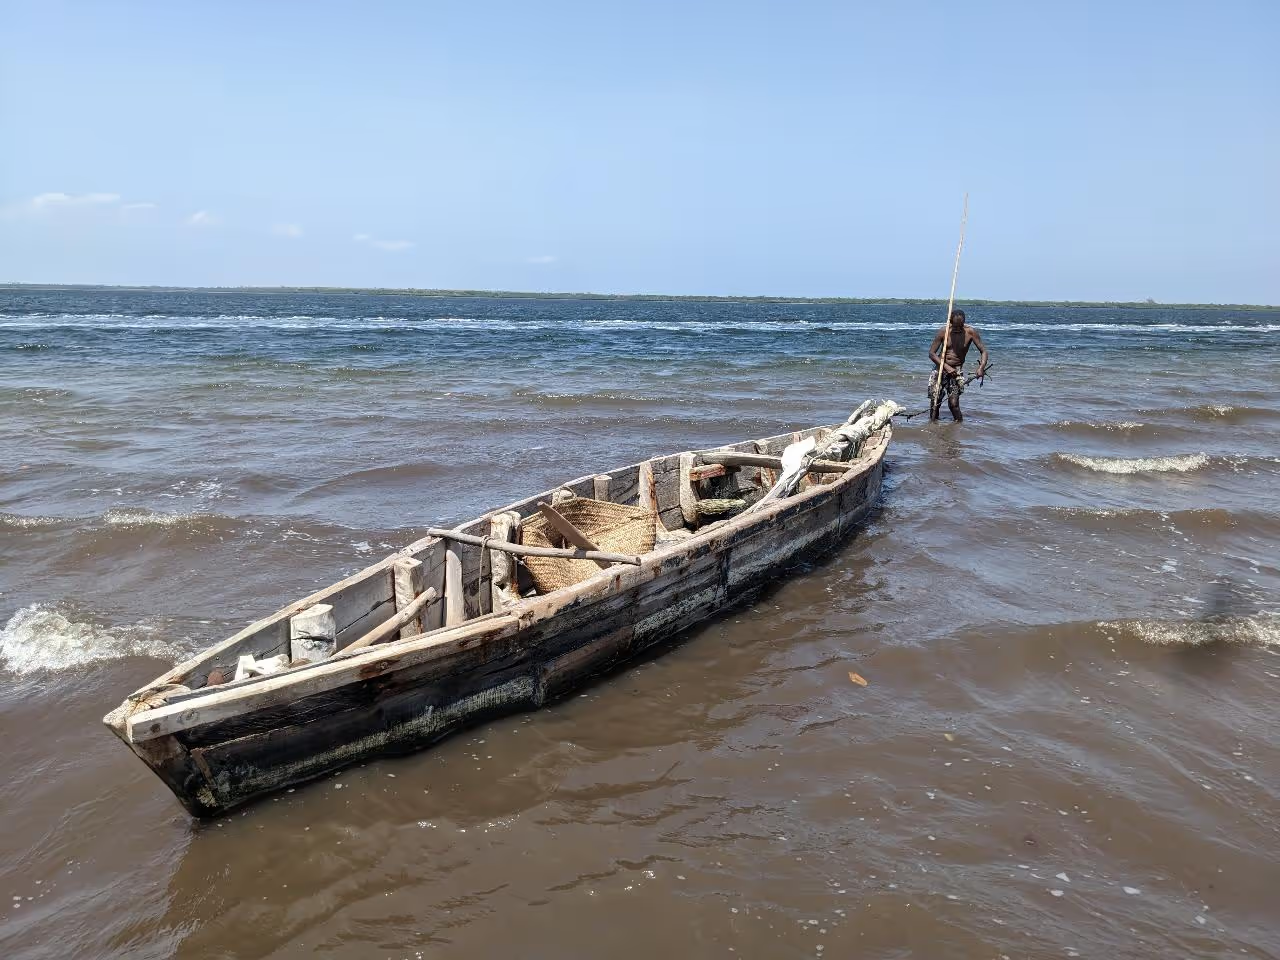
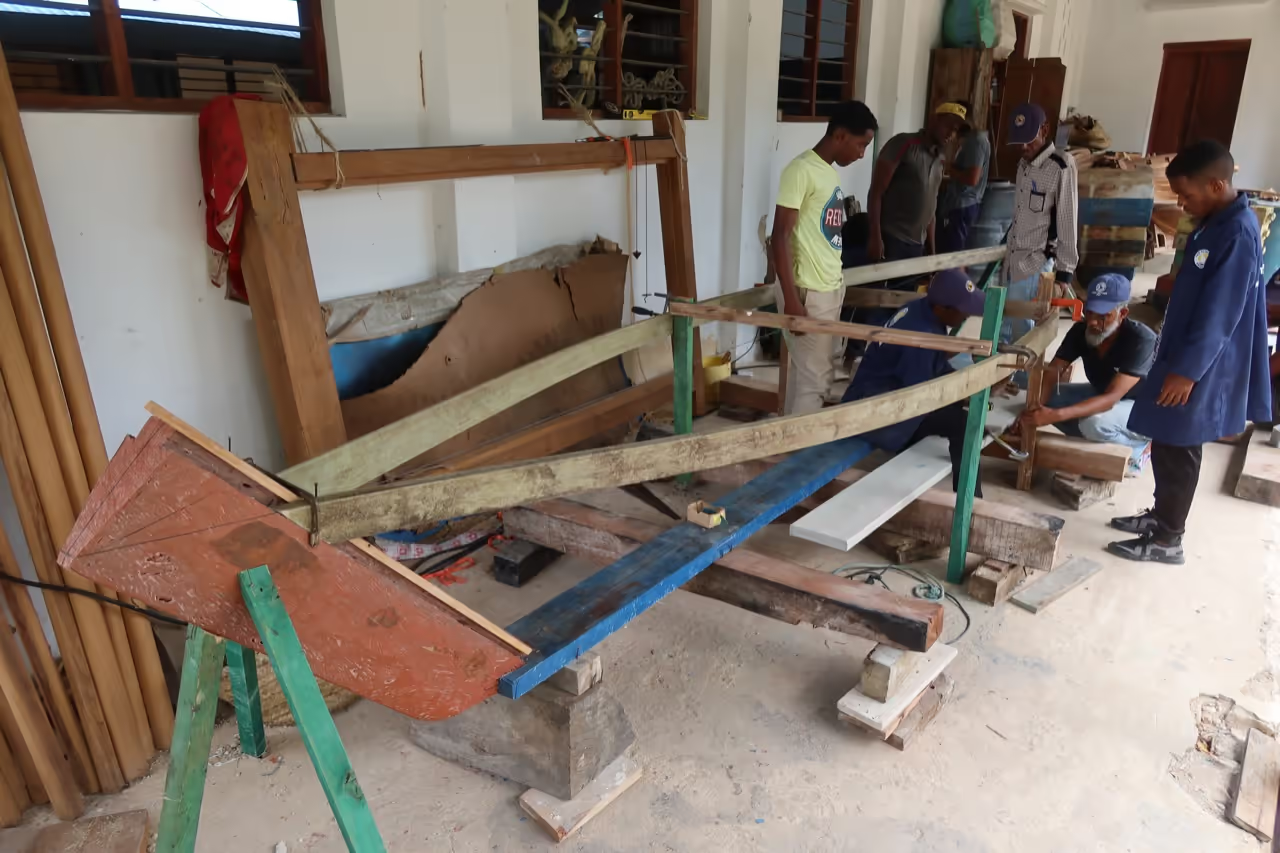
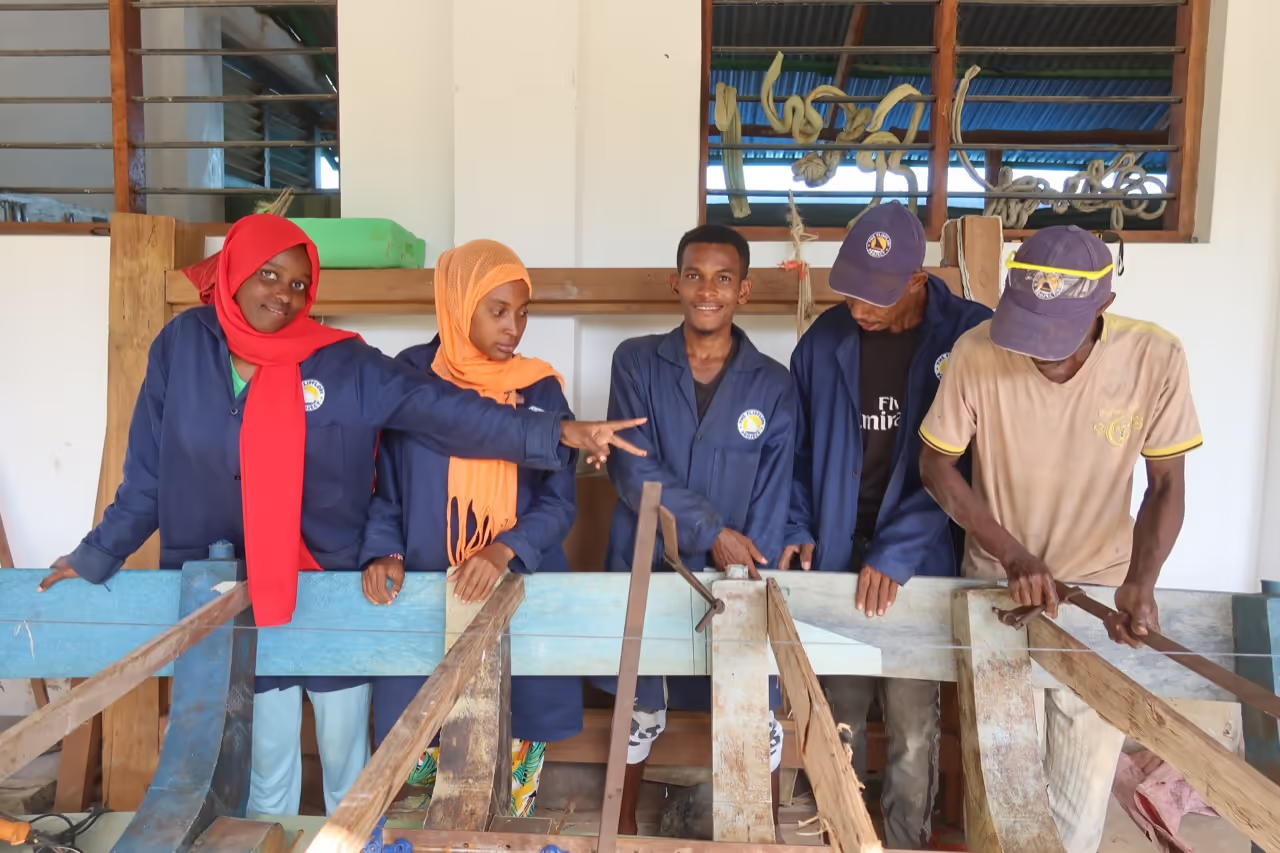
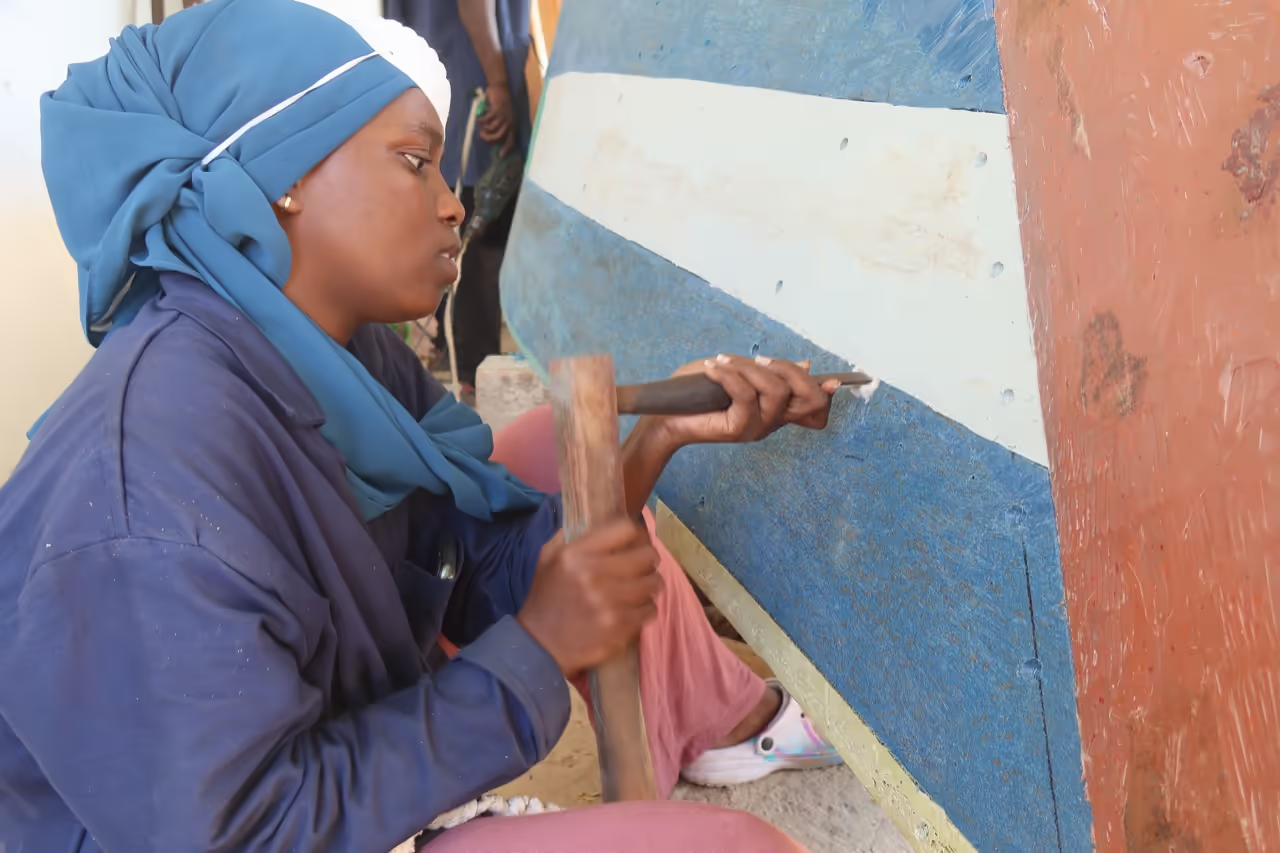
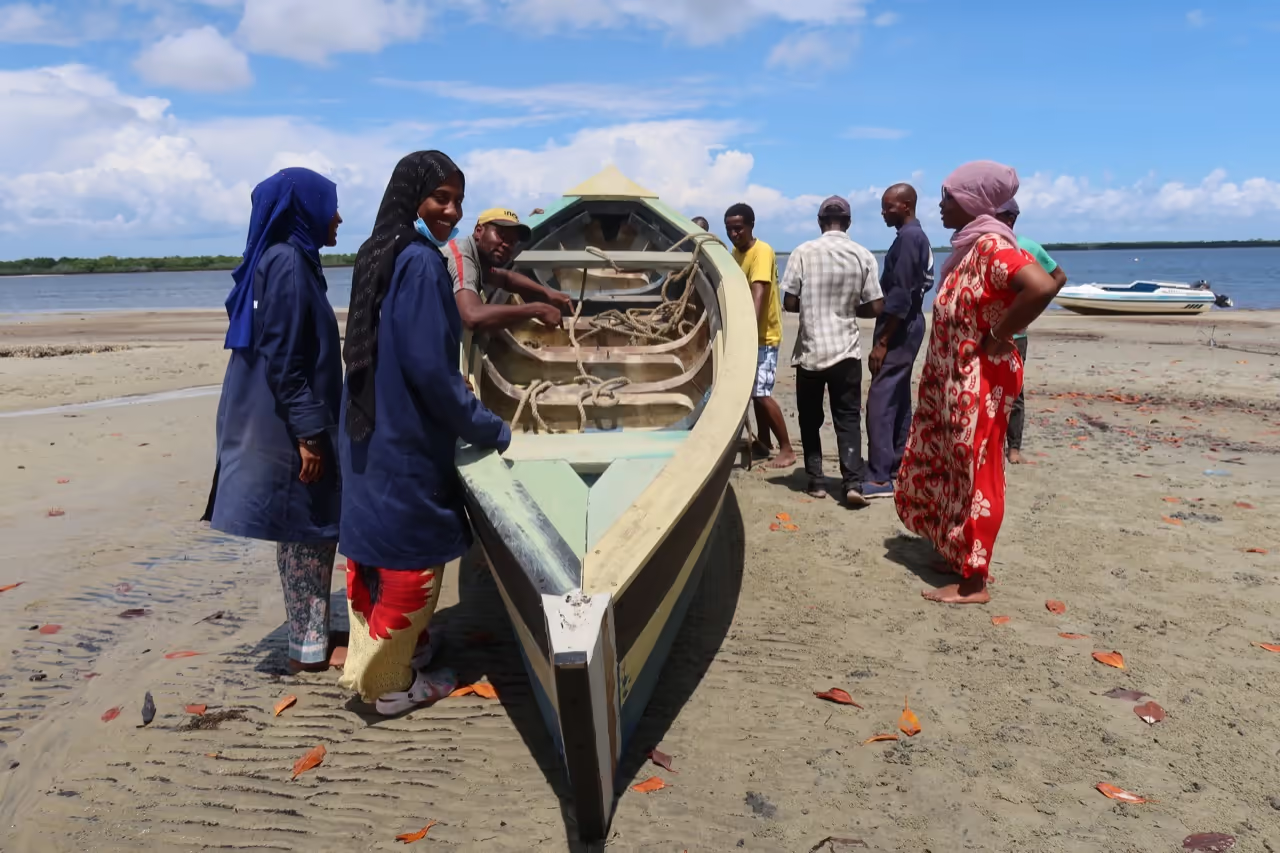
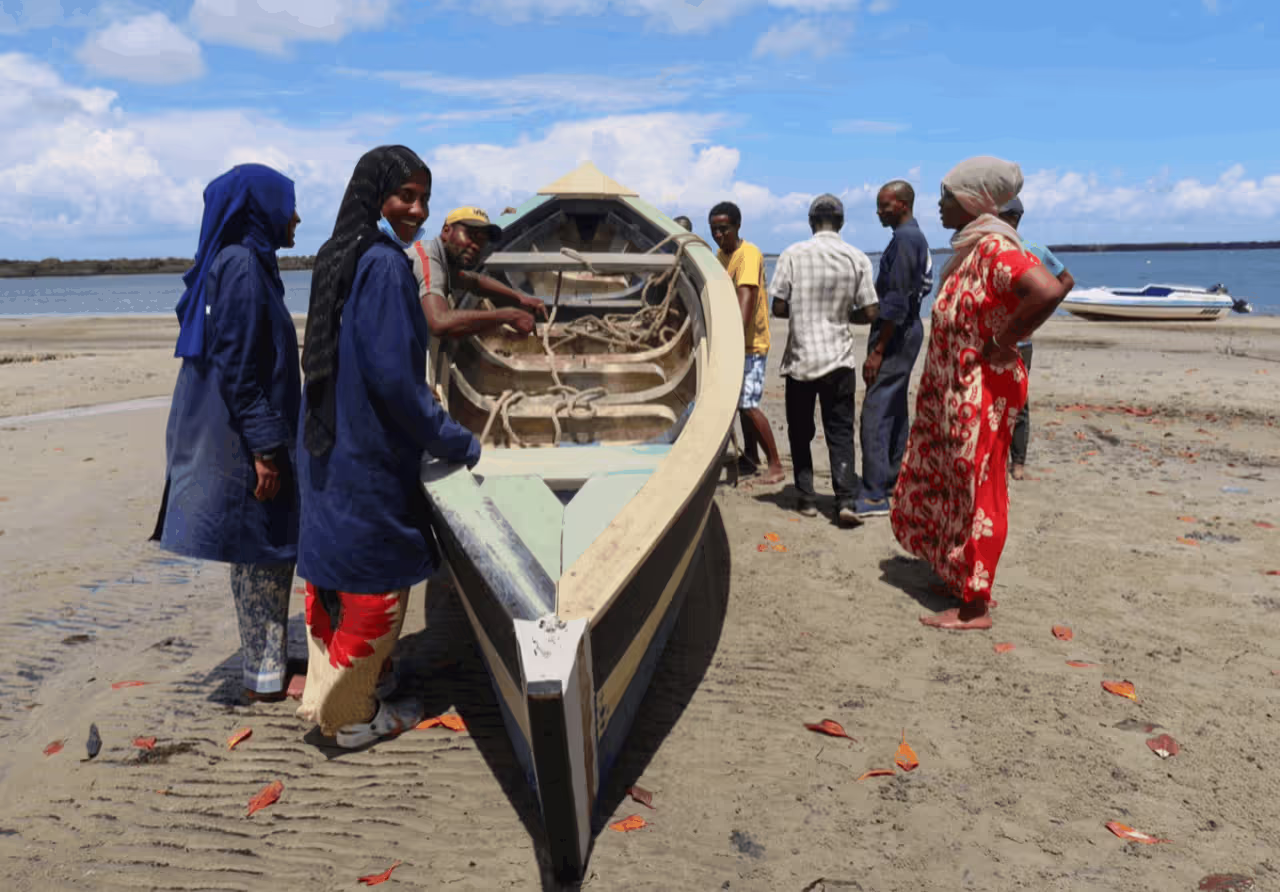
At the Flipflopi Project, we initiated a unique boat-building course, utilizing waste plastic as the primary construction material. As a practical project, students constructed a local fishing dhow, "Dau la Mwao," a common vessel suitable for a short course.
This tutorial outlines the process and insights gained.
Table of Contents
- First things first
- Design Considerations
- Mould making
- Extruding
- Get ready for boat building!
- Utako and Levelling
- Front and back Mulis
- Front and back Bitana
- Define the boat shape
- Mataruma (Ribs)
- Farkumu
- Kinara (top hull)
- Wajihi (rest of hull)
- Top locking
- Staha
- Firari + Dufani
- Finish the base
- Finishing & Sealing
- Testing & finalising hull
- Rigging / Powering
- SAIL AND INSPIRE
-
First, observe the entire process to gain an understanding.
Boatbuilding requires practice and experience, but with this video and the accompanying steps, you can potentially build your own.
-
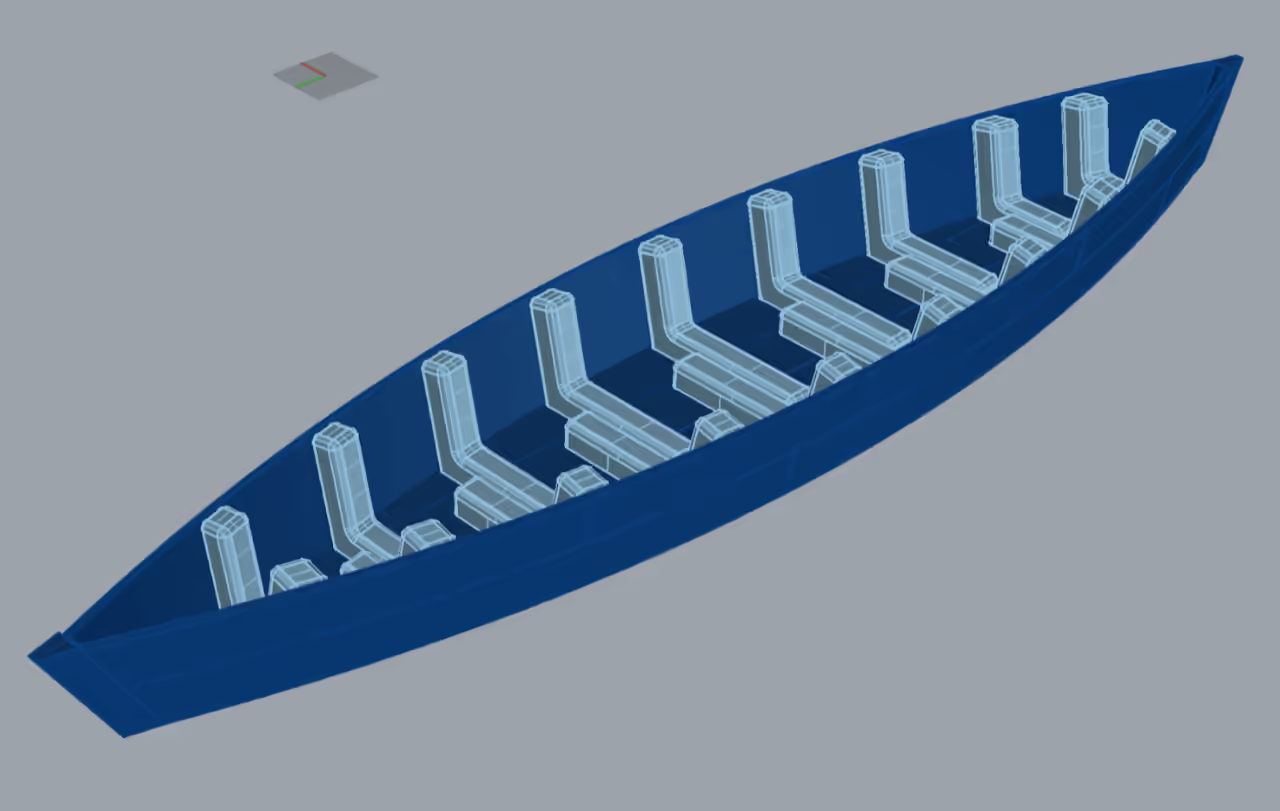
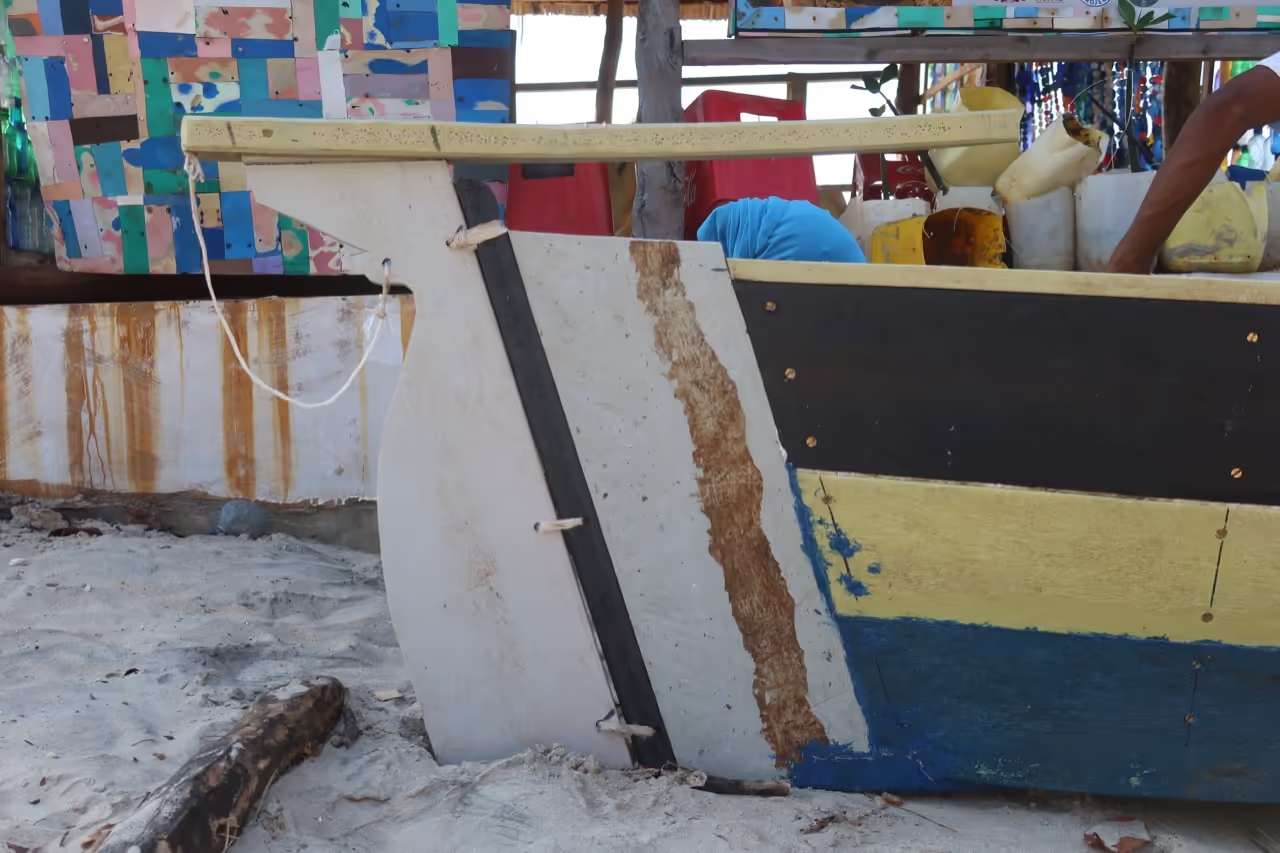
For this boat, we based our measurements on a traditional fishing canoe to create mould designs for fabrication. While alternative designs could be more efficient, we retained the traditional structure to align with existing boatbuilding methods and preserve heritage skills.
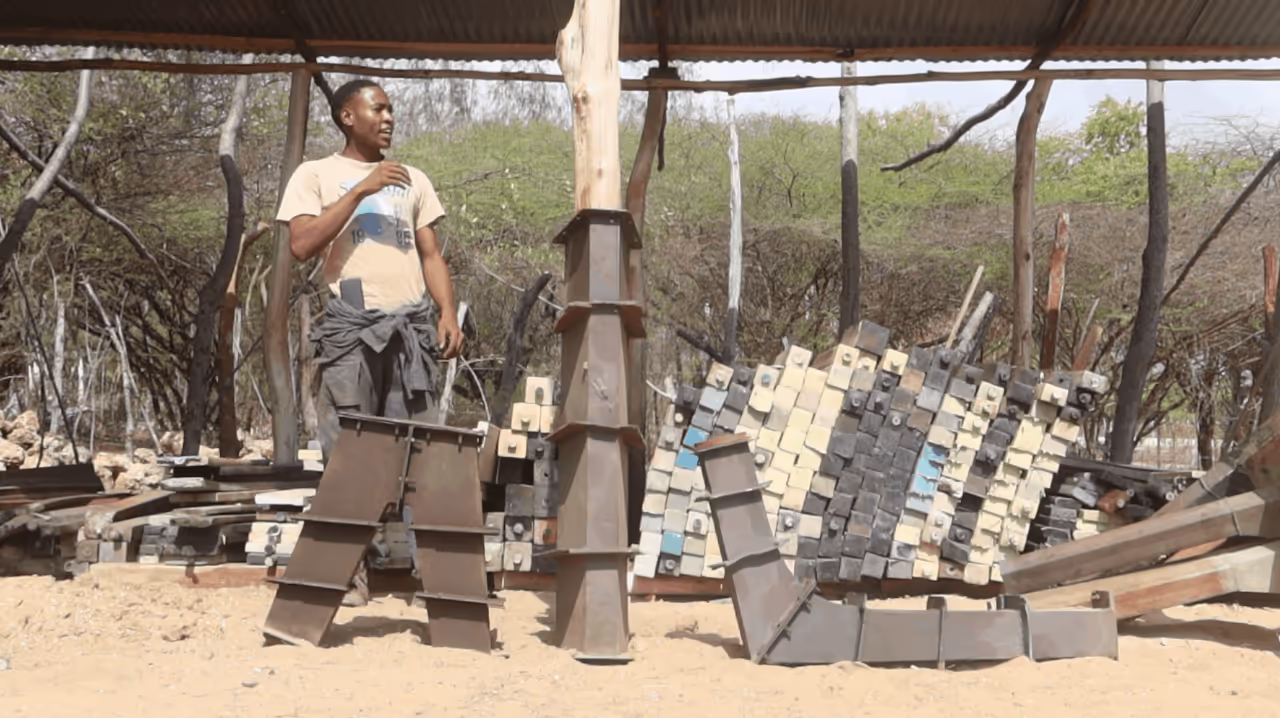
Our moulds are designed for multiple uses. For example, the L-shaped rib can double as a bracket for larger vessels, and the "Muli" mould is suitable for both the canoe and a larger Taxi dhow. This approach, however, results in heavier components.
0){ currentIndex--; lightboxLoaded = false; preloadAndOpen(); } }" class="product-gallery"> -
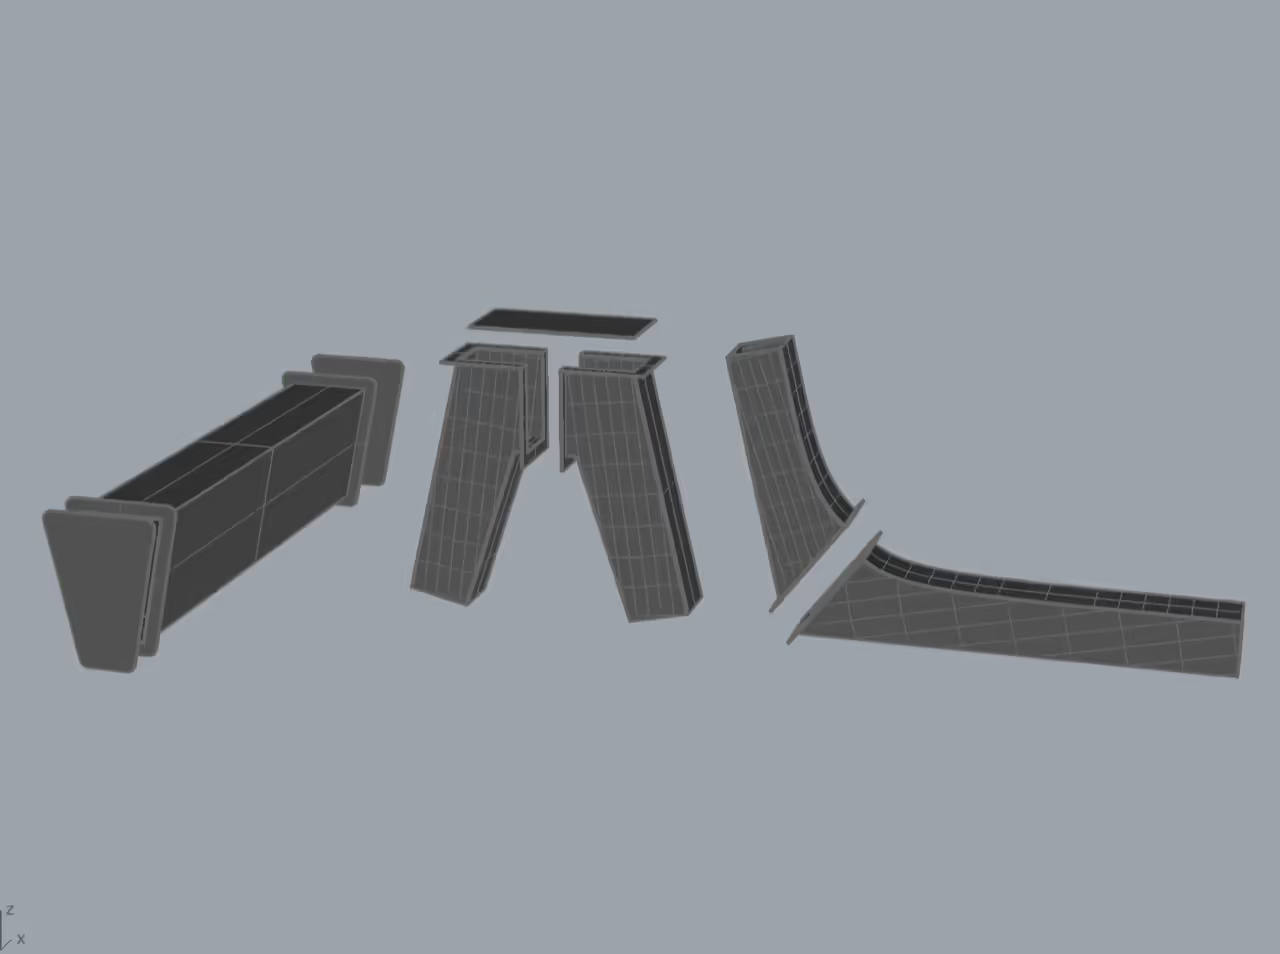
The custom molds were designed using CAD, and the accompanying drawings are available in the download files. These molds were plasma cut from 4 mm (0.16 inches) steel sheets. The mold sides featured alignment steps to ease assembly; however, due to the imprecision of the plasma cutter, significant manual finishing was required.
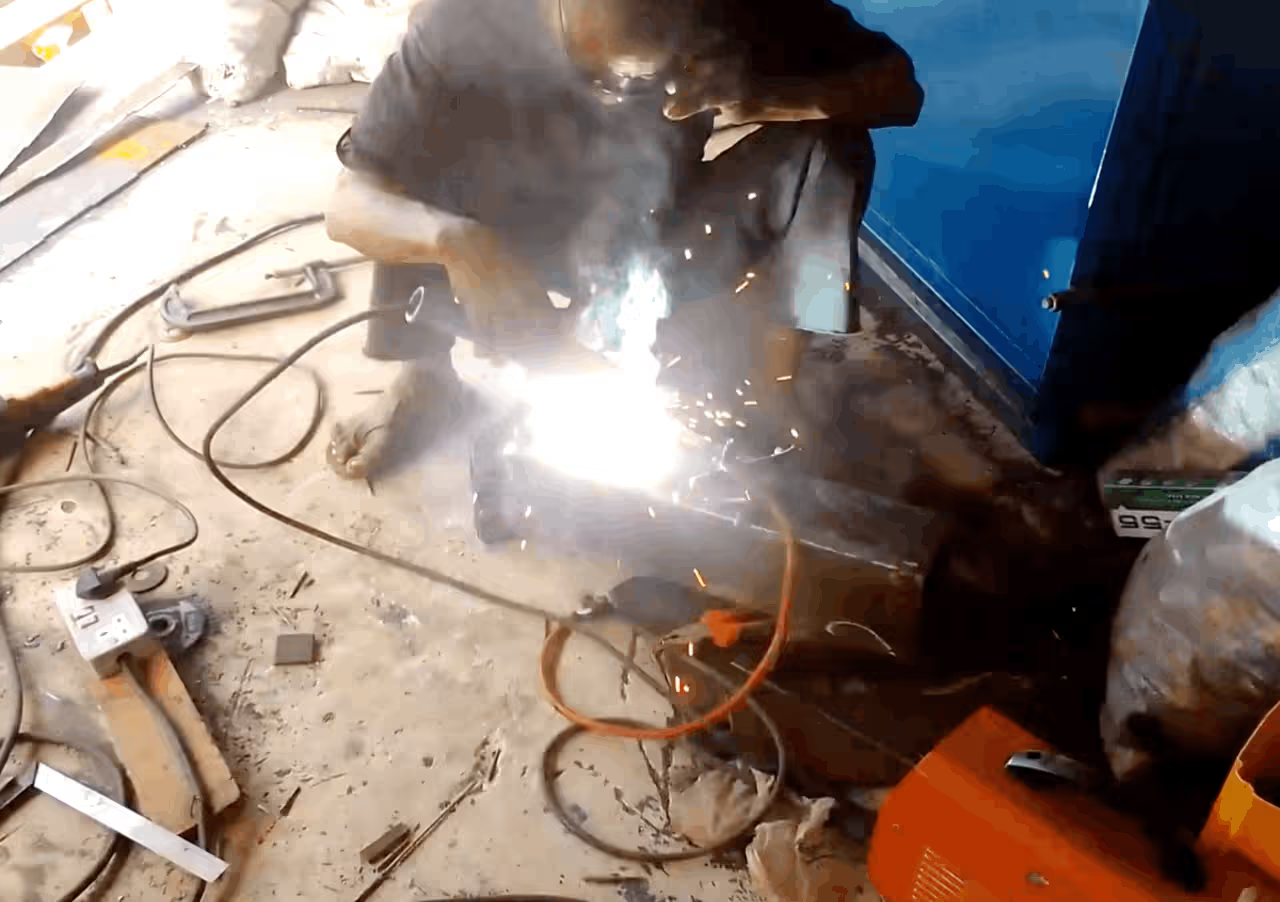
The remaining fabrication—assembling, bending, welding, drilling, and bolting—was completed internally. To prevent deformation under pressure, reinforcement brackets were installed on the sides.
Note: For future welding, we recommend cutting the metal parts with straight edges, omitting alignment steps, unless the cut quality is guaranteed. This approach simplifies the process and supports complete in-house fabrication, potentially reducing costs.
0){ currentIndex--; lightboxLoaded = false; preloadAndOpen(); } }" class="product-gallery"> -
To extrude or inject into these parts, a fast, powerful extruder is necessary due to their large volume. Although we utilized an industrial extruder, an Extruder Pro (Design) may also be suitable, pending further testing.
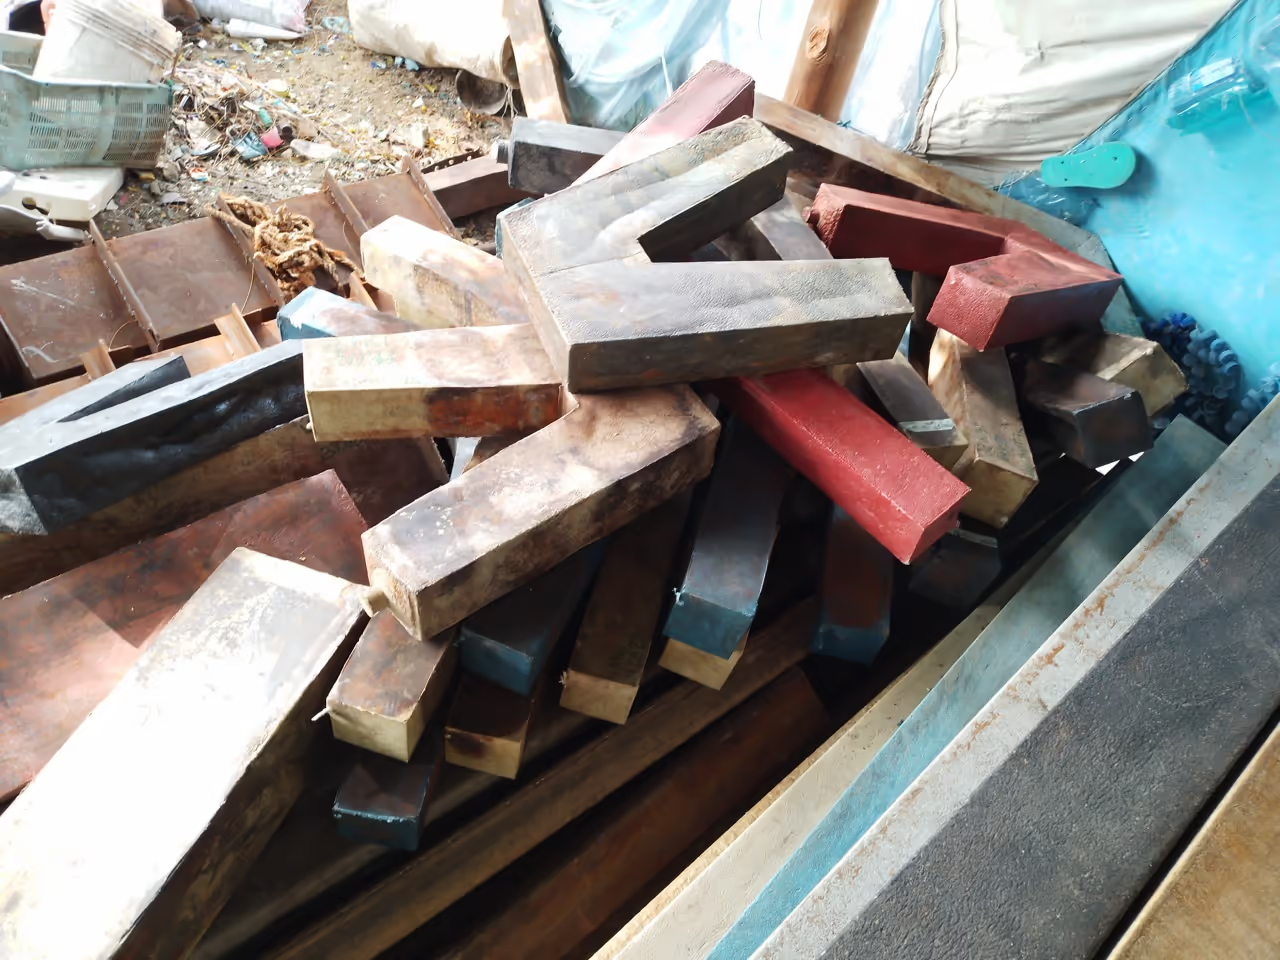
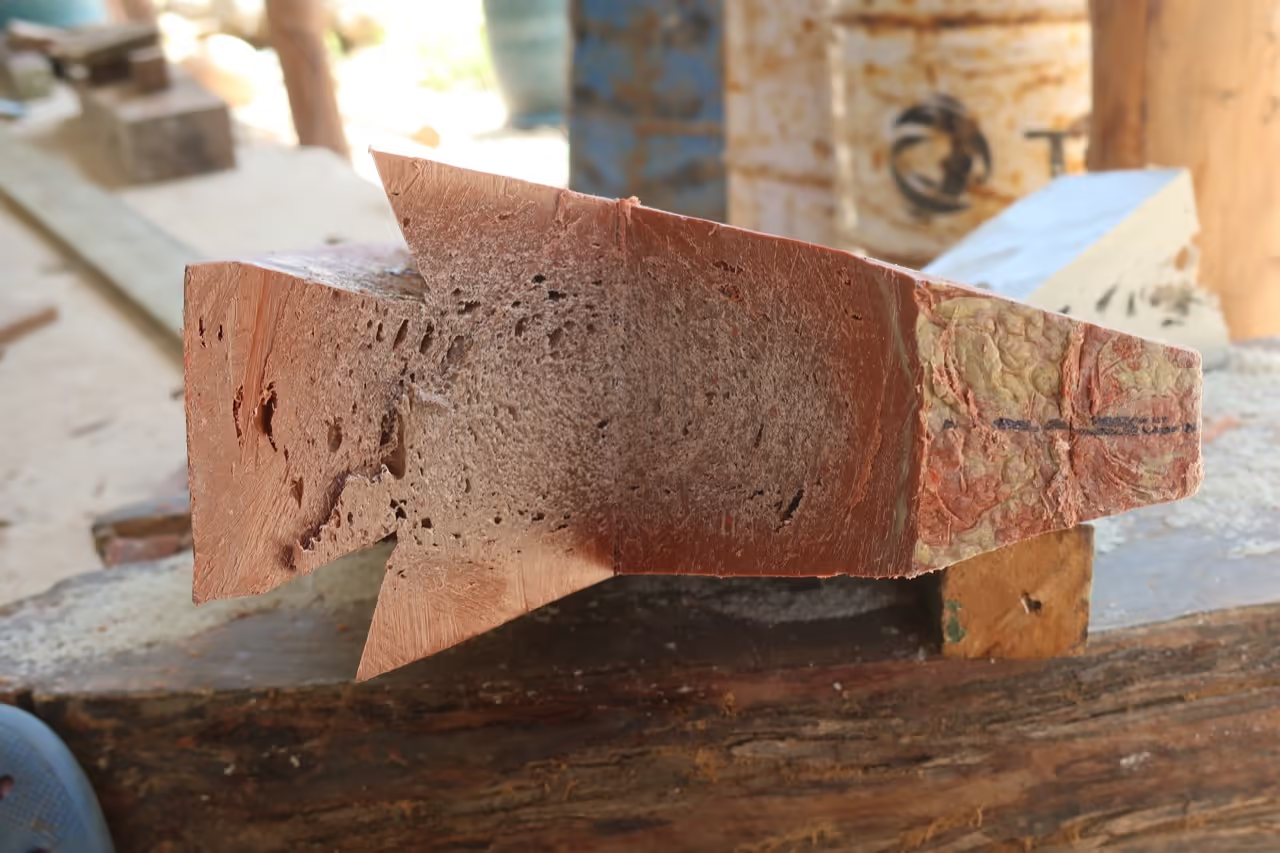
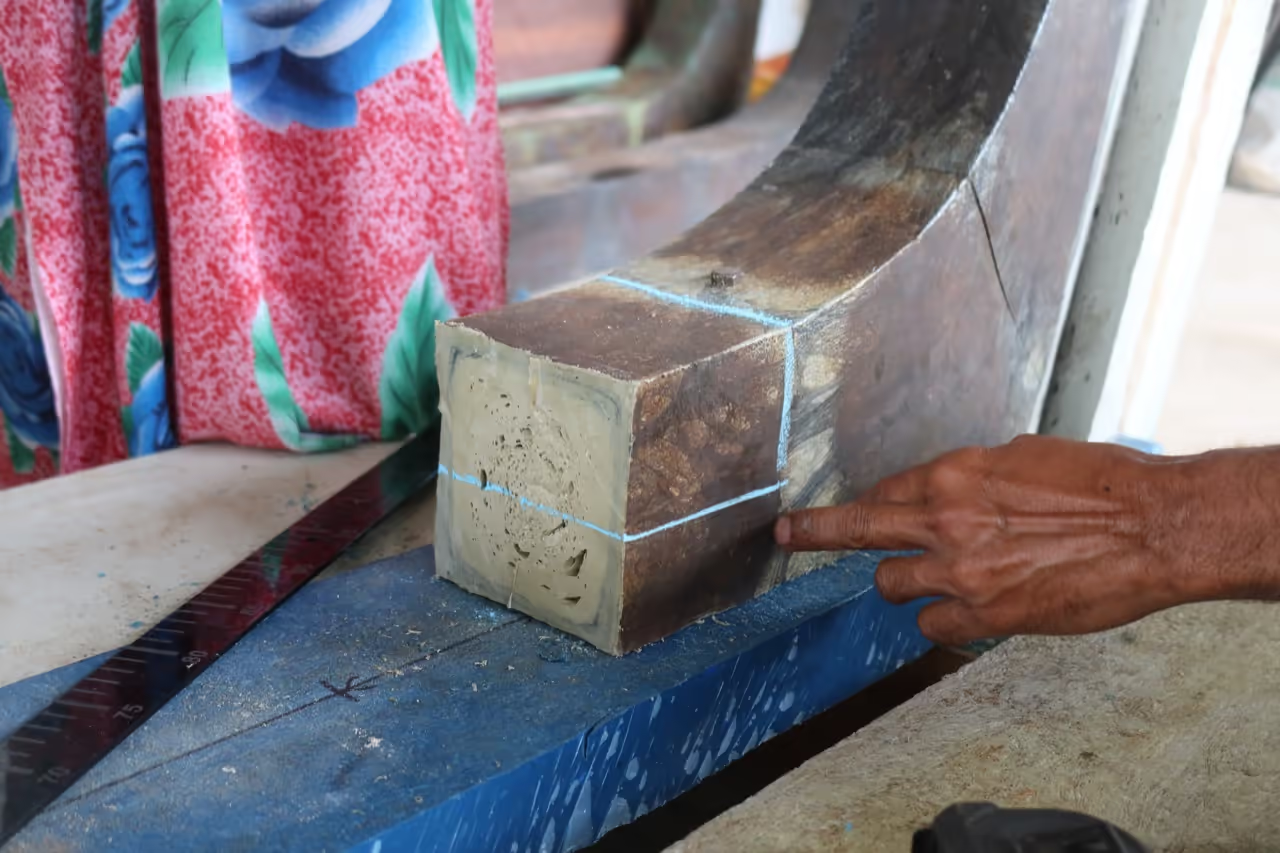
Our extruder filled the parts with approximately 33-44 pounds (15-20 kg) of plastic in 10-15 minutes. Due to noticeable shrinkage and air pockets, we modified the process and continued injecting plastic for an additional 1-2 minutes after it emerged from the relief holes, ensuring complete mold filling and achieving better compression.
We used 100% HDPE for our parts.
Note: Assess the quality of your parts to determine if process adjustments are necessary. Weight can indicate the presence of air pockets.
0){ currentIndex--; lightboxLoaded = false; preloadAndOpen(); } }" class="product-gallery"> -
Materials and Tools for Boat Building
Materials:
- Plastic Parts: Custom components for L-ribs, V-rib, and front/back sections.
- Lumber: For base, hull, and interior, ideally at least 3 meters (9.8 feet) in length. Choose available strong materials.
Fixings: Screws, bolts, and corking cotton.
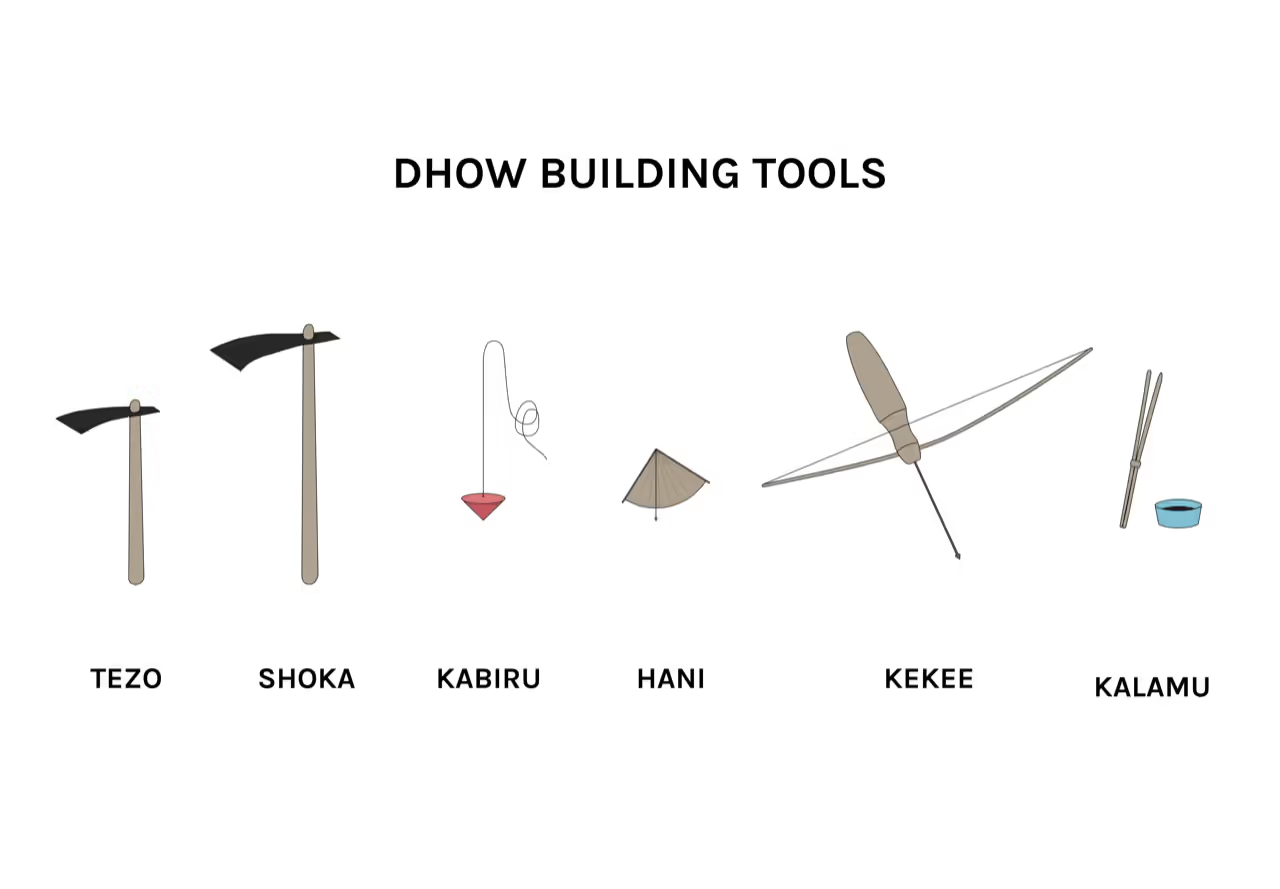
Tools:
- Standard Tools: Saws, chisels, drill, screwdrivers, ruler, square.
- Specialty Tools: Traditional dhow or boat-making tools.
- Heat Equipment: Heat gun or welding tool, melting machine.
Space Requirements: A flat area with a smooth floor facilitates easy collection of dust and particles.
0){ currentIndex--; lightboxLoaded = false; preloadAndOpen(); } }" class="product-gallery"> -
Keel Leveling Instructions
Materials Required:
- Keel Plank: 9x2 inches (22.86x5.08 cm), 16 feet (4.88 meters) long
- Base Logs: 5x5 inches (12.7x12.7 cm)
Tools Needed:
- Spirit Level
- Hose Pipe
Procedure:
- Divide the keel into five equal segments and position a log at each division.
- Position the keel plank, ensuring it is perfectly level.
- Secure the keel to the base using nails or pegs on both sides.
- Mark a center line on the keel to ensure proper alignment of subsequent components.
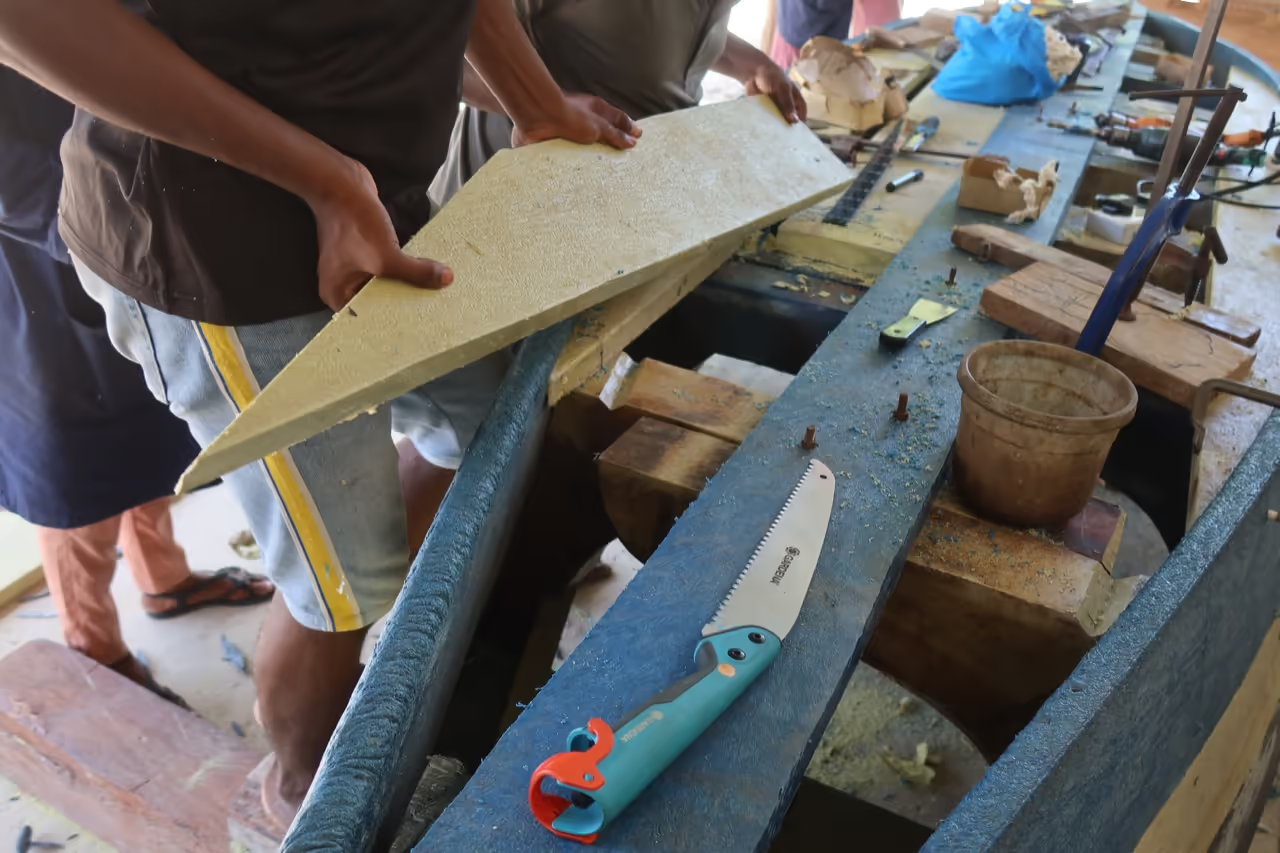
Note: Plastic planks may exhibit bending or twisting. Apply weight to correct and level them.
0){ currentIndex--; lightboxLoaded = false; preloadAndOpen(); } }" class="product-gallery"> -
Materials Needed
- Mulis (2 units)
- Temporary supporting poles (Mabunda)
Process
-
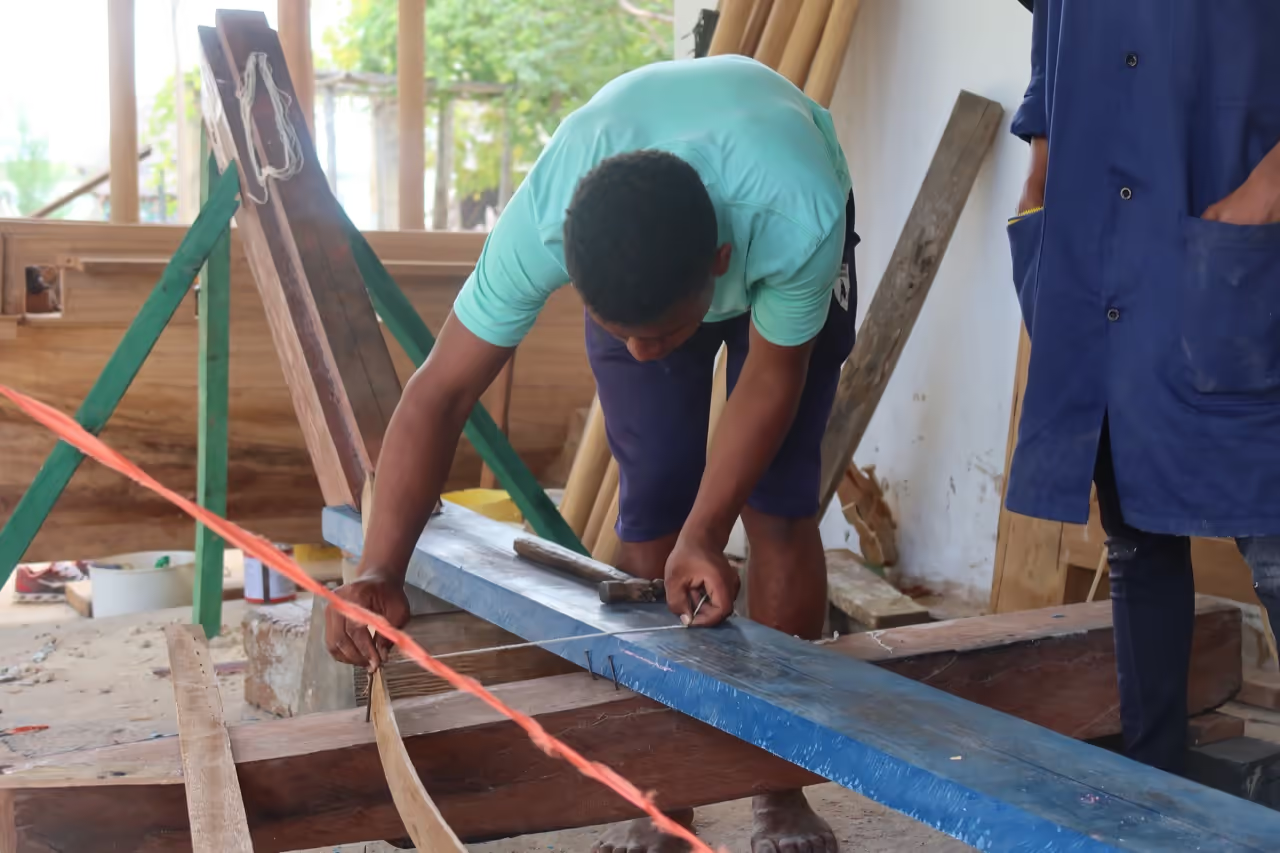
Mark Center Line: Identify the front and back center lines on each Muli.
-
Shape Muli: If warped, trim the long sides of the Muli to straighten and balance.
-
Cut Ribbet: Tailor the ribbet according to the plank dimensions.
-
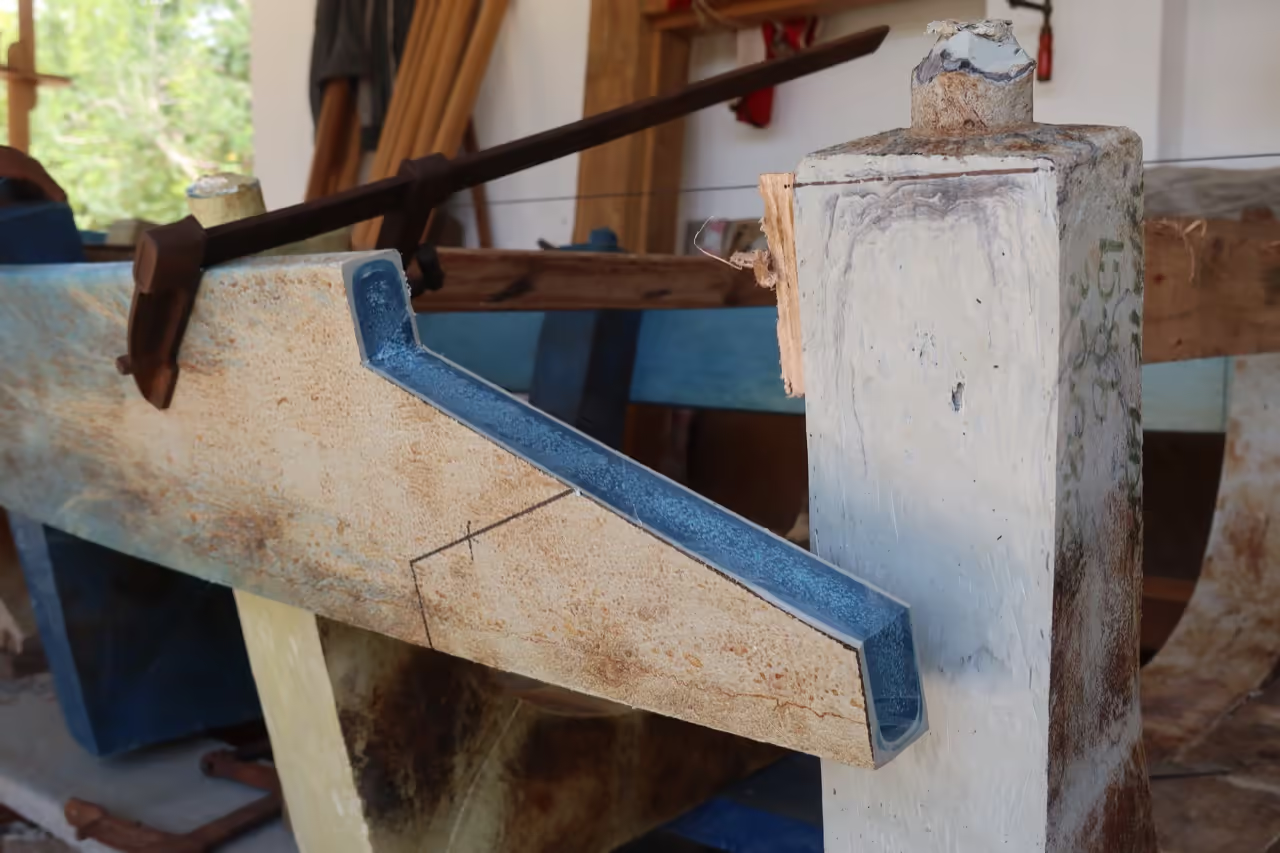
Determine Angles: Select angles for positioning Mulis on the keel (45° front, 70° back).
-
Base Cutting: Trim the Muli base to fit the selected angles.
-
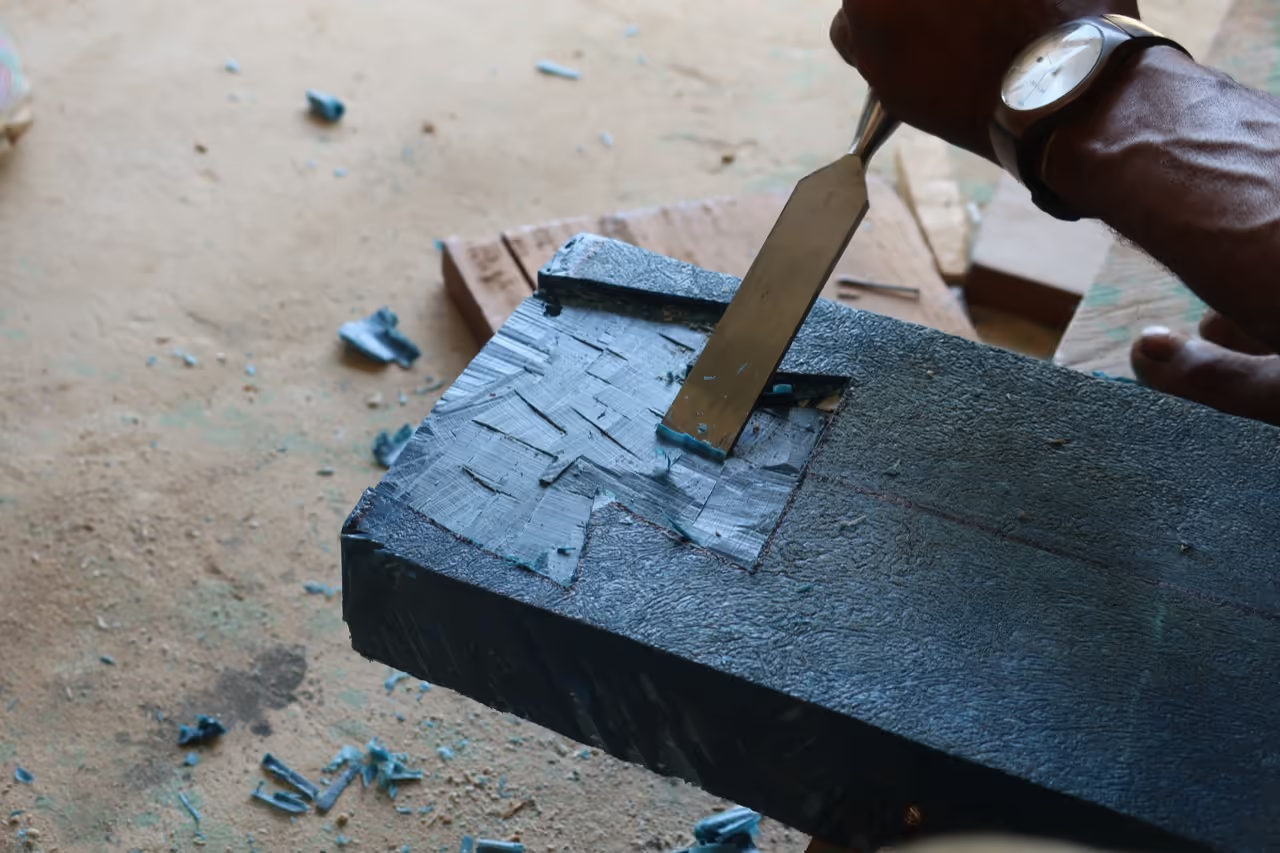
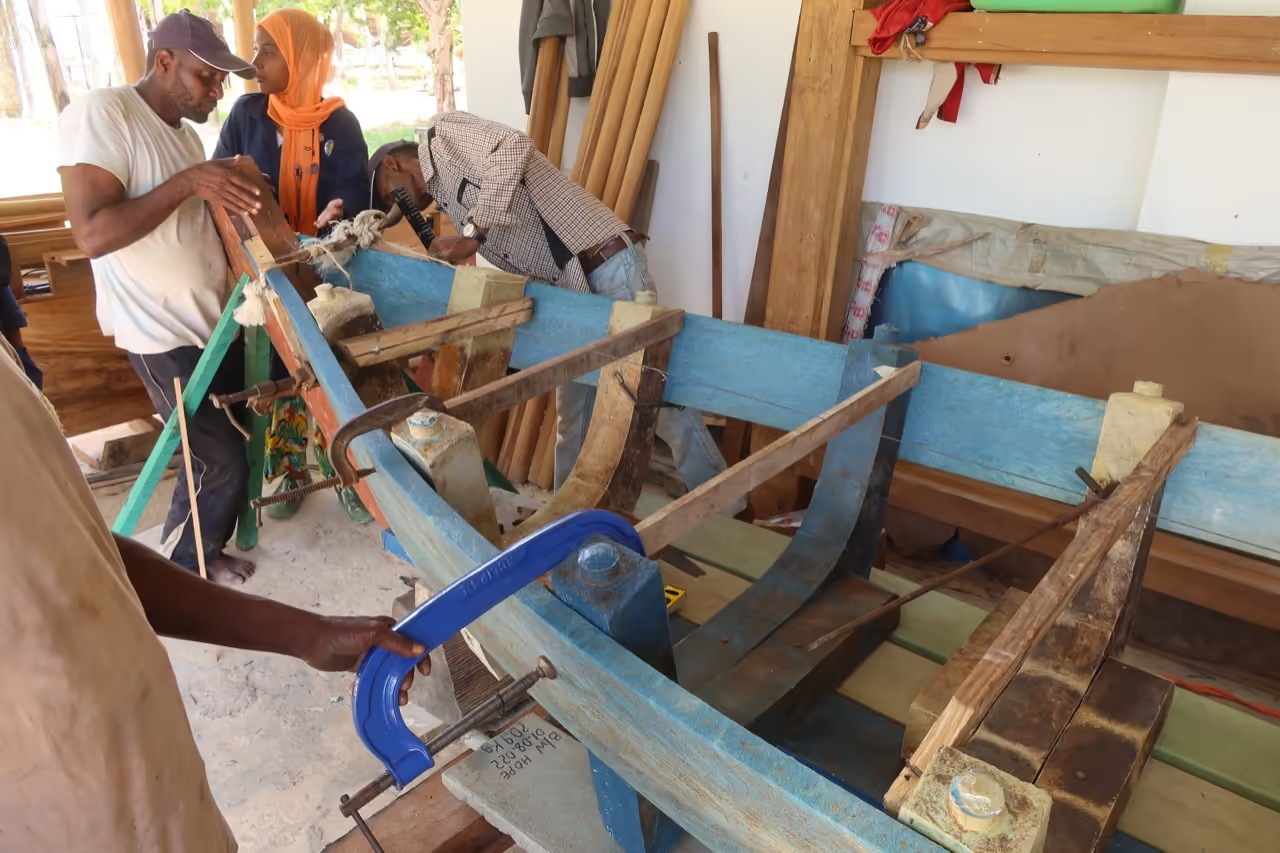
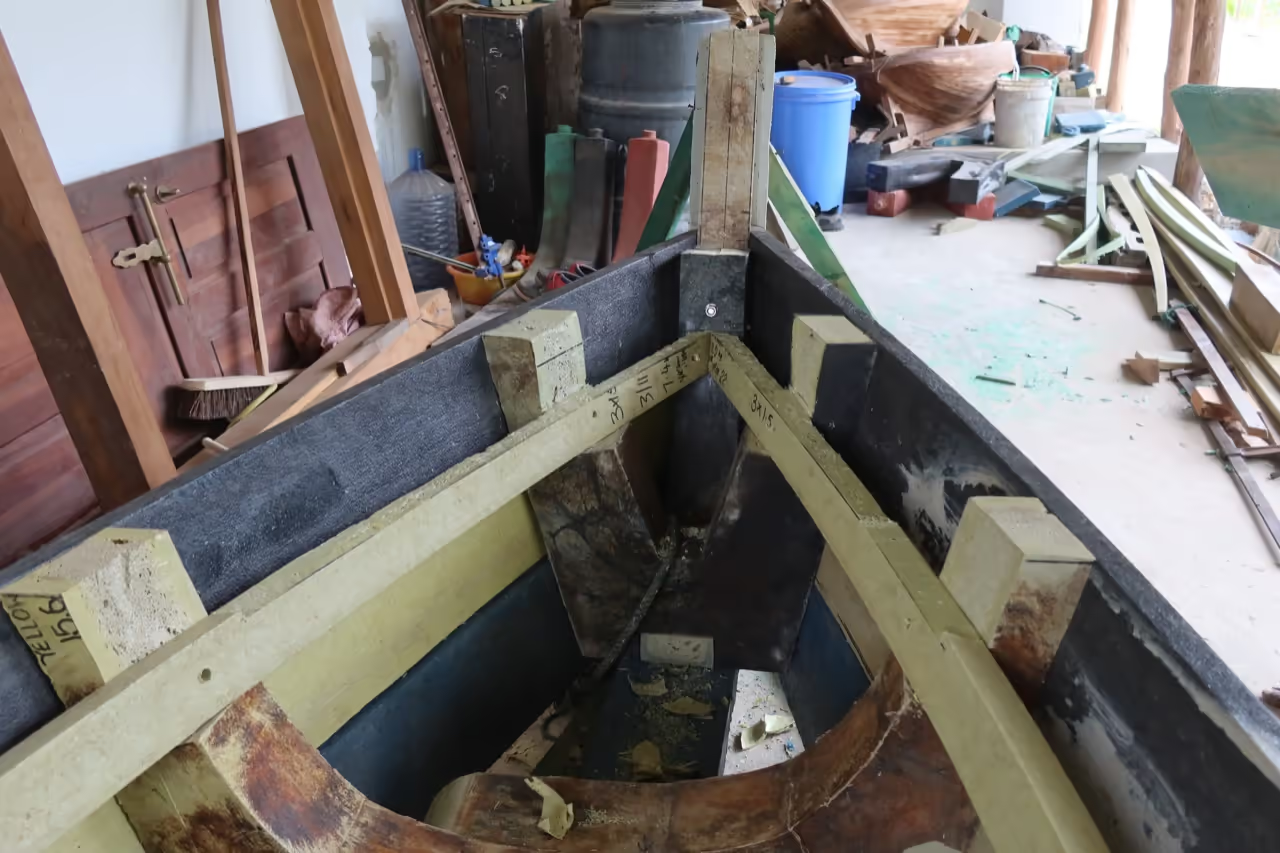
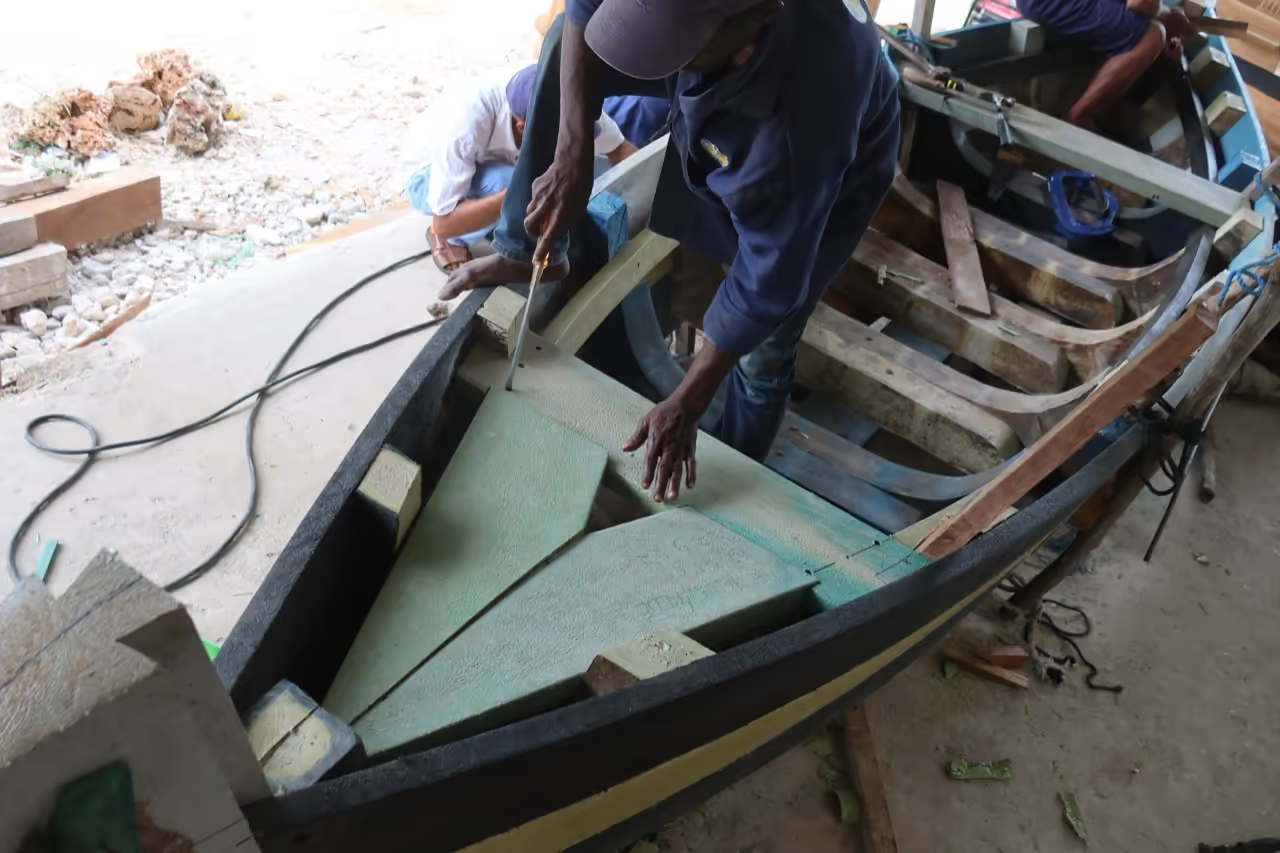
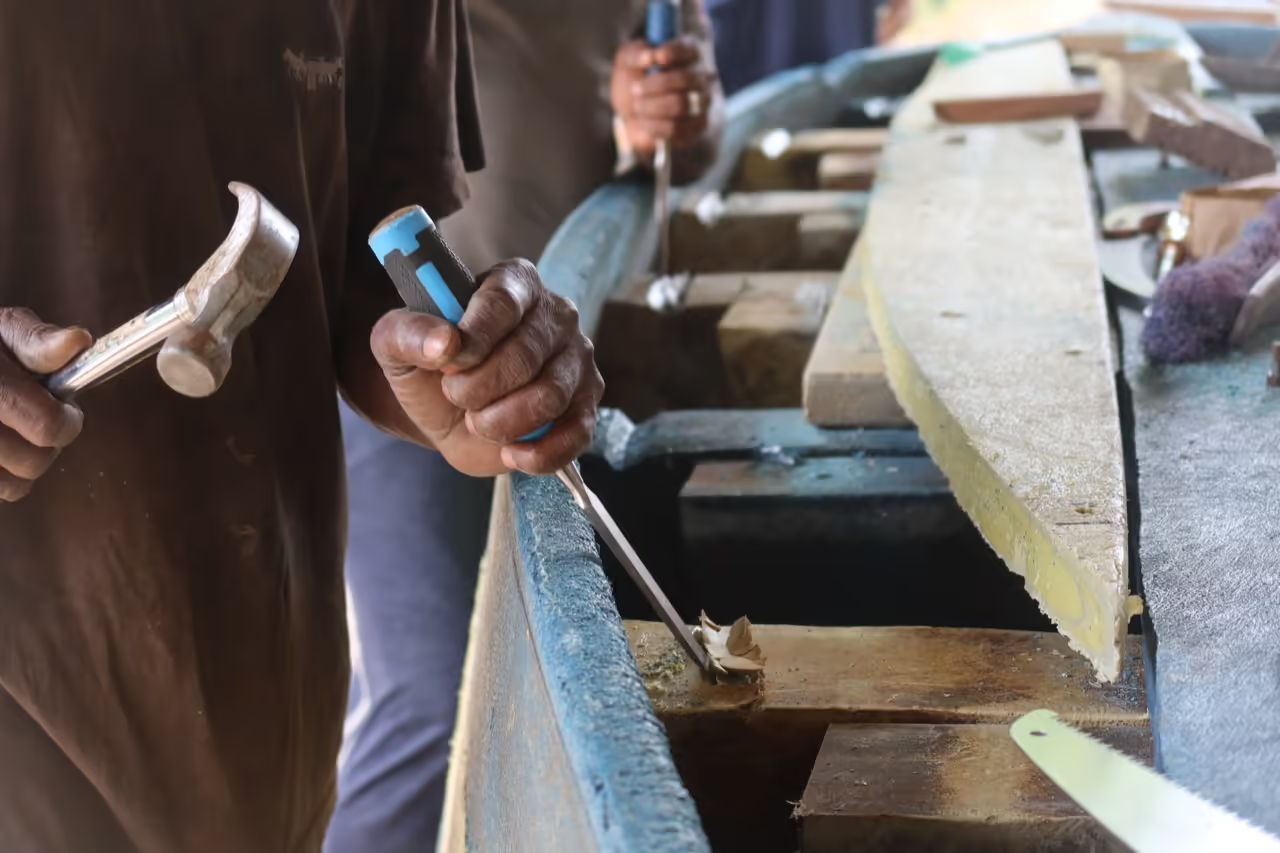
Mark and Chisel: Outline the Mulis on the keel, then chisel to a depth of 1/2 inch (1.27 cm) and assemble.
-
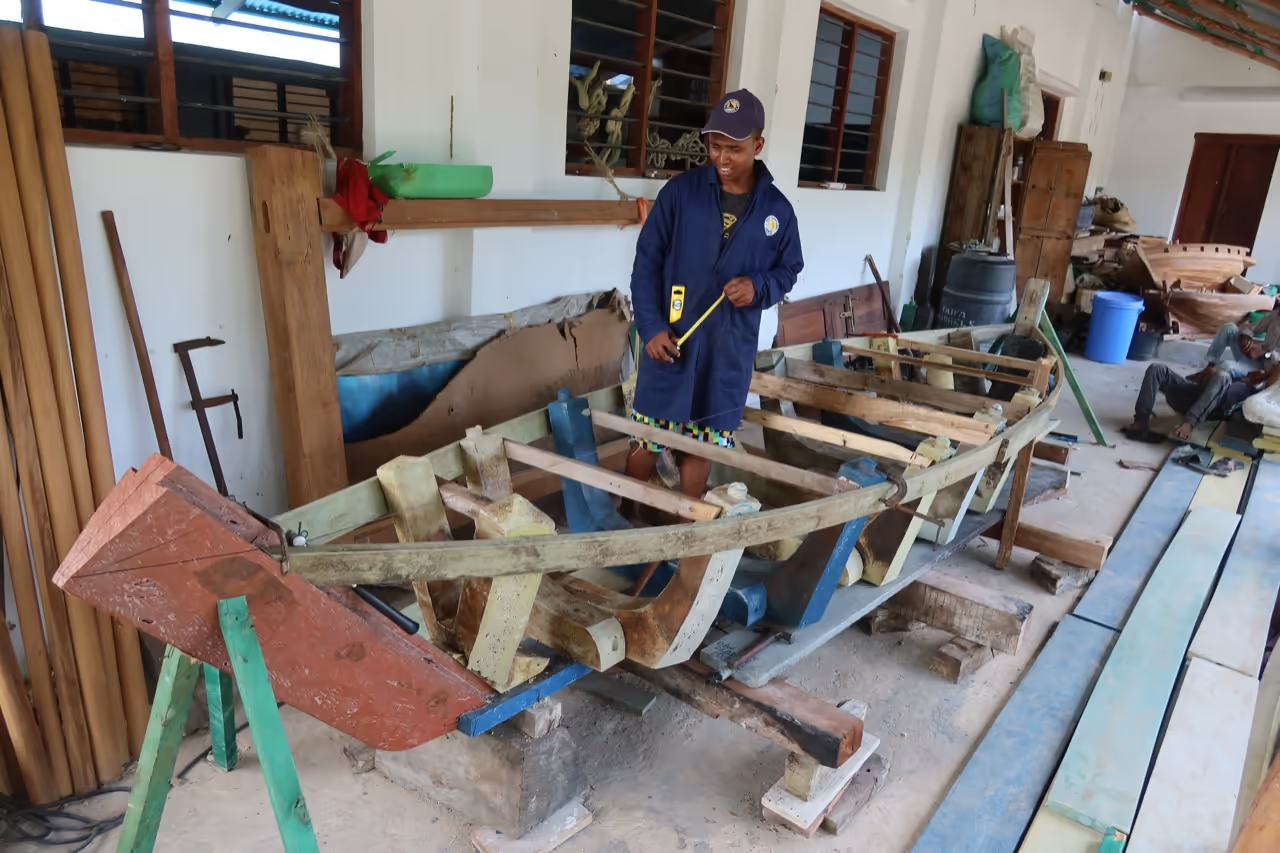
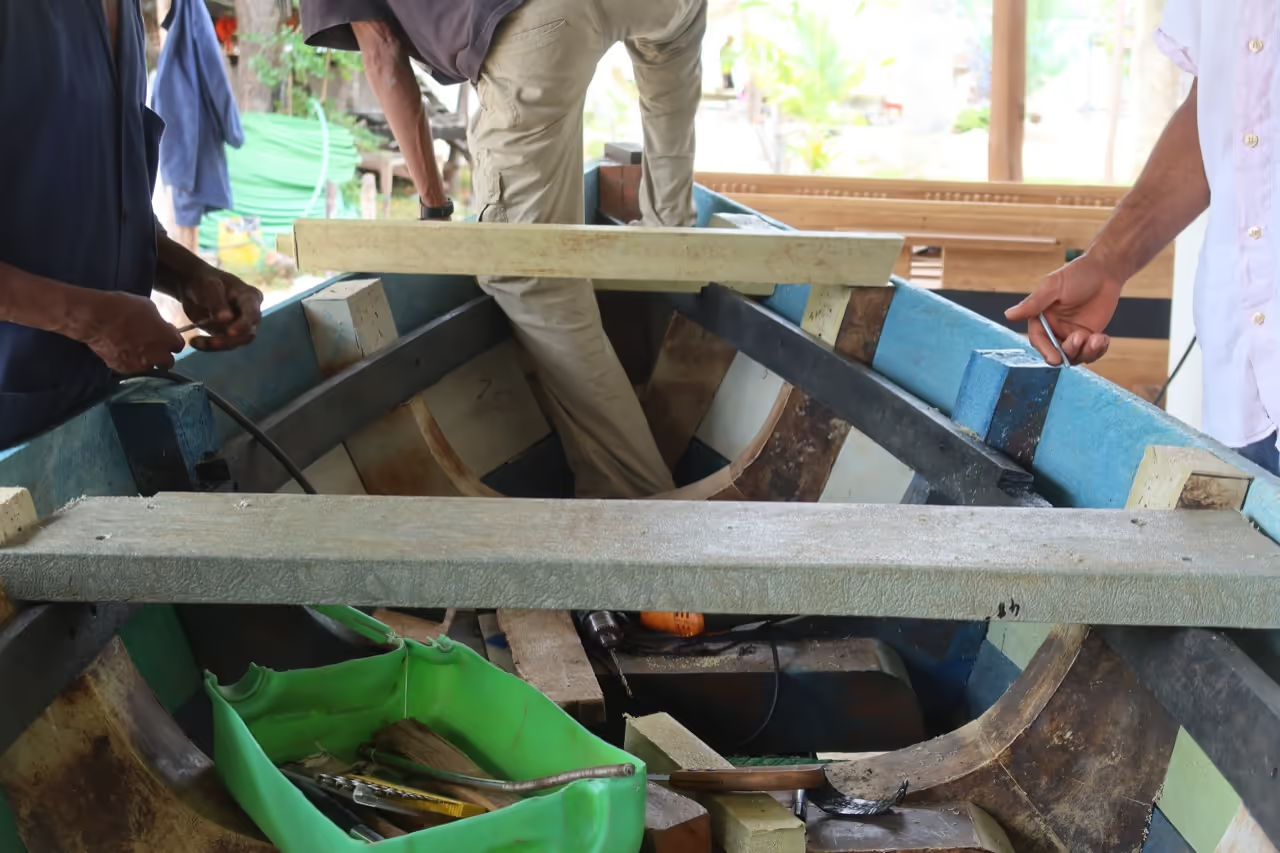
Support Mulis: Stabilize with Mabundas affixed to sides and ends.
-
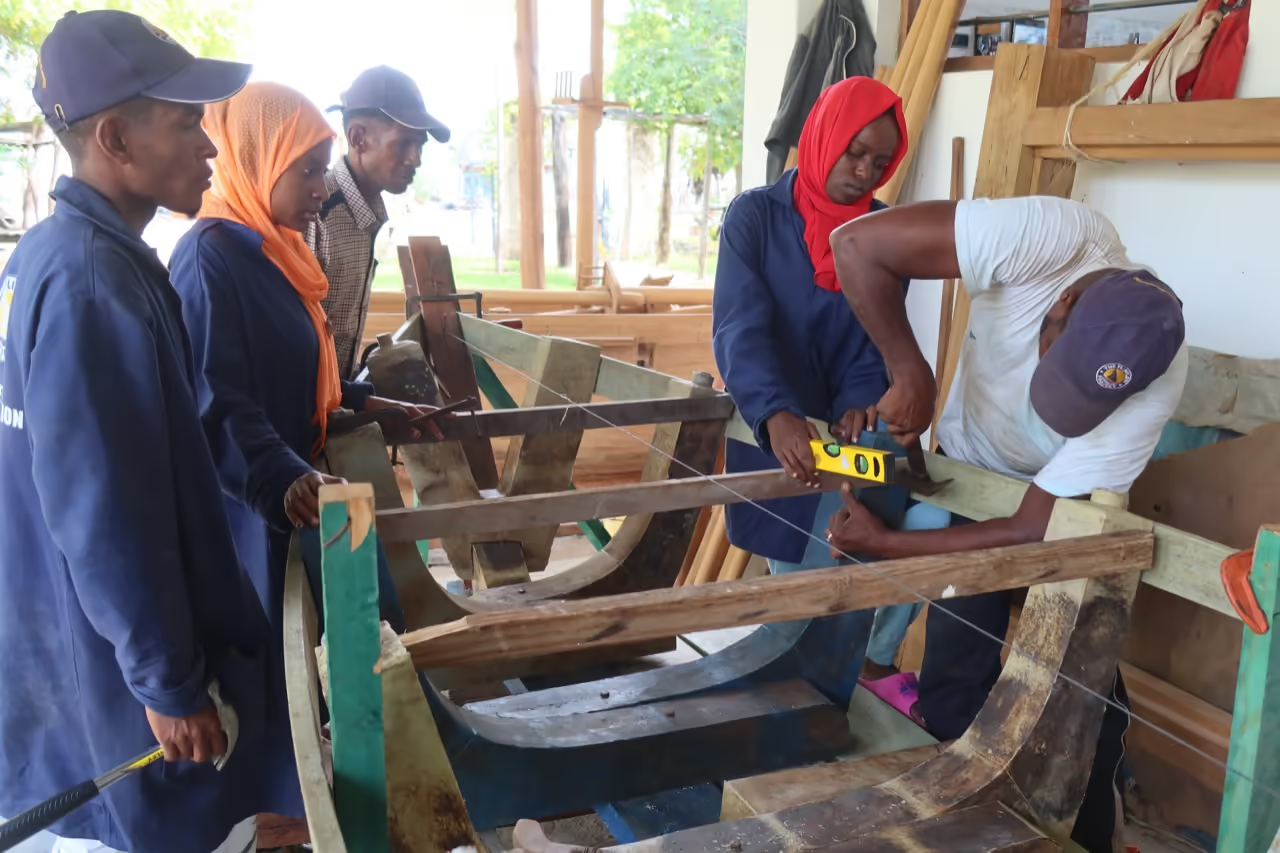
Alignment Check: Use a plumb bob (Kabiru) to ensure Mulis align straight with the center.
-
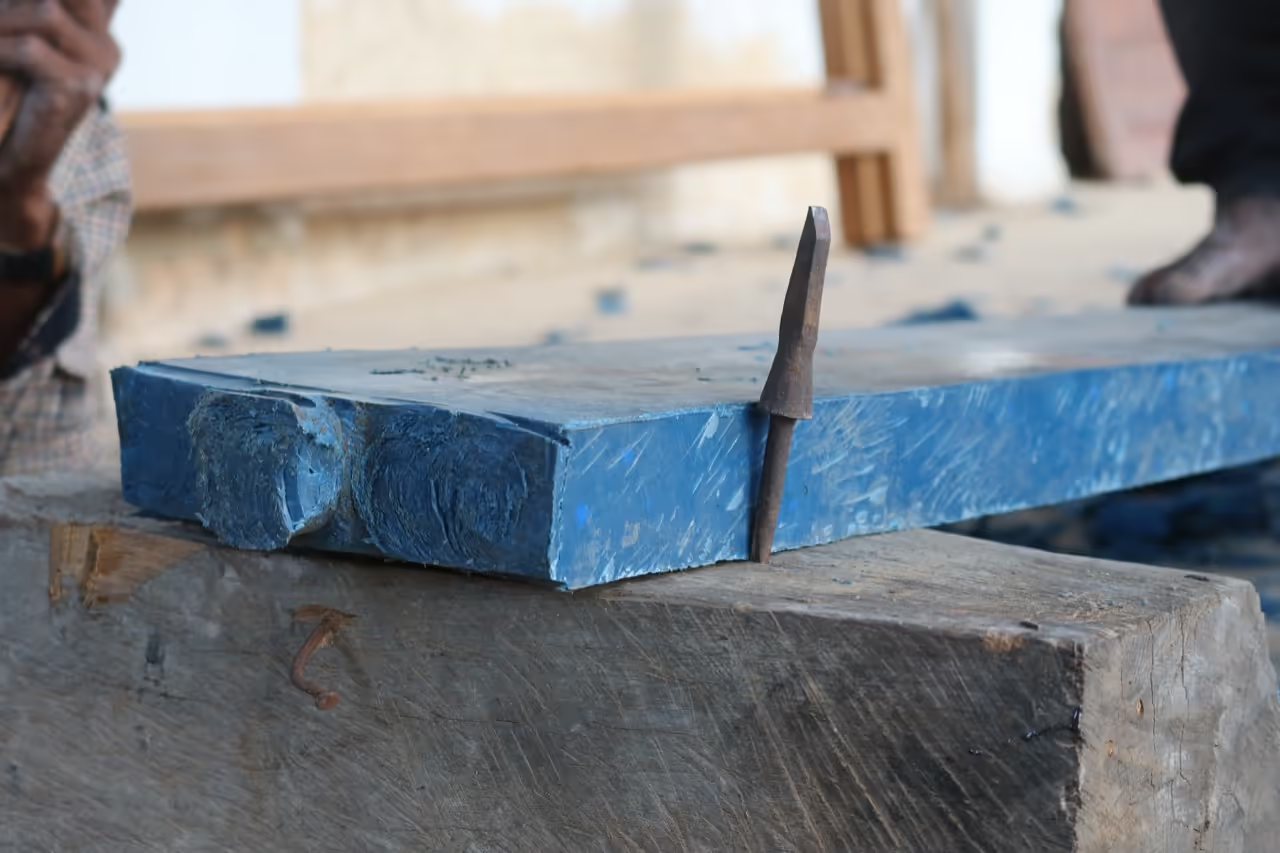
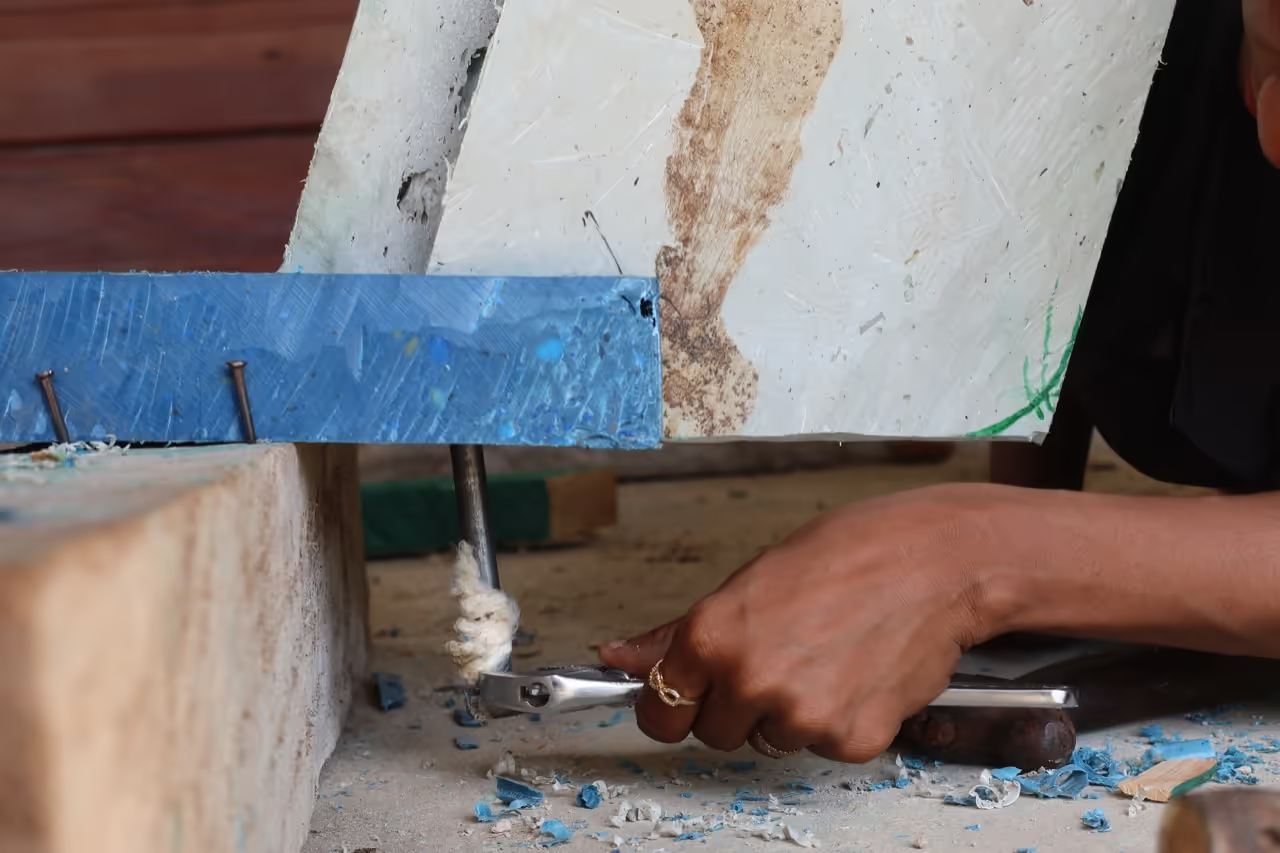
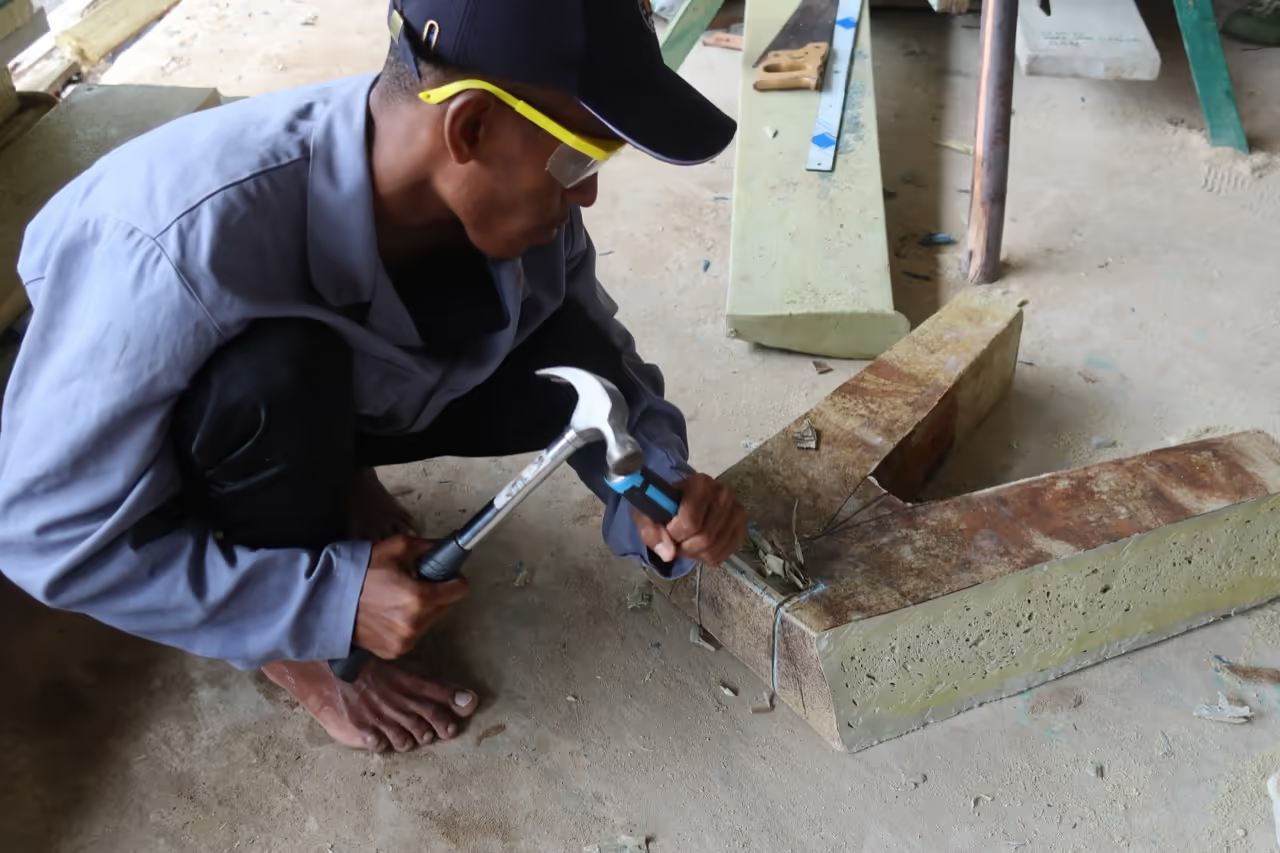
Secure Position: Drill through the Muli and keel; fasten with a nut and bolt.
Note: A silicone sealant was applied between surfaces, with cotton wrapped around the bolt for added sealing.
0){ currentIndex--; lightboxLoaded = false; preloadAndOpen(); } }" class="product-gallery"> -
Bitana Installation Guide
Purpose
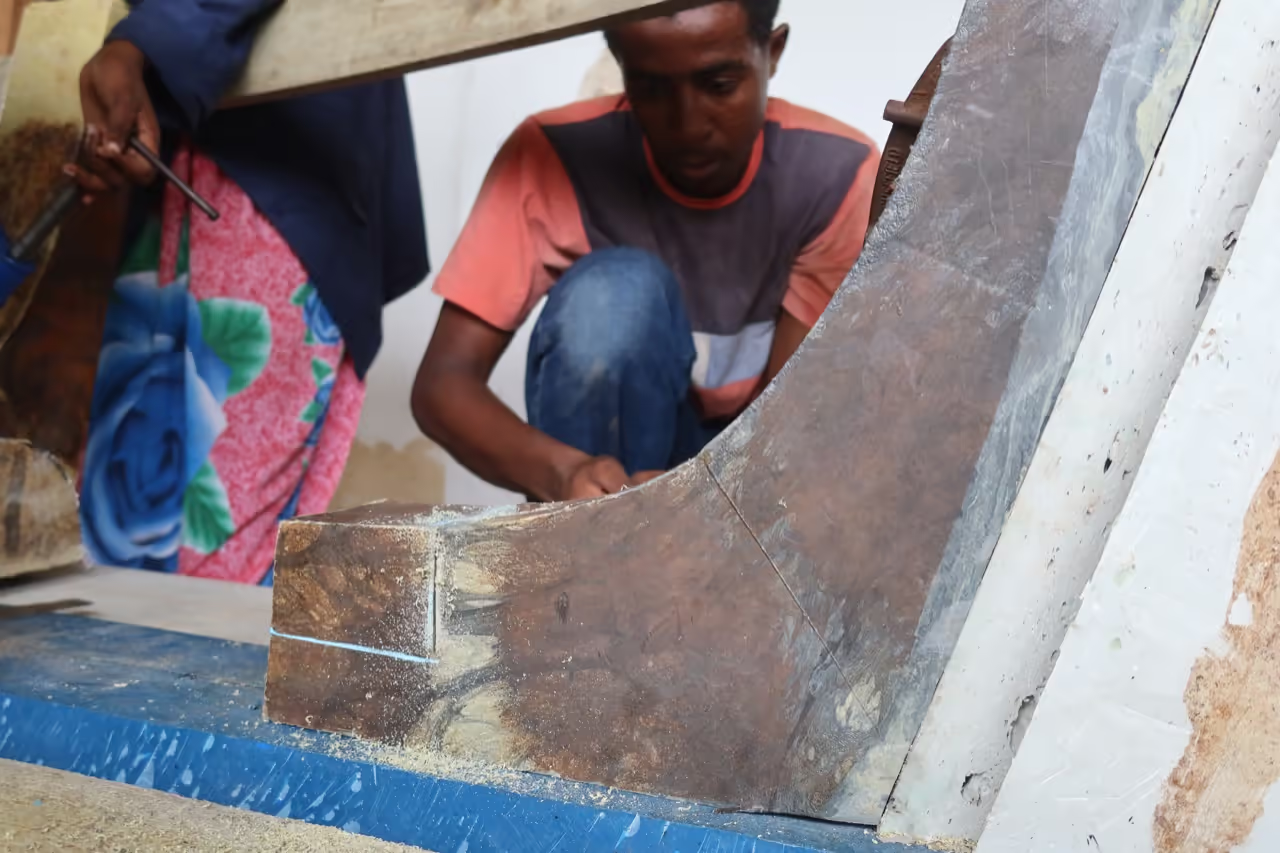
The Bitana serves as a bracket to secure the Muli to the Keel.
Materials
- Two L-shaped rib pieces
Instructions
- Shape each rib piece to align with the angle between the Muli and the keel.
- Taper the ribs to accommodate adjacent planks.
- Drill and bolt the ribs to both the Muli and the Keel.
Repeat this process for both the front and back sides.
0){ currentIndex--; lightboxLoaded = false; preloadAndOpen(); } }" class="product-gallery"> -
Certainly.
You can select varying widths based on the intended use of the boat. For comfortably transporting people, we decided on a width one-quarter of the length. It's useful to align the width with the available planks.
Materials
- "Mapande" (wooden poles)
- A flexible, thin piece of wood or plastic for temporary "kinara" (top plank of the hull)
Process
- Attach Mapande at the boat's widest point.
- Shape the boat with thin planks.
- Use a rope or ruler/tape measure to ensure equal width on both sides.
- Position the remaining Mapande on the base beams.
- Fix the temporary "kinara" on the Mapande to maintain shape.
- Use "Mitindikani" (horizontal poles) to secure the position.
0){ currentIndex--; lightboxLoaded = false; preloadAndOpen(); } }" class="product-gallery"> -
Materials:
- L-shape ribs (14x)
Process:
- Arrange ribs in pairs with 30.5 cm (12 inches) between pairs.
- Ensure weight distribution is balanced front/back and left/right.
- Cut longer pieces to match the shape.
- Use a square to align ribs at a right angle to the keel.
- If pieces are warped, use a planer or saw for correction.
- Bolt ribs to the keel.
- Add cross poles to secure ribs.
0){ currentIndex--; lightboxLoaded = false; preloadAndOpen(); } }" class="product-gallery"> - 11Farkumu
Materials
- V-shape ribs "Farkumu" (2x)
Instructions:
- Position the V-shape beam on the Bitana and create a lap joint to connect them.
- Secure with a bolt through the keel.
0){ currentIndex--; lightboxLoaded = false; preloadAndOpen(); } }" class="product-gallery"> -
Fitting the Hull
Materials: 9x1.5" (22.86x3.81 cm) planks, 10 pieces
Instructions:
-
Prepare the Top Plank (Kinara):
- Mark and cut the bevel according to specifications.
- Position and secure the plank using clamps.
- Adjust ribs as needed for proper alignment.
- Fasten the plank with screws.
-
Attach Additional Planks:
- Repeat the fitting process for the second piece.
- Cut a Z-joint to connect the pieces securely.
-
Complete the Top Perimeter:
- Ensure the Kinara encircles the top on both sides.
0){ currentIndex--; lightboxLoaded = false; preloadAndOpen(); } }" class="product-gallery"> -
-
Materials: 9x1.5" planks (6 pcs)
- Complete the remaining rows with the same method.
- Unlike the top plank, a bevel joint may be used between the planks instead of a Z-joint.
- Alternate joint positions to prevent weak points where joints align.
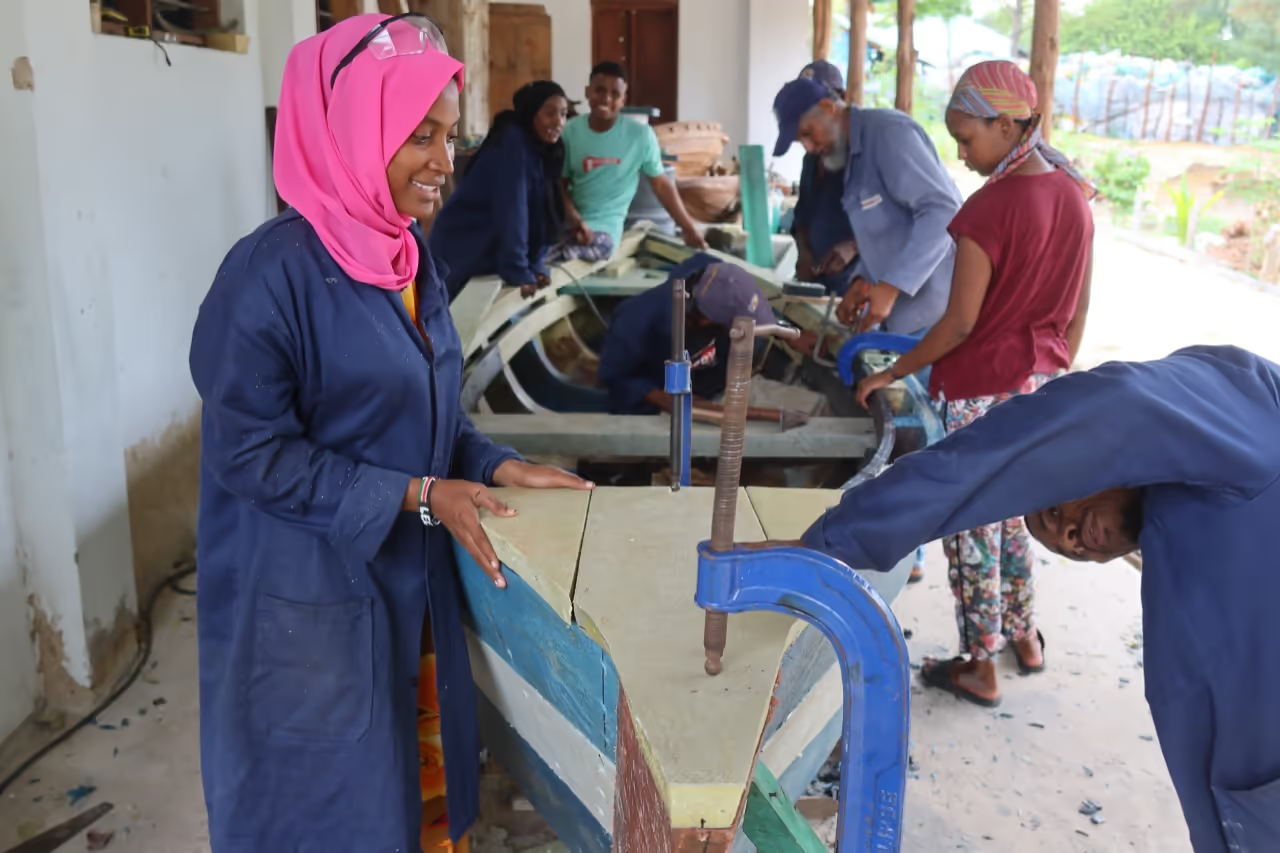
Ensure all planks fit tightly with minimal gaps. Use a saw to trim uneven edges if necessary.
0){ currentIndex--; lightboxLoaded = false; preloadAndOpen(); } }" class="product-gallery"> - 14Top locking
Materials
- Tampisi: 2x3 inches (5.1x7.6 cm) planks (4 pieces)
- Fundo la mongoti (crossing beam for the mast): 9x2 inches (22.9x5.1 cm)
- Fundo la nyuma (back crossing beam): 9x1.5 inches (22.9x3.8 cm)
Process
- Cut a step into the ribs to ensure the tampisi and firari fit flush against the sides.
- Place the tampisi onto the step and secure it with screws.
- Position "fundo la mongoti" atop the tampisi at one-third of the keel from the front.
- Position "fundo la nyuma" atop the tampisi at the desired location in the back.
- Create lap joints between the Tampisi and Fundos, securing with bolts.
0){ currentIndex--; lightboxLoaded = false; preloadAndOpen(); } }" class="product-gallery"> - 15Staha
Staha is designed to reinforce the Muli to Kinara, providing both seating and storage.
Materials Required:
- 9x1.5" (22.9x3.8 cm) plank
- 2x4" (5.1x10.2 cm) plank
Process: FRONT STAHA
- Trim the top of the muli to align with the top plank.
- Position a 2x4" (5.1x10.2 cm) beam perpendicularly to the center line for support.
- Cut planks to fit over the boat's front triangle.
BACK STAHA
- Fit two planks to create a seating base, leaving an opening for rope attachment.
0){ currentIndex--; lightboxLoaded = false; preloadAndOpen(); } }" class="product-gallery"> -
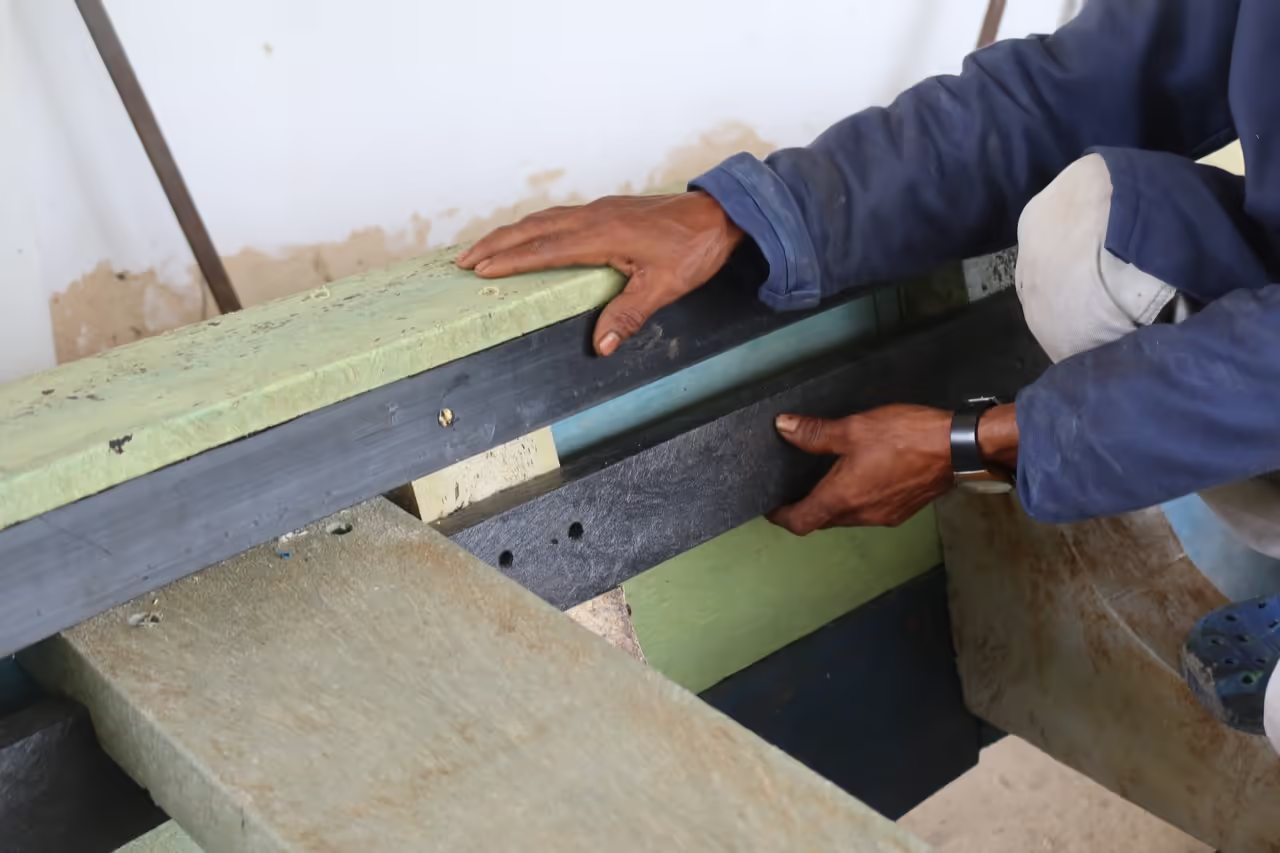
Firari and Dufani reinforce the top edges and structure.
Materials:
- Dufani (5x1", 4 pieces)
- Firari (2.5x1", 4 pieces)
Firari Process:
- Position Firari at the top of the structure and shave them to level with Dufani.
- Ensure the distance between Firari and adjacent parts is parallel.
- Join the planks with a bevel joint and secure with screws.
Dufani Process:
- Cut the front angle for a proper fit at the corners.
- Bend the plank gradually: clamp the first foot (approx. 12"), screw in place, then continue bending and securing every foot until fully bent.
- Repeat the process from the opposite end, meeting in the center with a bevel joint.
0){ currentIndex--; lightboxLoaded = false; preloadAndOpen(); } }" class="product-gallery"> -
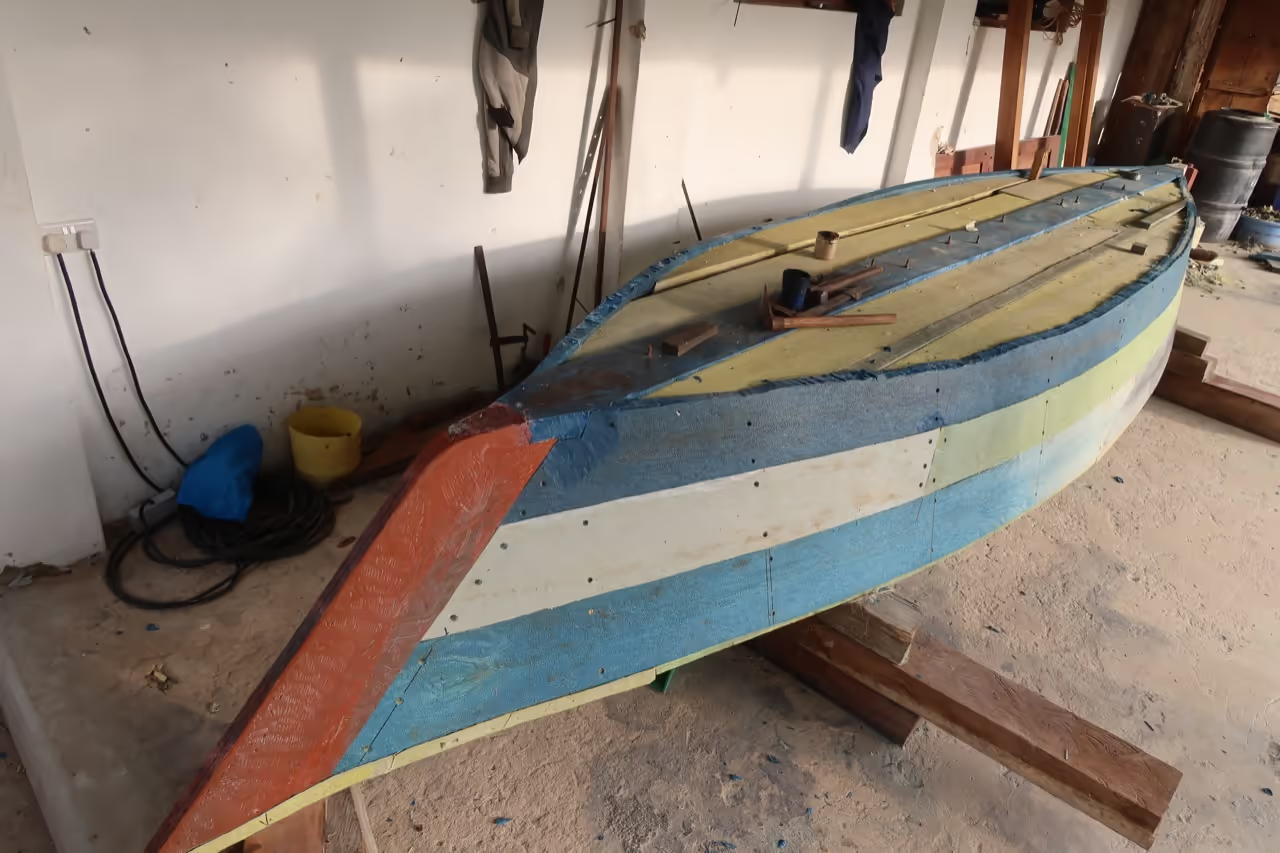
Flip the dhow to complete the base.
Ensure you create a water channel on both sides.
Cut the planks to match the base's shape, minimizing gaps.
Secure them to the ribs. Base complete.
0){ currentIndex--; lightboxLoaded = false; preloadAndOpen(); } }" class="product-gallery"> -
Finalizing and Sealing the Dhow
- Trim the excess corners of the planks to smooth the hull's surface.
- Use traditional caulking with cotton, inserting it between plank gaps with a "chembeo."
- Complete the process by sealing with melted plastic using a heat gun, a method akin to plastic welding.
- Apply plastic welding to seal screws and other gaps.
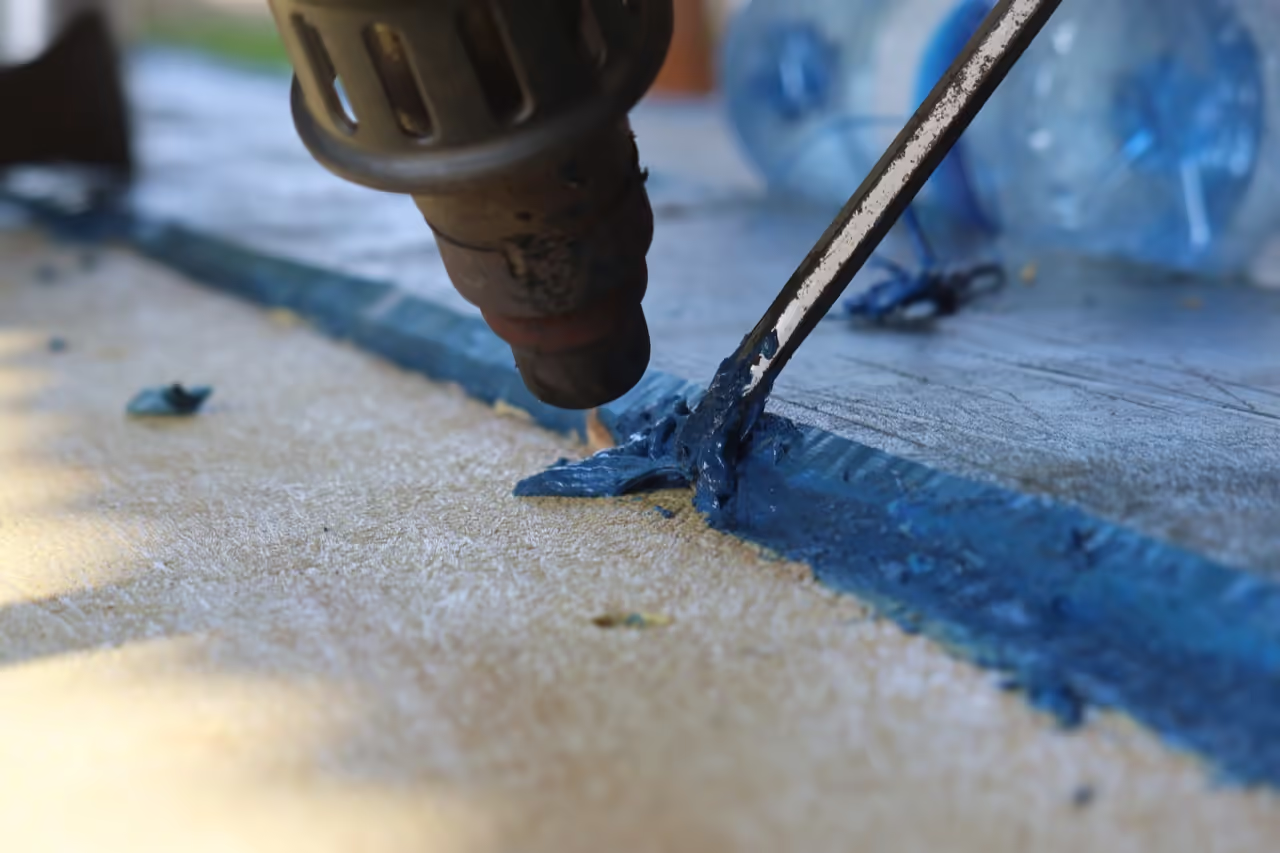
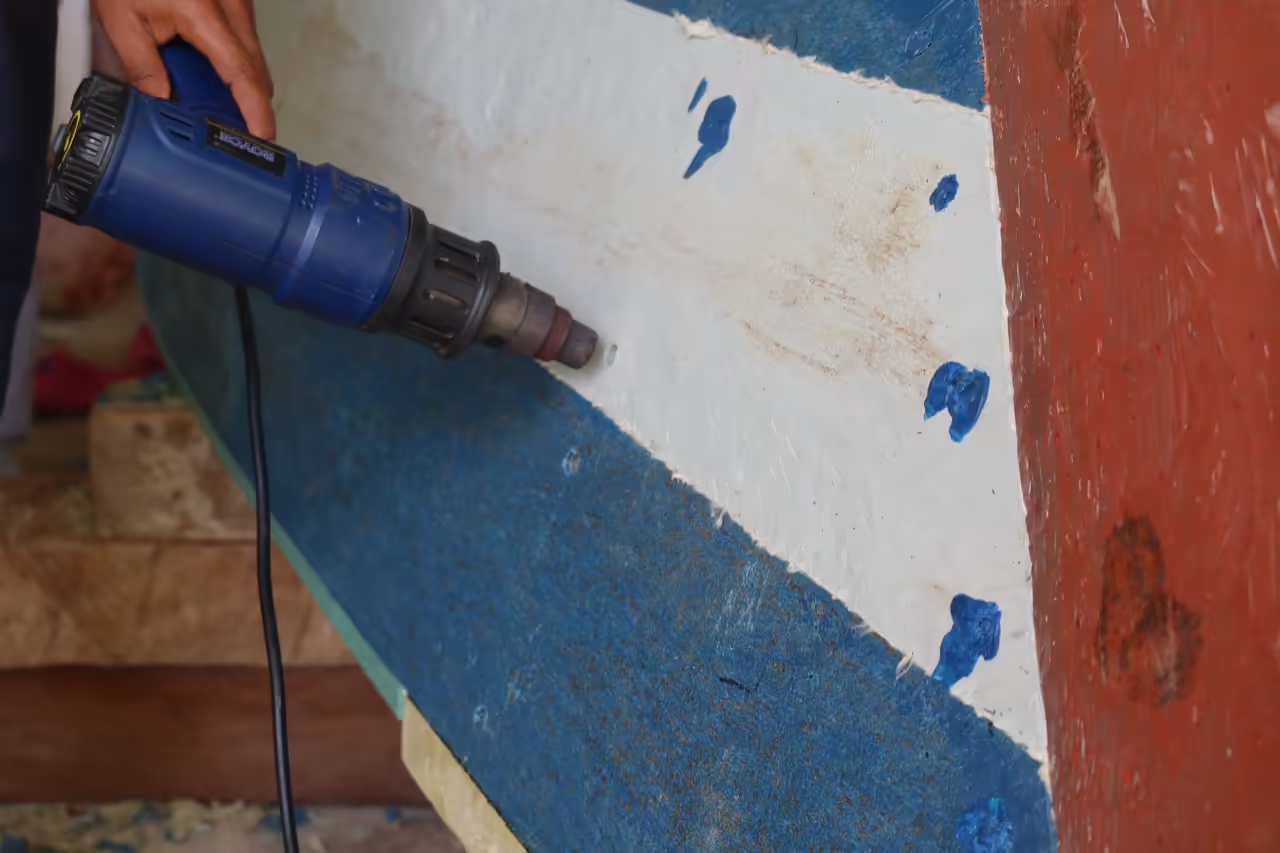
Note: The plastic welding used was rudimentary and requires further testing. Results from using a specialized plastic welding tool will be shared in the future.
0){ currentIndex--; lightboxLoaded = false; preloadAndOpen(); } }" class="product-gallery"> -
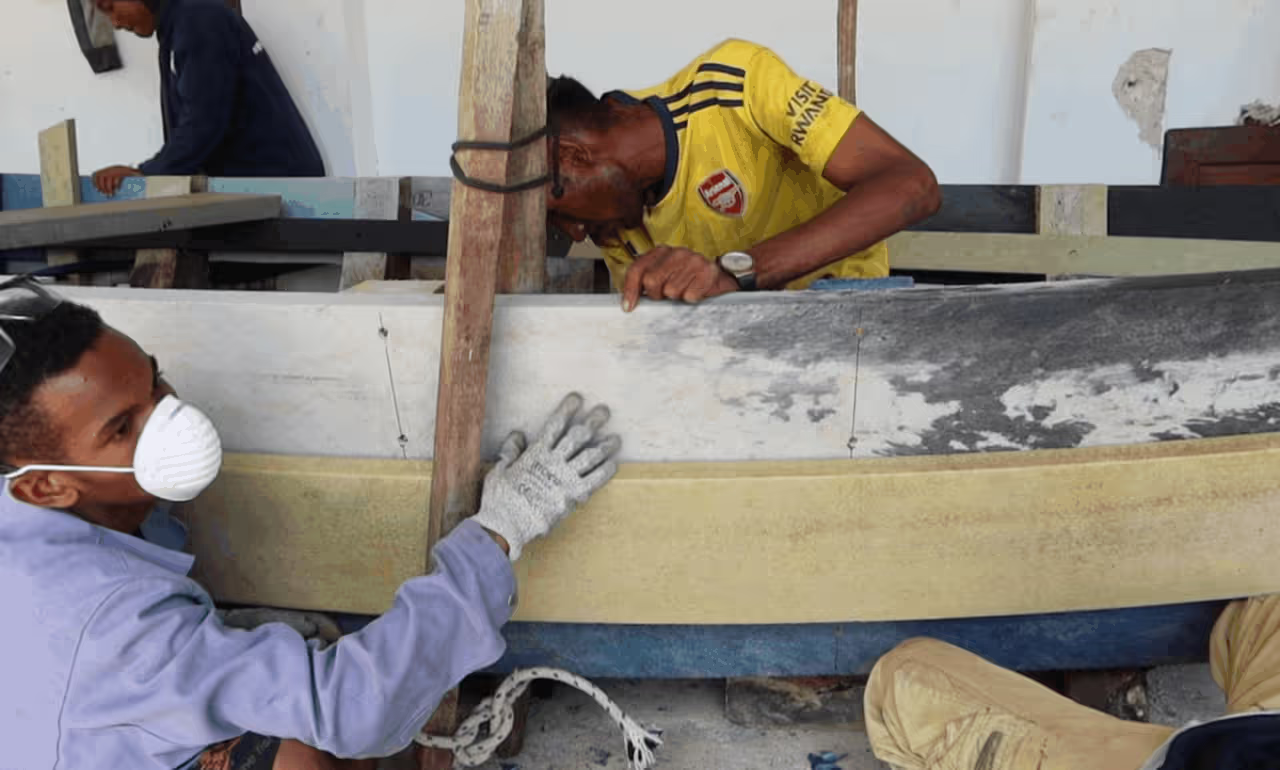
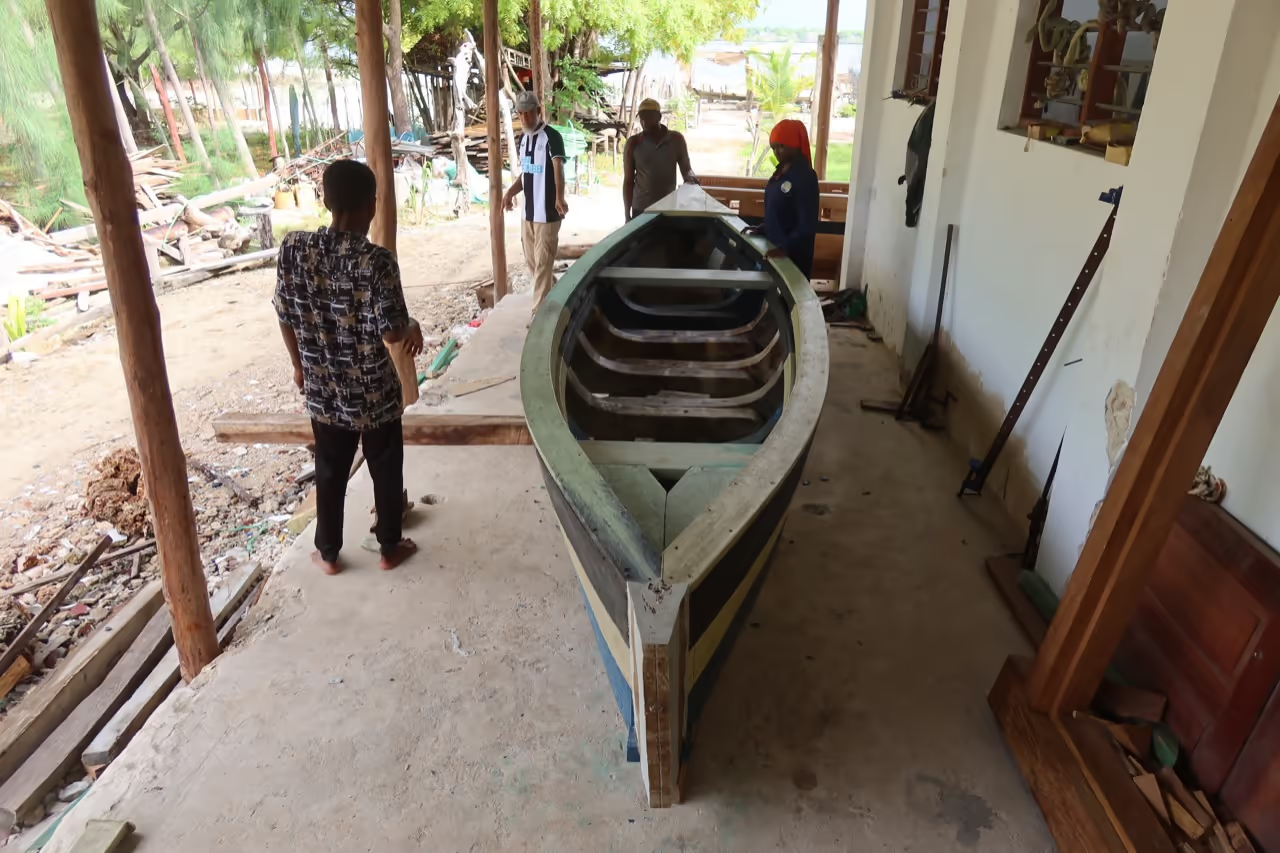
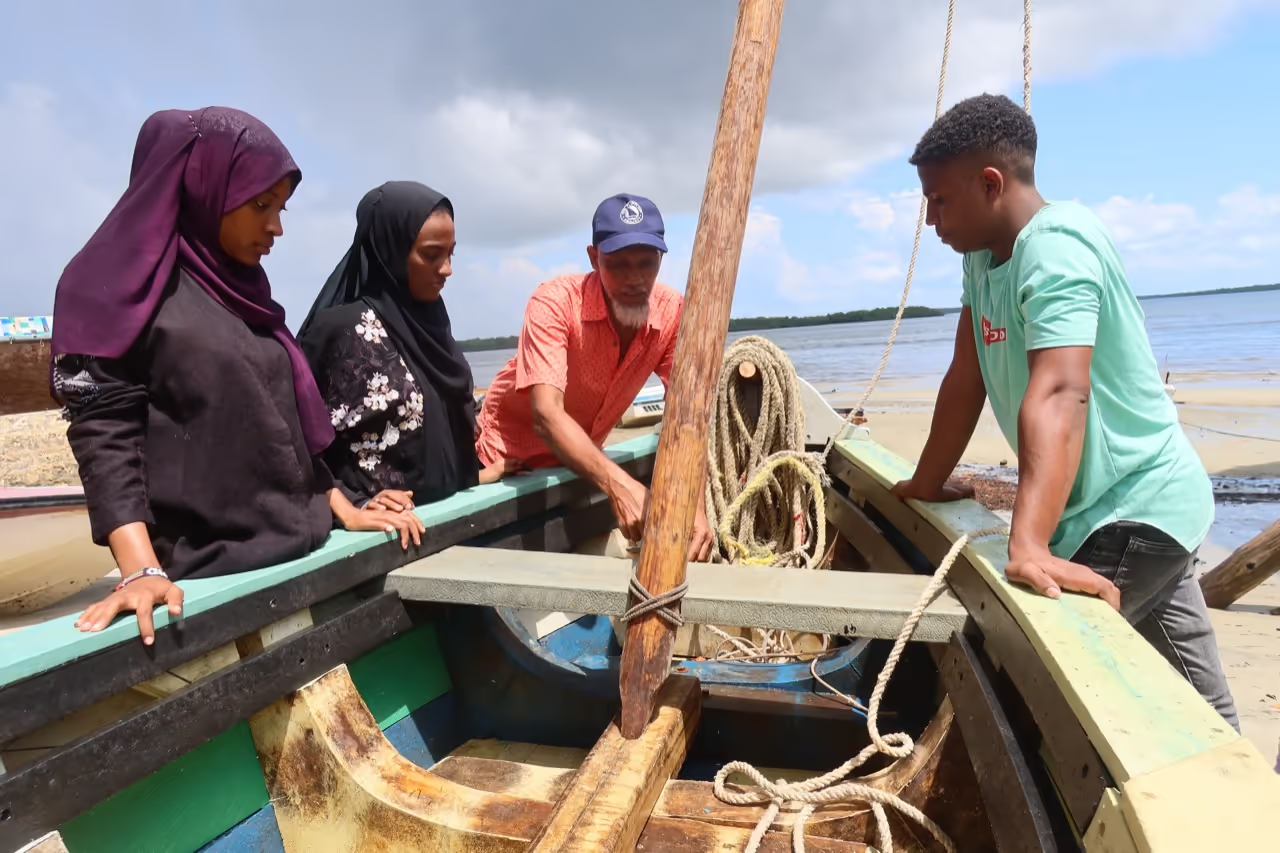
After completing the hull and initial sealing, it's time for testing:
- Invert the boat
- Launch into water or fill it
- Identify any leaks by observing water entry points
- Complete sealing at those locations
0){ currentIndex--; lightboxLoaded = false; preloadAndOpen(); } }" class="product-gallery"> -
Congratulations, you have completed the initial steps.
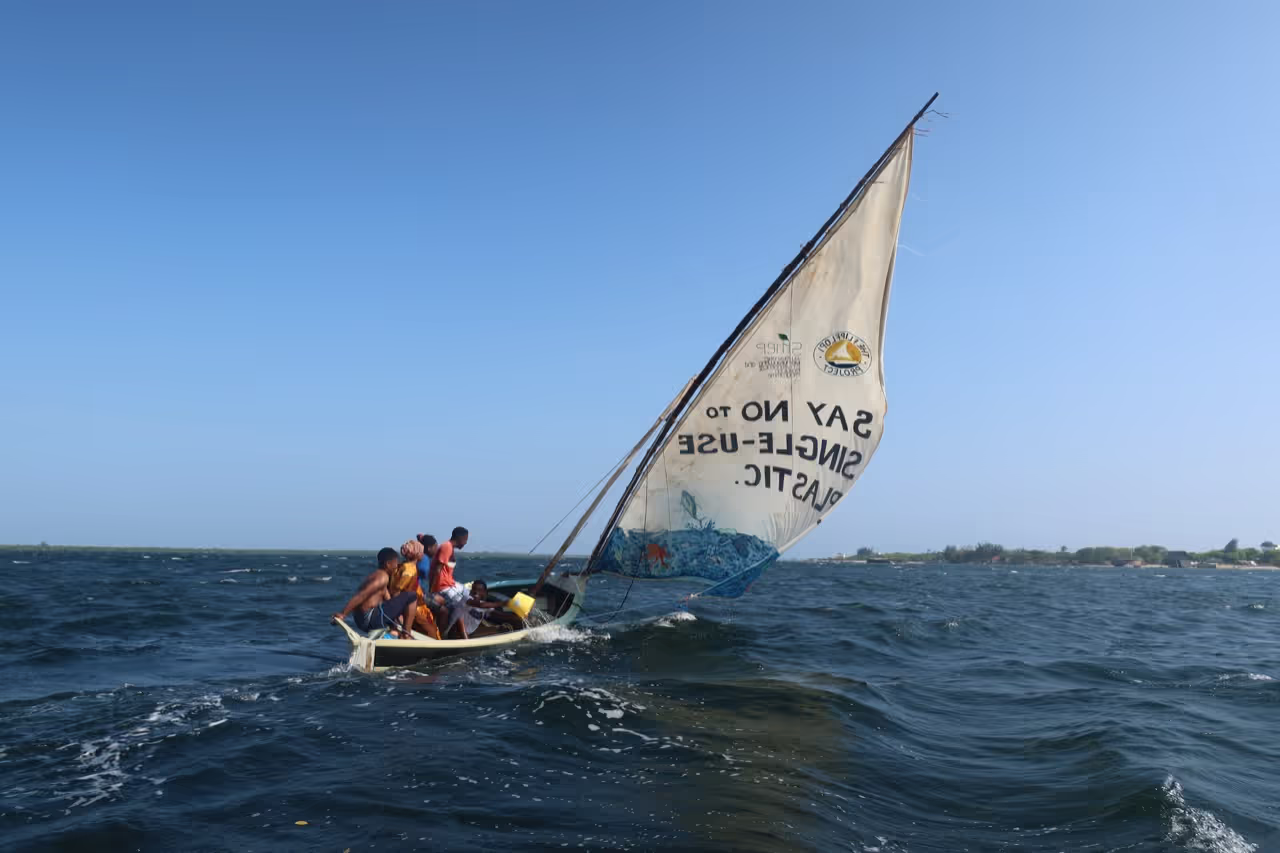
Now choose your boat's propulsion method: motor, paddles, or sail.
Our preference is a sail with a rudder. We used traditional wooden mast and boom. A visually striking sail can also serve as an attention-grabber.
0){ currentIndex--; lightboxLoaded = false; preloadAndOpen(); } }" class="product-gallery"> -
Tutorial Conclusion
Encourage others and share your experience. If you pursue a similar project or find inspiration in this, please inform us. We welcome your feedback.
Always keep a tool handy to remove water. Even if it's not entering from below, it may be entering with the waves.
0){ currentIndex--; lightboxLoaded = false; preloadAndOpen(); } }" class="product-gallery">
Software
- CAD software for mold design
Hardware
- Plasma cutter (4 mm steel sheets)
- Industrial extruder (e.g., Extruder Pro)
The reason is because - High-power heat gun or plastic welding tool
- Drilling and bolting equipment
- Melting machine for HDPE processing
Tools
- Standard tools (saws, chisels, drill, screwdrivers, ruler, square)
- Spirit level and hose pipe for keel alignment
- Plumb bob (Kabiru) and chembeo (caulking tool)
- Clamps and planer for plank shaping
- Traditional dhow boat-making tools
References
Articles
- The Flipflopi Project: Mitigating Plastic Pollution through Heritage Boat Building
- ~~Flipflopi turns plastic waste into beautiful Kenyan boats~~
- Closing the Loop on Waste Plastics Through Heritage Boat Building
- Meet the 'plastic revolutionaries' of Kenya and Uganda
YouTube
- Making Dhow (Arab Boat)
- How to build a canoe from plastic waste
- The Flipflopi Expedition: An Overview
Open-source Designs
- Boat Build Toolkit
- Boatbuilding Toolkit
- Build a 'Flipflopi' boat
- The Flipflopi Project Documentation