Tutorial: Making Sheets with a Self-Compressing Mould and Kitchen Oven
This guide explains how to create sheets using a self-compressing mold and kitchen oven. This method requires minimal investment and enables the simultaneous production of multiple sheets.
Table of Contents
-
Materials Needed
- Galvanized Metal Sheets: 2 pieces, 350x400x3 mm (13.8x15.7x0.12 inches)
- Aluminum Profiles:
- 2 pieces, 12.5x7.5x400 mm (0.49x0.3x15.75 inches)
- 2 pieces, 12.5x7.5x325 mm (0.49x0.3x12.8 inches)
Tools Required
- Saw or angle grinder
Instructions
Preparing Sheets
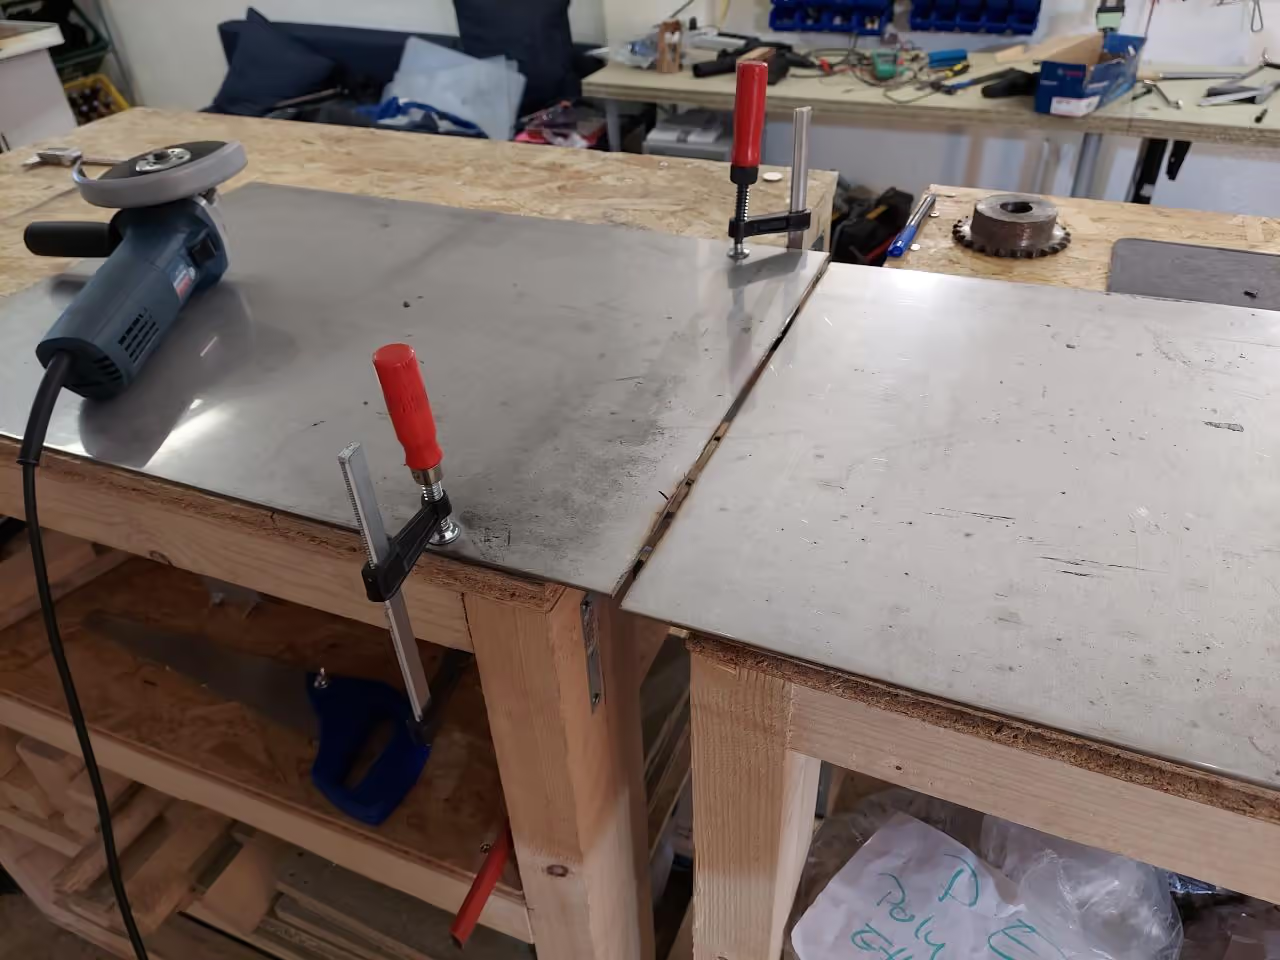
Purchase metal sheets in the specified dimensions, or mark and cut larger sheets to size. Use an angle grinder or saw for cutting.
Assembling Frame
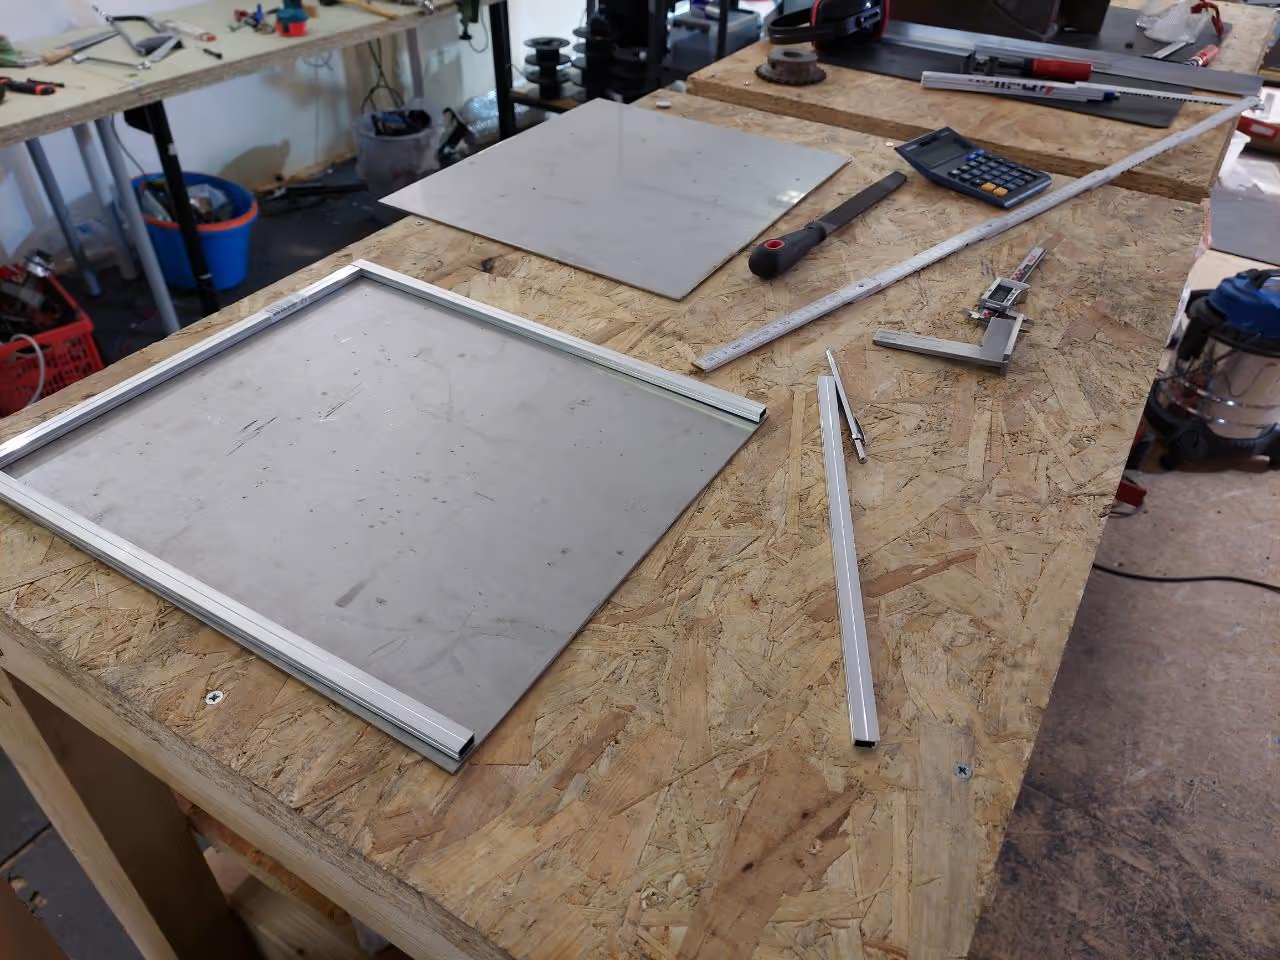
Measure and mark the necessary lengths on the aluminum profiles. Cut using a saw.
0){ currentIndex--; lightboxLoaded = false; preloadAndOpen(); } }" class="product-gallery"> -
Assembly Instructions
Materials
- Cut aluminum profiles
- Metal sheet
Tools
- 5mm (3/16 inch) and 8mm (5/16 inch) metal drill bits
- Clamp
Procedure
-
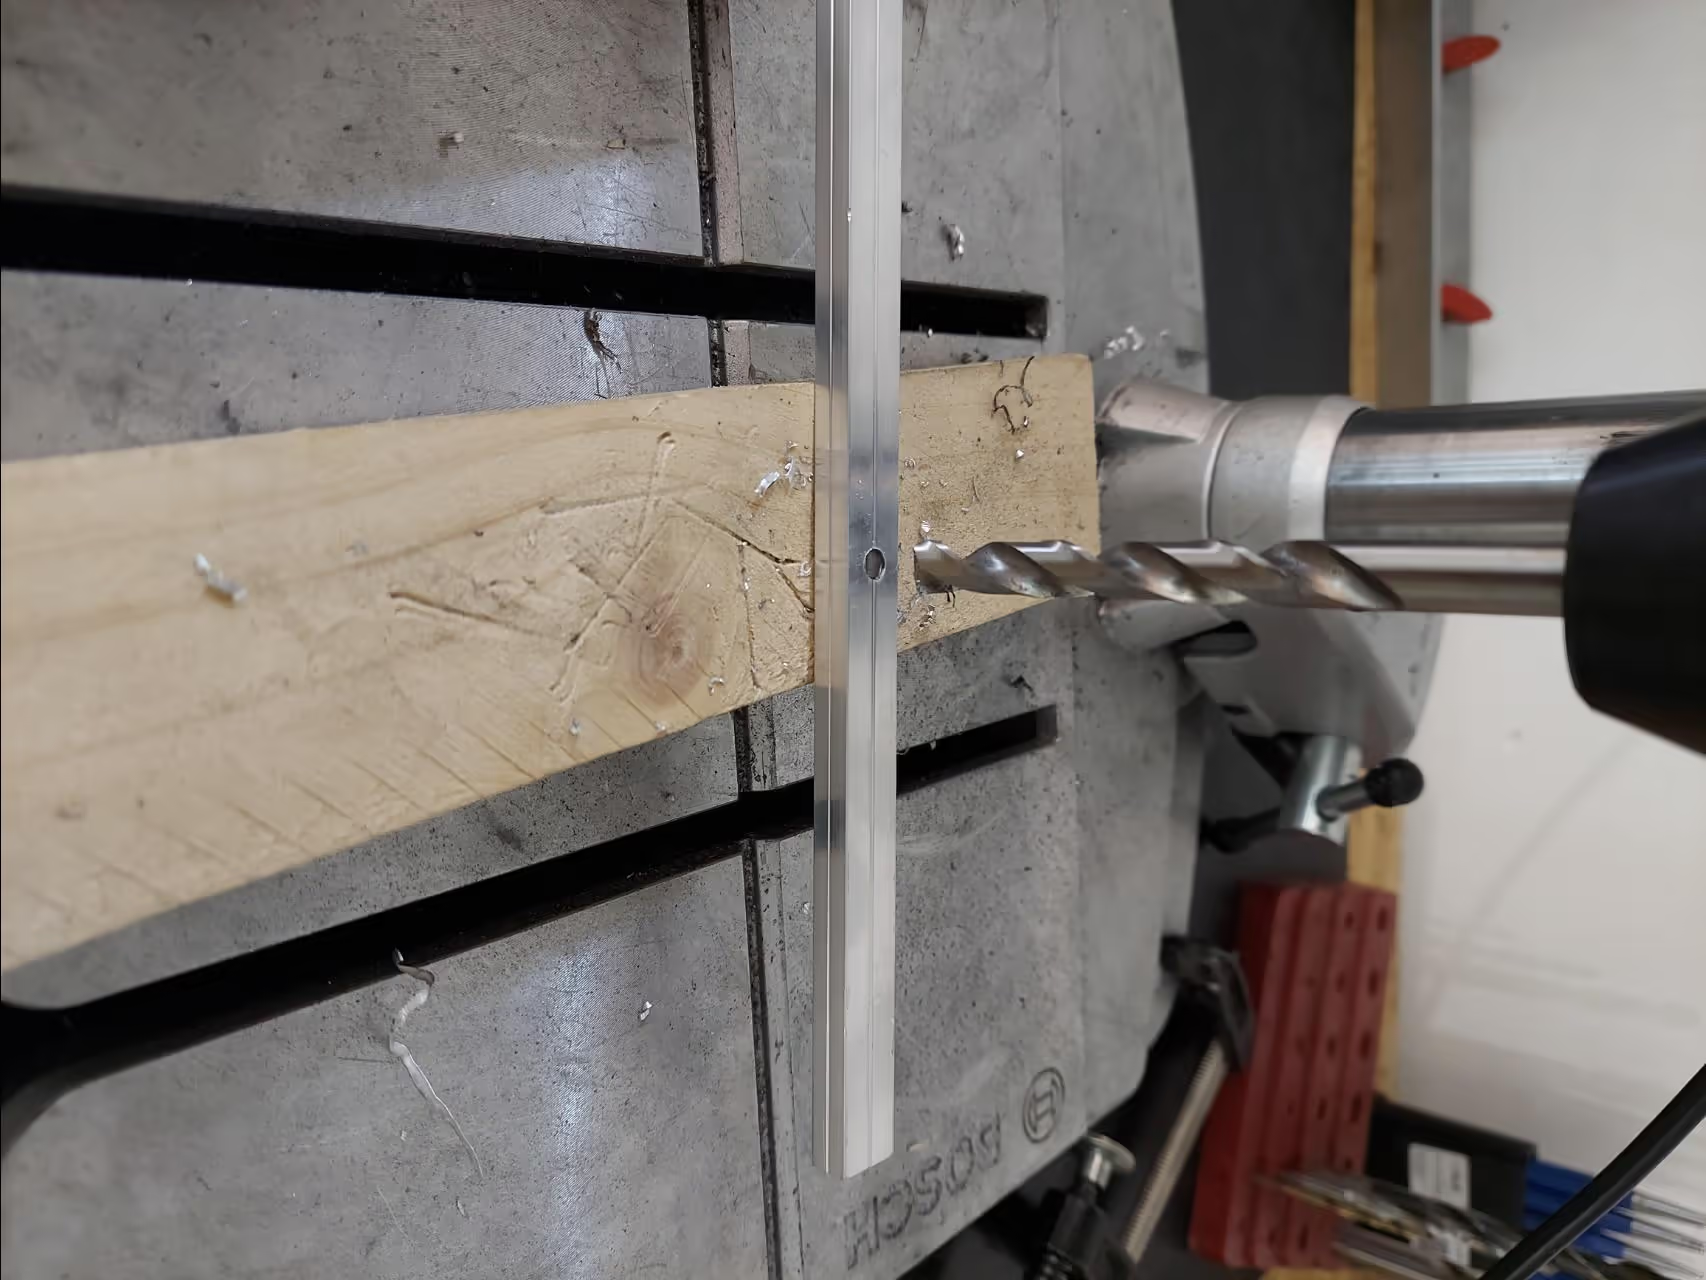
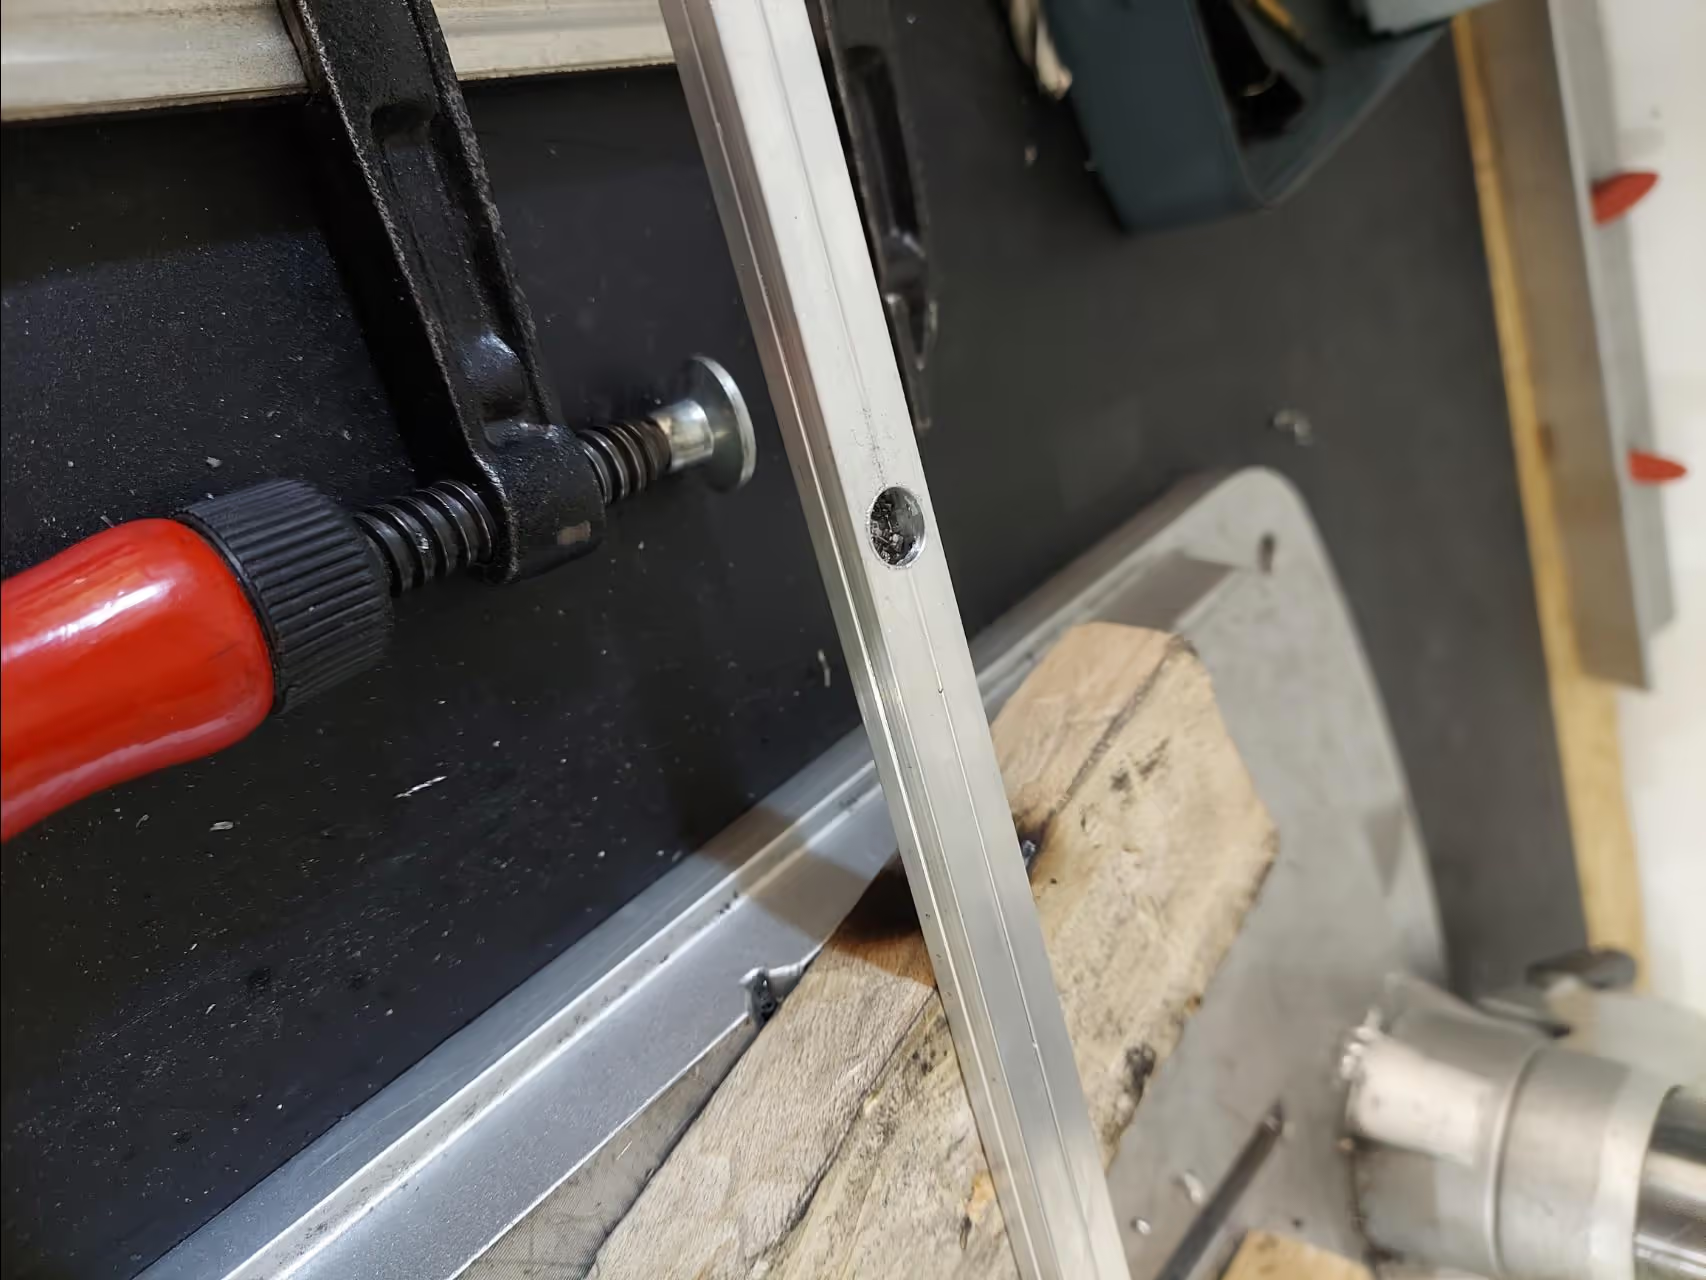
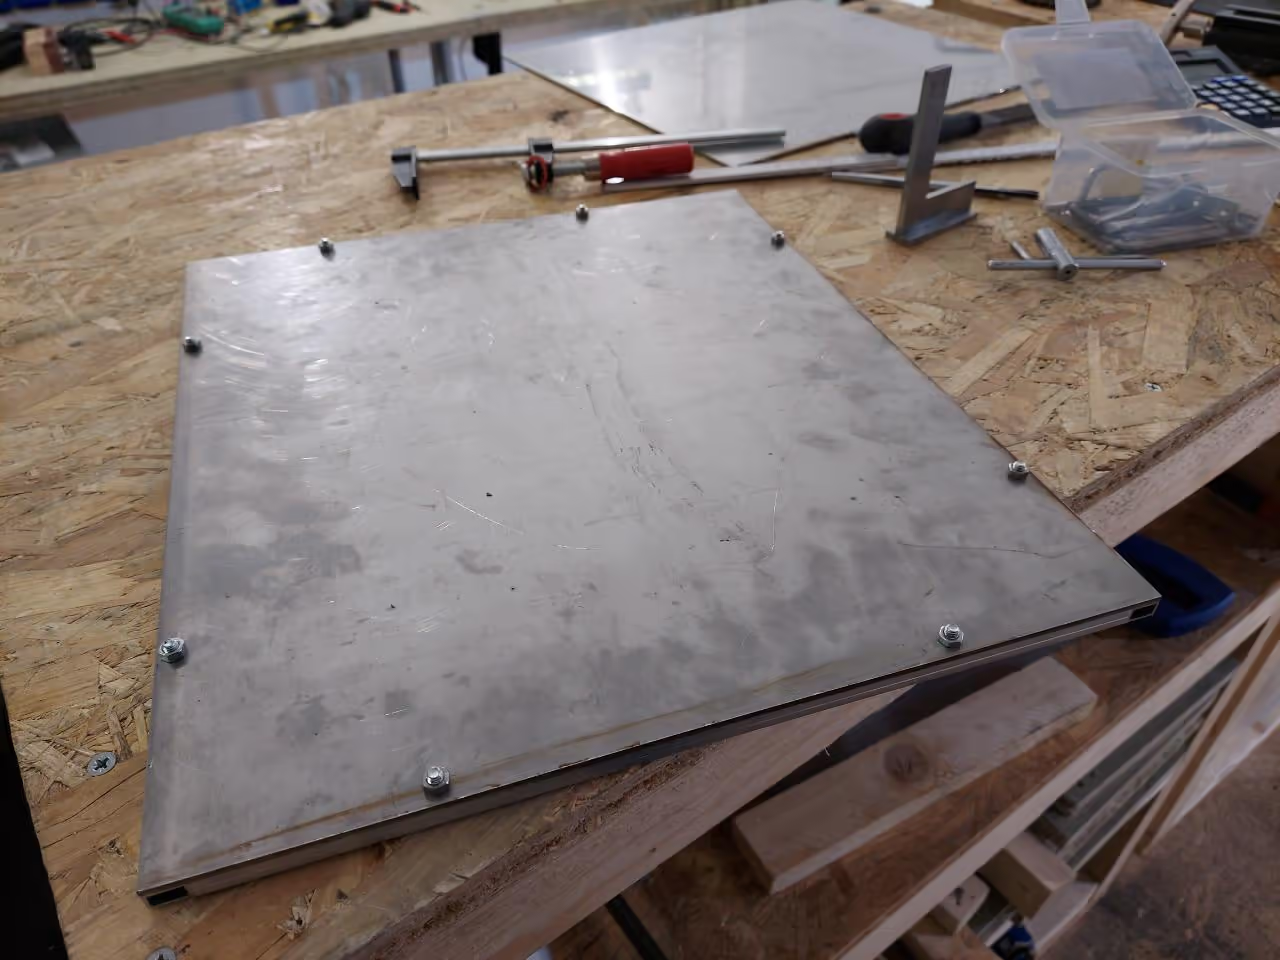
Position a 400mm (15.75 inches) profile on the metal sheet, secure it with a clamp, and drill two 5mm (3/16 inch) holes through both components, approximately 80mm (3.15 inches) from each end.
-
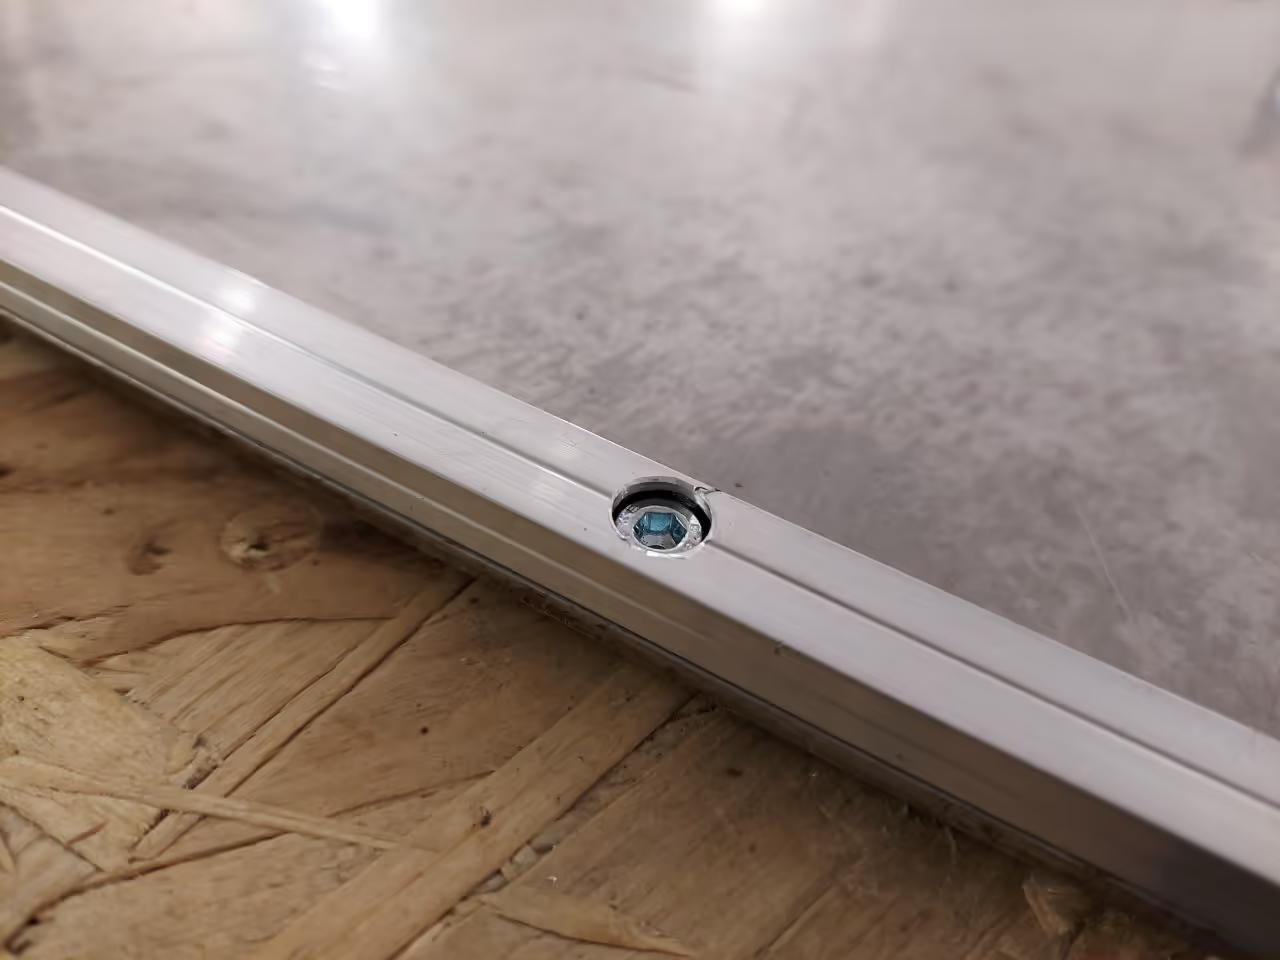
Drill two 8mm (5/16 inch) holes on the top side of the aluminum profile, ensuring not to penetrate completely. These holes accommodate the M5 screw heads.
-
Repeat these steps with the two 325mm (12.8 inches) profiles and the remaining 400mm (15.75 inches) profile.
0){ currentIndex--; lightboxLoaded = false; preloadAndOpen(); } }" class="product-gallery"> -
Material: Drilled aluminum profiles and metal sheet, M5 screws and nuts
Tools: Screwdriver
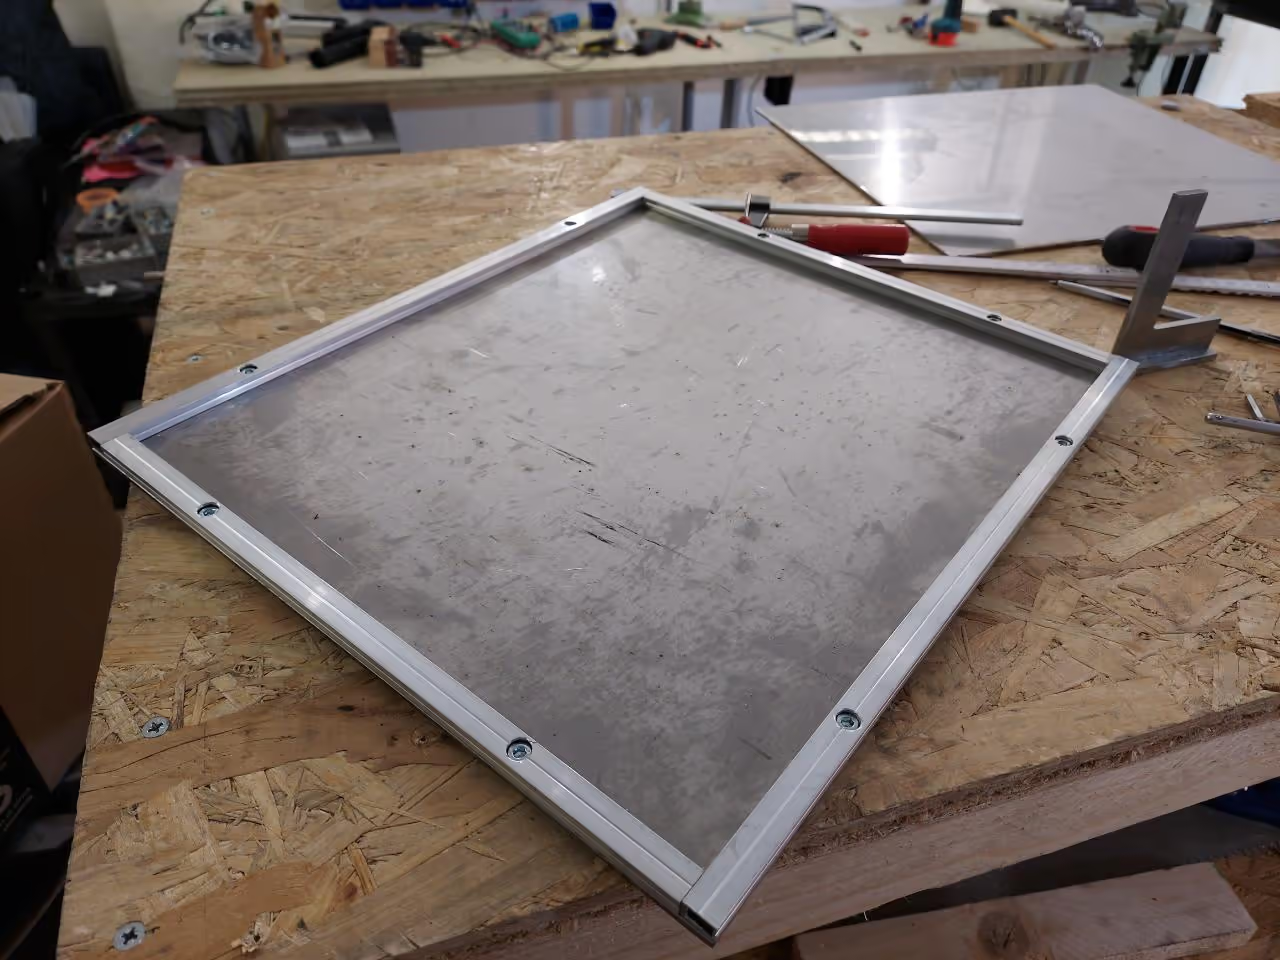
Instructions: Insert the eight screws into the profile and secure them with nuts.
0){ currentIndex--; lightboxLoaded = false; preloadAndOpen(); } }" class="product-gallery"> -
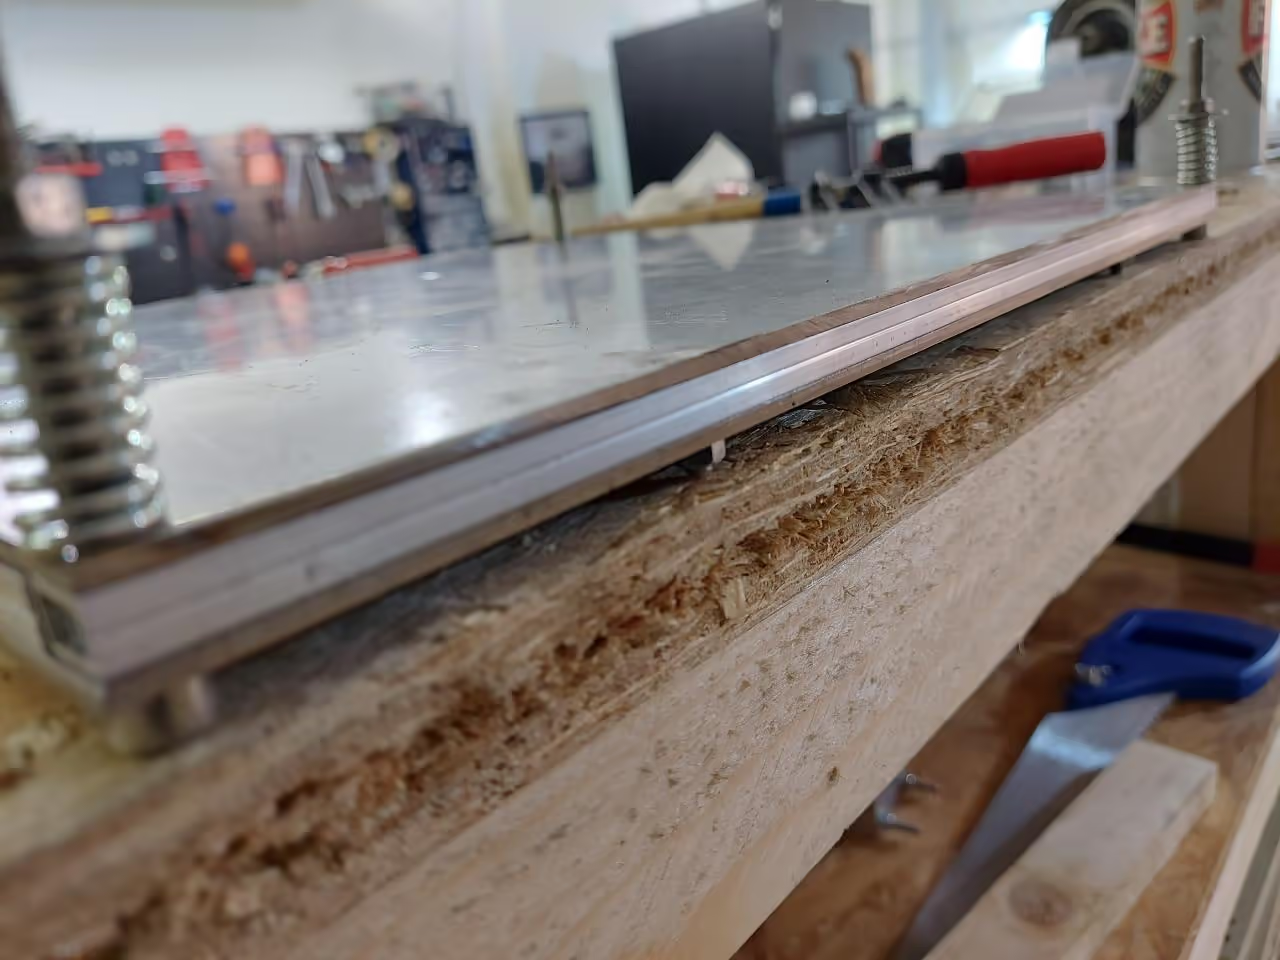
You will need four holes for the screws of the compression springs. These are typically placed in the corners of the sheets but can be located elsewhere.
Material:
- Both metal sheets
Tools:
- 0.24-inch (6 mm) Drill
Instructions:
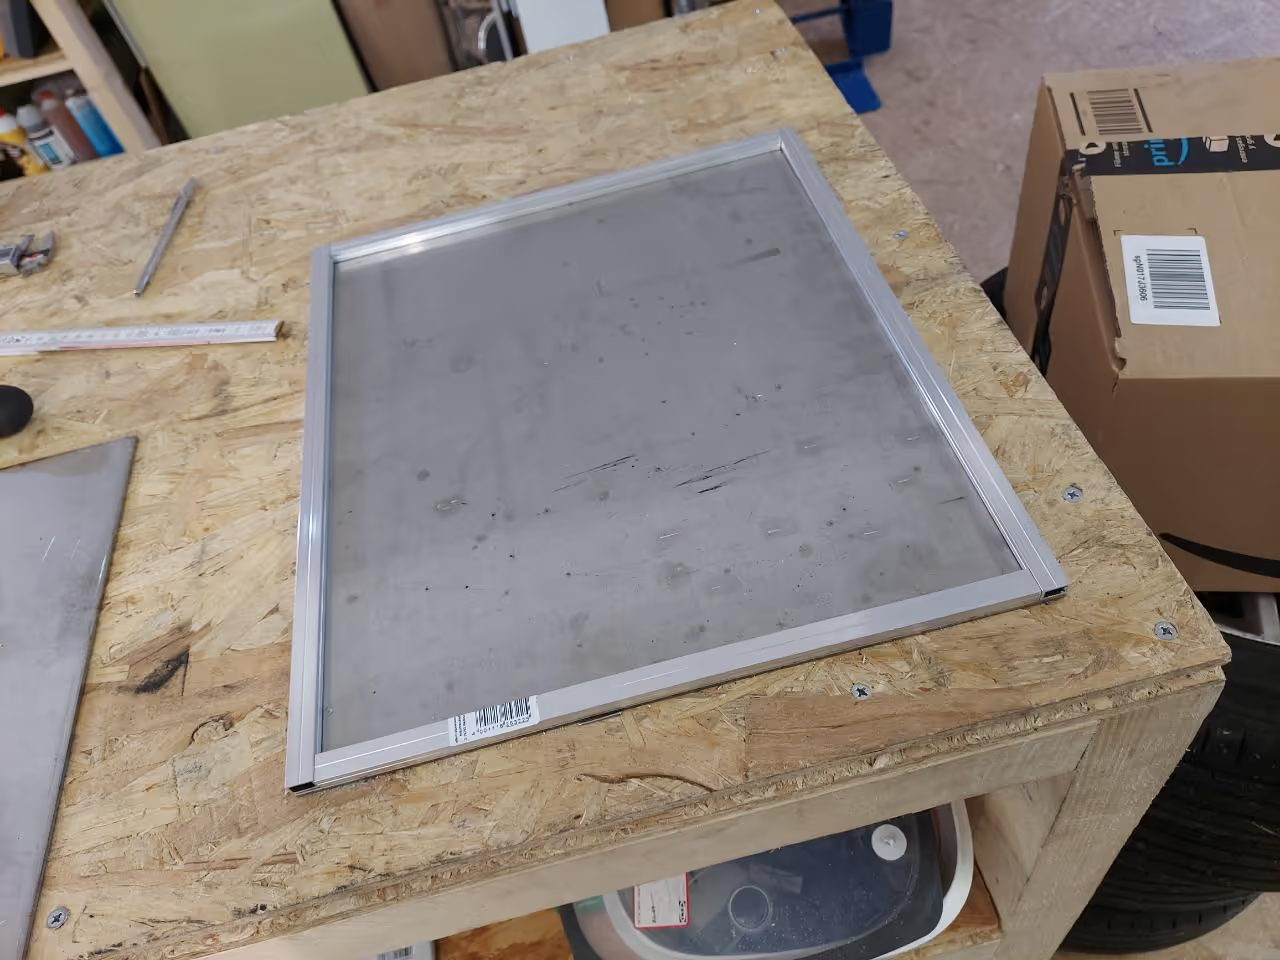
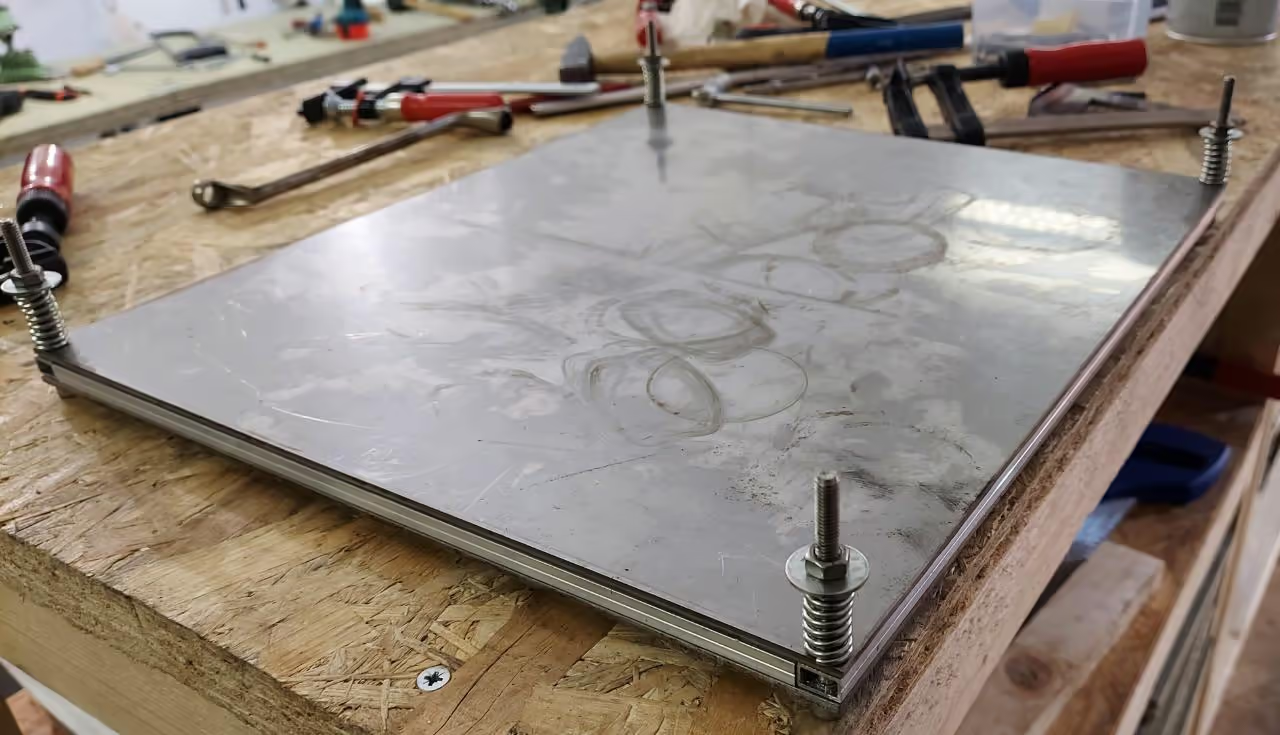
Position the second metal sheet on the frame and align perfectly. Secure with screw clamps. Drill one hole in each corner. Alternatively, you might cut a slot to expedite the assembly and disassembly of the compression screws.
0){ currentIndex--; lightboxLoaded = false; preloadAndOpen(); } }" class="product-gallery"> -
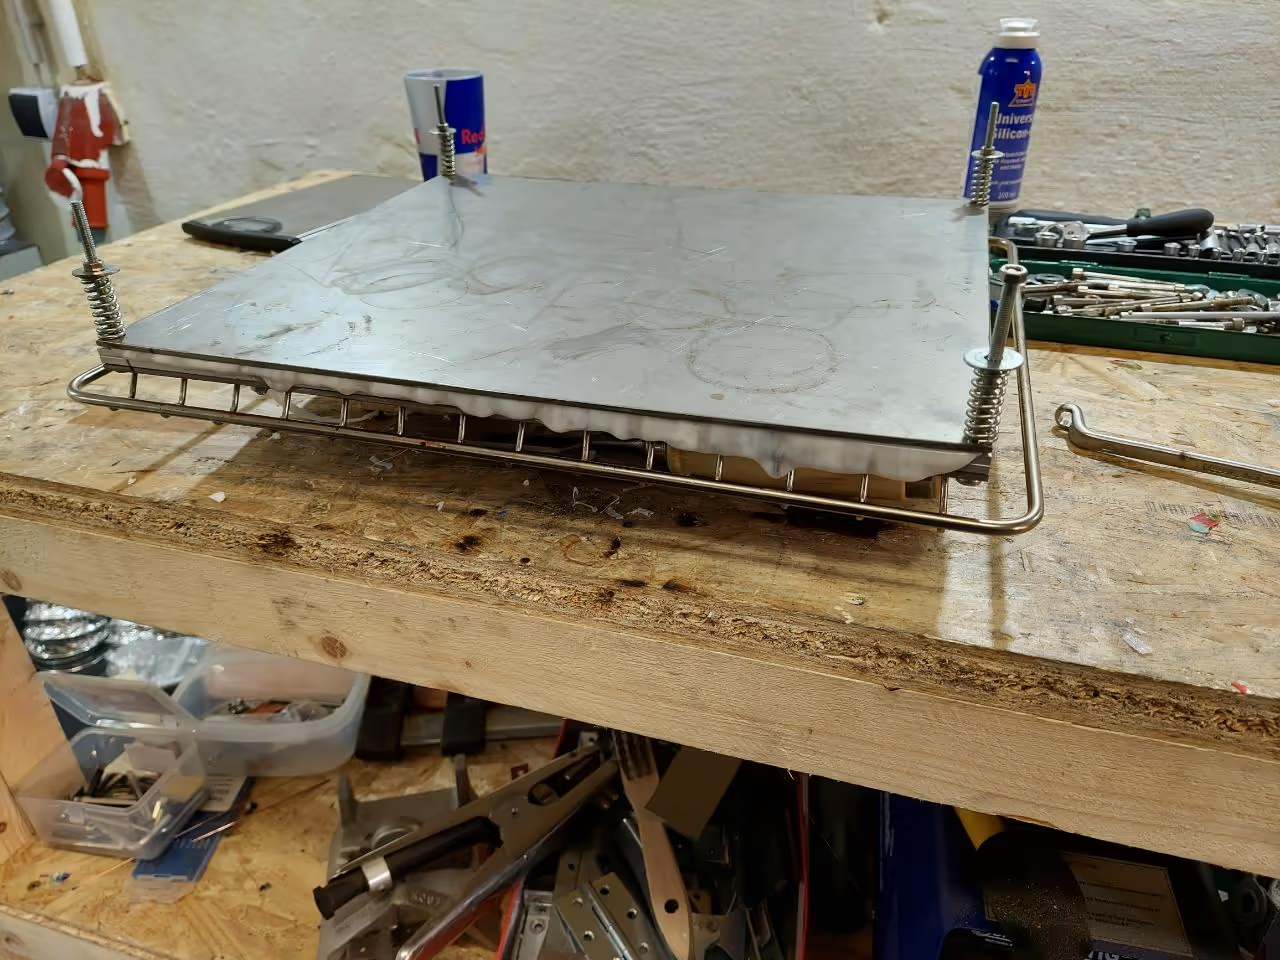
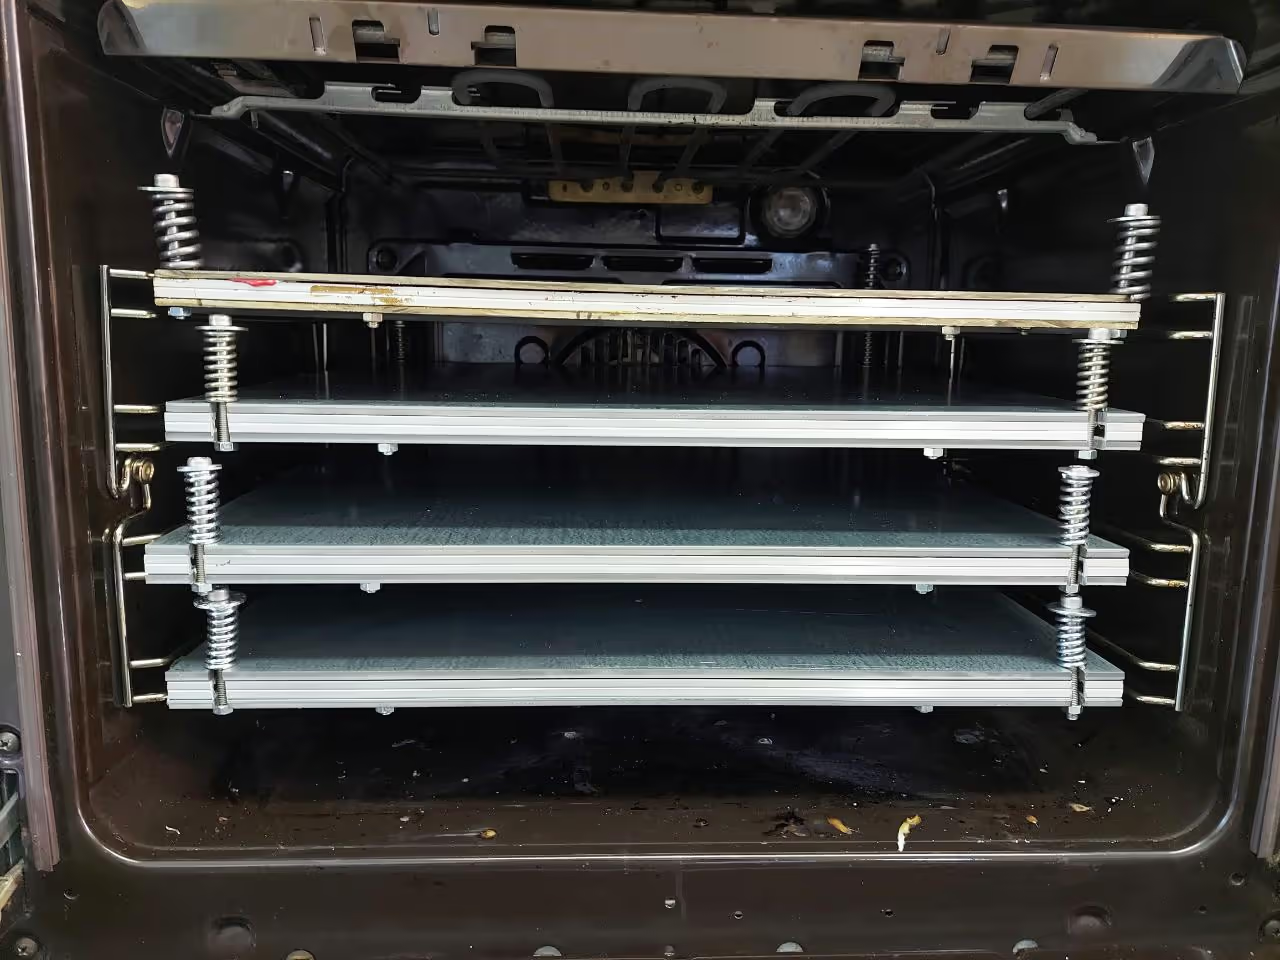
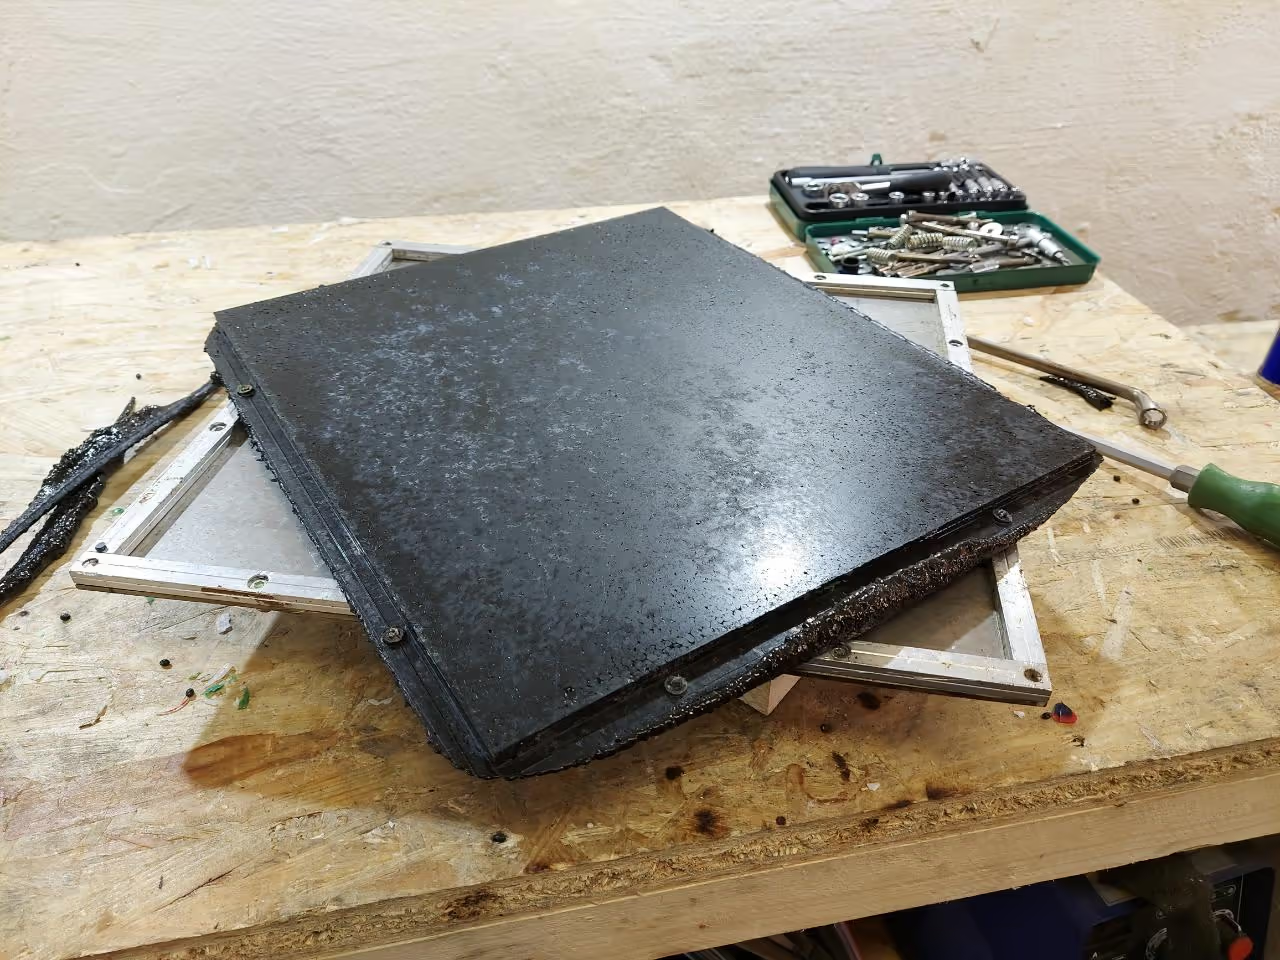
The mold is complete; let's test it.
Materials:
- Mold
- Plastic granules or pellets
- Silicone oil spray
- Oven
- M6 screw
- Washers
- Compression spring
Instructions:
- Lightly spray the inside of the mold with silicone oil.
- Fill the mold with plastic and place the cover on top.
- Insert compression screws and tighten the spring by screwing.
- Place the mold in the oven. Set the temperature based on your plastic type. If unsure, start at 392°F (200°C) and adjust in subsequent trials.
- Begin with a baking time of 1.5 hours.
0){ currentIndex--; lightboxLoaded = false; preloadAndOpen(); } }" class="product-gallery"> -
Materials:
- 4 Oven Molds
- Timer
- Optional Oven Rack
Tools:
- Screwdriver
Instructions:
- Prepare the four molds as shown in Step 5.
- Stack the molds in the oven.
- Initiate the baking process, noting that increased thermal mass may extend the baking time.
- Set the timer to automate the oven shutdown.
0){ currentIndex--; lightboxLoaded = false; preloadAndOpen(); } }" class="product-gallery"> -
Video Guide
A brief video demonstrating the entire process.
- 8Results
ABS Sheet Making Guide
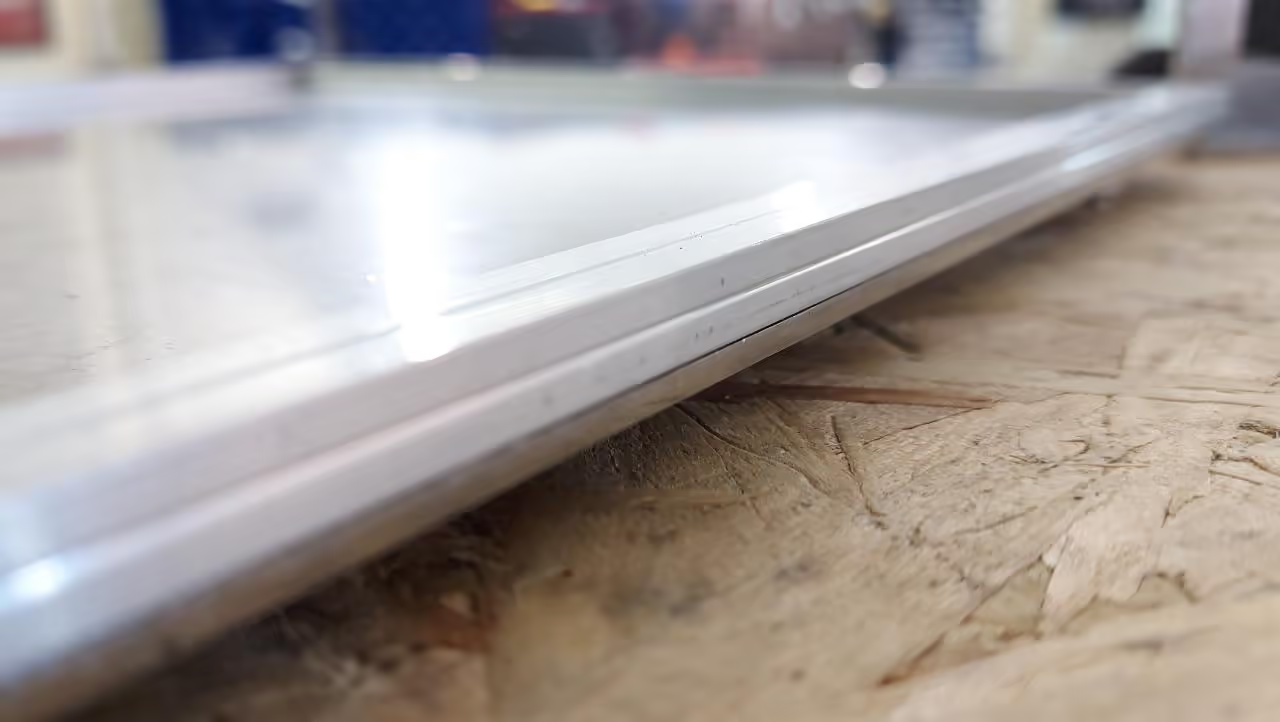
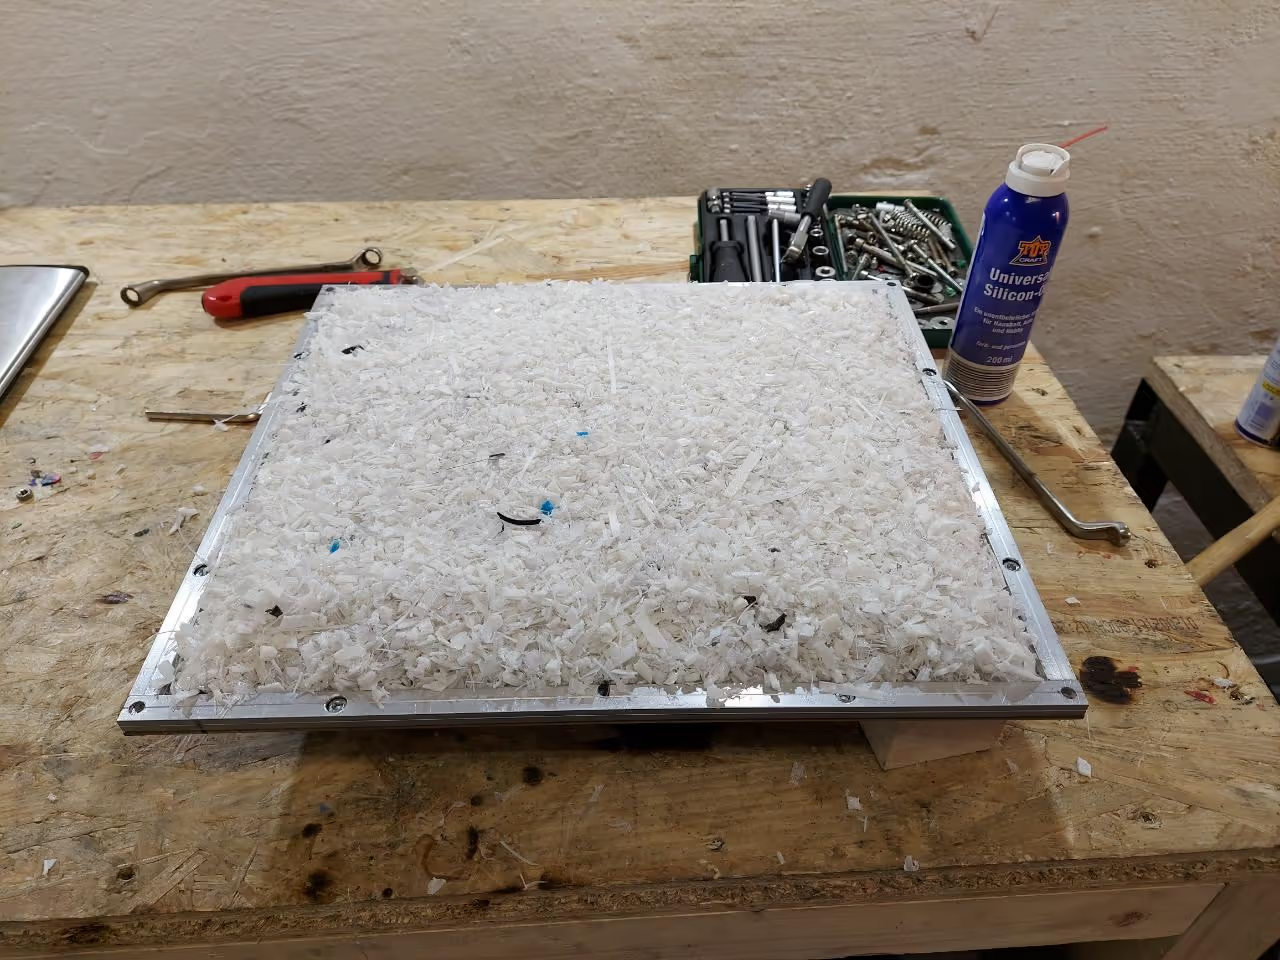
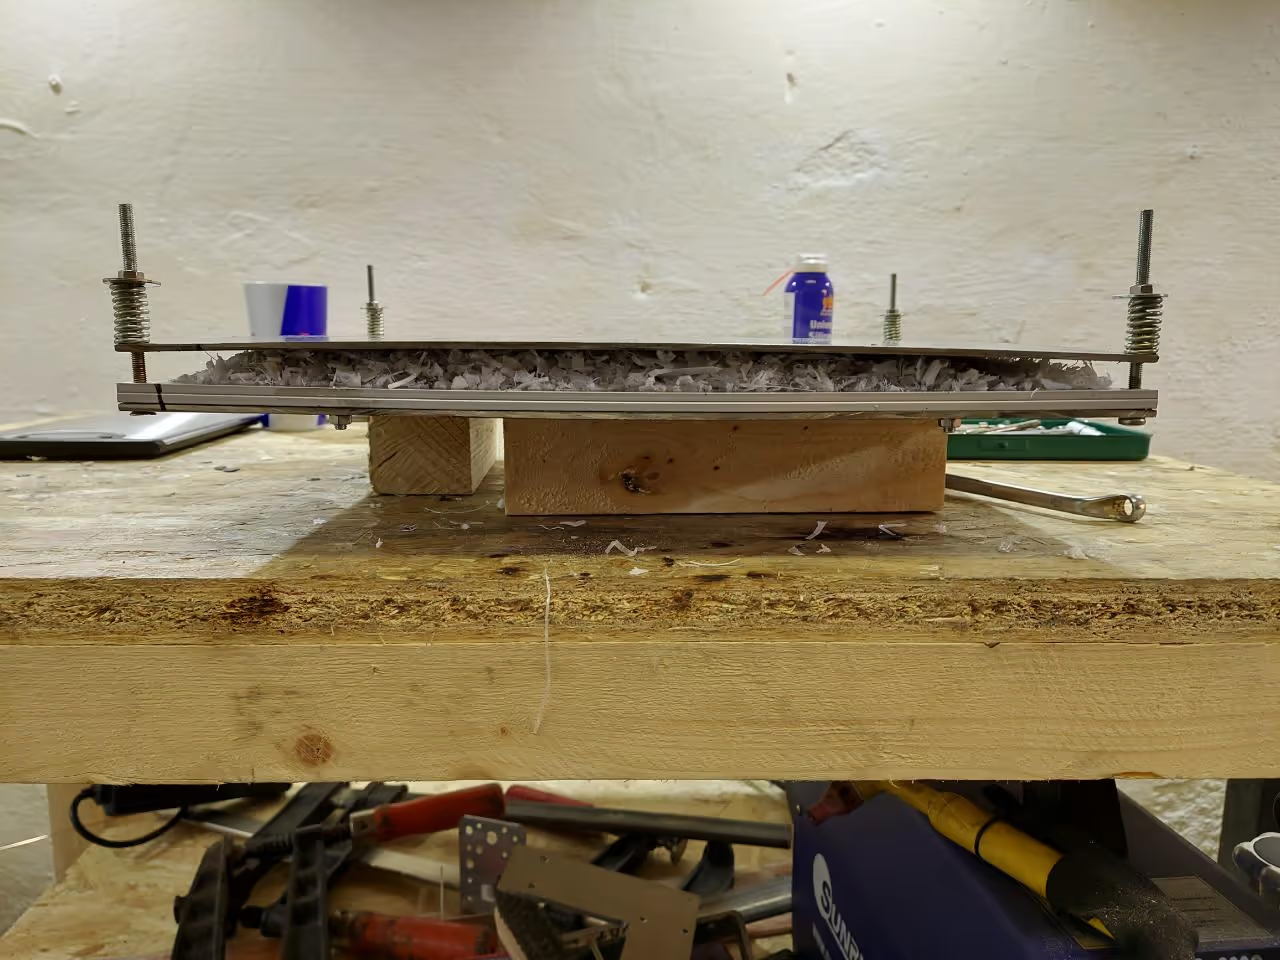
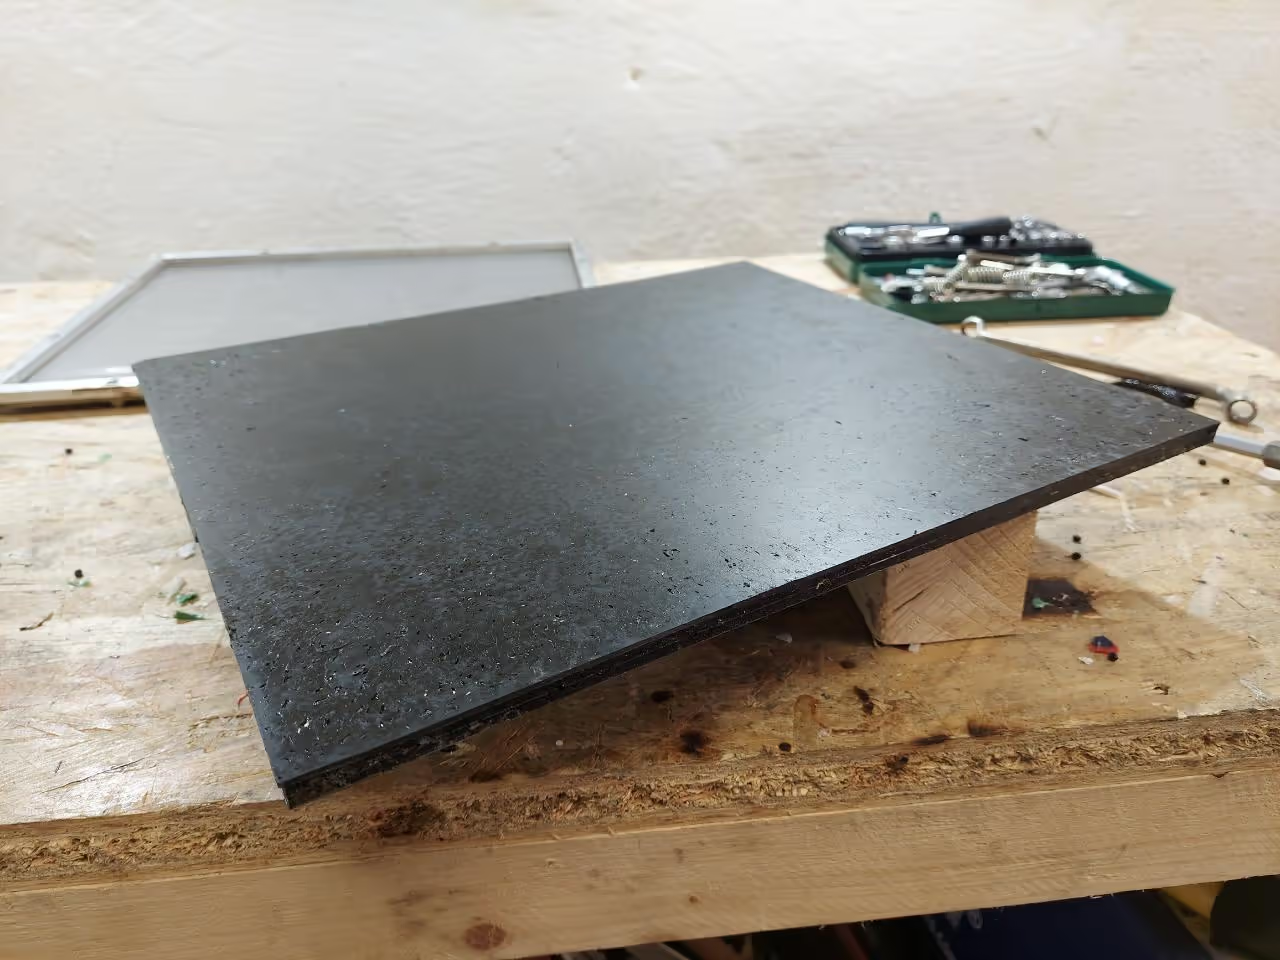
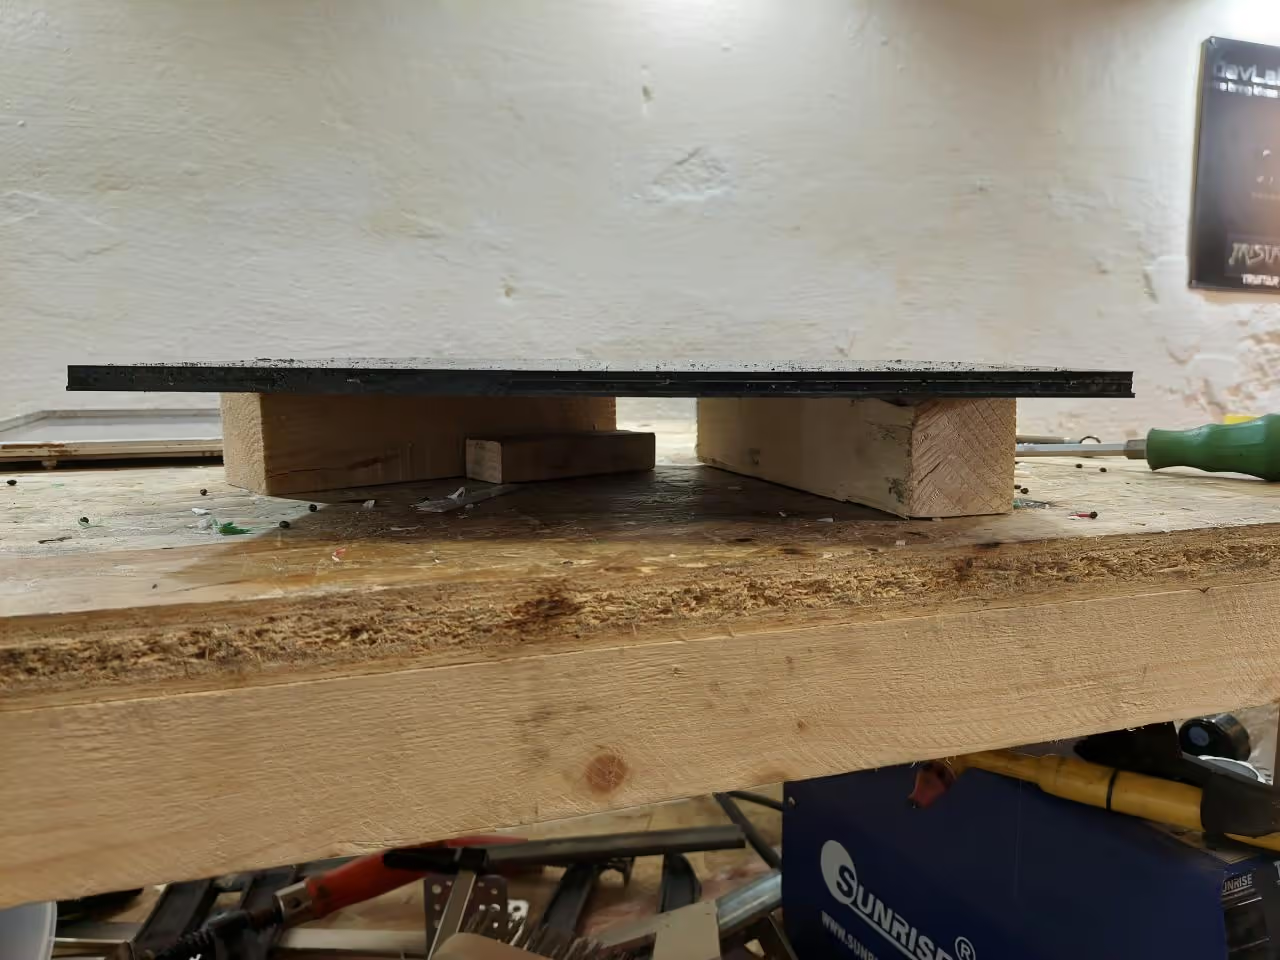
Below are images of a sheet made from ABS, showcasing the effectiveness of this straightforward process. After trimming the edges, you will obtain a flat sheet with a smooth surface. Small pellets or flakes are recommended for best results.
Process Exploration
Attempt the process independently. Experiment and innovate, and if you discover a more efficient method to produce sheets, consider sharing your findings through a tutorial.
Safety Warning
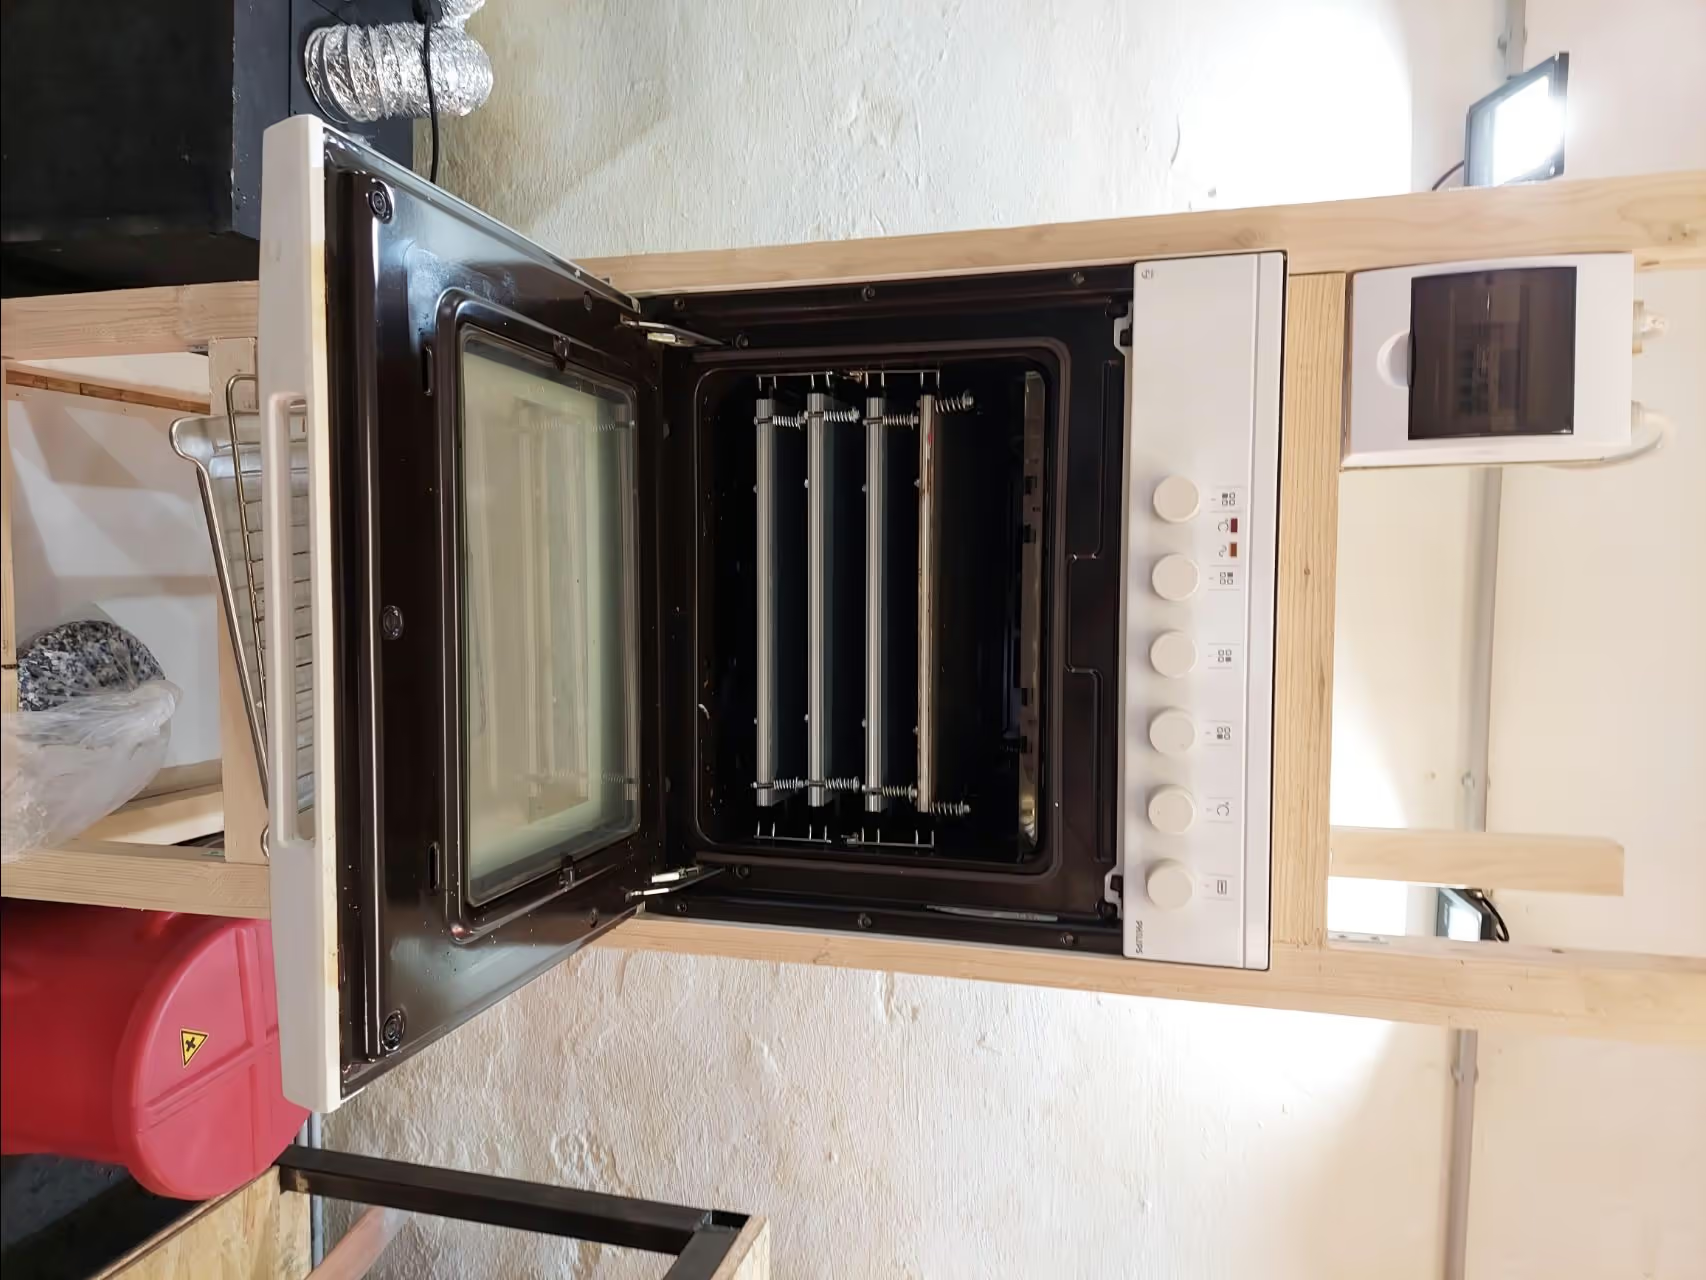
Ensure adherence to safety precautions. Use gloves, safety glasses, and a respirator while handling molten plastics. Avoid using your home oven for melting; instead, acquire a dedicated second-hand oven for this purpose.
0){ currentIndex--; lightboxLoaded = false; preloadAndOpen(); } }" class="product-gallery">
Tools
- Saw or angle grinder
- Metal drill bits (5mm, 8mm, 6mm)
- Clamp
- Screwdriver
- Safety equipment (gloves, glasses, respirator)
Hardware
- Galvanized metal sheets (350x400x3mm)
- Aluminum profiles (12.5x7.5x400mm and 12.5x7.5x325mm)
- Fasteners (M5/M6 screws, nuts, washers, compression springs)
- Oven (dedicated) and oven molds
- Plastic granules/pellets and silicone oil spray
Software
- N/A (No software required)
References
Opensource Designs
- Self-compressing oven mould for making sheets [1]
- ~~Build a compression machine~~ [2]
- Sheet-press mould development [7]
- DIY compression mold using a kitchen oven [3]
- Vacuum forming DIY guide [8]
- DIY plastic molding forum guide [15]
Books
- Compression Molding of Rubber – A Practical Handbook [9]
- Injection and Compression Molding Fundamentals [11]
- Vacuum Forming for the Hobbyist [12]
- Compression Molding of Rubber (Alternative Edition) [14]