Multishape beads mould
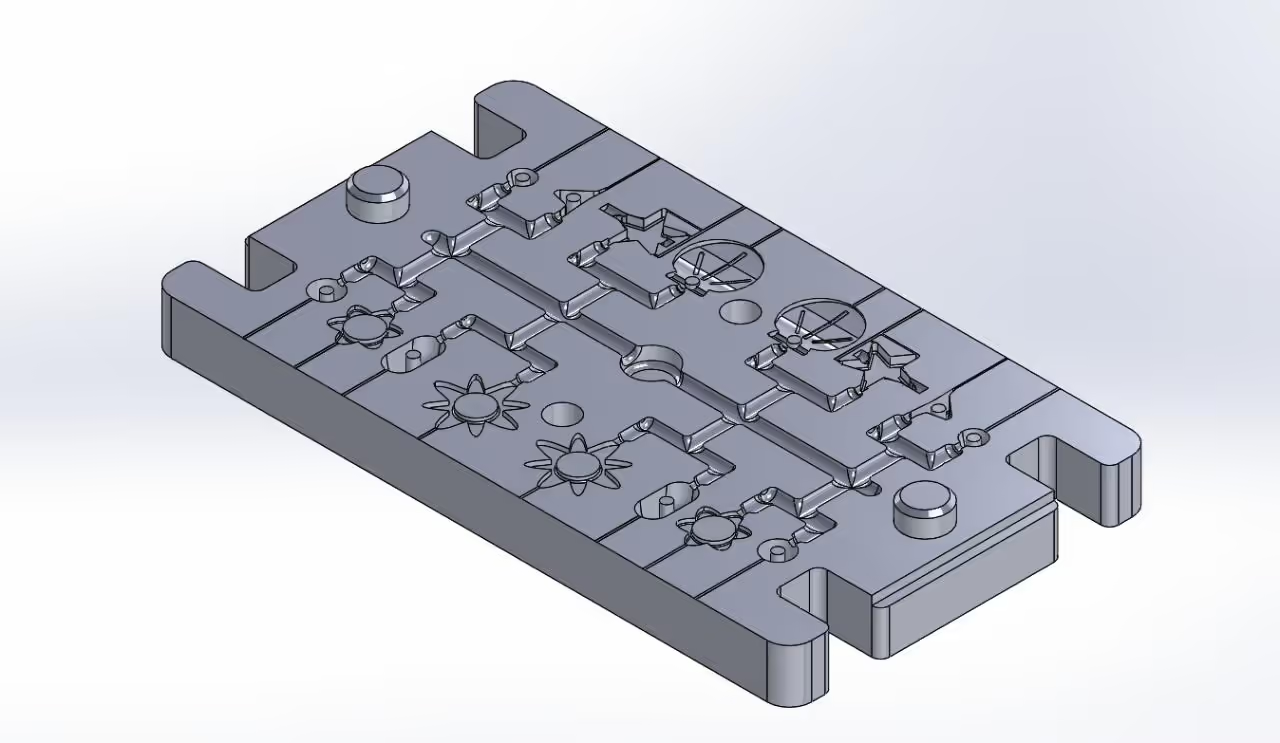
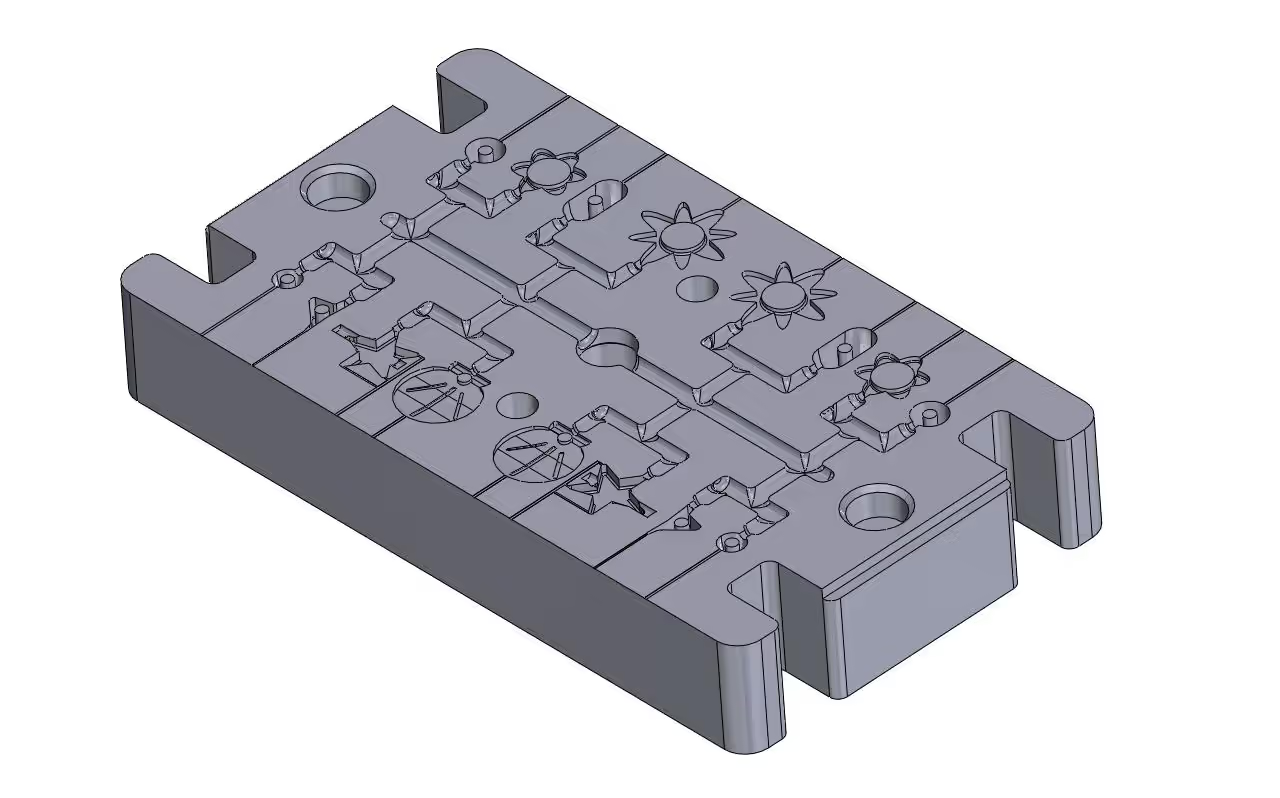
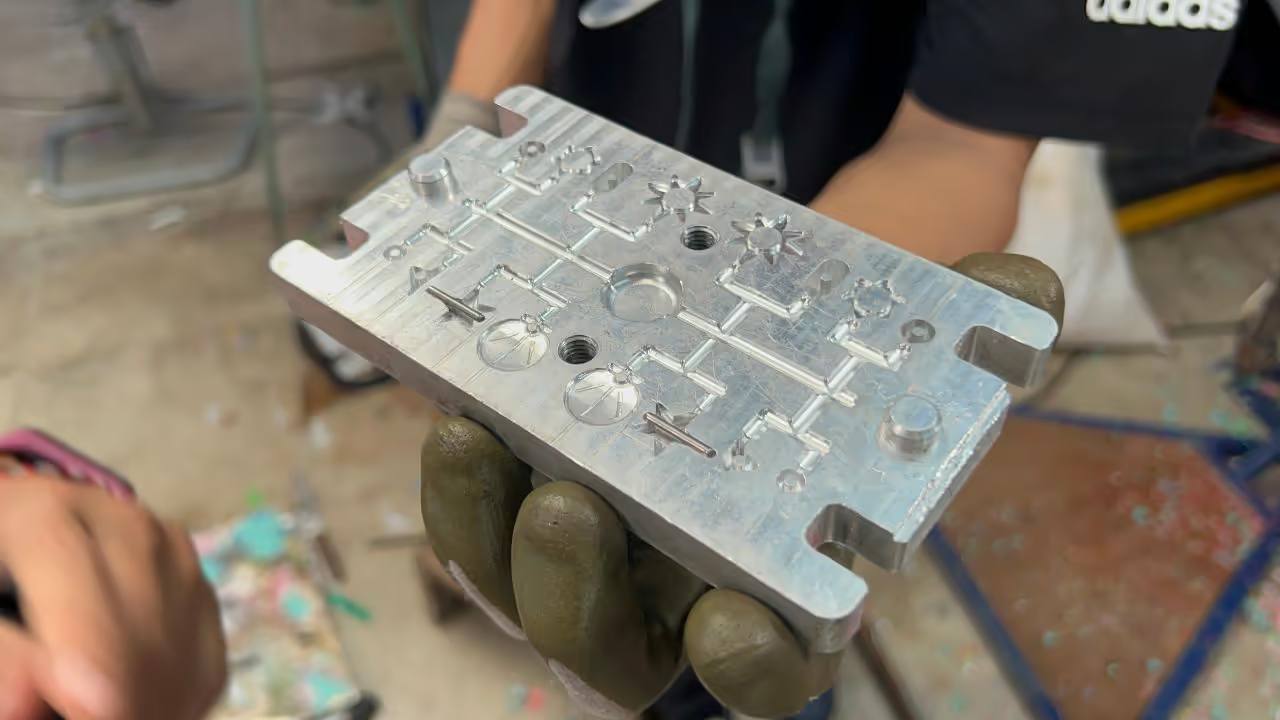
MOULD
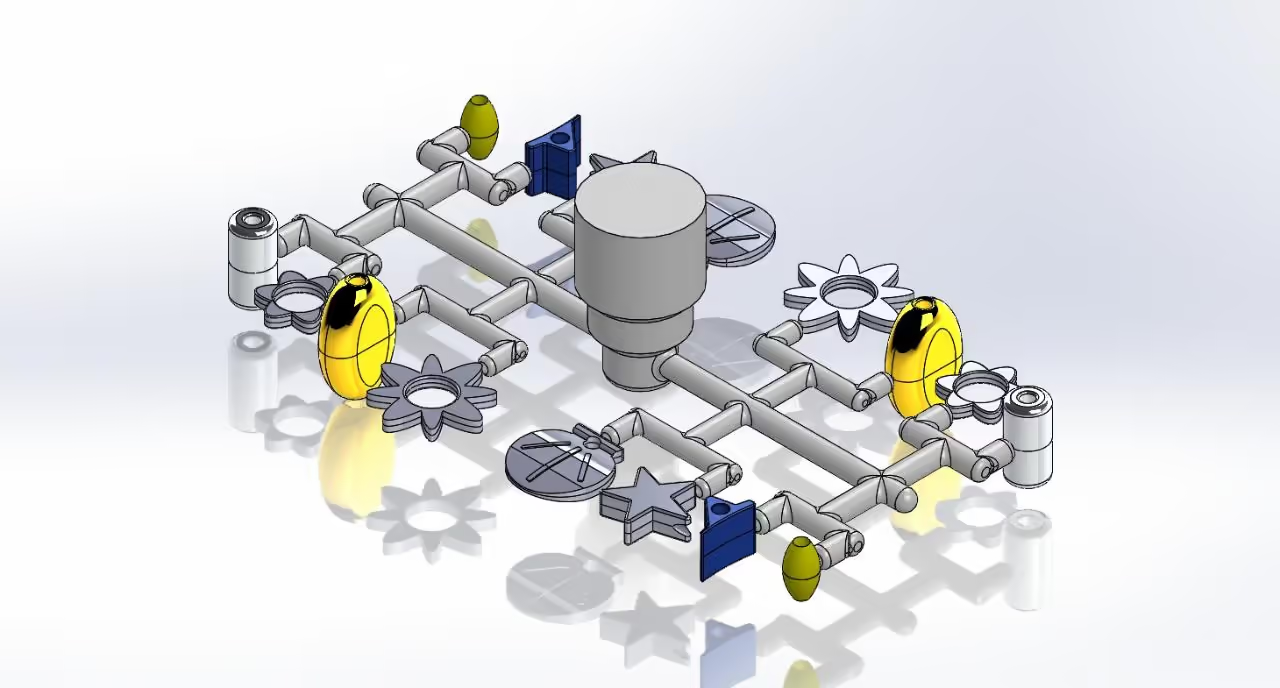
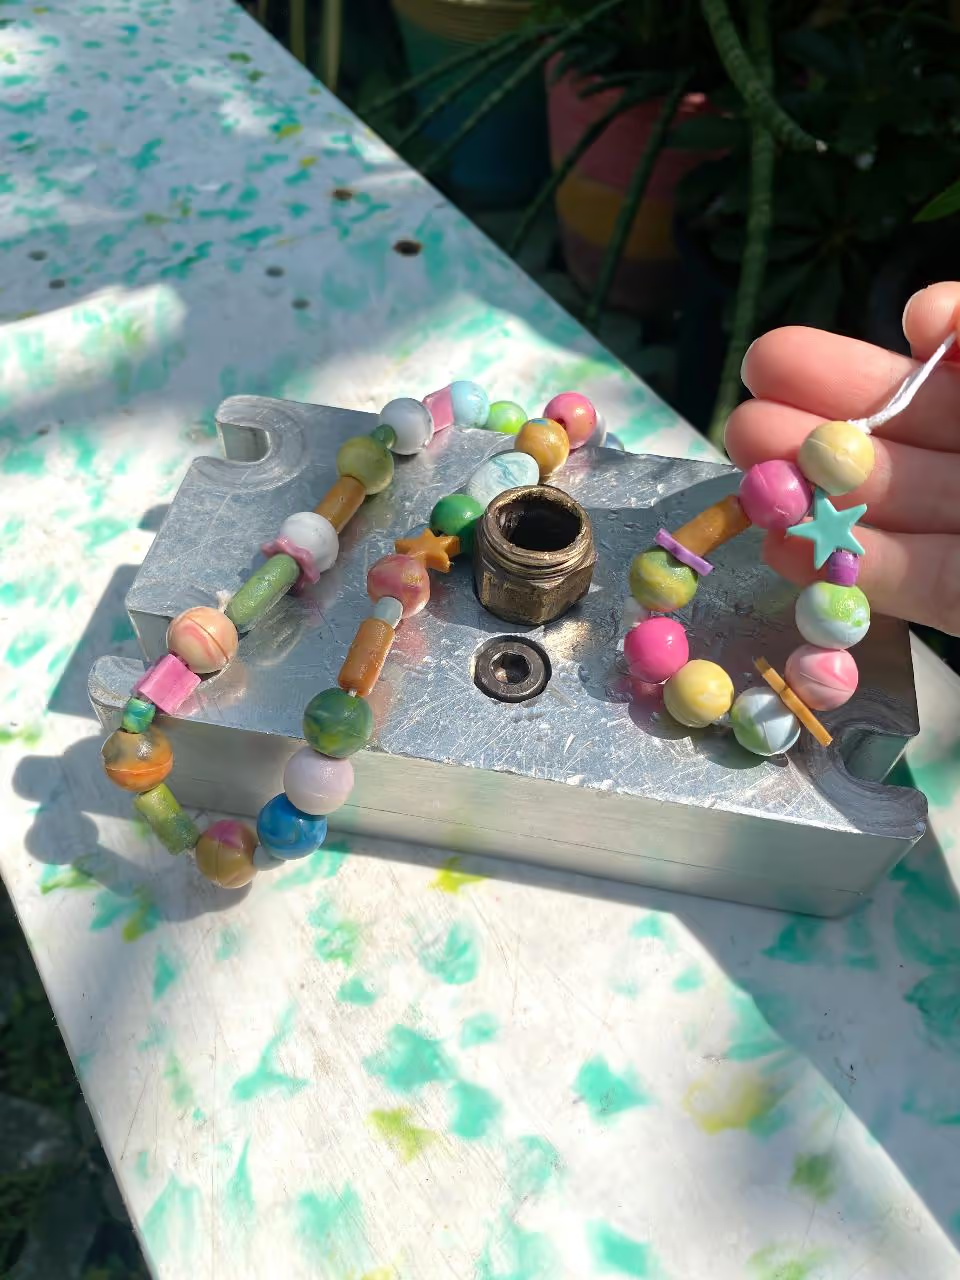
PRODUCT
INJECTION
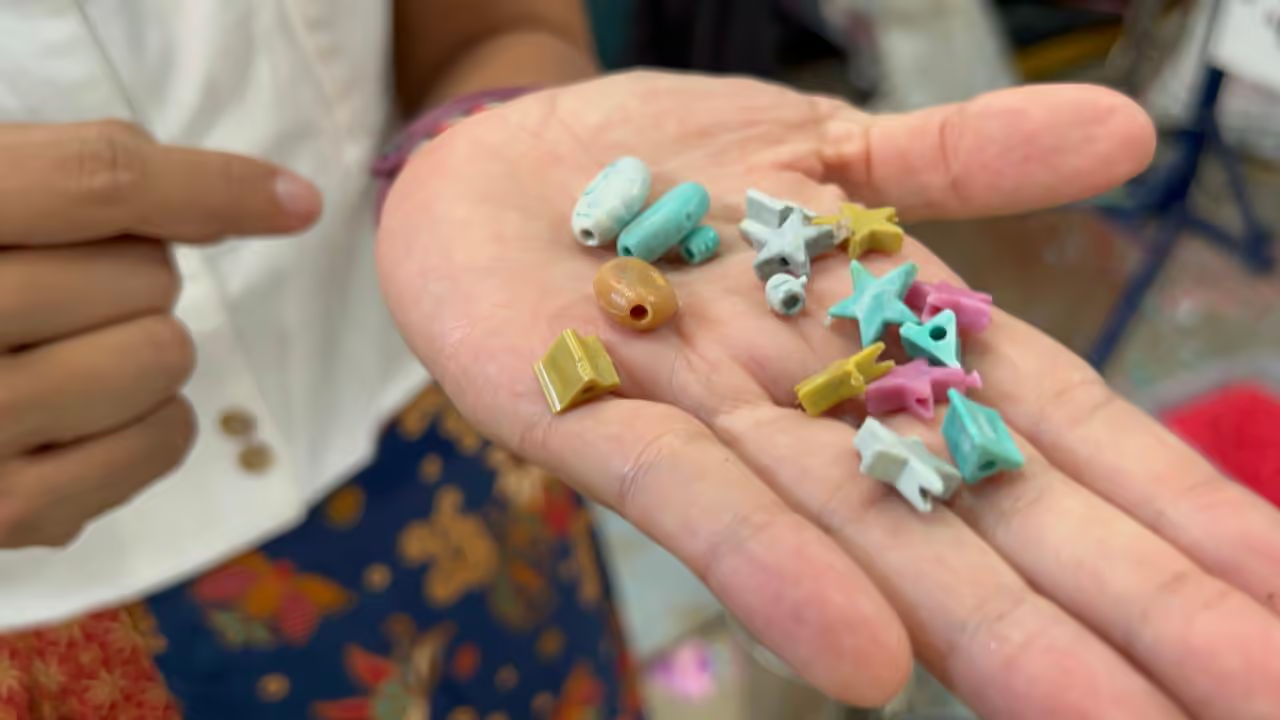
Create diverse bead shapes simultaneously for jewelry making with this mini beads mold. Follow these steps to make your own!
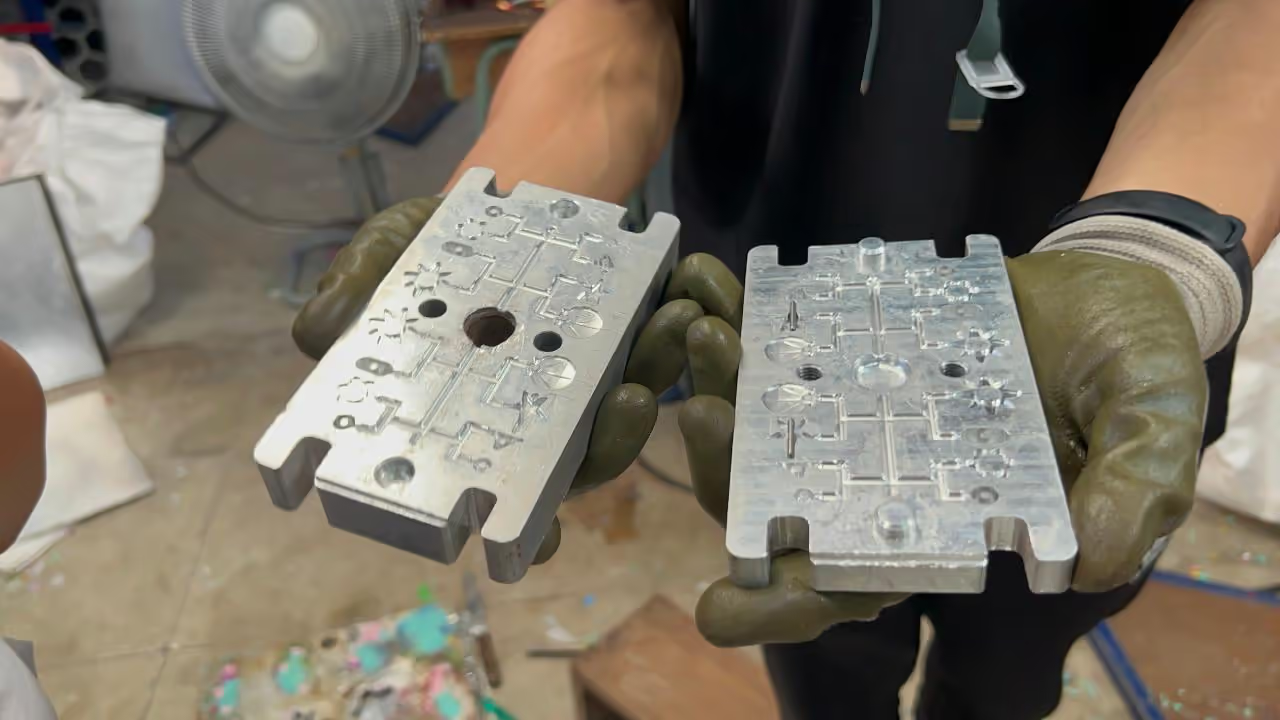
To create various bead sizes and shapes, a mould with balanced cavities is necessary. Design your desired shapes based on the types and sizes of cords you plan to use, ensuring the bead hole is approximately 3% larger than the cord. Align bead holes vertically with the mould's detachment line. All beads are bisected at their center except the star-shaped one, which requires a dowel pin for the hole, due to CNC machine limits when placed vertically.
There are 16 bead cavities in the mold, with the quantity based on the barrel capacity. Adjust the bead count per mold to balance the plastic mass according to flow direction. The components are CNC-milled from two aluminum blocks, comprising three pieces: top and bottom aluminum parts, and a dowel pin for the star bead. The top part connects to a bronze nipple (1/2 inch NPT).
Tools needed: Gloves, Mask, 17 mm (0.67 in) Wrench, 4 mm (0.16 in) Allen Wrench
Machines needed: Injection Machine, Shredder (or Shredded Plastics)
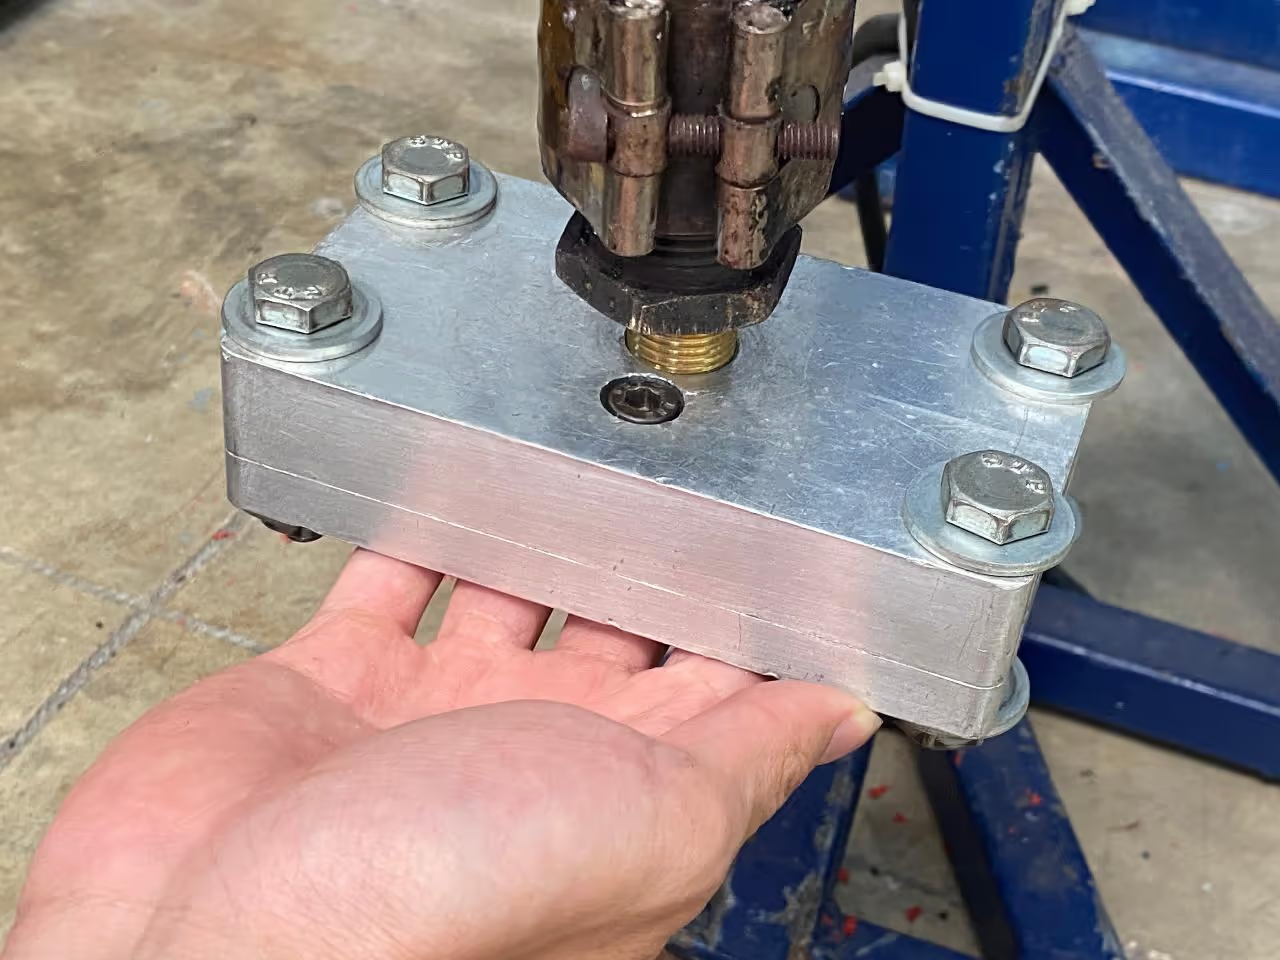
Ensure the mold is clean. Place the dowel pin in the star shape and align the top and bottom parts using the guide pin. Insert M10 bolts at the four corners and two counter-bore bolts in the center holes. Proceed with injection.
Prepare the Machine
Heat and Inject
Inject the Plastic
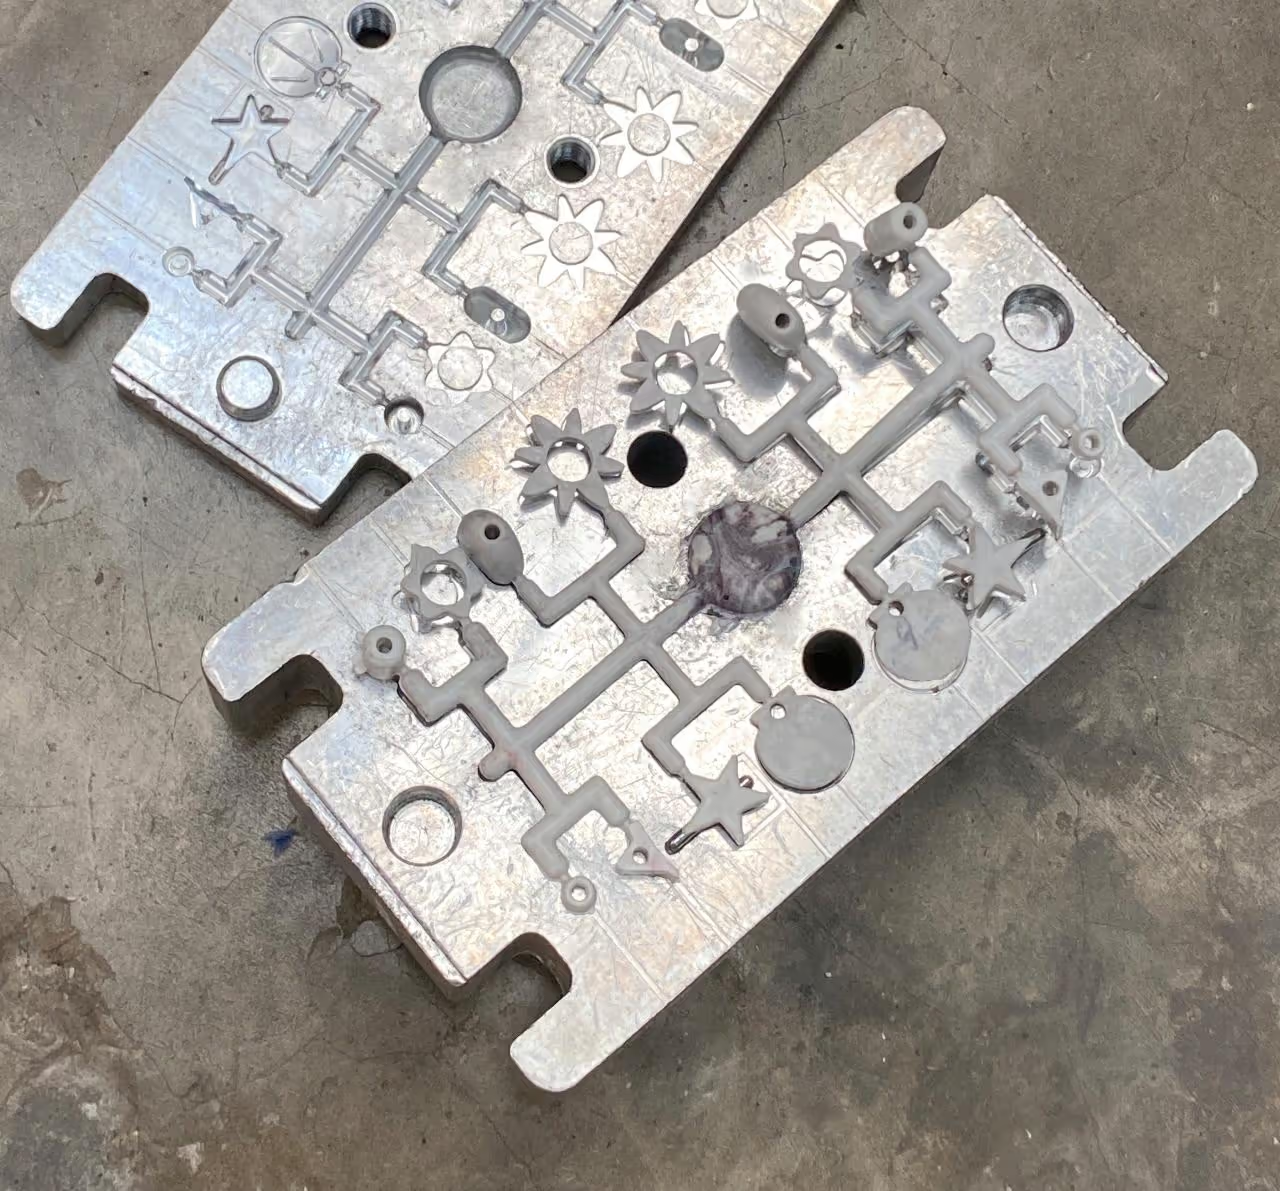
Lift the bar slightly and remove the mold. Ensure the injection is closed to prevent plastic from dripping. Unscrew all bolts and use a slotted screwdriver to open the mold along the marks. Tap the plastic out from the back through the nozzle connector, ensuring it is sufficiently cooled, and remove the dowel pin.
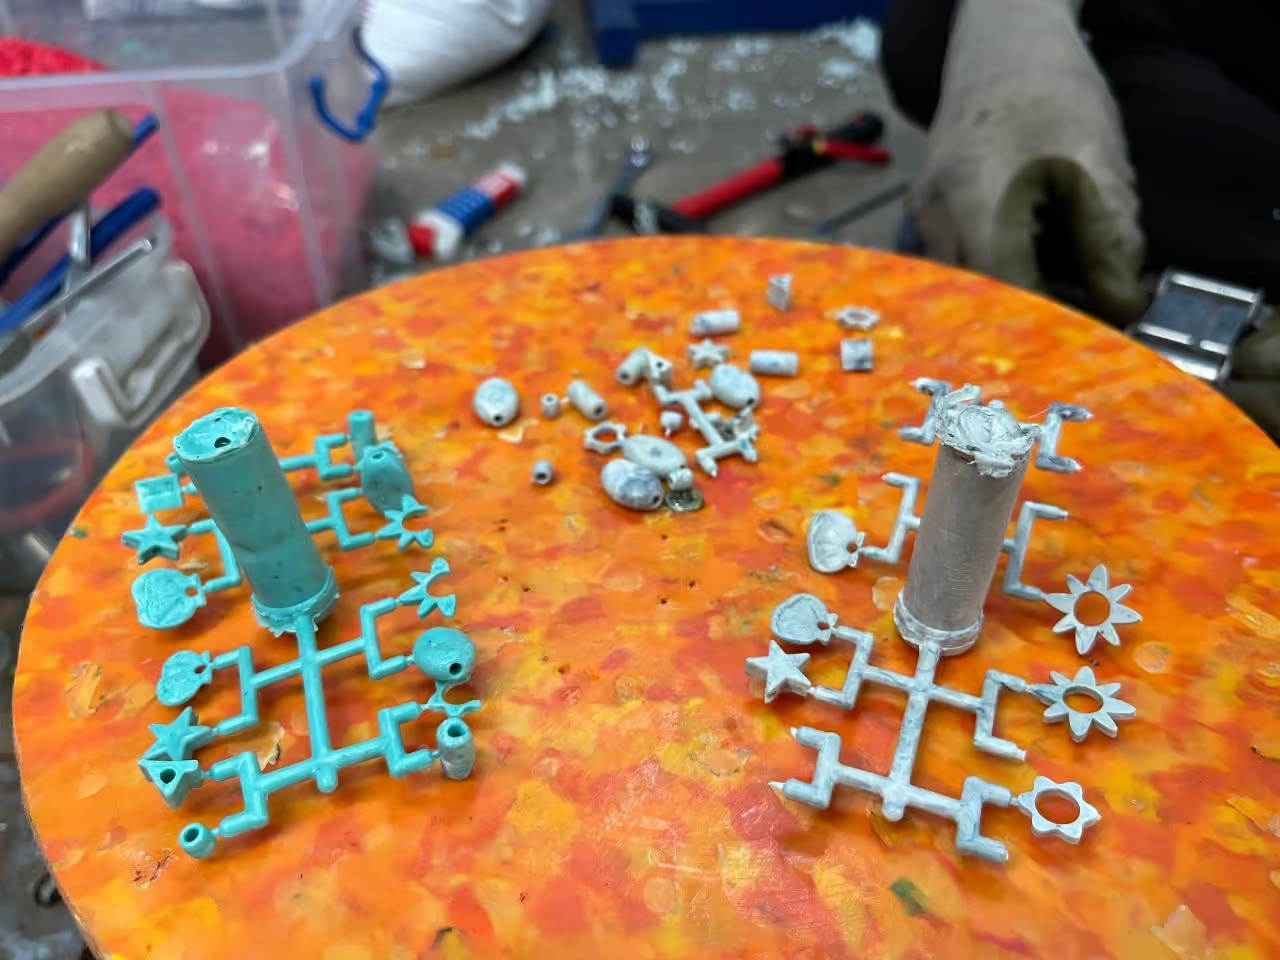
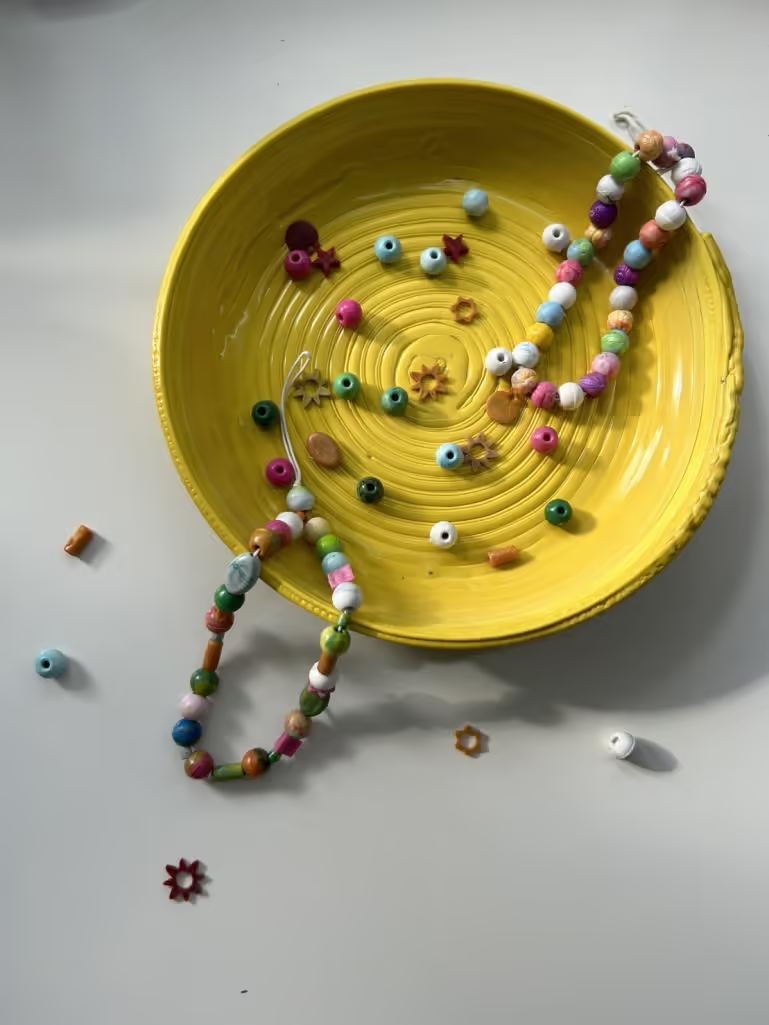
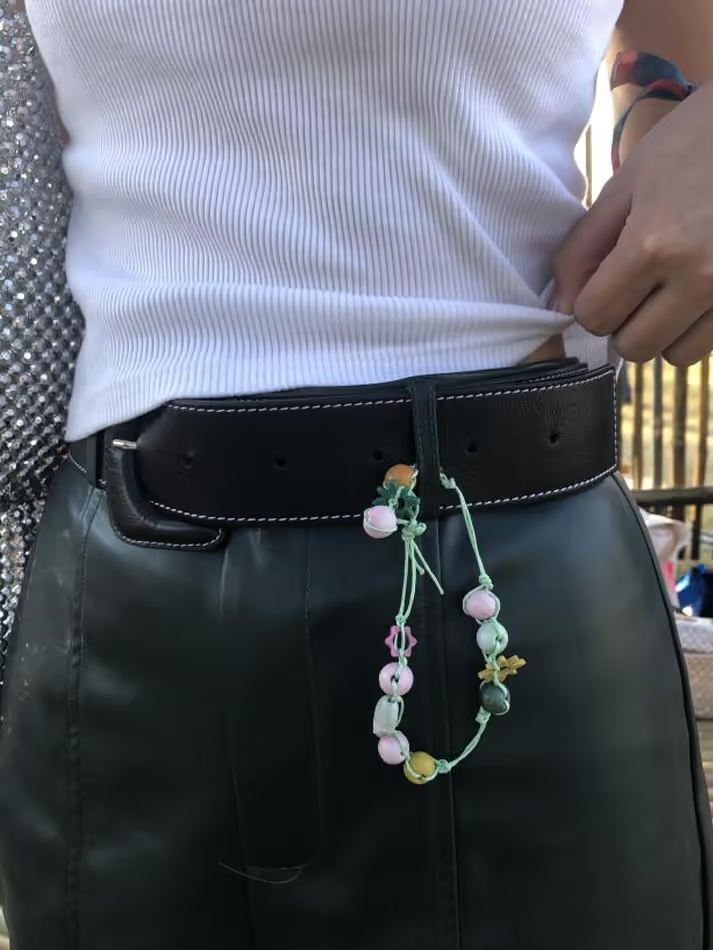
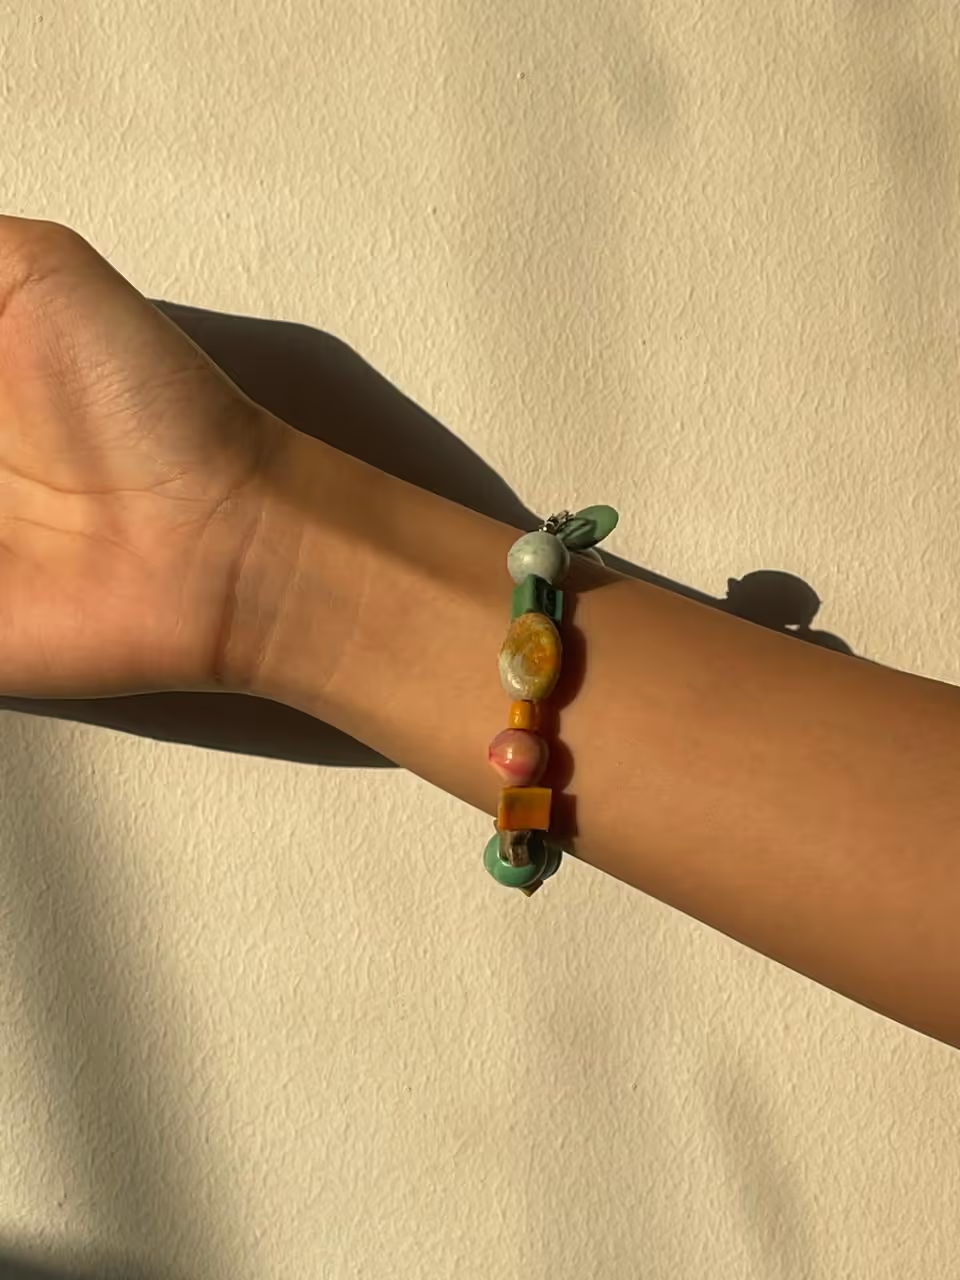
Cut all excess parts with pliers, then proceed with your creations.