Make some Colorful Plant Pots
PRODUCT
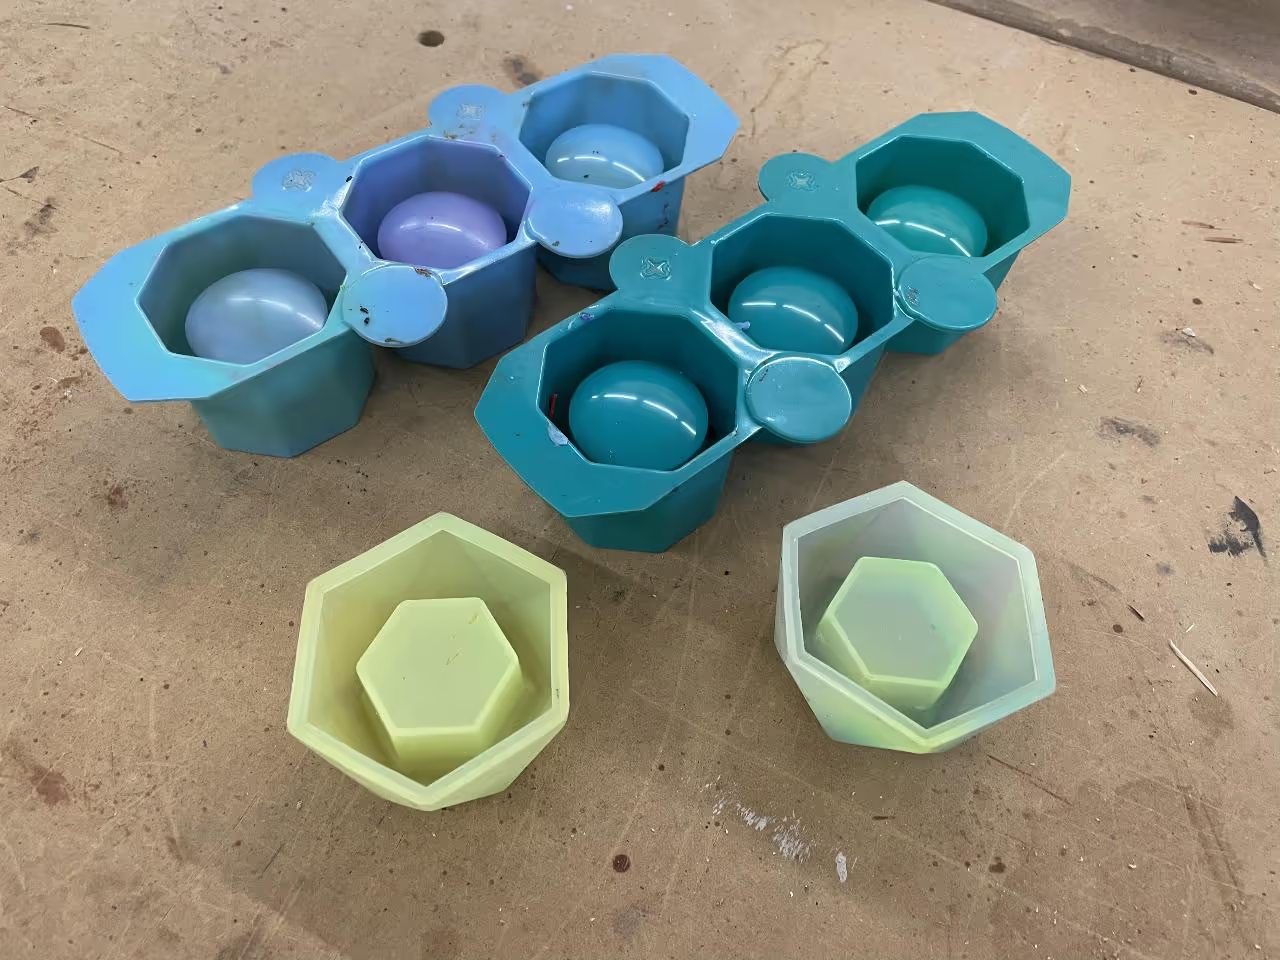
MOULD
COMPRESSION
Let's transform plastic into vibrant plant pots.
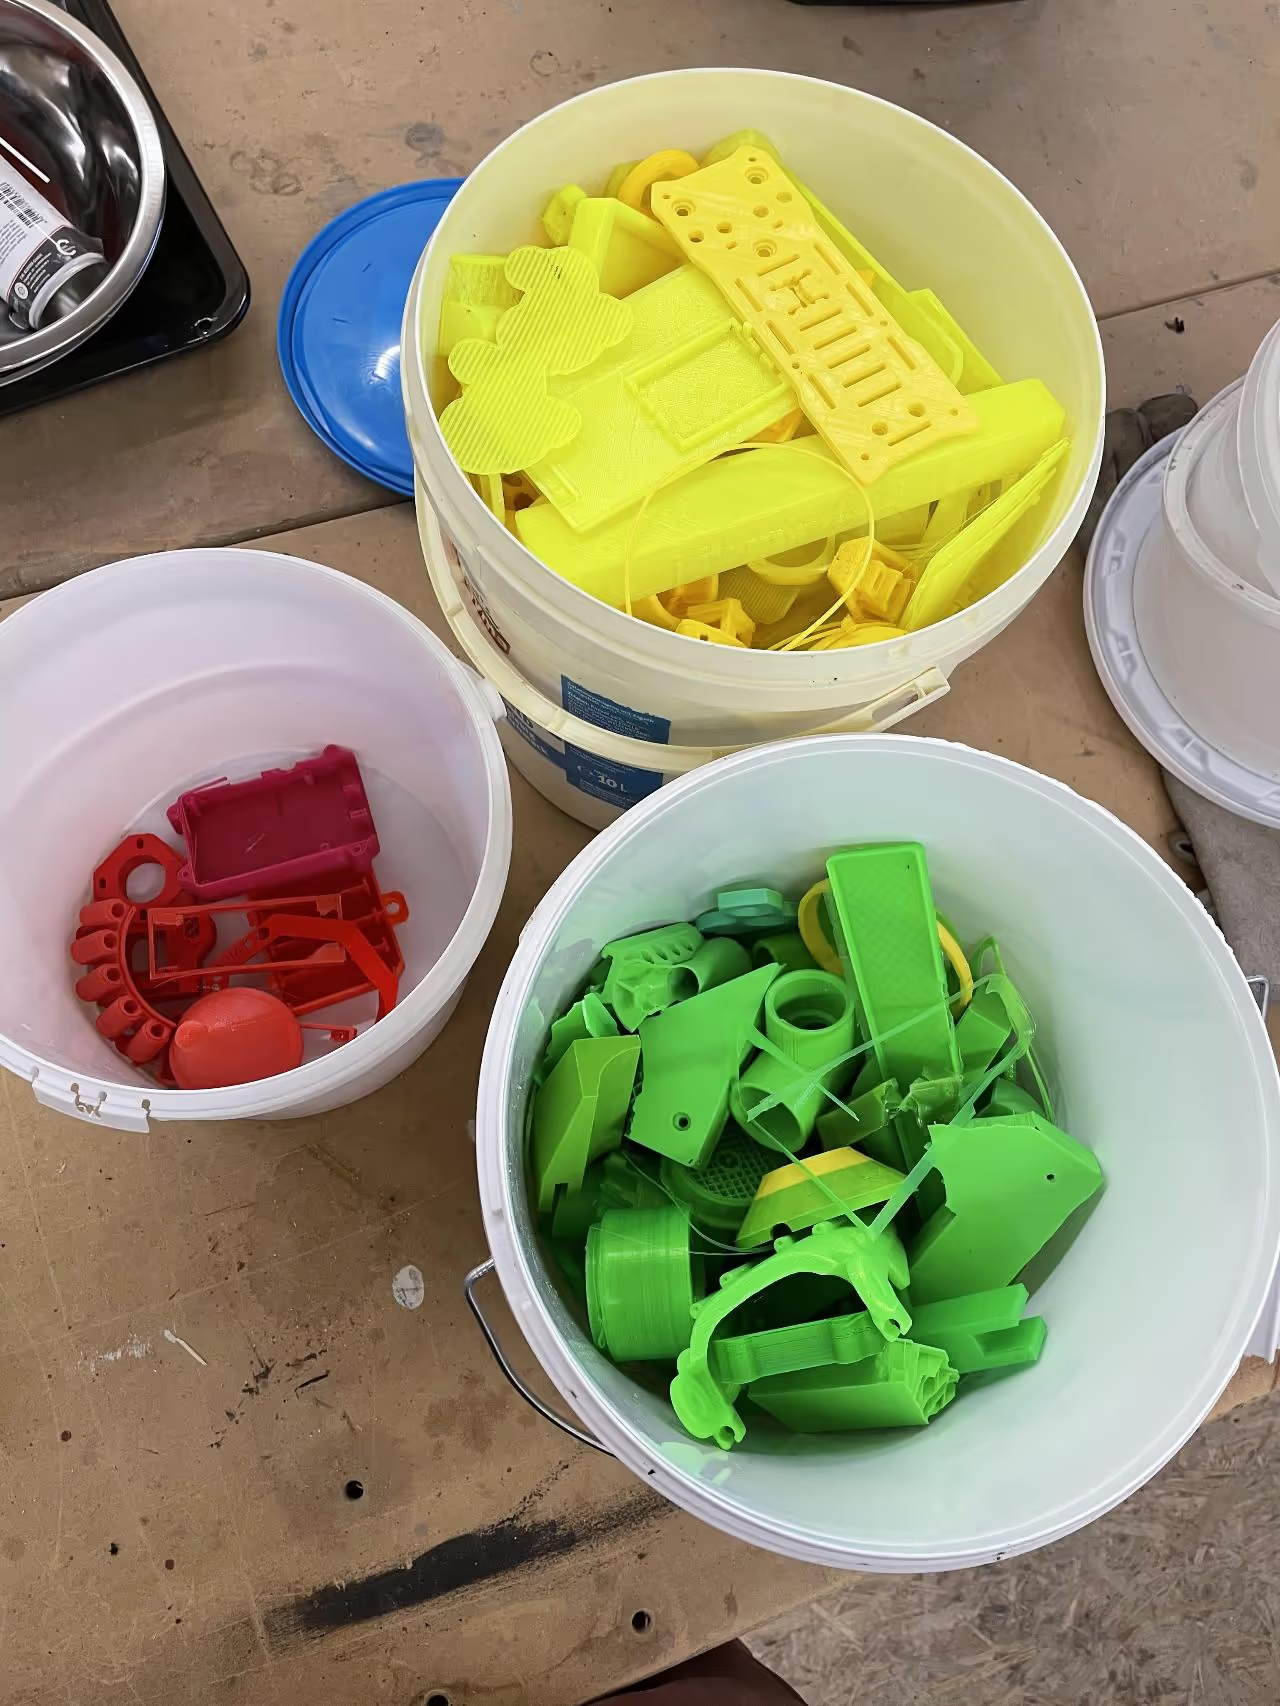
To create pots, you need the following materials and tools:
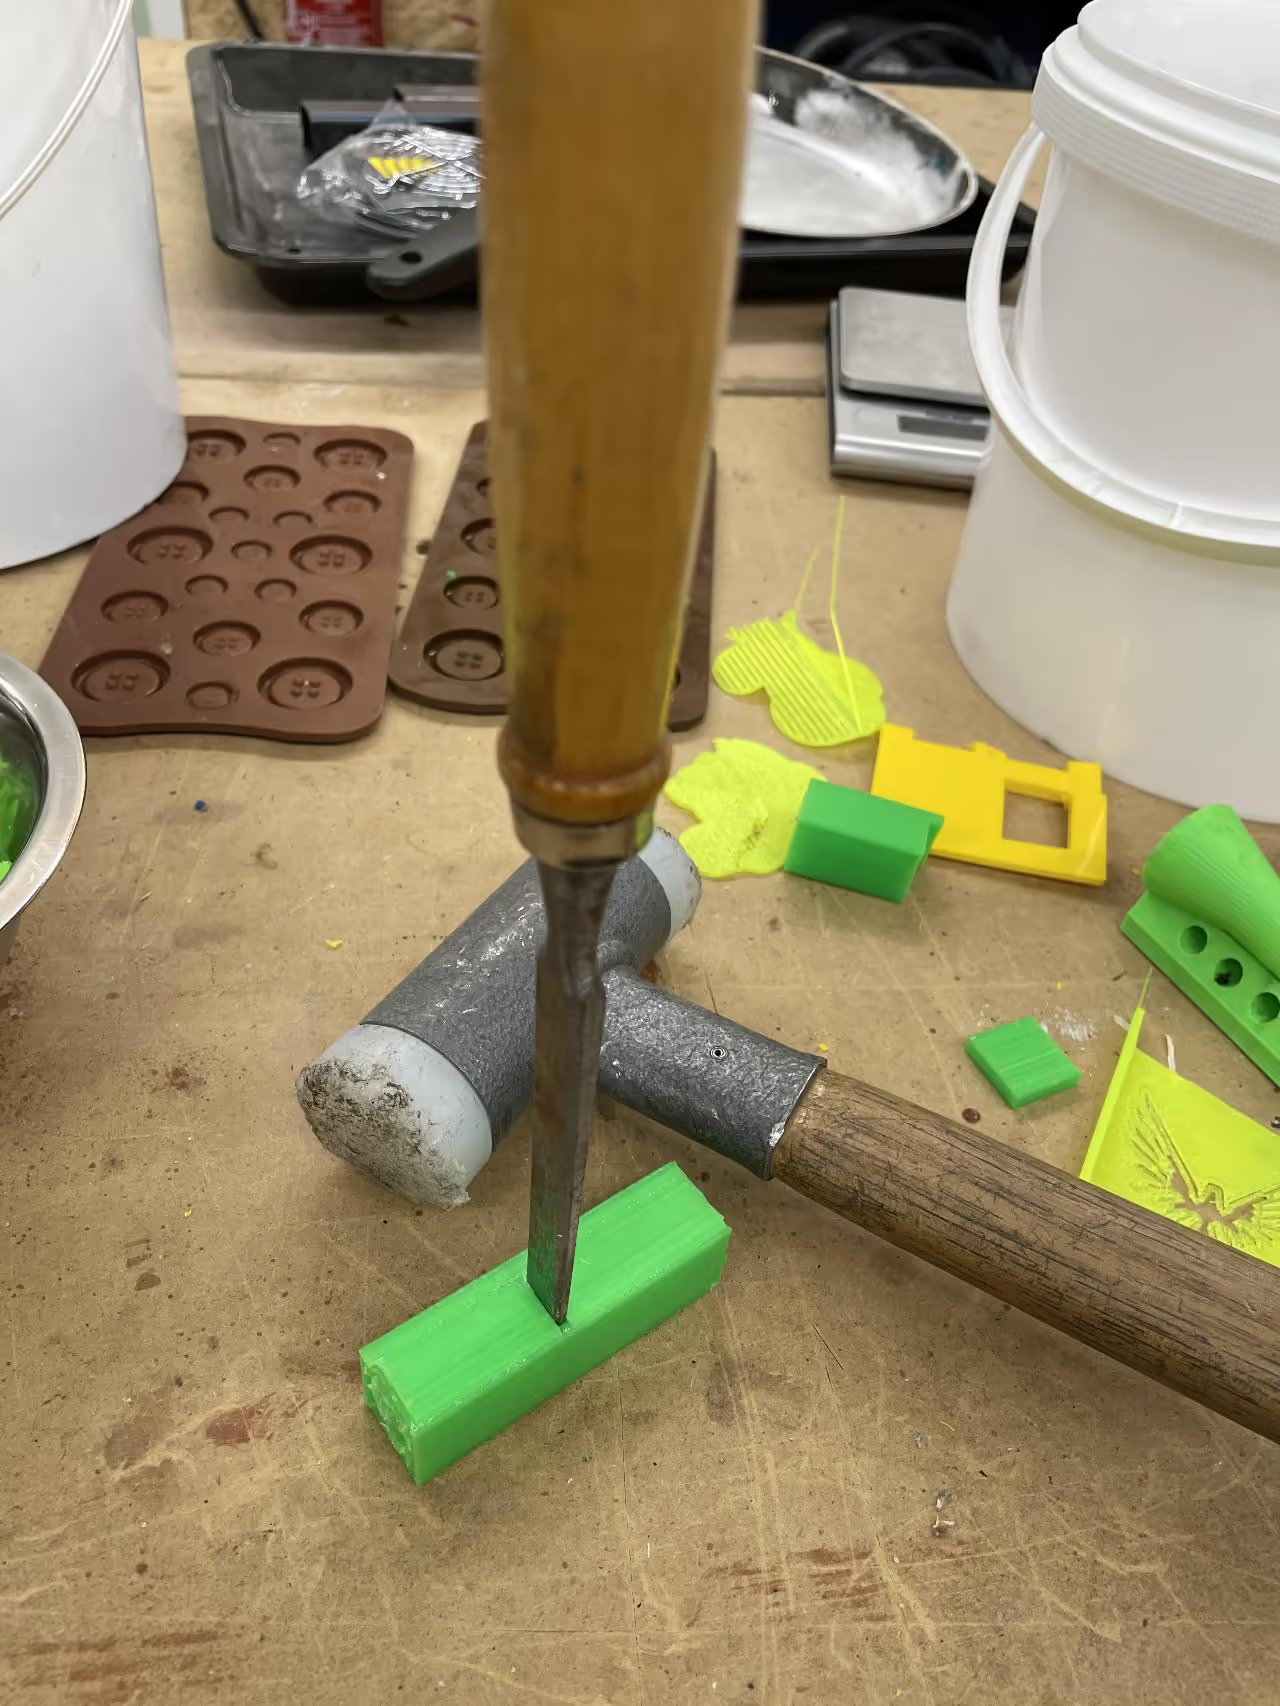
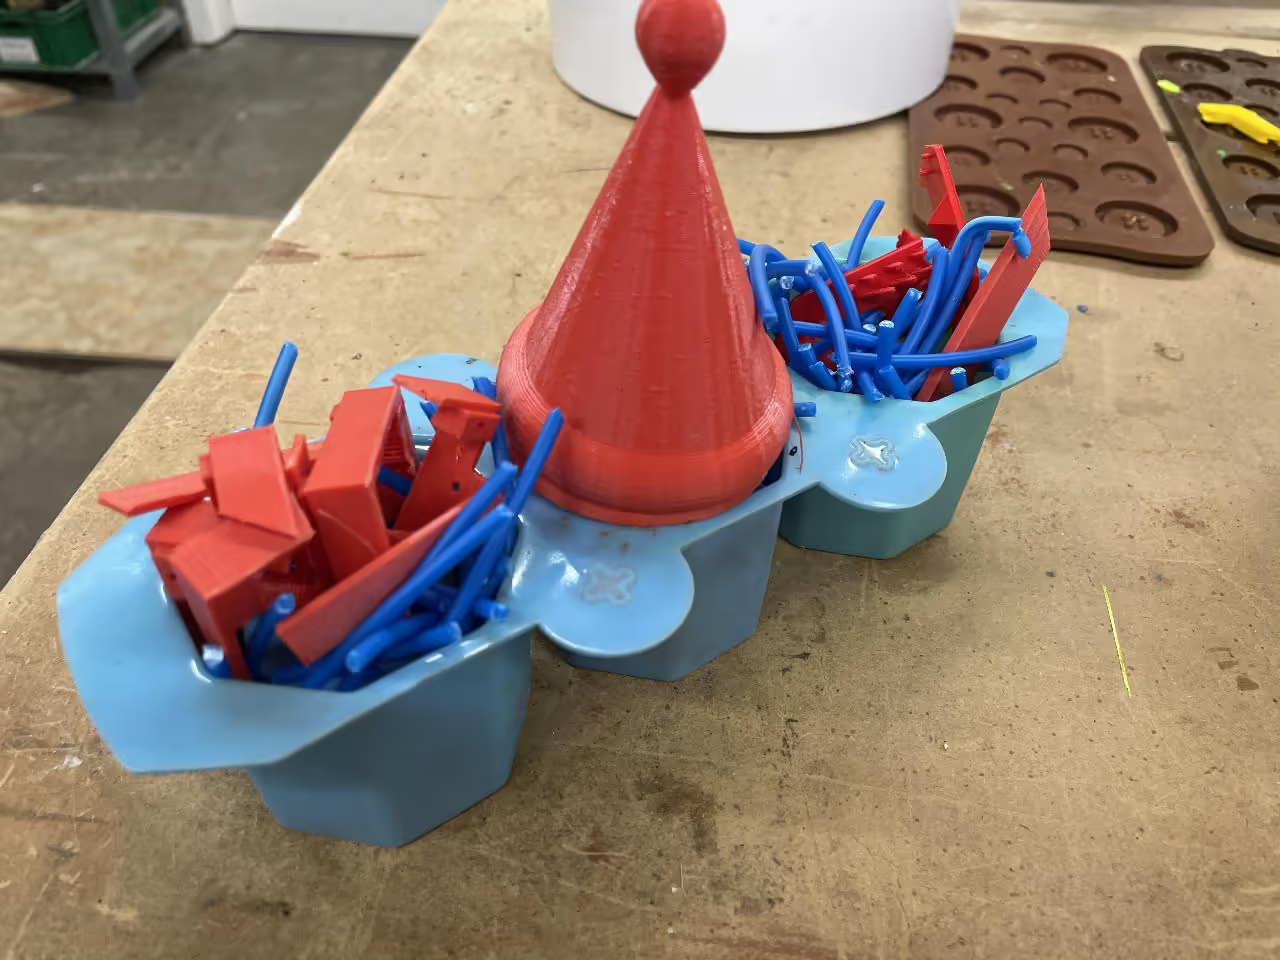
Plastic must be reduced to smaller pieces to fit silicone molds. Use a shredder if available or alternative tools like a hammer (for brittle plastic), shears, or bandsaws to downsize. Precision isn't crucial as the plastic will melt to conform to the mold. Experiment with color patterns based on the piece sizes used.
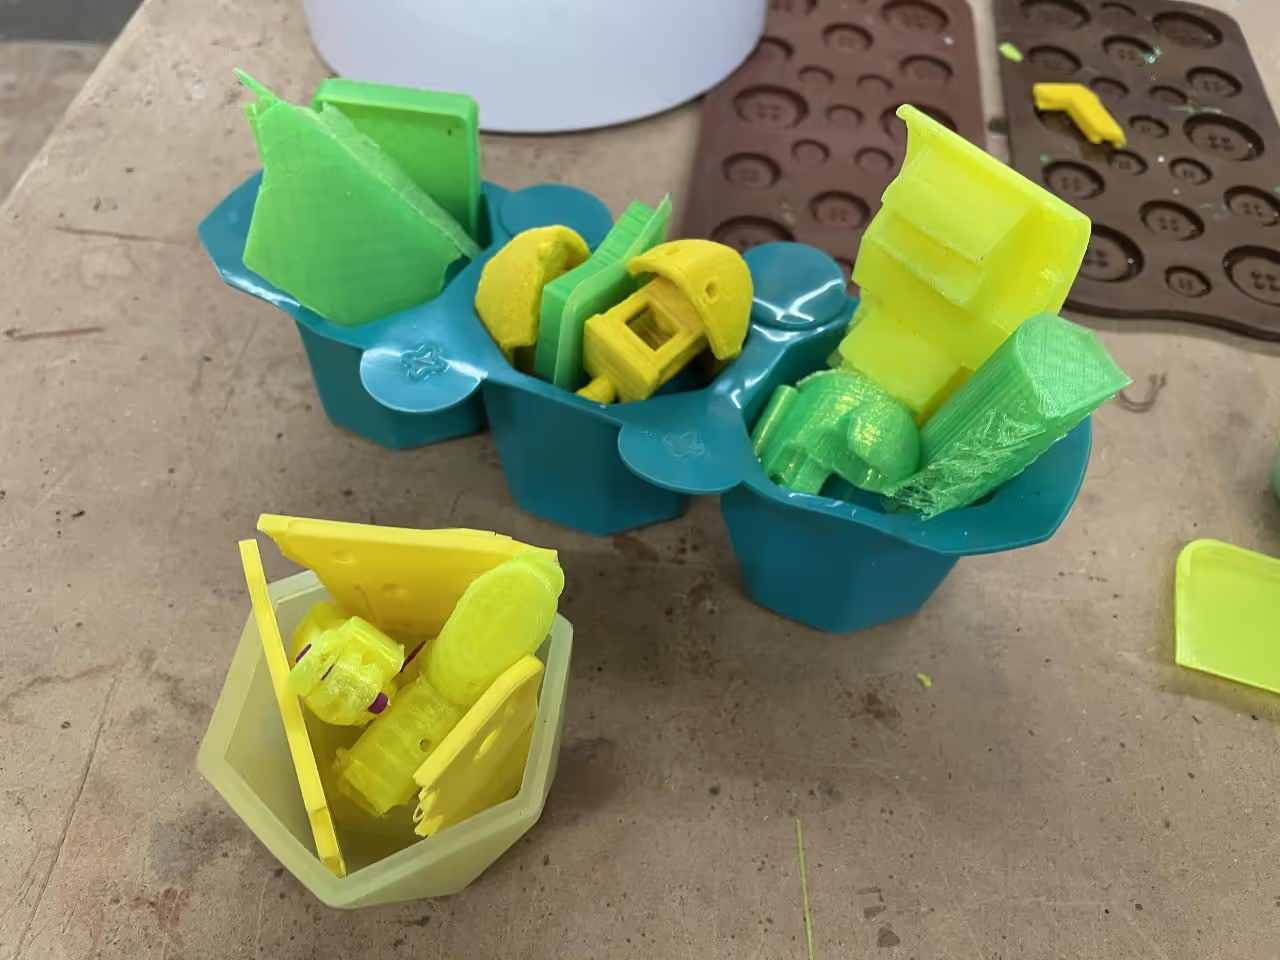
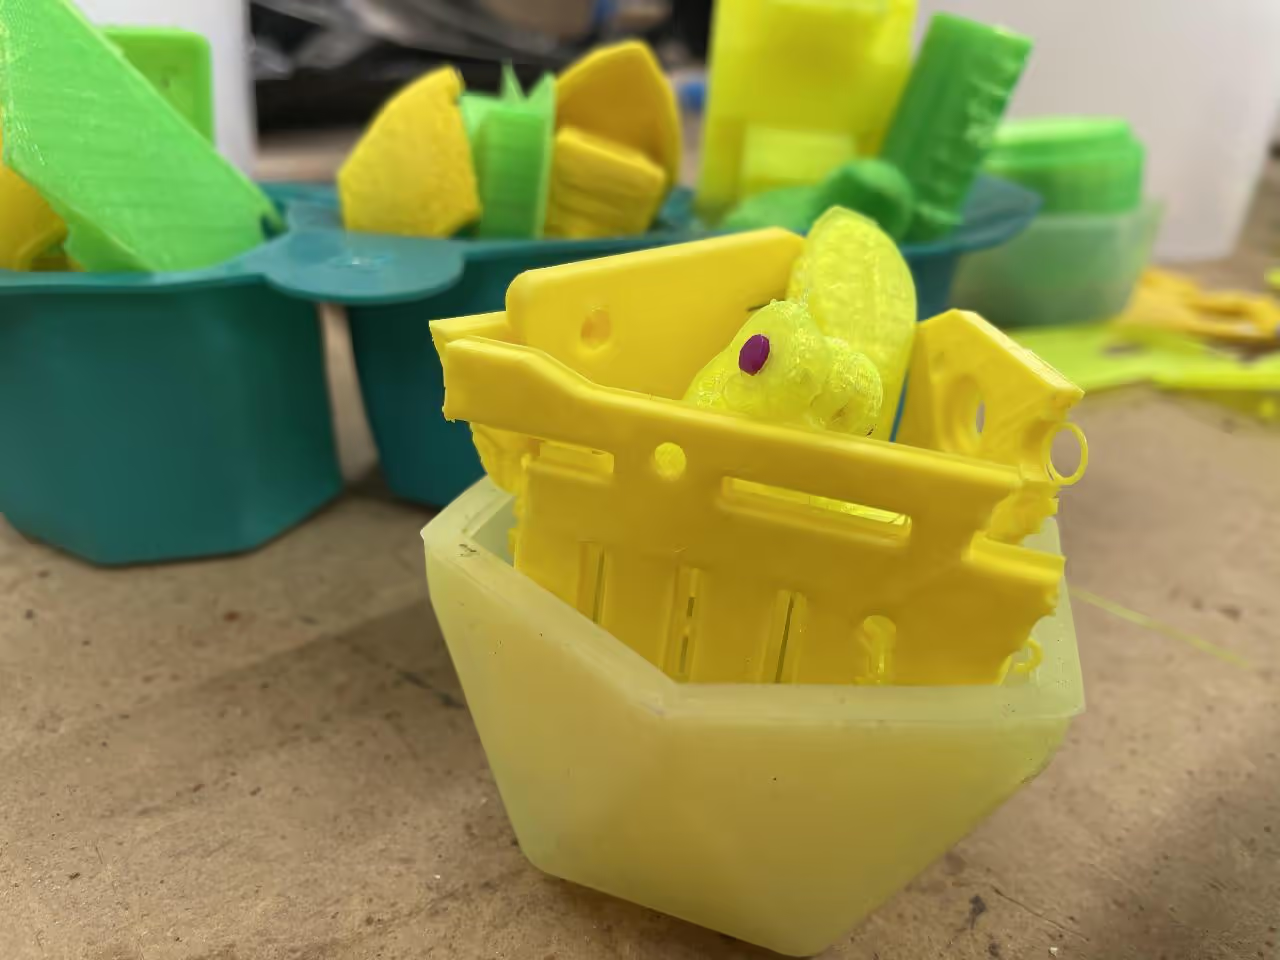
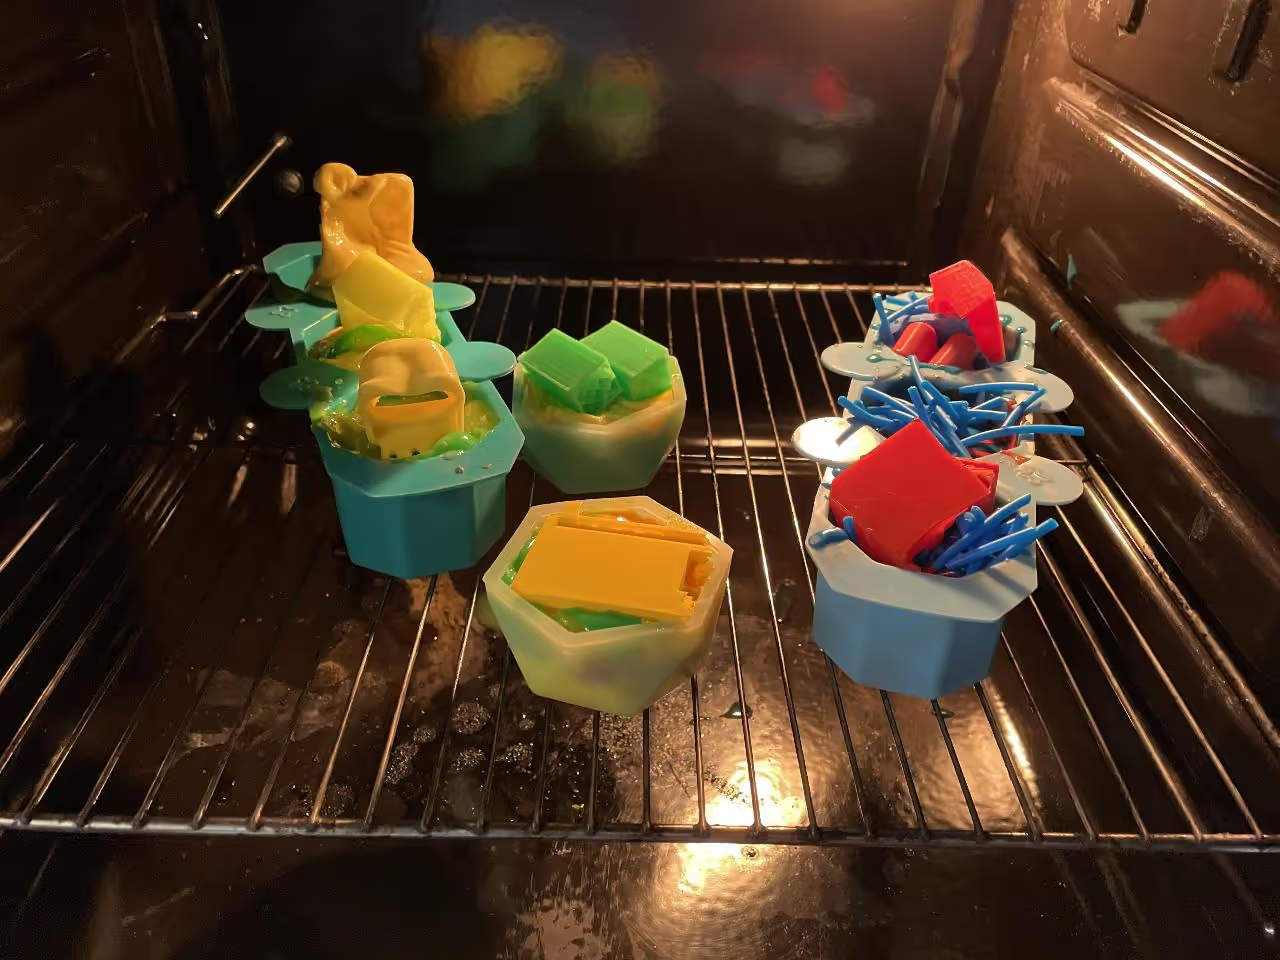
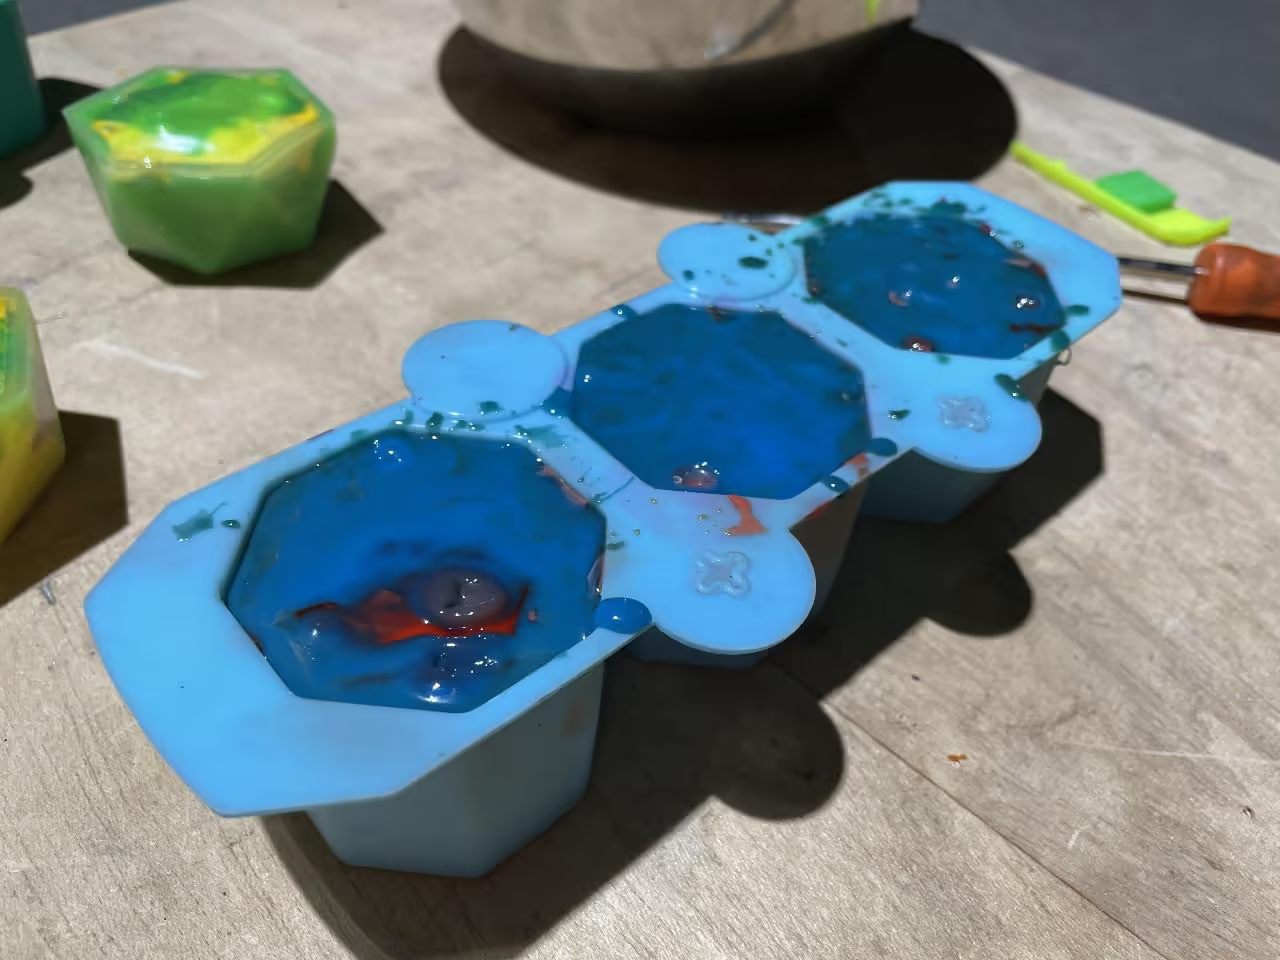
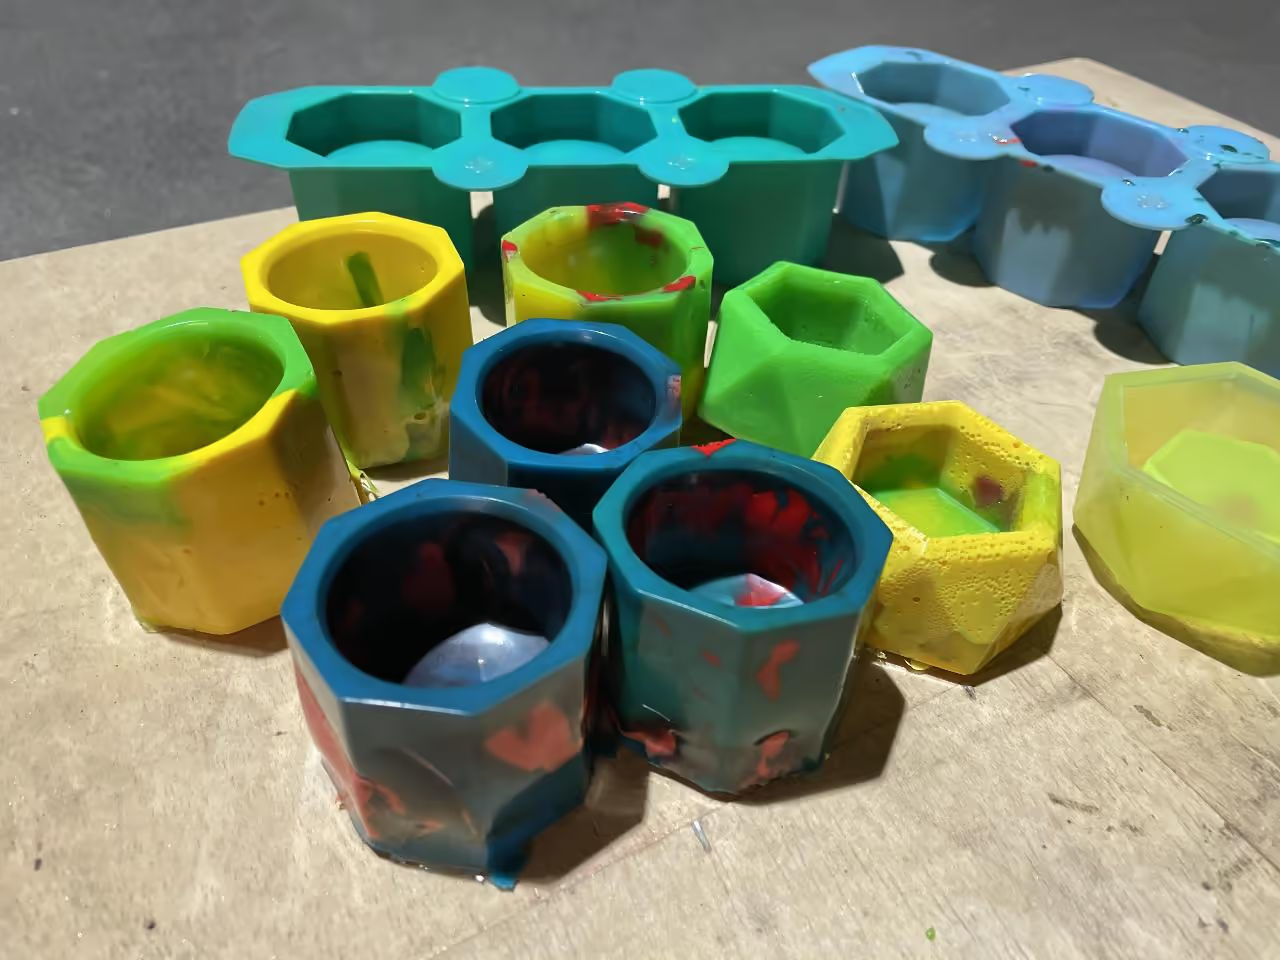
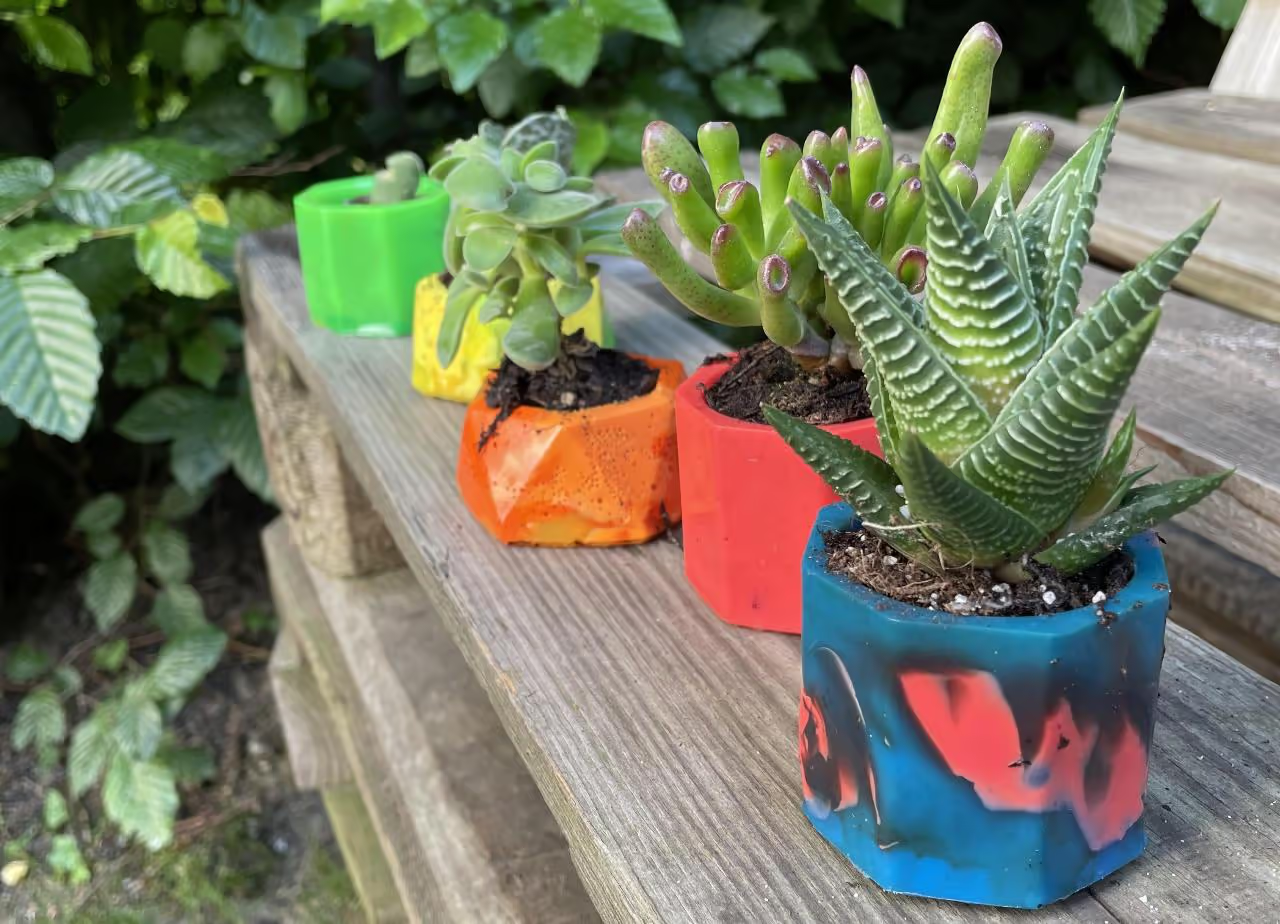
Once your plastic is ready, densely pack it into your silicone molds. Consider using creative color combinations. For instance, we suggest a mix of green/yellow and blue/red.
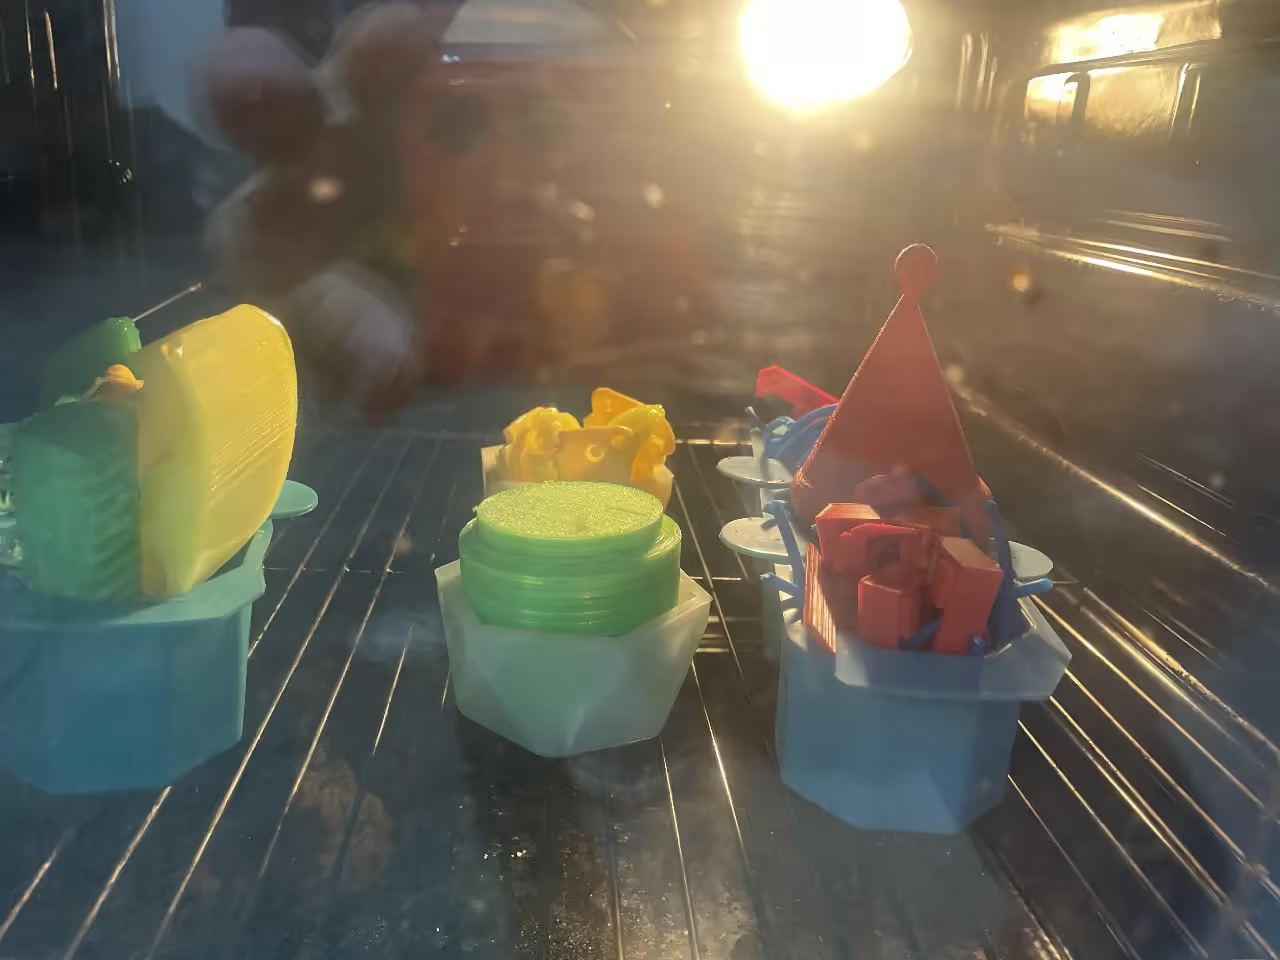
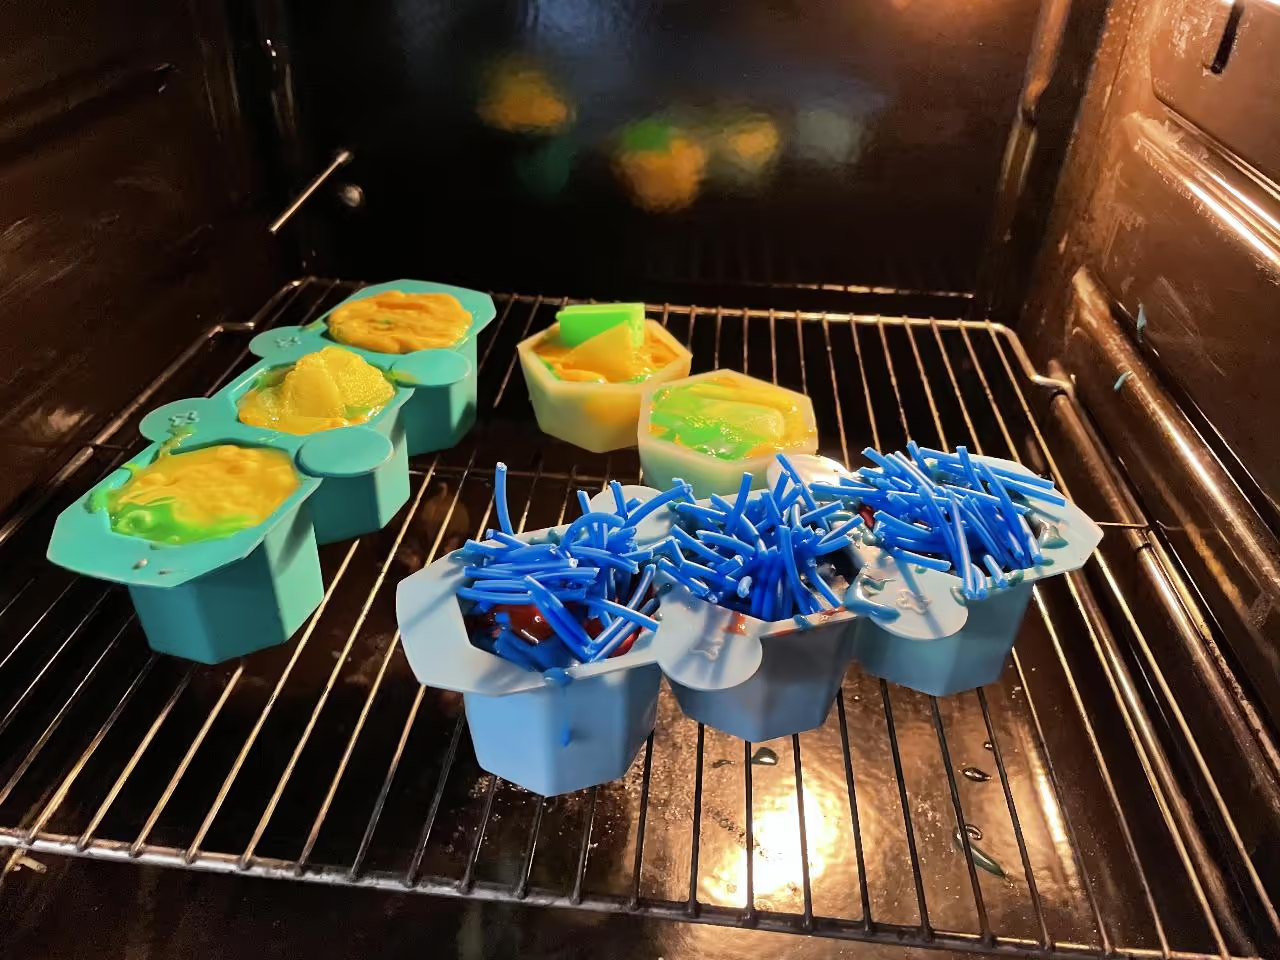
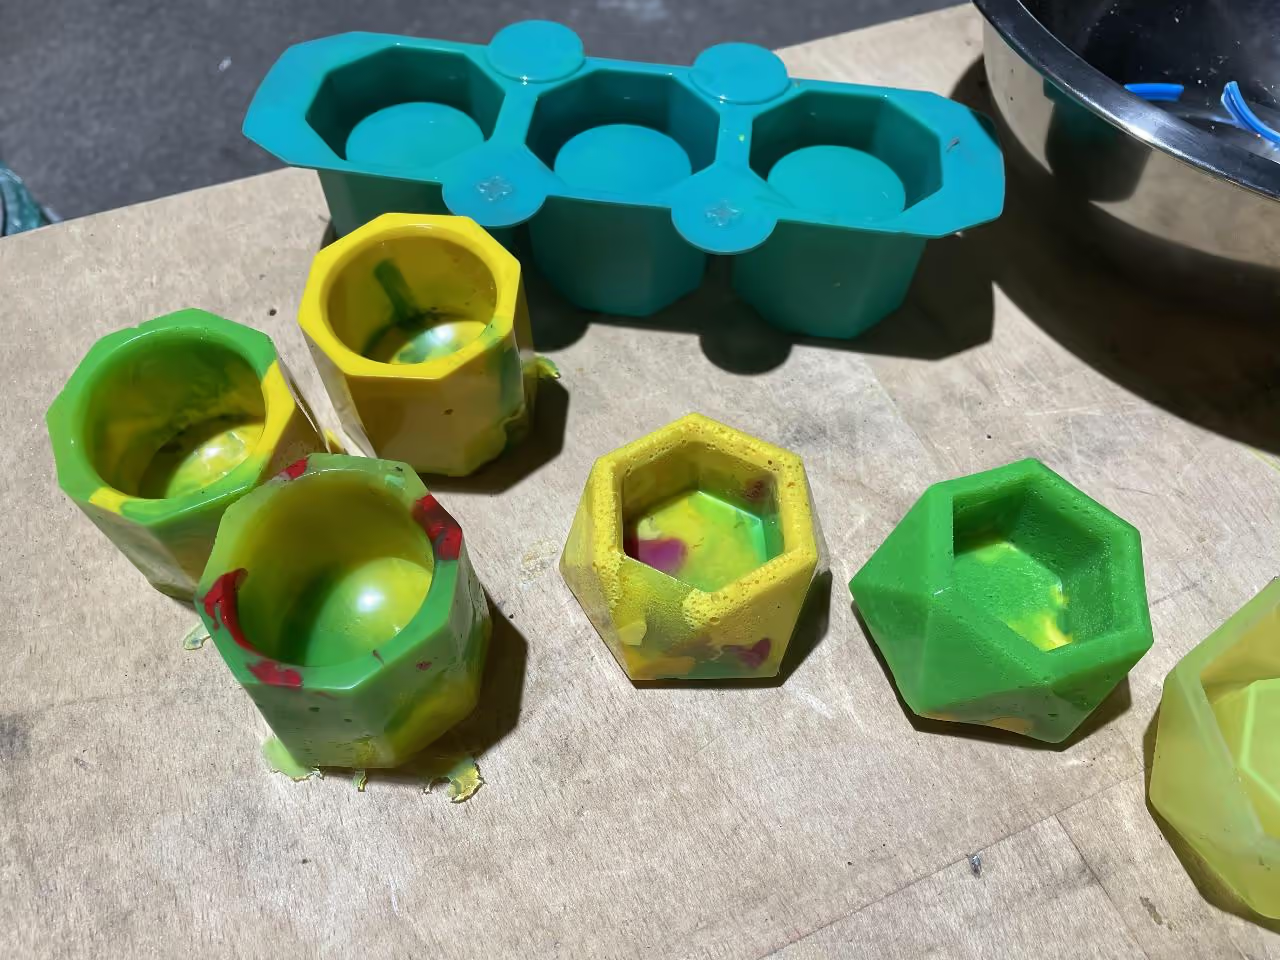
Ideally, the plastic should collapse into itself as it melts without spilling over the mold, ensuring minimal supervision is required during the heating process.
Preheat your oven to the specified temperature for your plastic type before inserting the filled molds.
For PLA, use a temperature range of 170-180°C (338-356°F). Oven temperatures can vary, so begin on the lower end and adjust as necessary. Refer to your filament supplier's datasheets for temperature guidelines on other 3D printing plastics.
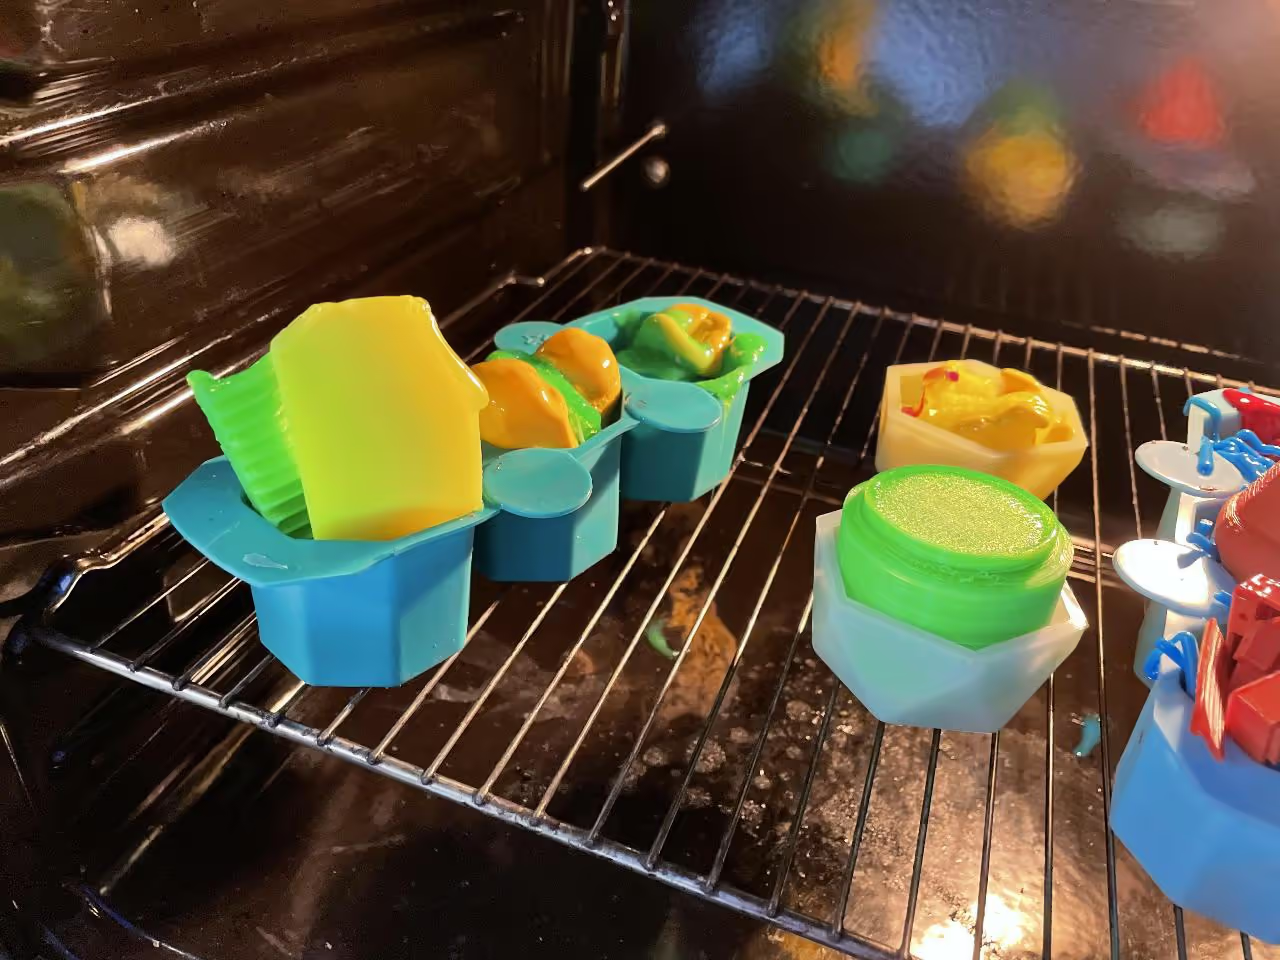
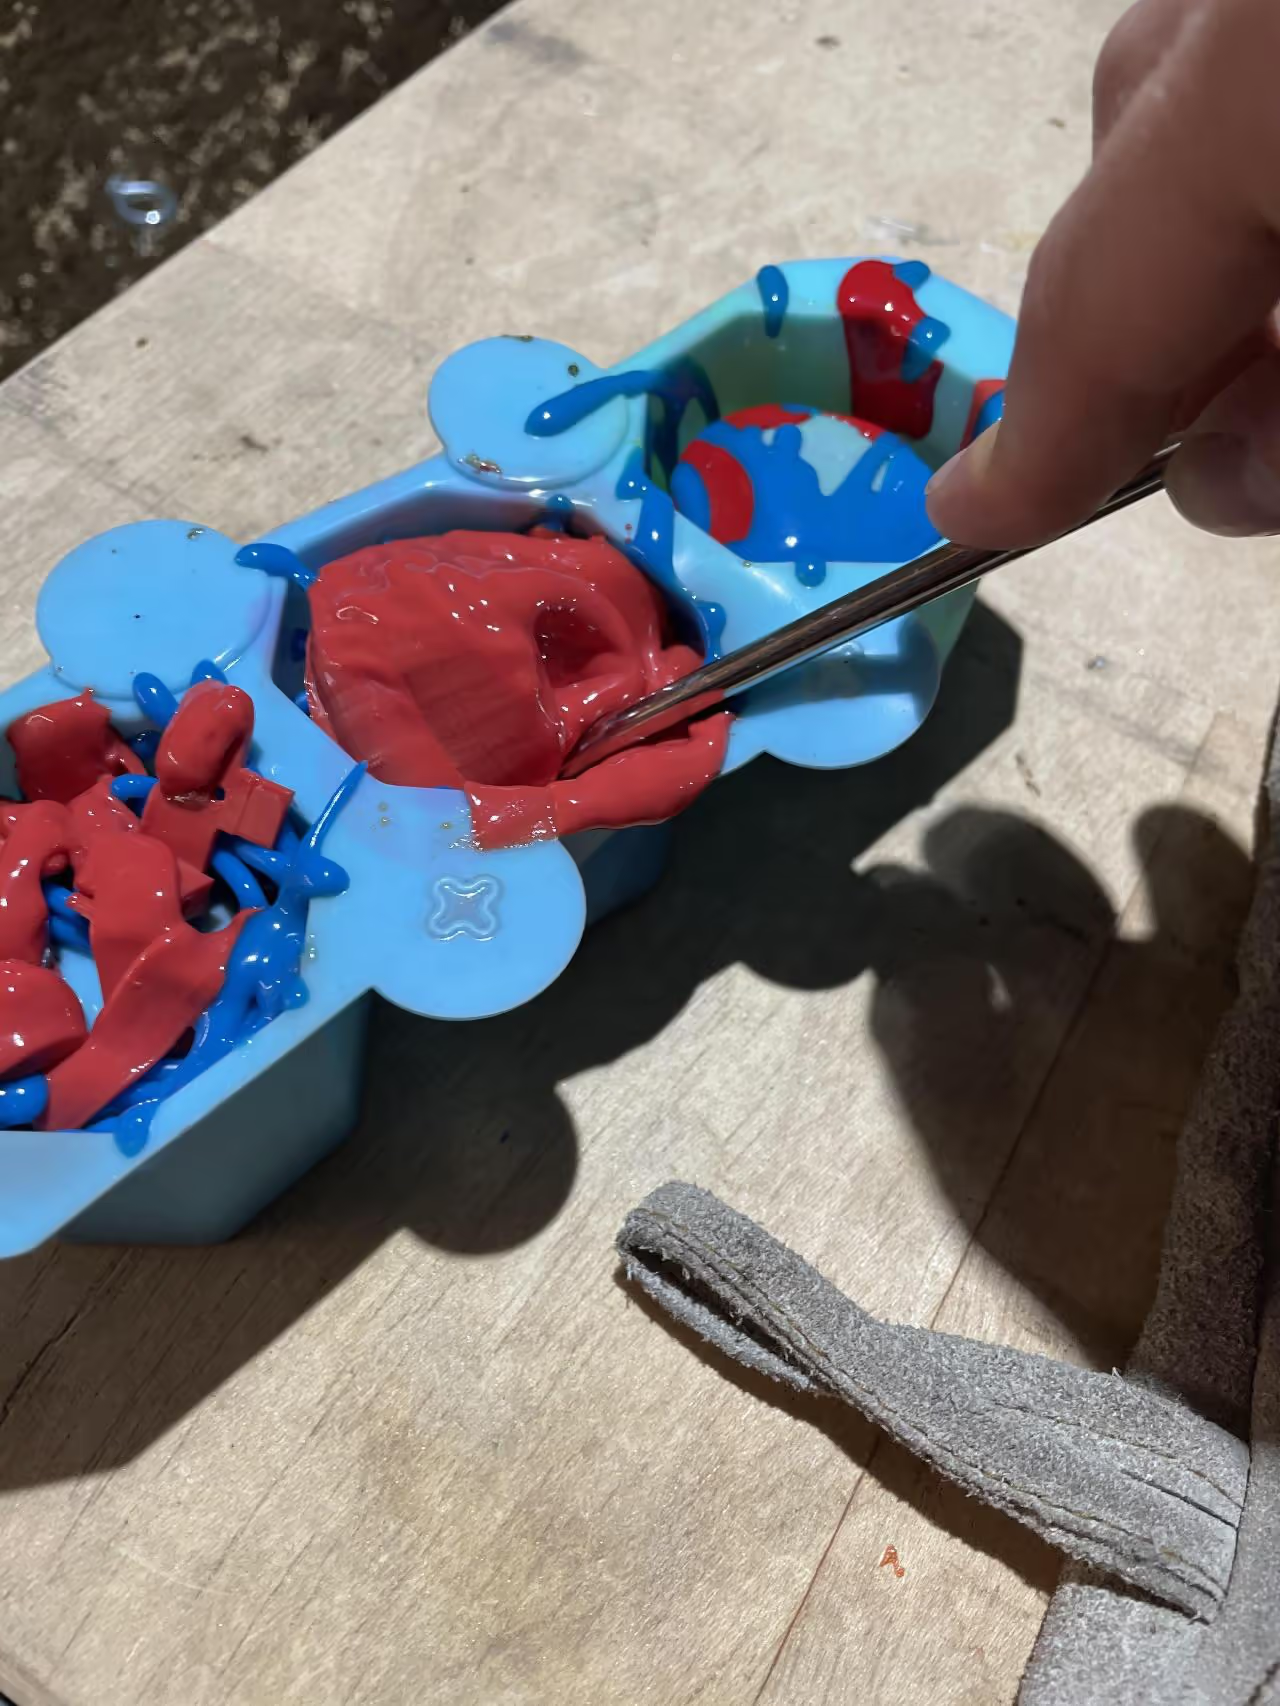
Monitor your molds consistently, particularly when they are filled to capacity. Watch for any plastic overflowing the edges. If this occurs, carefully remove the mold while wearing welding gloves and use a flat-head screwdriver to push the plastic back inside.
This method is also effective for compressing larger pieces of softened plastic into the mold.
Continue adding material gradually to fill the mold, considering your desired color scheme and pattern.
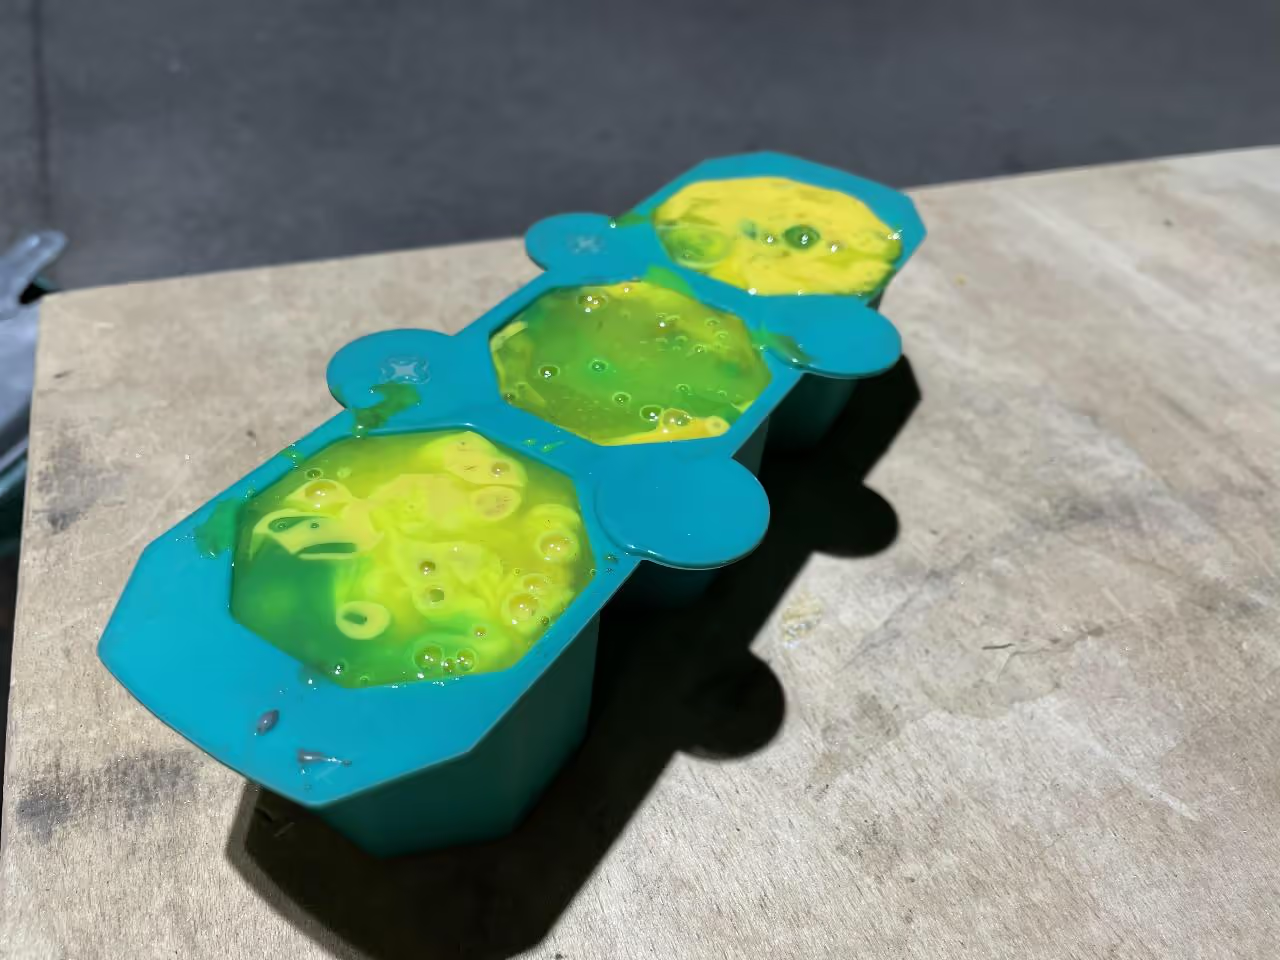
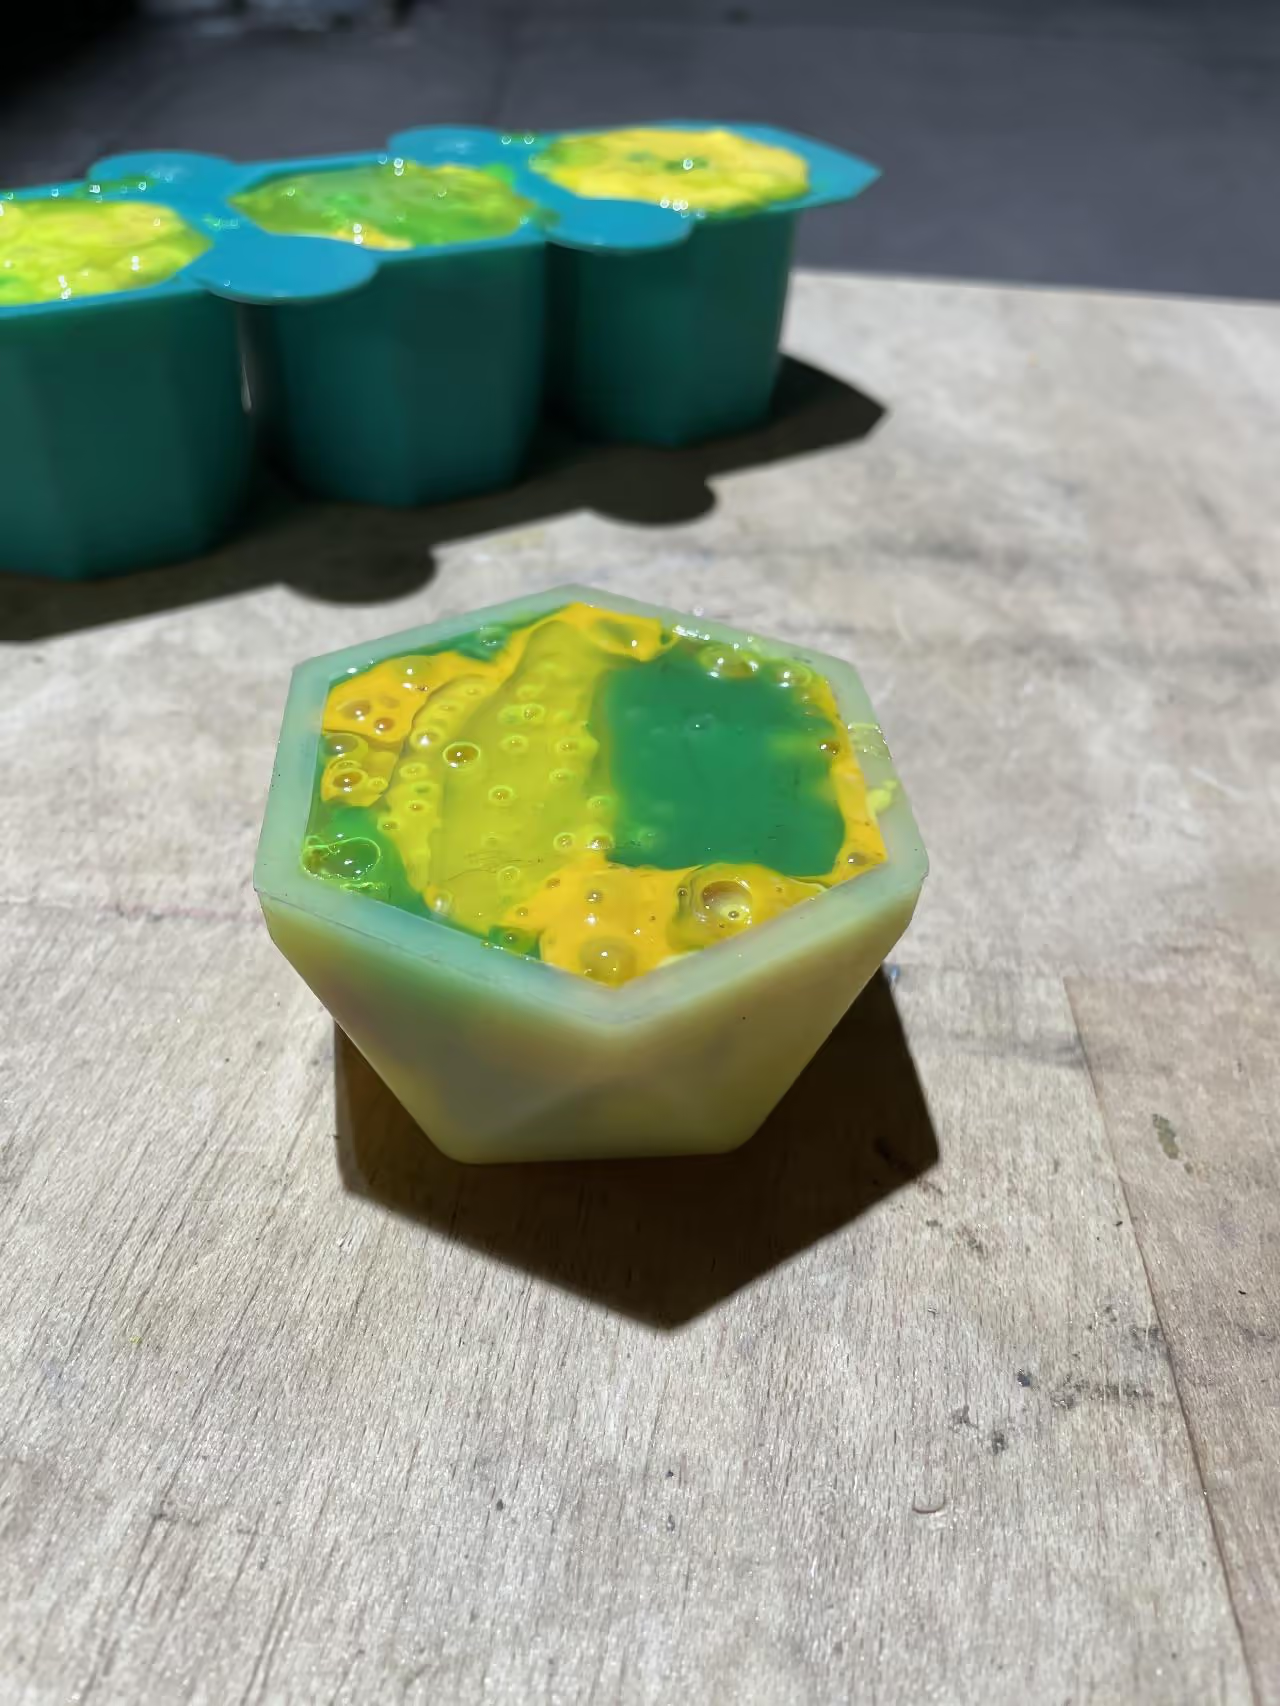
Once the molds are filled, carefully remove them from the oven using appropriate gloves. Before allowing the pots to cool, you may puncture air bubbles with a screwdriver. Extended time in the oven can reduce air bubbles, though they cannot be entirely eliminated.
We are testing the addition of a 0.08-0.12 inch (2-3 mm) metal sheet atop the mold during cooling. This can improve top and bottom consistency, but may sometimes cause deformation. Experiment to see if this method suits your needs.
Allow the molds to cool completely, preferably overnight.
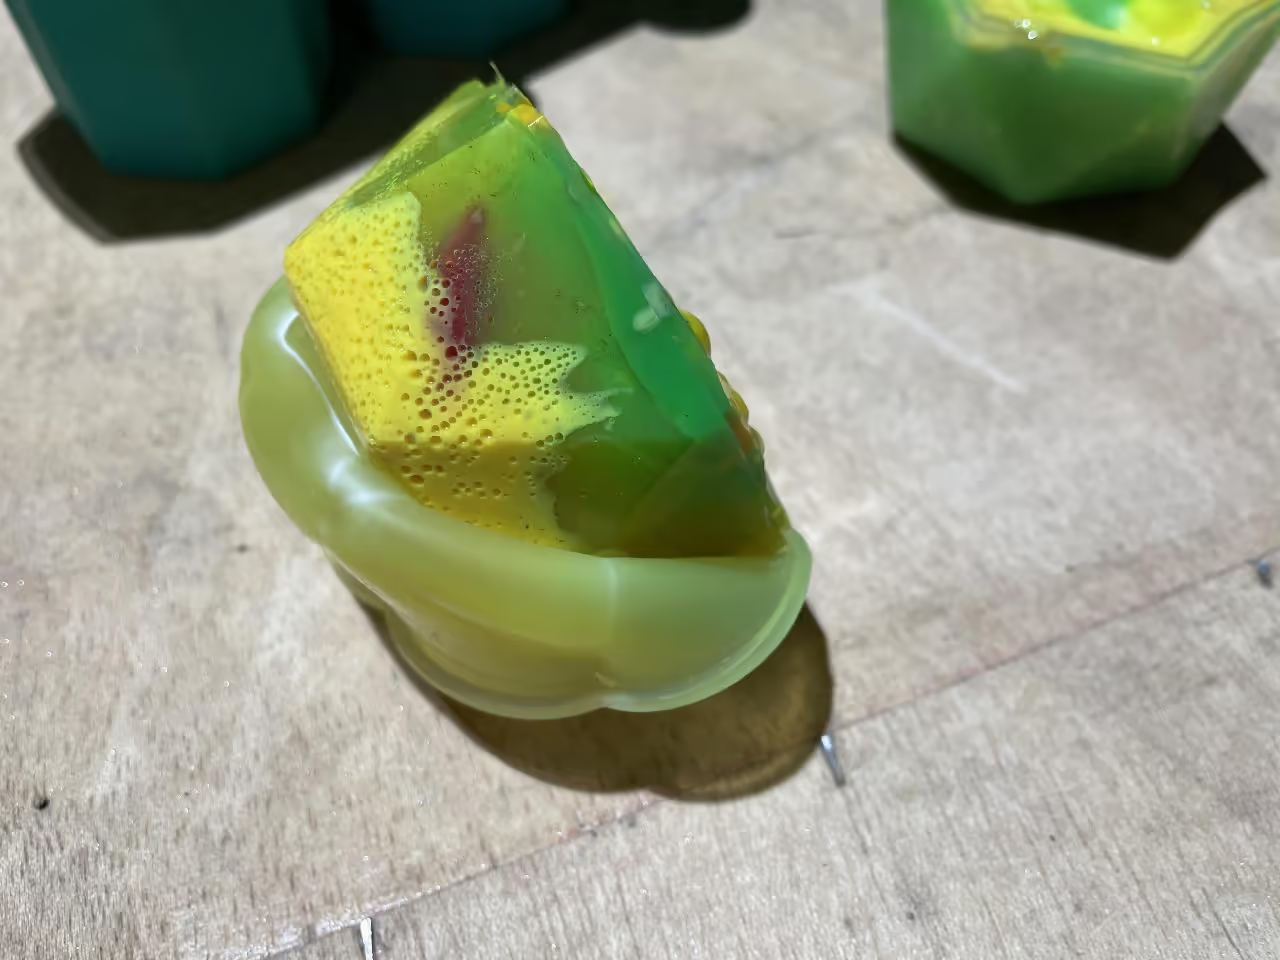
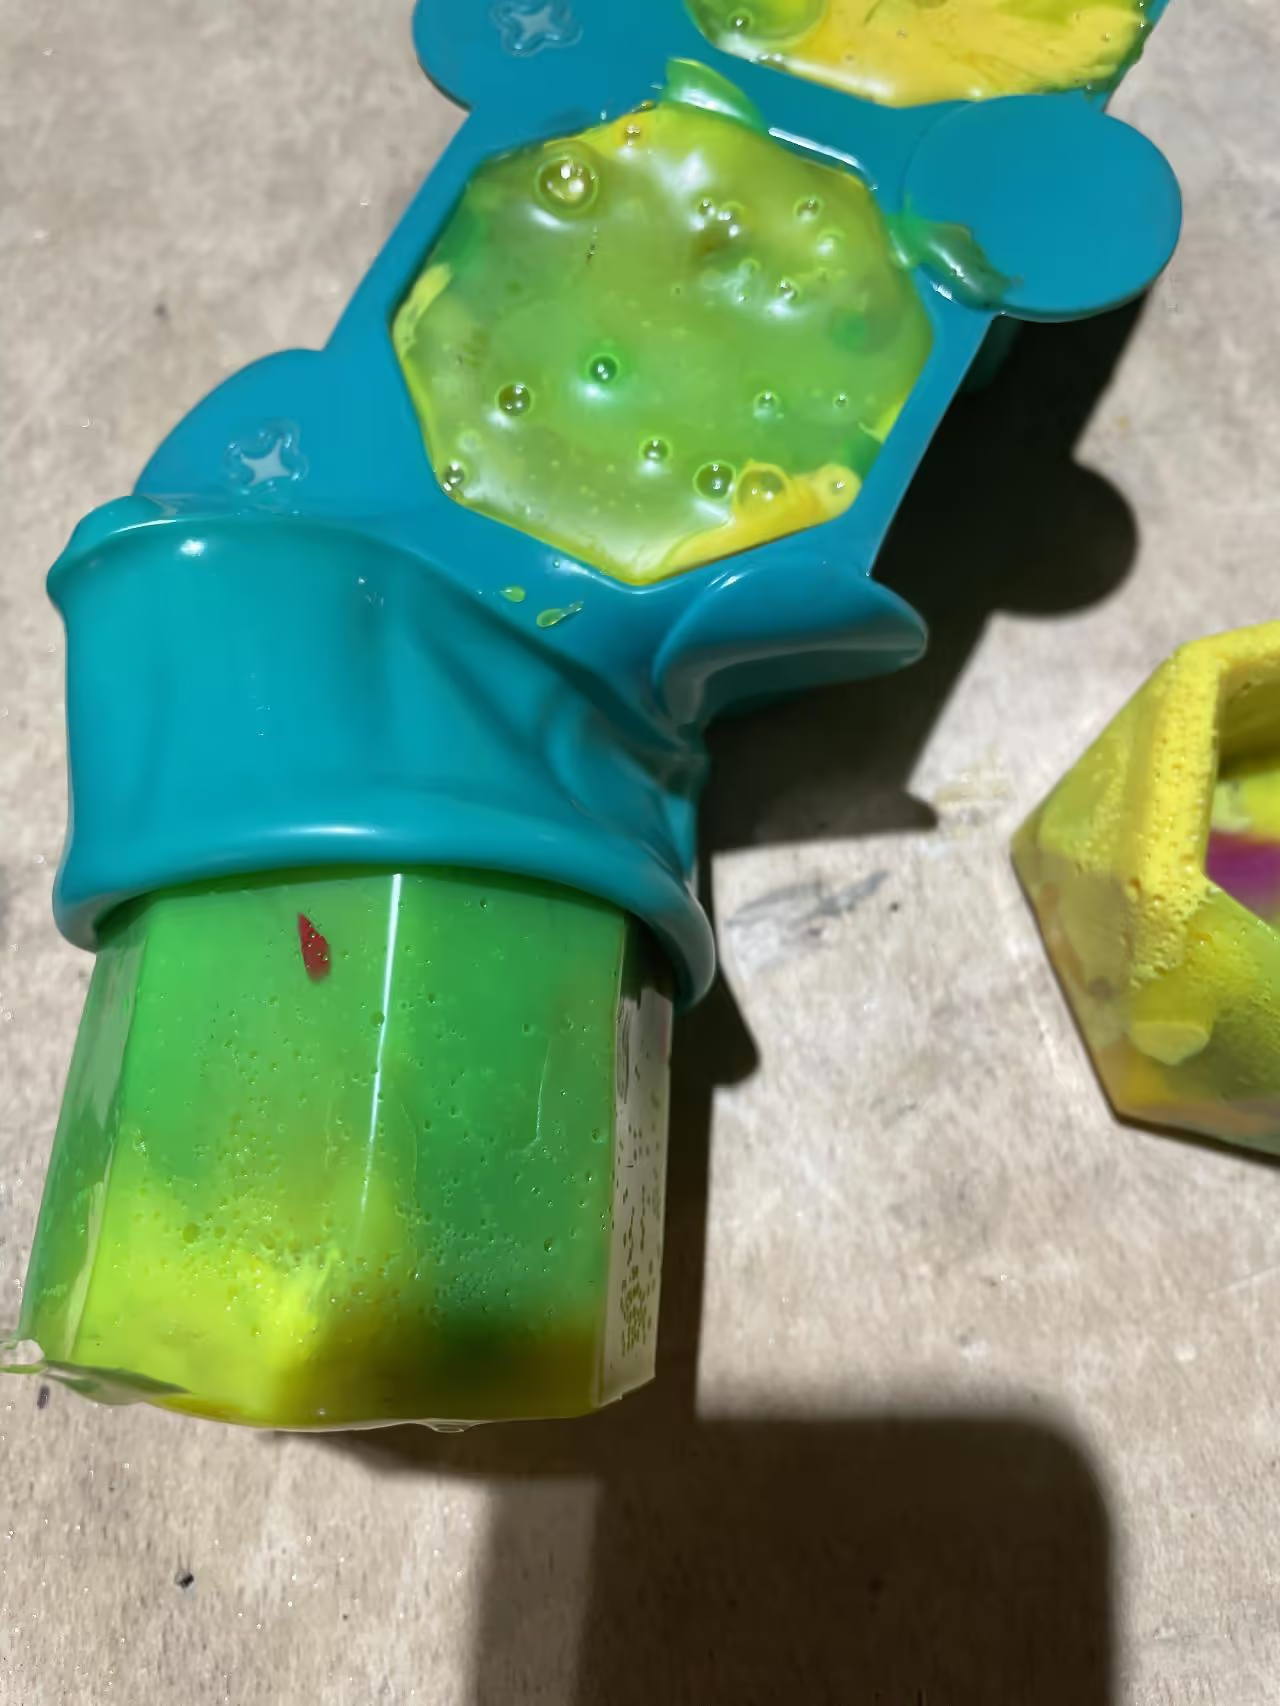
Once the molds and plastic have cooled thoroughly, remove the pots. Carefully invert the flexible silicone mold to release each pot. Exercise caution to avoid tearing the molds at the corners.
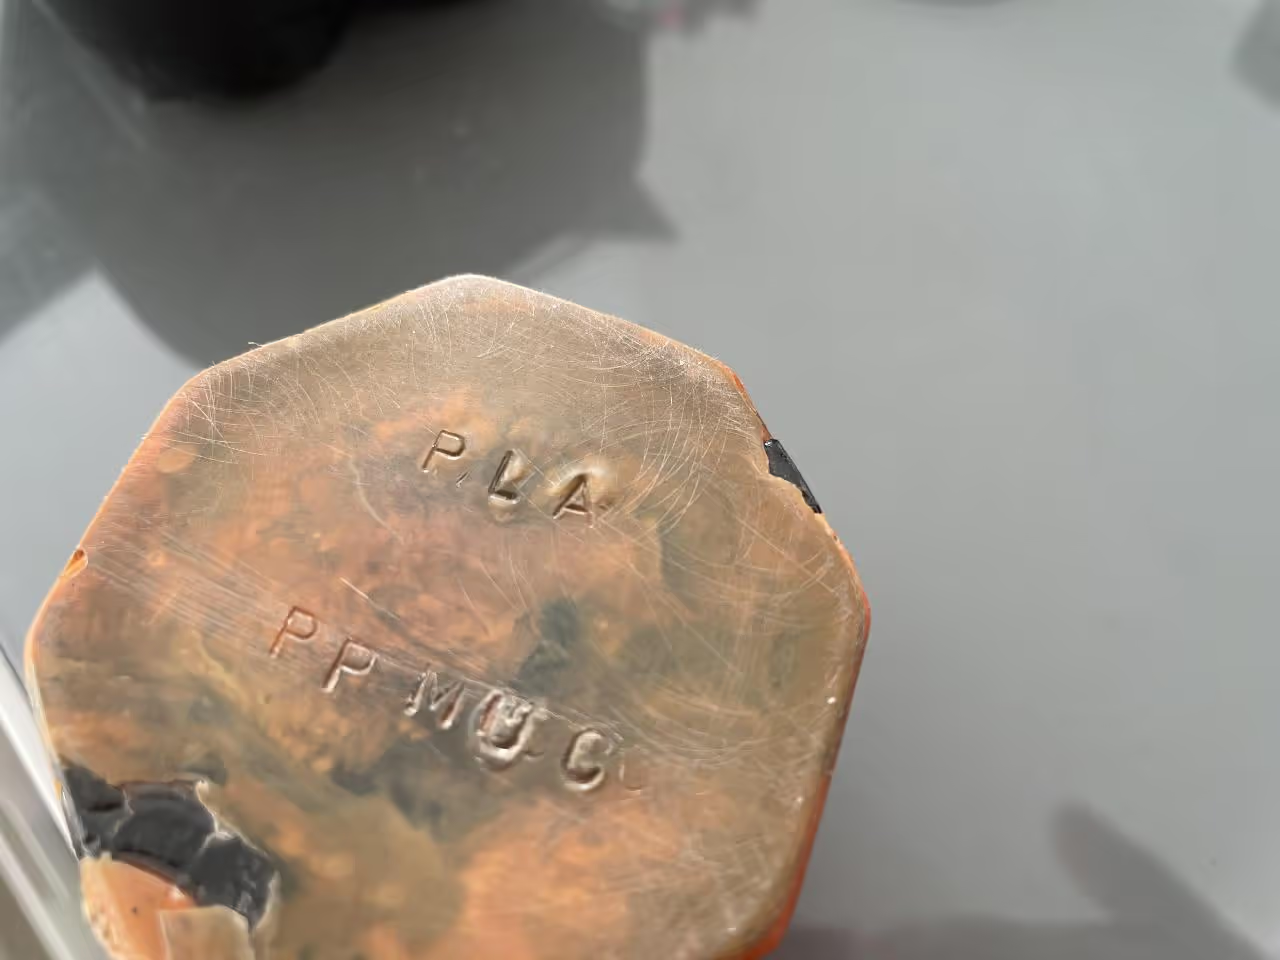
To facilitate future material identification, mark your pots with their plastic type. Consider using branding irons designed for this purpose to imprint the recycling symbol and corresponding number and text. Alternatively, employ metal punching letters to inscribe the plastic type on the bottom of your pots.
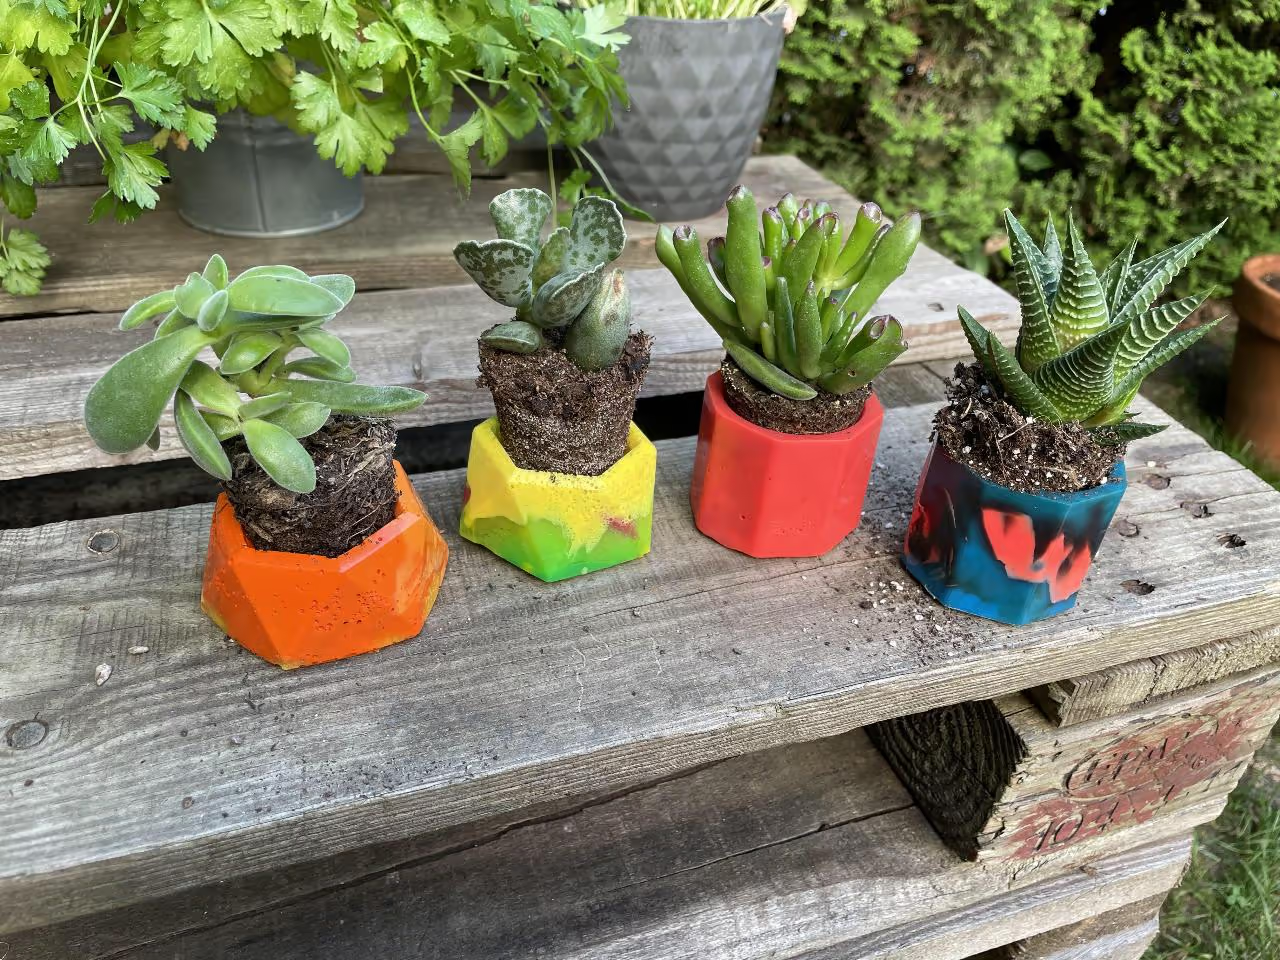
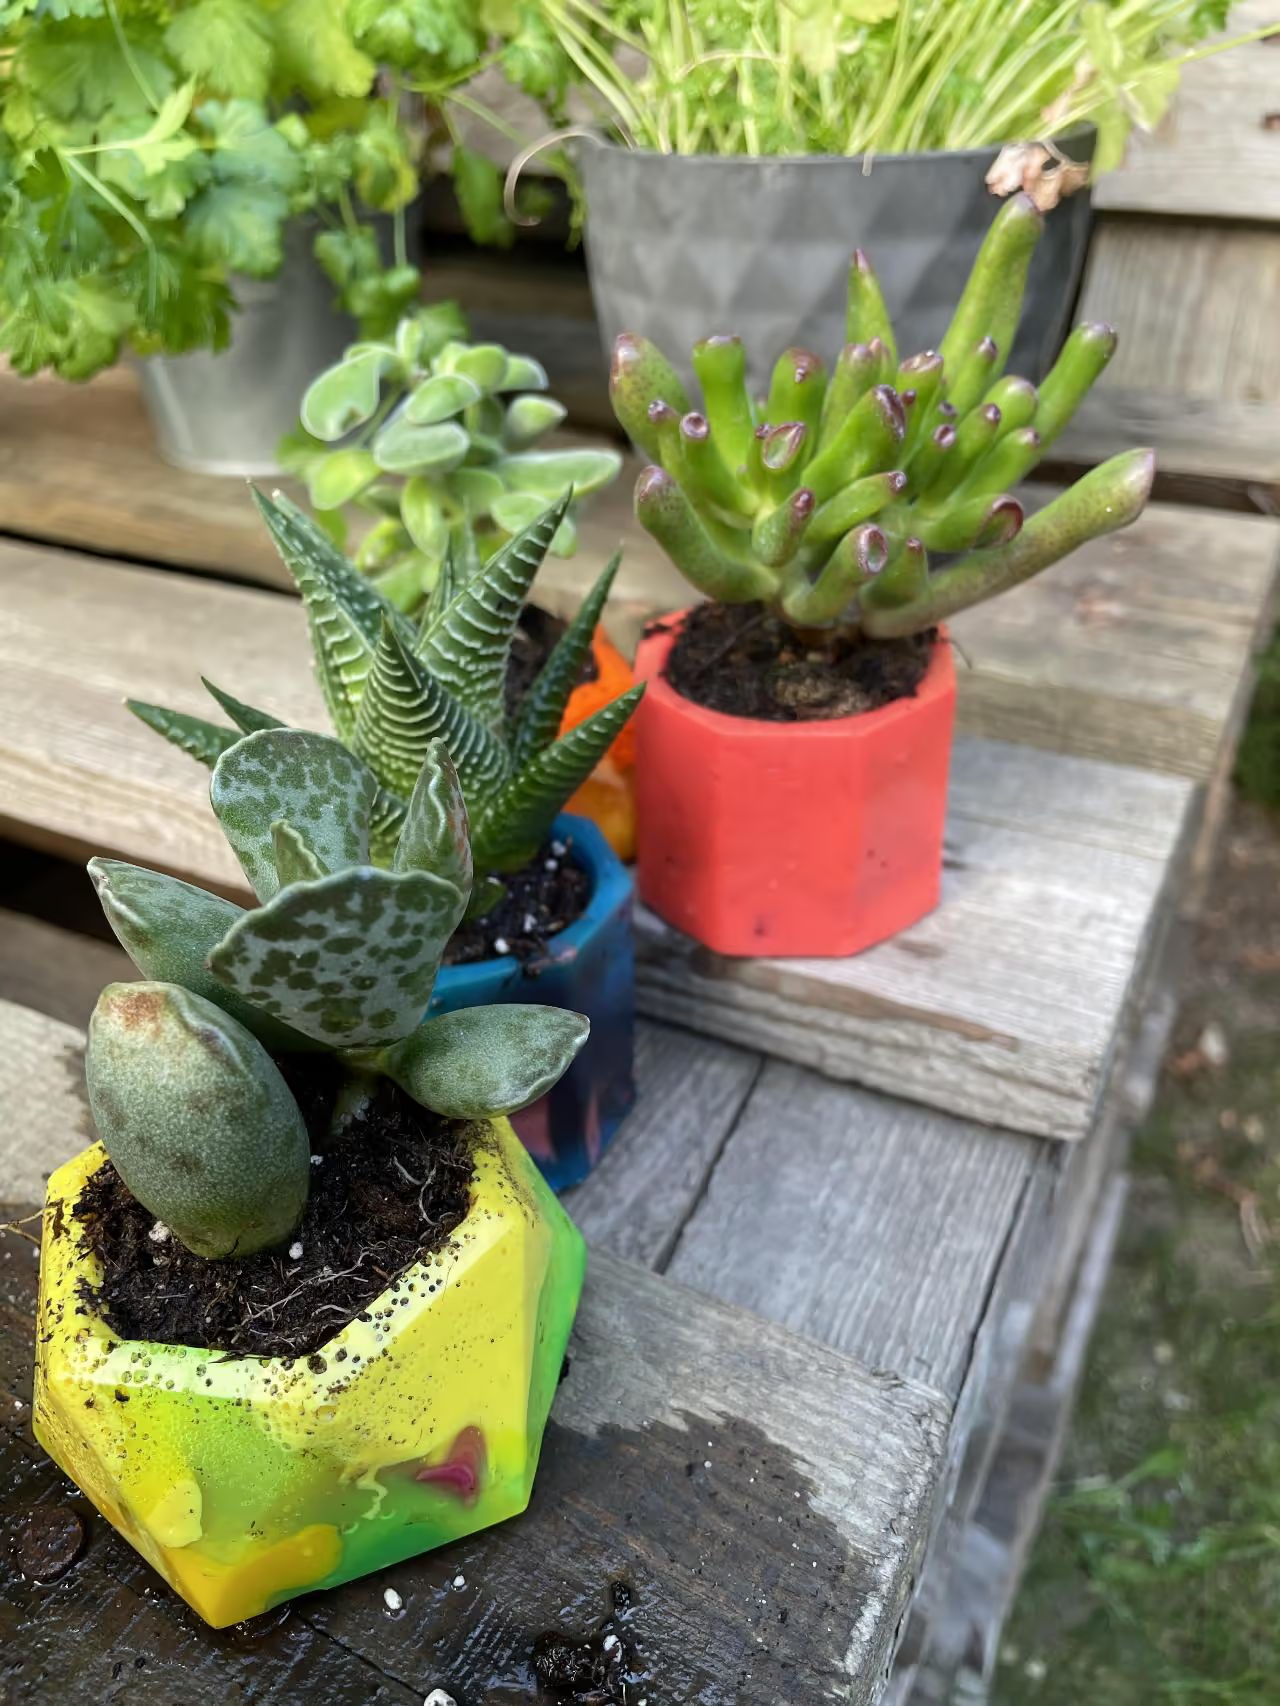
Now, select small plants to fill your pots. Consider obtaining succulent cuttings to grow your own plants or purchase them from a gardening store if time is limited. Remember to water them immediately after replanting and regularly thereafter.
Articles
Papers
Books
YouTube
Opensource Designs