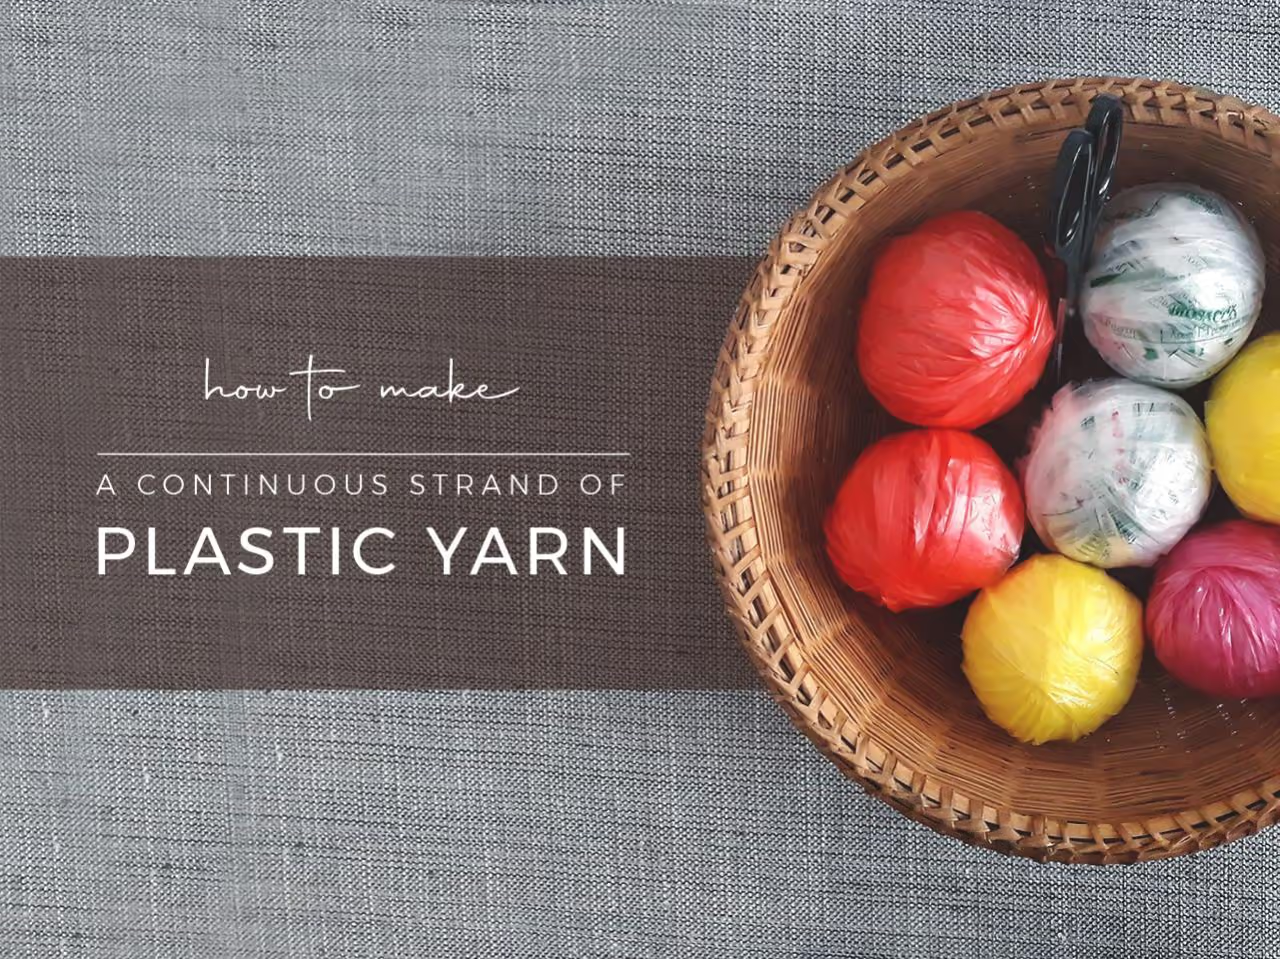
Make plastic yarn (plarn) from a plastic carry bag
LDPE
HDPE
This technique produces a continuous strand of yarn without knots.
You will need a plastic bag, scissors, and any small weight, such as a mobile phone.
Once you have the yarn, you can use it for knitting, crochet, weaving, macramé, or braiding.
This video outlines the complete process.
After viewing, follow the detailed steps below to create your yarn.
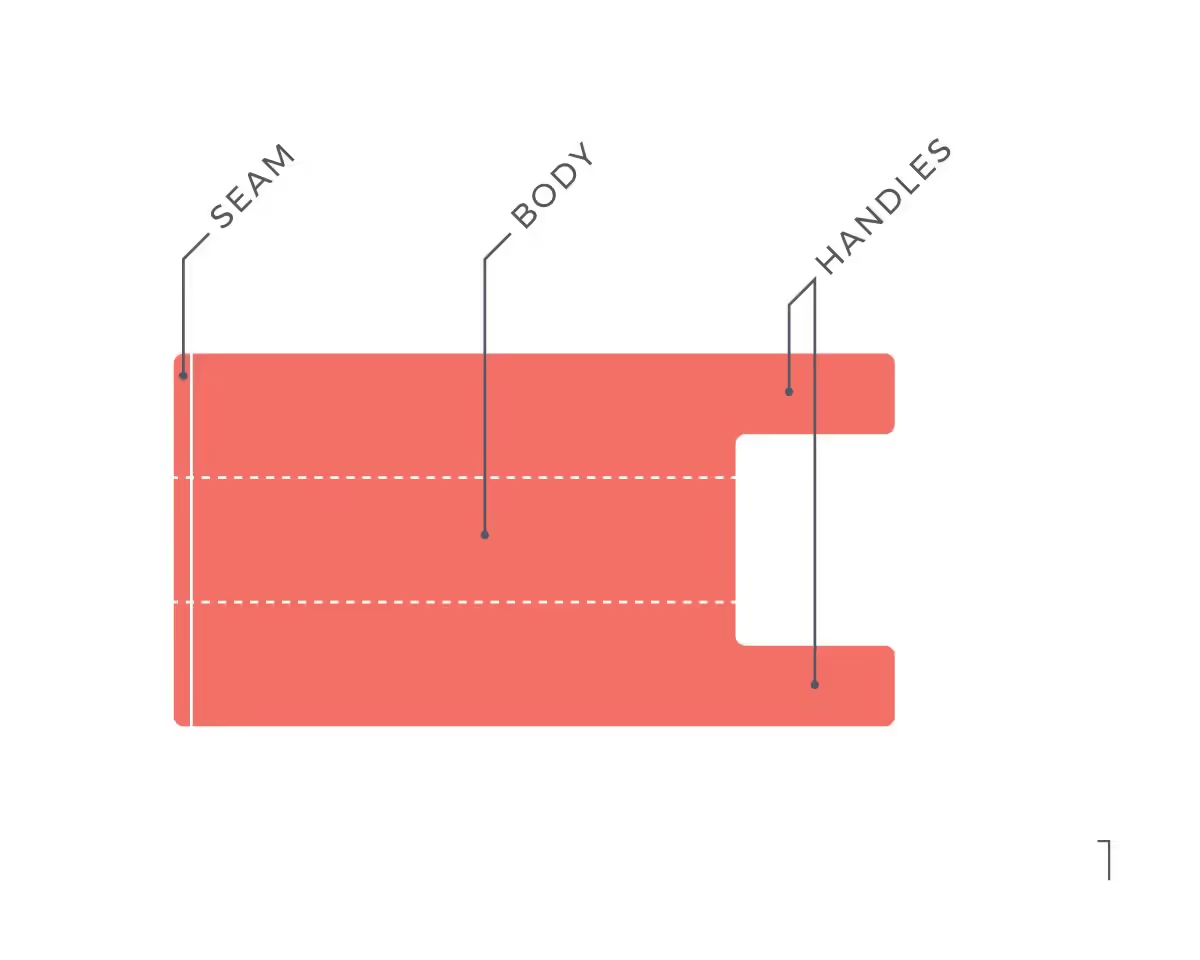
Image 1:
A plastic bag consists of the seam, body, and handles. Familiarity with these terms aids in yarn-making.
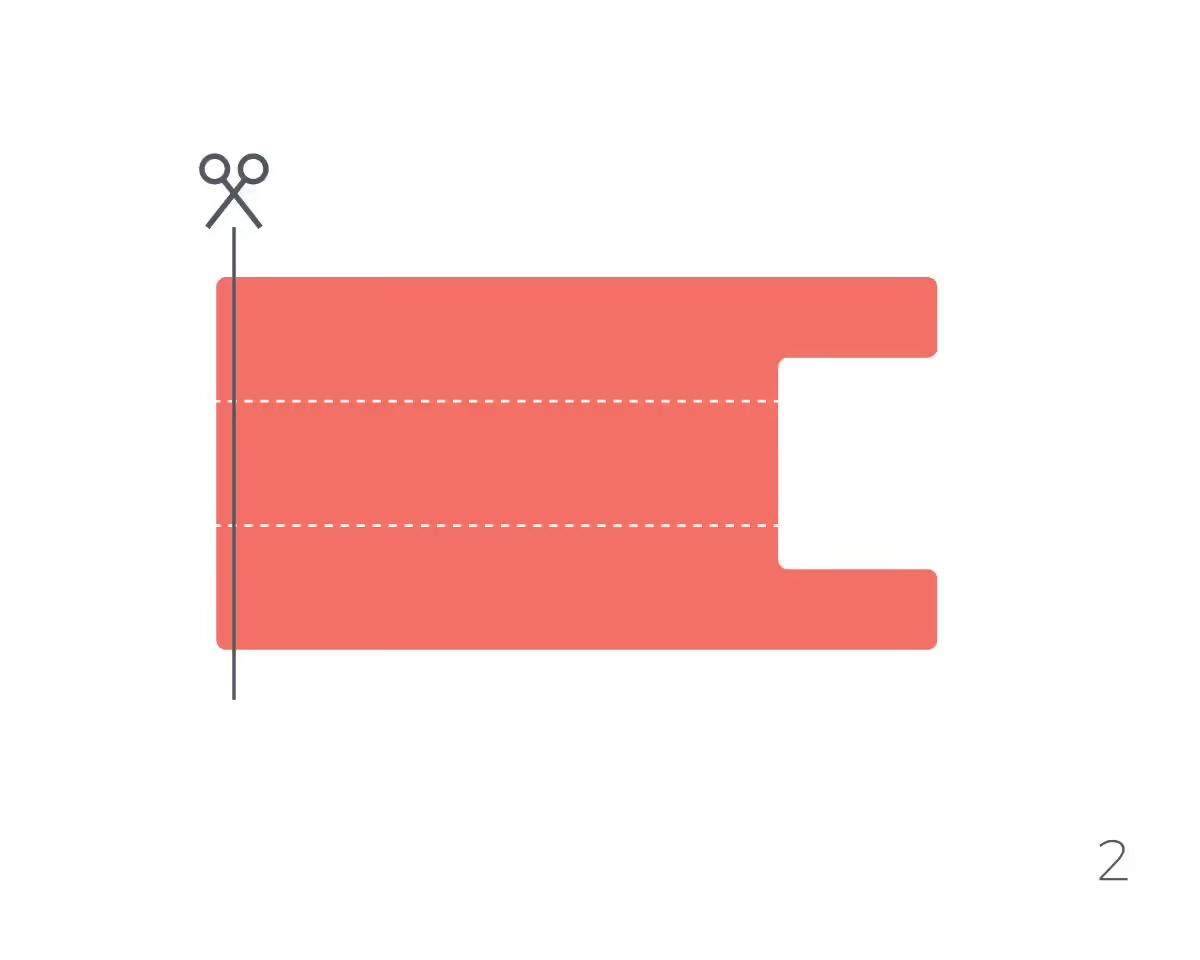
Image 2:
Flatten the plastic bag and eliminate all creases. Remove the seam.
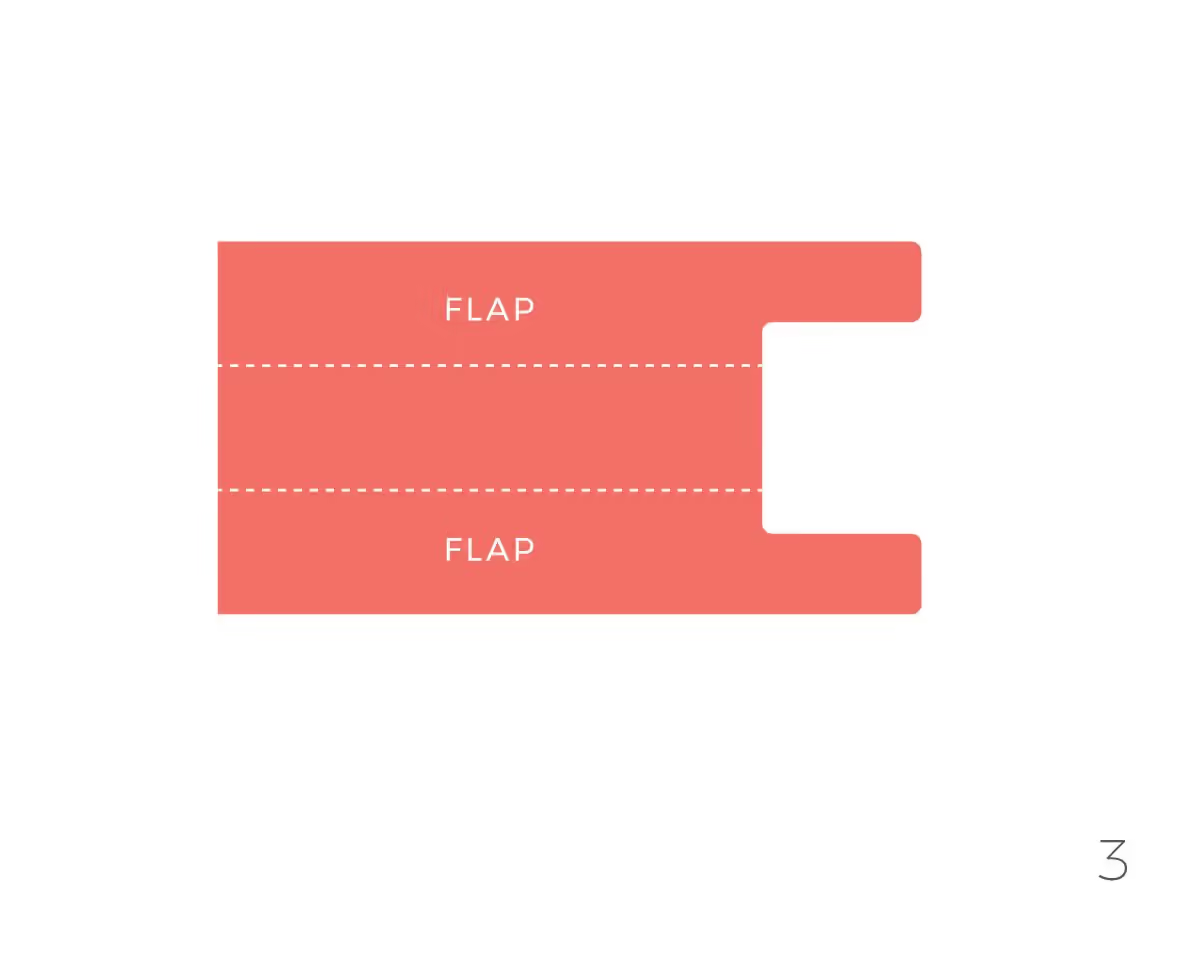
Most plastic bags have two flaps or folds. If your bag does not, skip steps associated with Images 3 and 4.
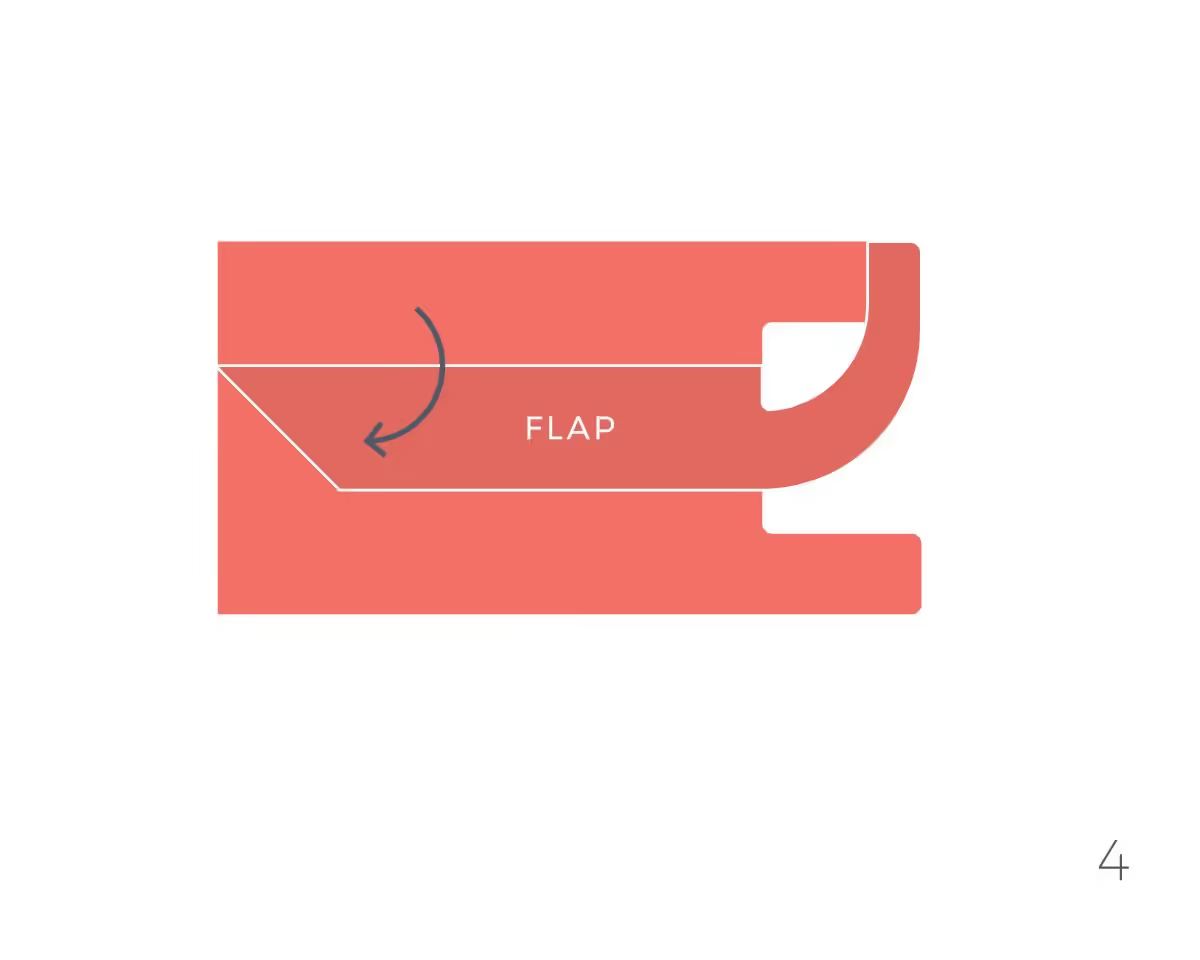
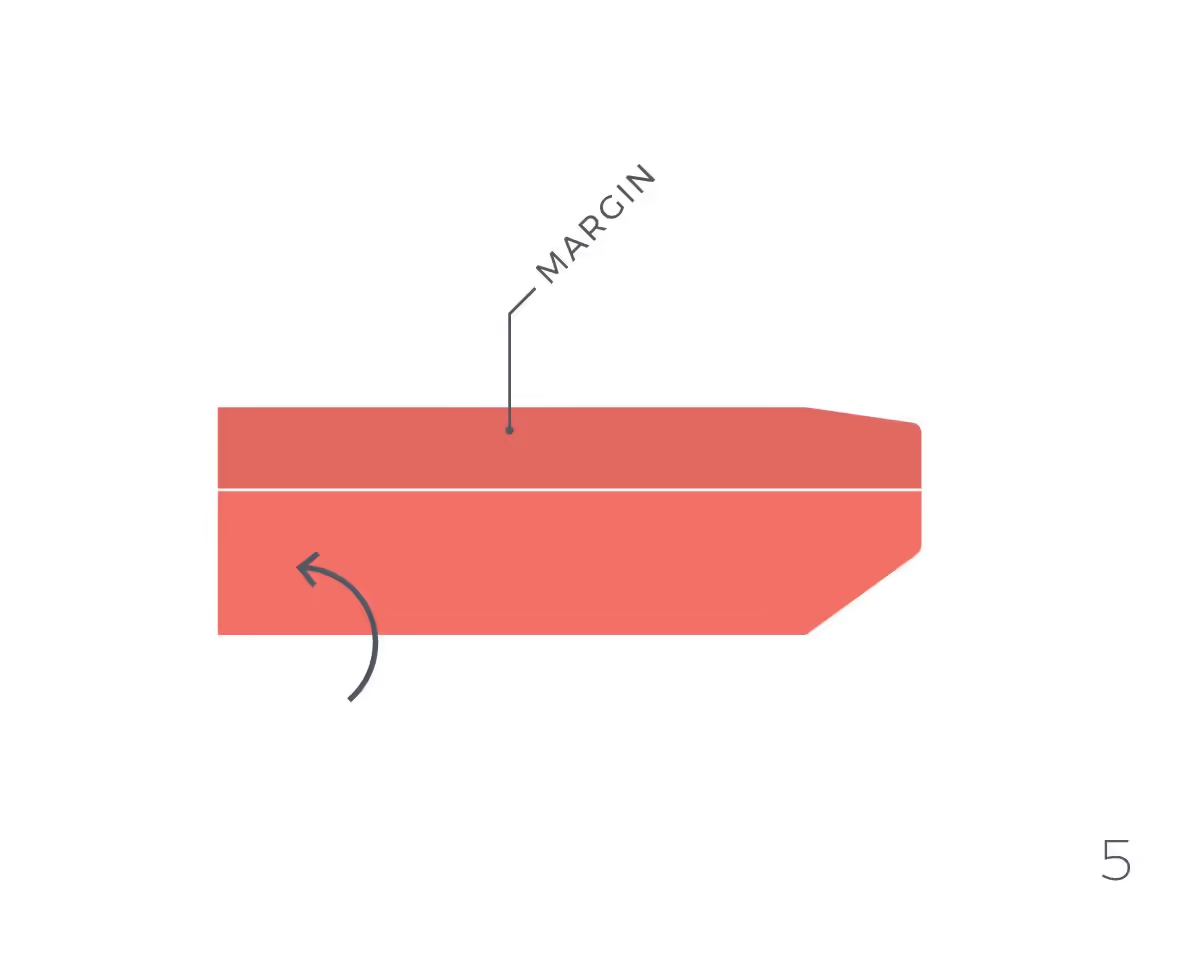
Fold the flap furthest from you inward.
Fold the bag in half, leaving a margin of about 1 to 2 inches (3 to 5 cm). Repeat the fold a few more times. If the bag is thick, reduce the number of folds to make cutting easier.
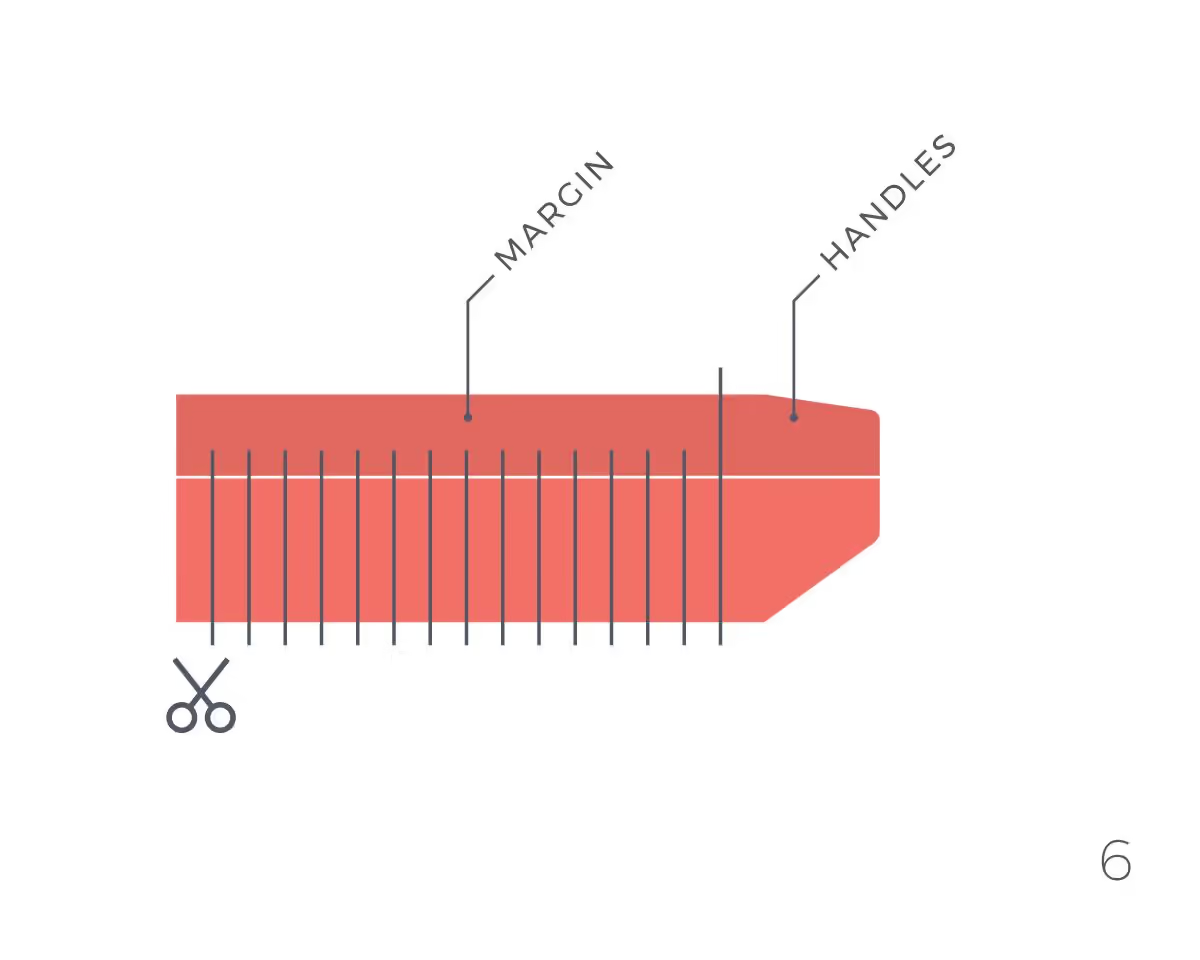
Image 6:
Place a weight on the bag handles. Cut parallel to the bag length, stopping before the end. Cut to the handles and remove them.
Note:
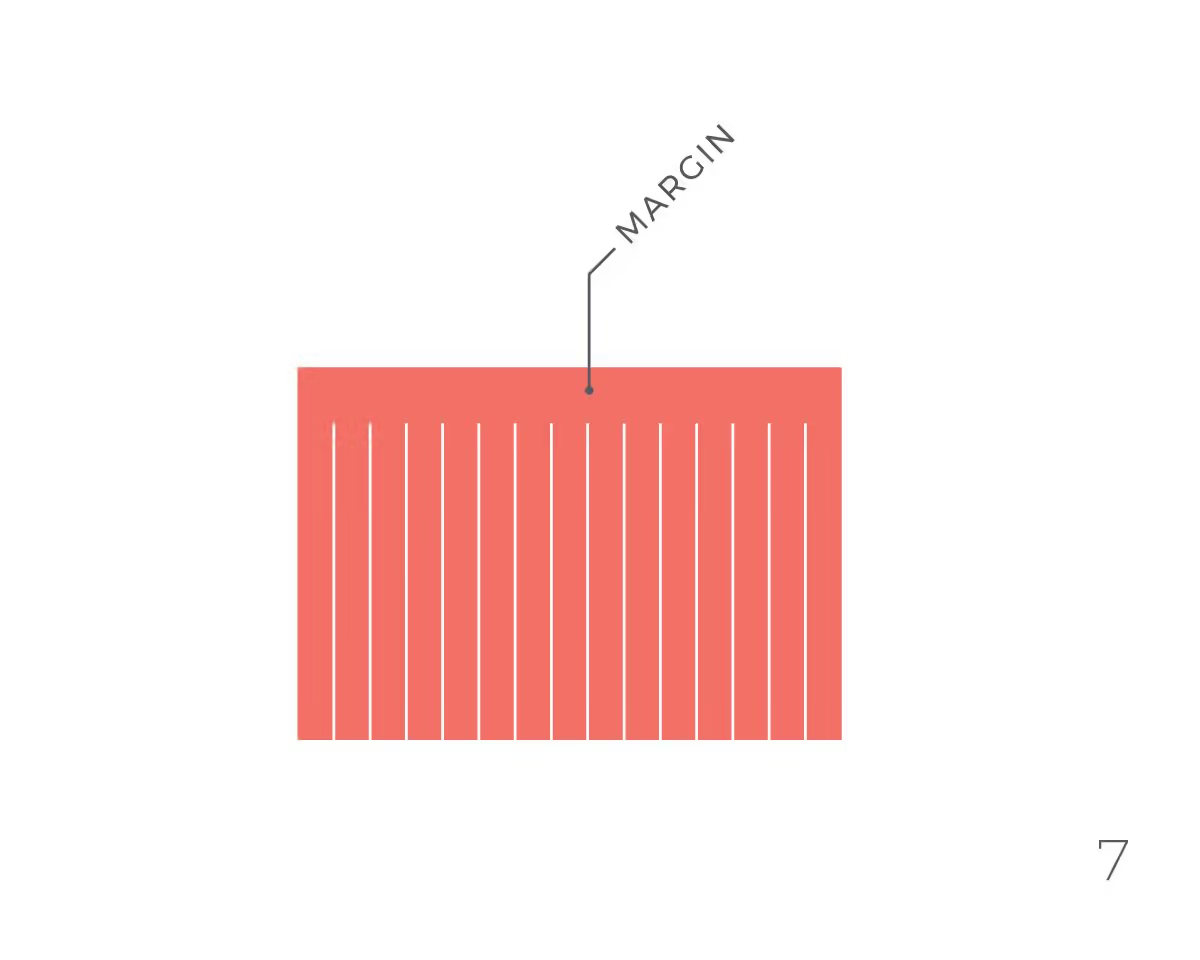
Image 7:
Unfold the bag's strips.
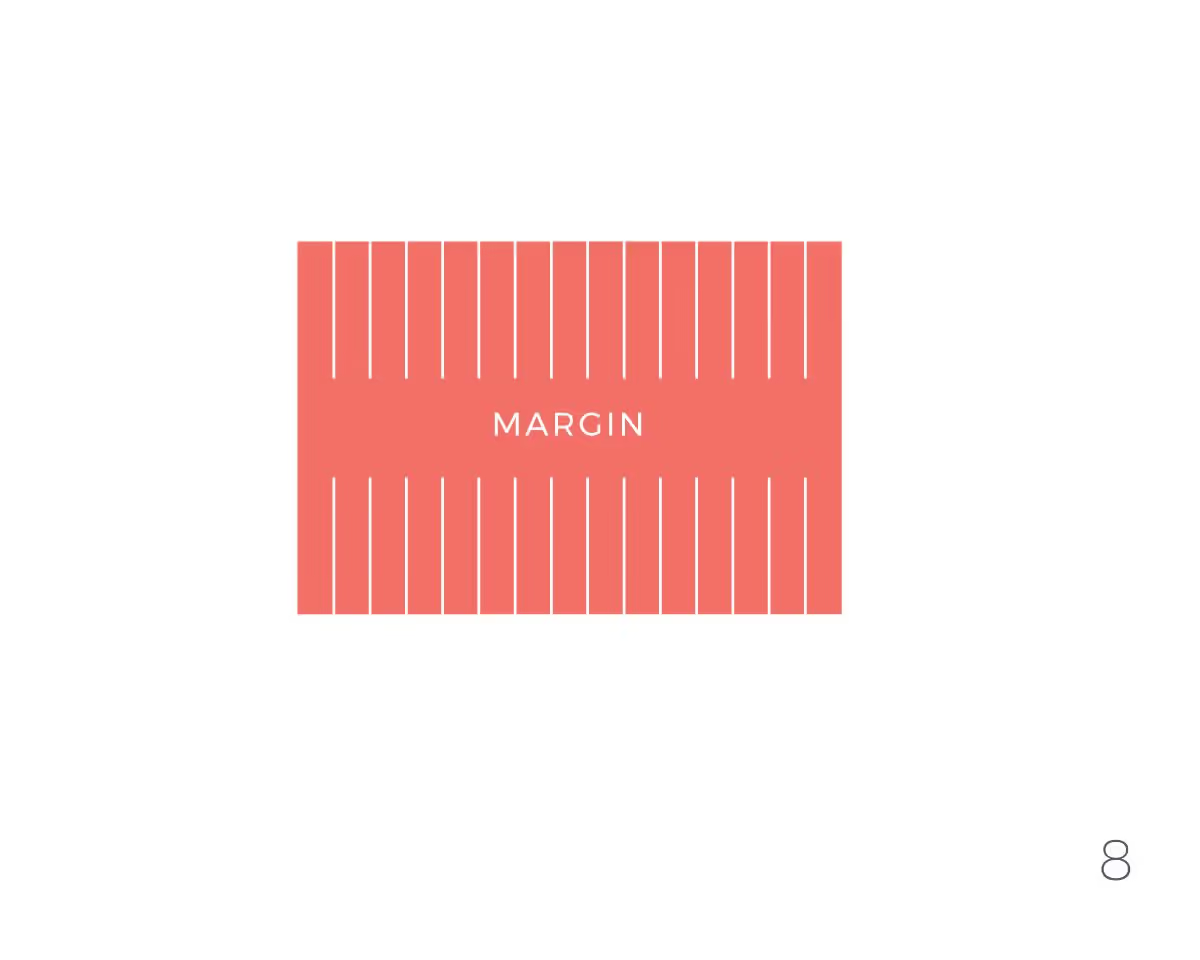
Image 8:
Unfold the margin area.
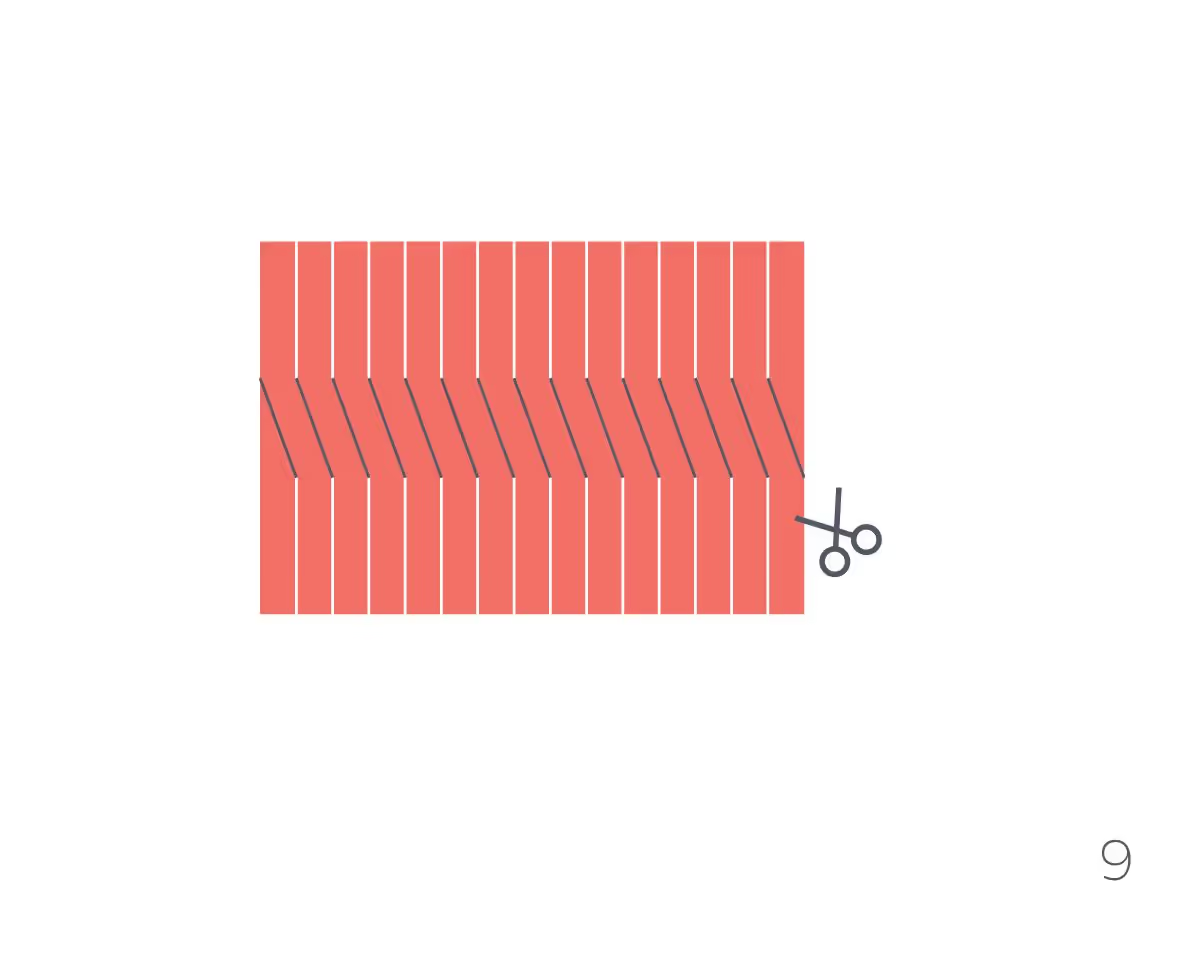
Image 9:
Instead of cutting parallel, cut diagonally to create a continuous spiral. Begin by removing the first end toward you. Next, cut from the second cut in front of you to the first cut on the far side. Repeat until reaching the end, and remove the last end.
The yarn is ready. Wind it into a ball or around a bobbin.
(No software required for this technique)
Key items explicitly listed in the tutorial include basic crafting tools and repurposed household objects. The weight stabilizes the bag during cutting[1], while scissors enable precise strips[2]. Winding tools help manage the finished yarn[3].