Make christmas ornaments from upcycled bottle caps
MELTING
PP
HDPE
PRODUCT
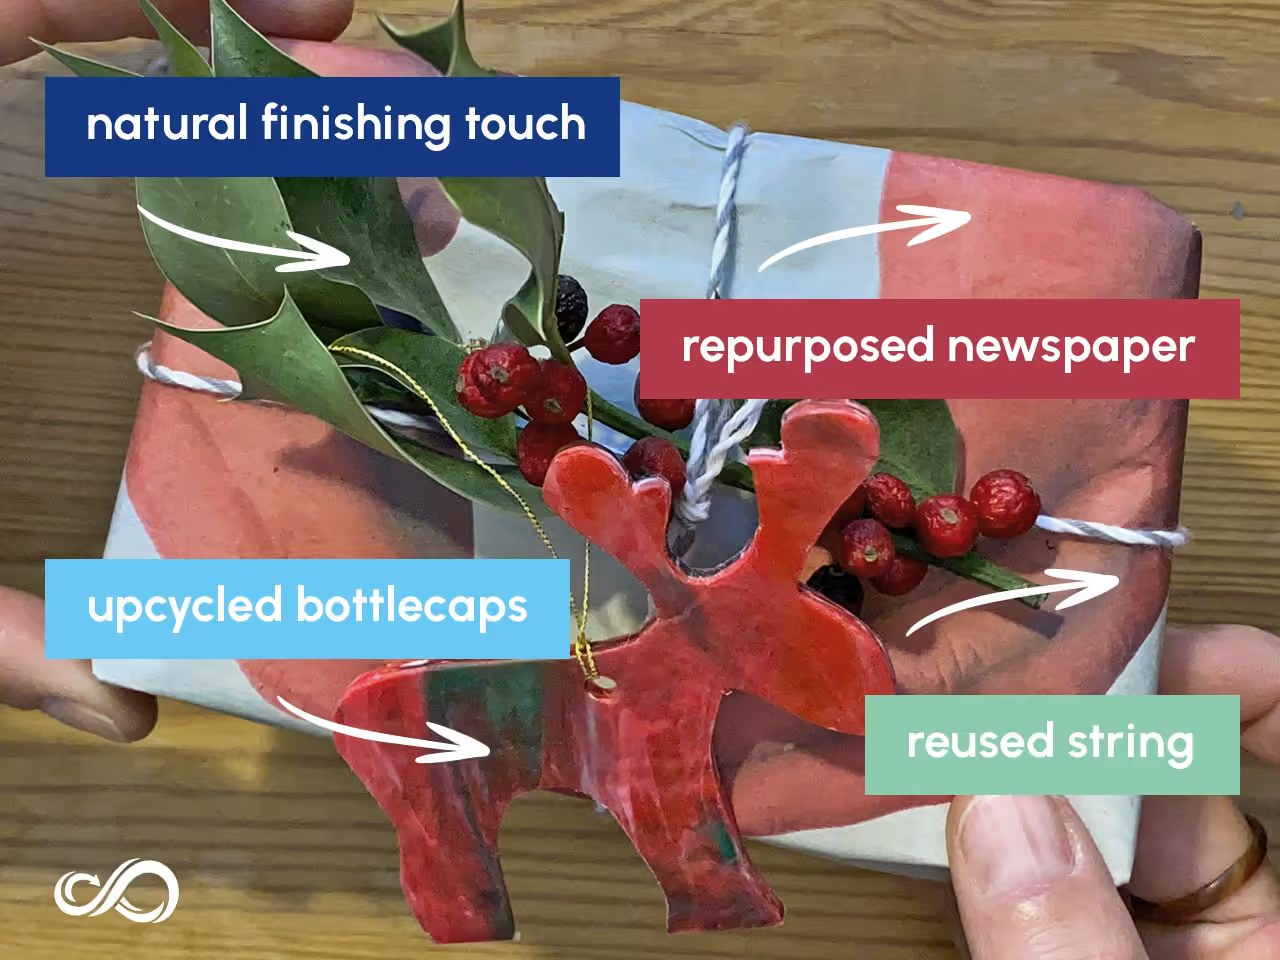
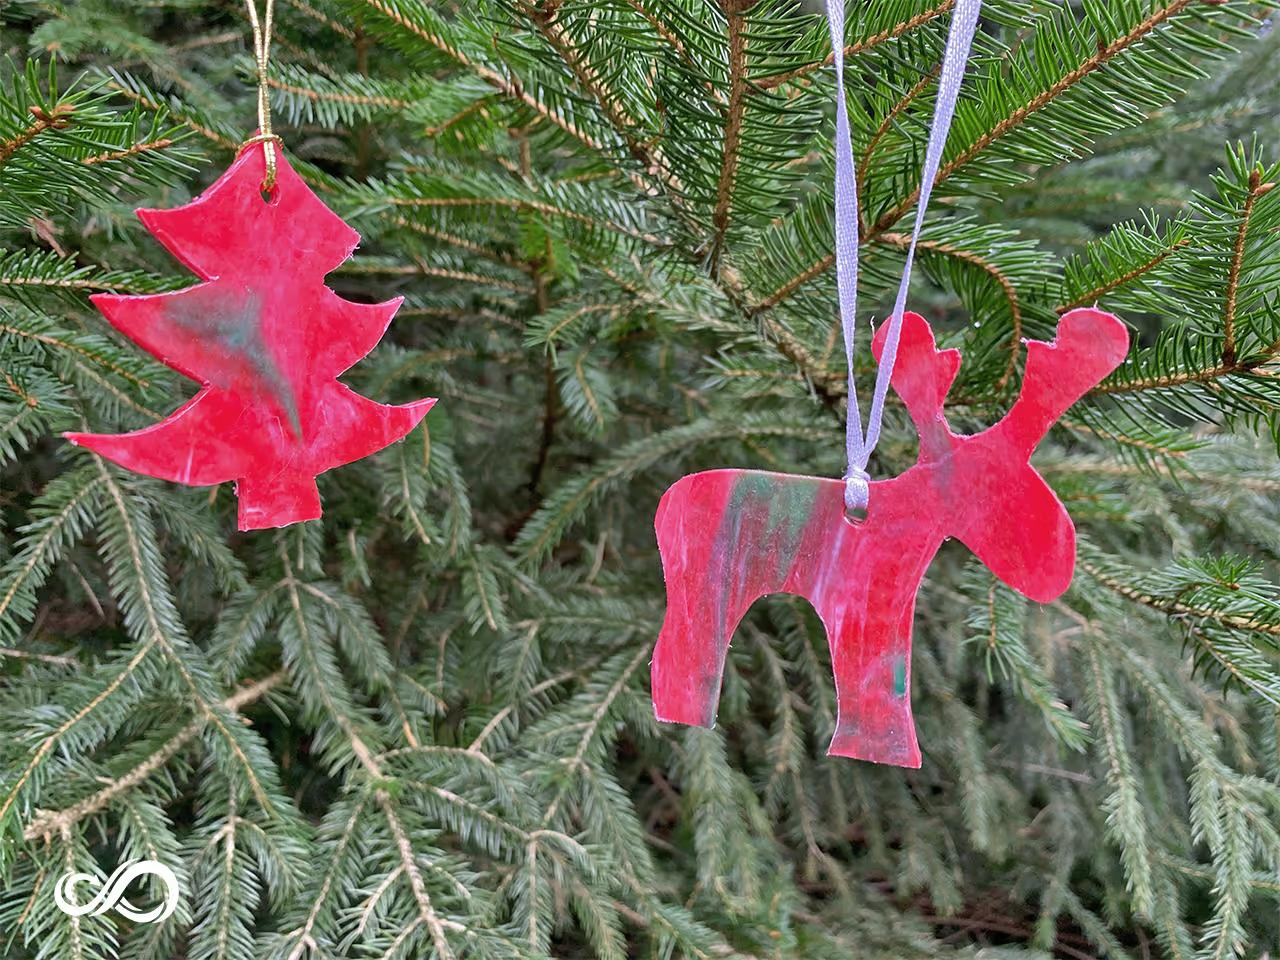
Transform plastic waste into charming Christmas ornaments for decoration or gift embellishment.
Required Materials:
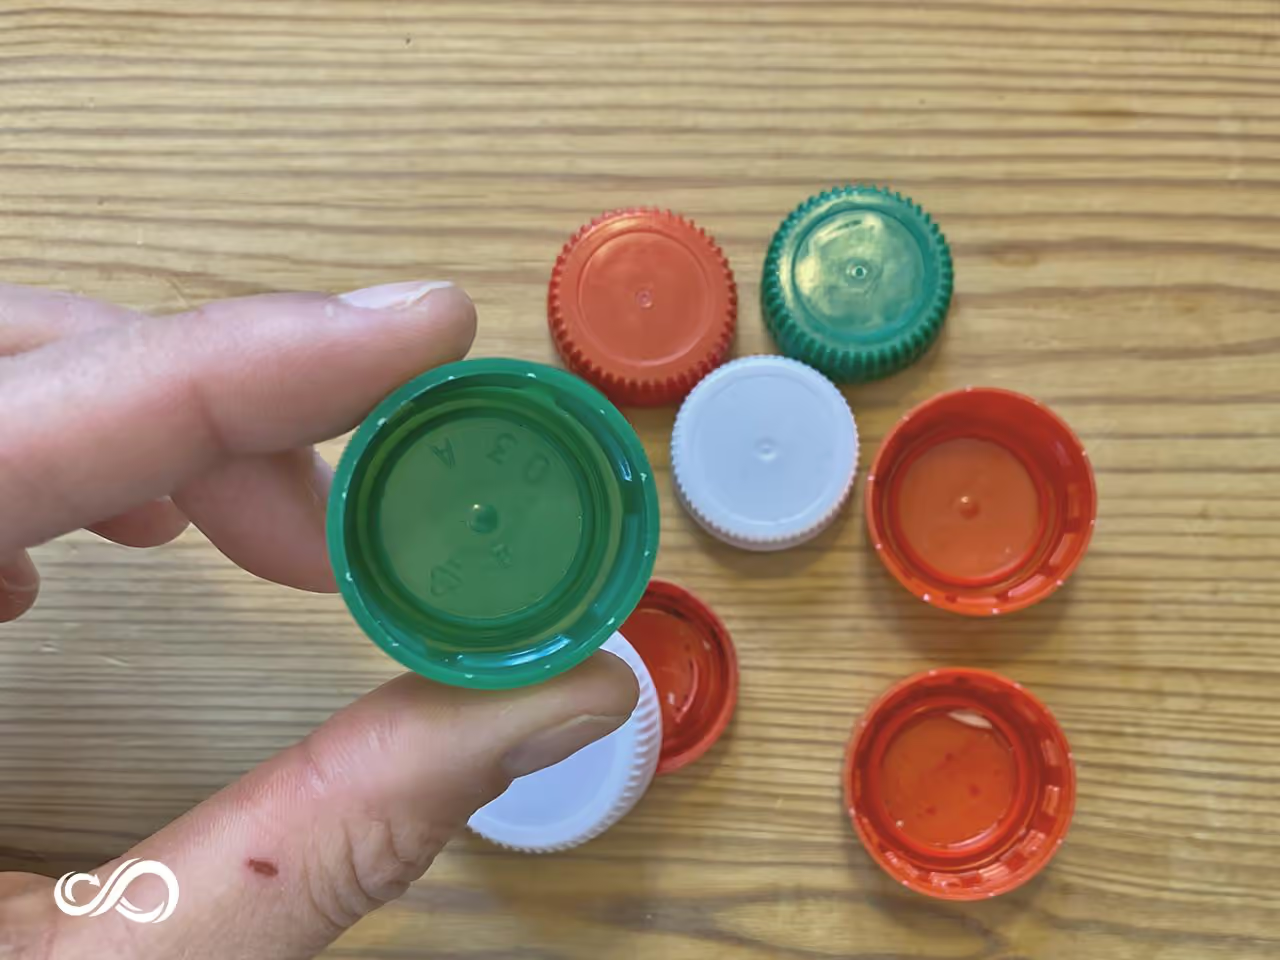
Identify Plastic Type
Sort bottle caps by type: either HDPE or PP. Check for the recycling symbol inside the cap: '2' indicates HDPE and '5' indicates PP.
Physical Identification
If not labeled, determine plastic type by feel. HDPE caps are more flexible, PP caps are rigid. Typically, milk jug caps are HDPE; soda bottle caps may be PP.
Contamination Precaution
When uncertain about a cap's type, discard it to prevent possible contamination of the batch.
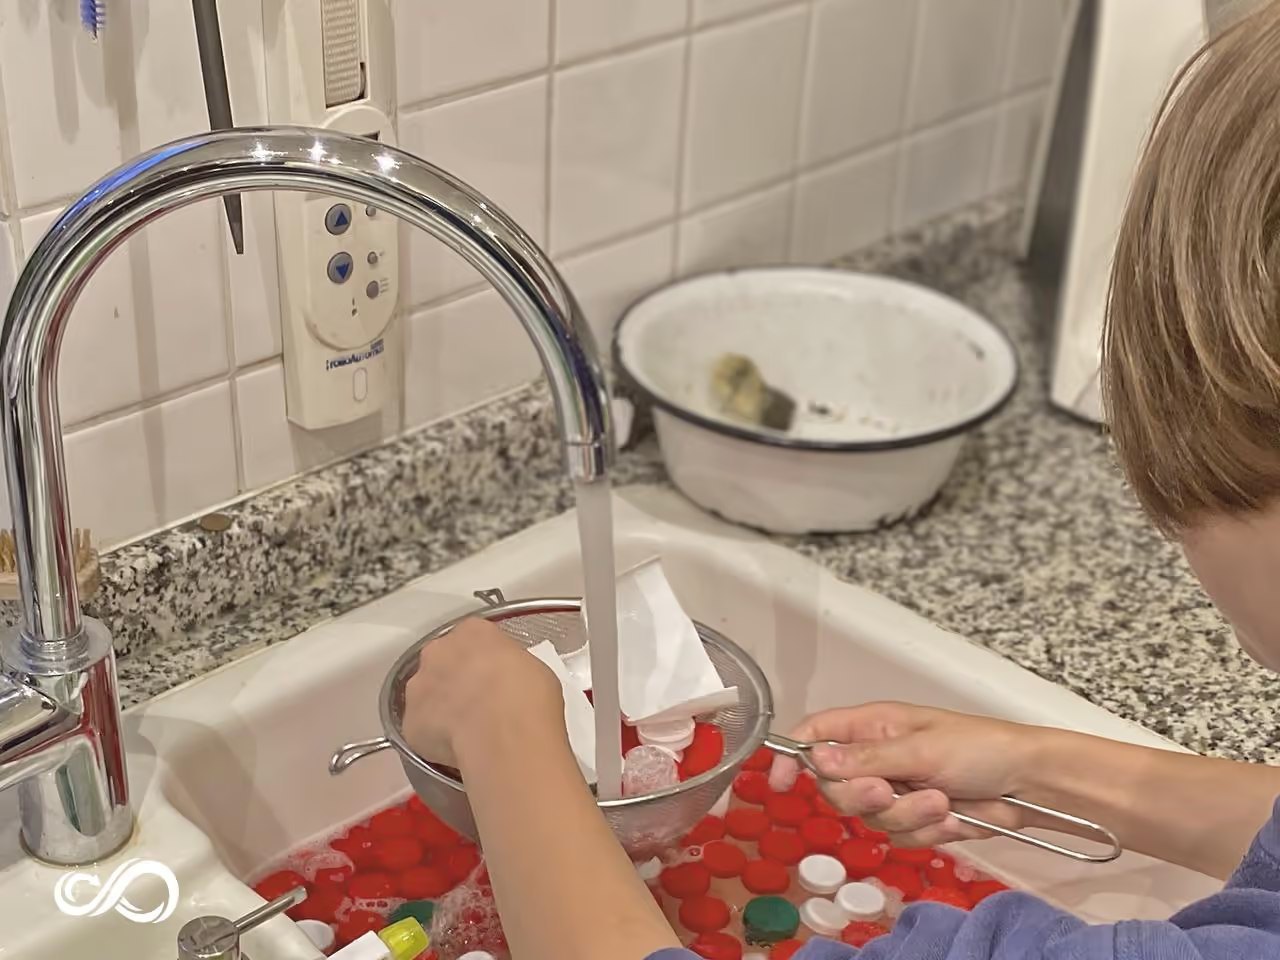
Wash Caps: Soak caps in a sink and scrub with a brush, or for larger quantities, place them in a laundry bag and use a short cycle in the washing machine. Ensure the caps are thoroughly dried before proceeding.
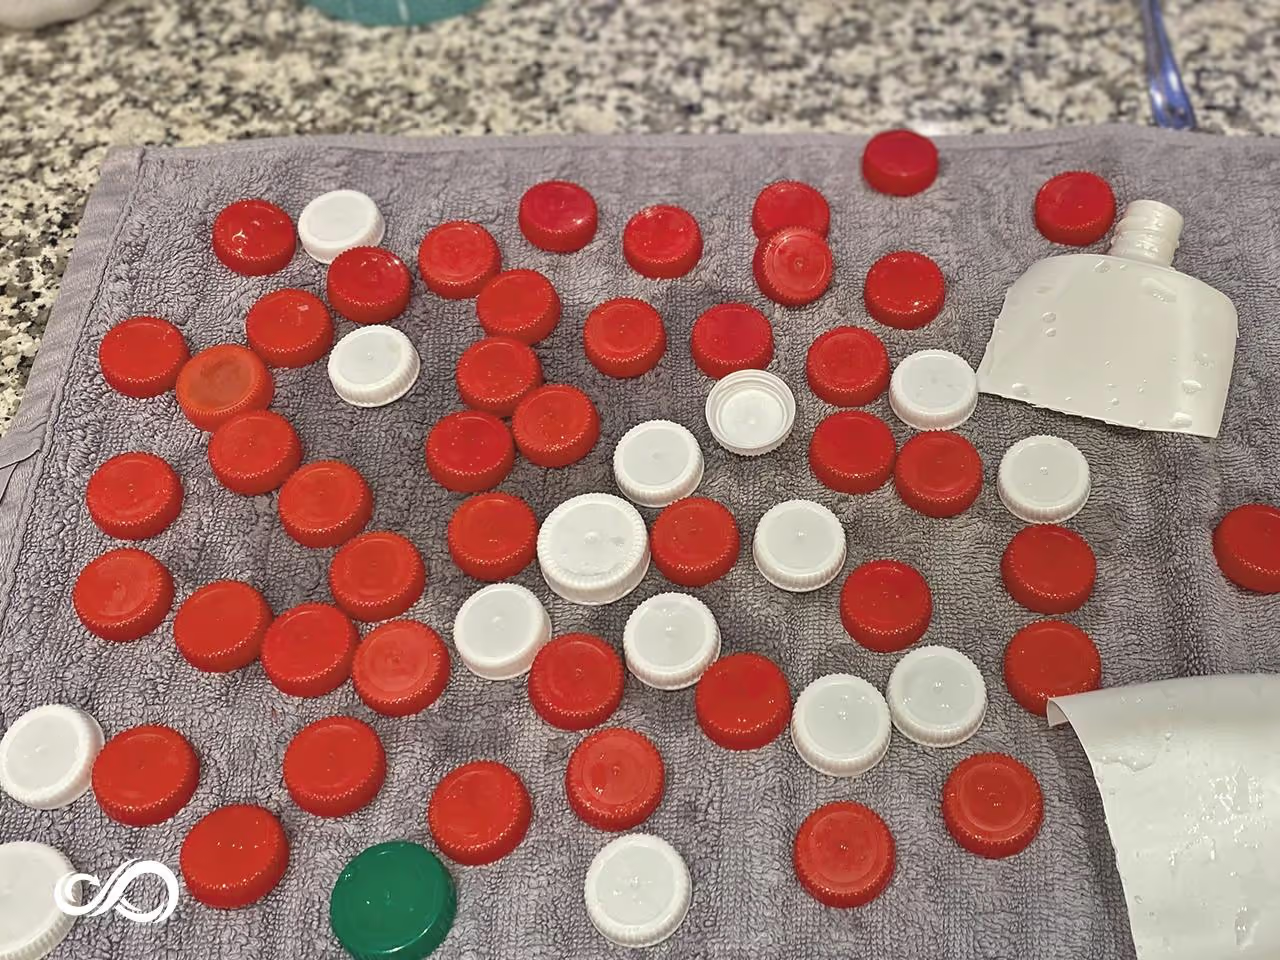
Color Selection: Decide on color combinations for your ornaments. While the example uses red, white, and green, choose based on your available colors and desired aesthetic.
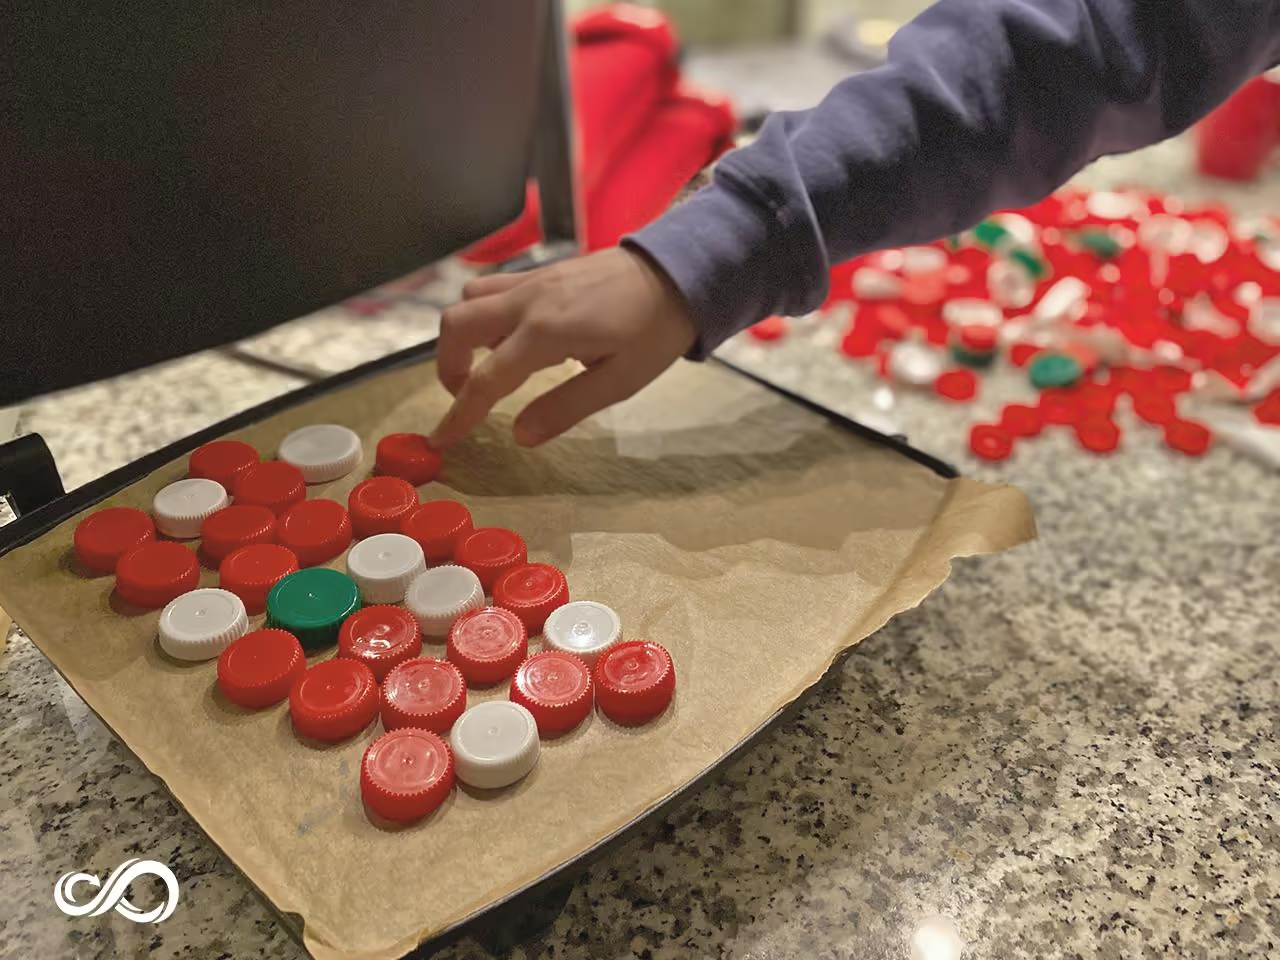
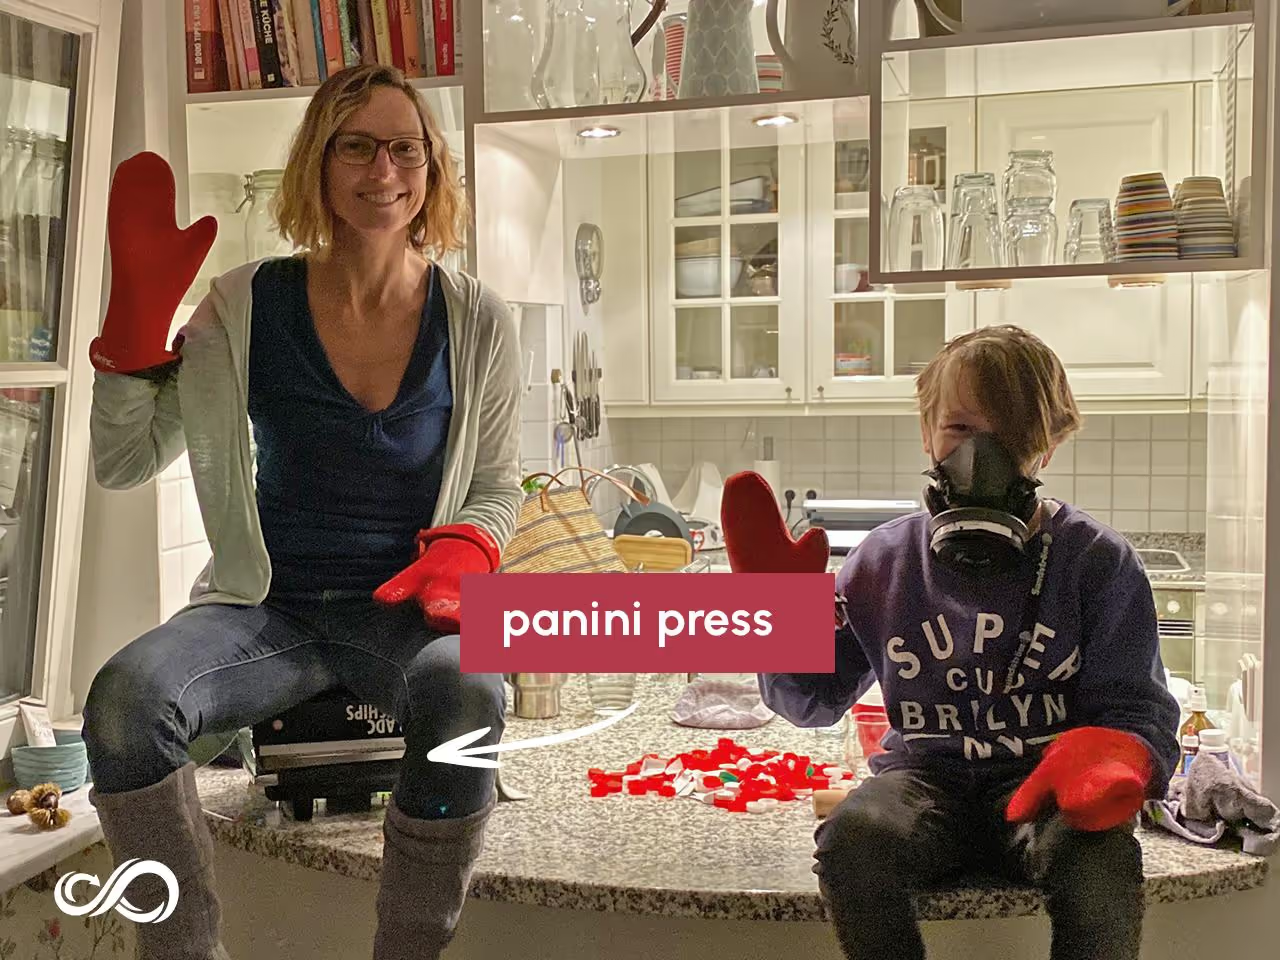
Plug in your panini press and let it heat up. Use a flat surface model for an even plastic sheet. Once hot, place a baking sheet on the press. Teflon sheets are recommended for durability.
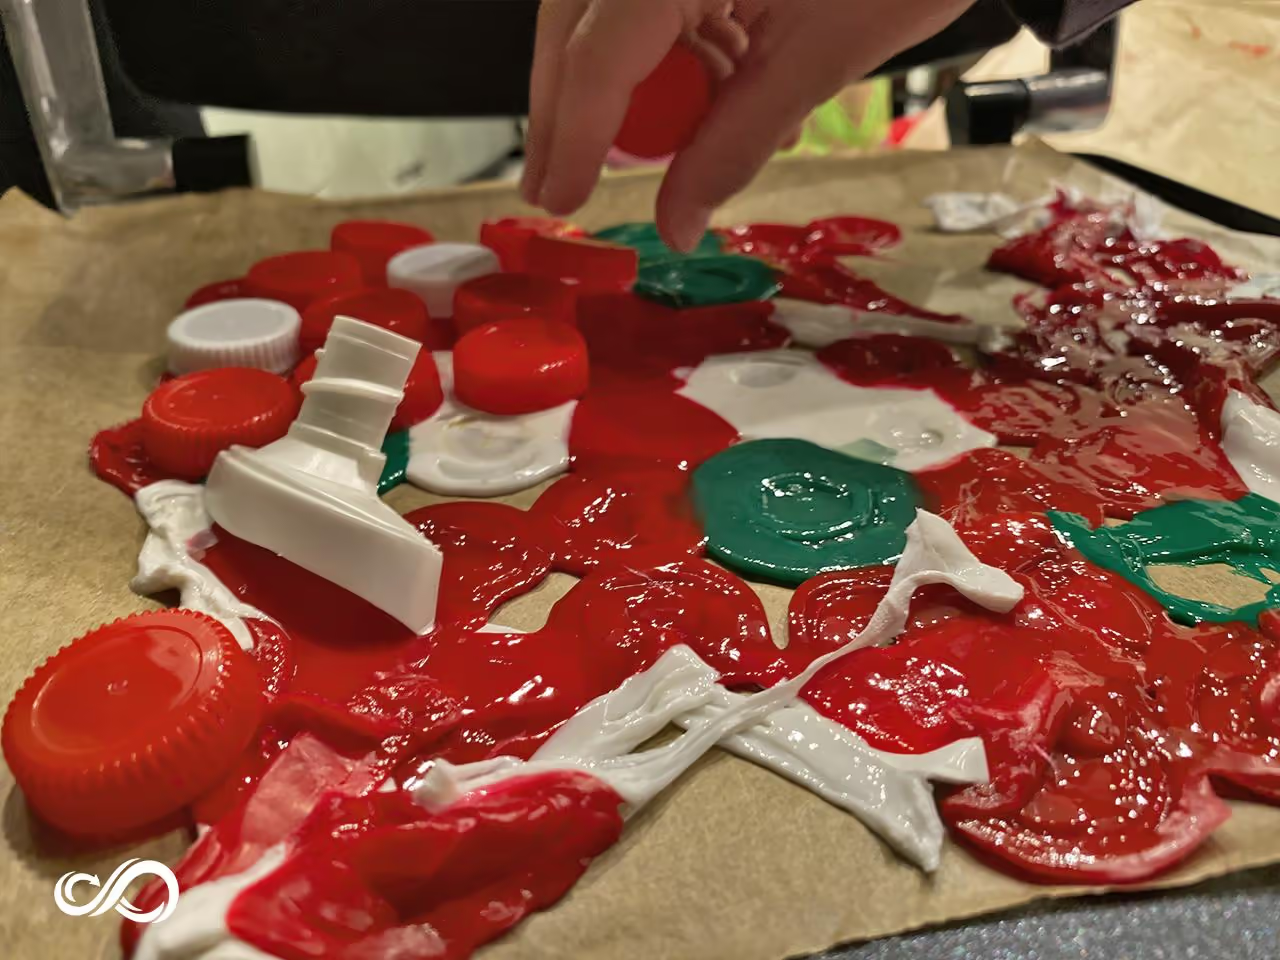
Place bottle caps on the press; orientation doesn't matter. Cover them with a second baking sheet and close the press.
To aid the melting process, place a heavy object, such as bricks or books, on top of the press.
After melting the bottle caps, you can add additional layers as in Step 2. The desired thickness of your ornaments will determine the number of layers. For a plastic sheet approximately 0.12 to 0.16 inches (3 to 4 mm) thick, melt 2 to 4 layers of bottle caps, depending on their size.
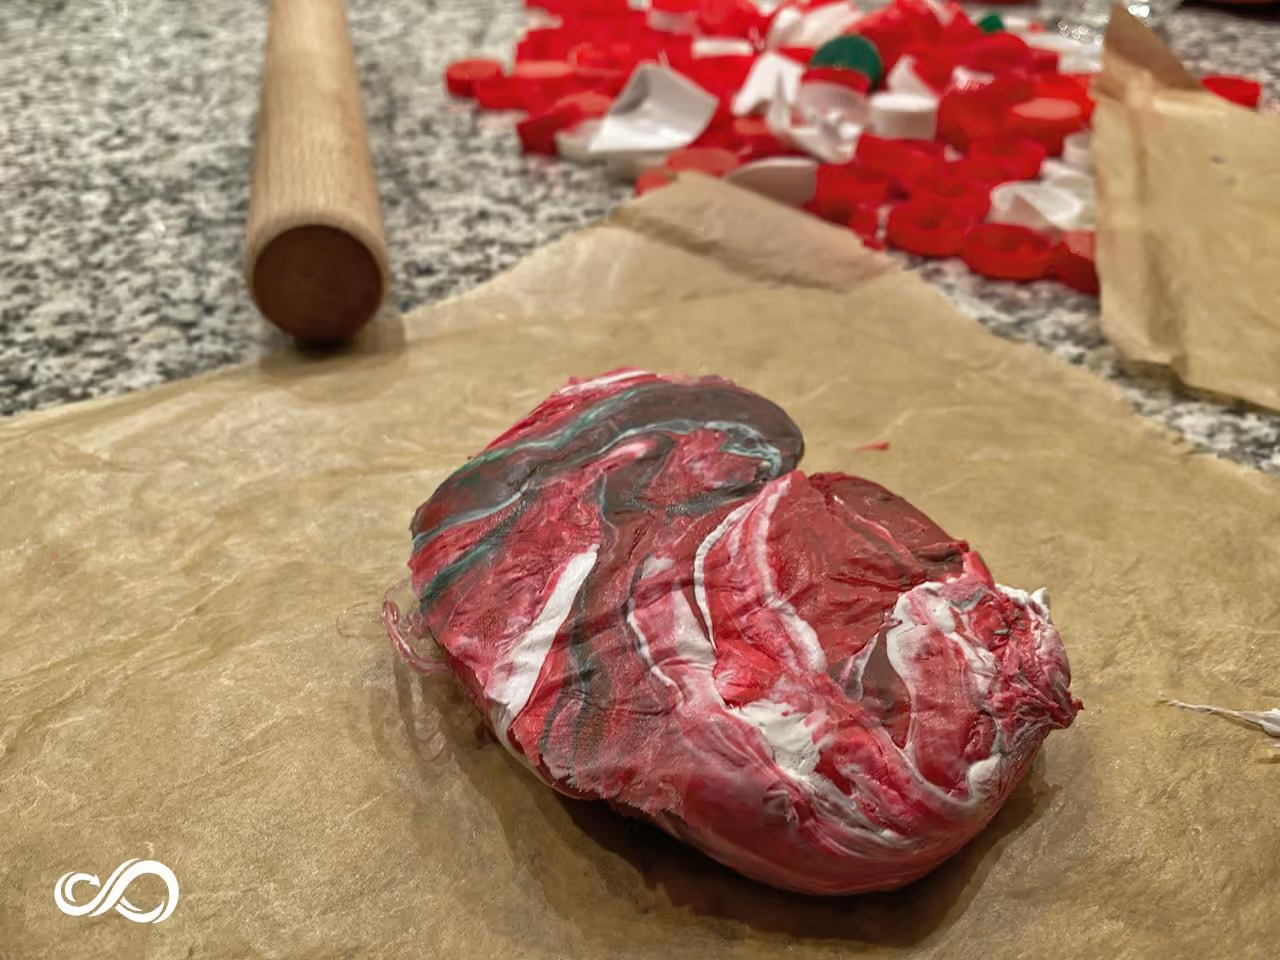
You should now have a layer of melted bottle caps. You may use the sheet immediately or create a batik design. To do so, wear silicone gloves, roll the warm plastic into a sausage shape, and twist it. Let your creativity guide you—pull, fold, and twist the plastic until the desired pattern is achieved. If the plastic hardens, simply reheat it in the press to make it moldable again.
At this point, you have a lump of plastic that needs to be melted again to form a flat sheet.
Place the plastic piece inside the panini press and heat it until it softens. Once pliable, apply pressure to the press. To enhance stretching, consider gently sitting on the press, ensuring you avoid burns.
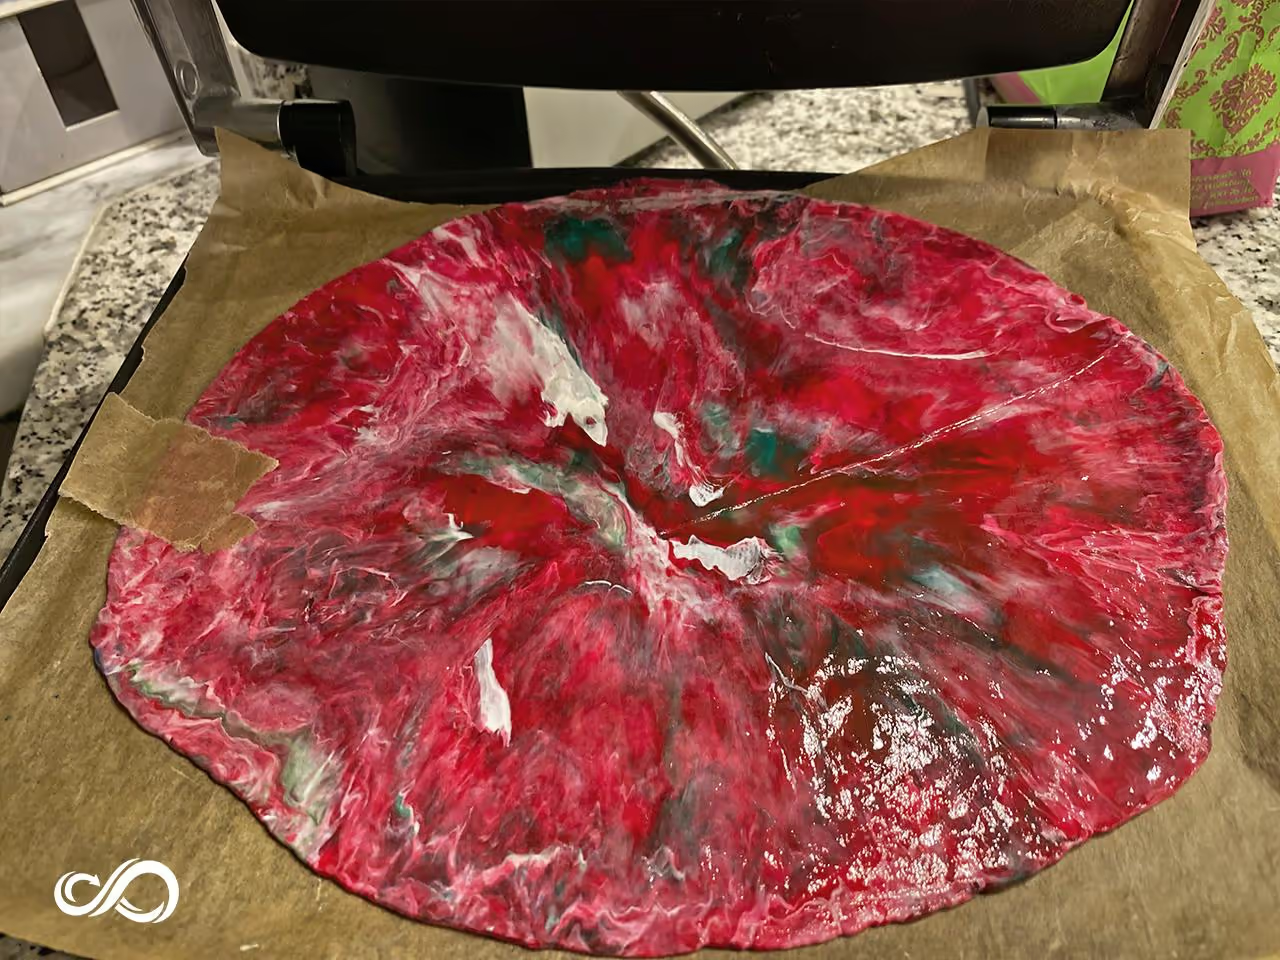
Alternatively, use a rolling pin after removing the plastic, though maintaining contact with the heat source typically yields better results.
Open the press periodically to check if the sheet has reached the desired thickness. Once satisfied, turn off the press and allow the sheet to cool with a weight on top to prevent deformation.
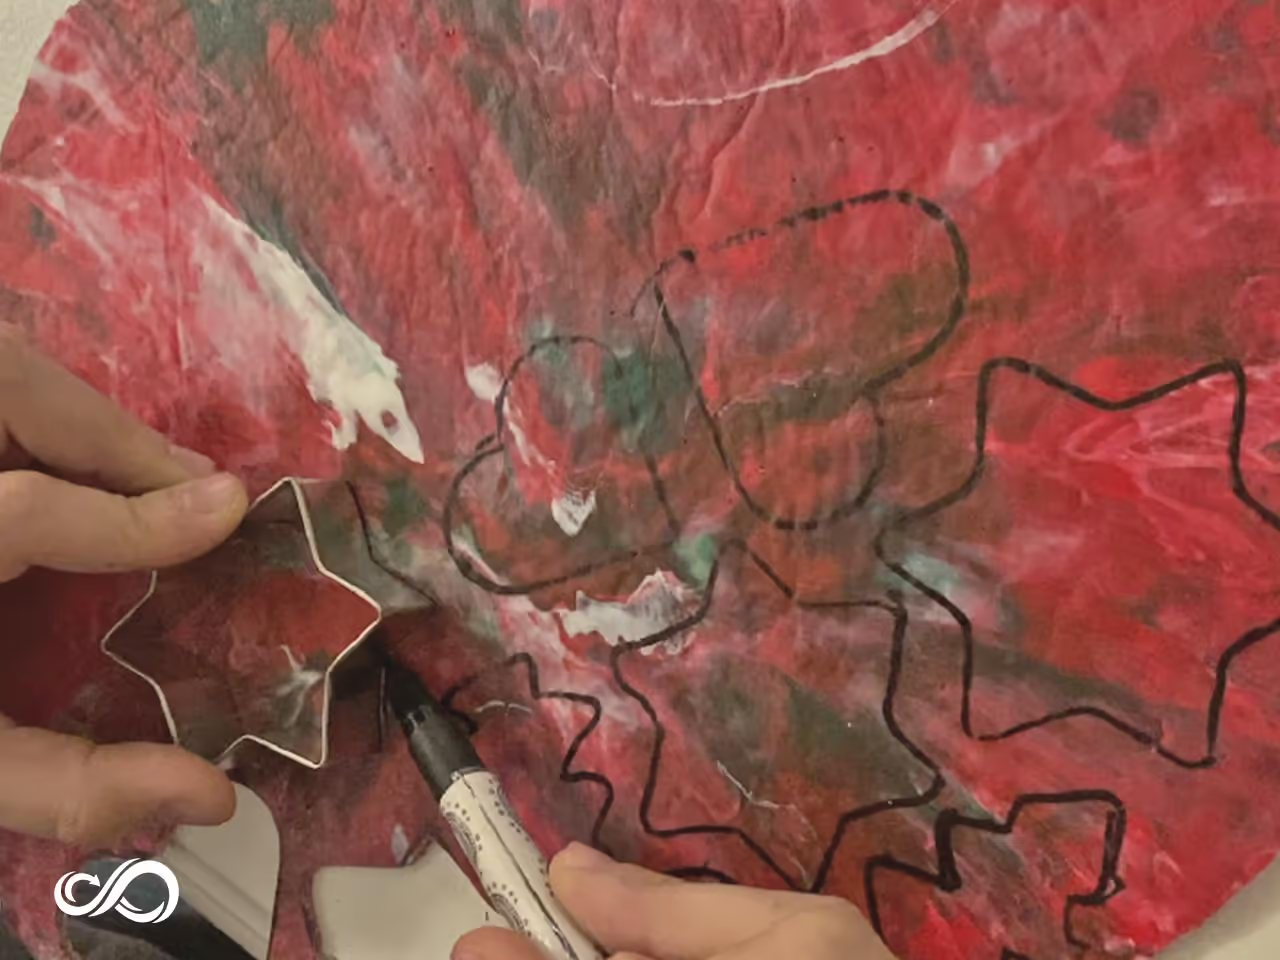
Once the sheet has cooled, you can begin designing. Use a pen suitable for plastic to sketch your ornaments. Cookie cutters or paper stencils can serve as helpful guides.
Consider the sawing process when selecting a design; intricate patterns are harder to cut. Starting with simple designs and gradually moving to complex ones is advisable.
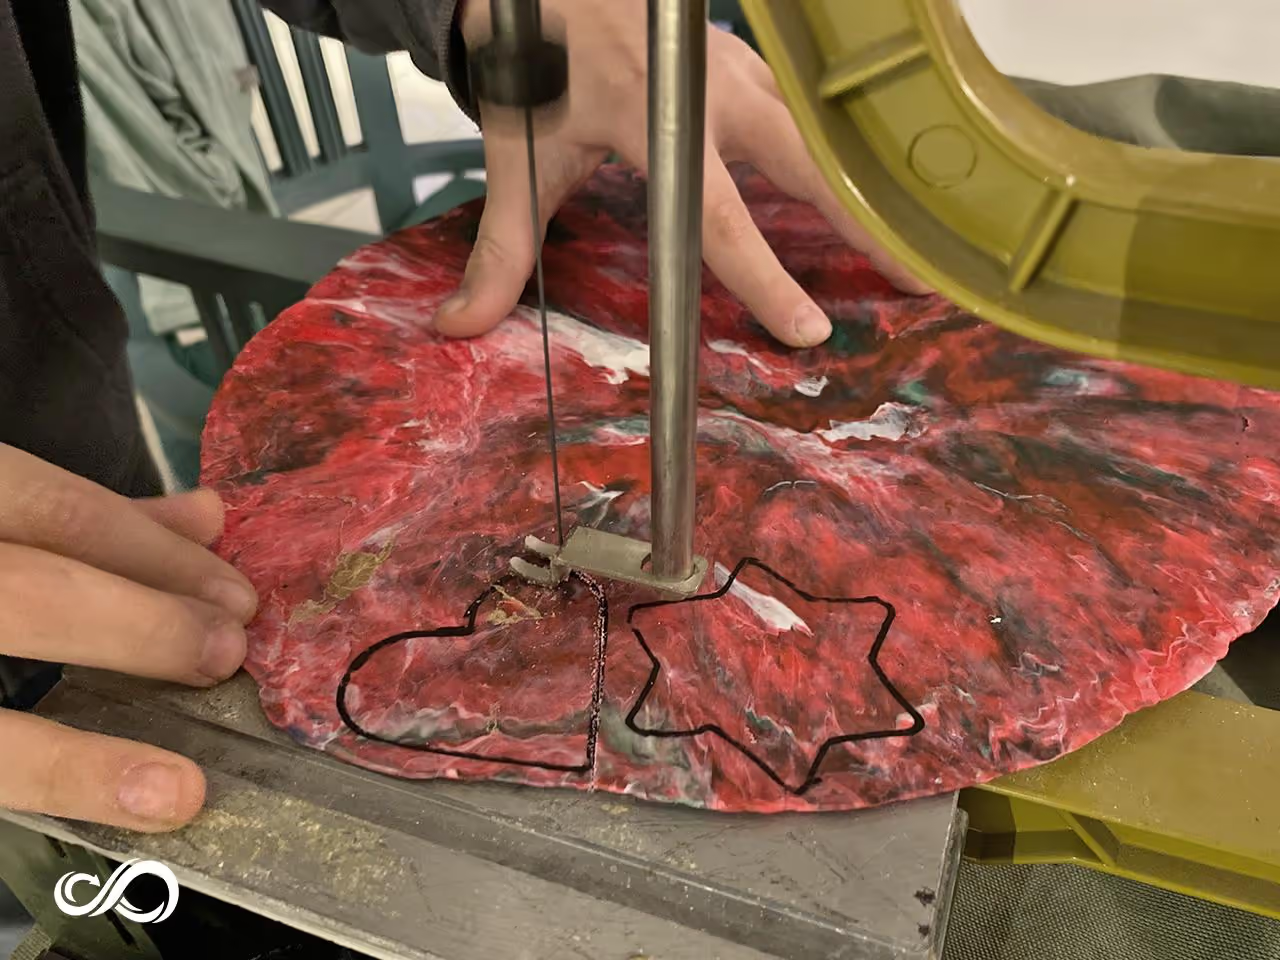
For this step, use a fretsaw, which can be manual or electric. An electric saw simplifies the process, but a manual saw is also effective with some additional patience.
Guide the saw along the lines drawn on the plastic sheet to complete your Christmas ornament.
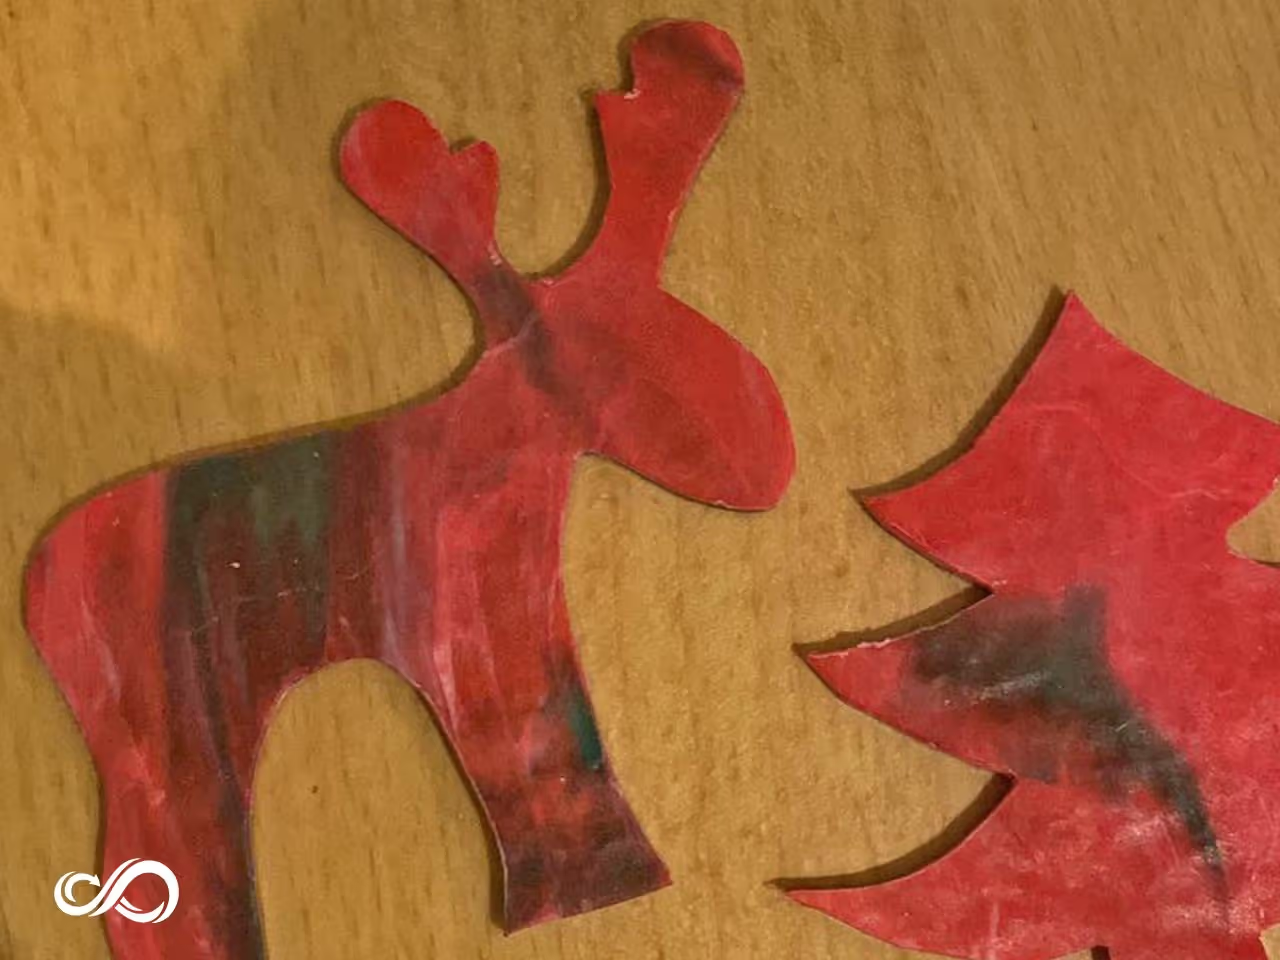
To clean the edges of your ornament, use a sharp knife or razor blade, as it is more effective than sandpaper. Ensure all small plastic pieces are collected during this process for reuse. They can be melted down again in future projects.
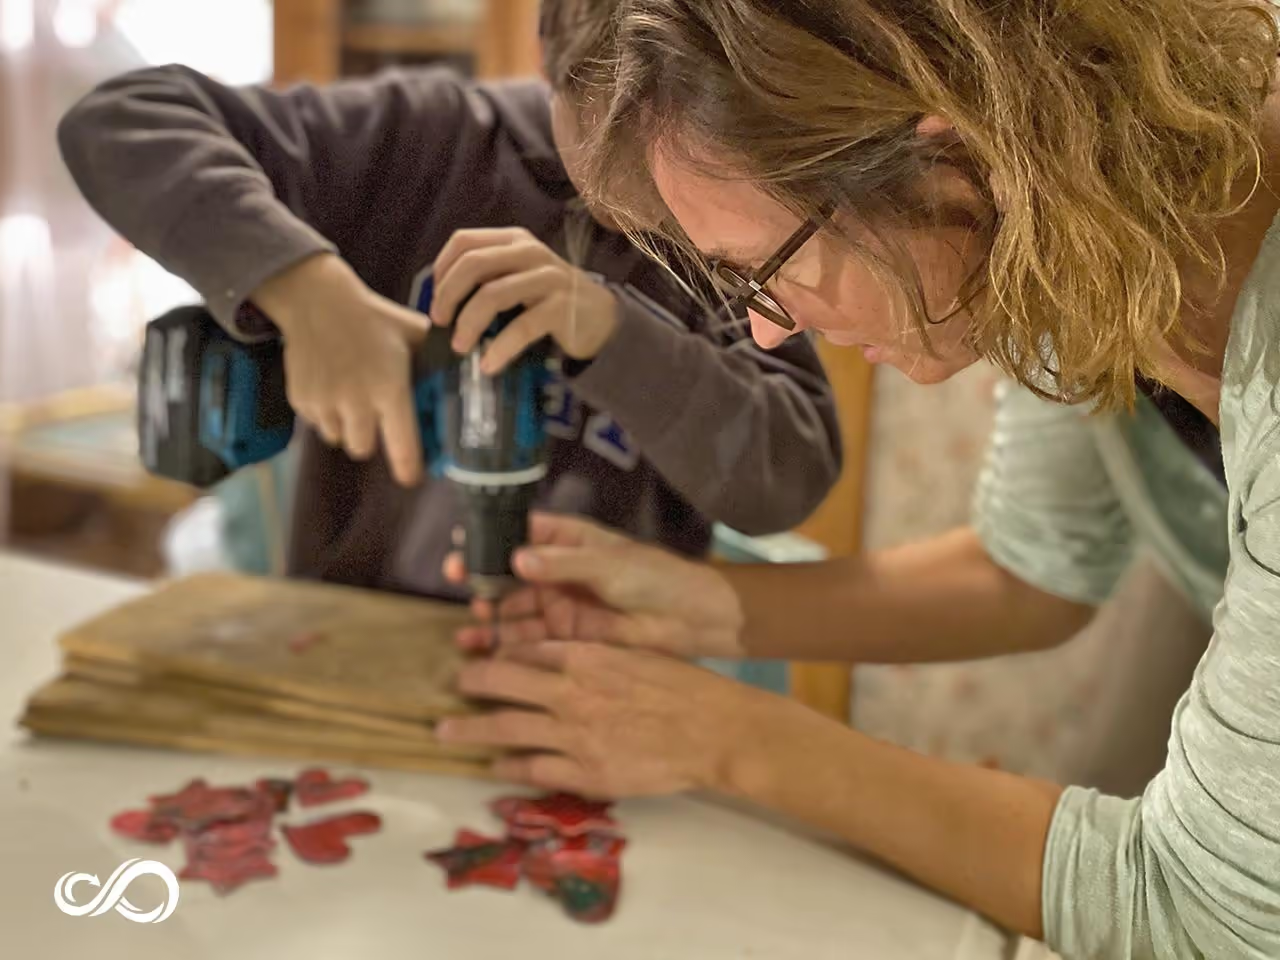
To complete your ornament, drill a small hole at the top to accommodate your string, considering its thickness.
We used strings collected over the years.
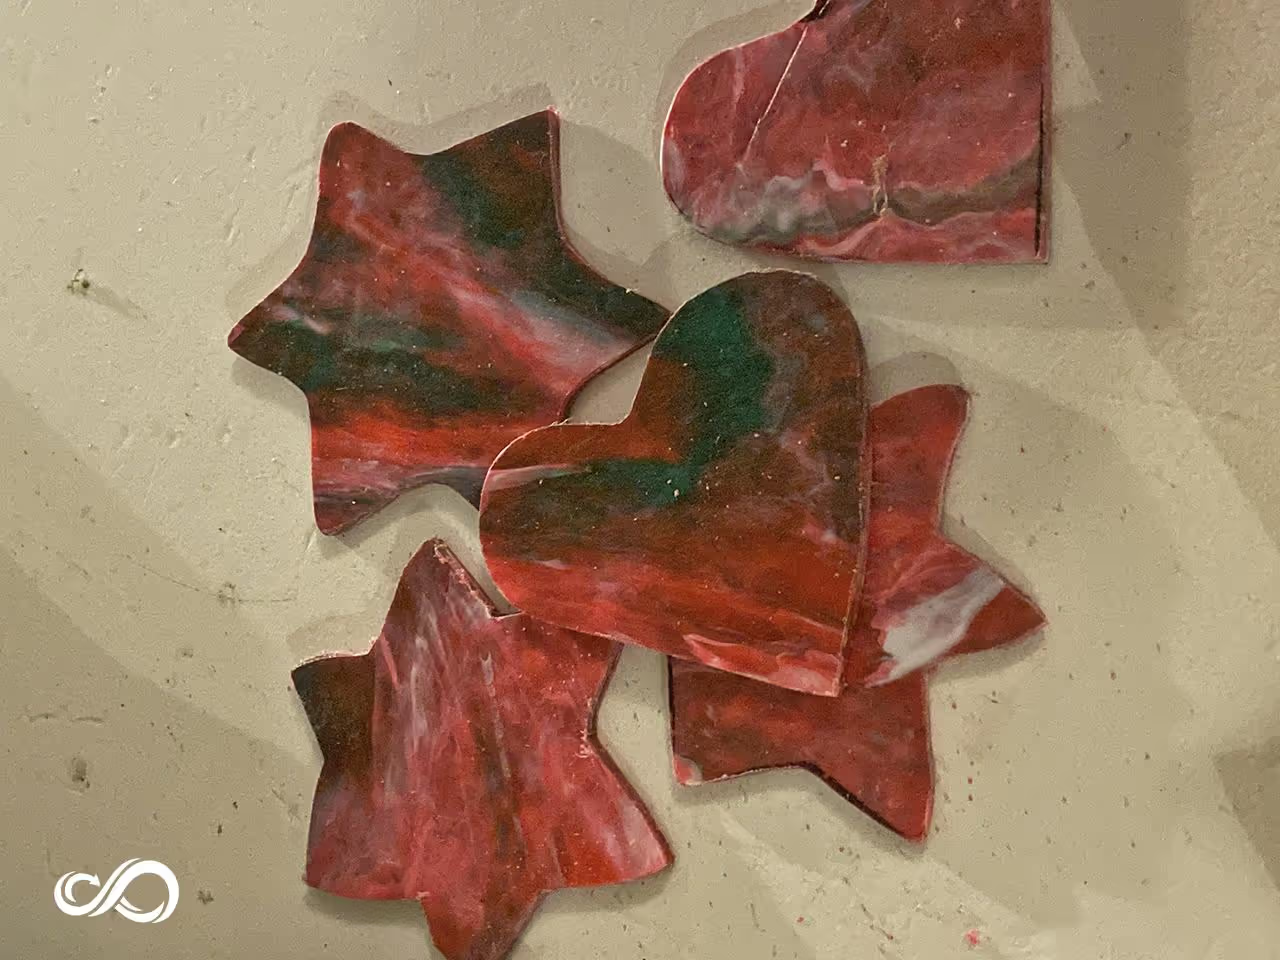
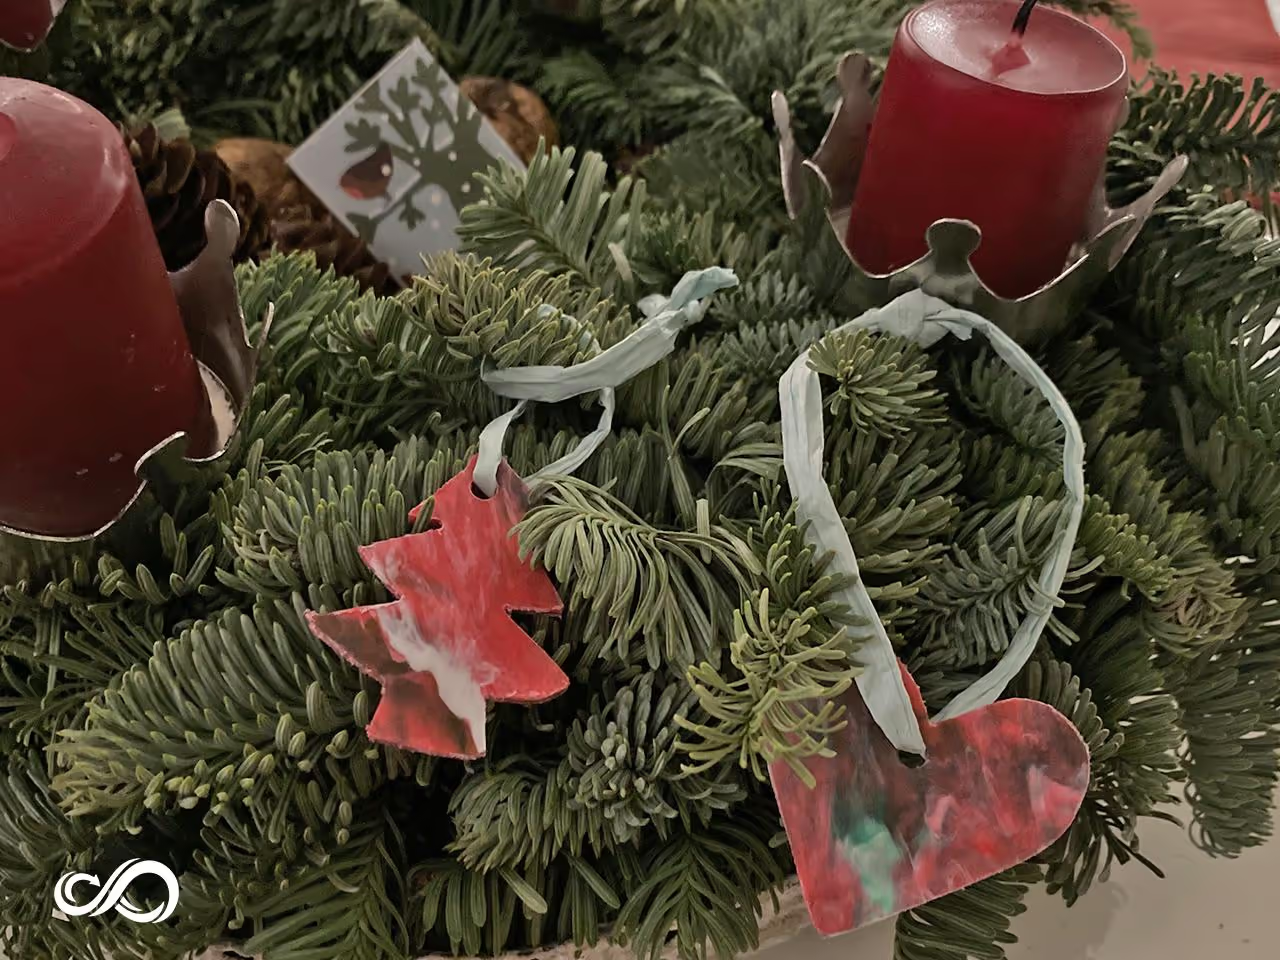
Your ornaments are now ready. Congratulations on your effort to reduce waste during Christmas.
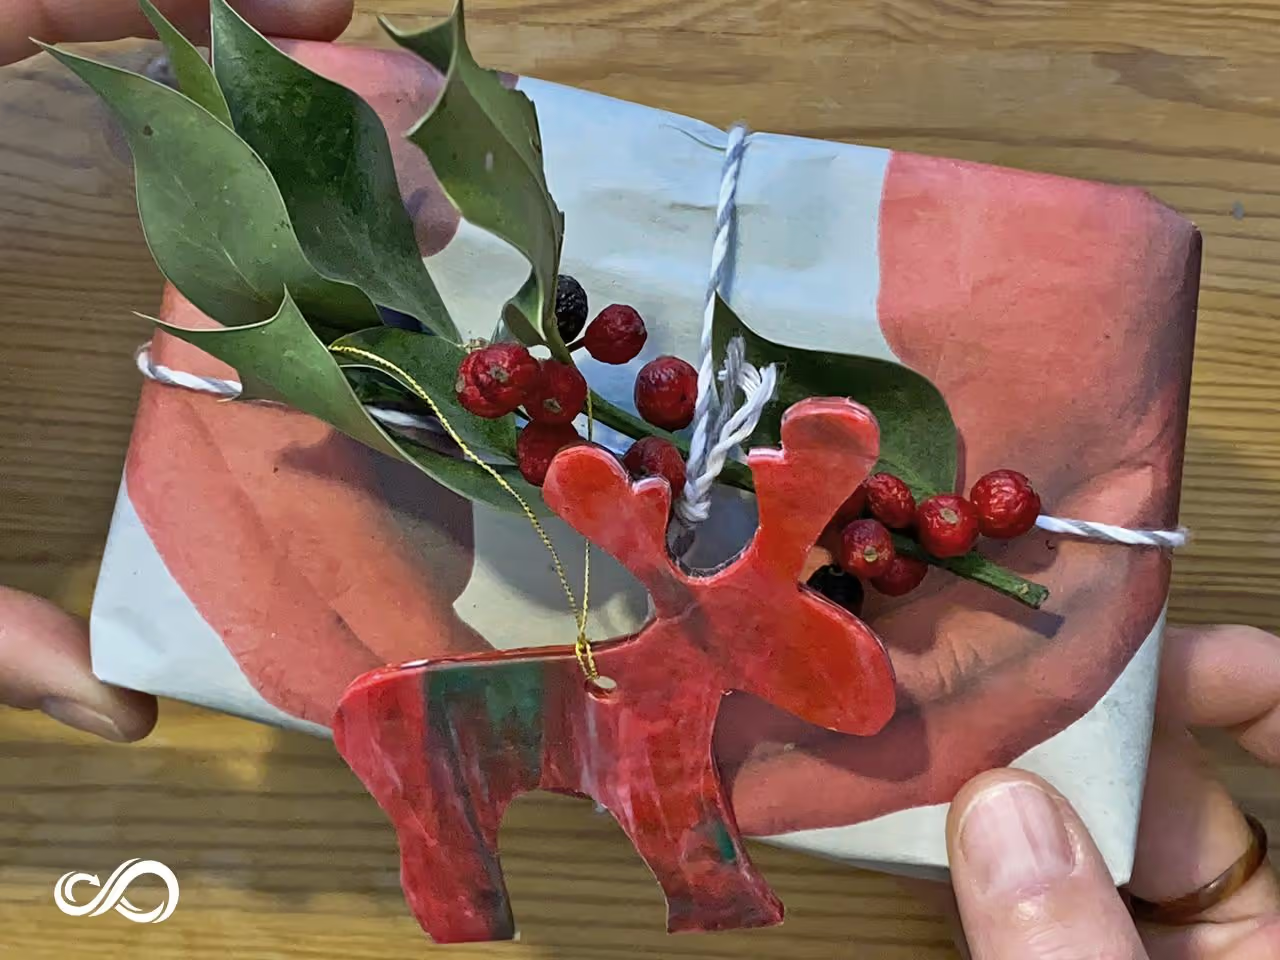
This step is optional. By gifting your handmade ornaments to friends or family, you demonstrate that new items are not necessary for Christmas decorations. Creating ornaments from bottle caps utilizes materials that might otherwise be discarded. This approach results in unique, handmade decorations.
Merry Christmas, Maria & Nike from IN MOCEAN
No software is required for this project.
Here are references categorized by type, as requested: