Make a climbing brush
MELTING
HDPE
PRODUCT
Create a climbing brush using plastic and woodworking techniques to achieve a unique pattern.
An oven is required; powered tools like a sander, saw, and router are recommended for ease.
For feedback or suggestions, please leave comments or contact us on social media.
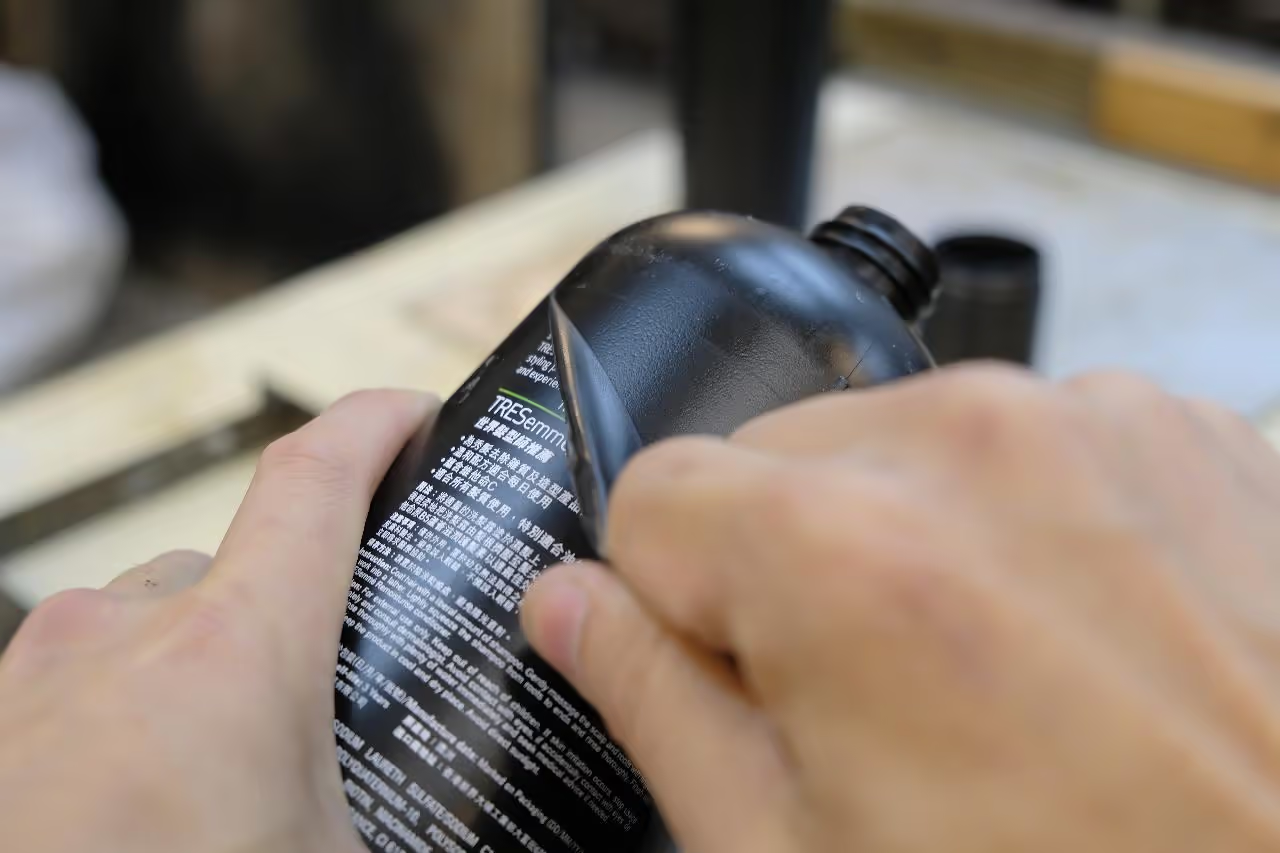
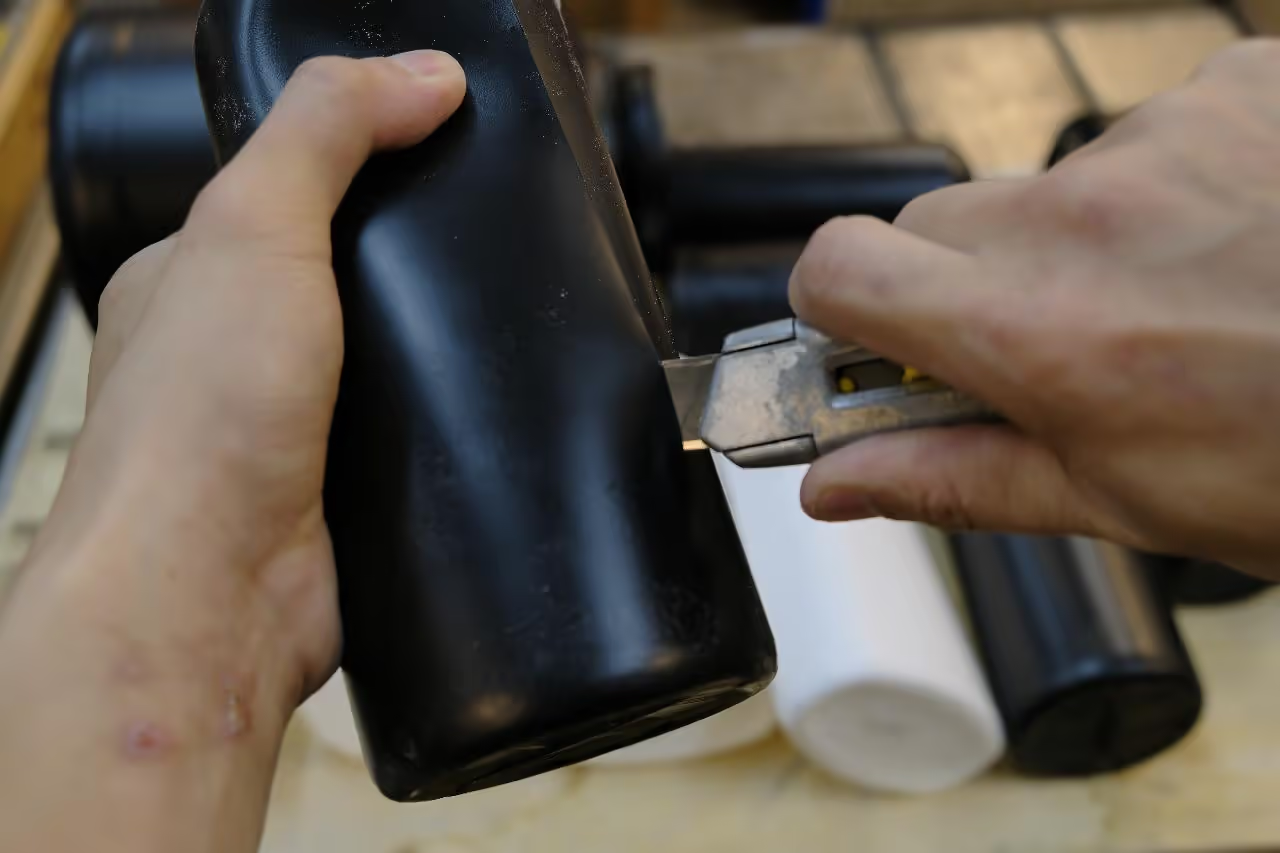
For this project, use HDPE as it is easier to work with than PP. Ensure the plastic is clean and labels are fully removed. Cut the plastic into pieces and sort them by color.
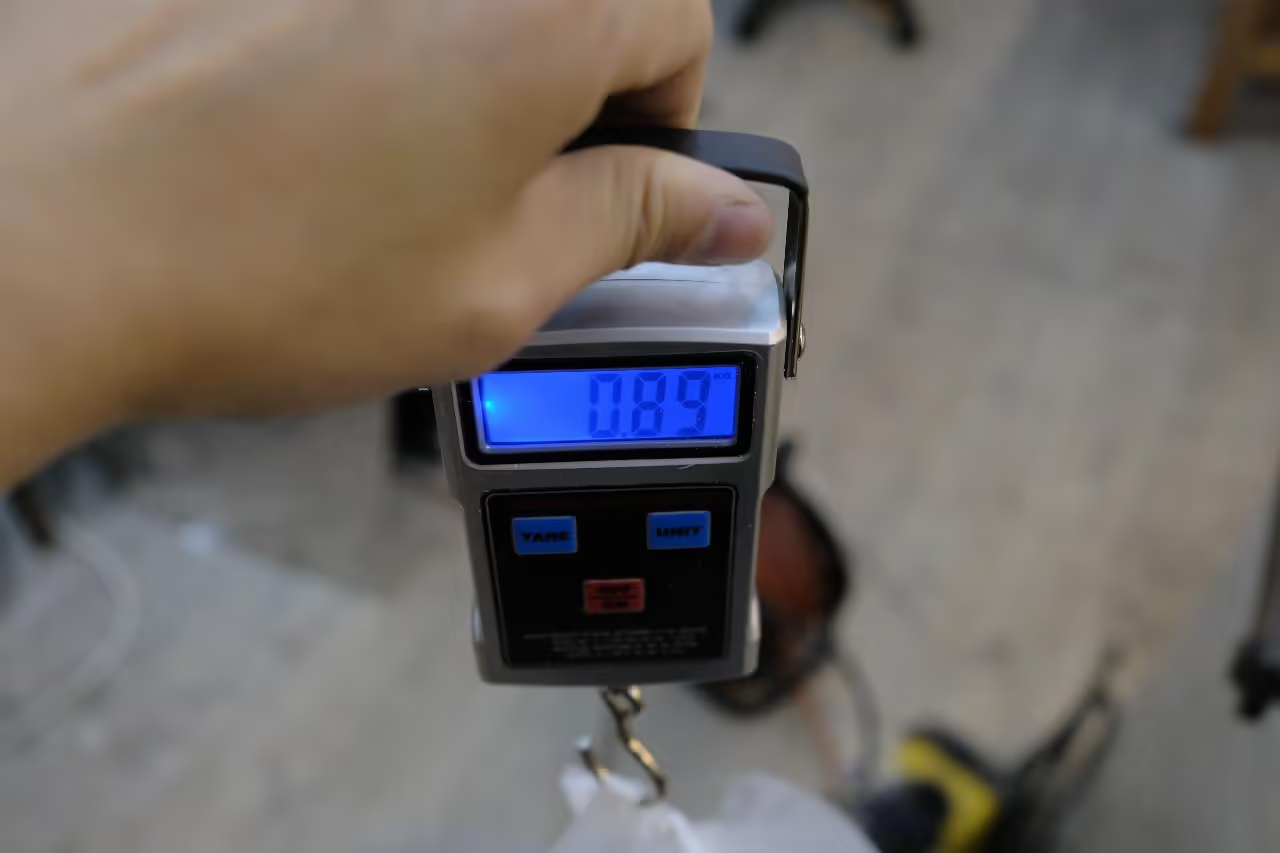
The quantity of plastic depends on the mold size. For every 0.06 cubic inches (1 cm³) of volume, one gram of plastic is required. In this example, approximately 1.87 lbs (850 g) of HDPE is needed.
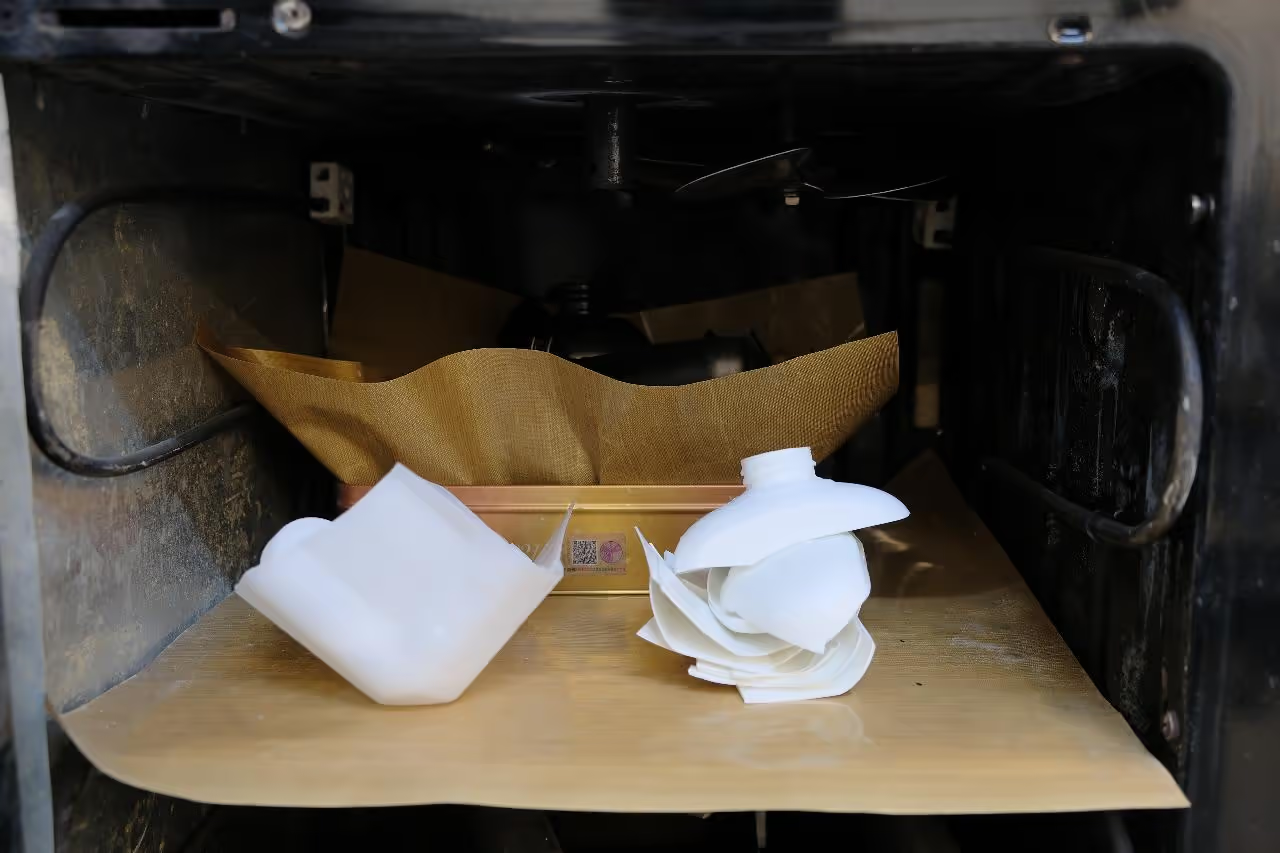
Place the plastic sheet on the oven tray with a Teflon sheet between layers. If the sheets do not stack well, transfer them to another container with a Teflon sheet.
Preheat the oven to 180-190°C (356-374°F) and heat the plastic for 25-30 minutes until fully melted.
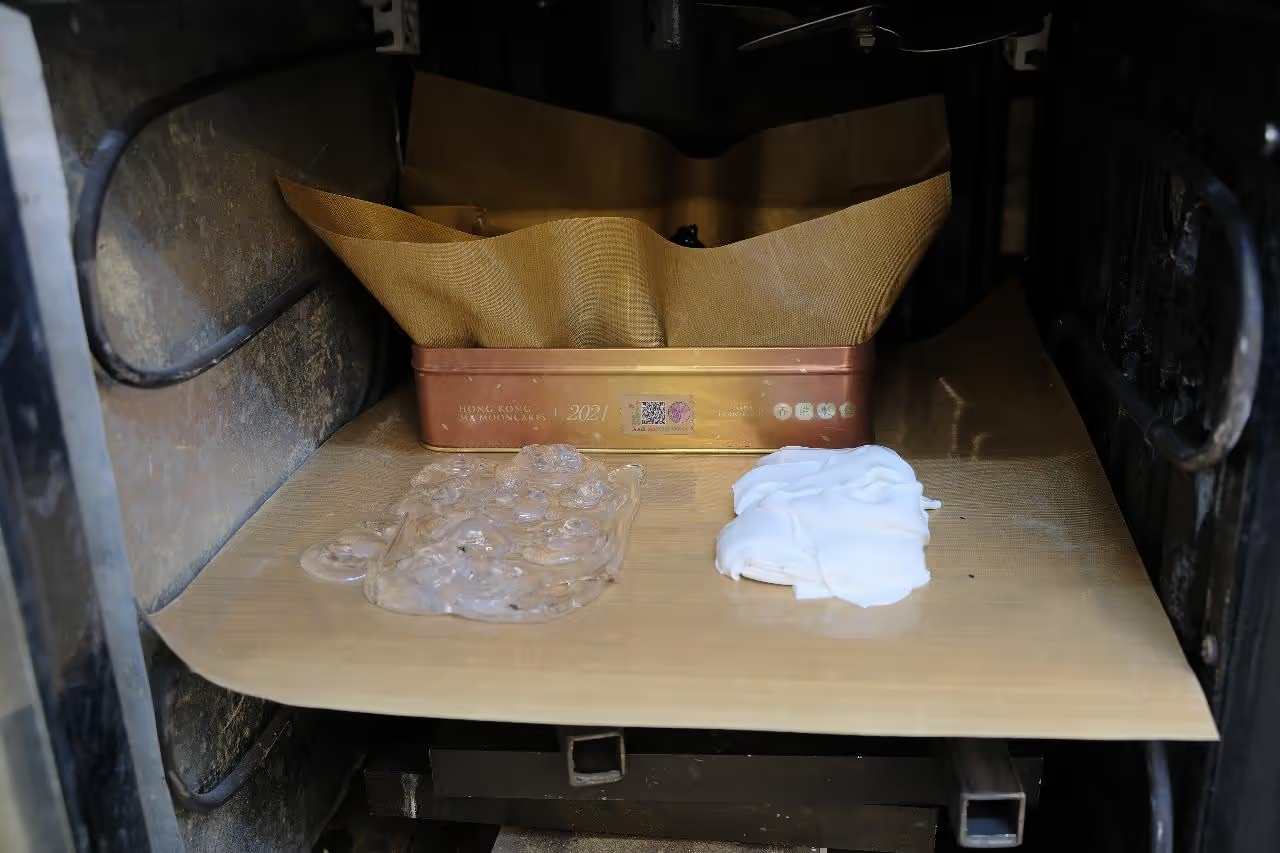
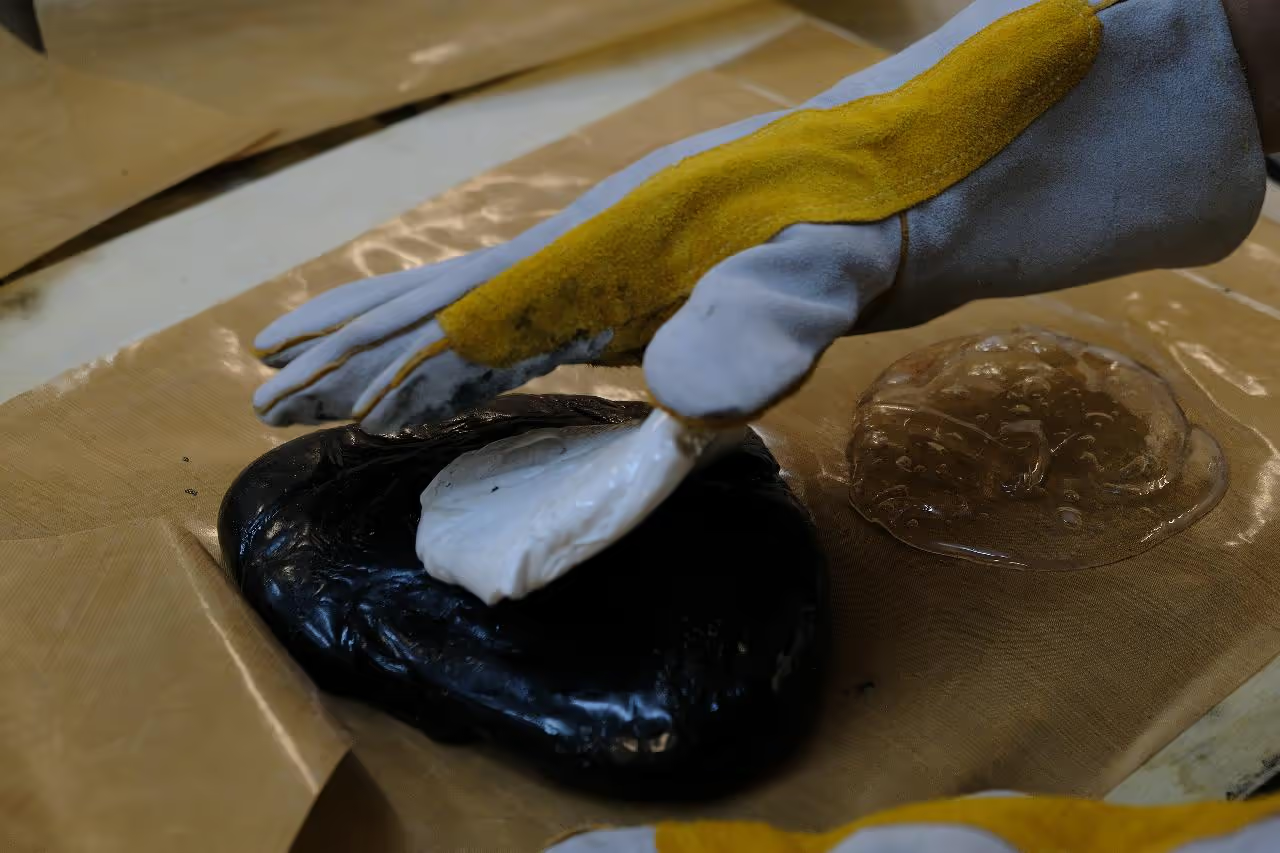
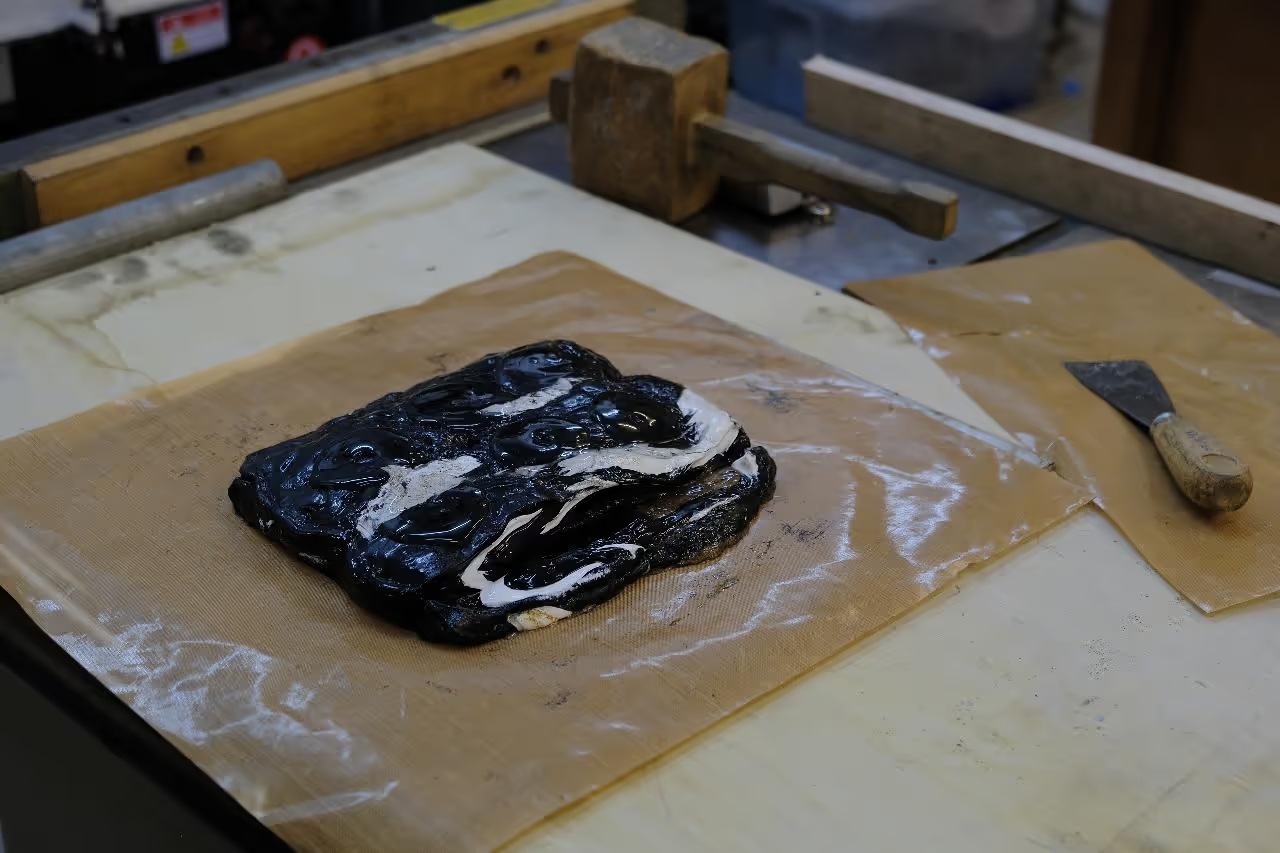
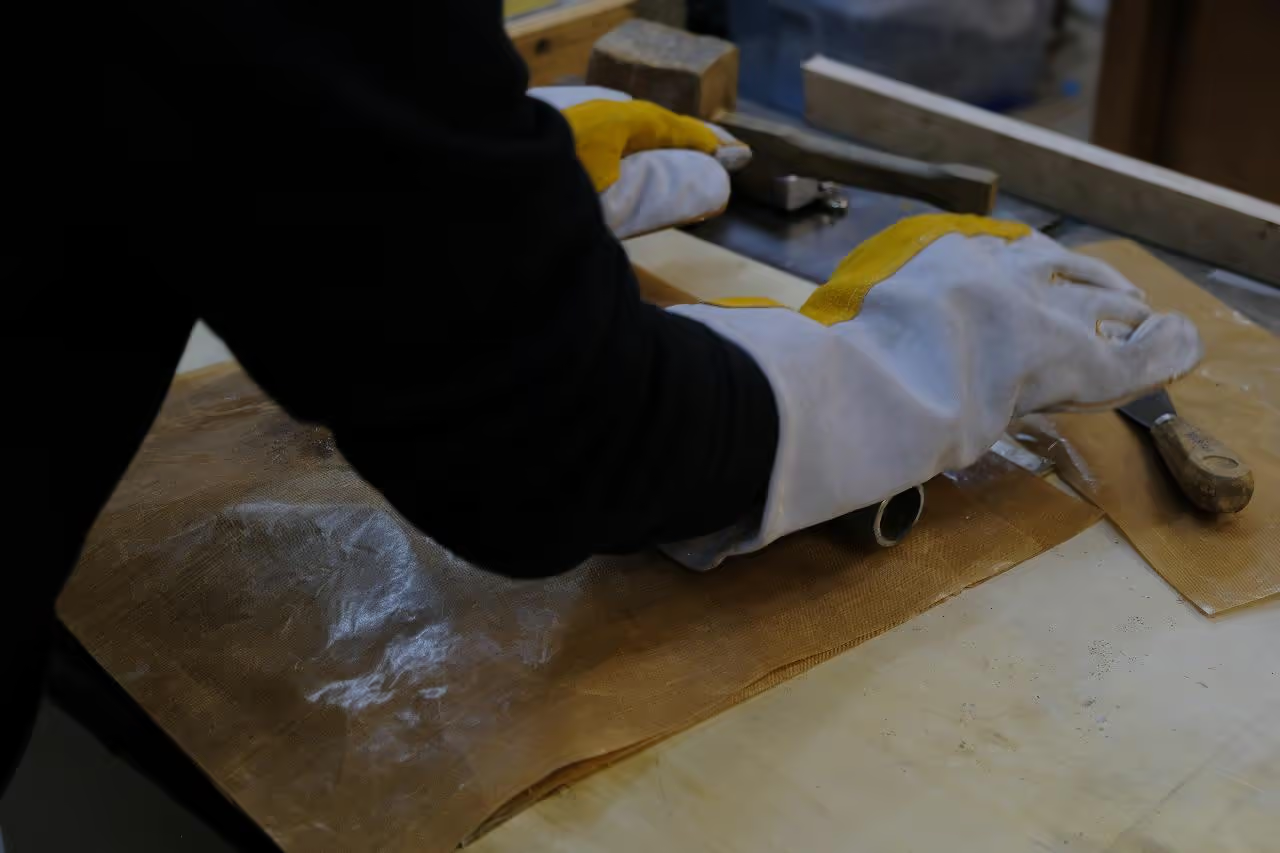
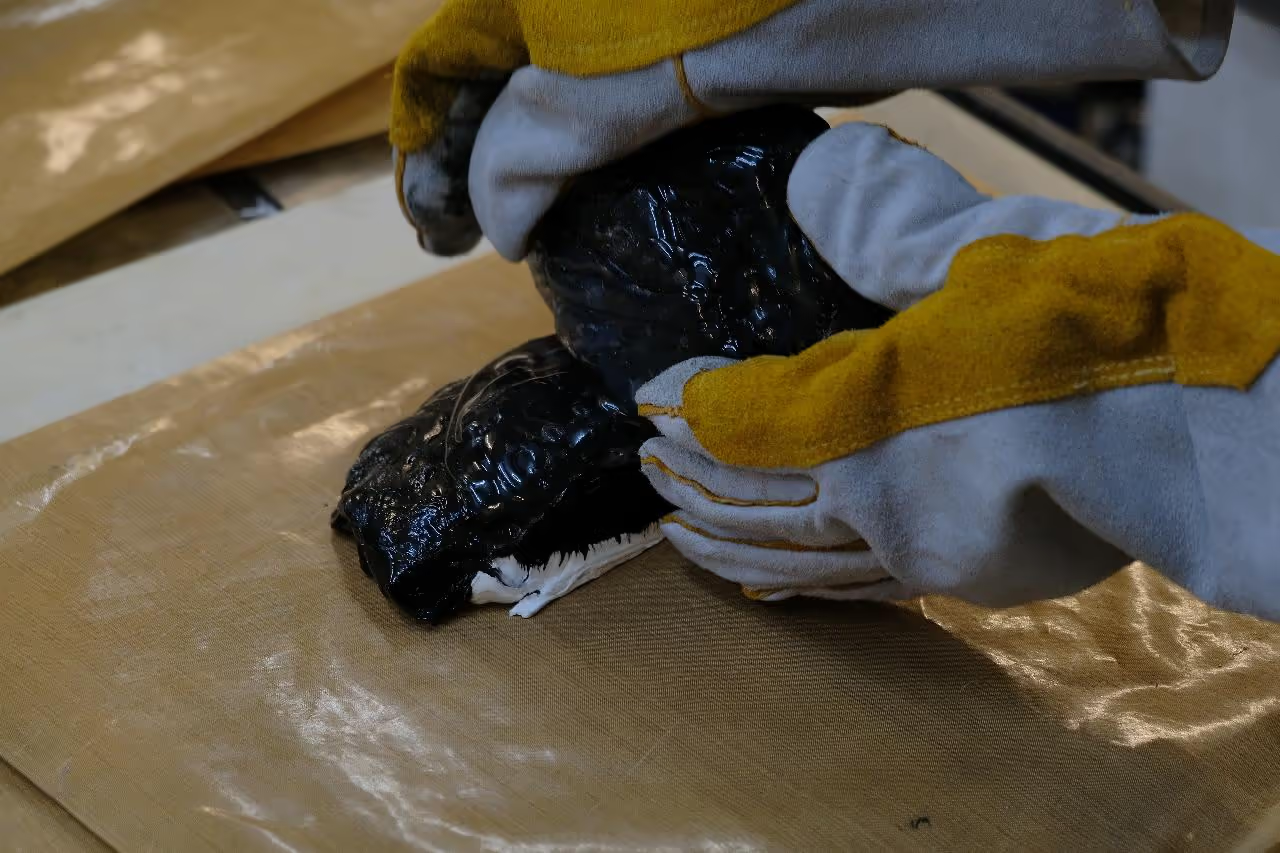
Remove the plastic while wearing thick gloves. Stack and cut the plastic, folding it as needed. Experiment to develop your method for layering different colors.
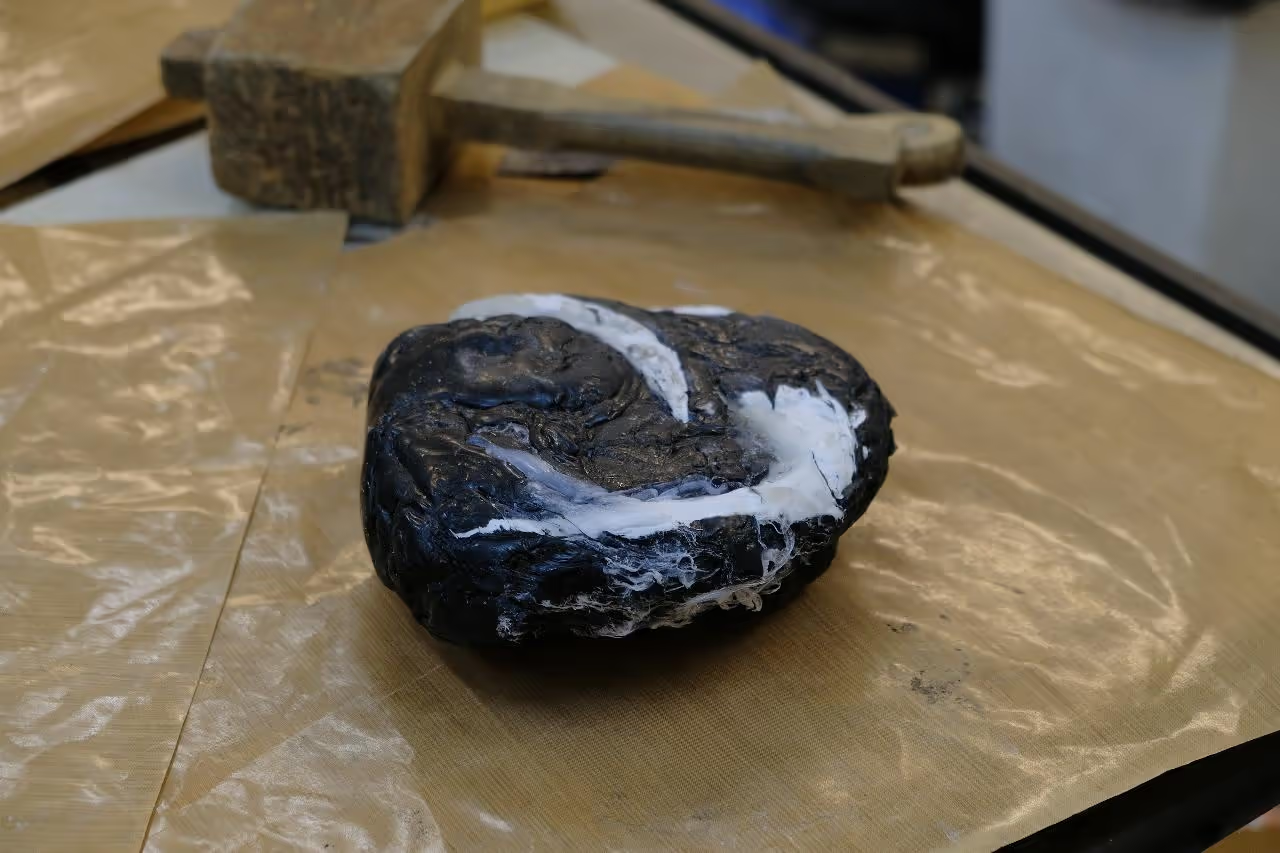
After allowing a few minutes to cool, the "dough" will become too firm to knead. Return it to the oven, melt, and repeat until the desired pattern is achieved.
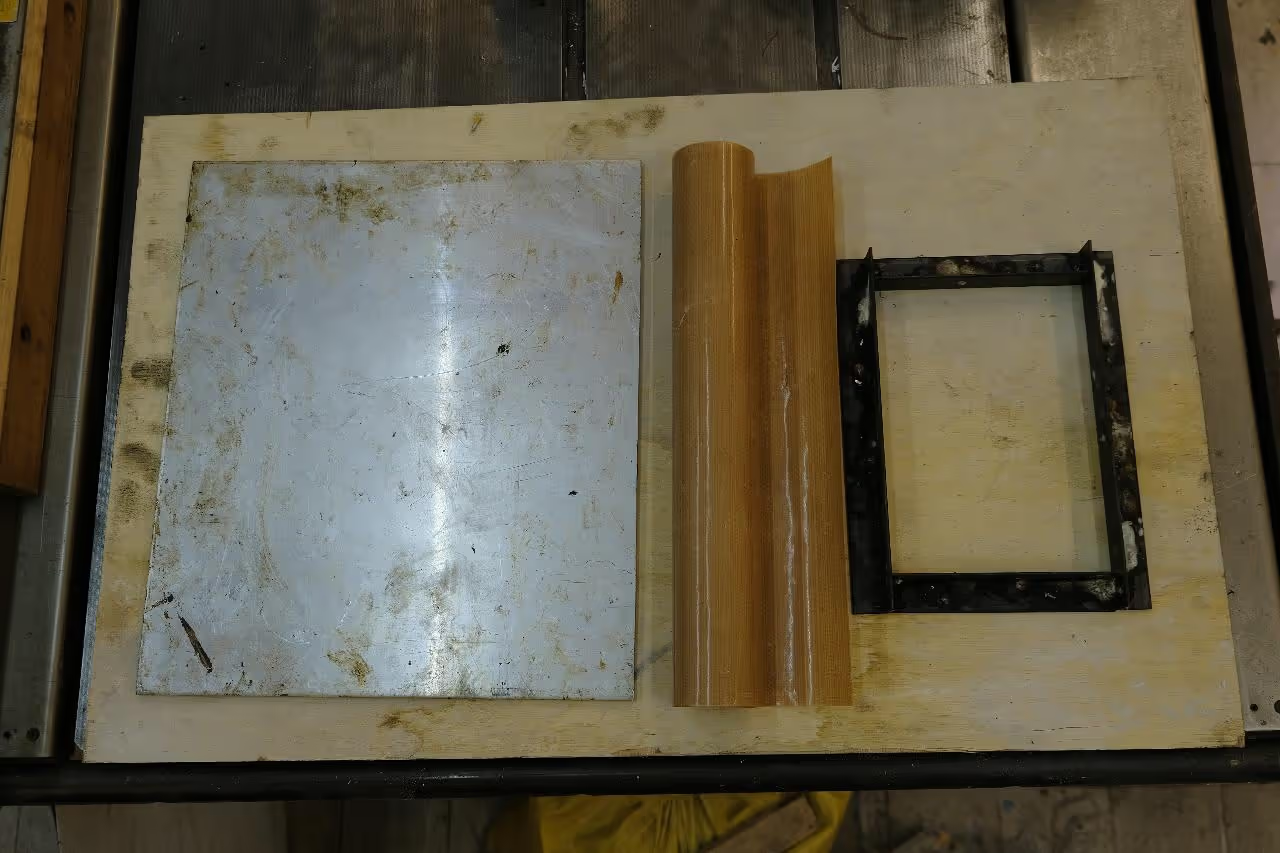
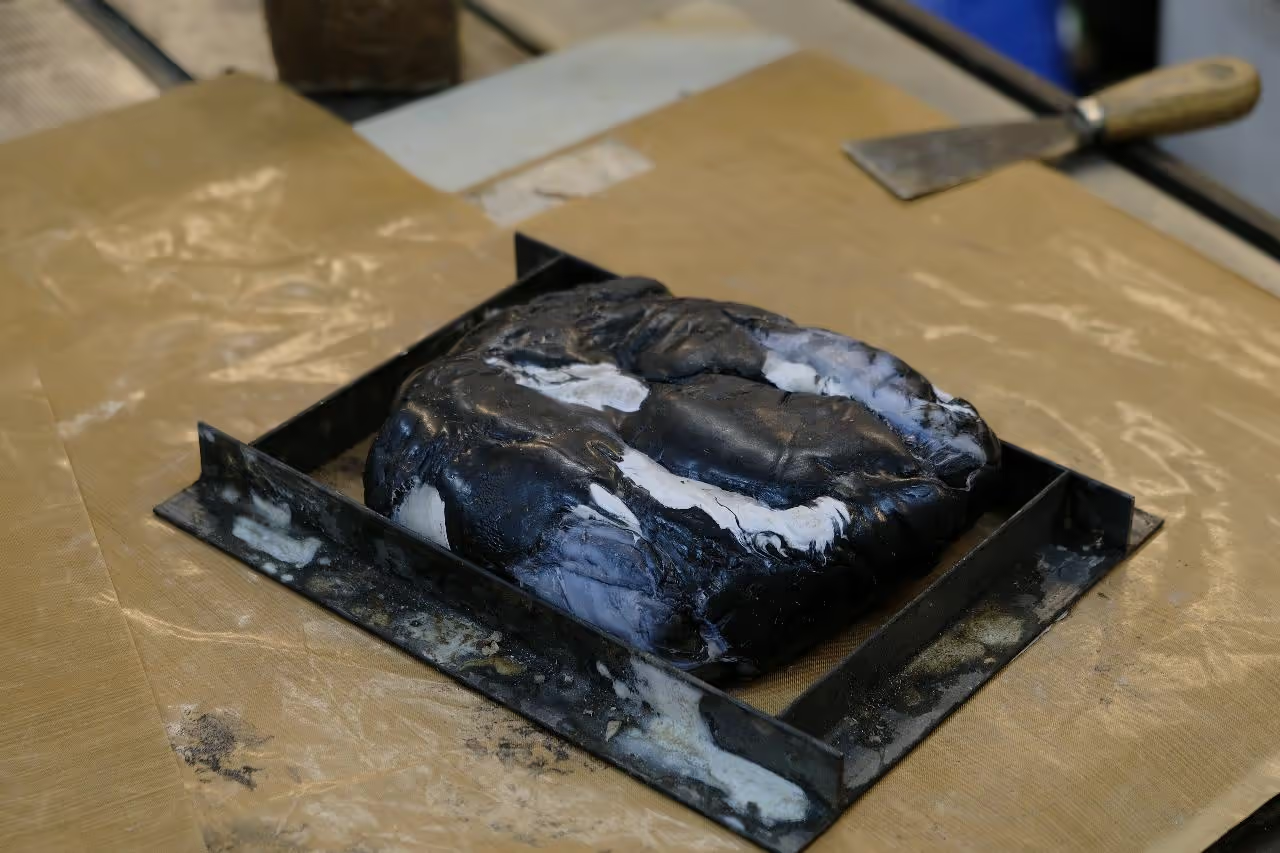
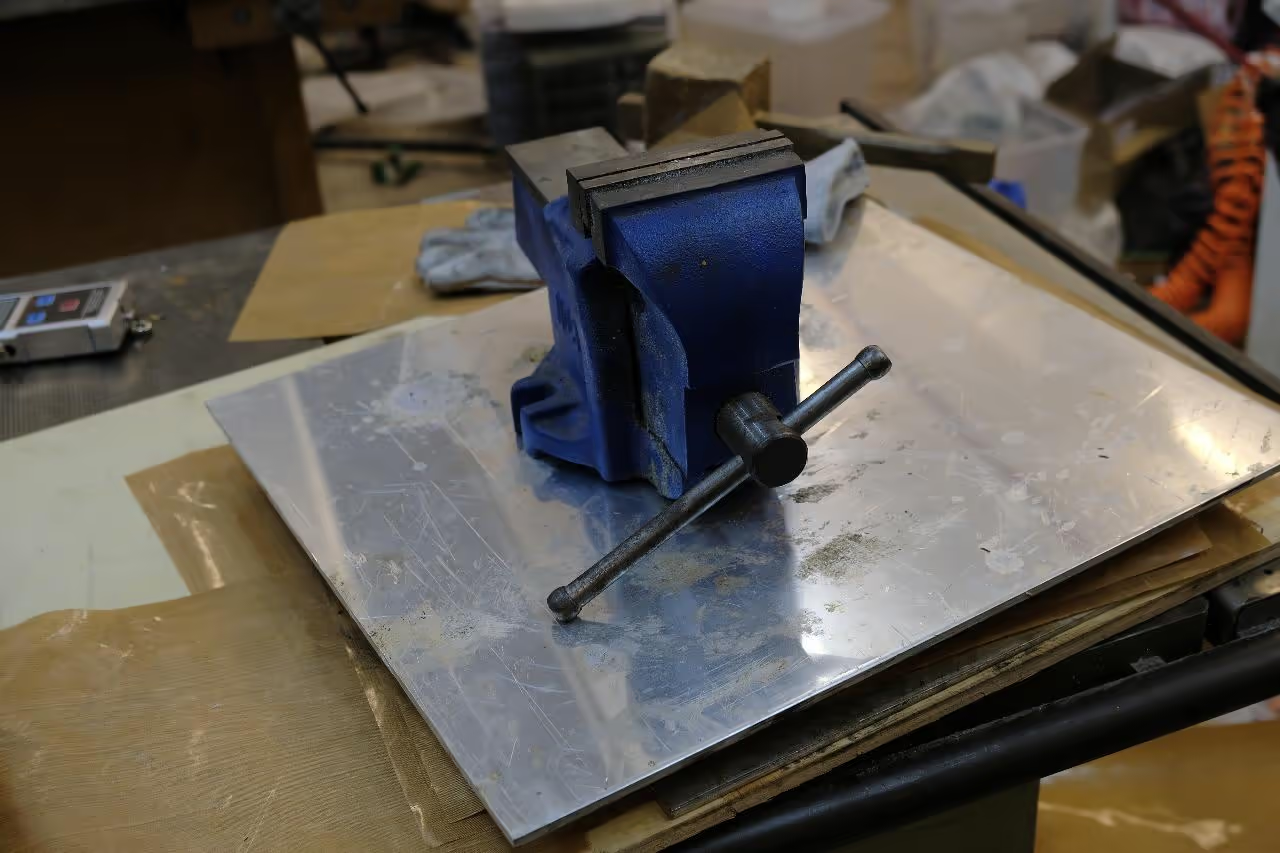
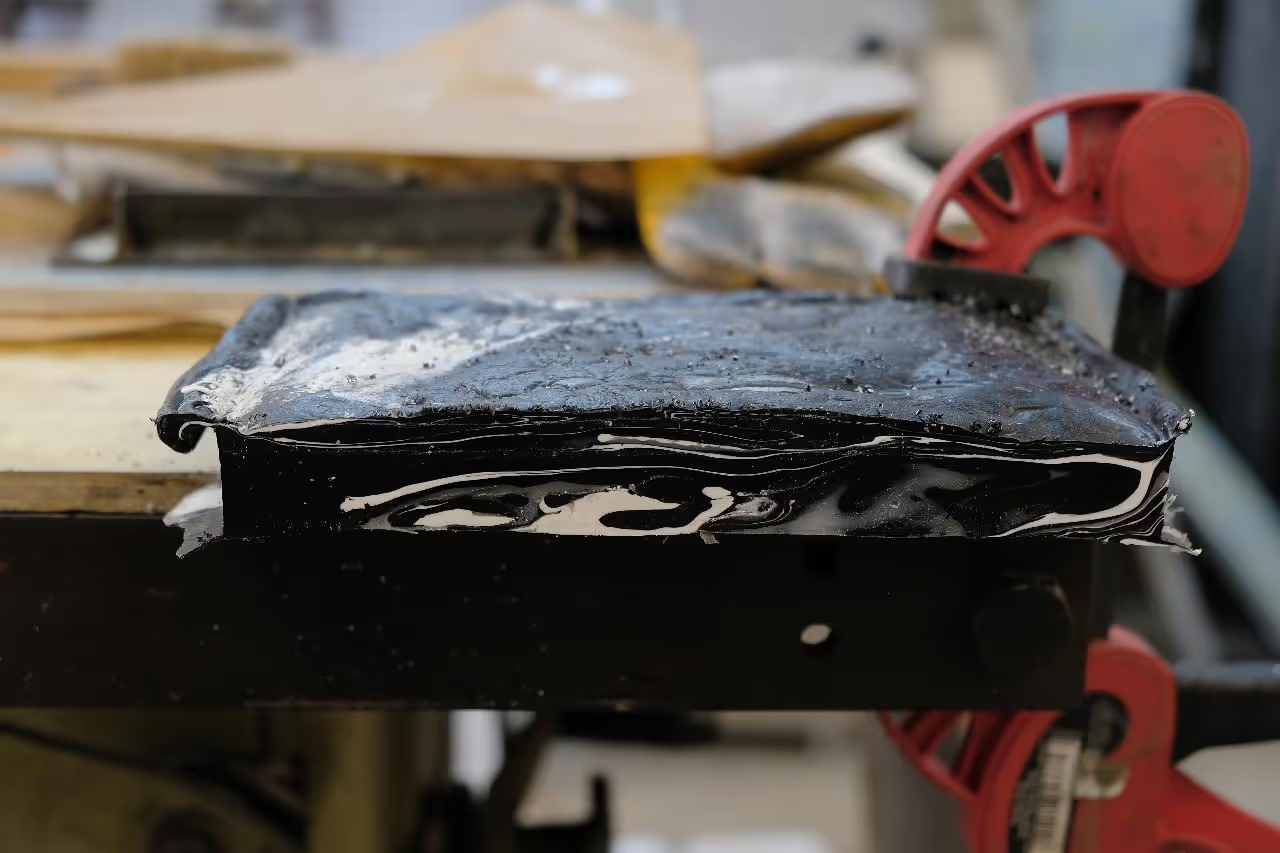
When satisfied with the mixture, place it into the mold and press with a heavy object. Allow it to cool.
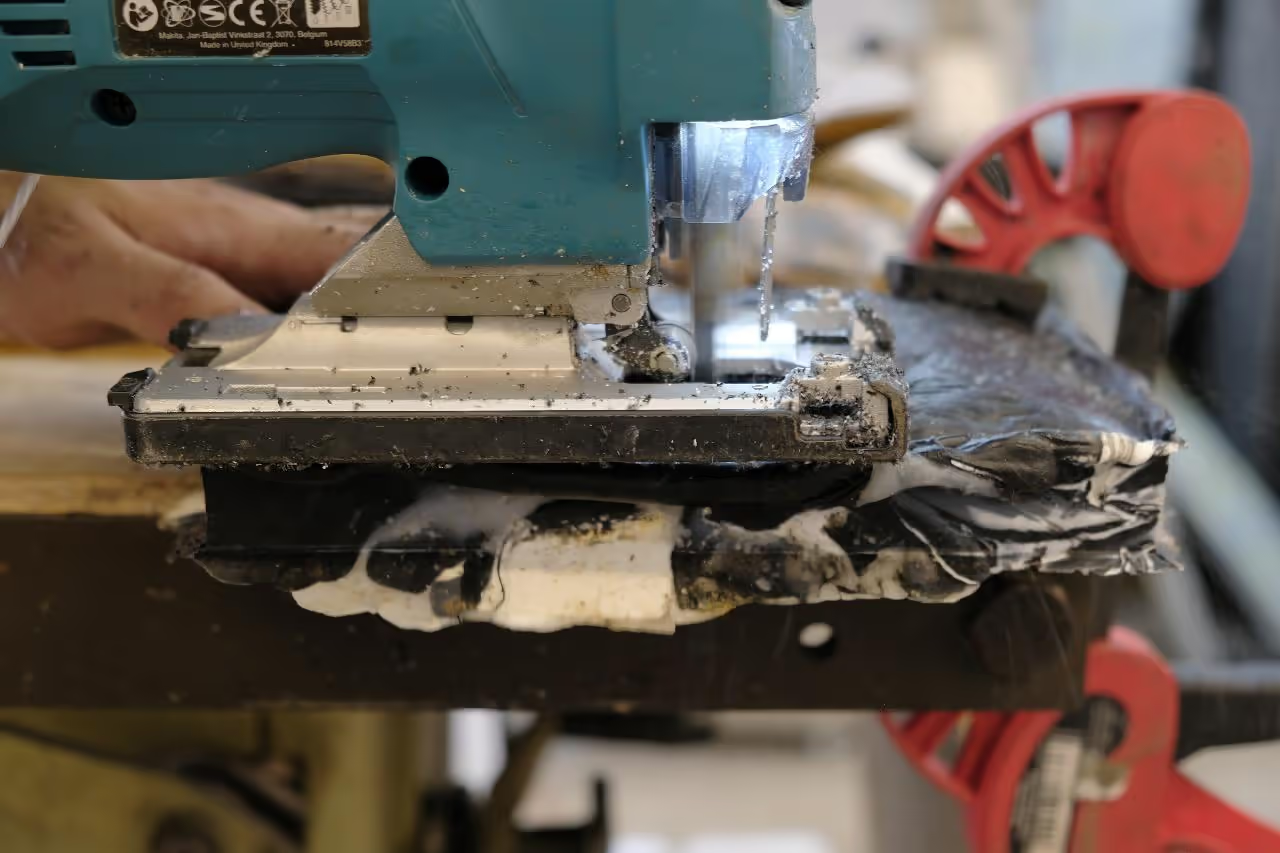
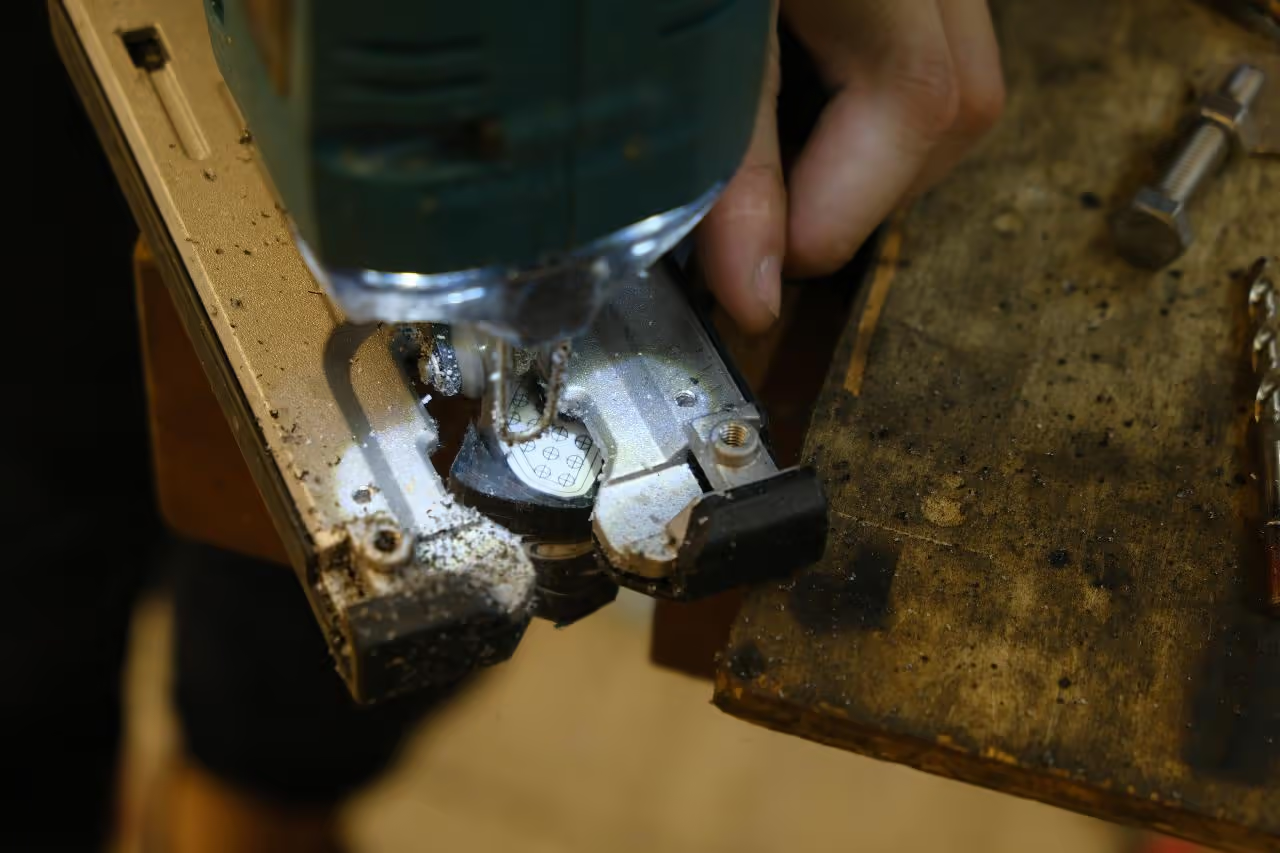
If you have a larger mold, cut a strip approximately 1.18 in x 9.84 in x 0.98 in (30 mm x 250 mm x 25 mm) using a saw with a wood-cutting blade.
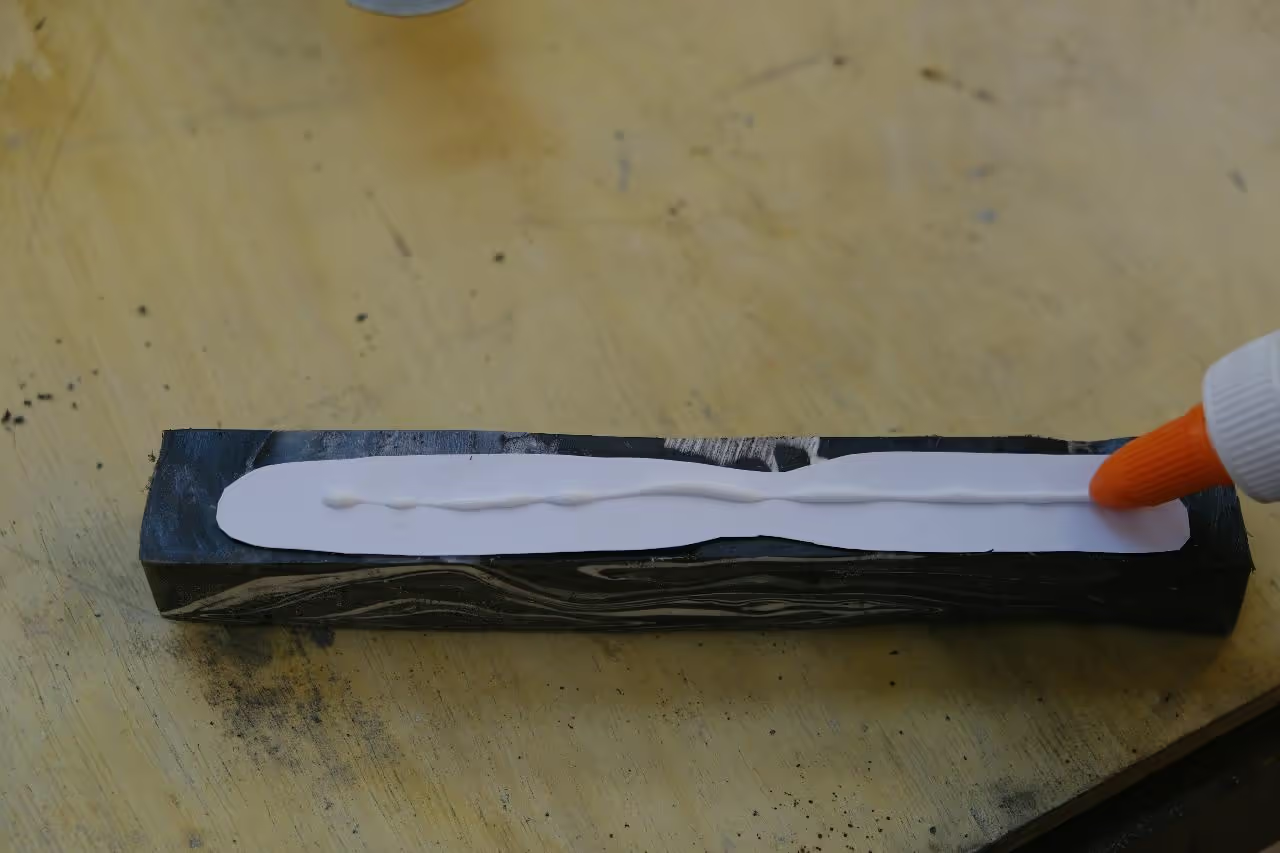
Print the outline of the brush to scale and attach it to the strip using white glue. If the surface is uneven, sand it smooth. Cut the outline with an offset of 2-3 mm (0.08-0.12 in) for additional sanding.
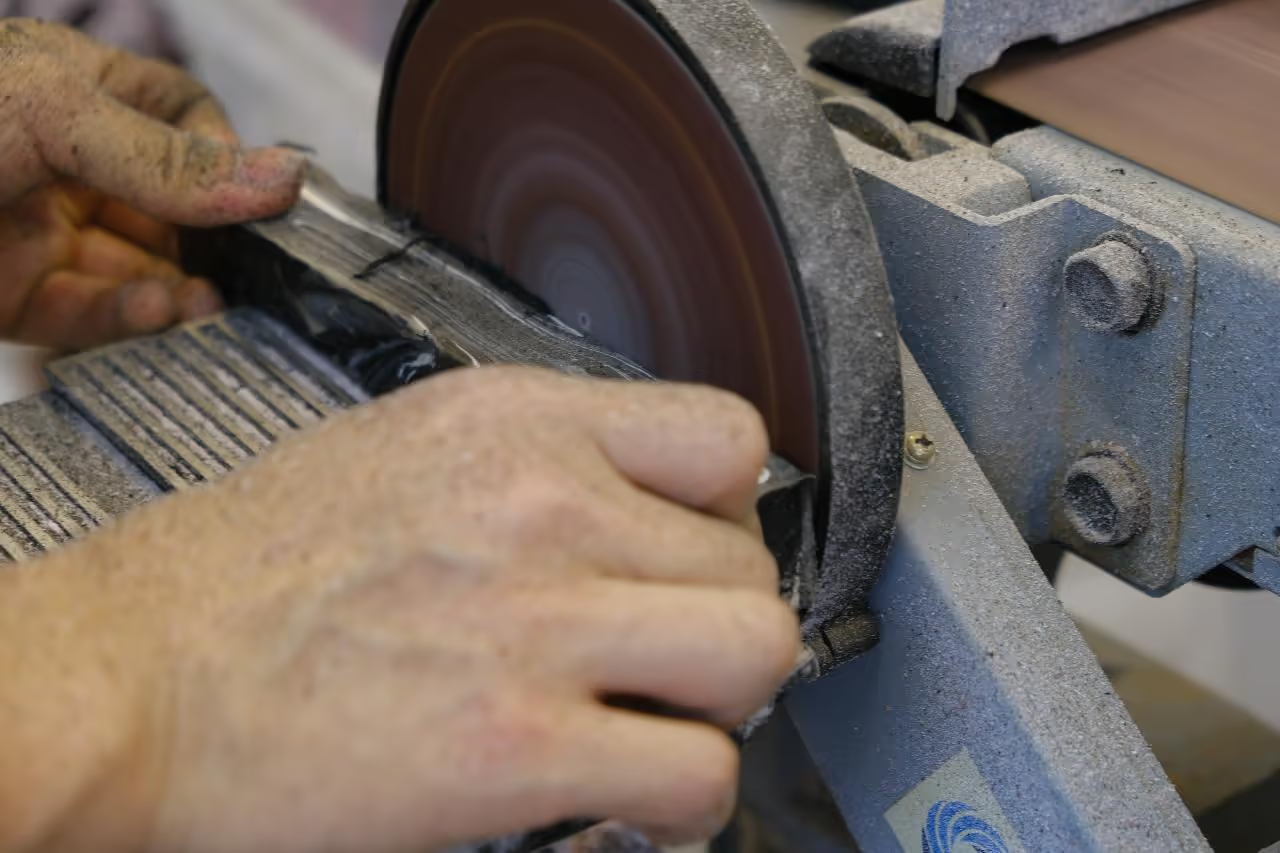
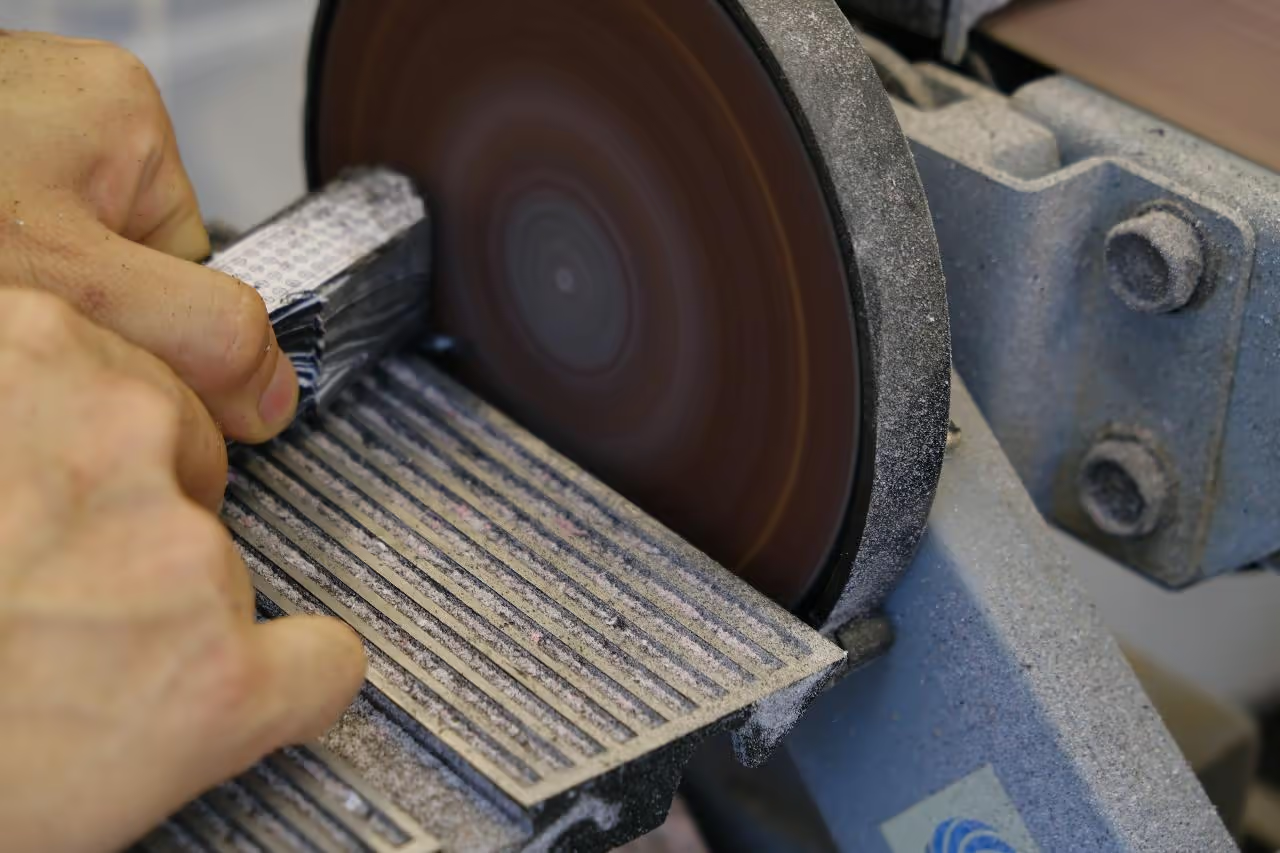
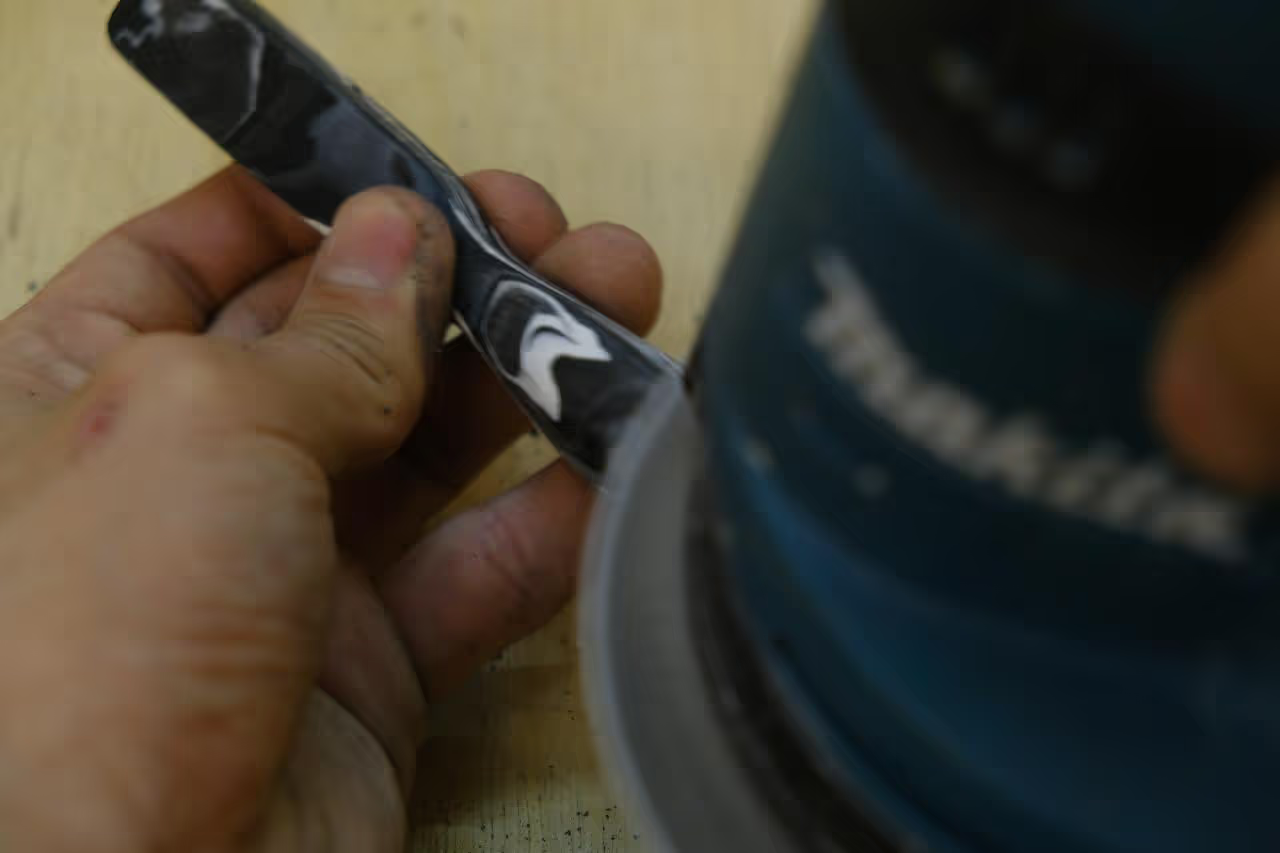
Sand the plastic to the desired shape using sandpaper with grits of 40, 80, and 120. Either a belt sander or a hand sander can be used effectively.
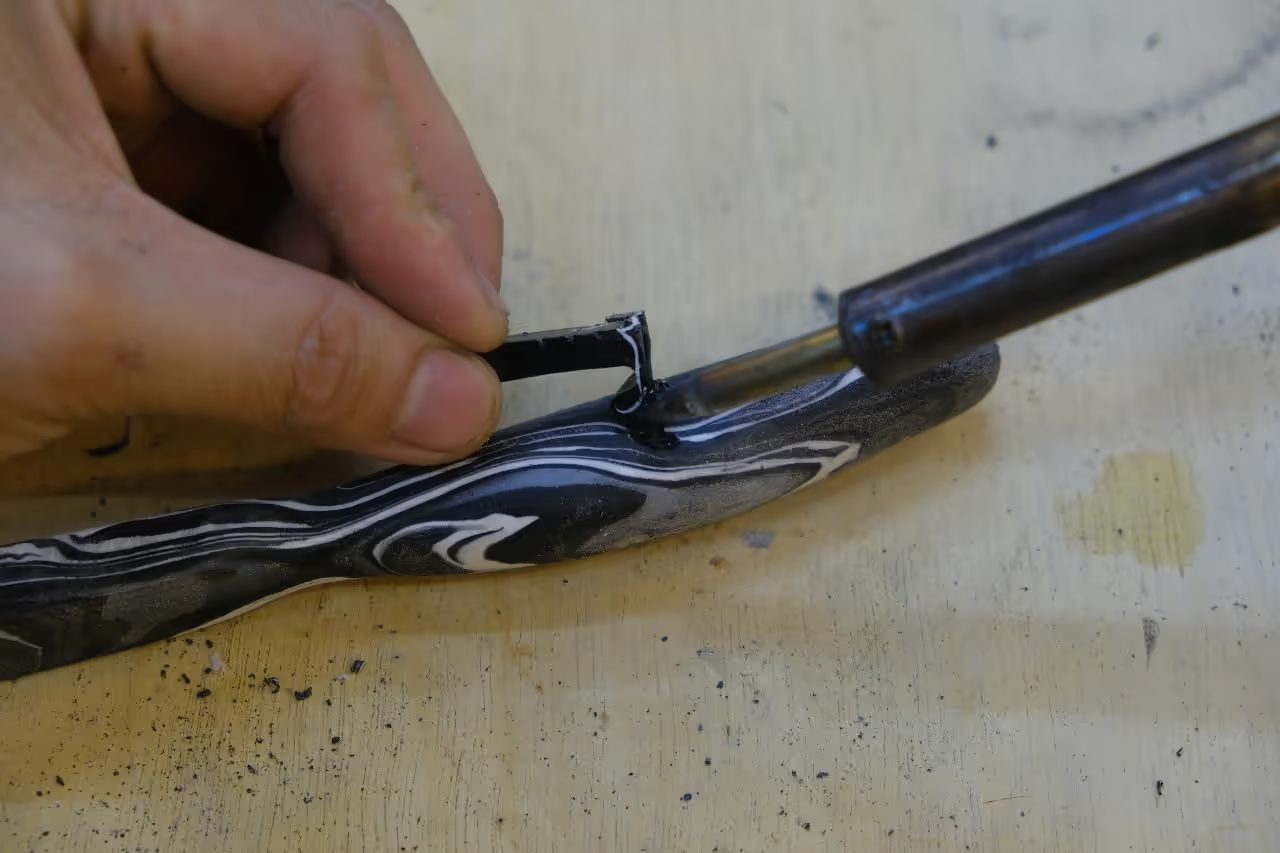
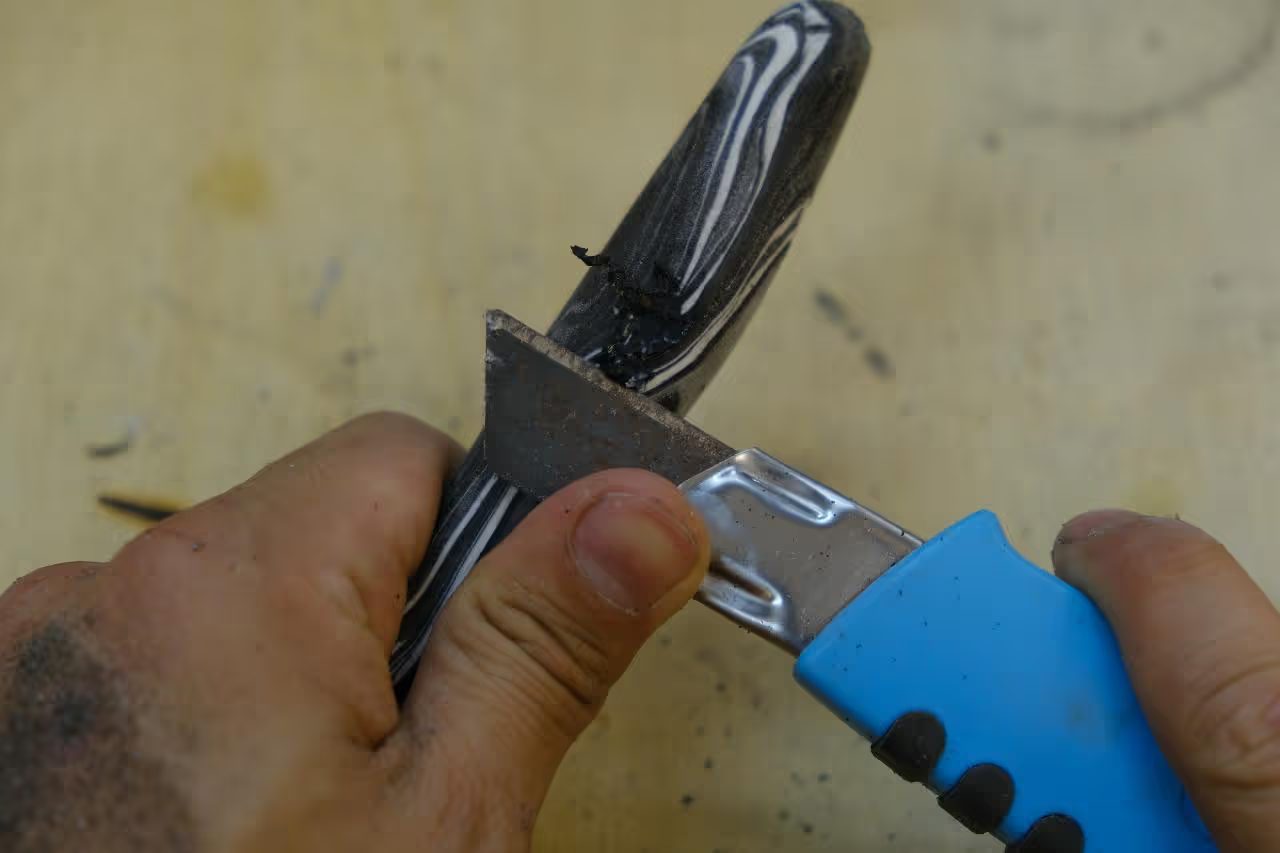
To address any gaps in the brush, use a soldering iron to fill them with leftover materials. Trim excess plastic with a cutter and sand the surface.
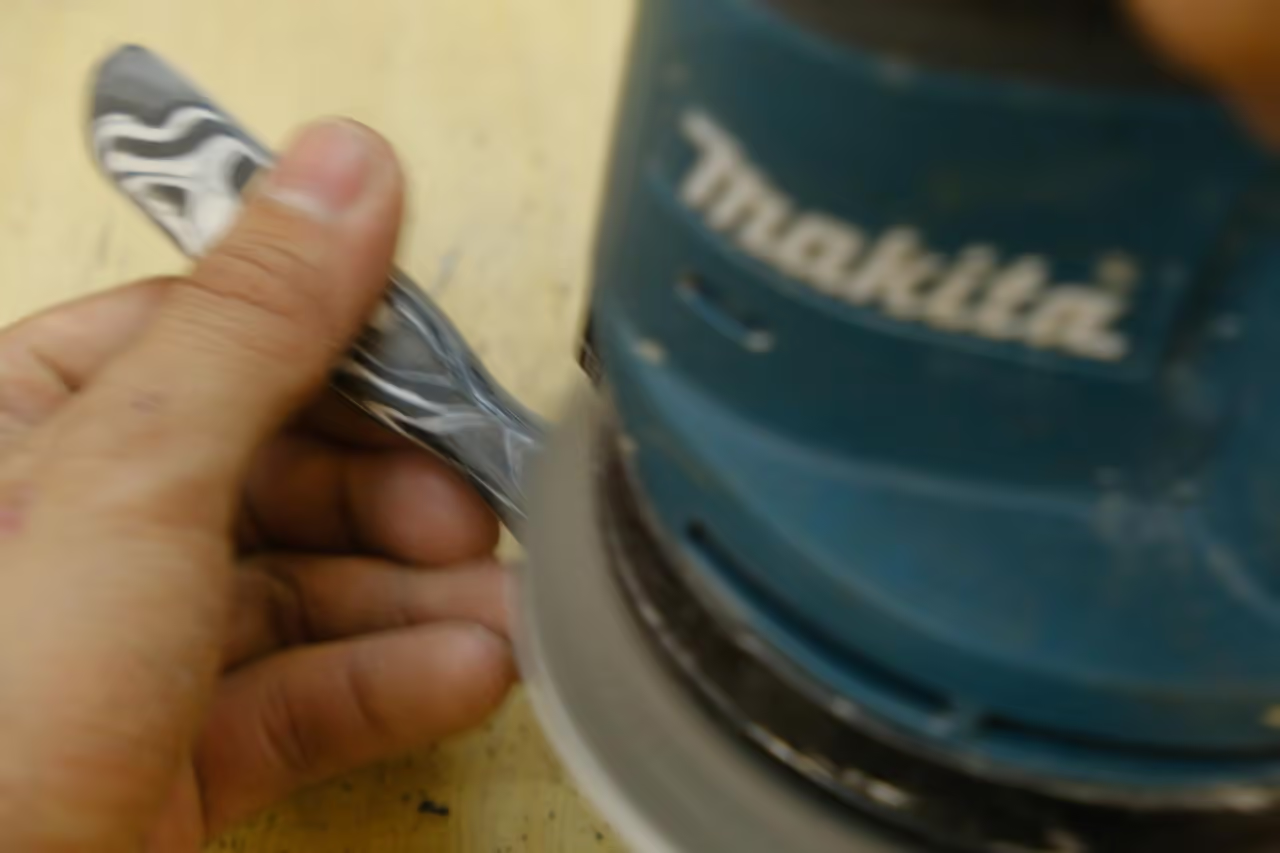
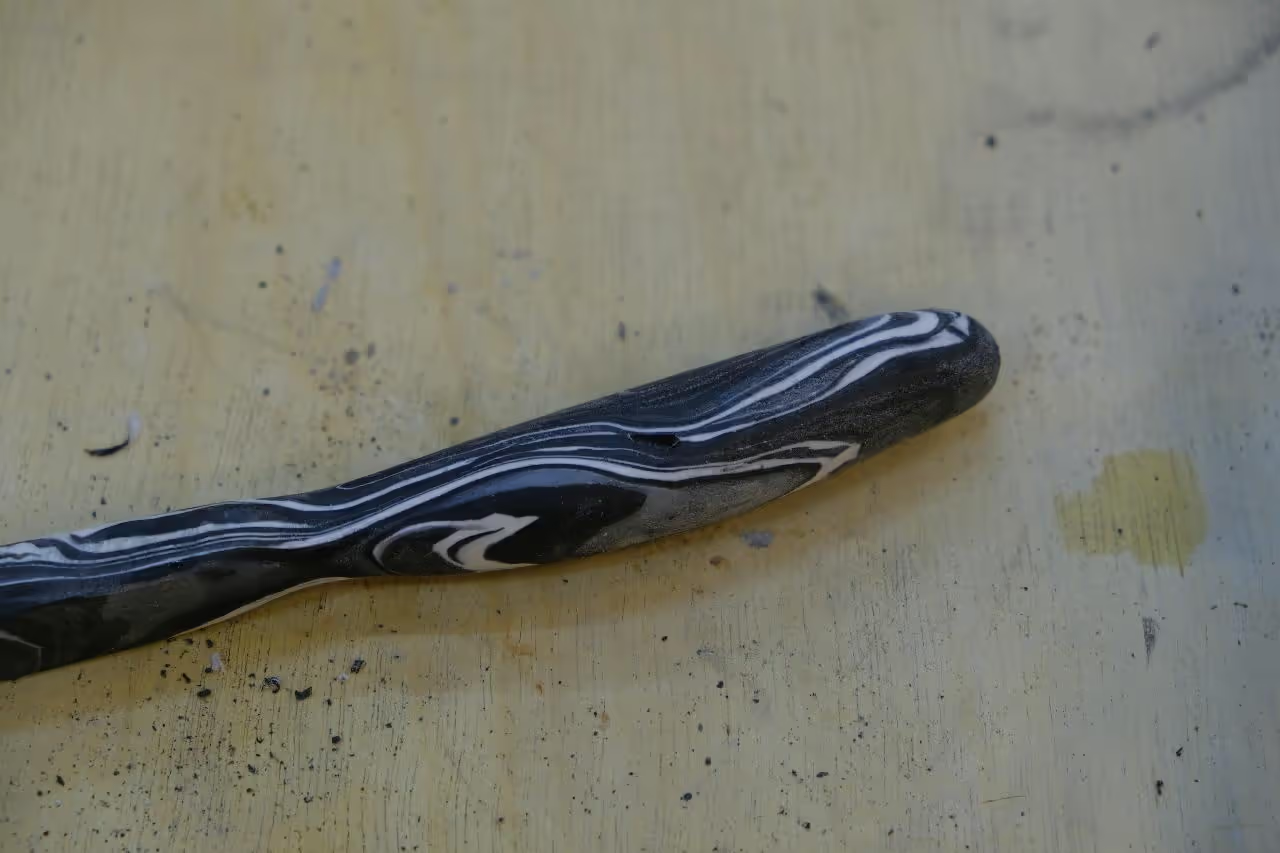
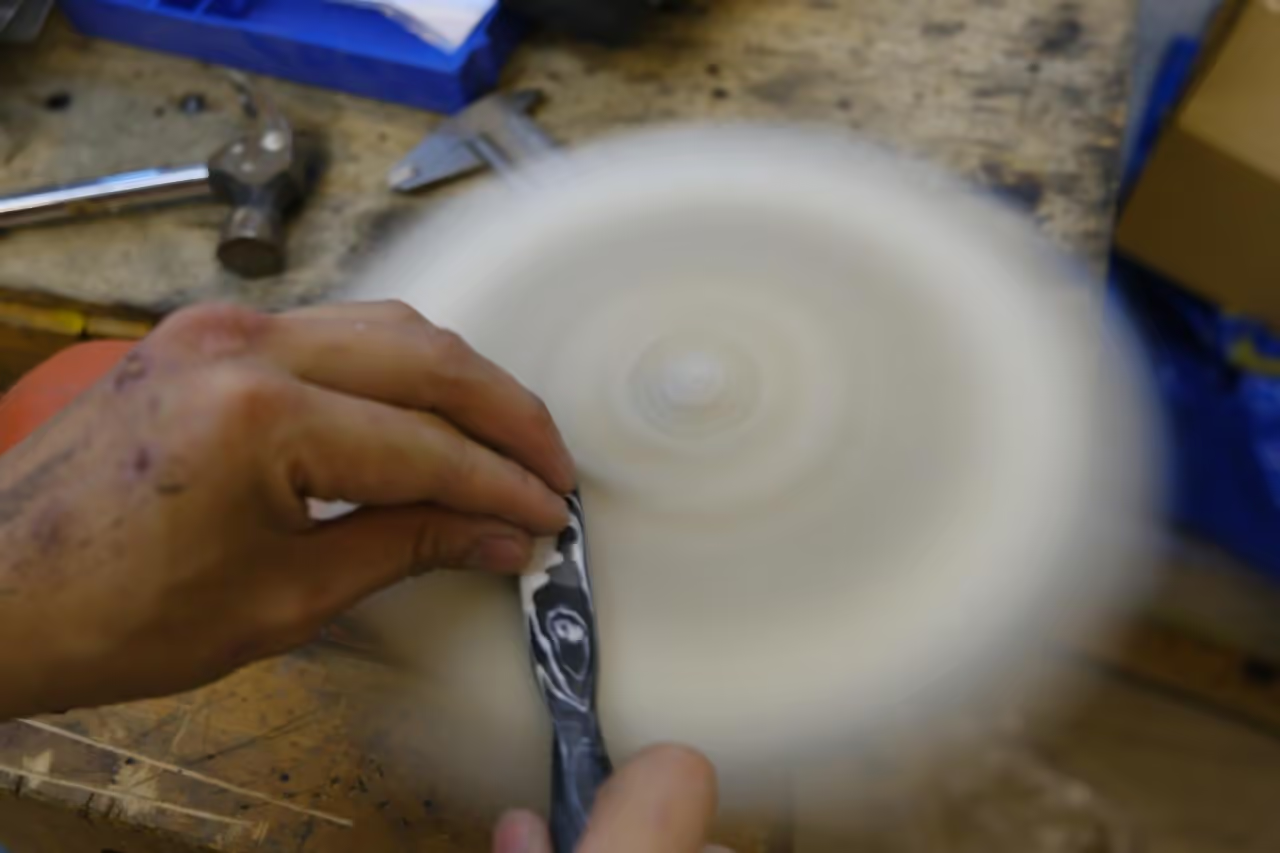
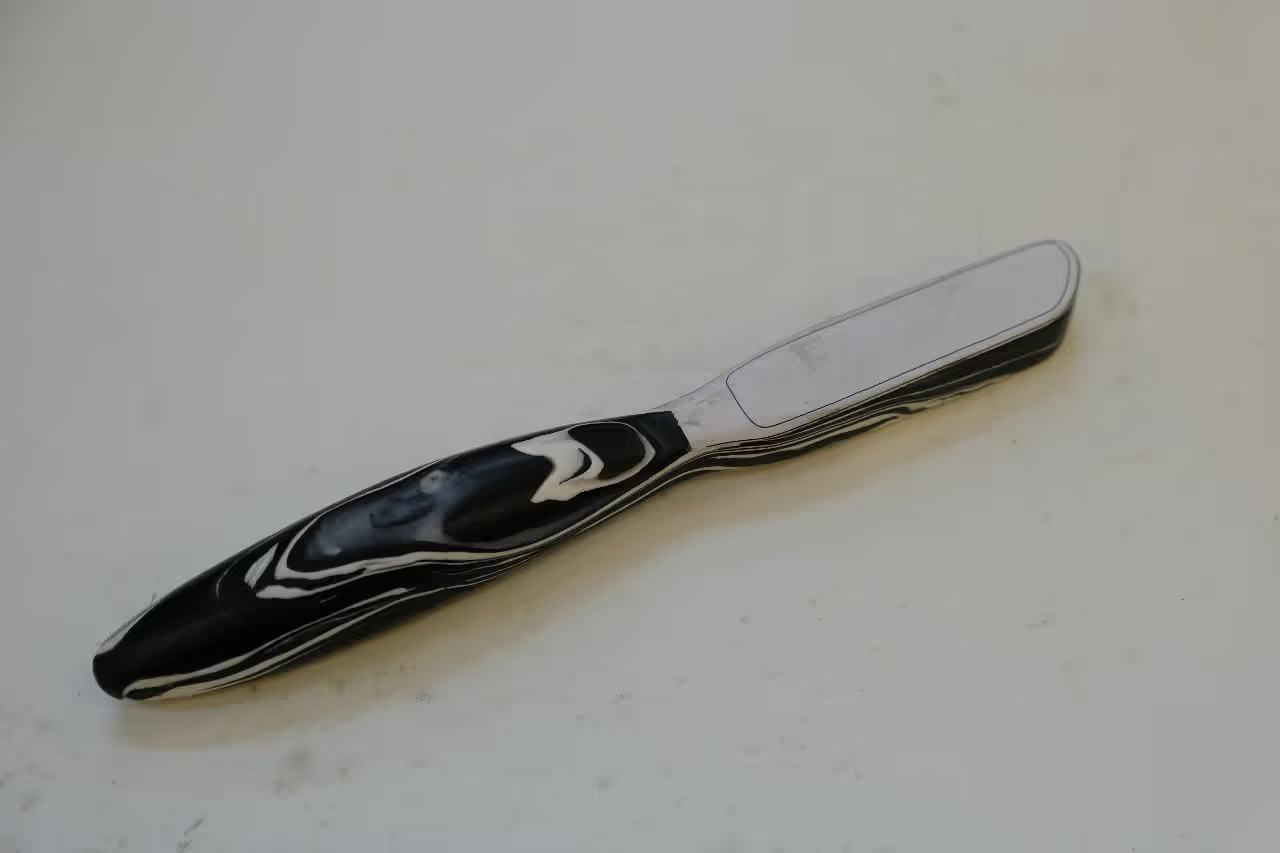
When the brush shape is formed, sand up to 1000 grit (18.5 microns). Then polish with a wool pad at high speed. If scratches appear, sand again. Wax can be used during polishing, but it is not essential.
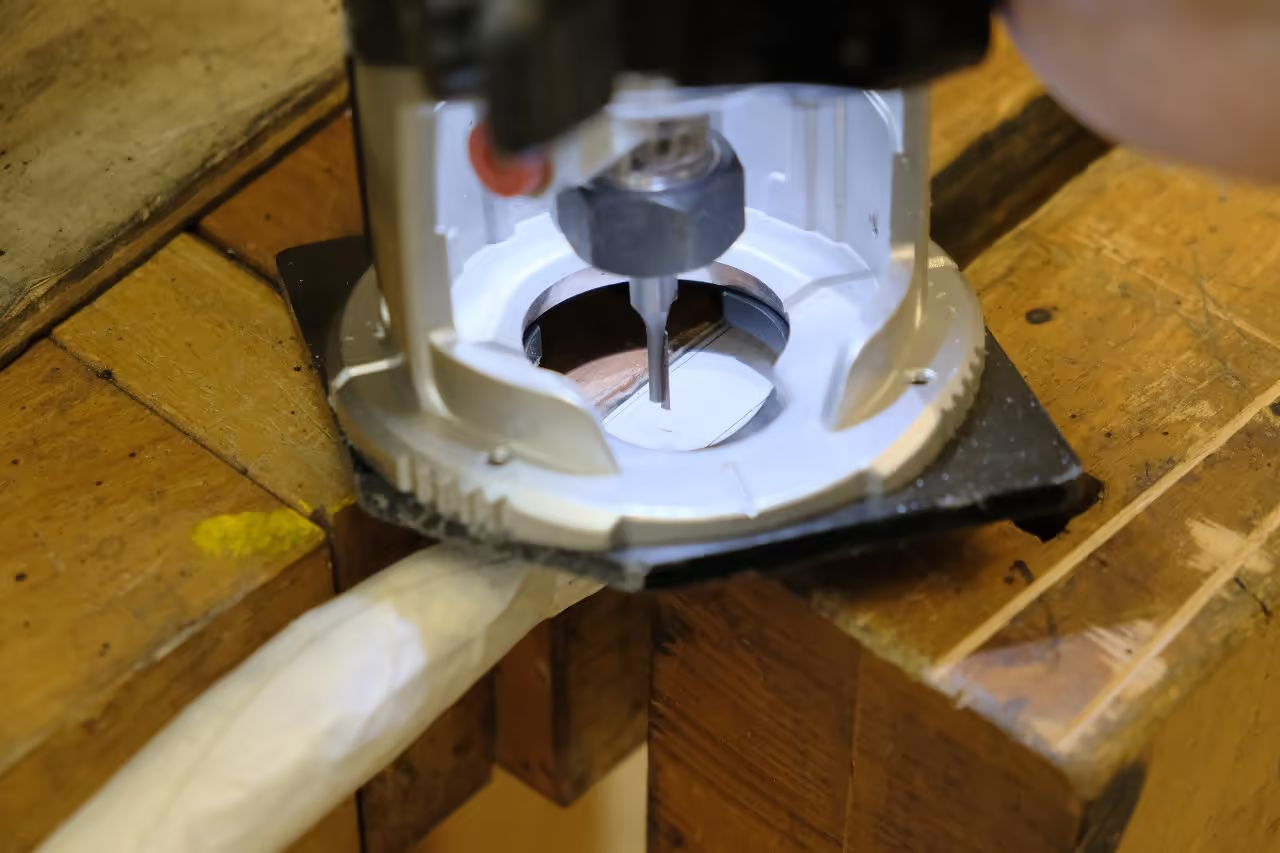
Apply adhesive to the area to be milled on the brush, and then mill it with a CNC Router, keeping 1-2 mm (0.04-0.08 in) of the brush edge intact. Ensure the hole is at least 10-15 mm (0.39-0.59 in) deep to maintain the brush's firmness.
Alternatively, drilling holes is possible, but this significantly increases the time required for hair insertion.
Drill an M3-M5 (0.12-0.20 in) hole at the end of the brush to attach a rope.
REMINDER: Use masking tape to protect the brushes.
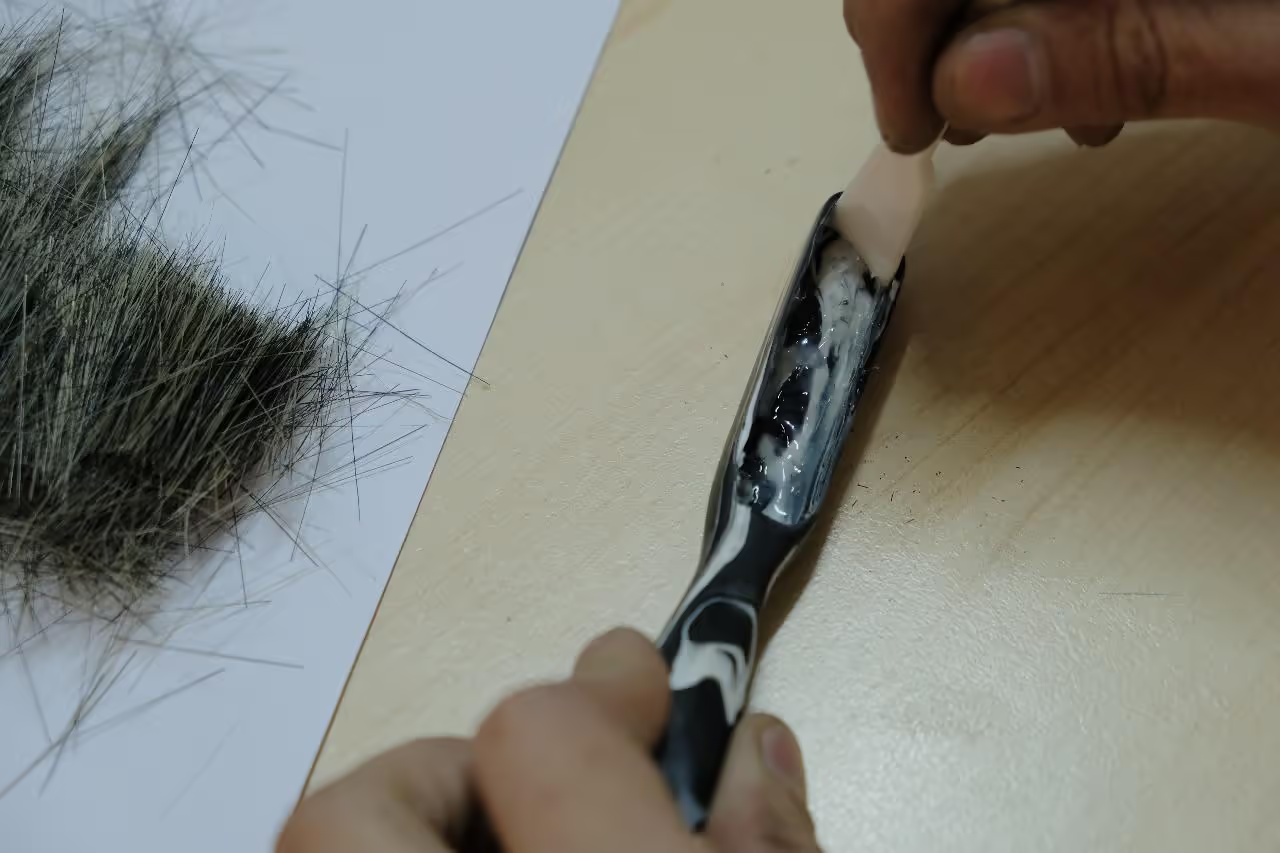
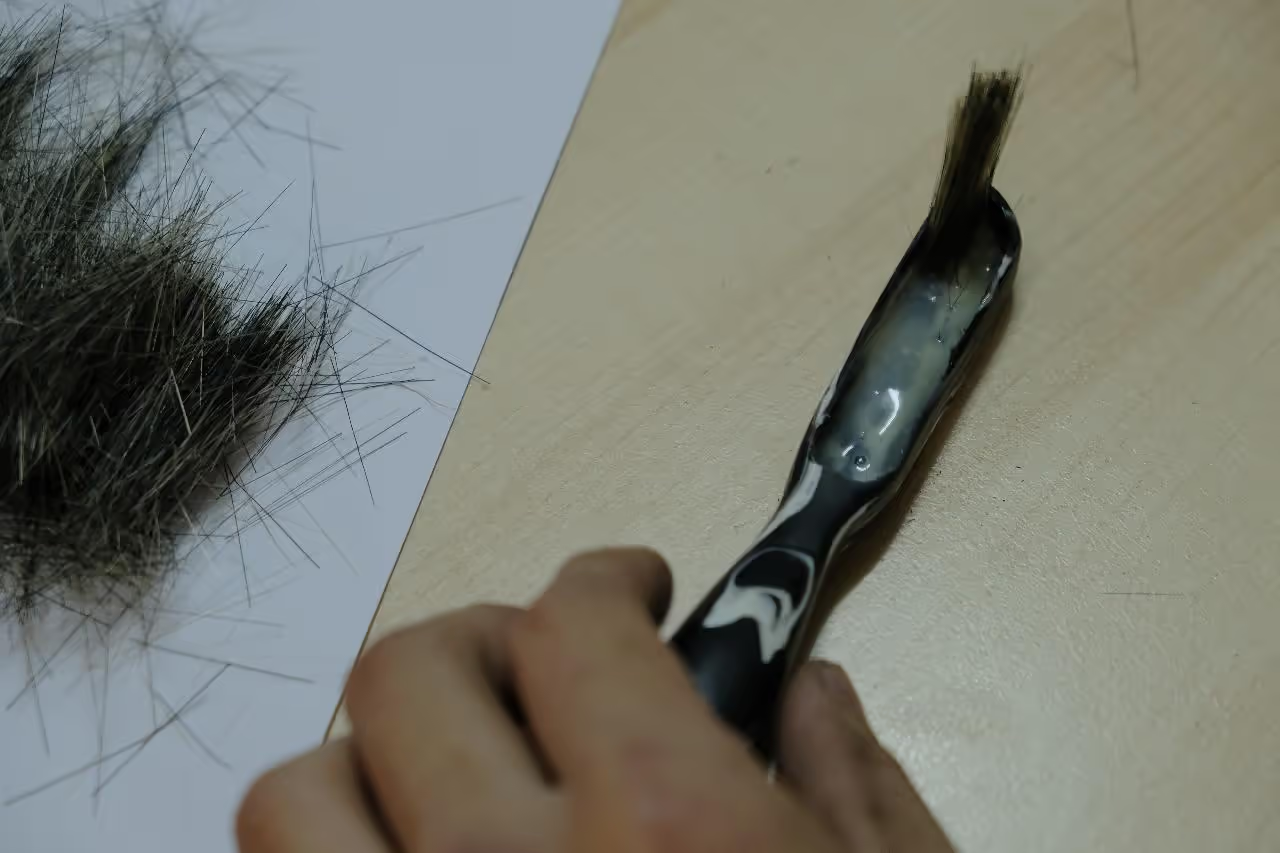
To insert the hair, use 1/8 to 3/16 inches (3-5 mm) of epoxy. Fill the area with hair until it is full. Allow the epoxy to set.
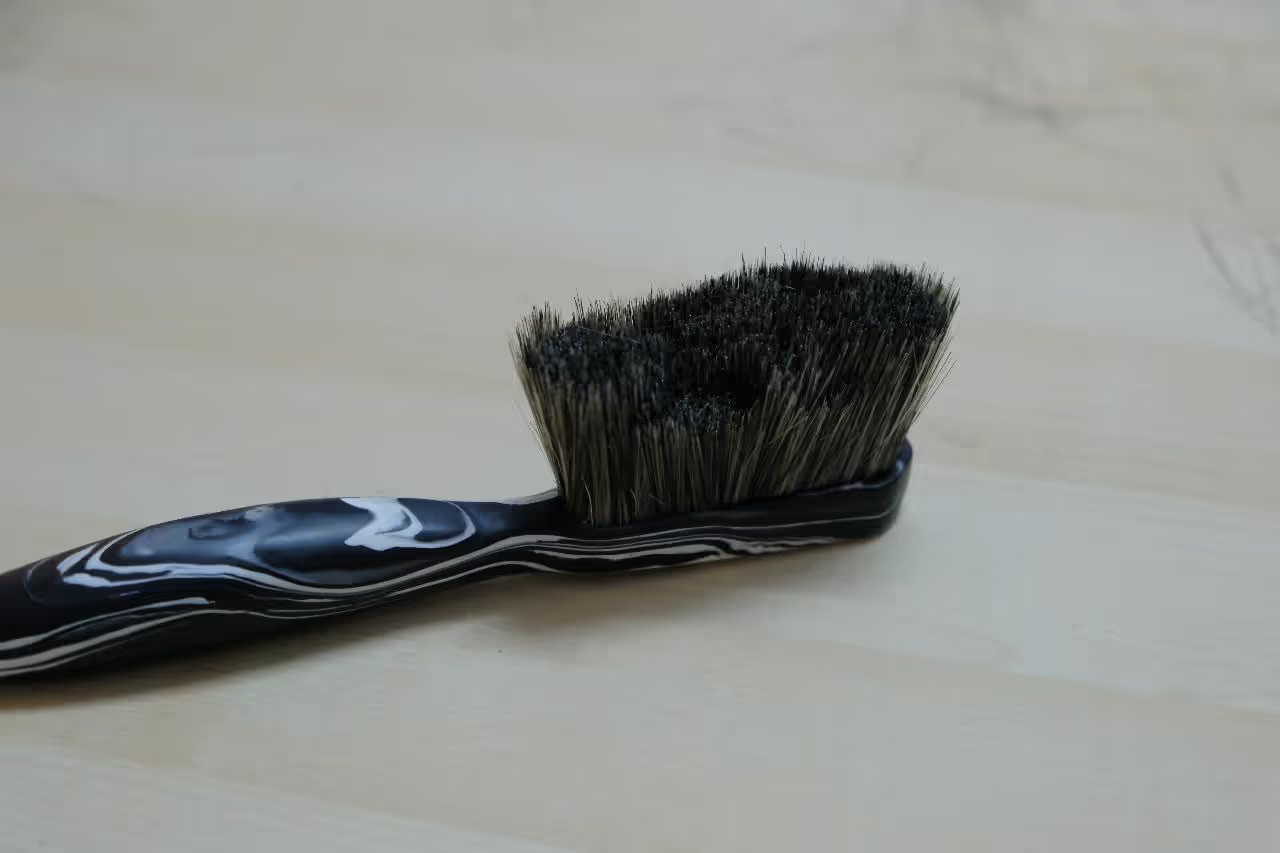
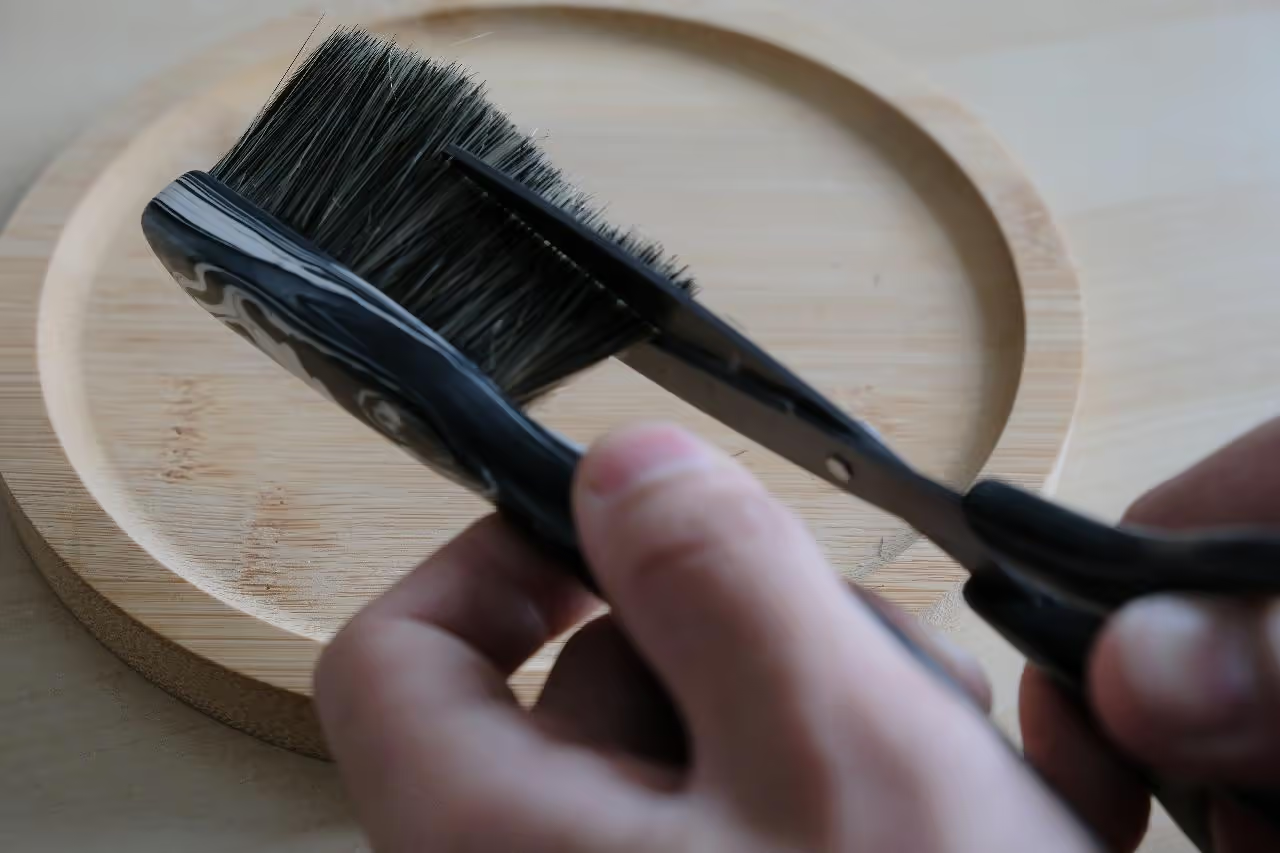
To ensure the brush tip remains effective, maintain approximately 20 mm (0.79 inches) for the tip and 15 mm (0.59 inches) on the opposite end.
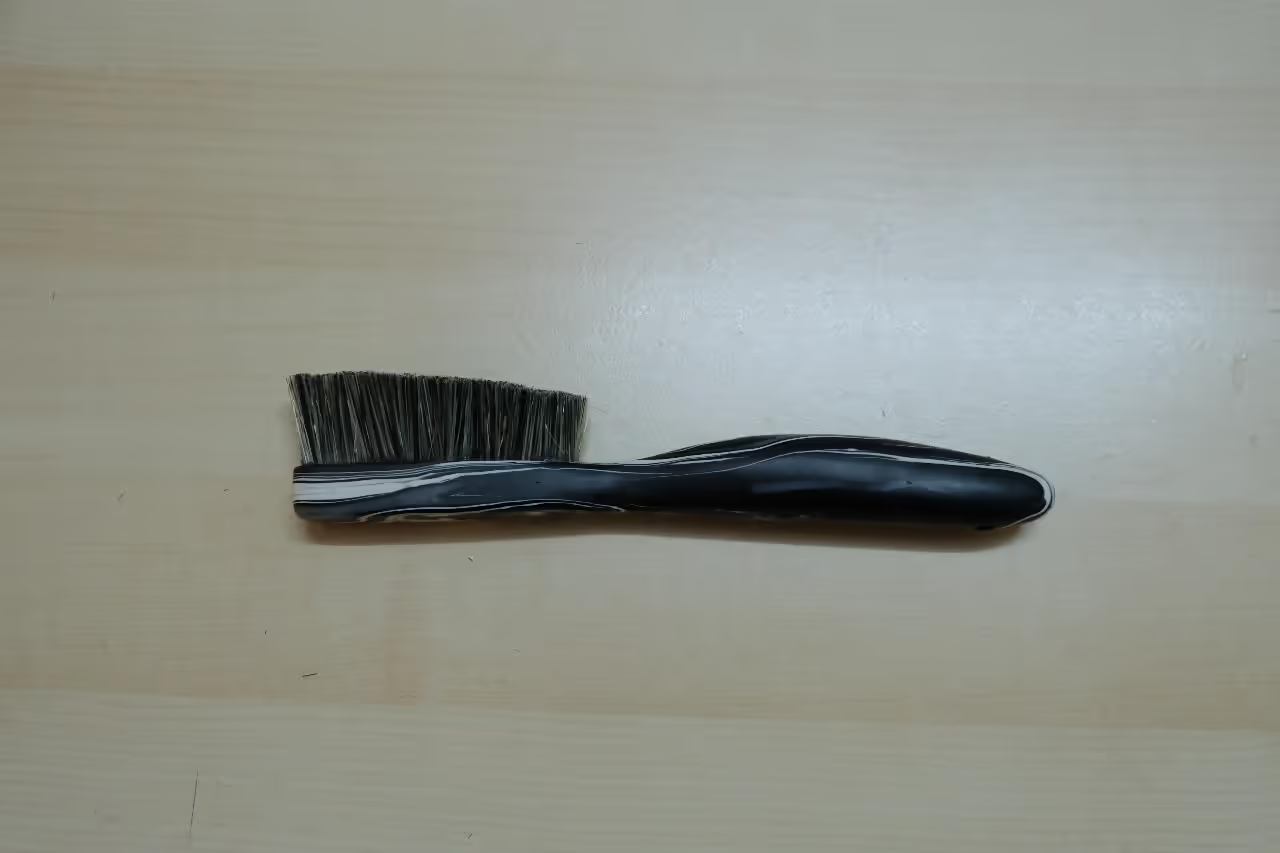
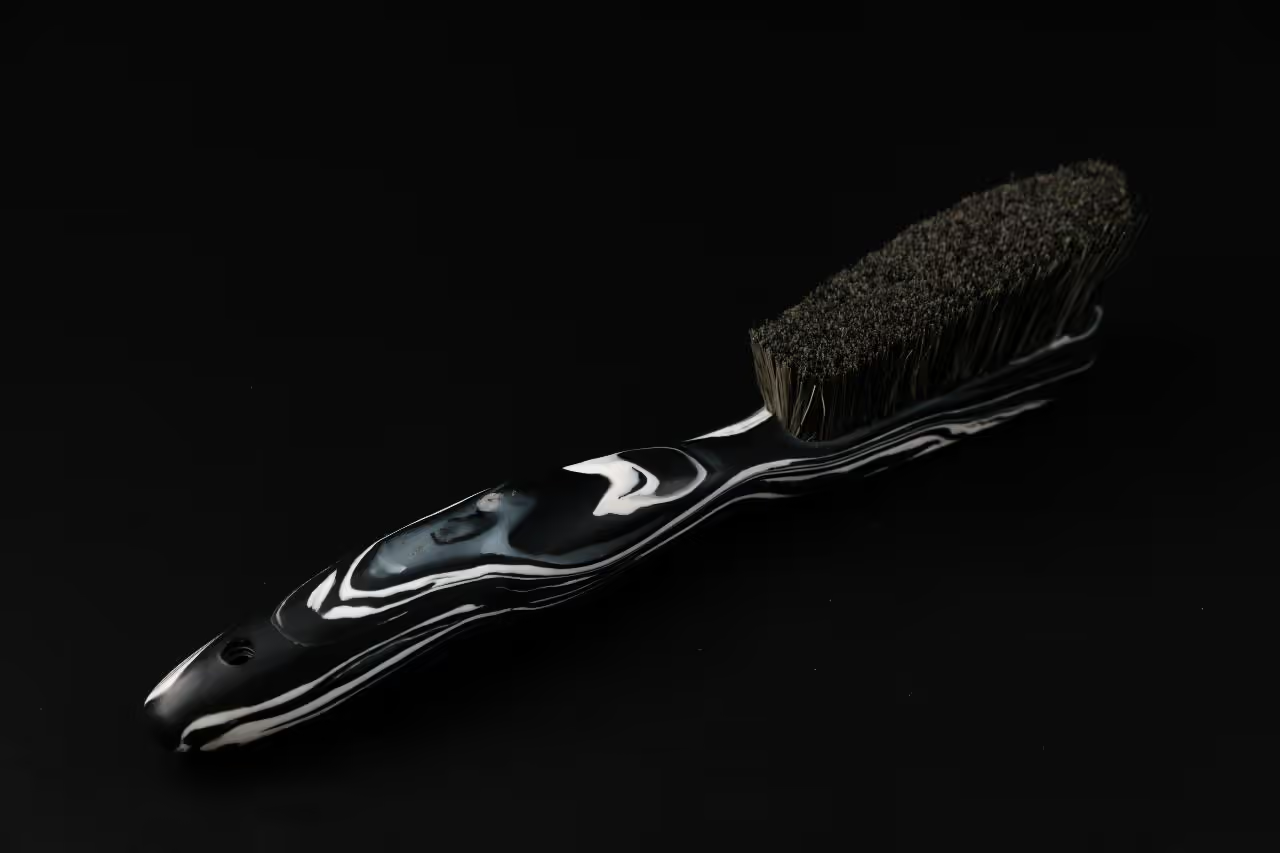
Create a climbing brush and use it at your gym or crag to clean holds effectively.