Make a bowl with kitchen molds
PP
Create a bowl by pressing melted plastic into kitchen molds to form items such as vases, fruit bowls, or organizers.
Gather the following materials to begin:
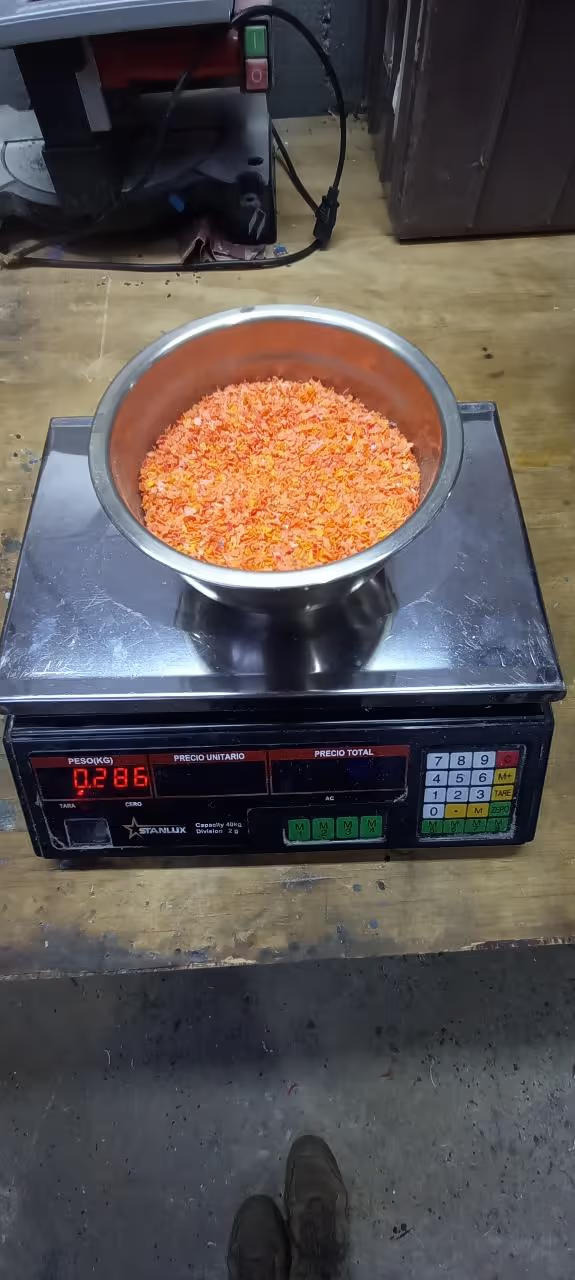
To prevent burning the plastic, add layers by incrementally adding 0.22 lbs (100 g) to your mold.
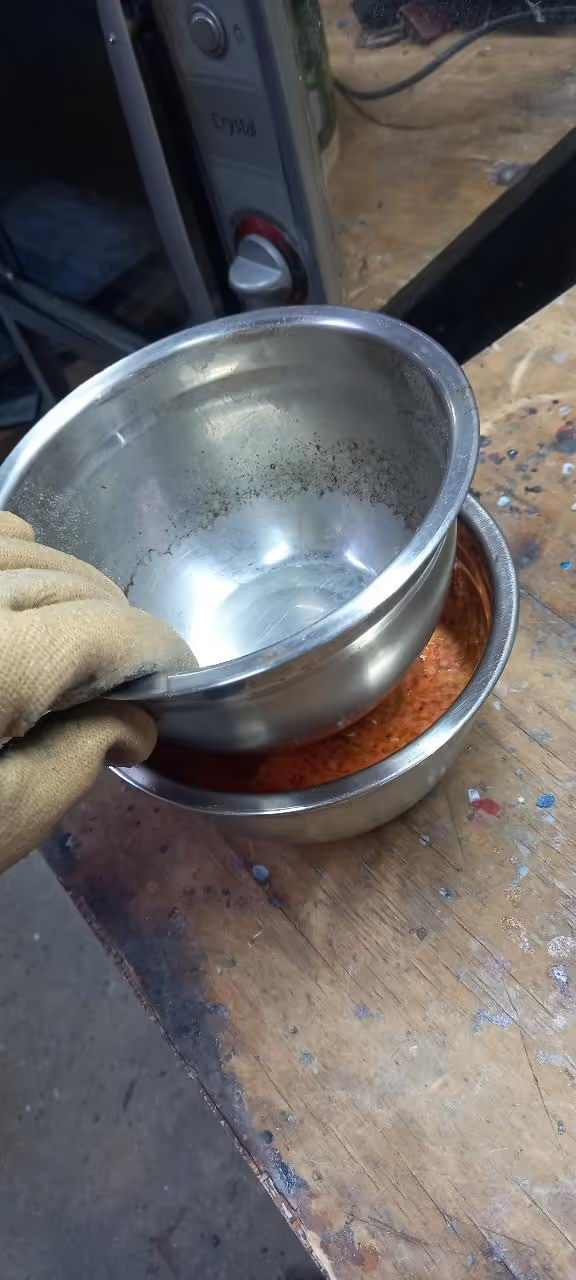
Once the required amount is used, place the additional bowl on top and return to the oven for the final 5 to 10 minutes.
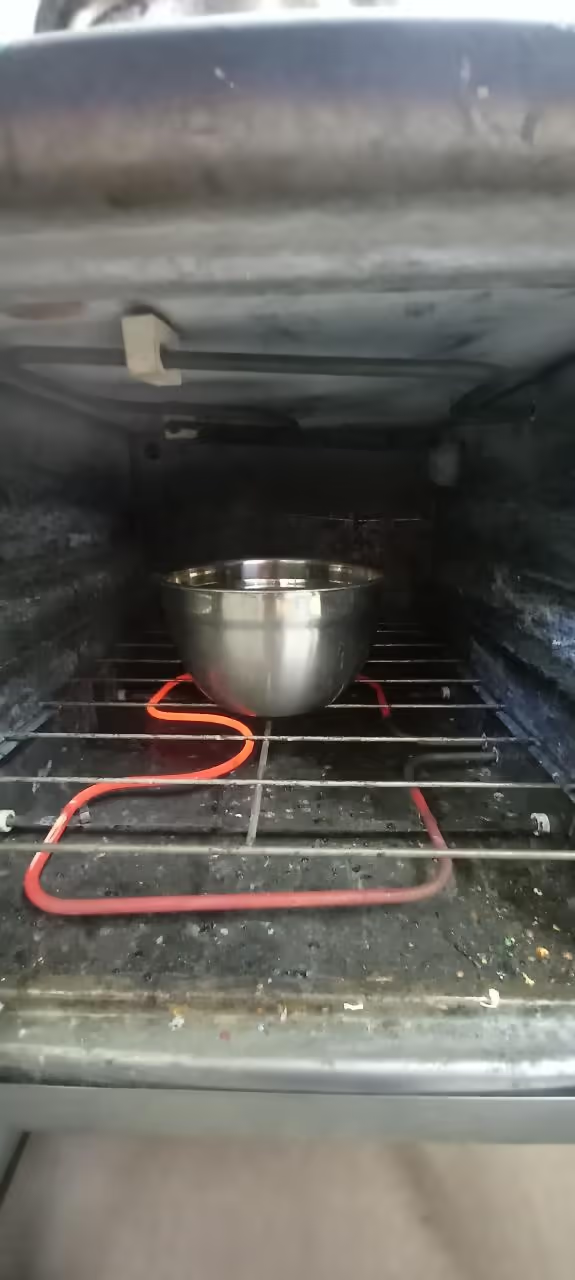
Melt the Plastic: After melting the plastic in the oven, remove it carefully.
Press the Plastic: Use the kit bowls by pressing them together to ensure the plastic fills the space evenly.
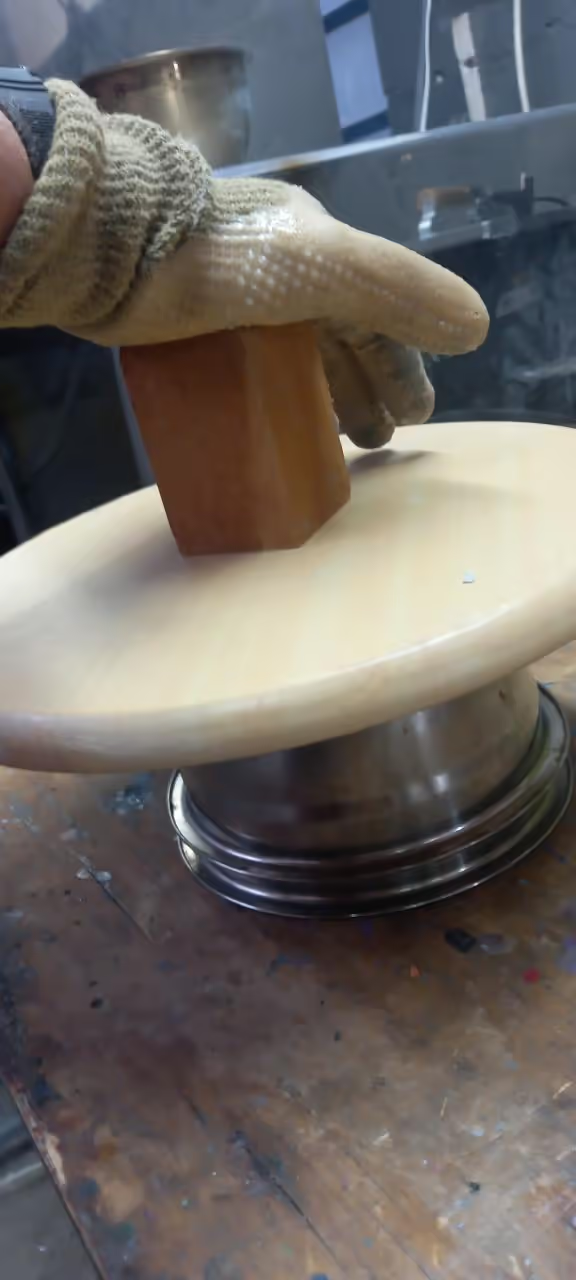
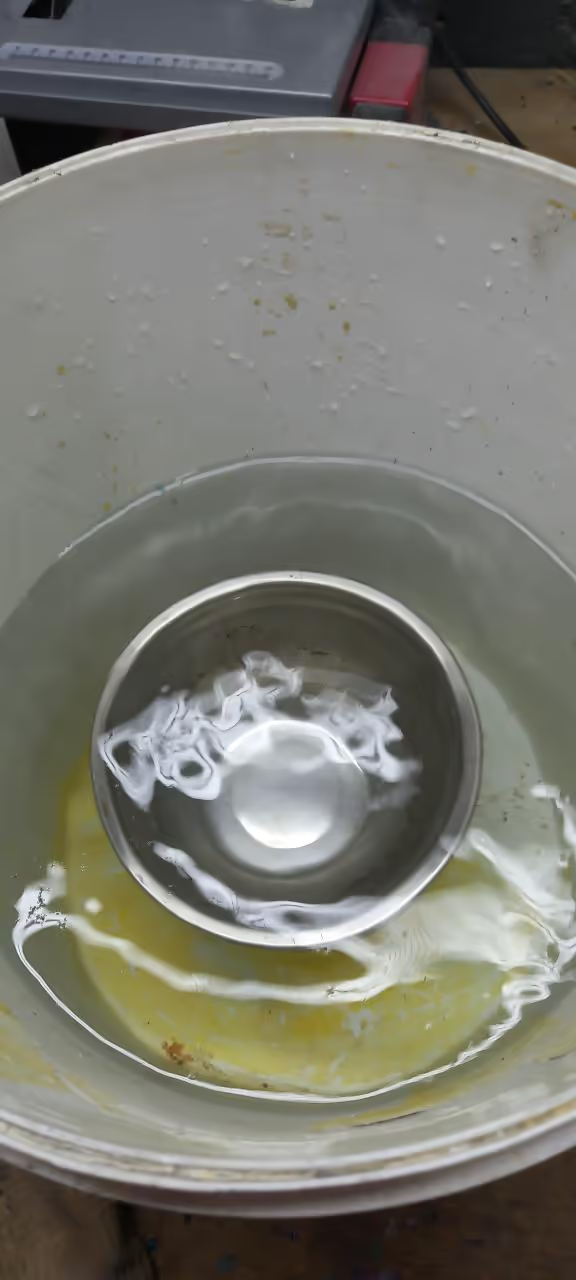
Balance and Cool: Balance the bowls to create an even shape, then place them directly into a bucket of water.
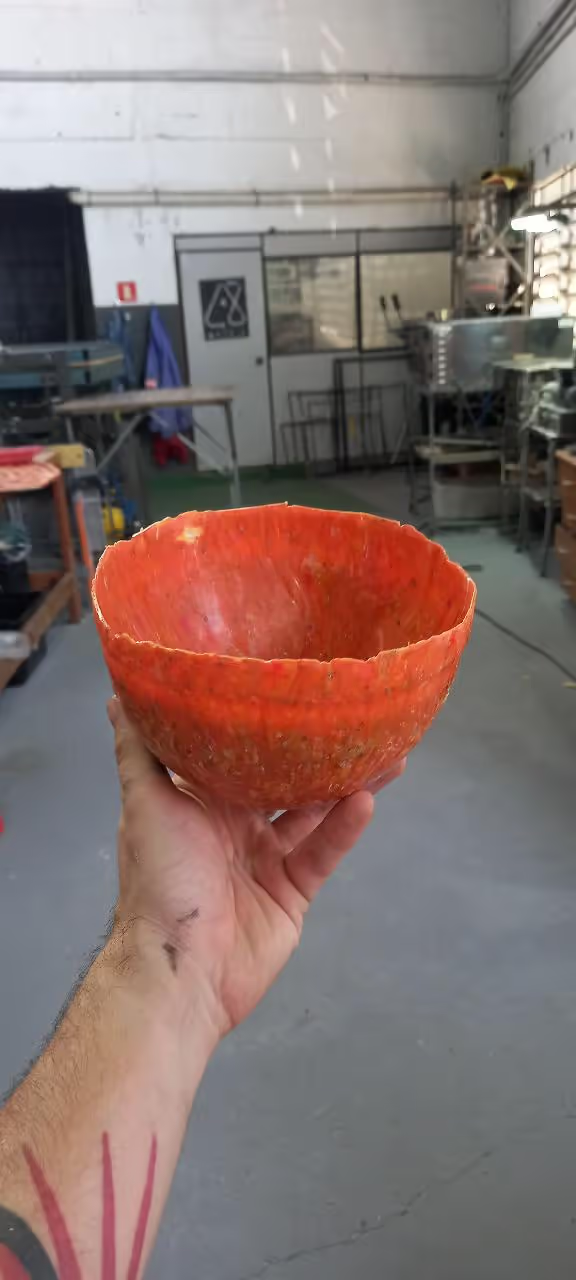
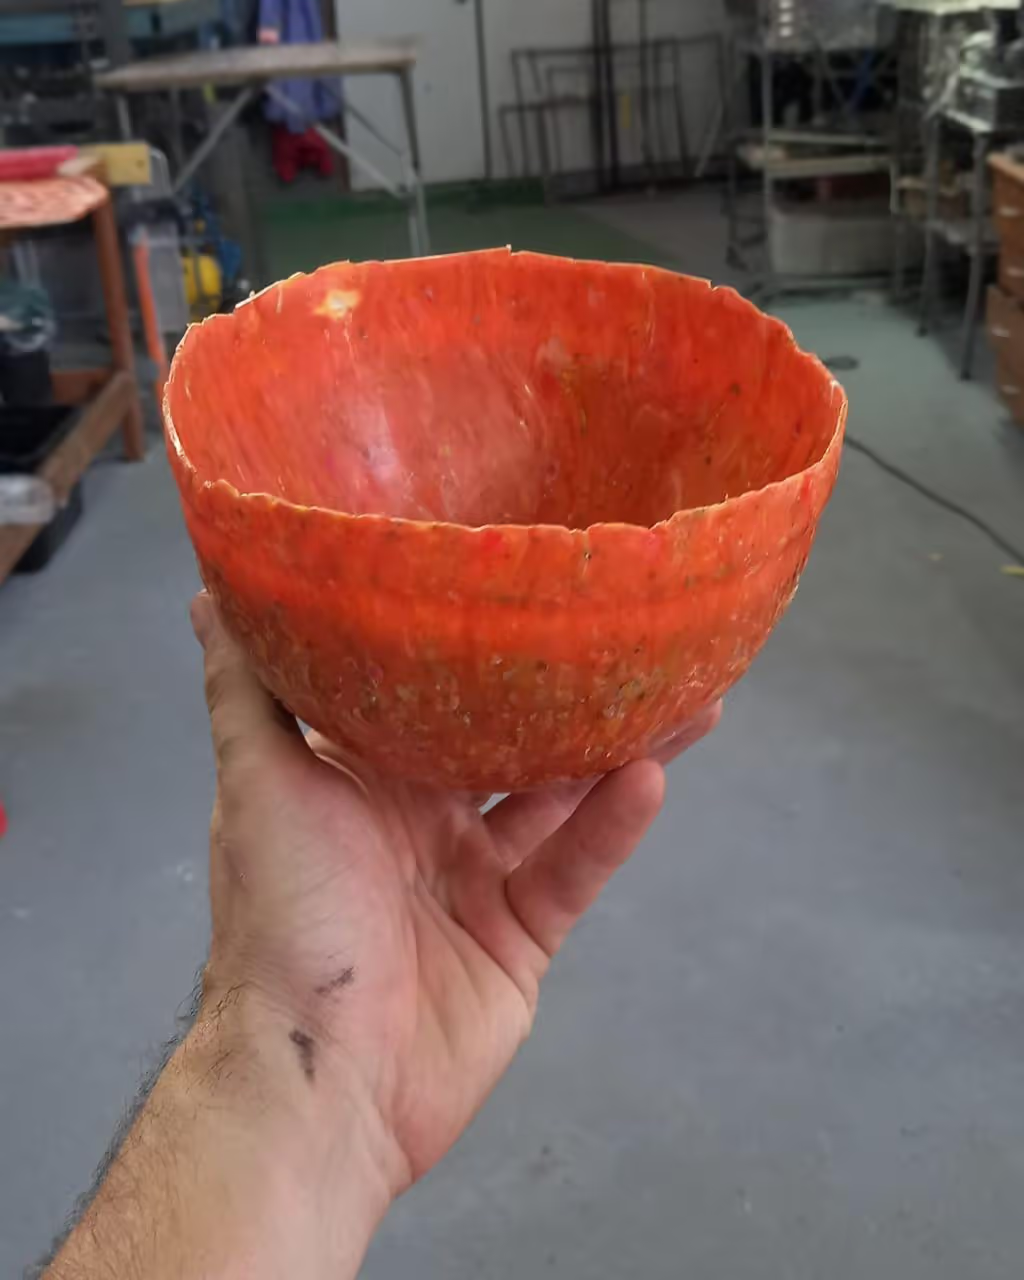
Cooling and Finishing: Allow the plastic bowl to cool for 5 minutes. Remove the mold and finish as necessary. Your bowl is now complete.
Enjoy your piece however you like.
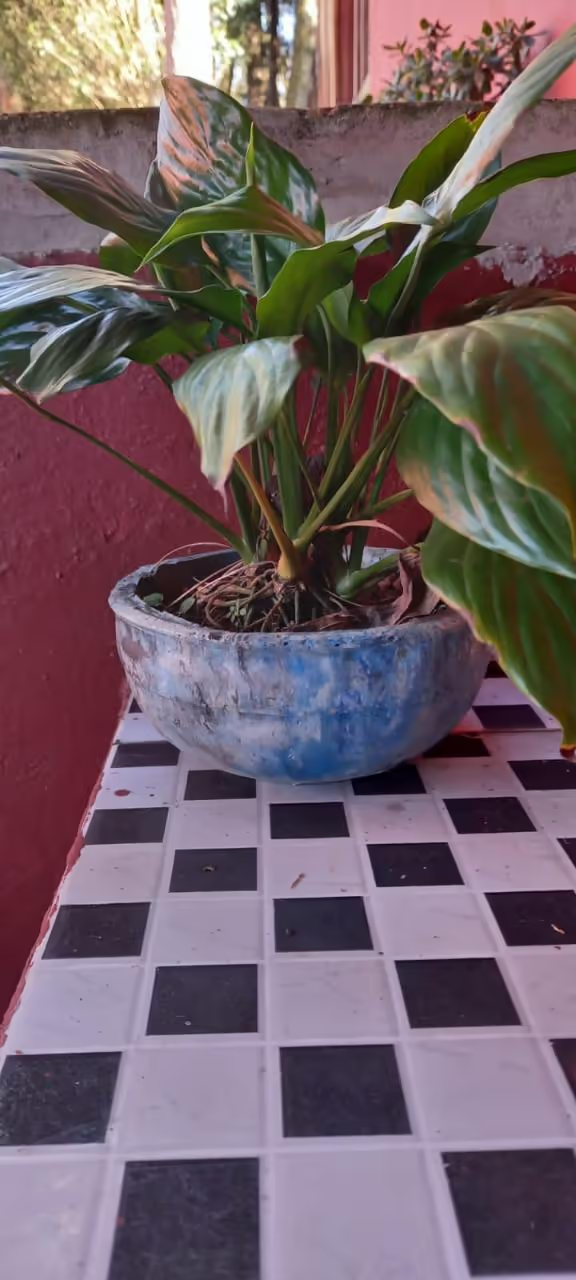
You can use it as a fruit bowl, plant pot, or organizer.
Here are the references grouped by category without comments: