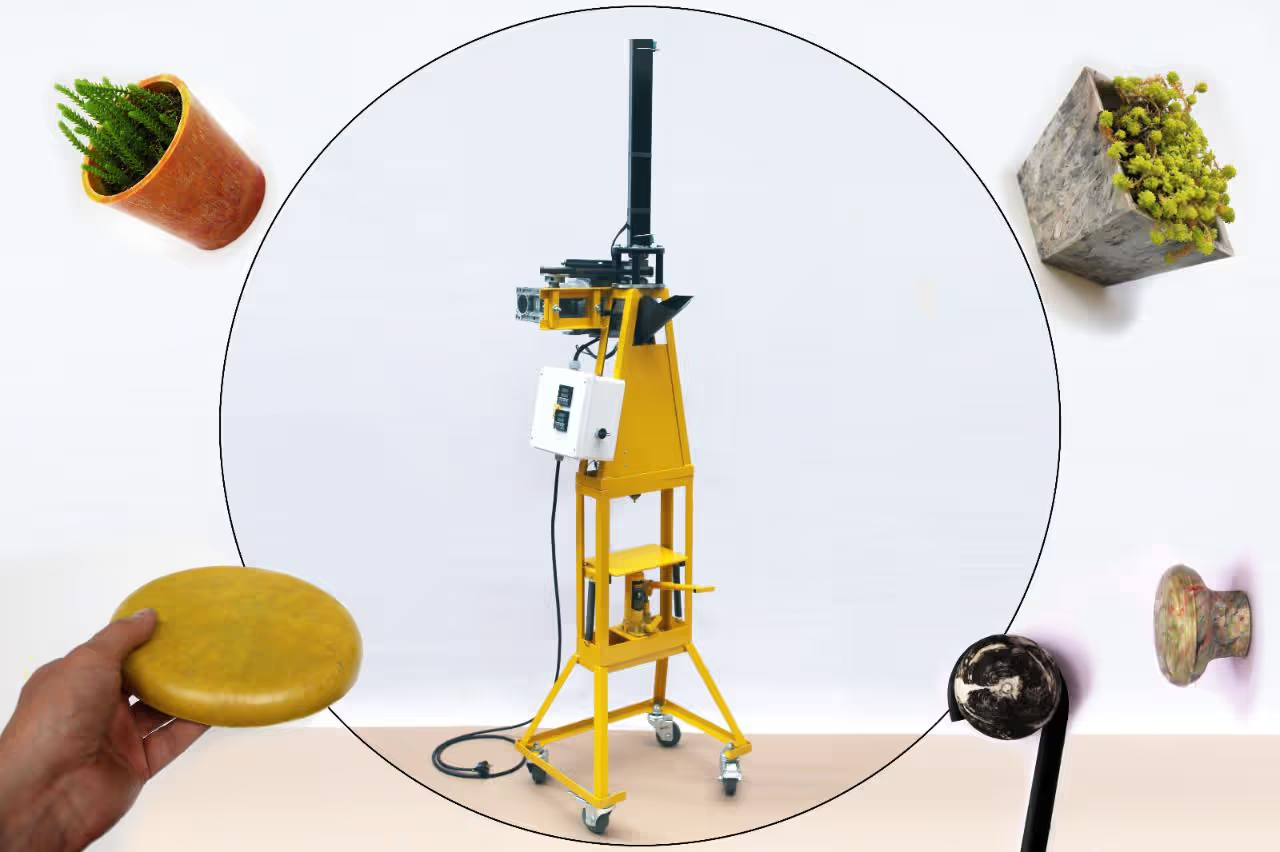
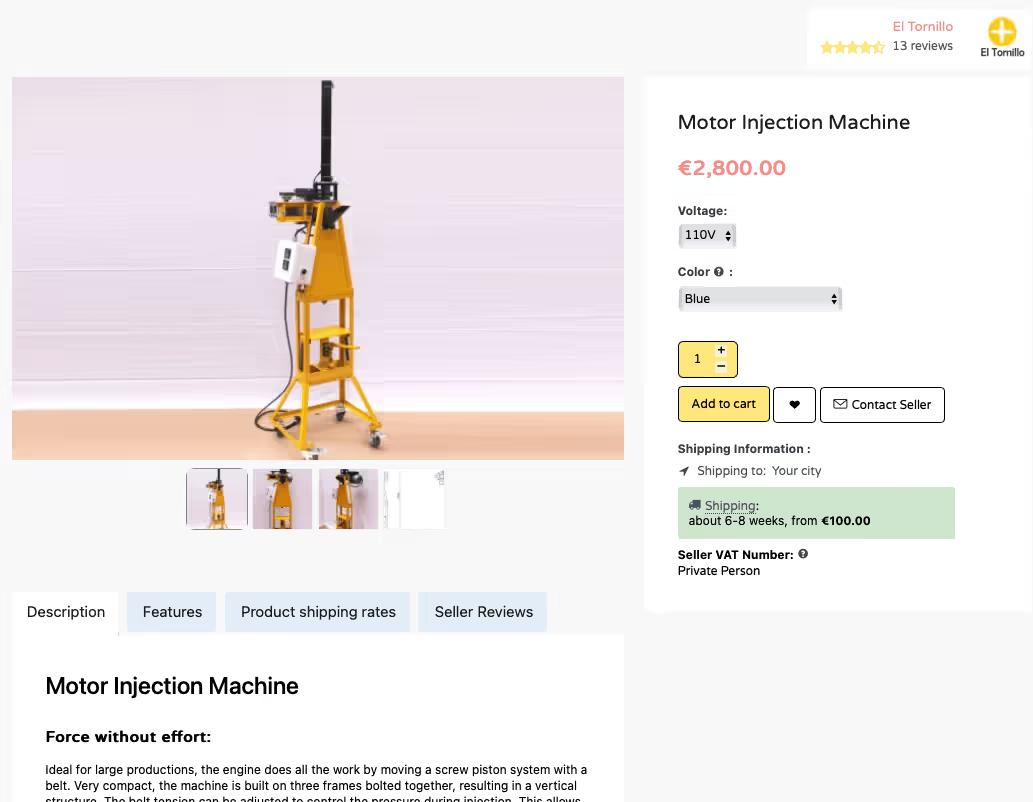
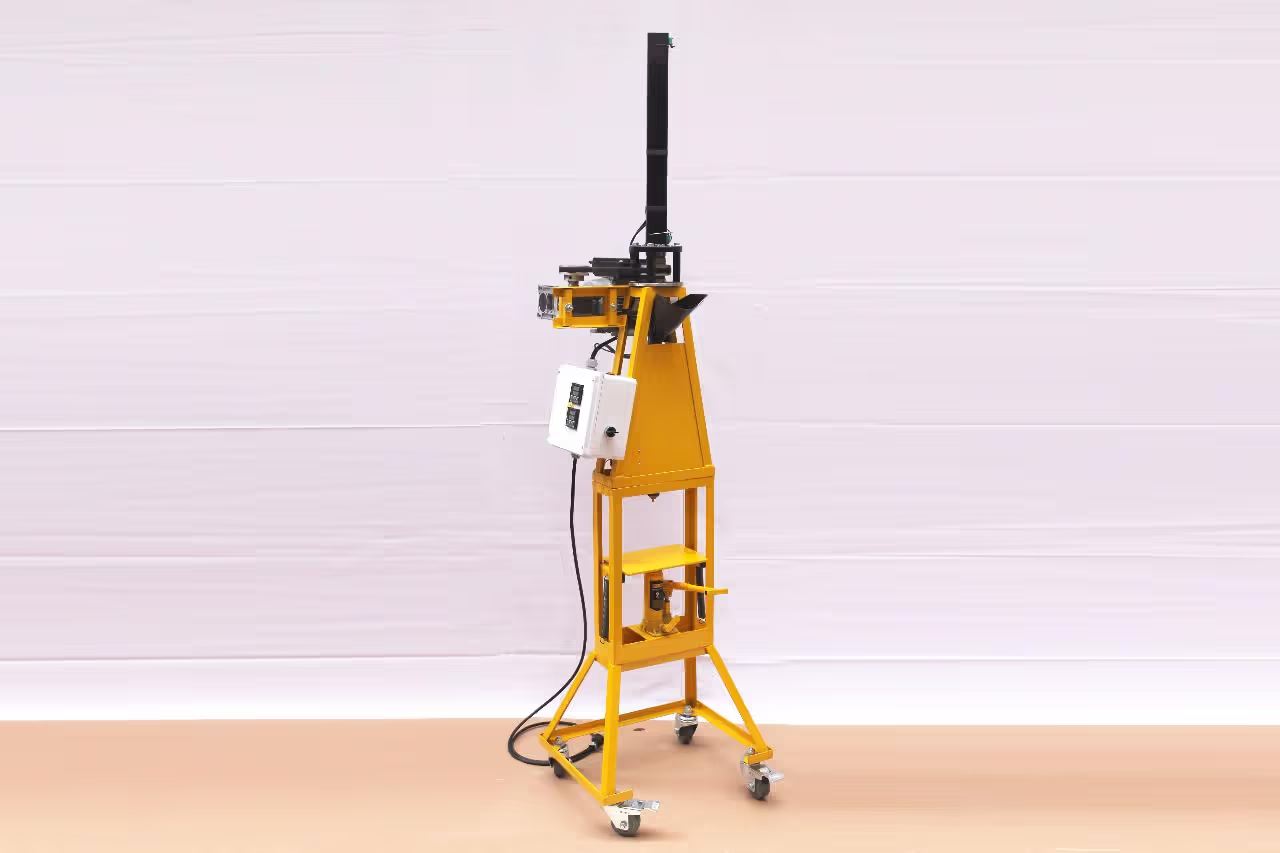
Using the Injection Machine
This injection machine uses a motor to reduce manual effort and increase pressure for creating detailed products.
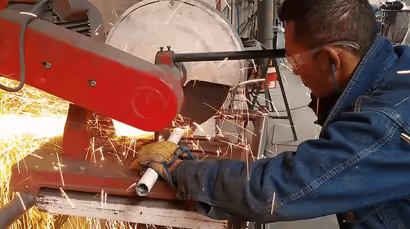
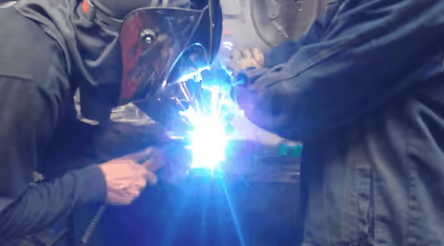
Table of Contents
-
Machine Design:
Motor Injection MachineMachine Size:
Height: 76.77 inches (195 cm); Width: 19.69 inches (50 cm); Depth: 19.69 inches (50 cm)Machine Cost:
In Colombia, Bill of Material: COP $4,700,000Features:
Equipped with a motor for pressure application, improving upon older hand-lever models.Compatibility:
Suitable for injection molds.Compatible Plastic Types:
PP, HDPE, LDPE, PS0){ currentIndex--; lightboxLoaded = false; preloadAndOpen(); } }" class="product-gallery"> -
To build this machine, you will need:
- Turning (machining on a lathe)
- Milling (machining on a mill)
- General metalworking (cutting, drilling)
- Welding
- Advanced assembly work (requires specific tools, measurement instruments, and knowledge of tolerances for alignment and assembly)
- General electrical work (wiring safety switches, temperature controllers)
- Motor electrical work (wiring motors, contactors, overload protection)
0){ currentIndex--; lightboxLoaded = false; preloadAndOpen(); } }" class="product-gallery"> -
Watch this video for instructions on building the machine:
0:00 Introduction 3:09 Motor Injection Machine Overview 3:36 Chapter I: Frame Construction 7:12 Chapter II: Mould Area Assembly 8:25 Chapter III: Piston System Installation 14:39 Chapter IV: Heating Barrel Setup 17:51 Chapter V: Electrical Wiring 18:56 Chapter VI: Motor Connection 20:10 Chapter VII: Final Assembly
- 4Inject!
How to Operate the Machine
- Activate the machine and load the barrel with plastic.
- For the initial injection, allow 25 minutes after activation and loading.
- Position the mold on the jack surface and press it firmly against the nozzle.
- Engage the motor to lower the piston, forcing the molten plastic into the mold until the belt slips in the pulley.
- Deactivate the motor and maintain piston pressure for approximately 5 seconds.
- Reverse the motor to raise the piston.
- For continuous use, refill the barrel before detaching the mold from the nozzle.
- Lower the jack to remove the mold.
- Open the mold and extract the molded part.
- Close the mold and repeat the process from step 3.
Recommendations
Molds must feature a conical nozzle connection or require an adapter. The machine generates significant pressure, allowing for the injection of items with thin walls.
0){ currentIndex--; lightboxLoaded = false; preloadAndOpen(); } }" class="product-gallery"> -
This guide outlines the process for constructing a Motor Injection Machine.
For those unable to replicate the machine or interested in purchasing other machines or molds, please visit my shop.
0){ currentIndex--; lightboxLoaded = false; preloadAndOpen(); } }" class="product-gallery">
Tools
- Turning (machining on a lathe) – Chapter I (3:09)
- Milling (machining on a mill) – Chapter II (7:12)
- Welding equipment – Chapter I (3:09)
- Cutting/drilling tools (metal saw, drill press) – Chapter I (3:09)
- Measurement instruments (calipers, micrometers) – Chapter III (8:25)
Hardware
- Motor for pressure application – Chapter VI (18:56)
- Safety switches – Chapter V (17:51)
- Temperature controllers – Chapter V (17:51)
- Contactors and overload protection – Chapter VI (18:56)
- Injection molds (PP, HDPE, LDPE, PS compatible) – Chapter II (7:12)
Software
- None specified in the tutorial
This summary distills key requirements for constructing the injection machine, referencing timestamps from the instructional video.
Articles
- Injection Molding Technology Overview | Xometry Pro [1]
- DIY Injection Molding: How to Mold Plastic Parts In-House - Formlabs [4]
Books
- Injection Molding Reference Guide (4th EDITION) [2]
- Scientific Molding, Recommendations, and Best Practices [7]
Papers
YouTube
- Build an Injection Molding Machine From a Cheap Pneumatic Press [3]
- Injection molding setup and run - YouTube [8]