Add interchangable patterns to injection moulds
HACK
MOULD
INJECTION
Utilize lasercut, CNC milled, or handmade plates to incorporate interchangeable text or patterns into injection mold products, including the addition of plastic types or logos.
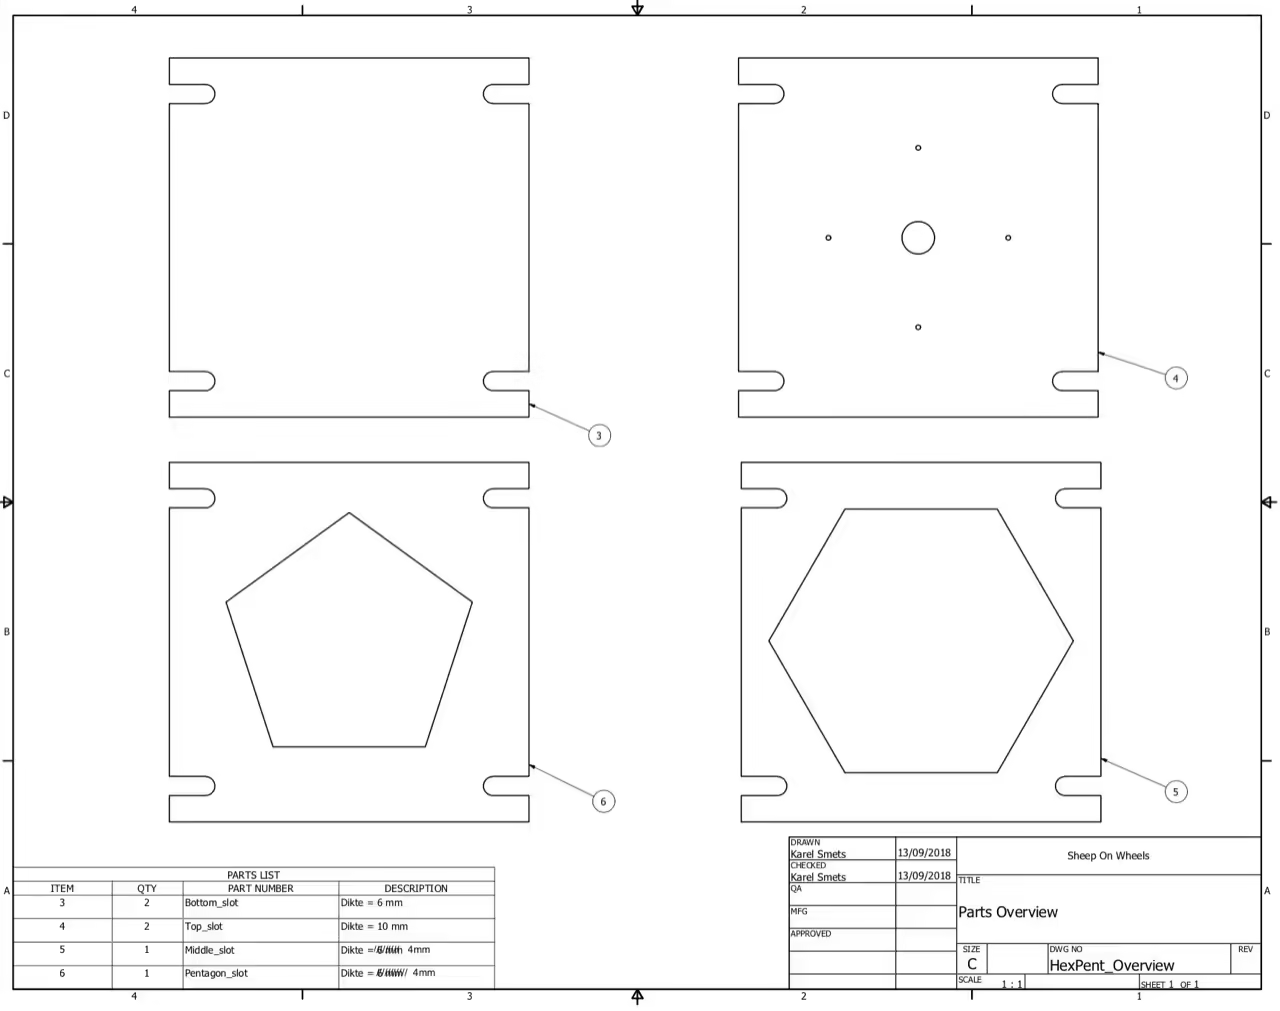
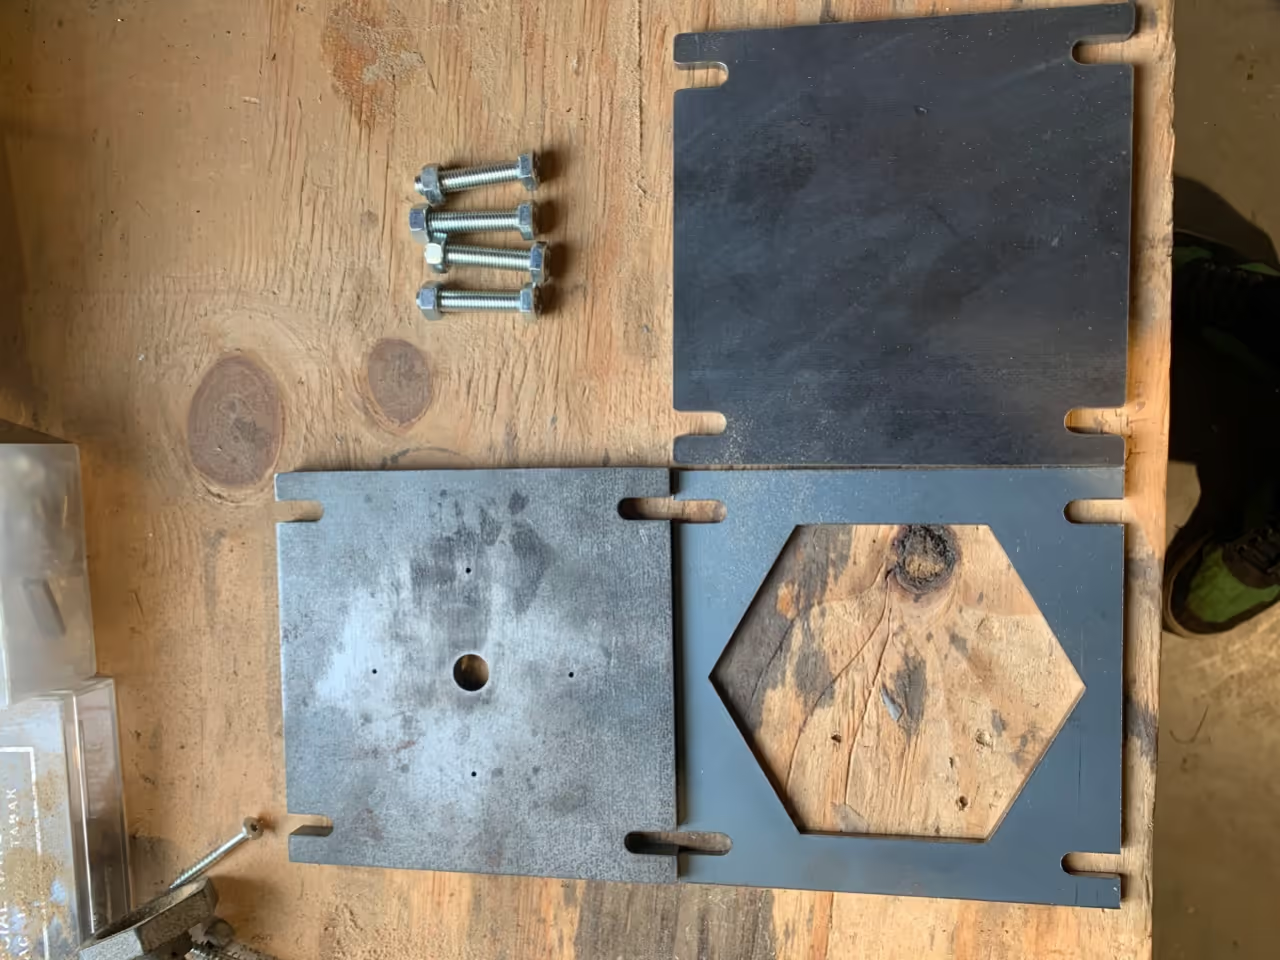
We are extending an existing mold, specifically a hexagon tile mold. It consists of a three-part flat mold fastened with bolts. Outer dimensions are 15 cm x 15 cm (approx. 6 in x 6 in). The top and bottom plates are 10 mm (approx. 0.4 in) thick, and the center part with the hexagon cutout is 4 mm (approx. 0.16 in) thick.
We will explain the processes of laser cutting and CNC milling. To access these devices, you might inquire at local facilities such as a Fablab or makerspace, or educational institutions.
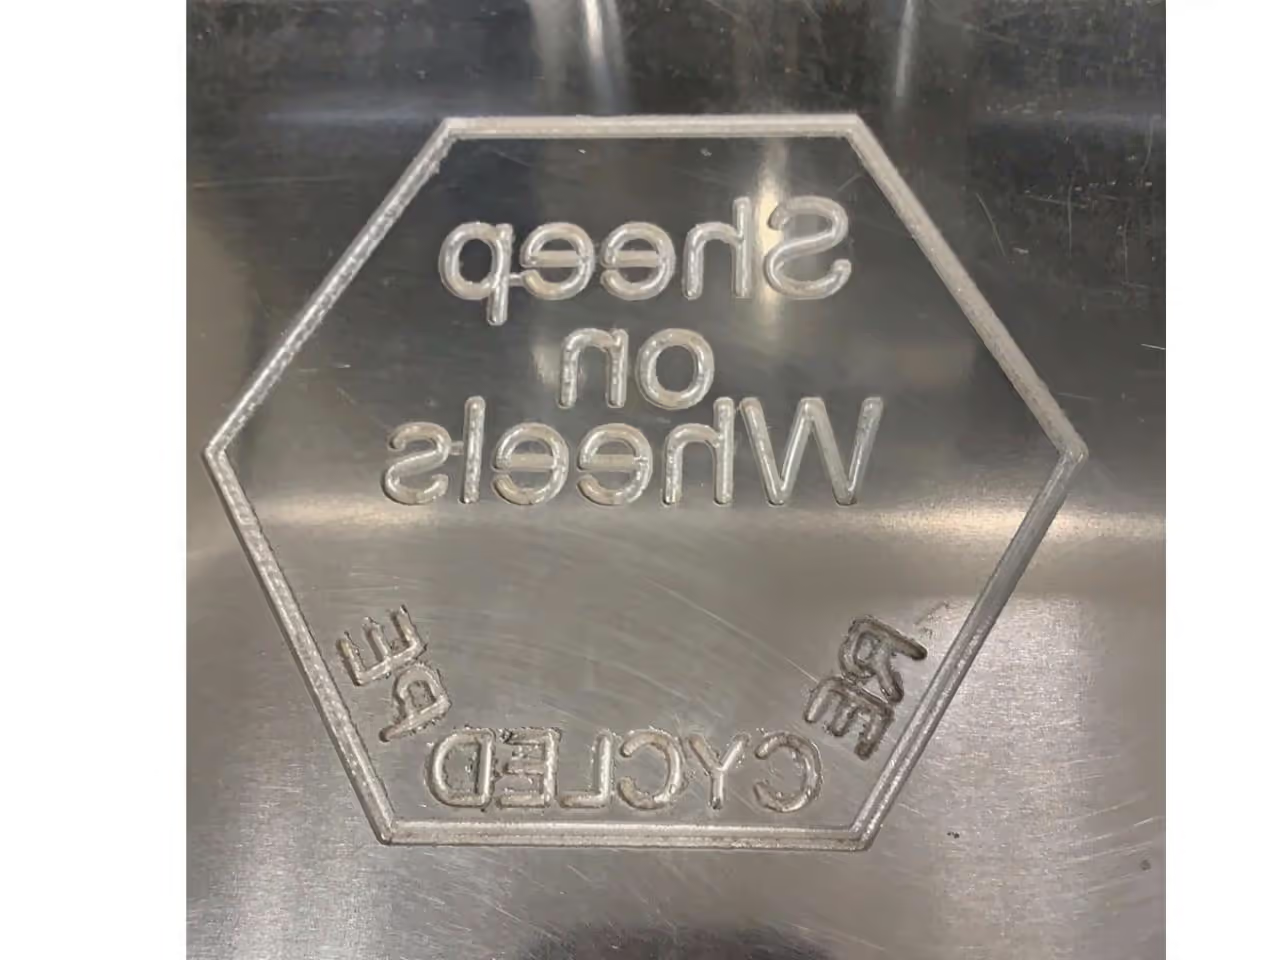
For laser cut add-ons, we use 4 mm (approx. 0.16 in) acrylic plates sized 15 cm x 15 cm (approx. 6 in x 6 in). For CNC machining, we use 3 mm (approx. 0.12 in) aluminum plates also sized 15 cm x 15 cm.
Certainly.
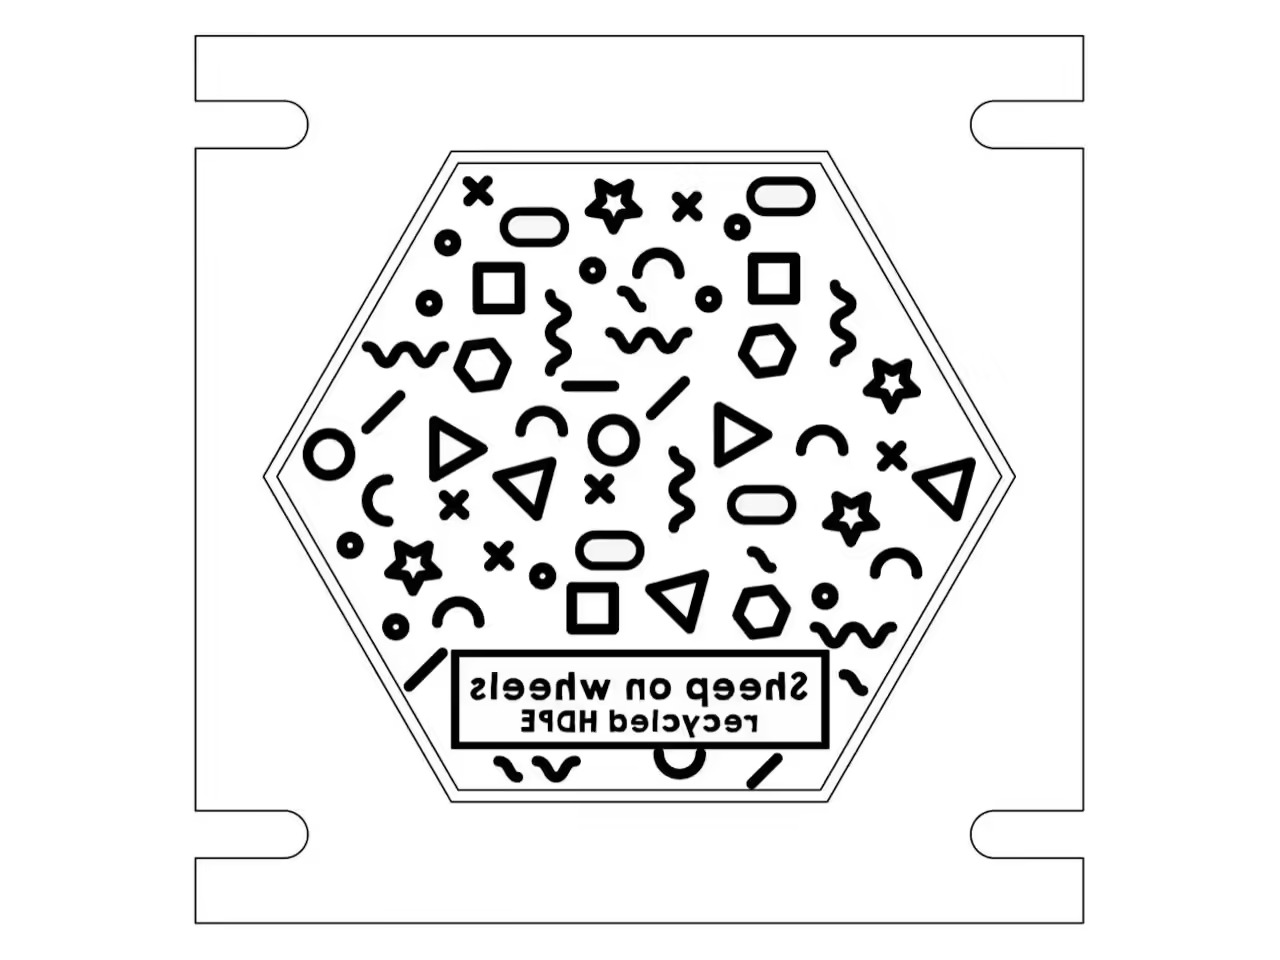
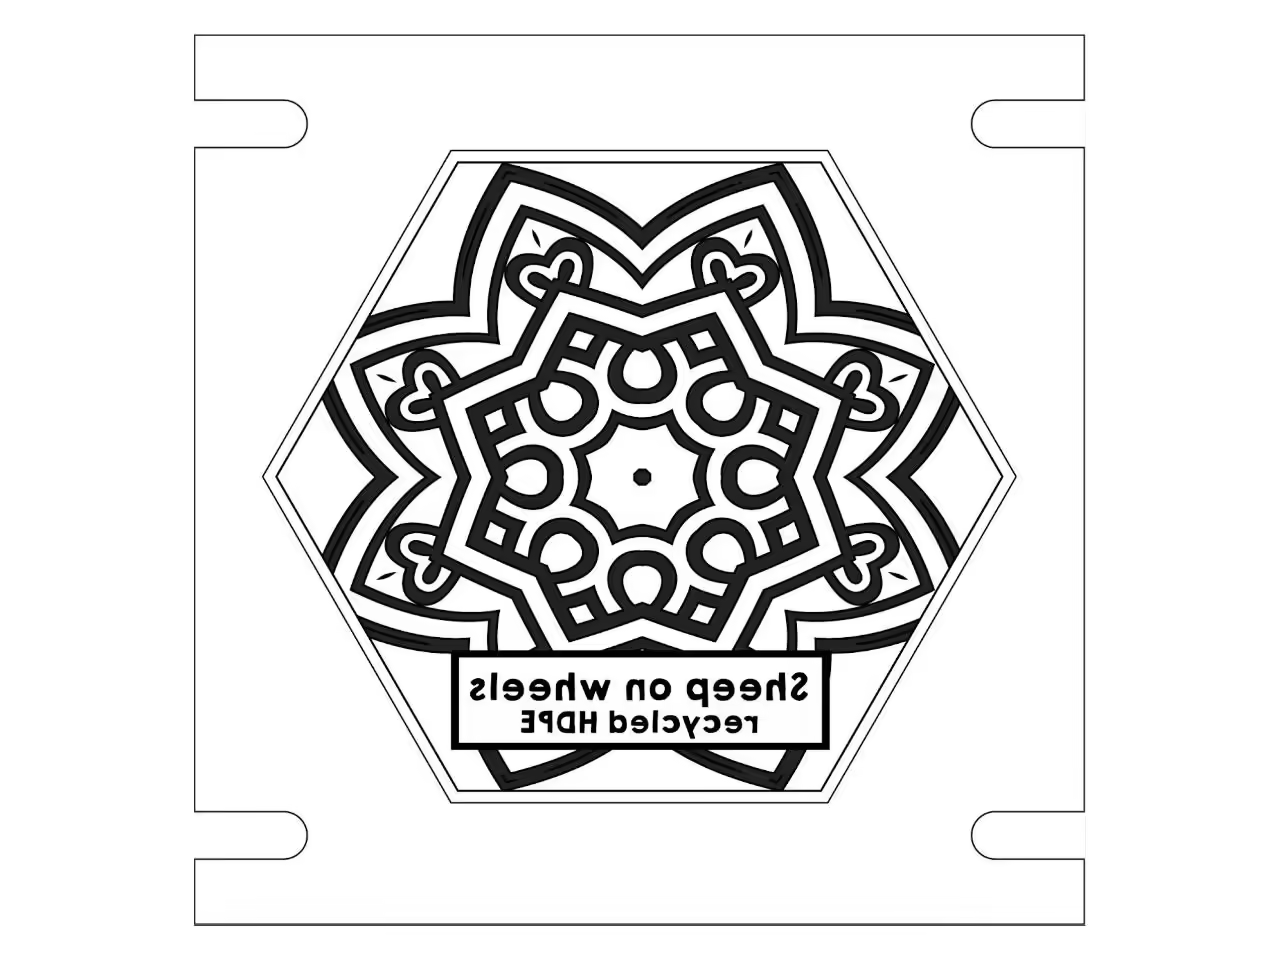
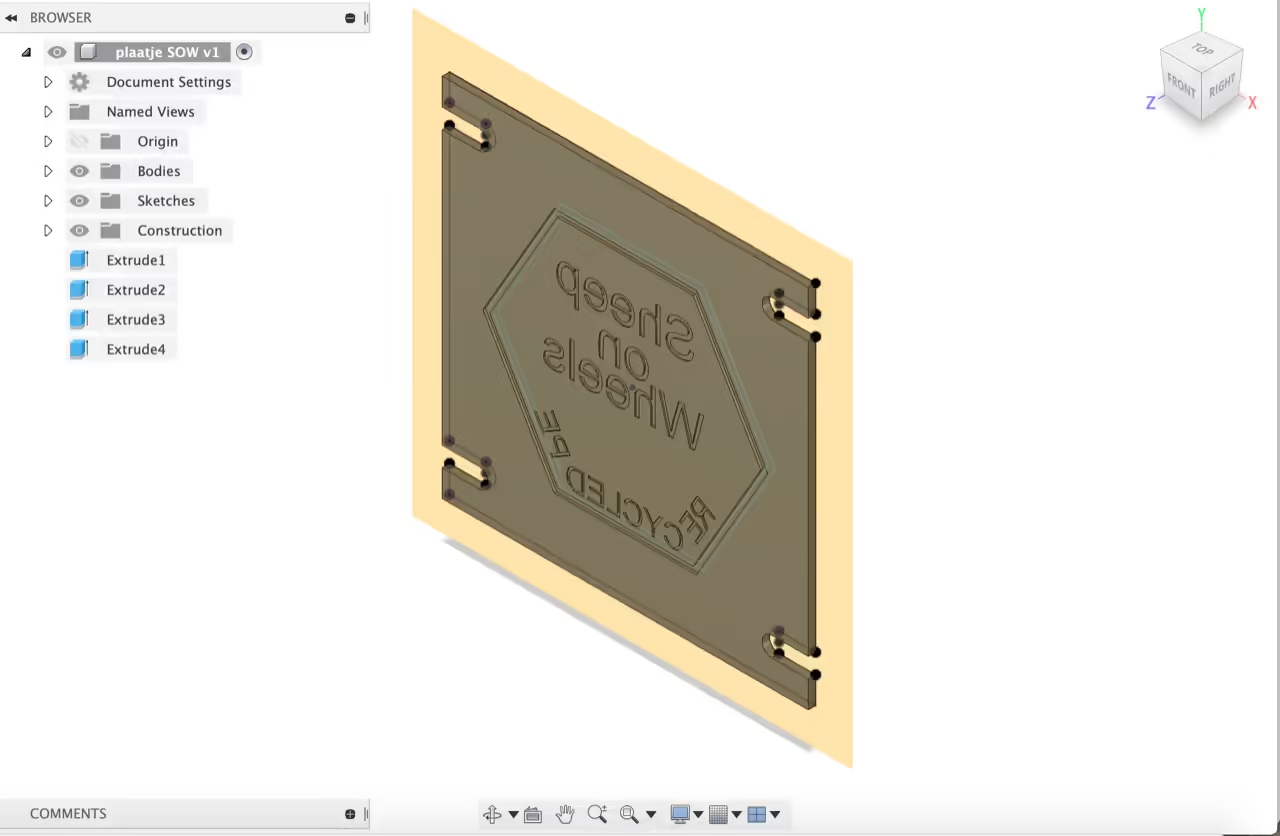
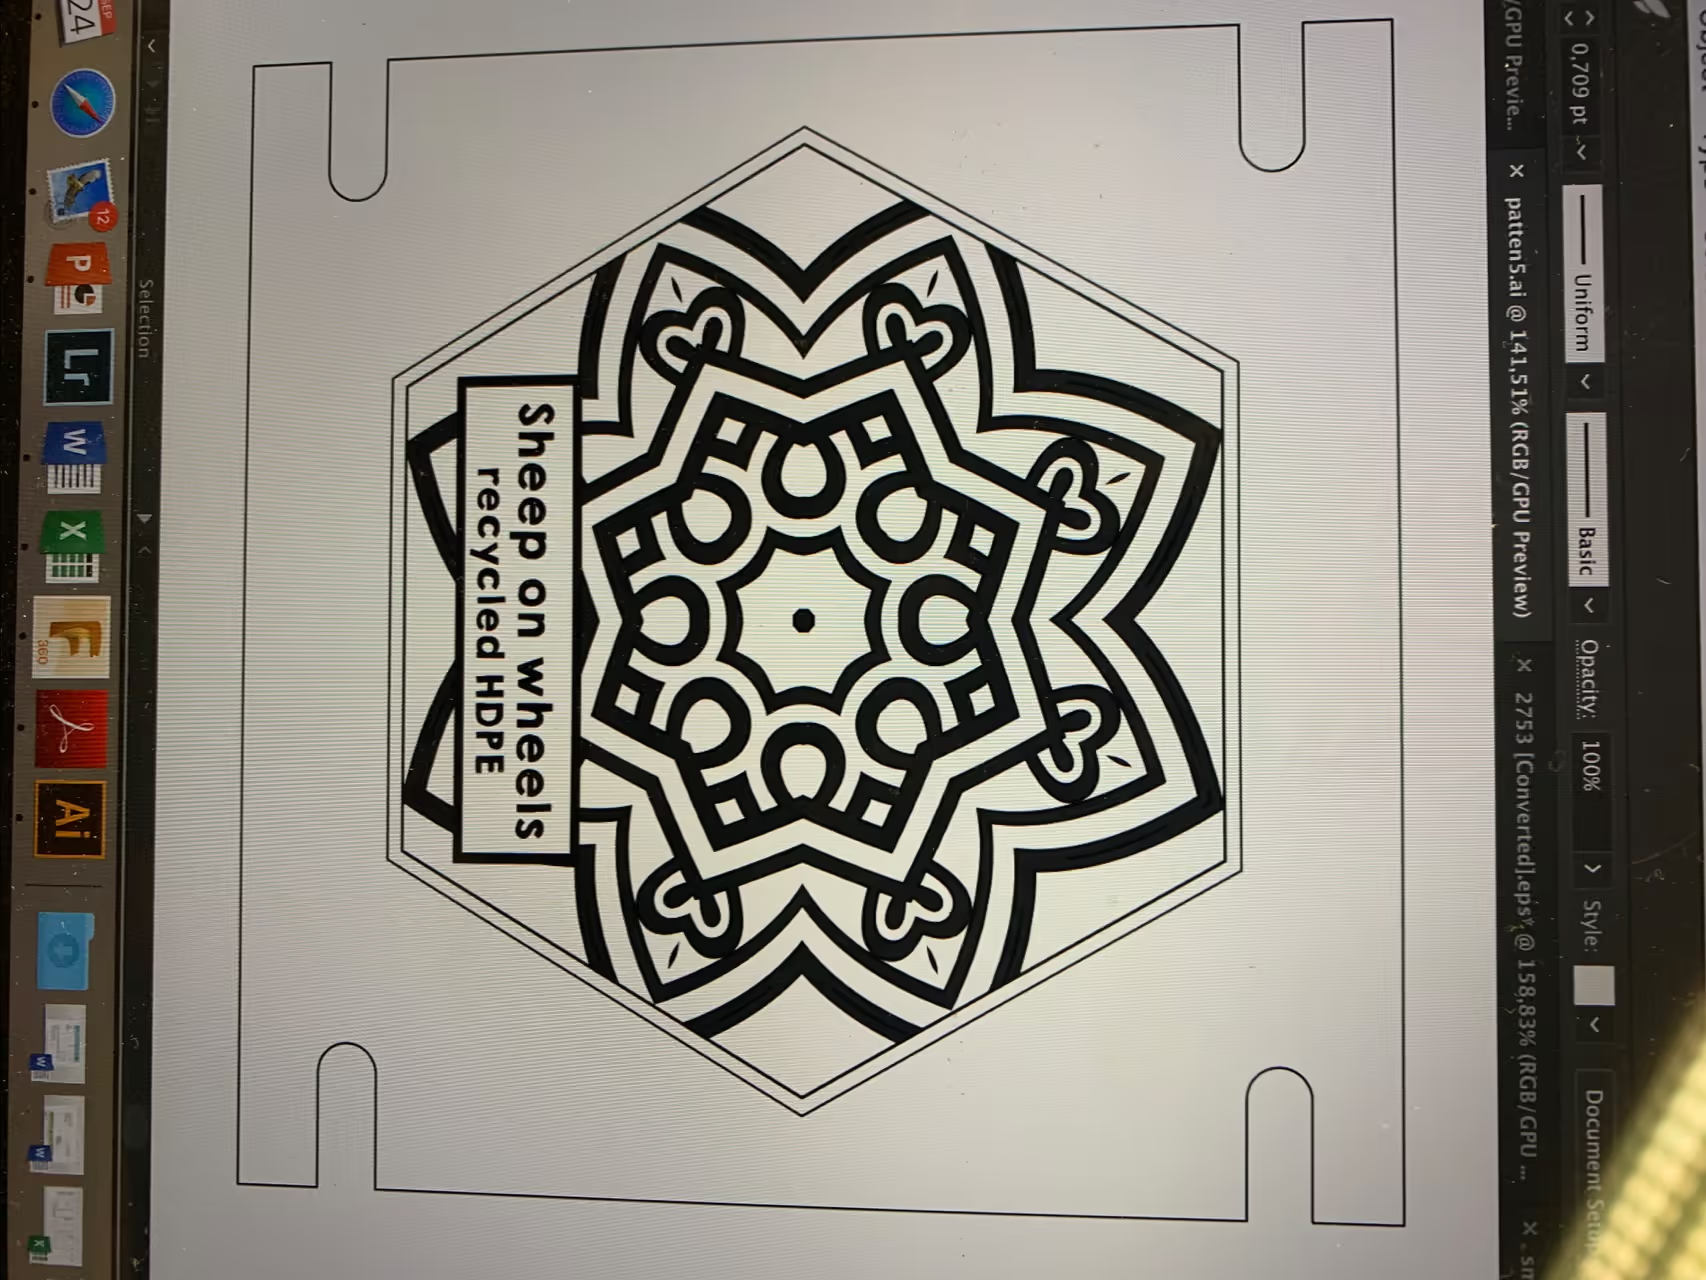
We utilized software to design various patterns. Ensure the text is mirrored when creating a negative. The export format may vary based on your chosen technique.
Additional information, such as plastic type and production details, can be included as needed.
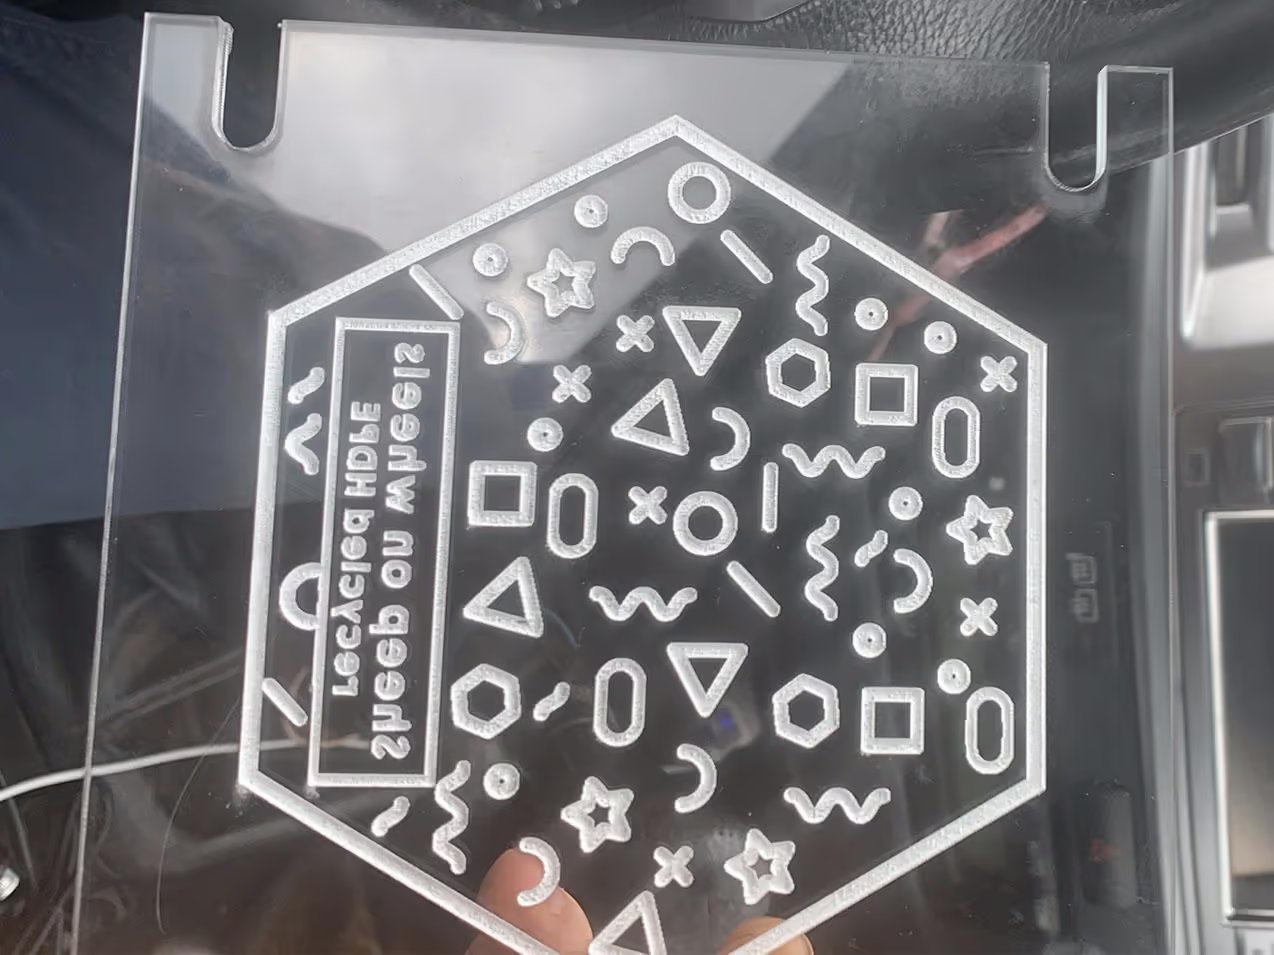
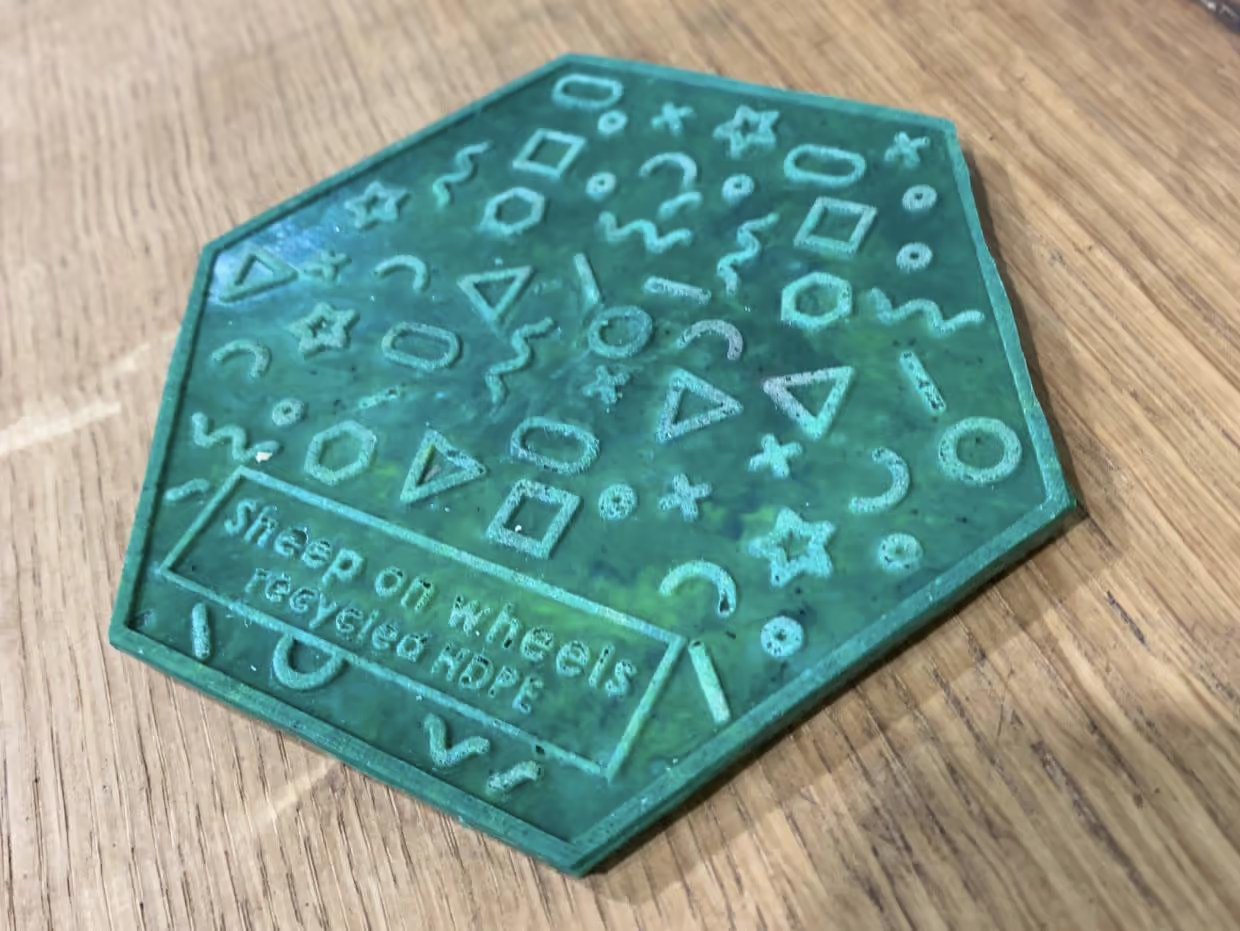
Laser cutting allows for unlimited shapes, though finer details are more challenging. Our experience shows HDPE injection can handle details as small as 0.08-0.12 inches (2-3 mm).
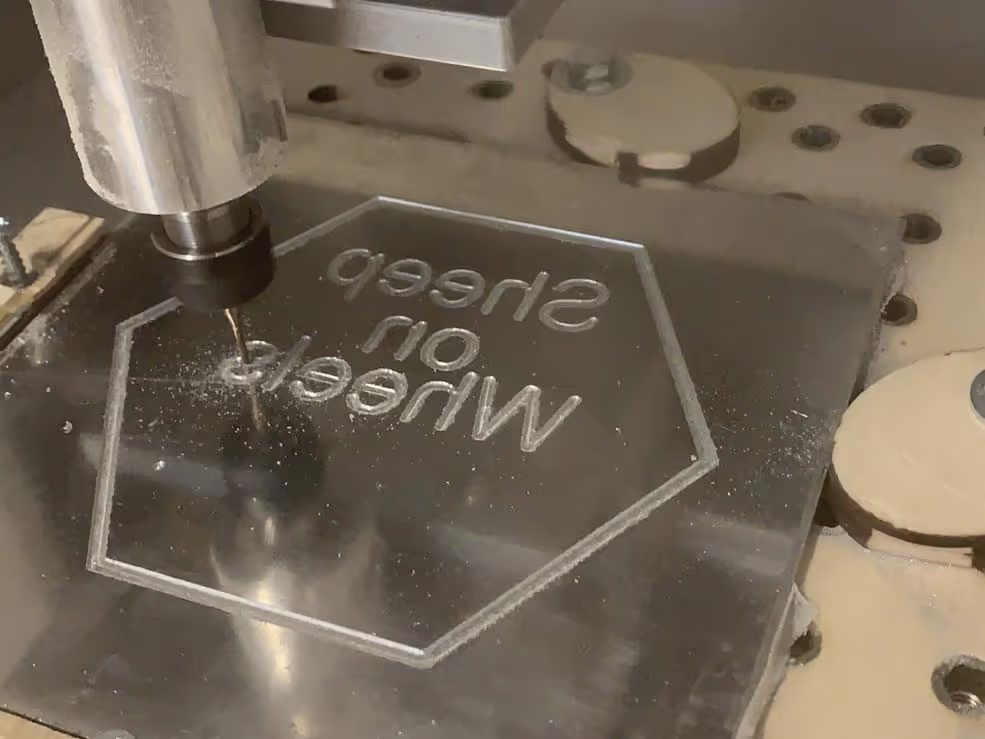
For CNC milling, the detail is limited by the router bit diameter, which rounds corners. Verify the specifications of your machine. We used a 0.04-inch (1 mm) CNC router bit.
A 2D file suffices for laser cutting, with PNG and AI formats commonly accepted by various software programs.
For CNC milling, a 3D file is necessary. Software such as Fusion 360 can convert vector files into 3D shapes.
In our example, the cutting depth is set to 1.5 millimeters (0.059 inches).
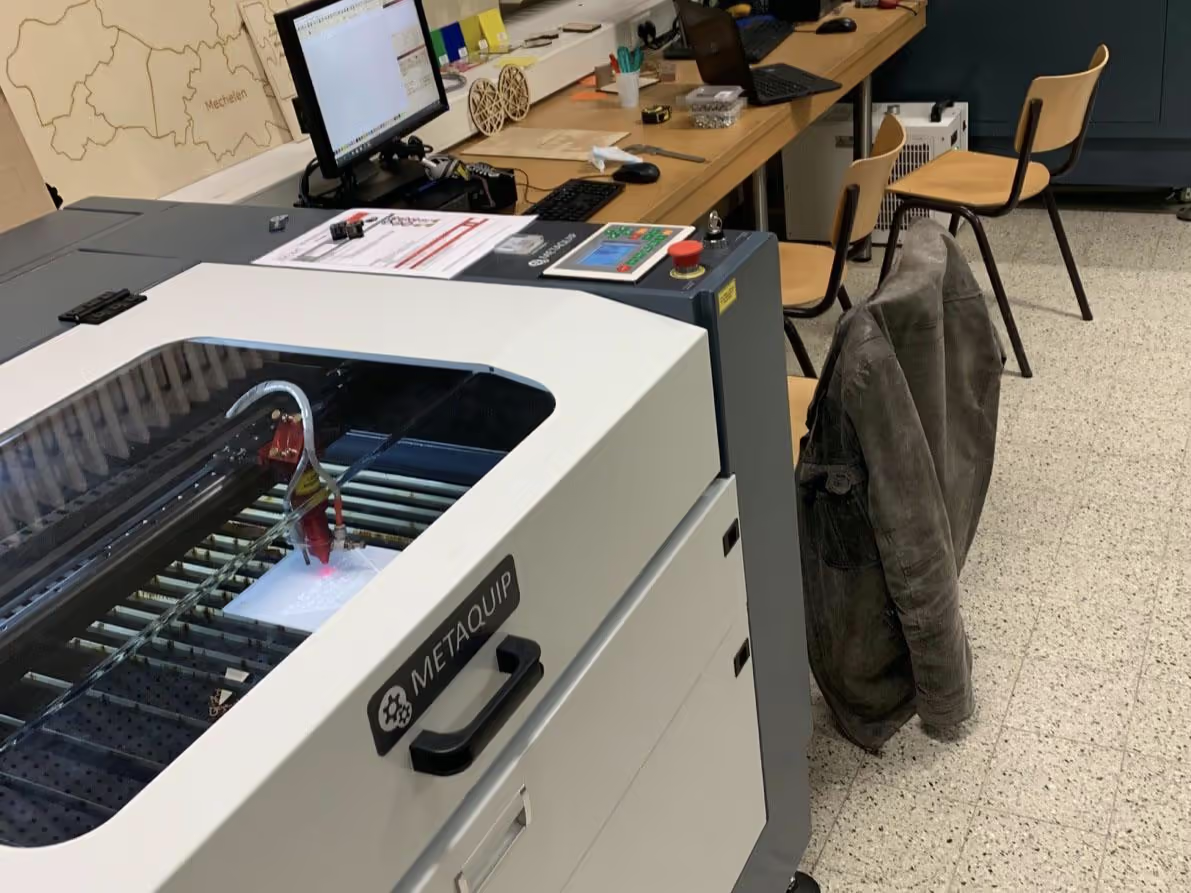
The settings for your cutter will vary based on the type of machine. It is advisable to perform test cuts and adjust the laser's speed and intensity accordingly.
Though acrylic can be safely cut, it does emit an odor; therefore, dust extraction is recommended.
Ensure the pattern is not fully cut through the acrylic plate to preserve the mould's durability, except for certain shapes where this might be acceptable.
Ensure edges are fully cut to avoid the necessity of manual drilling and cutting later. You can assign different settings to cutting lines to achieve multiple depths in one mould.
Process the file with the software, secure the material, and begin milling.
Conduct speed tests beforehand.
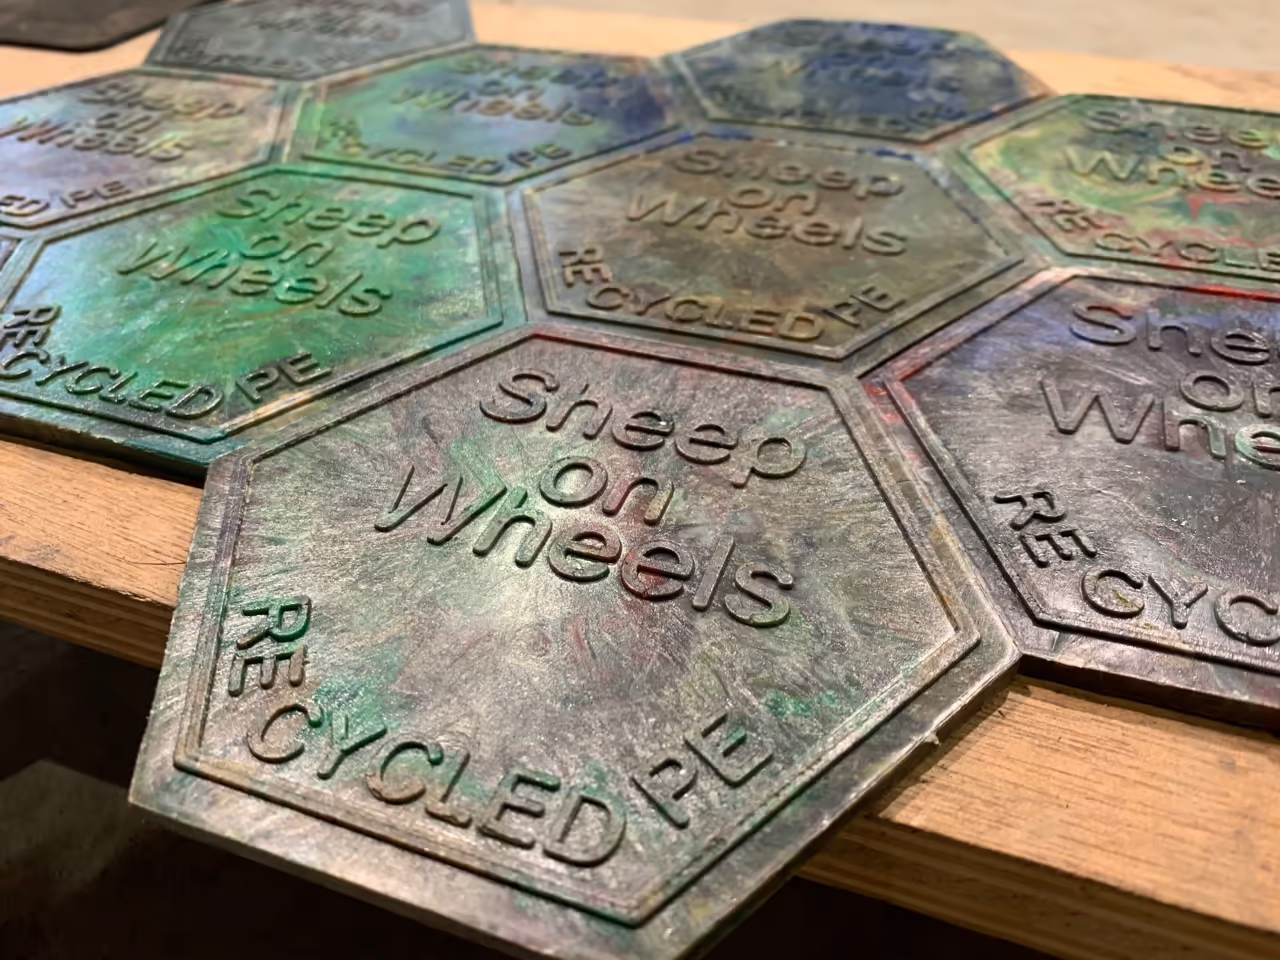
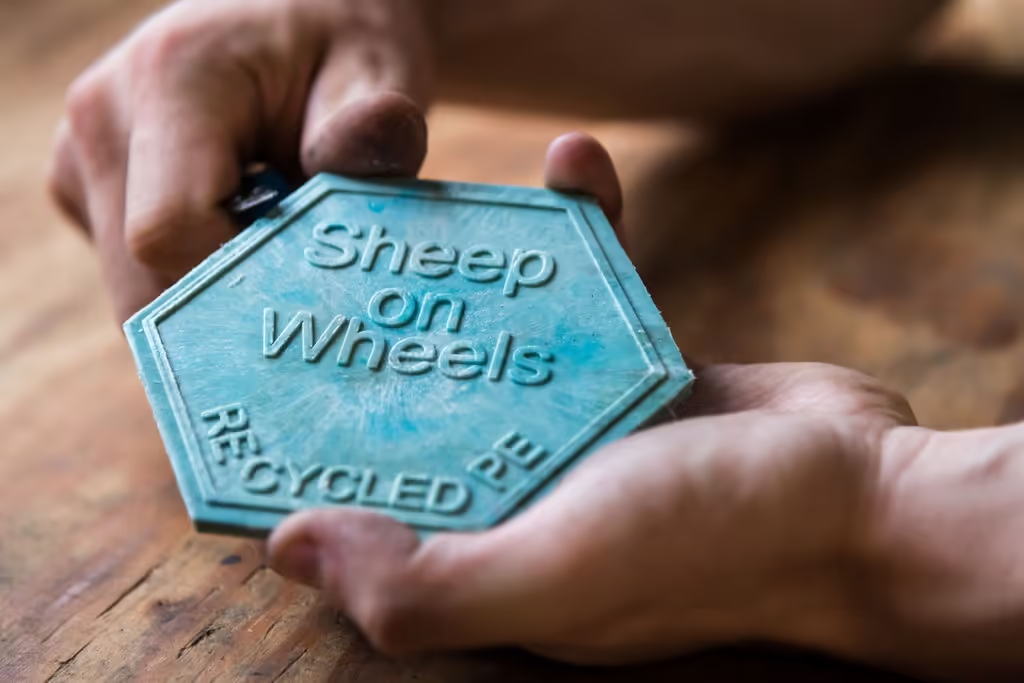
Insert the texture plate into the mold and begin injecting.
For optimal results, cool the mold rapidly.
Local fabrication options in Leuven include Fab Lab Leuven for laser cutting/CNC access and KU Leuven’s engineering workshops[2].