Wall Peg mould

PRODUCT
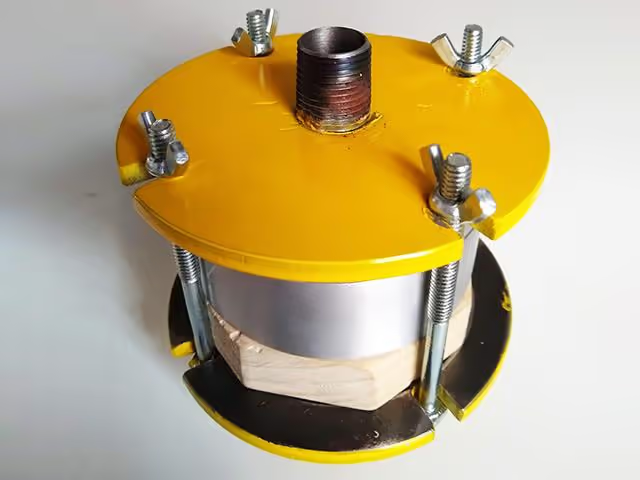
INJECTION
MOULD
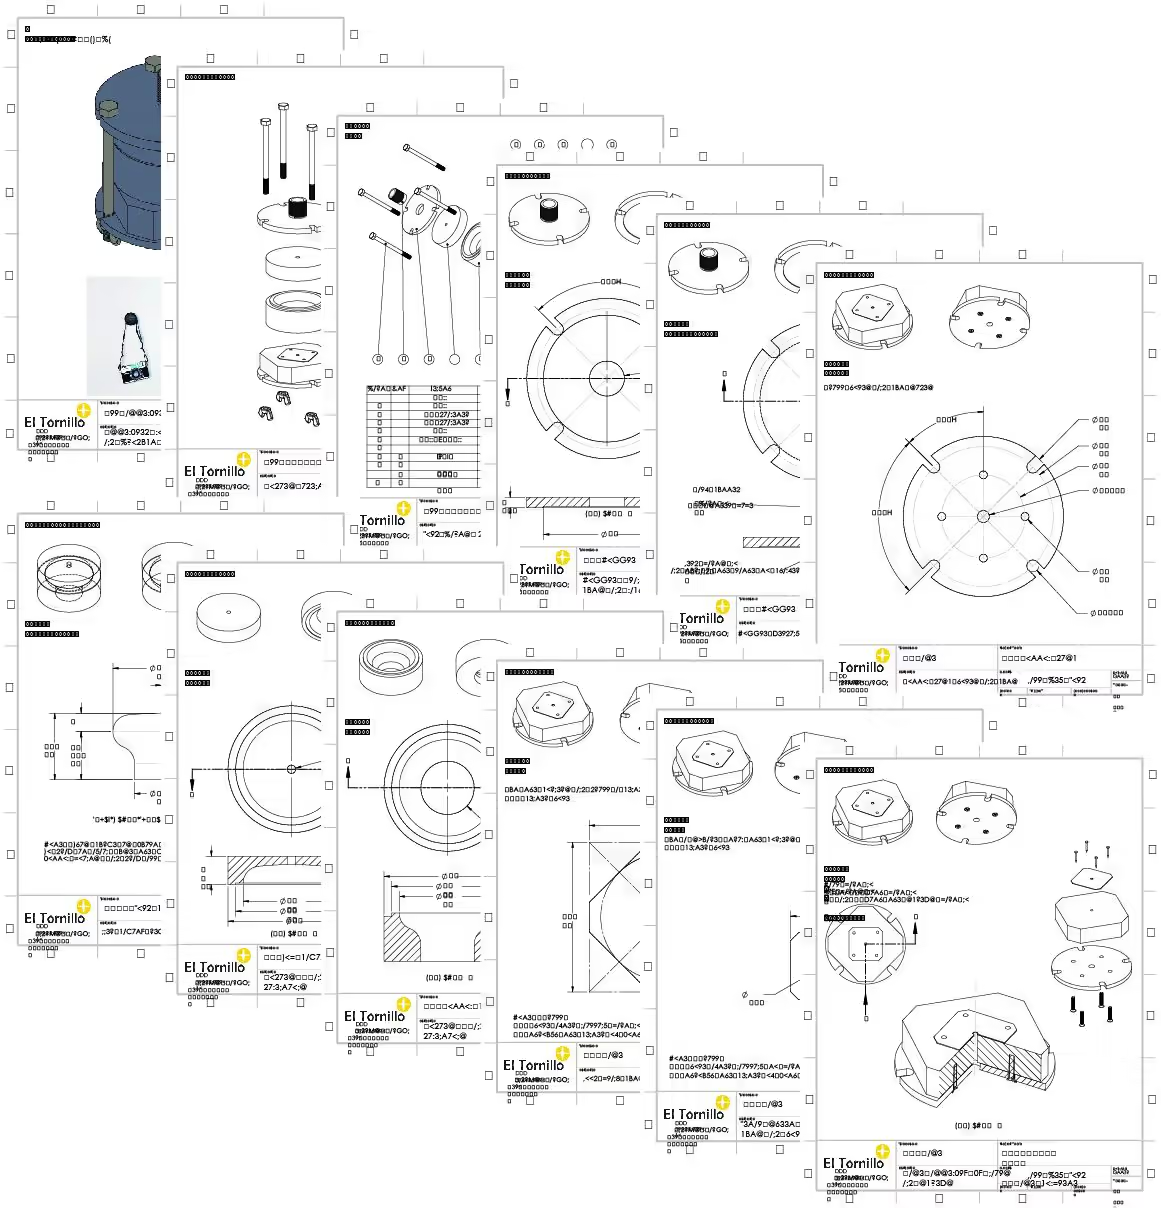
Access 3D models and blueprints to create the wall peg mold here.
Ensure all materials are prepared. Review the drawings and steps to understand the process fully. This will enhance efficiency and accuracy.
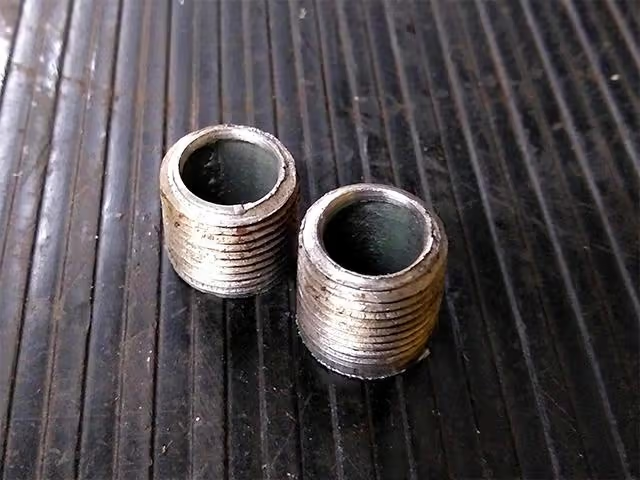
Begin by cutting the steel pipe nipple (part no. 7) in half to create the mold nozzle. (Refer to Drawings, page 3).
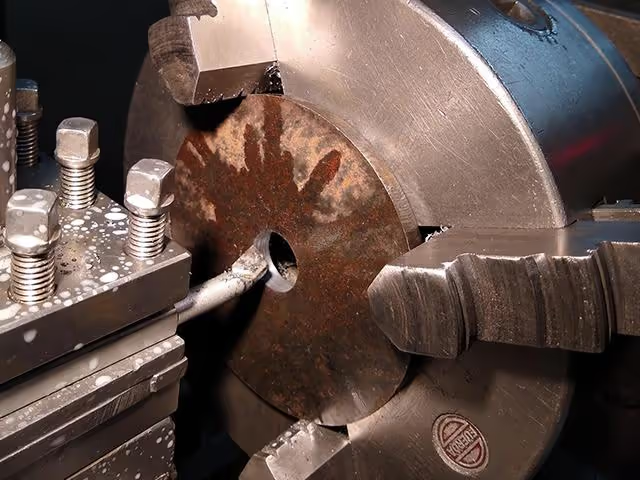
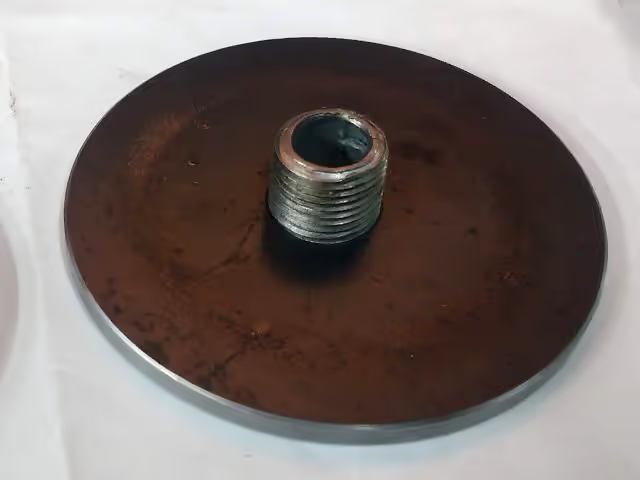
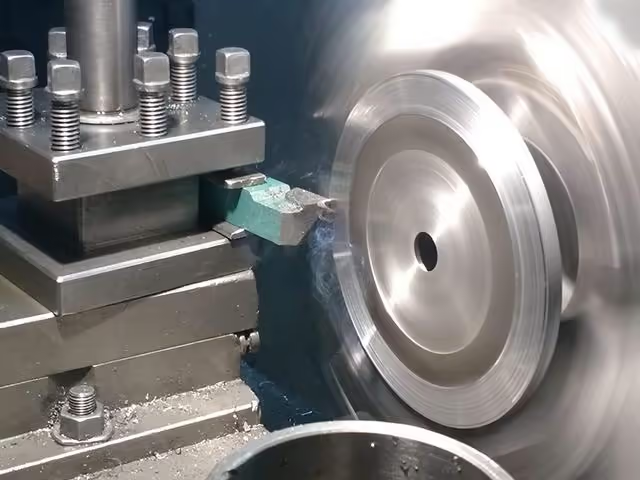
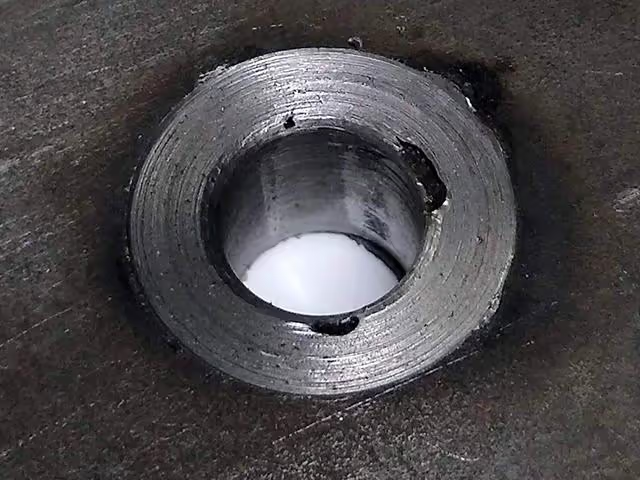
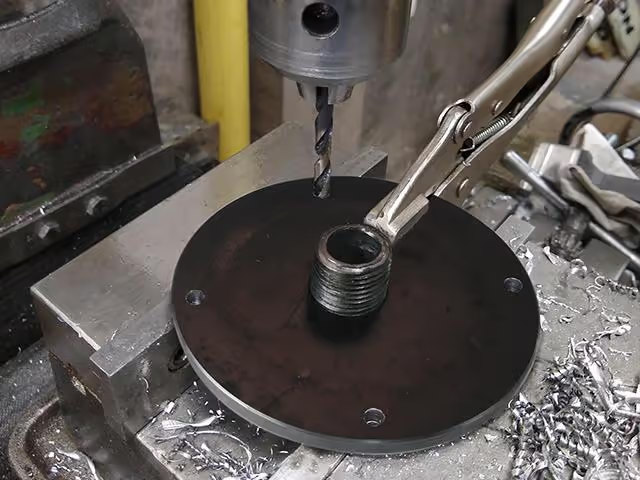
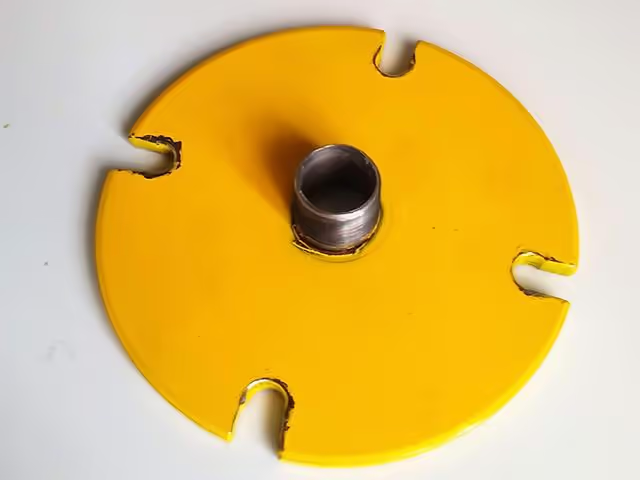
Retrieve the steel disc (no. 3) and bore a central hole to snugly fit one half of the steel pipe nipple (part no. 7). Refer to drawings on page 4.
Machine one side of the flange to a 3-inch (7.62 cm) diameter to fit mold body no. 1. (Refer to drawings on page 4)
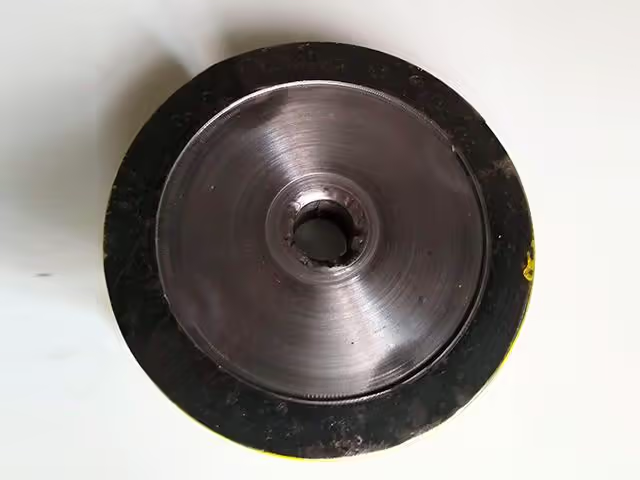
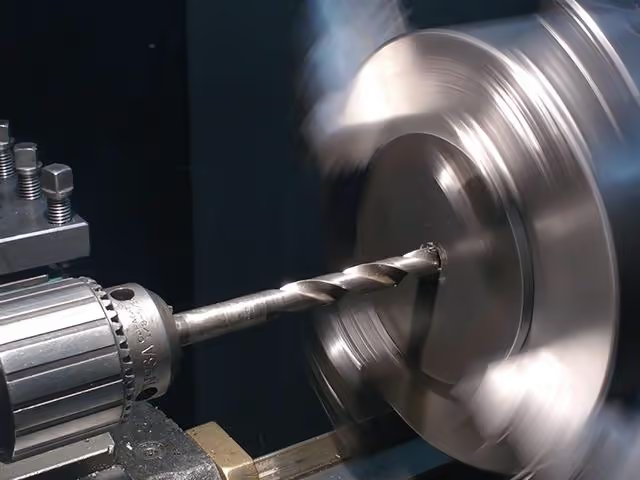
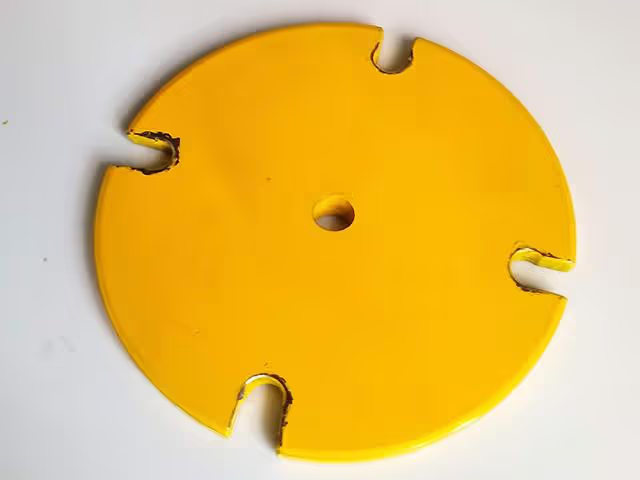
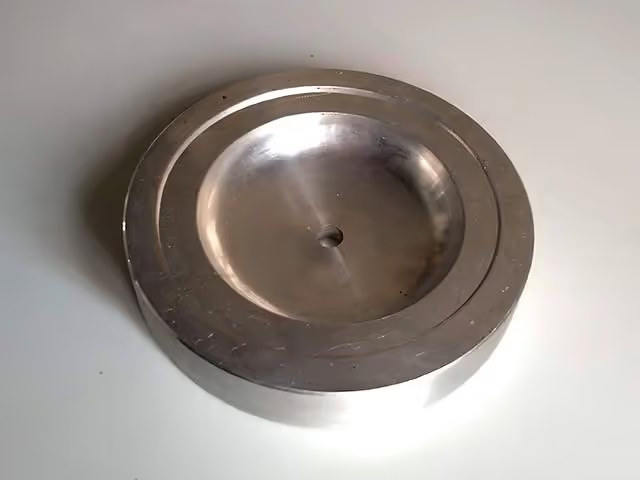
Obtain disc no. 4 and drill a 9/32-inch (7 mm) hole in the center. Refer to drawings on page 6.
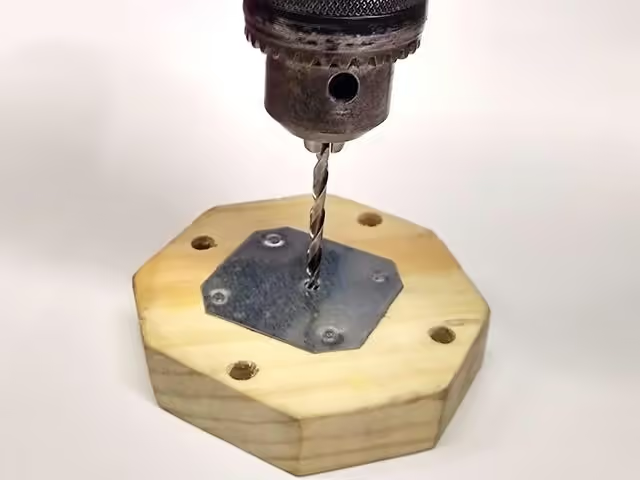
Drill four holes along the edge of discs 3 and 4, then trim the sides. (See drawings pp. 4-6)
Drill four additional 3/16-inch (4.76 mm) holes in disc number 4. (Refer to drawings on page 6)
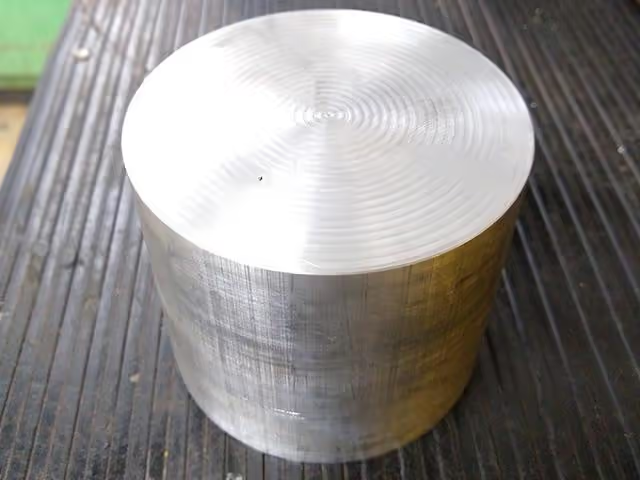
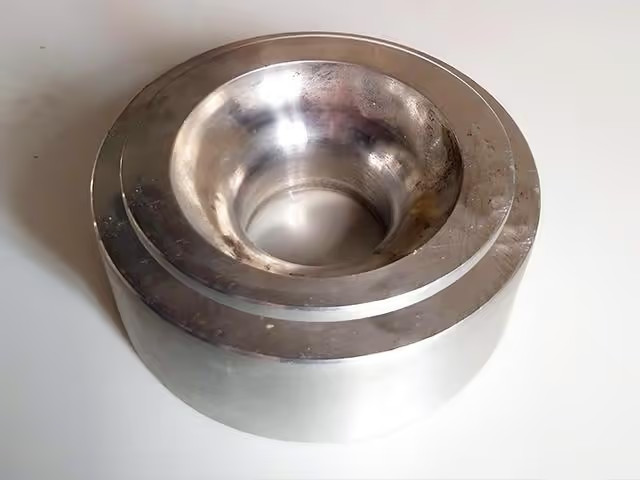
To achieve a curved, smooth, and polished mold cavity surface, provide parts no. 1-2 and the 3D files to a reputable CNC lathe workshop. They can manage various file formats, and the accompanying drawings (pages 7-9) will clarify any uncertainties.
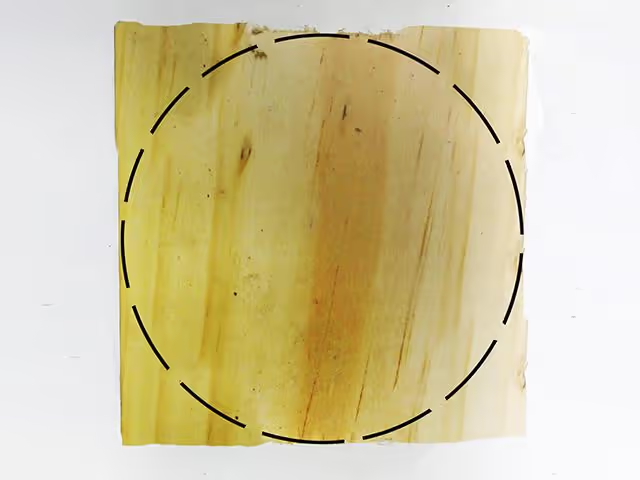
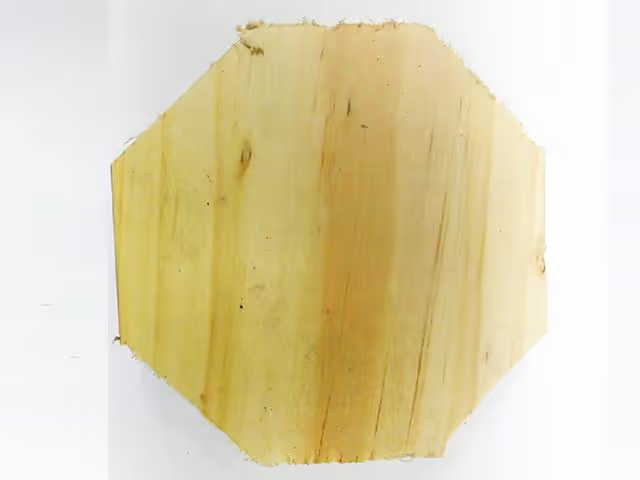
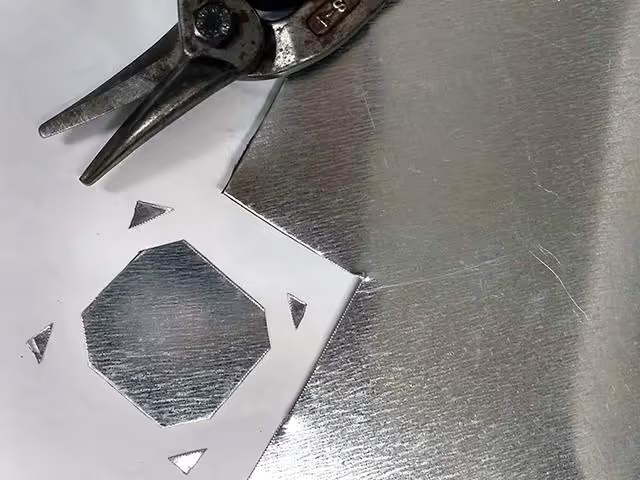
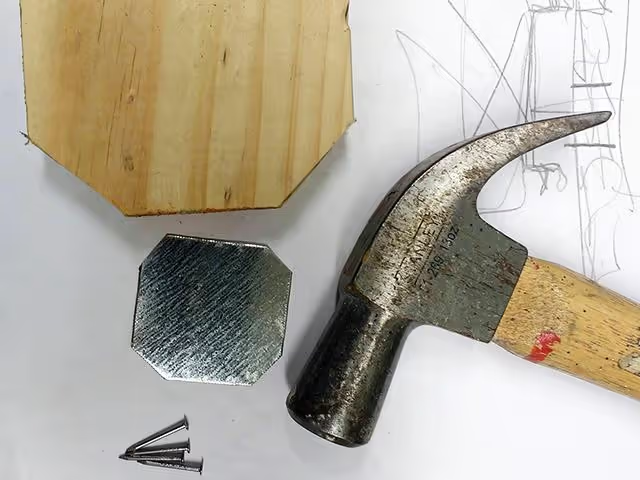
Take part no. 5 and trim its corners tangent to a 3-inch (7.6 cm) circle, matching the diameter of part no. 2. Refer to drawings on page 10.
Cutting and Safety Prep:
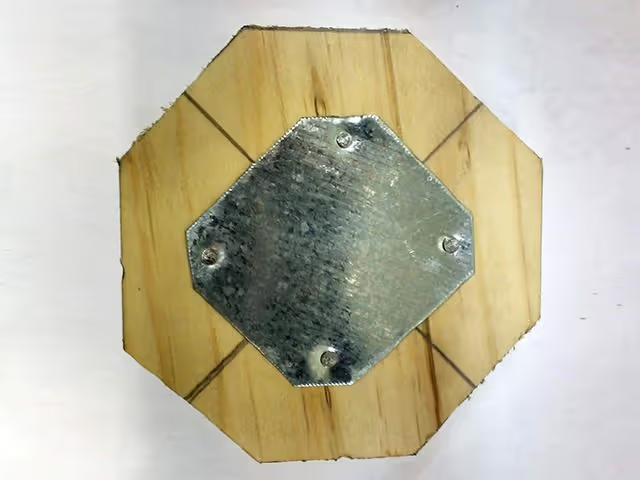
Assembly:
(Refer to drawings on pages 11-12 for guidance)
Drill a ⅛" (3.175 mm) hole in the center of parts no. 5 and 6. Insert a screw to thread the wood. (Refer to drawings on pages 10-12)
Your Wall Peg mold is complete. Insert a new screw into the wooden mold base before each injection to prevent filling the hole with plastic. If it happens, simply drill it out.
To open the mold, remove the bolts, cut the plastic at the entrance, and separate the mold parts. Unscrew the peg from the wooden section to retrieve your peg.
Allow time for cooling due to the plug's volume and ensure the soft screw is positioned correctly to avoid tilting.
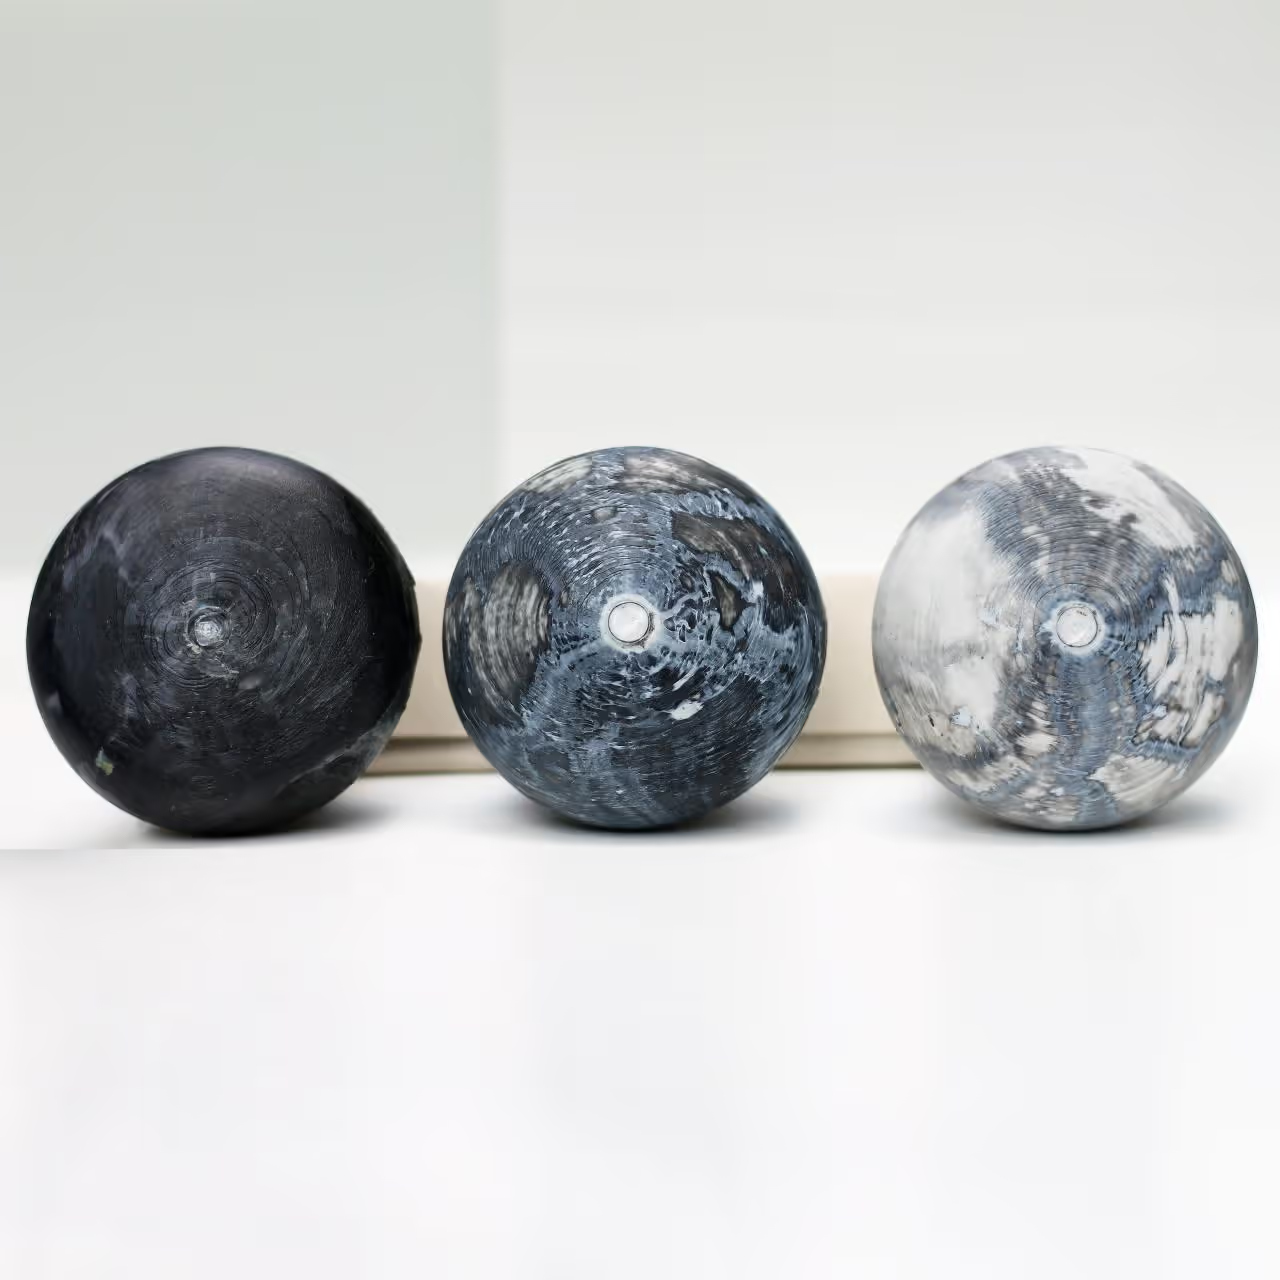
The mold accommodates all types of plastic and allows smooth injection.
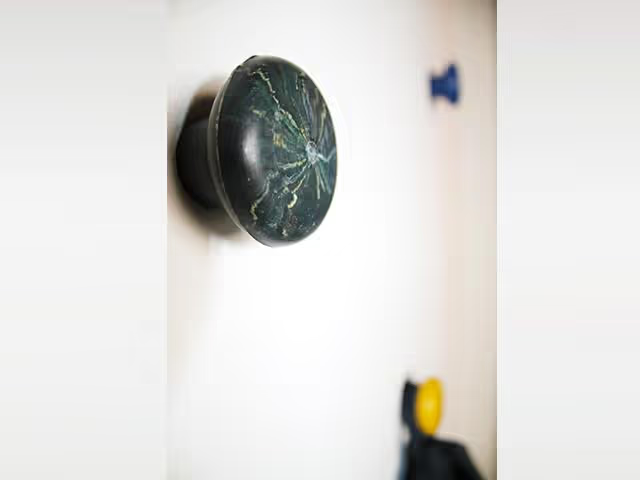
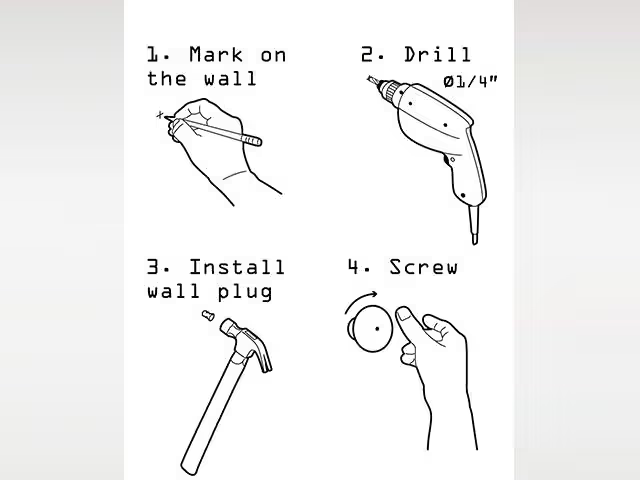
To install the peg on the wall, drill a hole and secure it with a wall plug.