Waist bag from Plastic Bags

LDPE
OTHER MACHINE
HDPE
PRODUCT
This guide provides a step-by-step process for making a fashionable waist bag by fusing plastic bags and incorporating some sewing techniques.
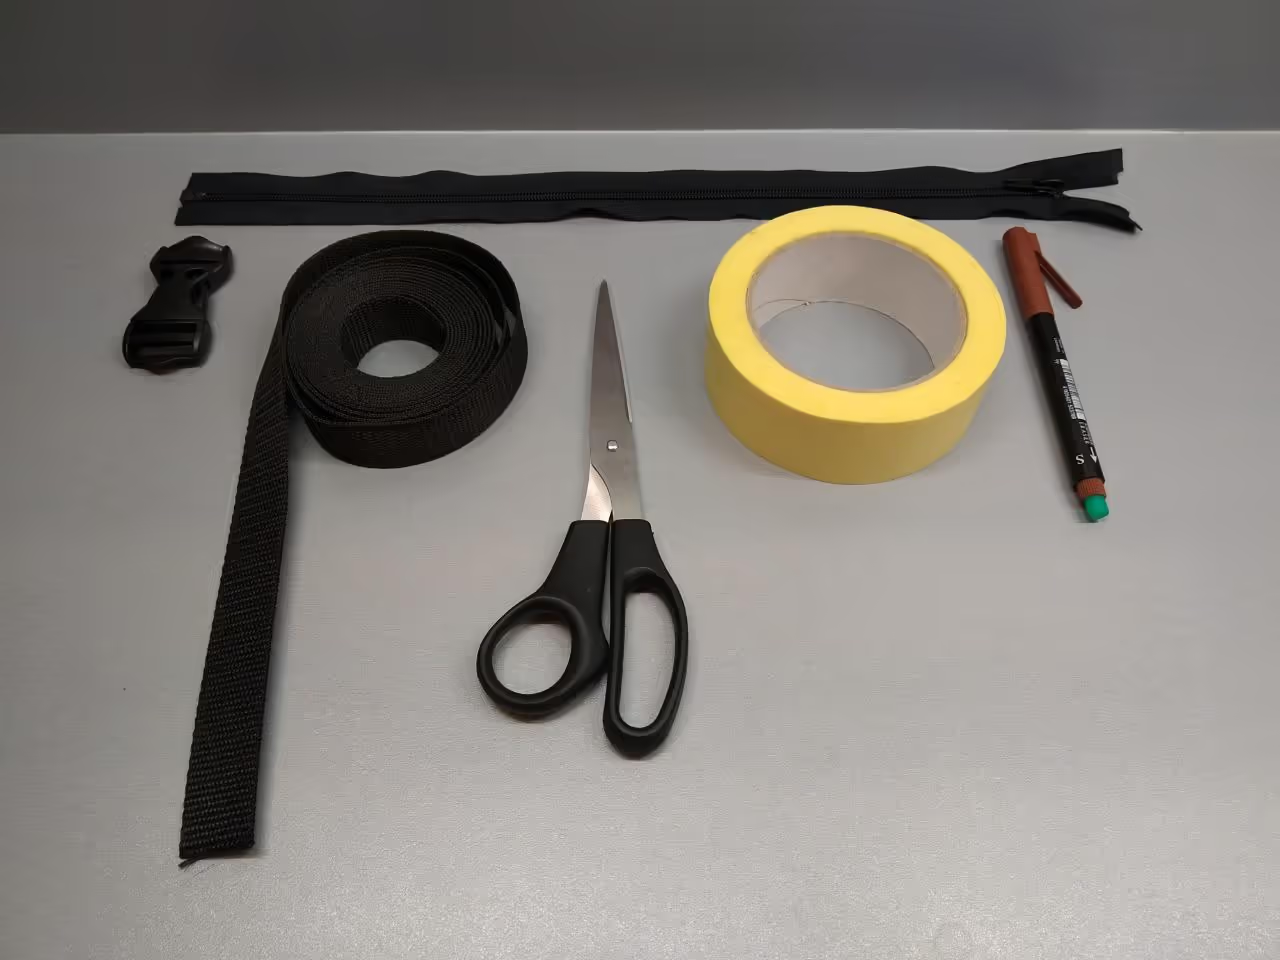
Materials:
Tools:
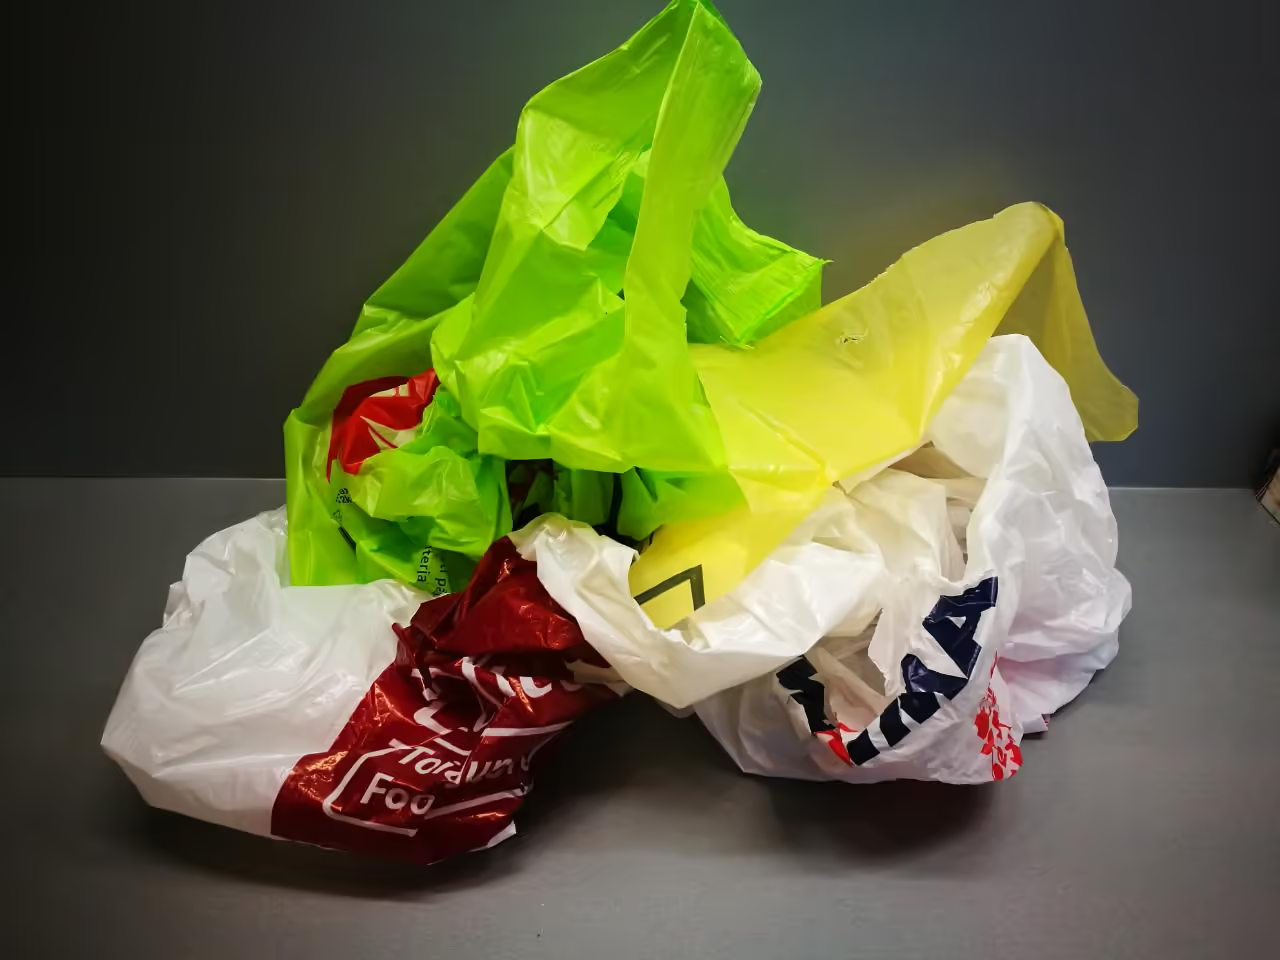
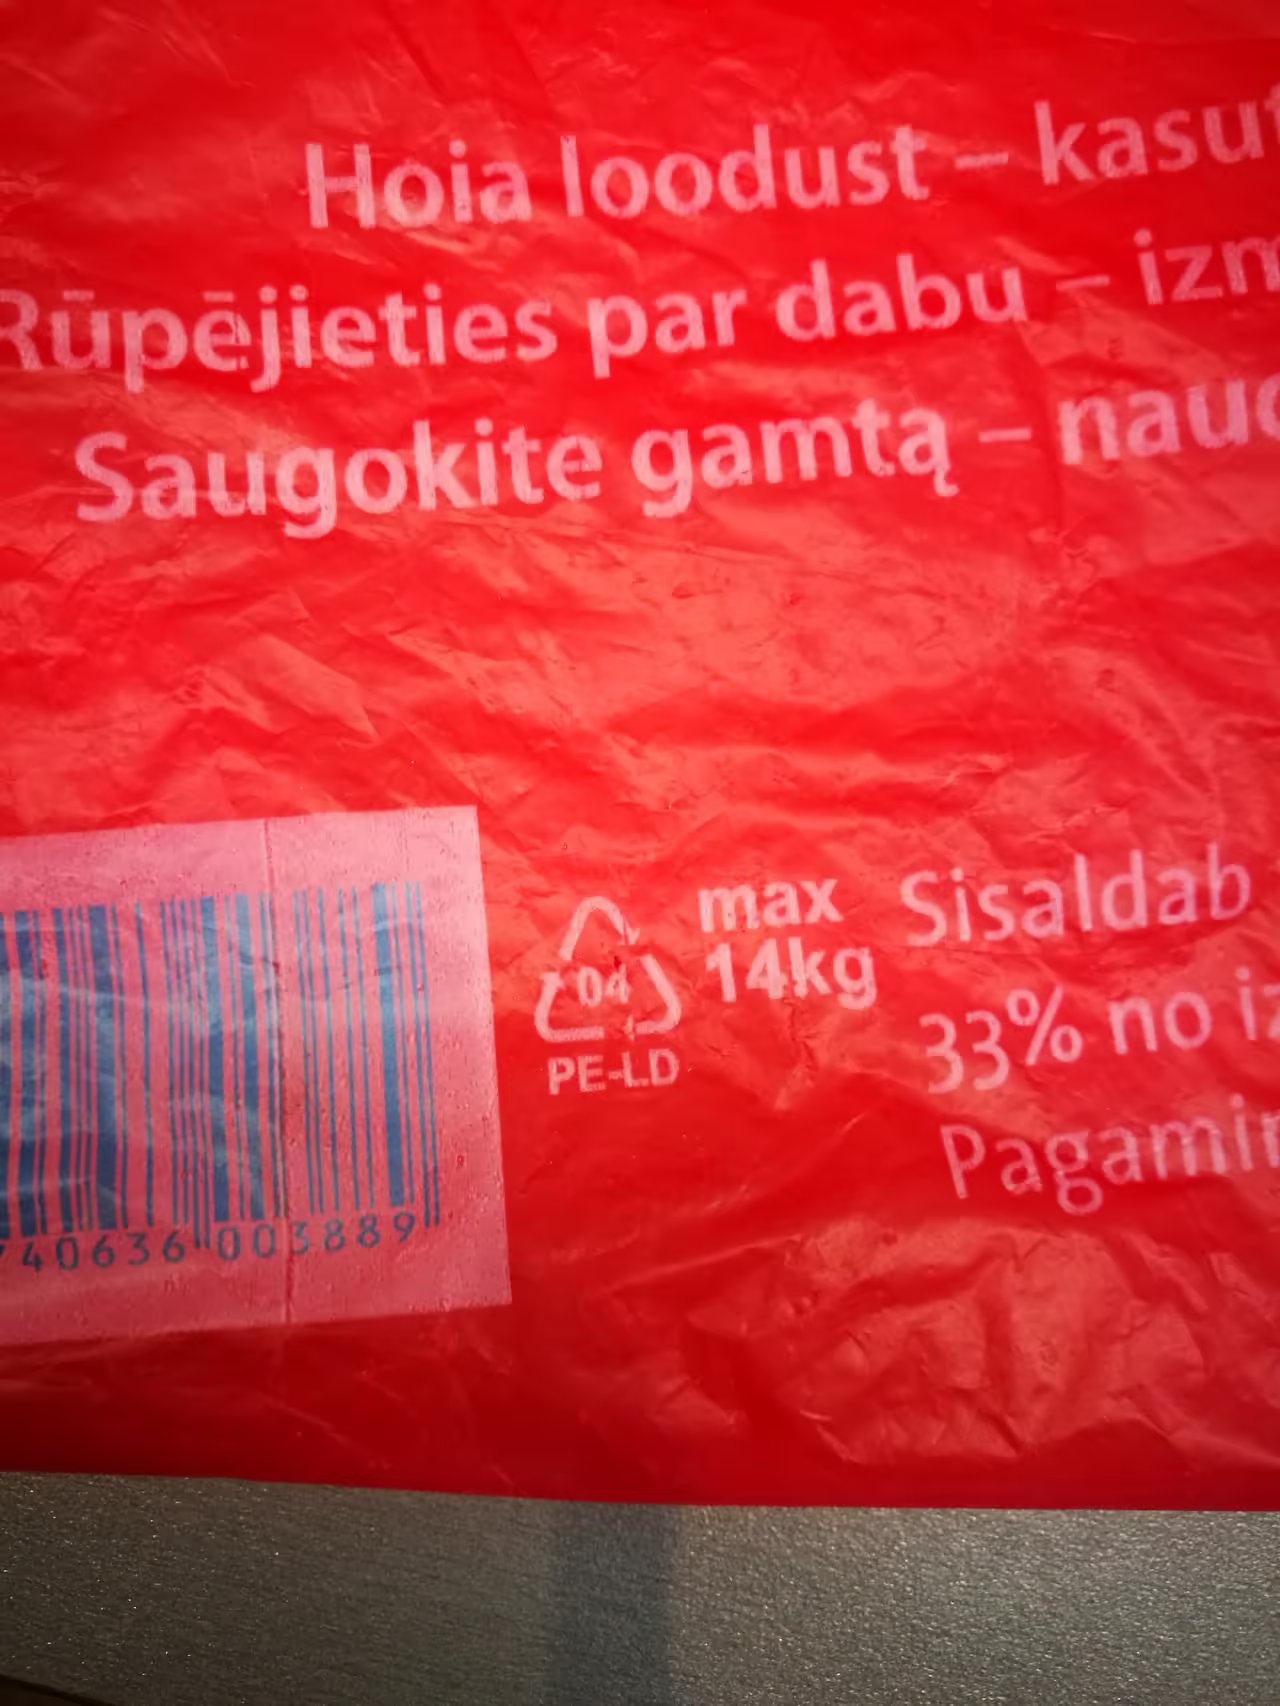
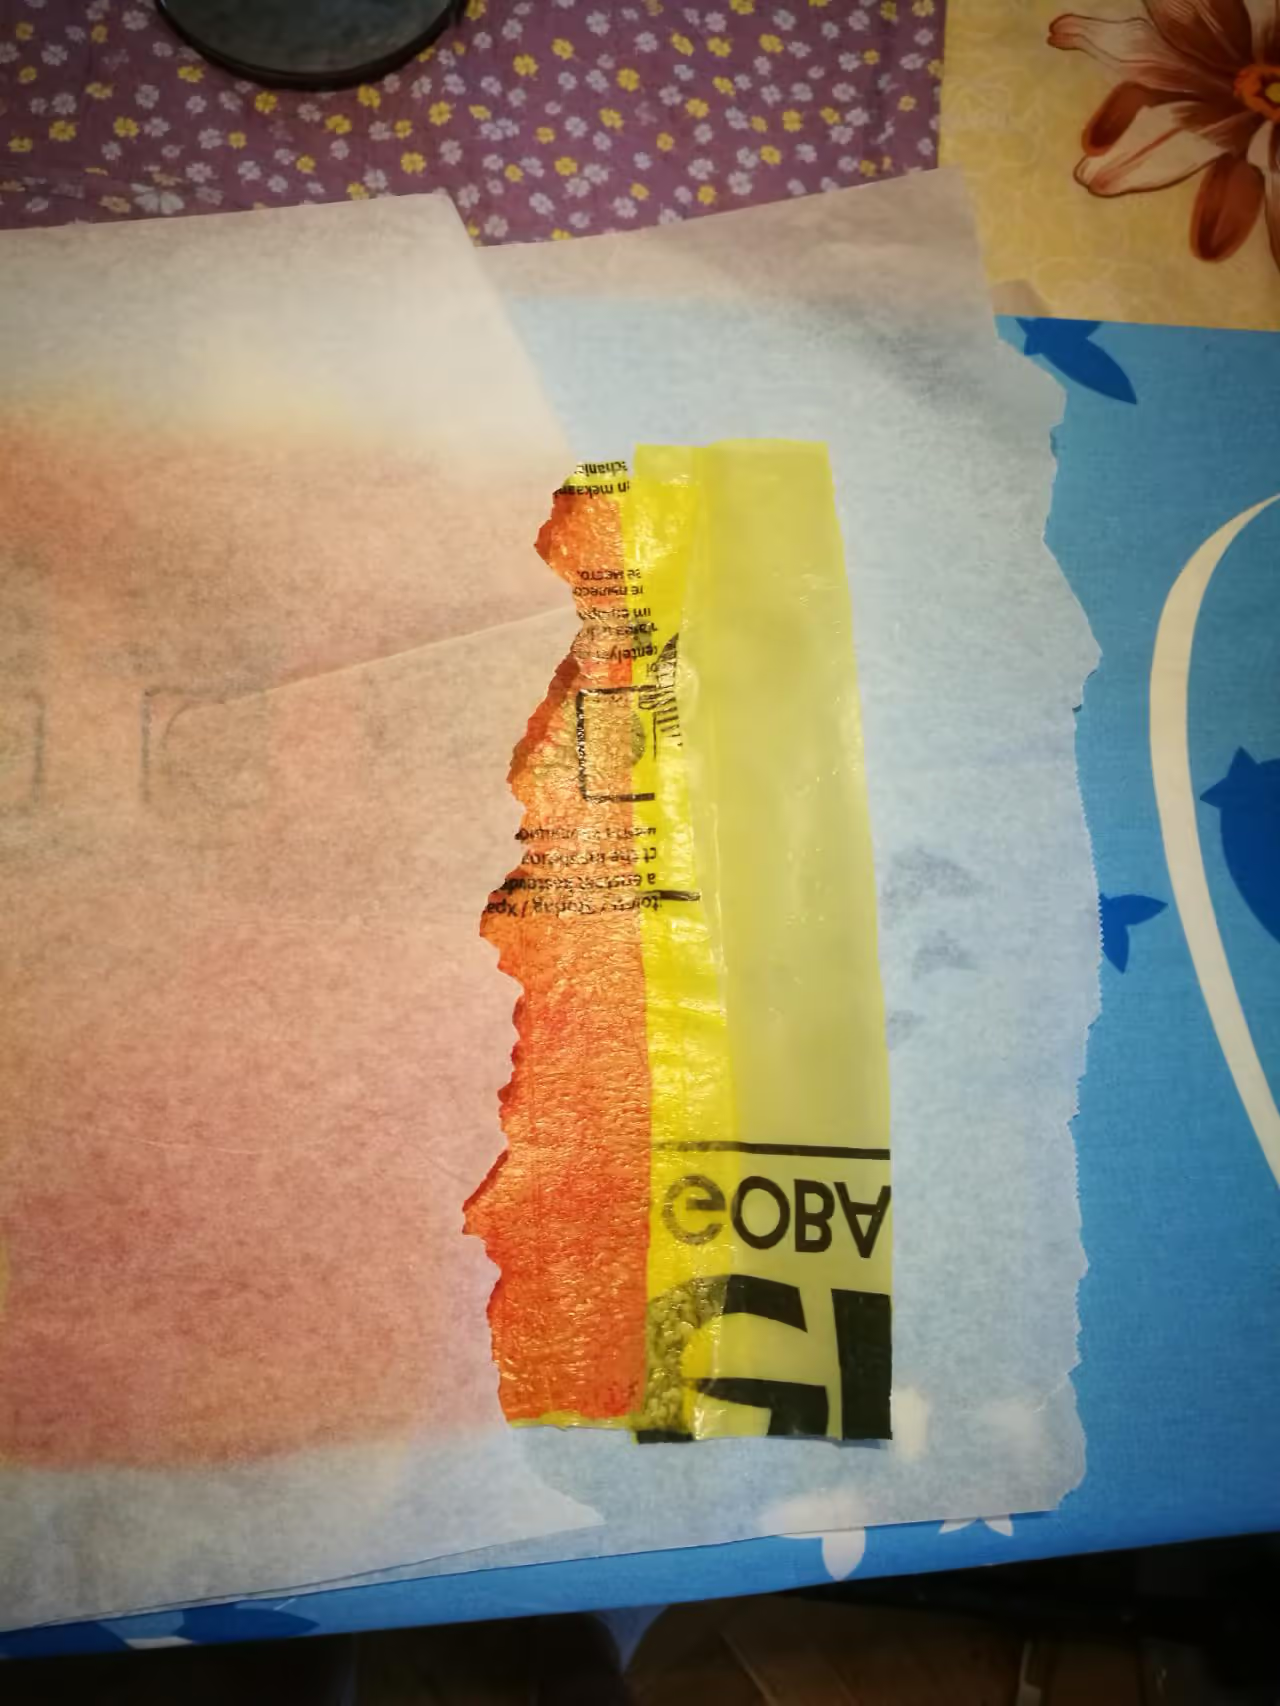
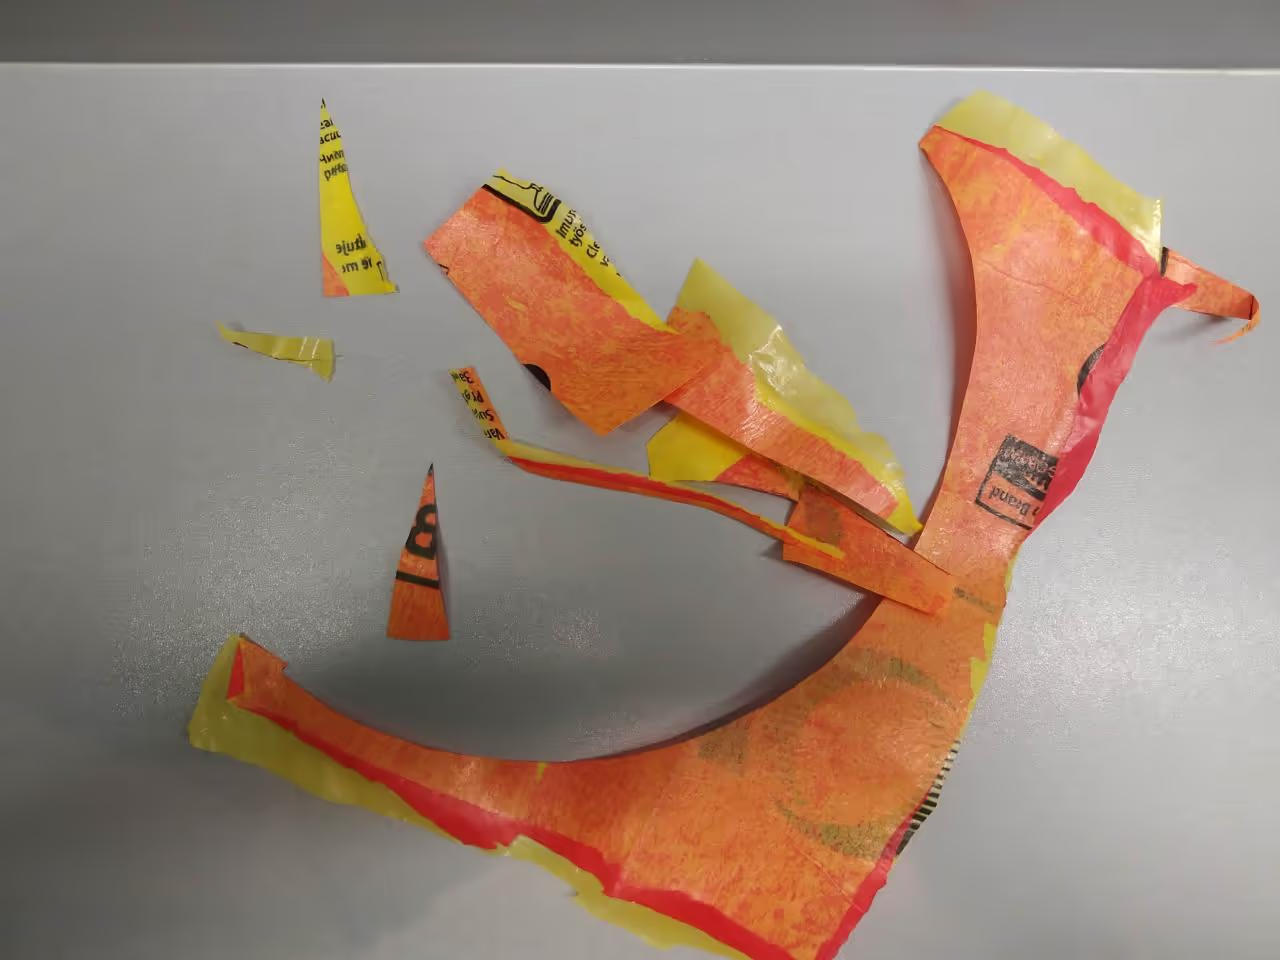
Begin by selecting plastic bags of the same type, as mixing different materials can be counterproductive. Look for the plastic type symbol, a number within a triangular recycle symbol, usually found at the bottom of bags. Although bags may appear similar, they may differ in type, necessitating careful sorting.
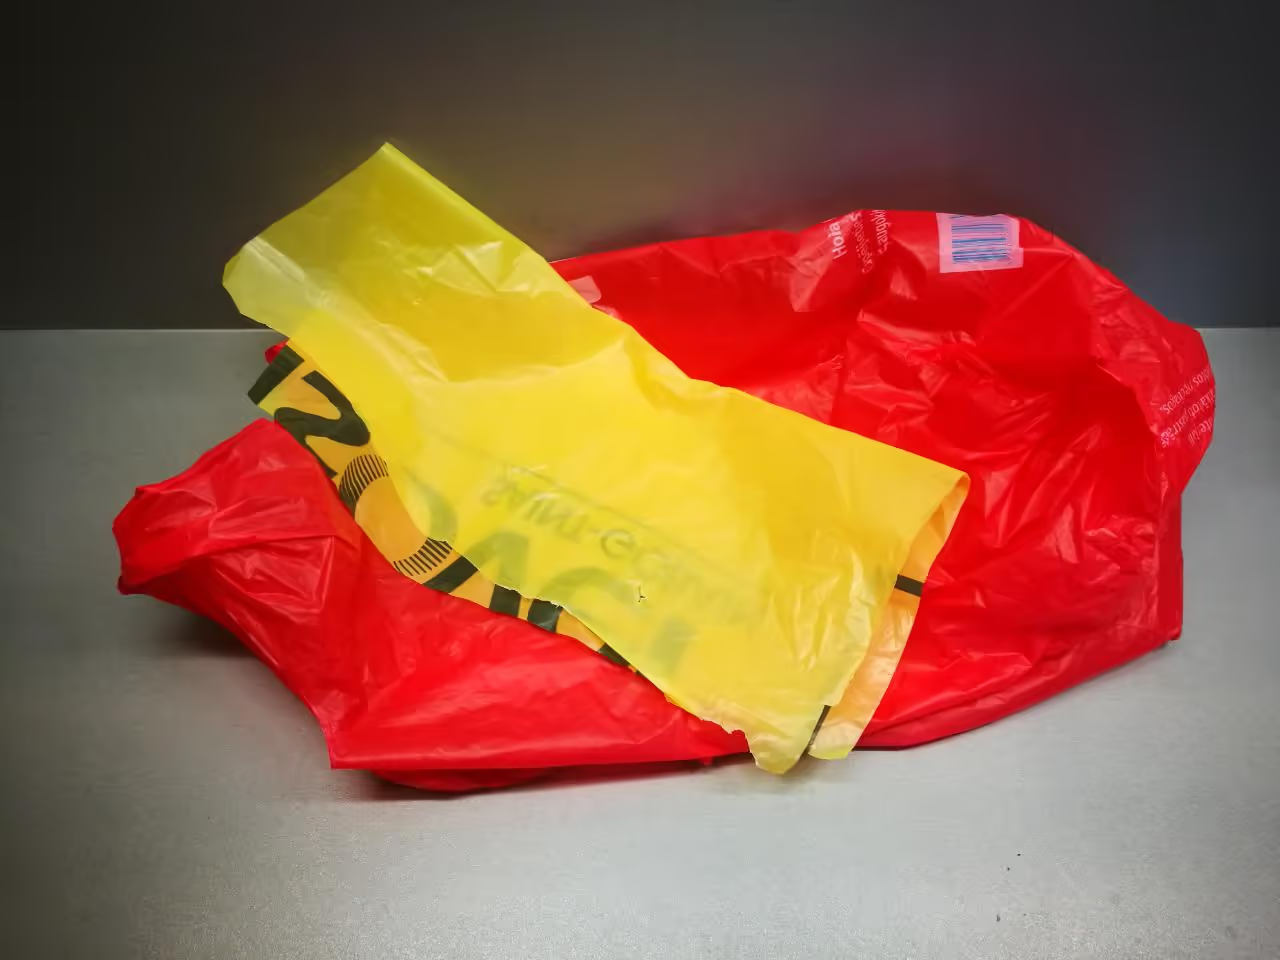
This project requires LDPE (Low-Density Polyethylene), identified by the number 4. We will use red and yellow bags for this purpose, as illustrated in the photos.
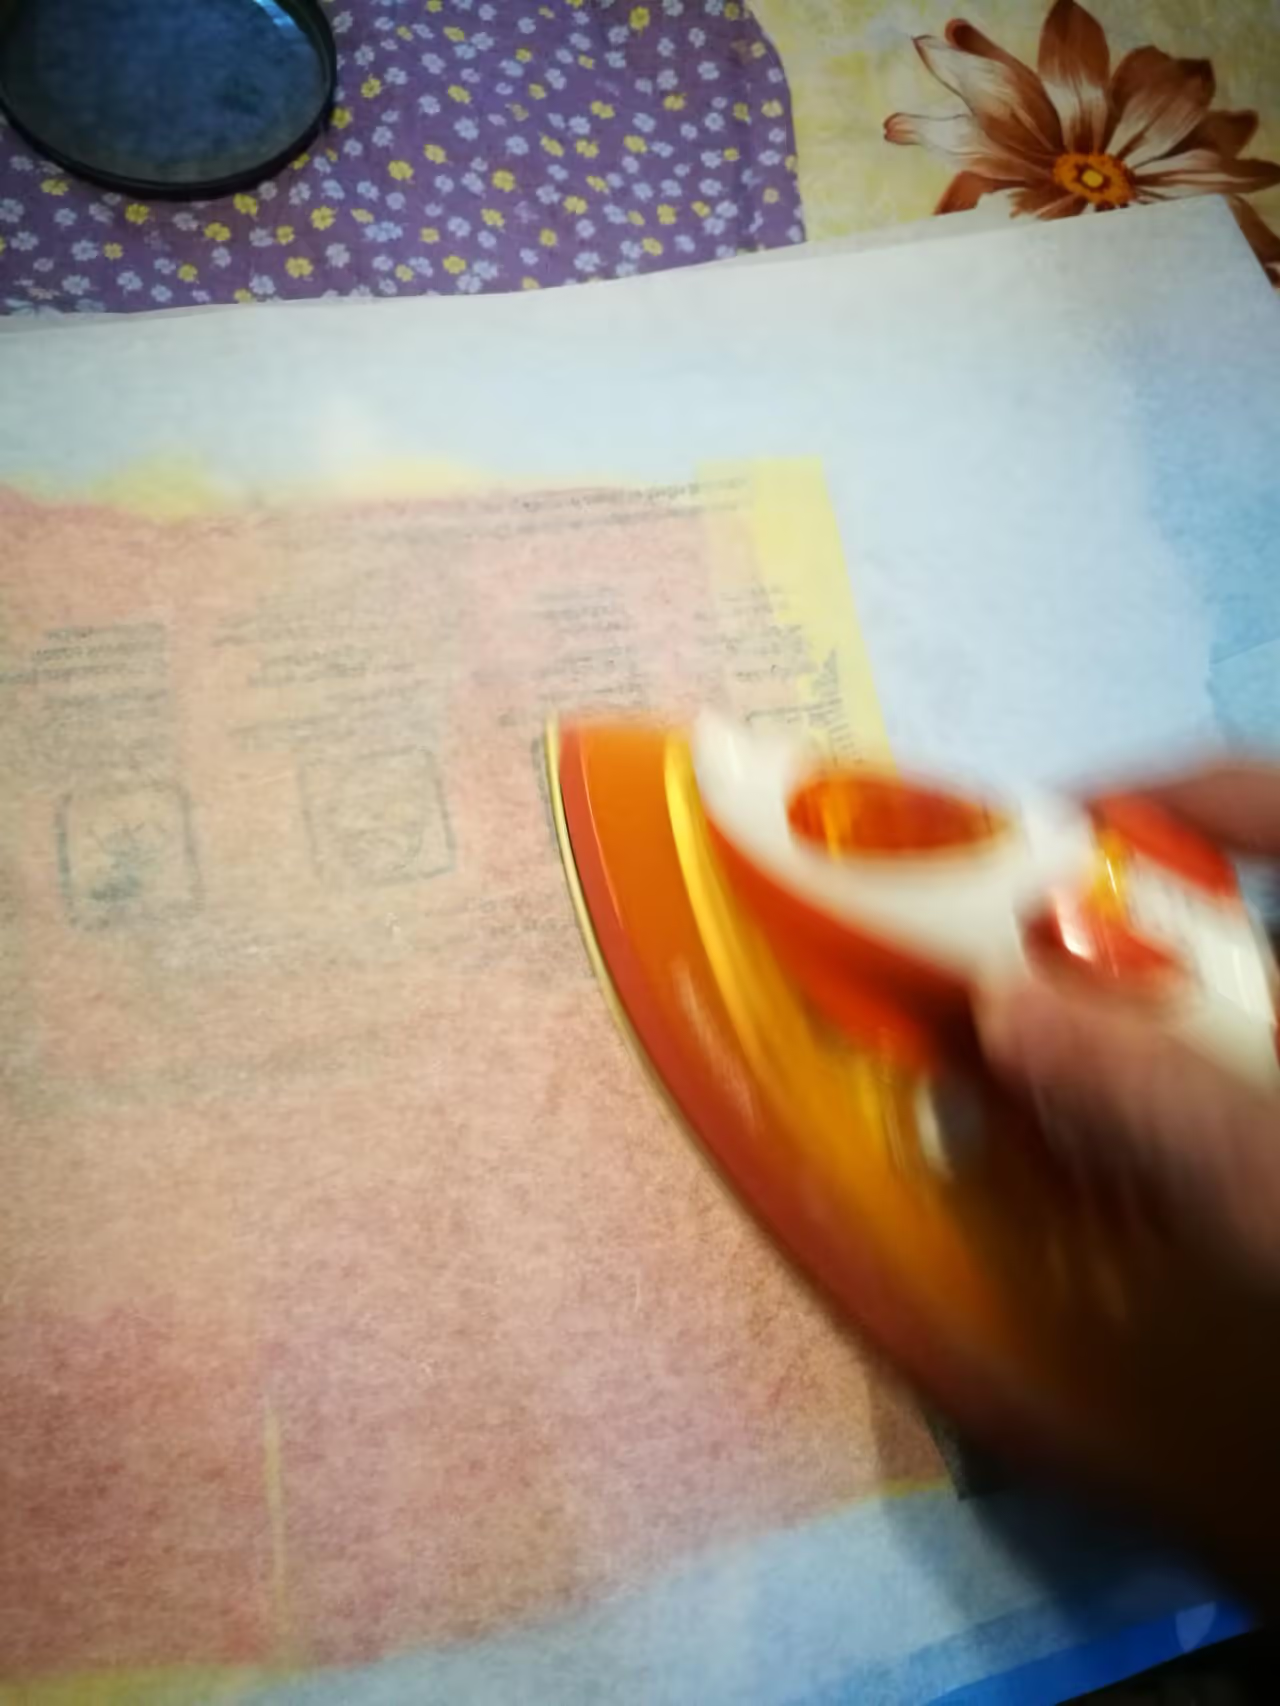
To prepare the material, fuse plastic bag layers using a household iron. This process can be conducted safely at home.
Setup: Place baking paper on an ironing board. Lay two layers of plastic bags on top, followed by another layer of baking paper. Ensure plastic does not extend beyond the paper to prevent melting onto the board or iron.
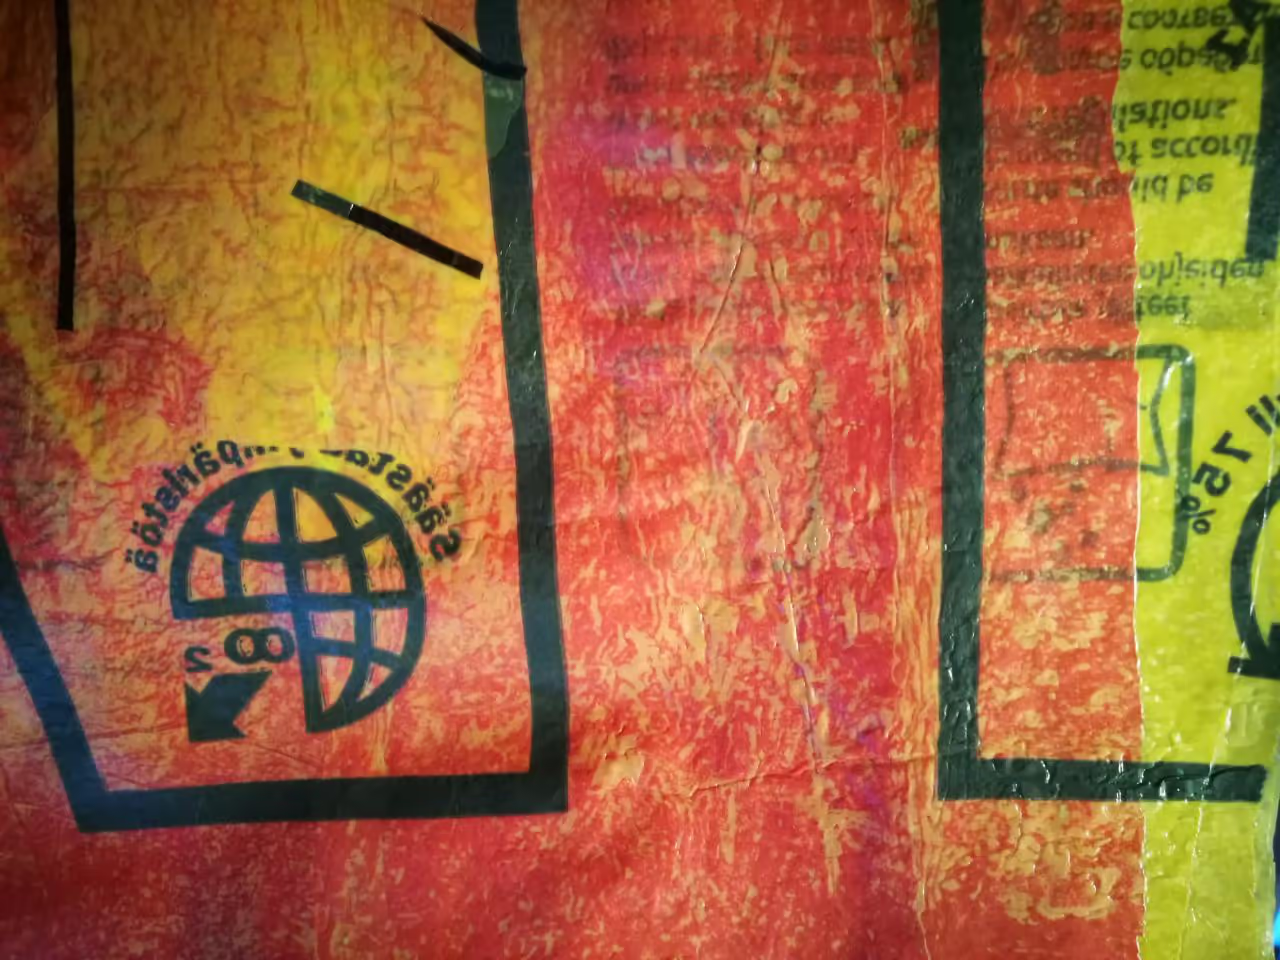
Ironing: Set the iron temperature between COTTON and LINEN. Continuously move the iron to avoid overheating. Iron until the plastic is fully fused. Apply pressure for a flatter surface. Repeat until achieving 3-4 layers for durability.
Safety: If executed correctly, no odor or fumes will be emitted. However, ensure the room is well-ventilated.
With the plastic material ready, proceed as follows to create the parts:
Prepare Template: Use the outlined PDF or draw by hand. Ensure all dimensions are in millimeters (mm) or inches (in) as required.
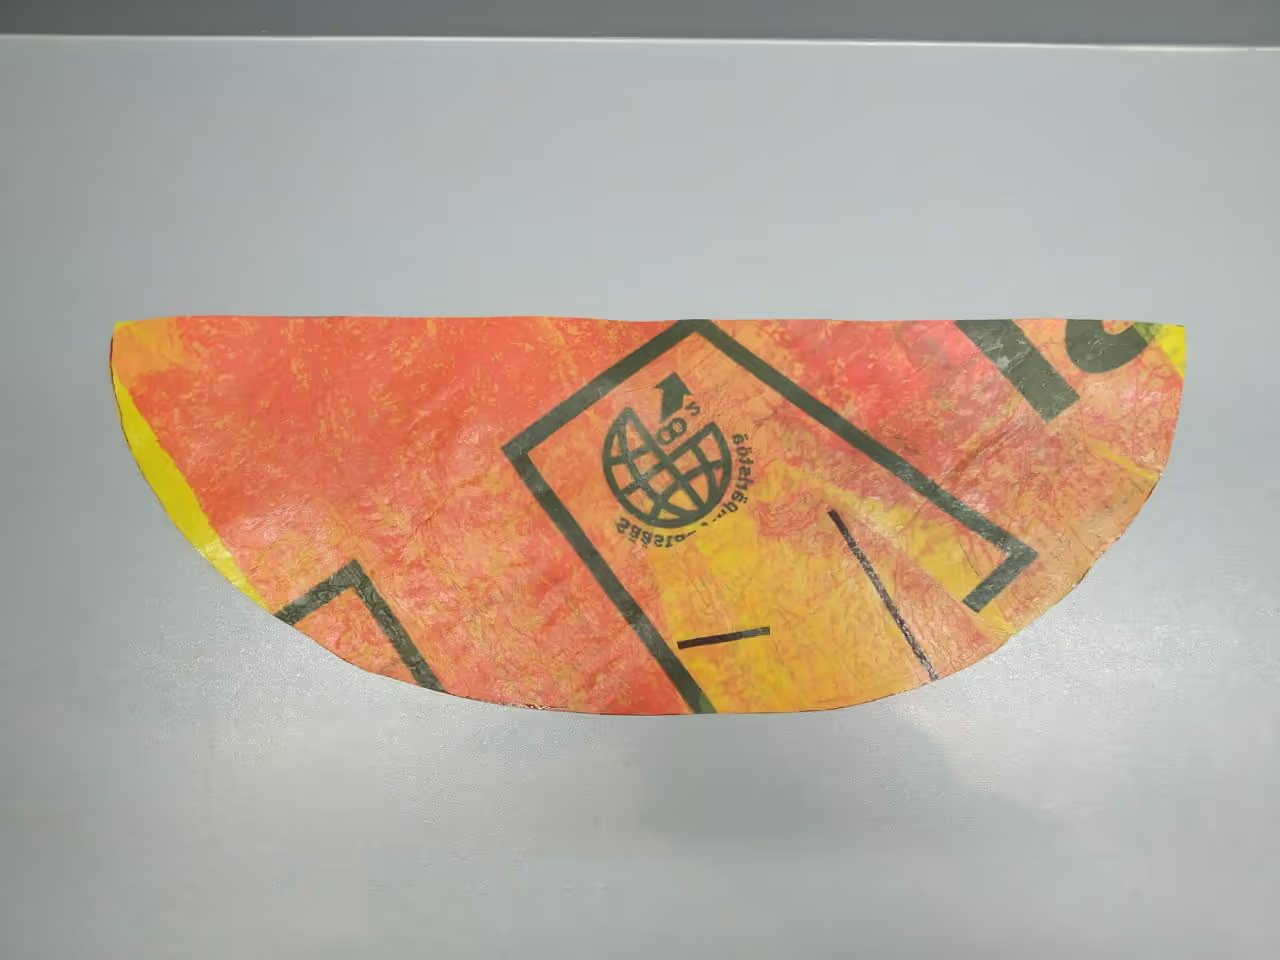
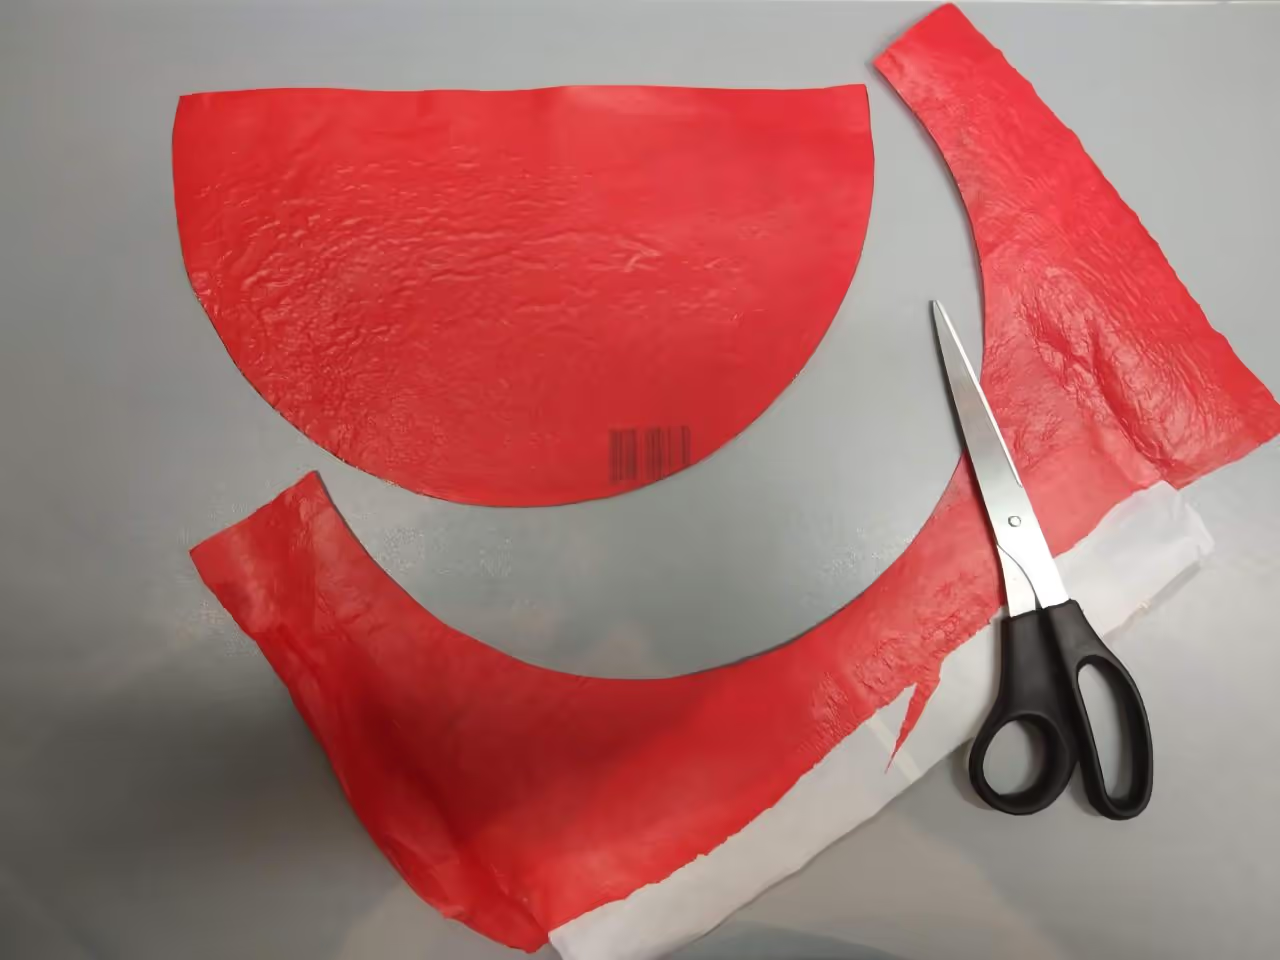
Template Application: Cut out the paper template and trace it onto the plastic.
Cutting Parts: Cut the traced outline from the plastic.
Note: Step 6 can be skipped if the Top and Back parts are combined with markings instead of being cut separately.
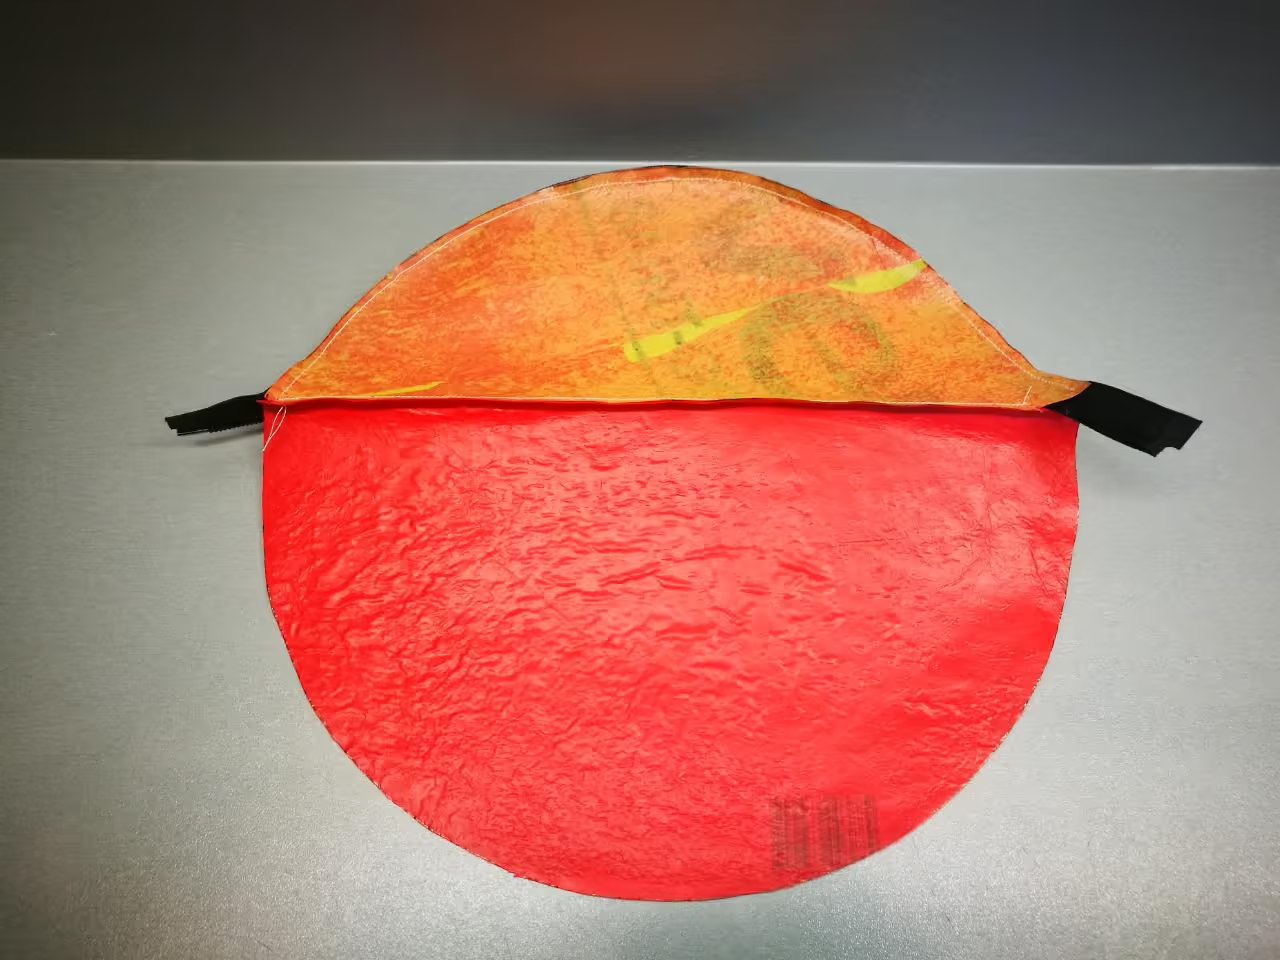
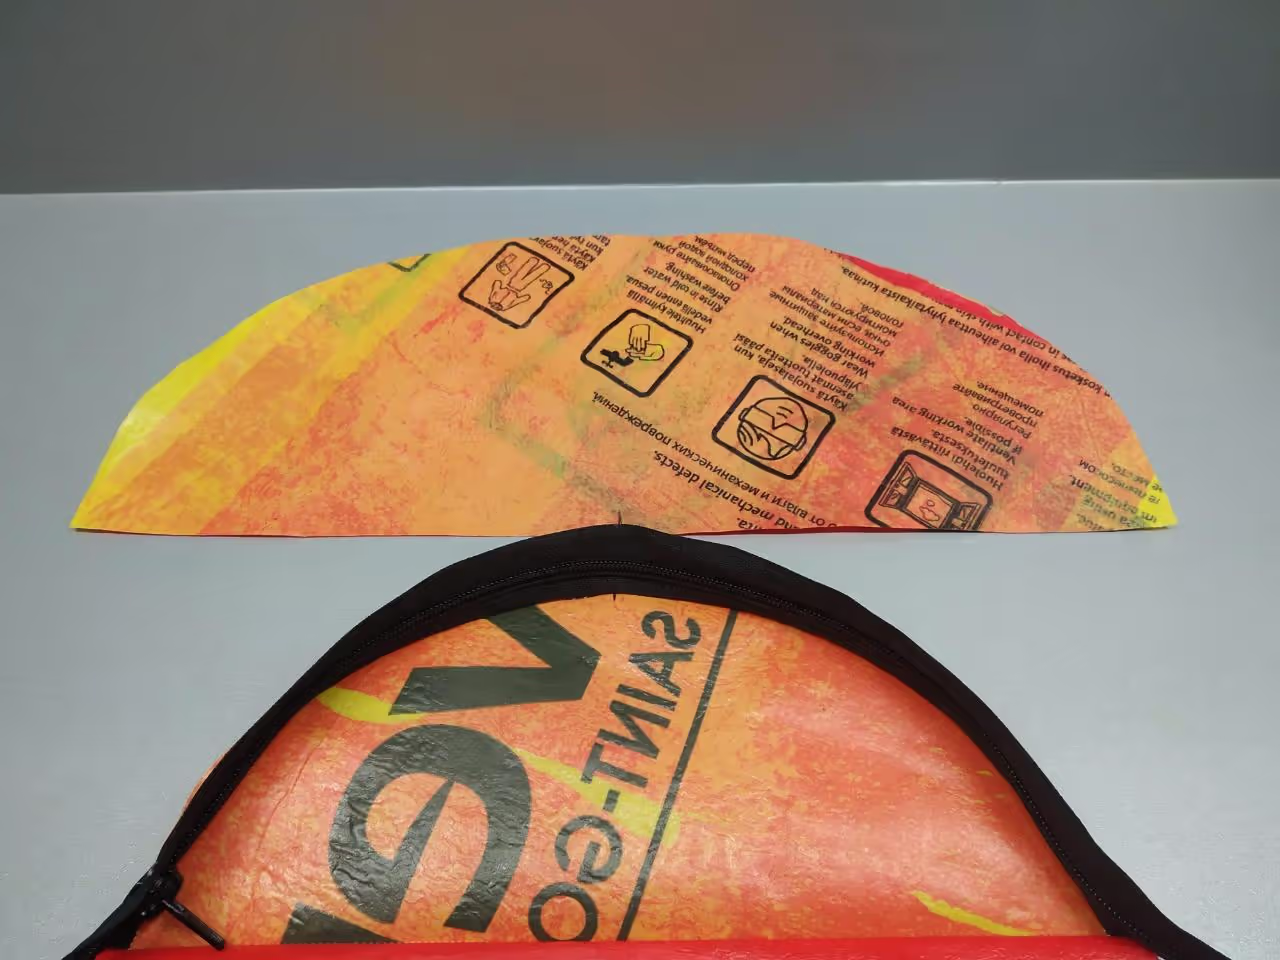
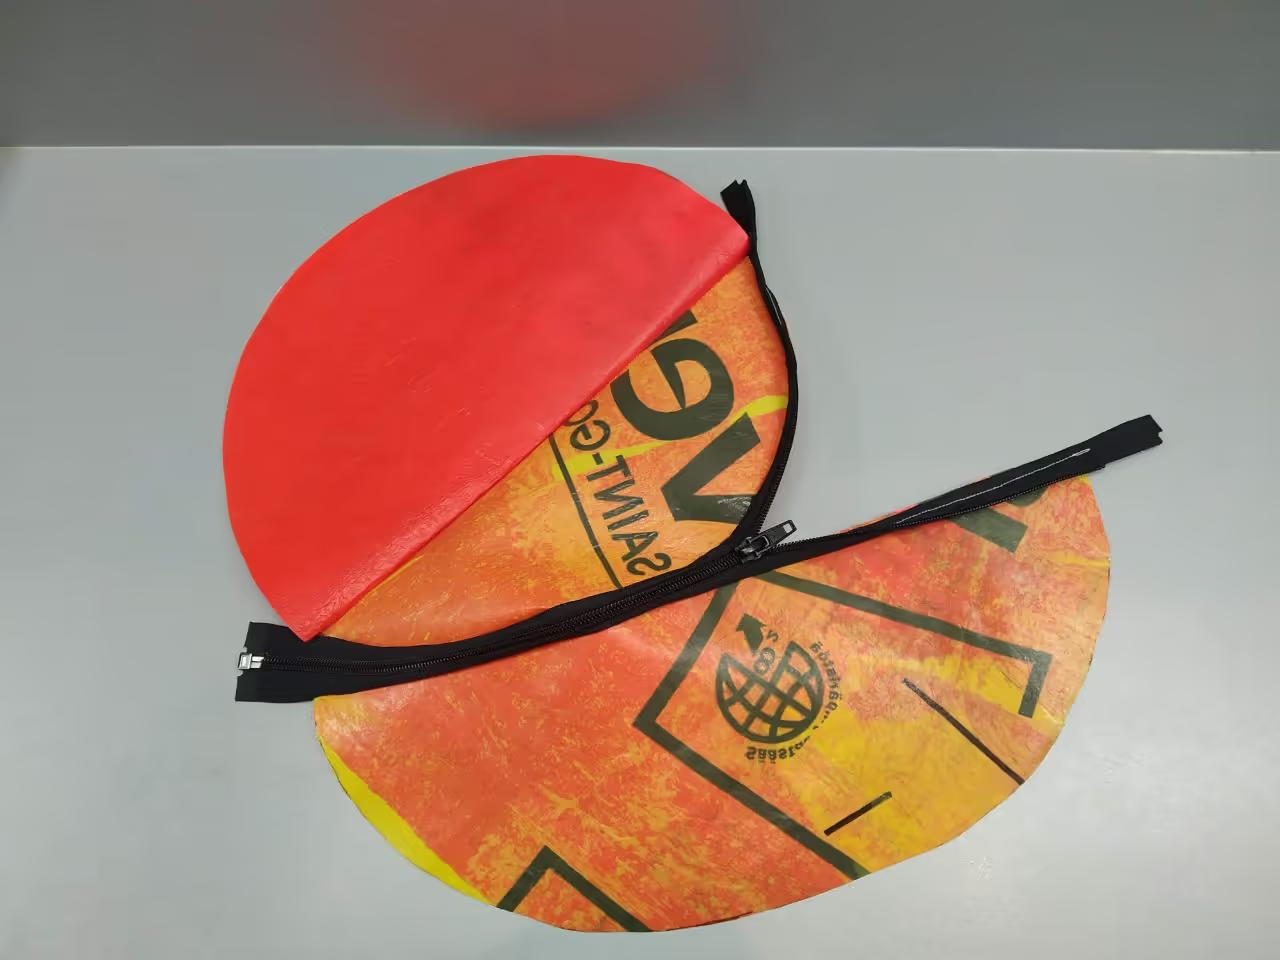
Attached Photos: In order - Front Part, Top Part, Back Part.
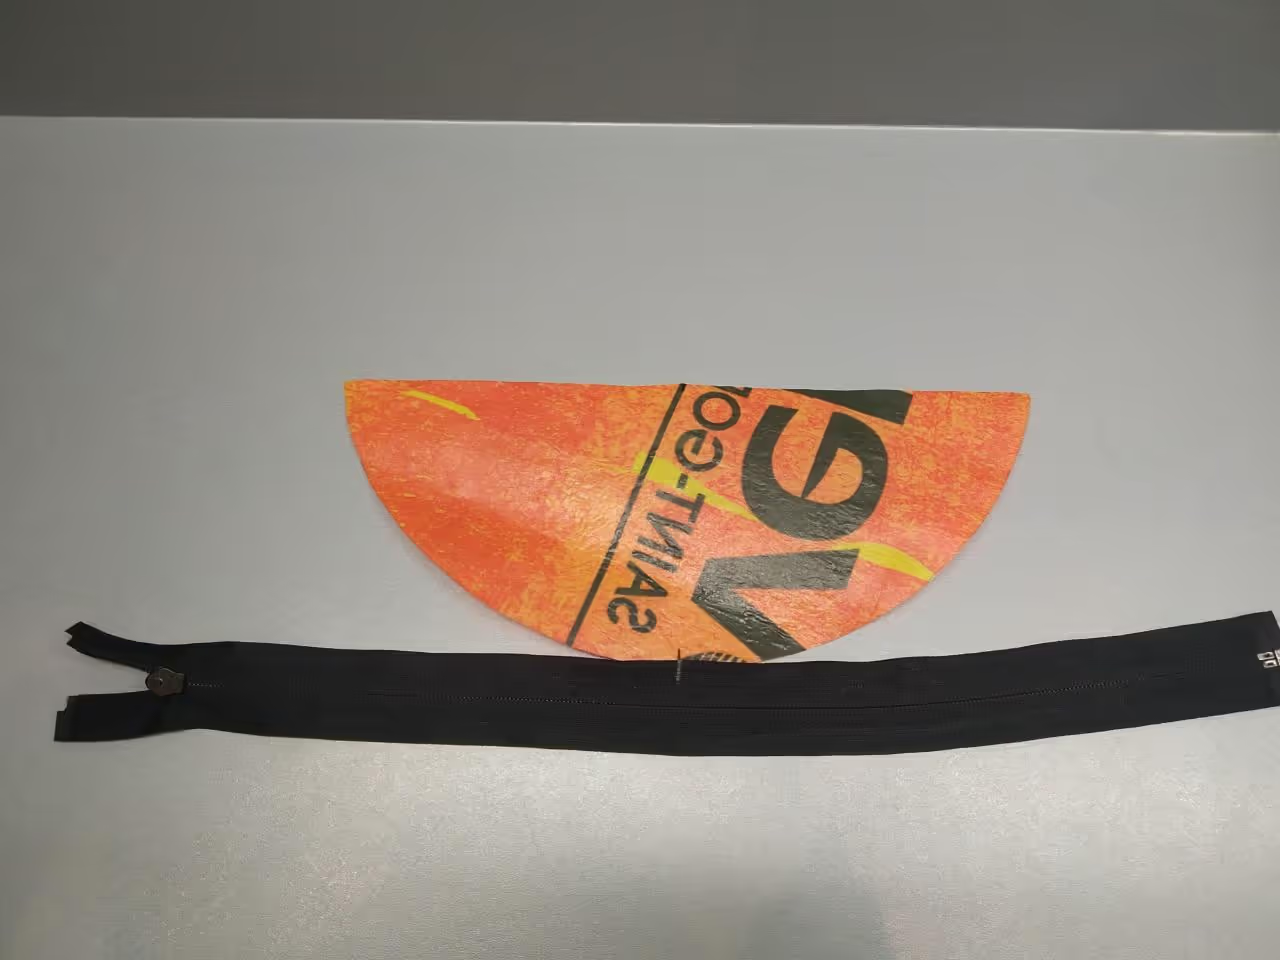
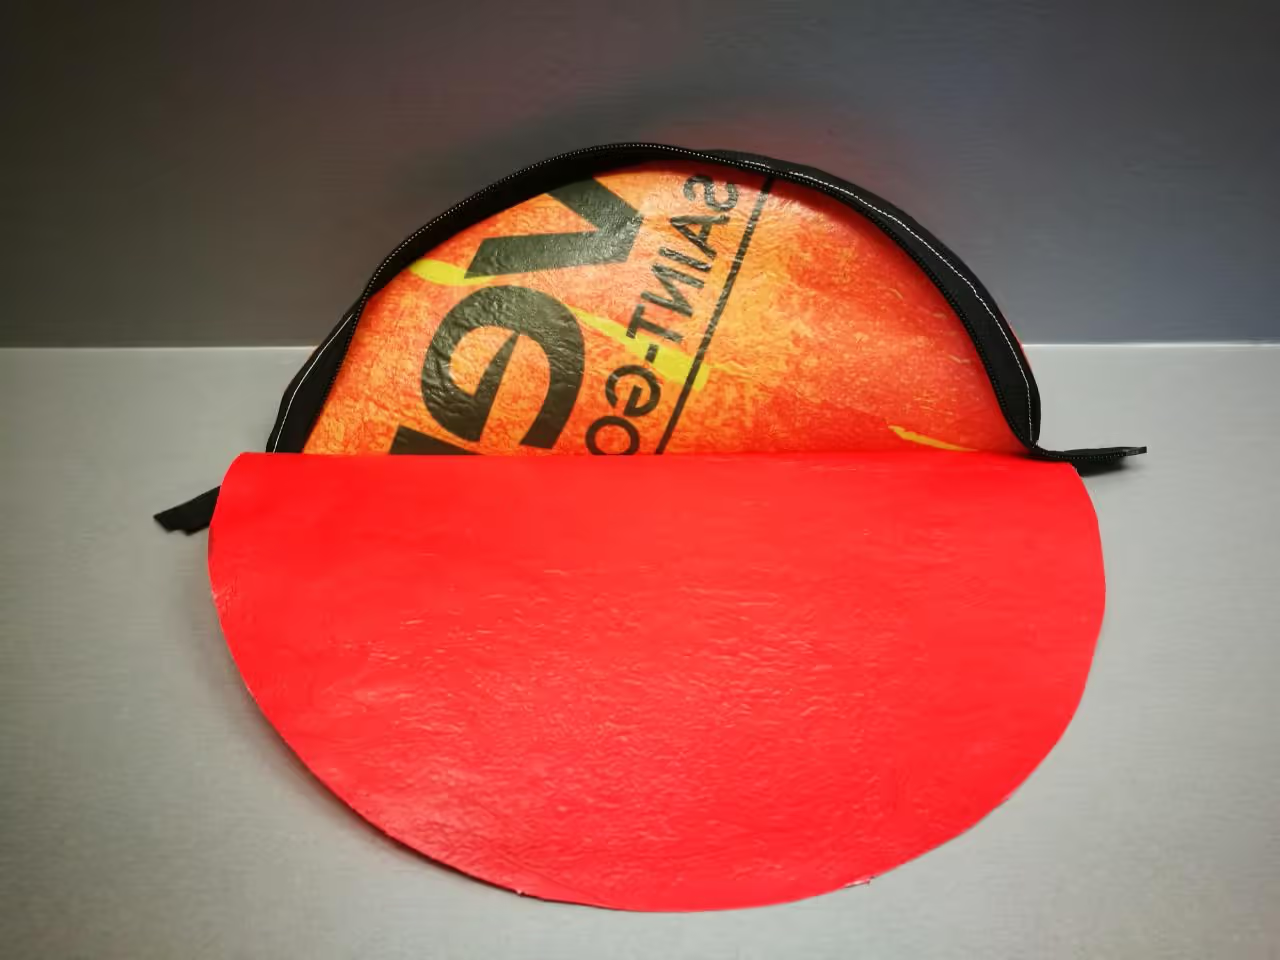
Identify the midpoint of the bag's top curve and align it with the zipper's center. Place the zipper face-to-face with the bag's exterior side and sew them together using your preferred stitch.
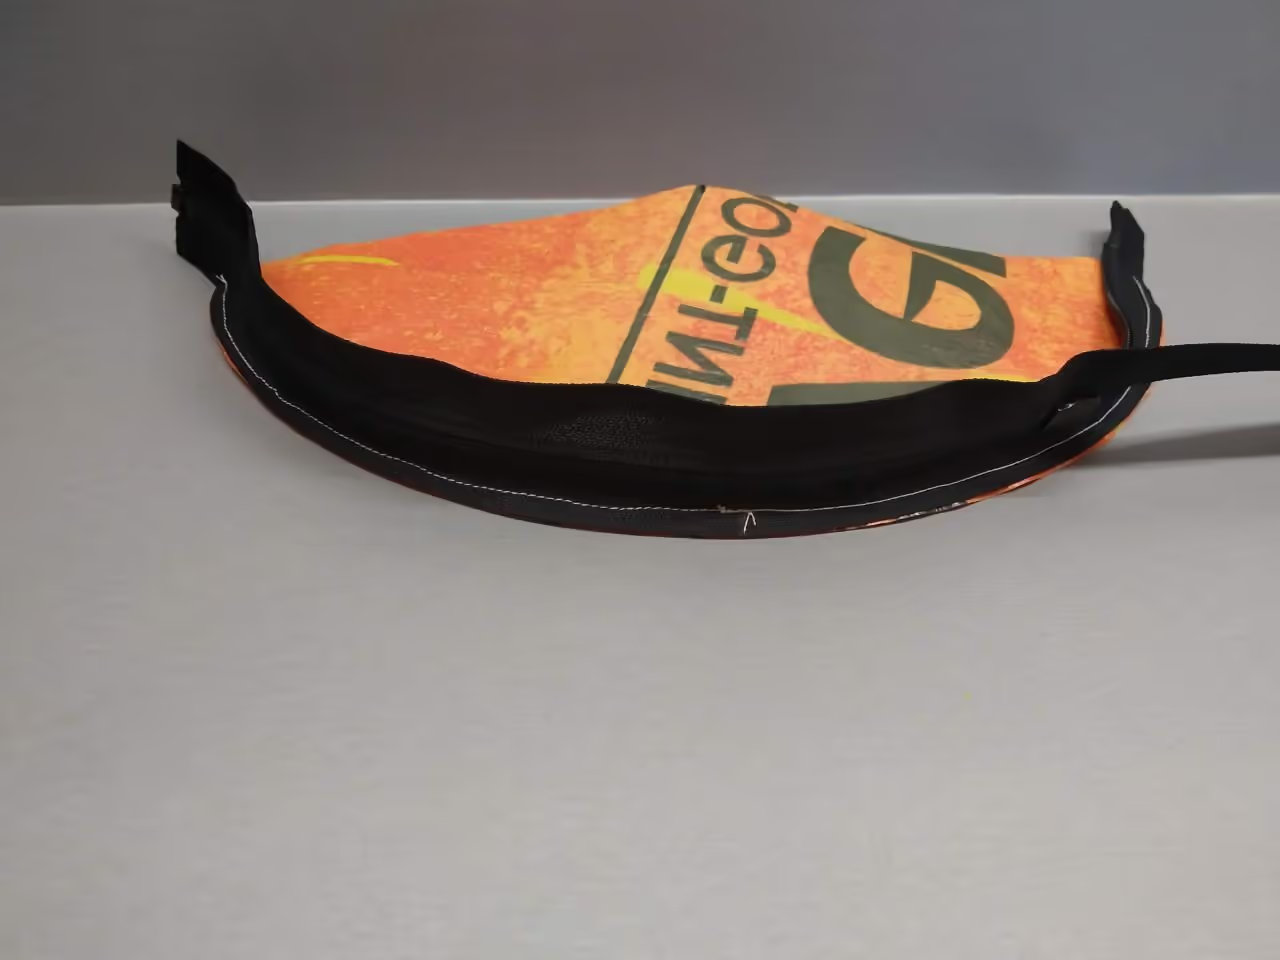
To connect the Top and Back parts, use a straight stitch. While unnecessary if pre-combined, sewing enhances the bag's shape and durability.
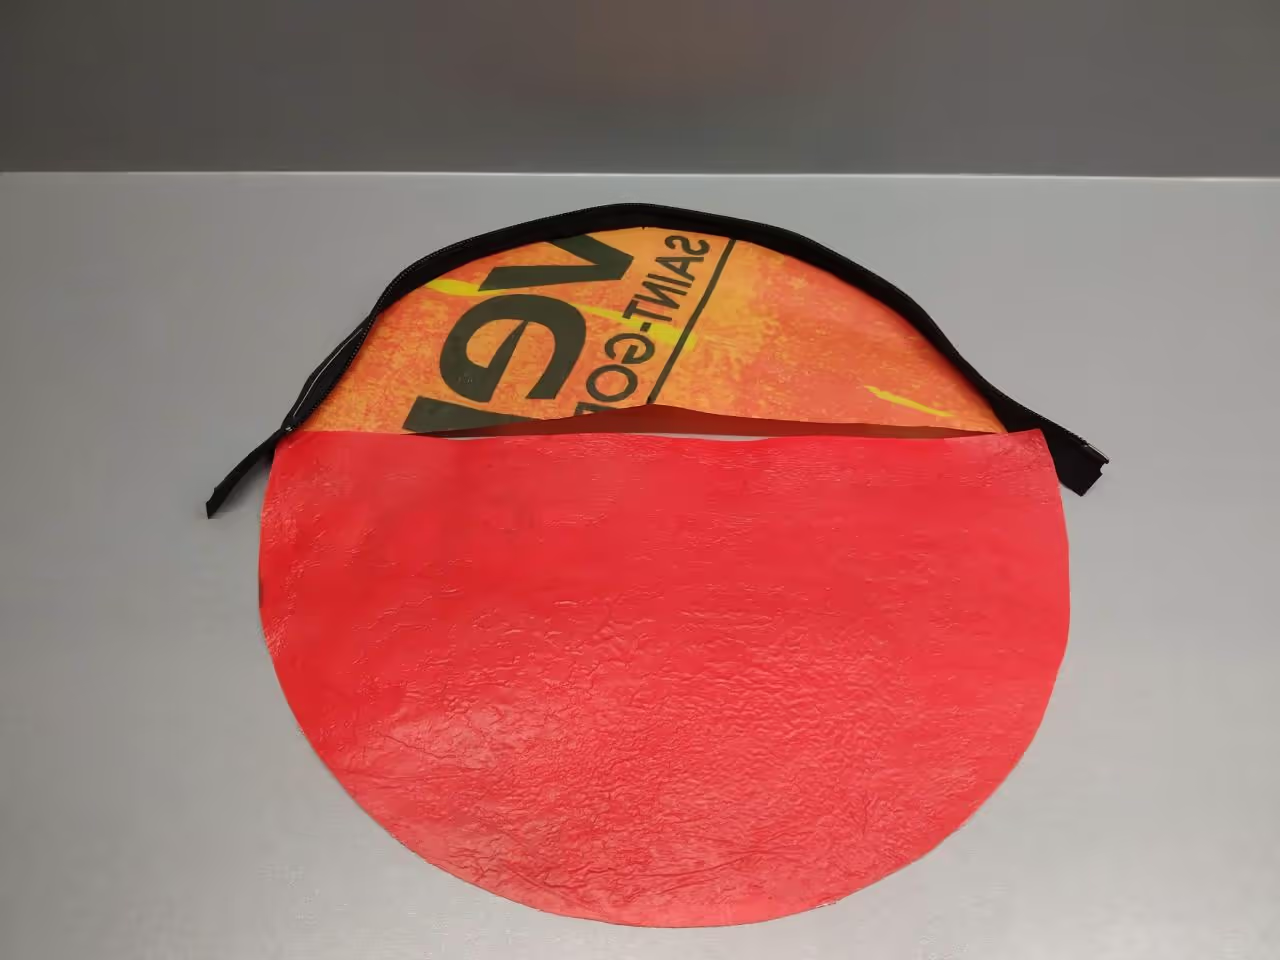
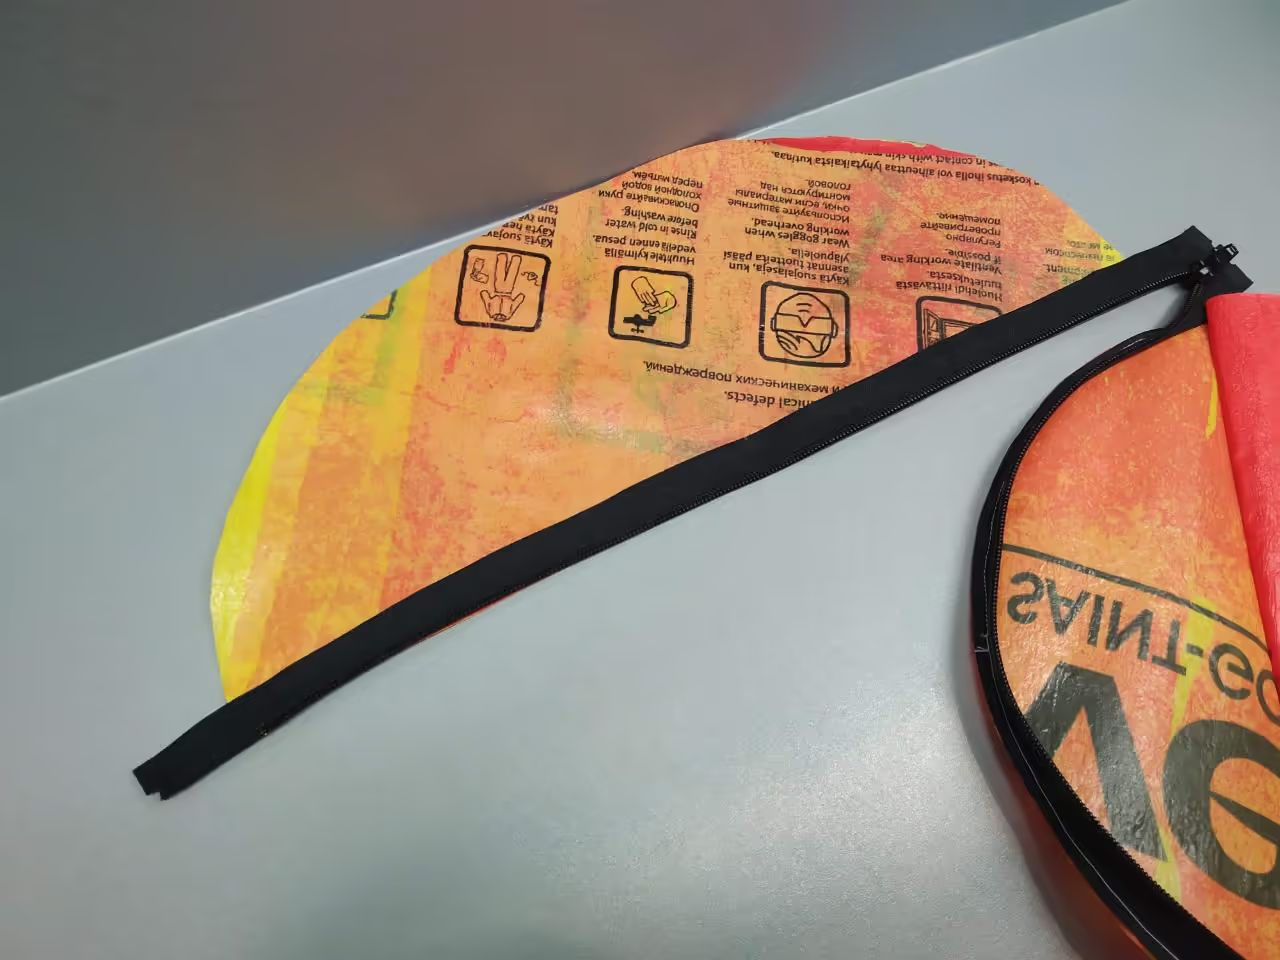
Align the center of the zipper with the marked middle of the designated front side. If the zipper is detachable, separate it to simplify sewing, then secure the parts together.
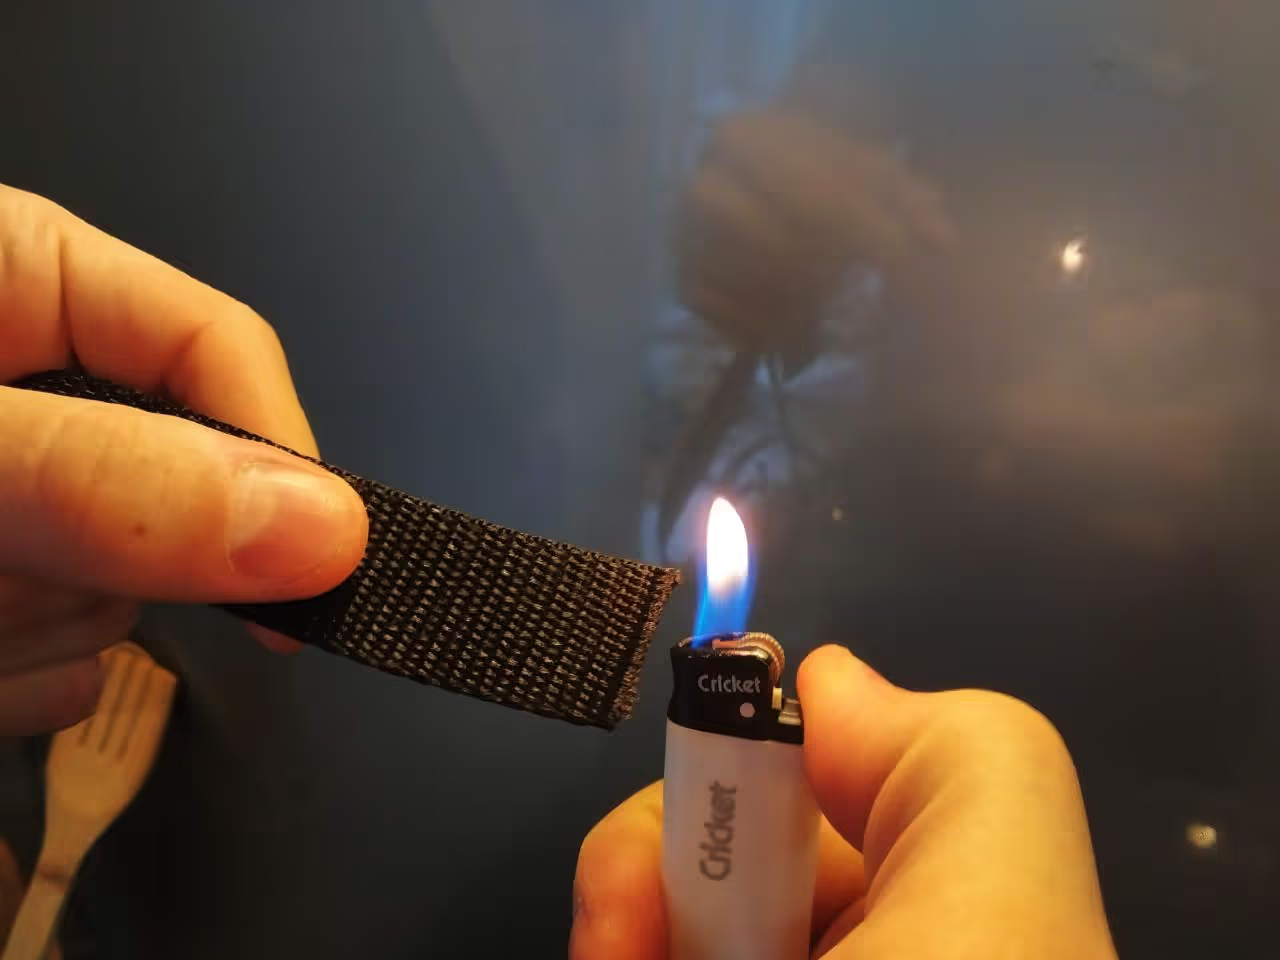
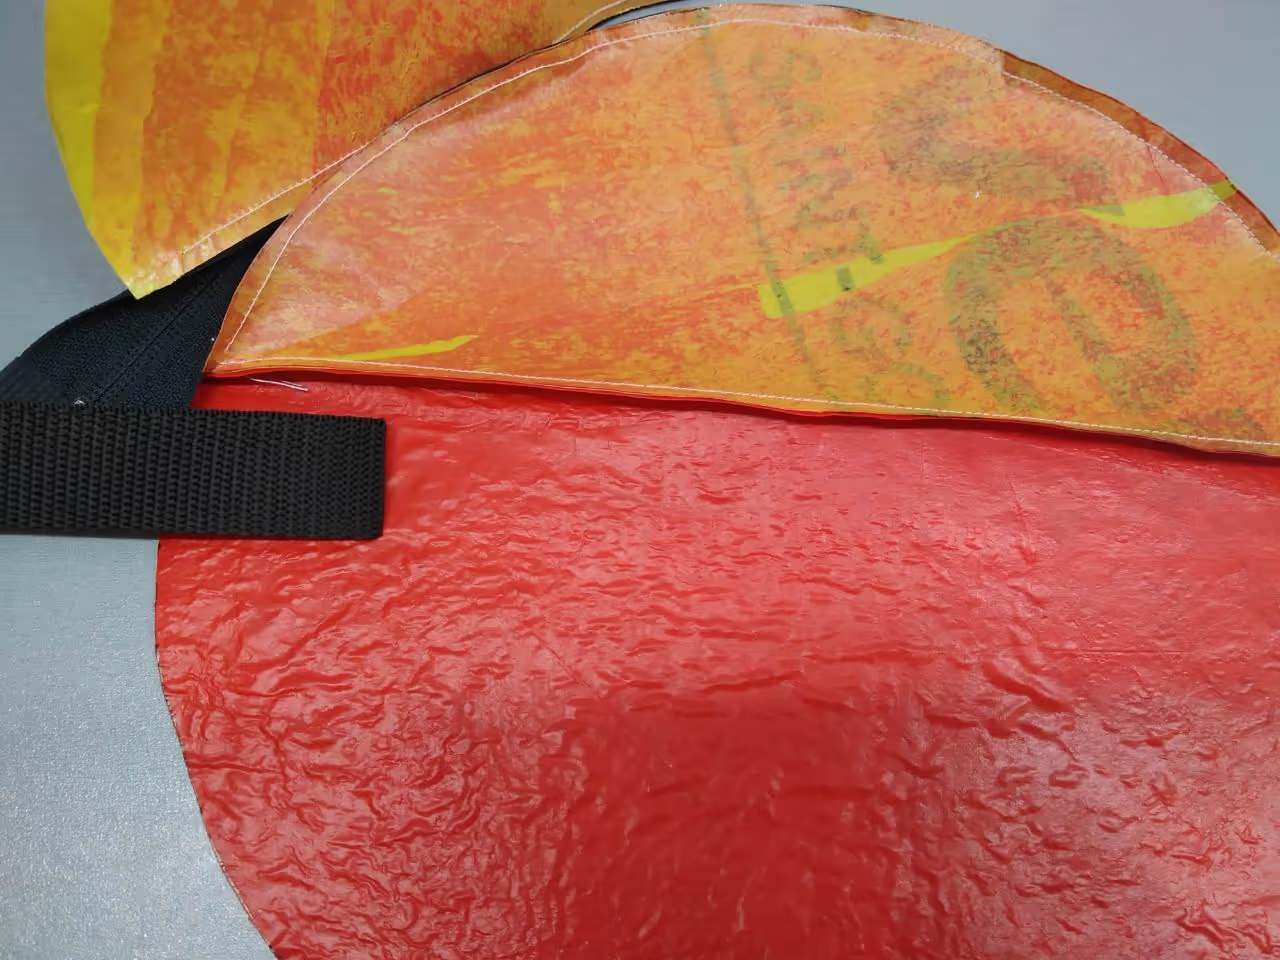
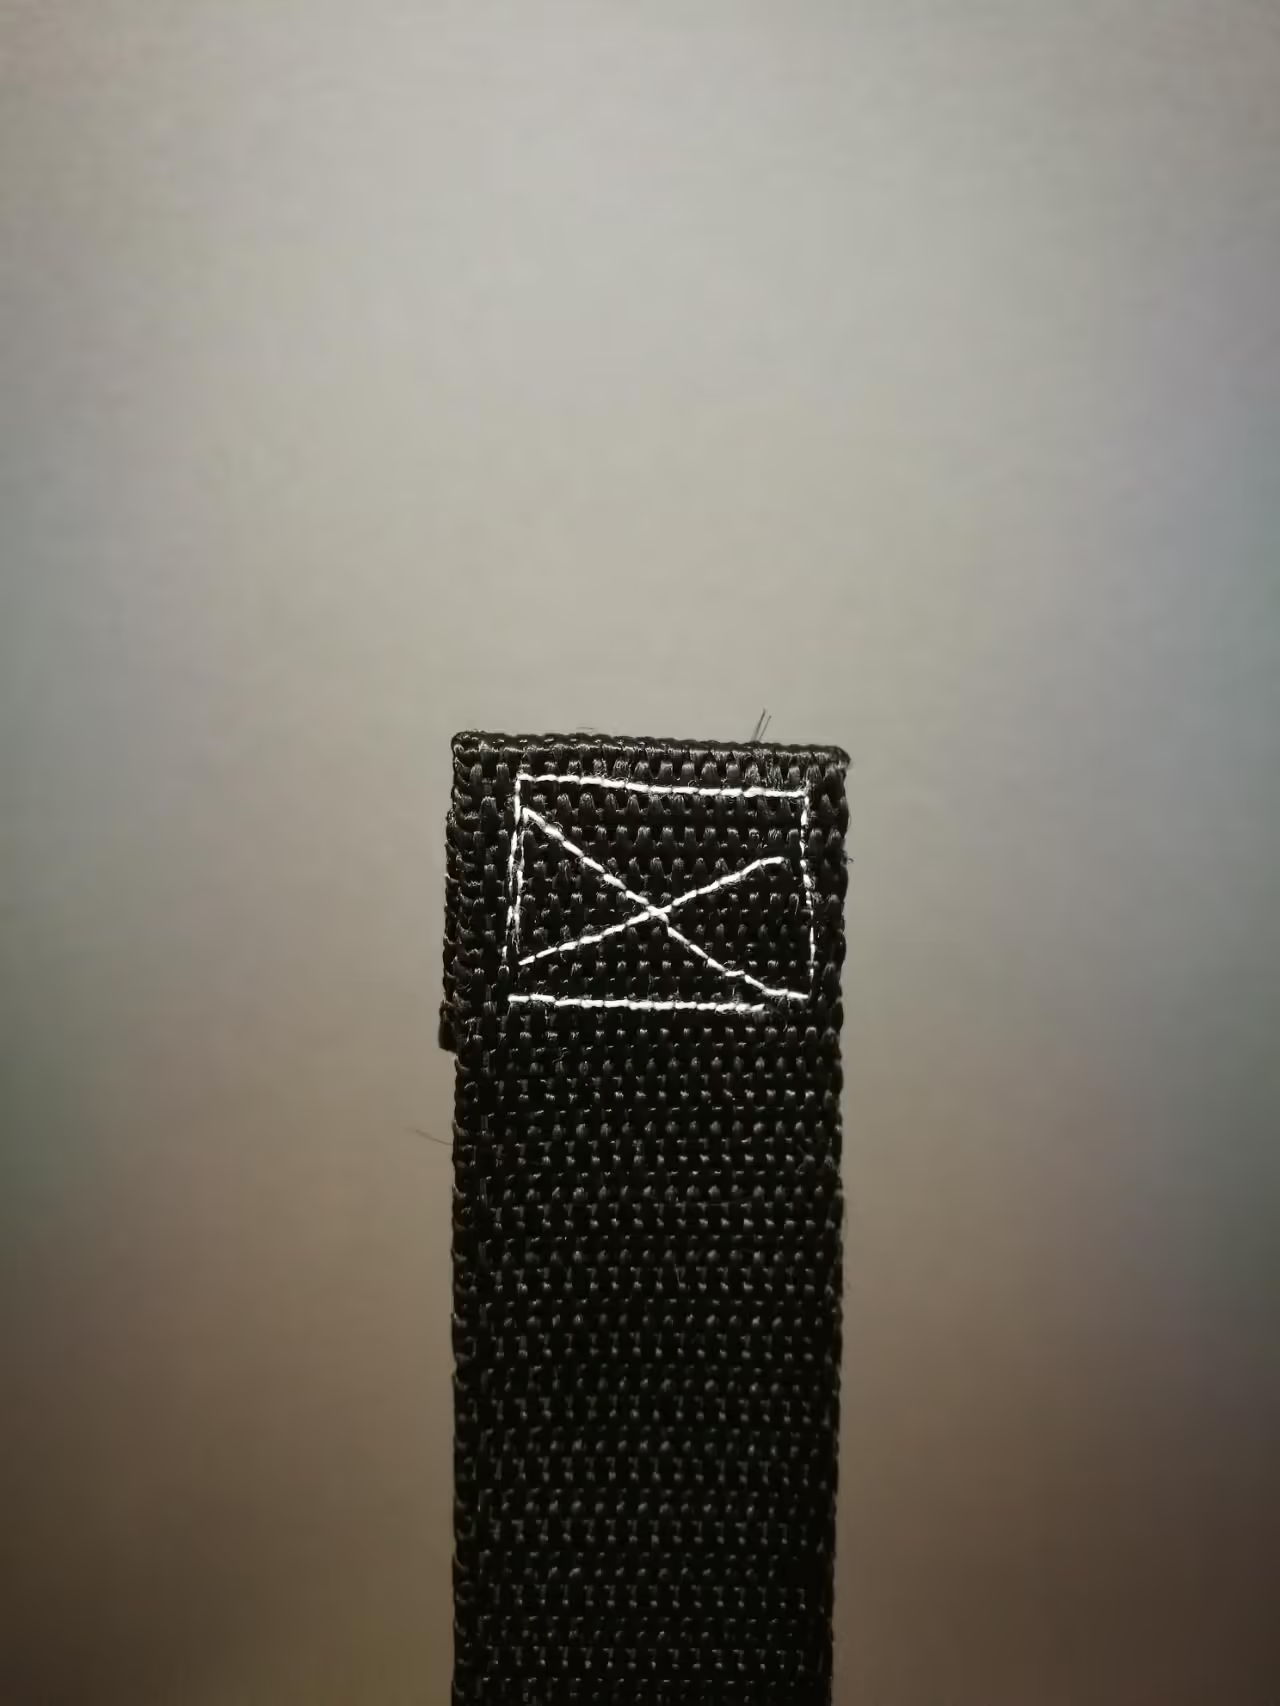
Next, prepare the straps by cutting them into two equal pieces. To prevent them from fraying, carefully heat the ends with a lighter, without applying direct flame. Once prepared, sew the straps to the inside of the back part of the bag. Using more stitches will enhance the bag's strength.
This is the most challenging step. With all parts sewn together, it's time to close the bag. Turn the bag inside out, and mark the centers of the front and back parts. Align these parts, ensuring the zipper is open to facilitate turning the bag right-side out. During this, keep the straps inside the bag; they should end up on the outside once sewn.
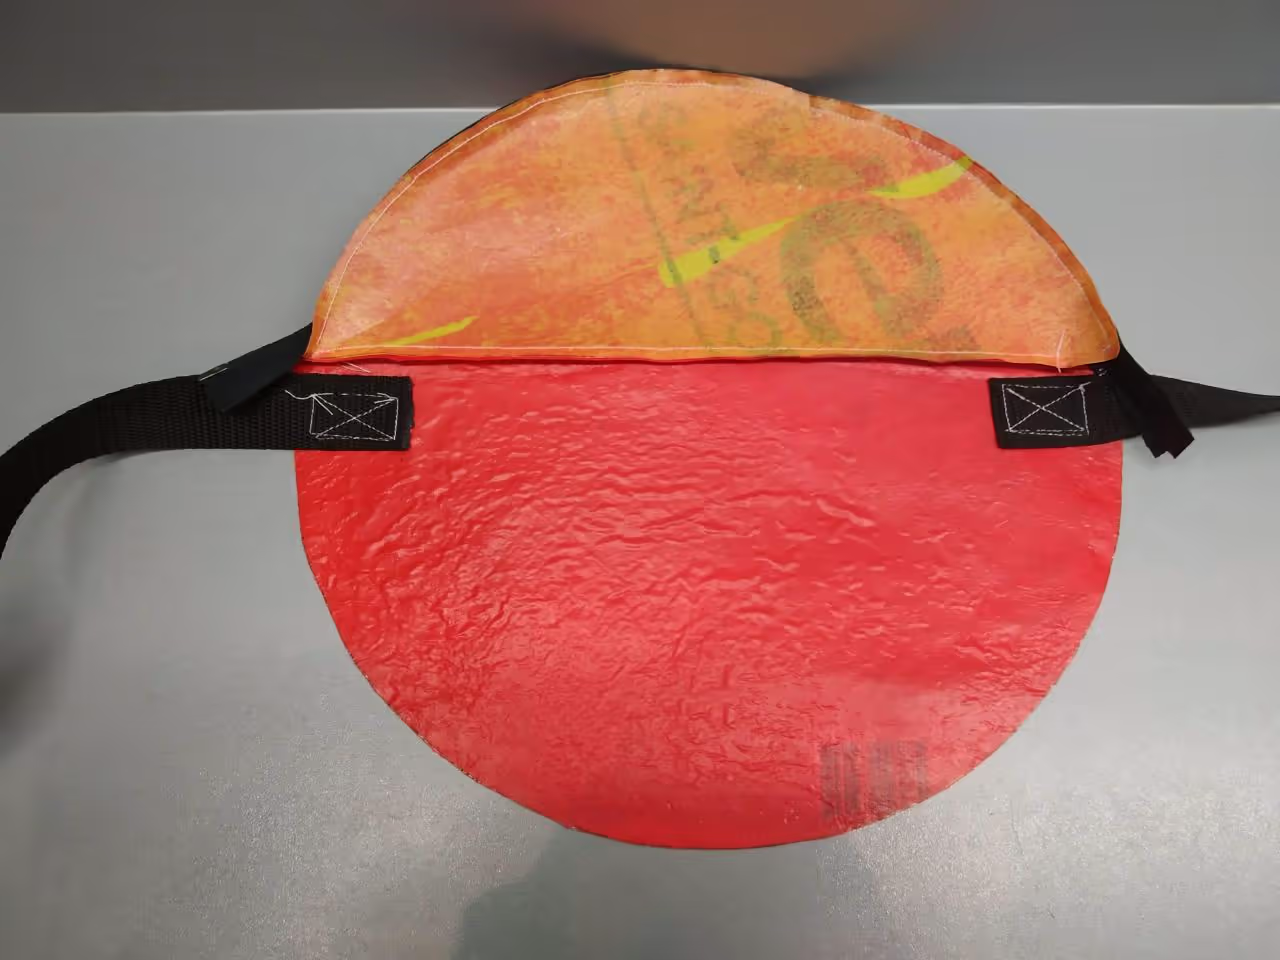
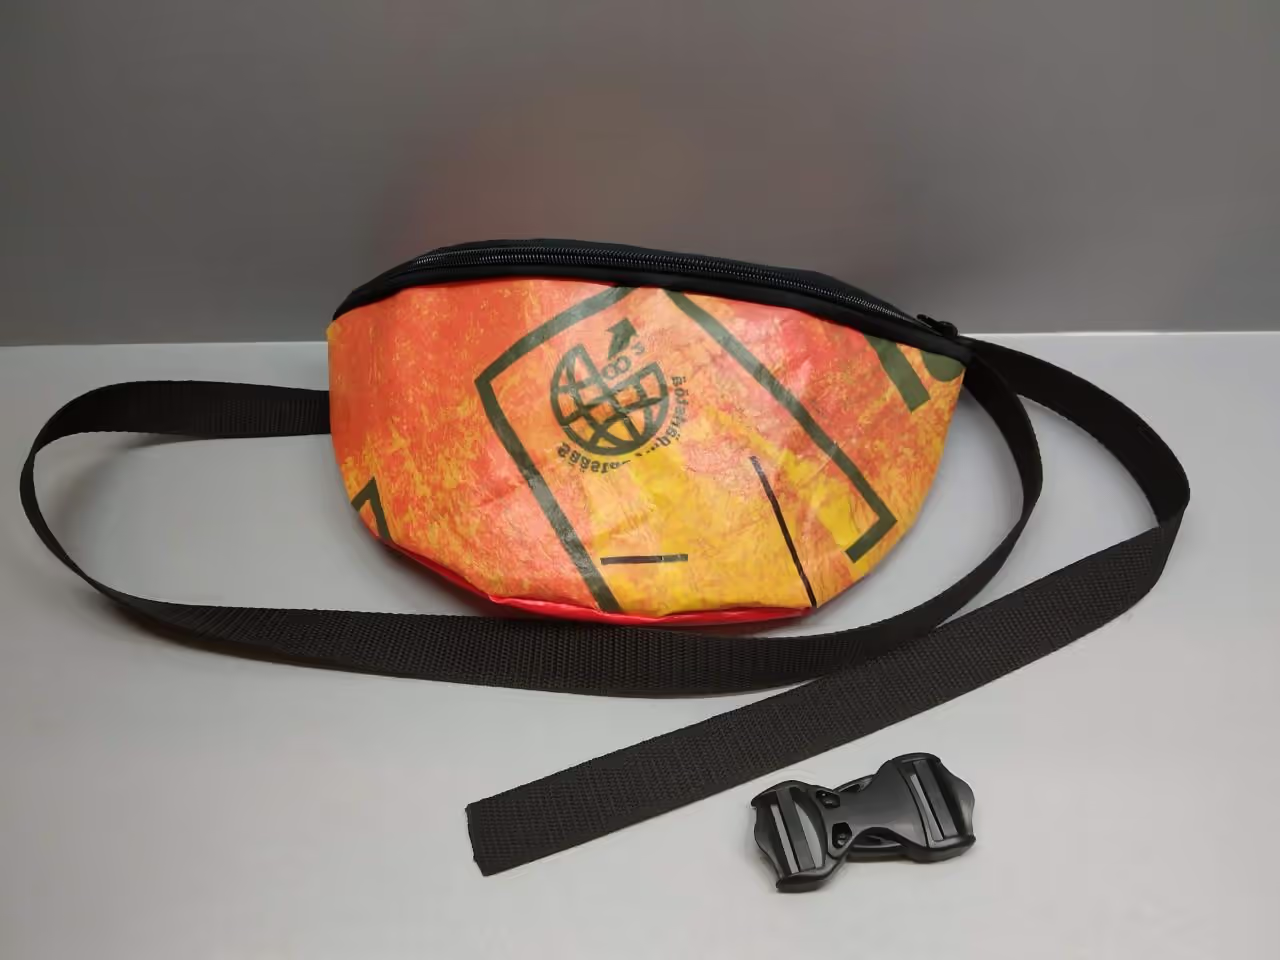
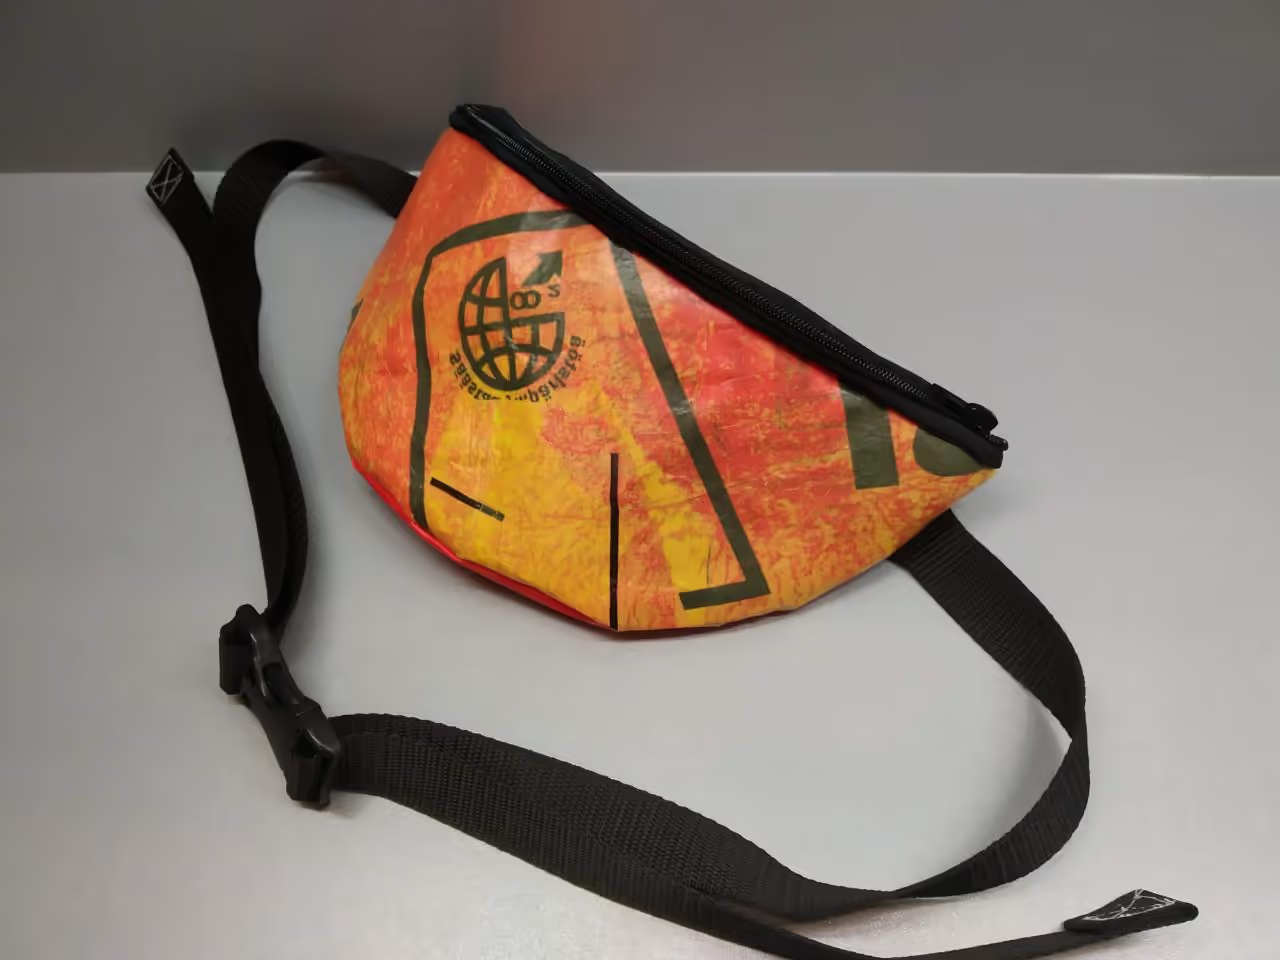
After sewing, turn the bag right-side out. Ensure all corners are fully formed, as this defines the bag's shape. If correct, the straps will be on the outside, and the bag should resemble the reference image.
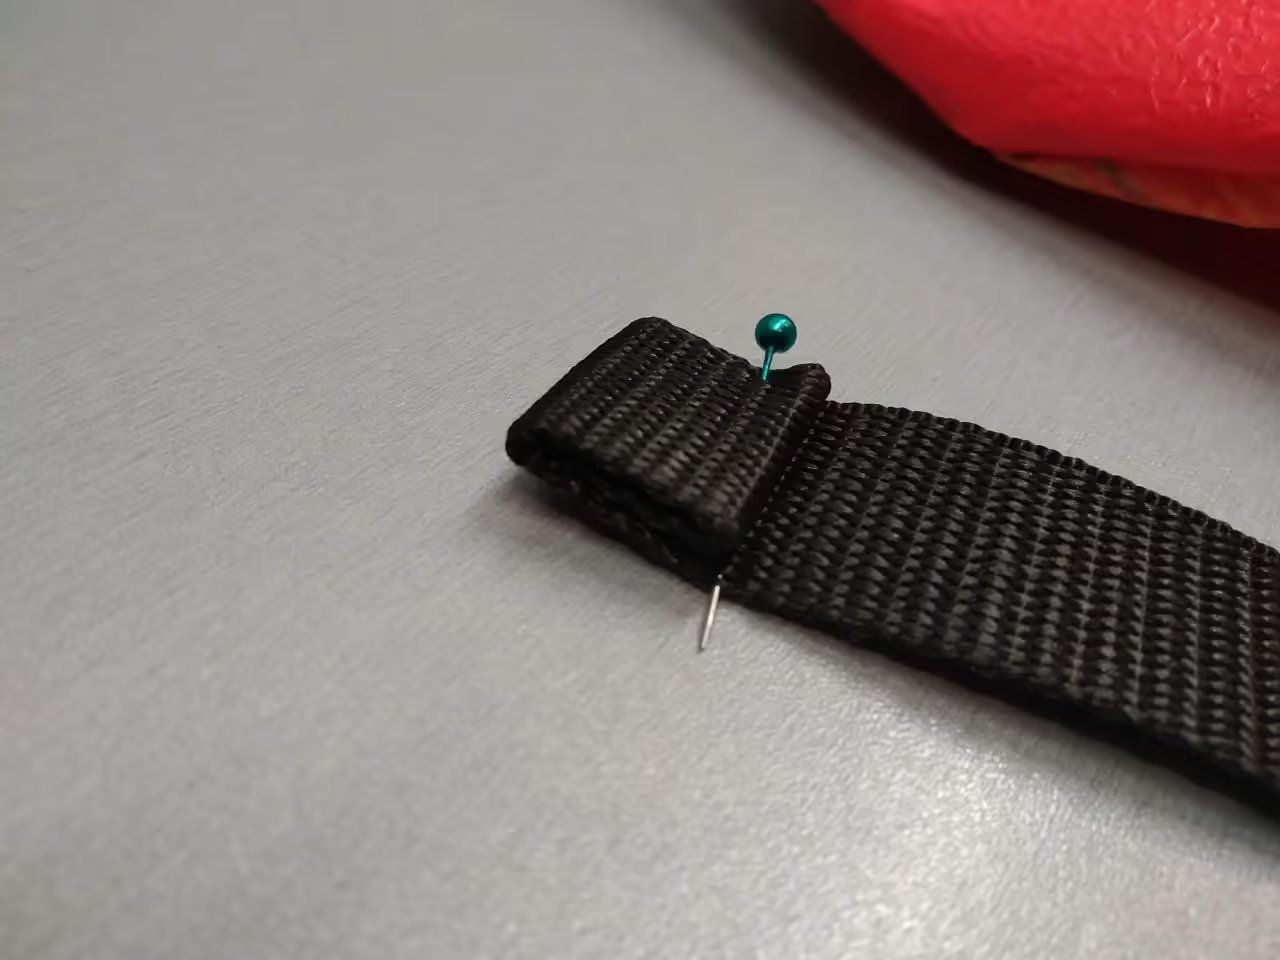
Use sewing pins to roll the strap ends, ensuring the snap-fit buckle is first placed on the strap. Sew the ends securely; your bag is now complete.
Your bag is now ready for use. Adjust the straps as needed. While it can withstand light rain, avoid prolonged exposure to wet conditions. Be prepared for inquiries about its creation.
Leftover materials from crafting this bag can be saved for future projects.
Thank you for following this tutorial; looking forward to seeing your versions.
Each section highlights essential items without exceeding 5 entries per category. Tools focus on handheld implements, while hardware covers larger equipment. The tutorial requires no specialized software.