How to Make a Bookmark
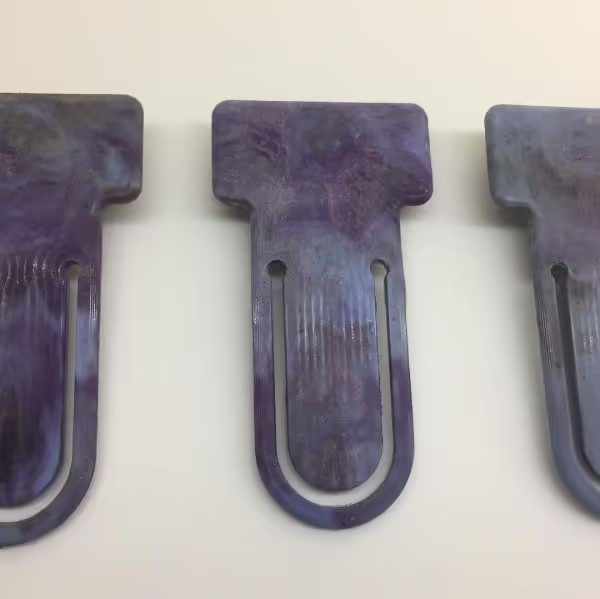
Create a bookmark or marker using repurposed plastic. Avoid the need for new materials by utilizing existing resources.
Table of Contents
-
Mould-Making Instructions
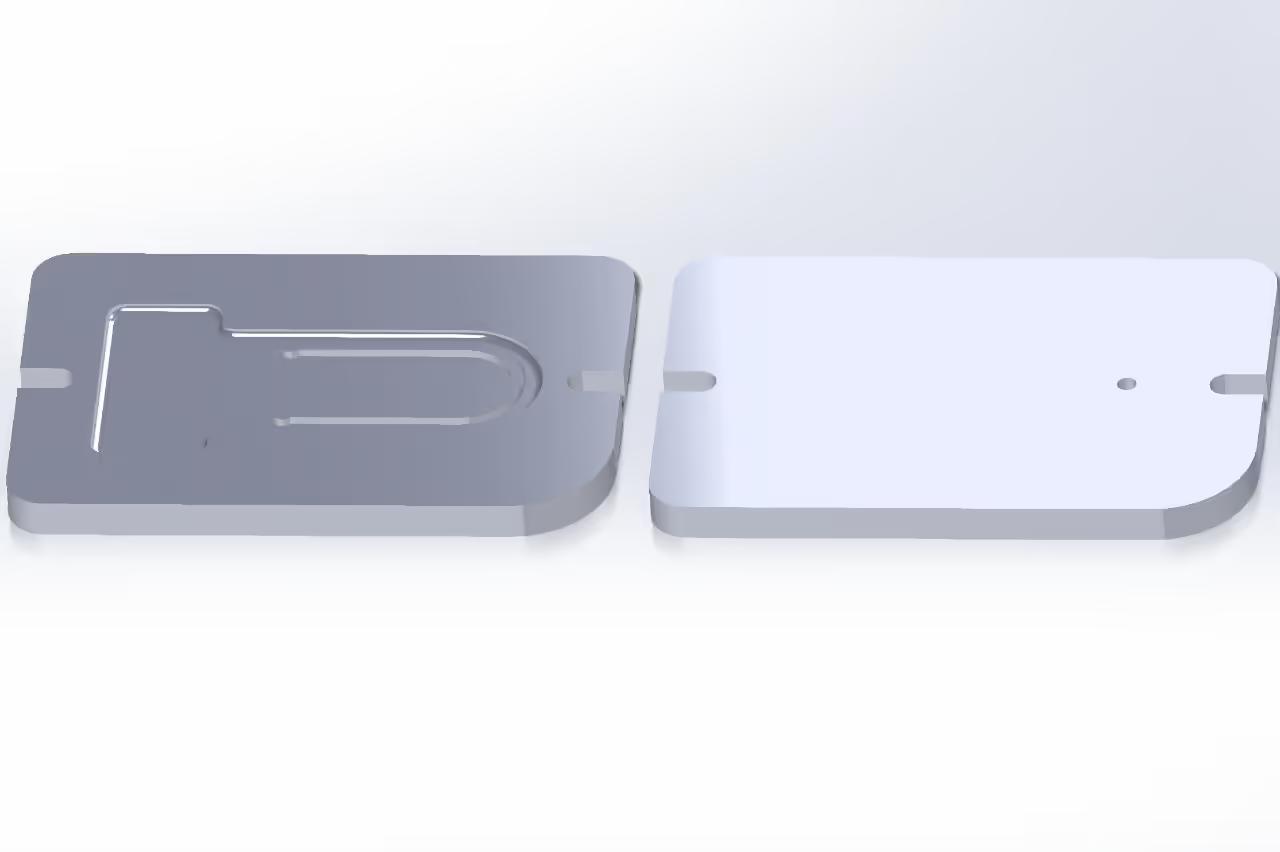
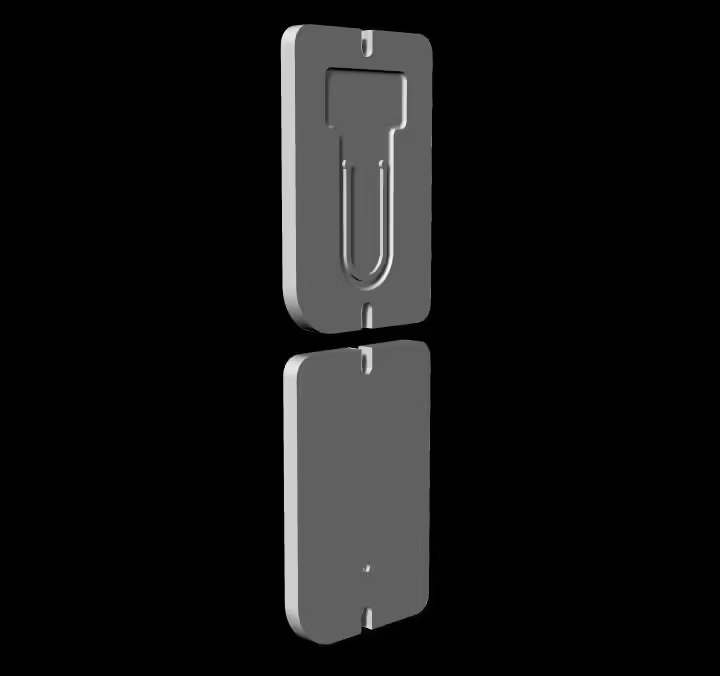
Download the files provided and either CNC-mill them or send them to a mould maker.
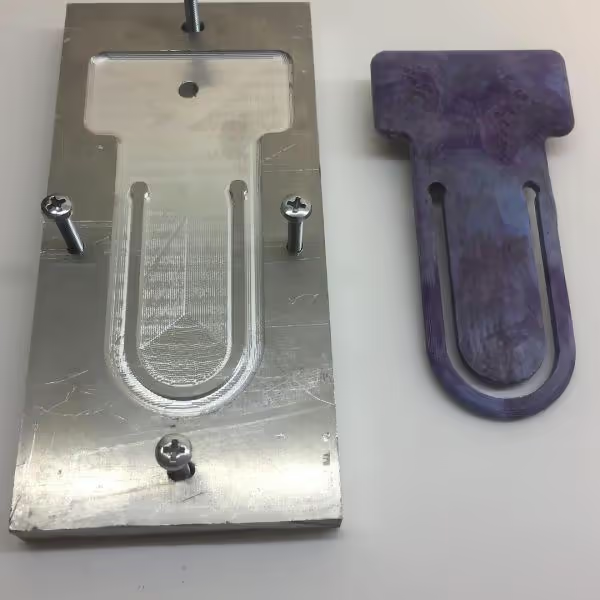
Use an aluminum plate with a thickness of 0.39 inches (10 mm). Each side of the finished mould should measure 3.94 x 5.91 inches (10 x 15 cm).
-
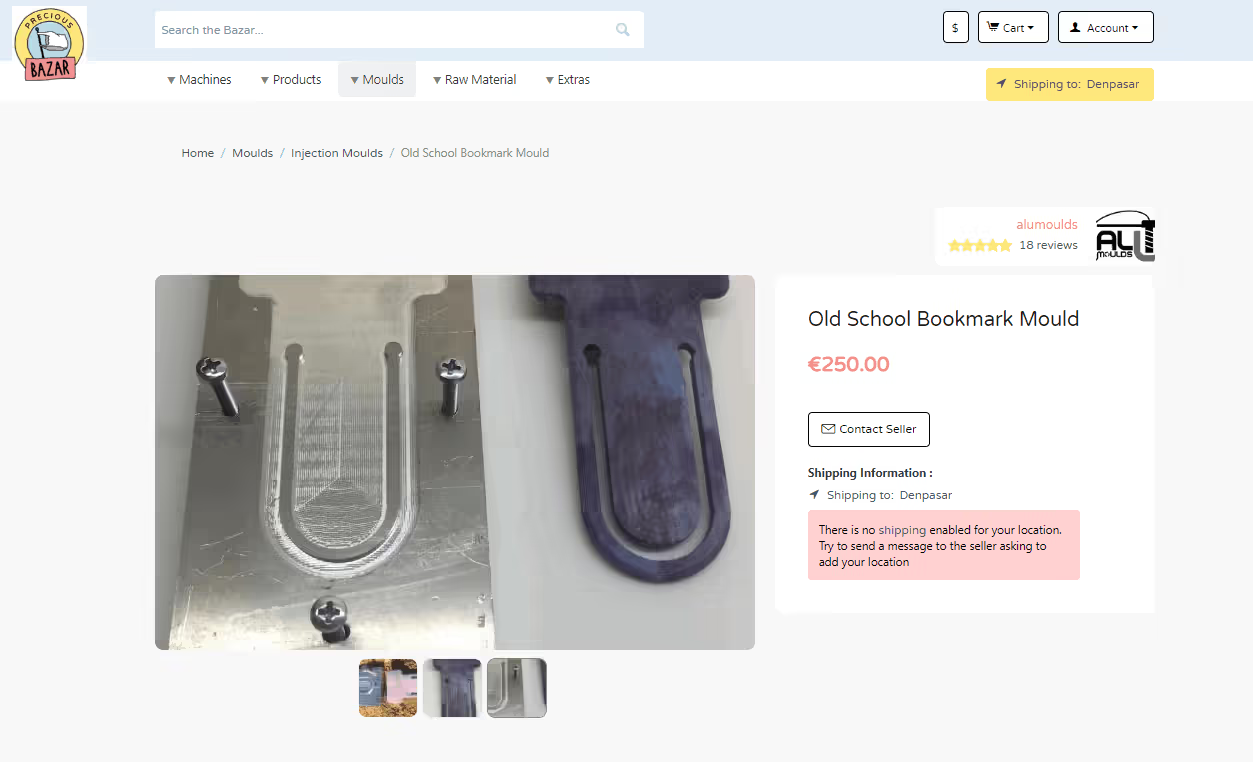
We offer this mold for purchase if you are unable to produce it yourself.
-
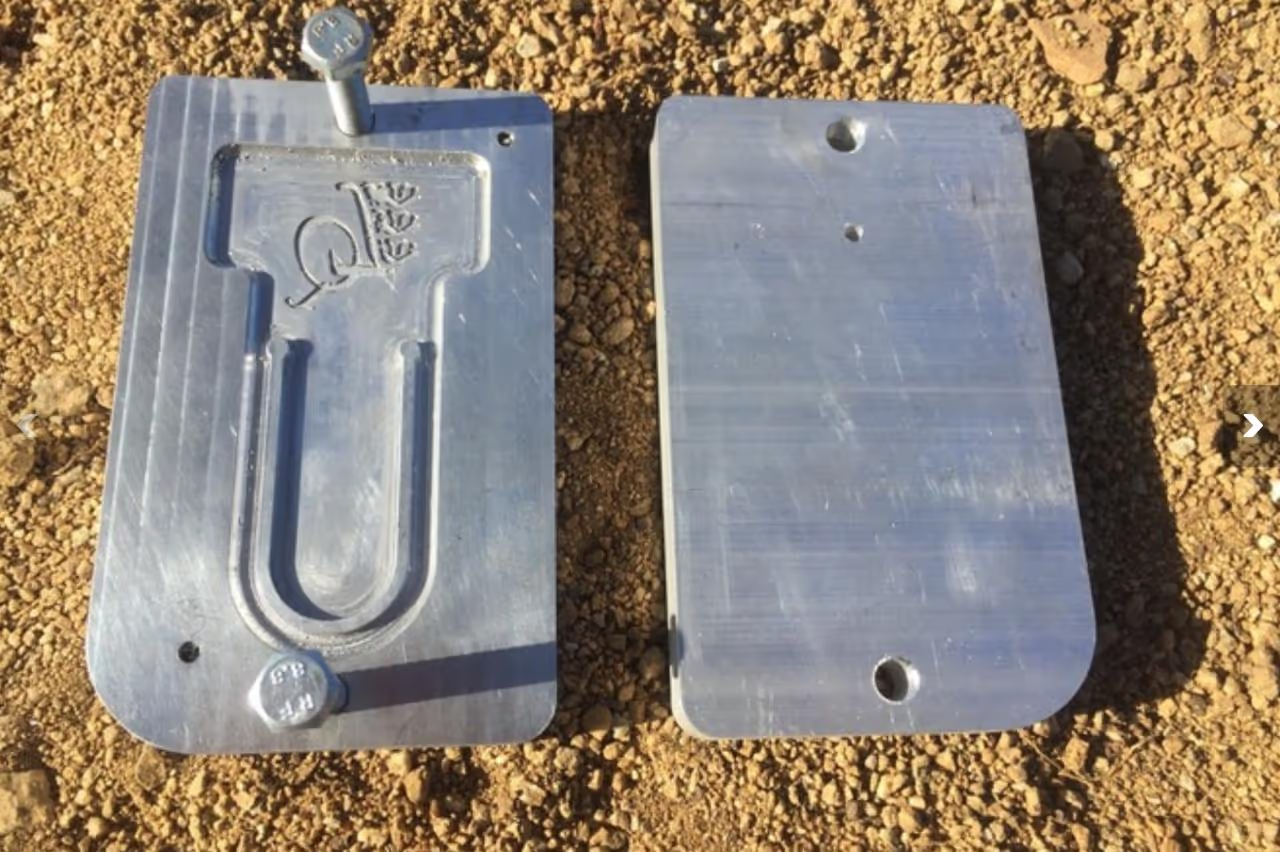
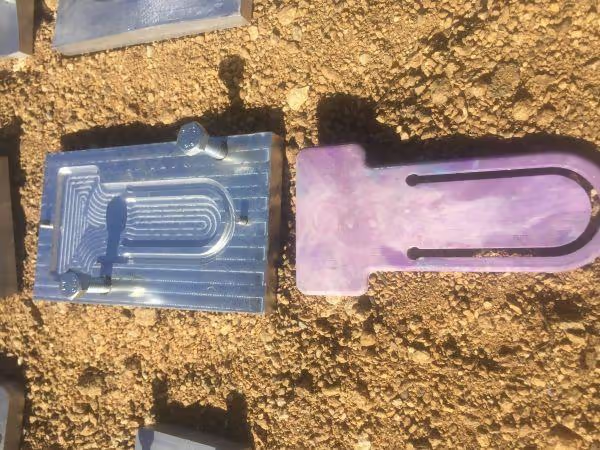
Your mold should appear as shown when ready.
Given the thin object, preheat the mold to approximately 176°F (80°C) to facilitate easier injection.
-
Time to inject. The plastic should be evenly melted to spread smoothly into the mold (mould). It may flow out of the nozzle due to gravity, so use a valve to control the release, opening it just before injecting. Act quickly and maintain pressure for a few seconds to prevent sink marks as the plastic cools under pressure.
After injection, open the mold (mould) promptly. Delays can make it more difficult to release the object due to plastic shrinkage.
Software
- Mould design files [insert-link]
Hardware
- CNC milling machine [insert-link]
- Aluminium plate (10mm thickness) [insert-link]
- Pre-made mould (optional purchase) [insert-link]
- Plastic injection machine with valve [insert-link]
- Heating device (for preheating to 80°C) [insert-link]
Tools
- Temperature gauge/thermometer [insert-link]
- Pressure clamp or press [insert-link]
- Safety gloves (heat-resistant) [insert-link]
- Timer (for cooling/pressure phases) [insert-link]
- Valve-controlled nozzle attachment [insert-link]
Articles
- A Step by Step Guide to Injection Molding
- Upcyled Plastic Bookmarks Tutorial
- DIY Injection Molding Guide
- Injection Molding Process Explained
Books
Papers
YouTube
Opensource Designs
- Old School Bookmark Mould Design
- DIY Injection Molding Instructions
