Make clock from recycled plastic
MOULD
PRODUCT
COMPRESSION
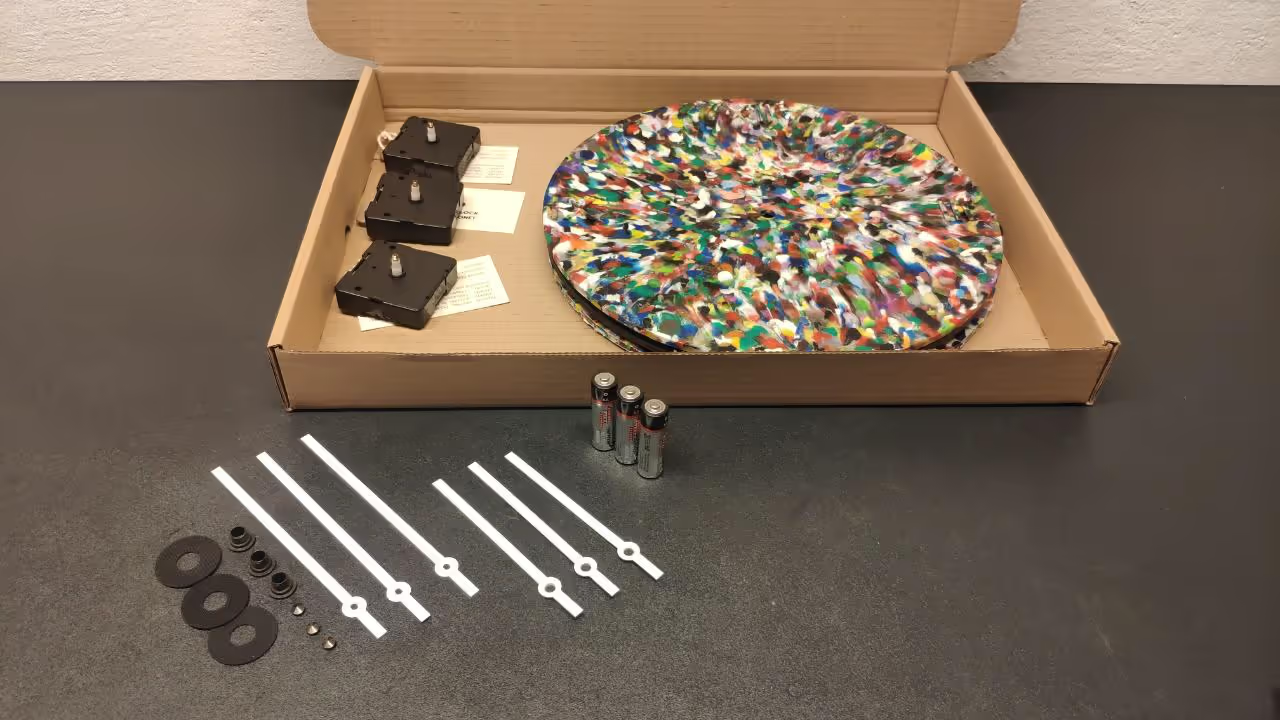
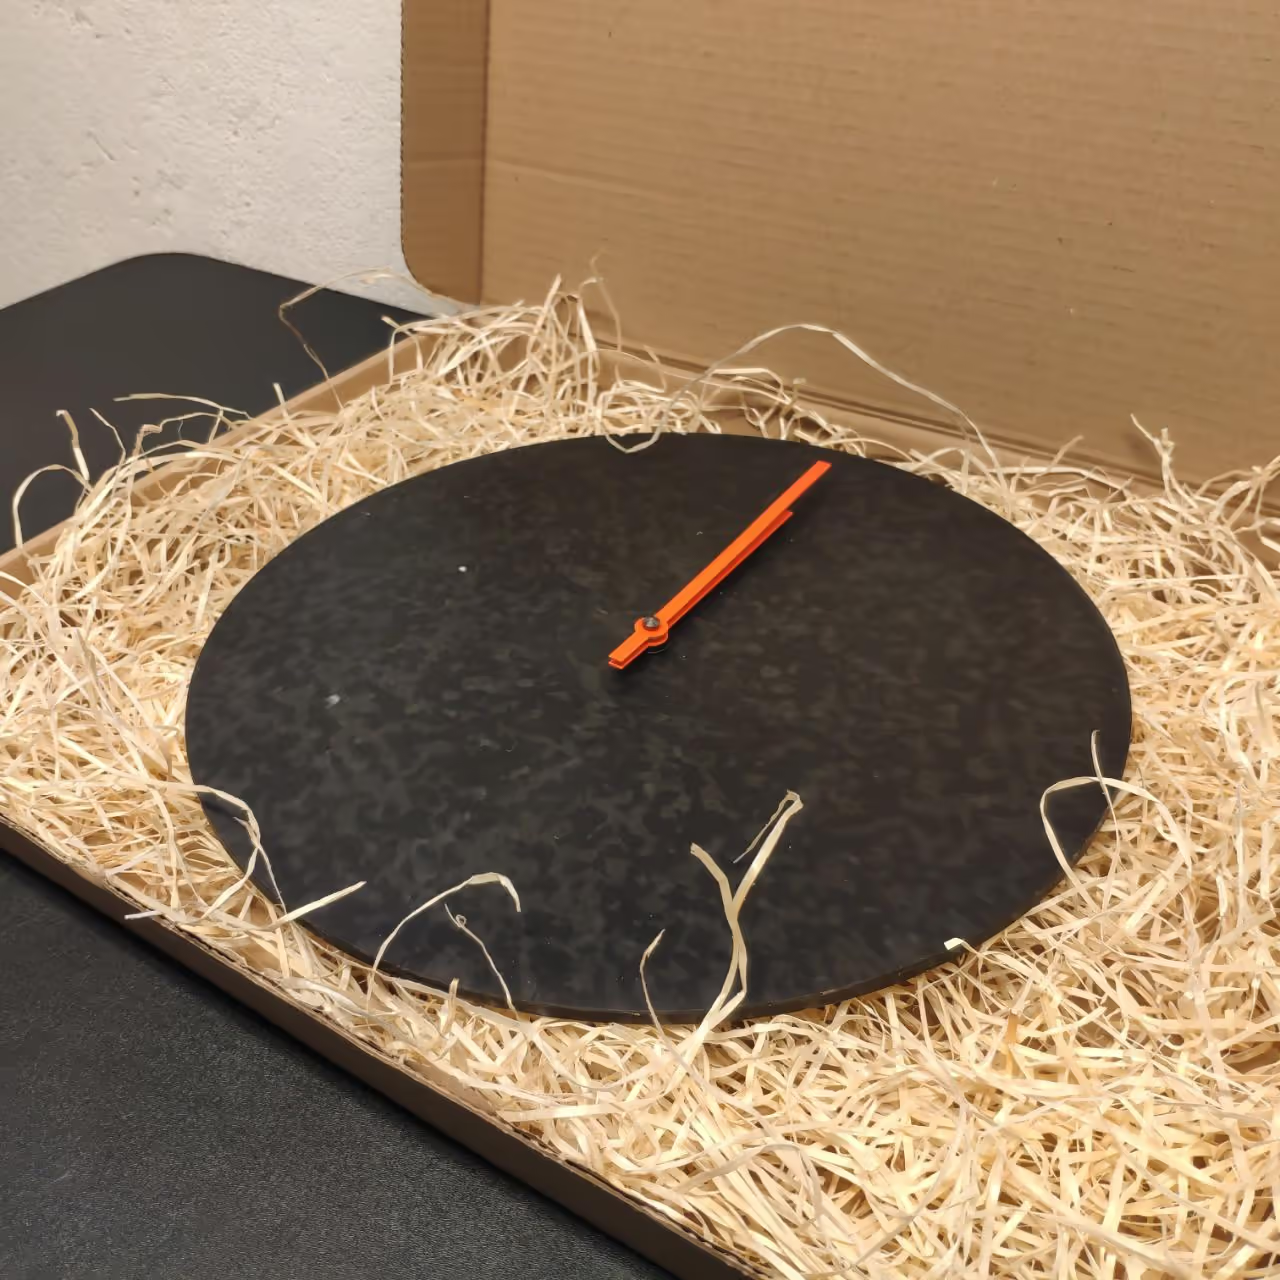
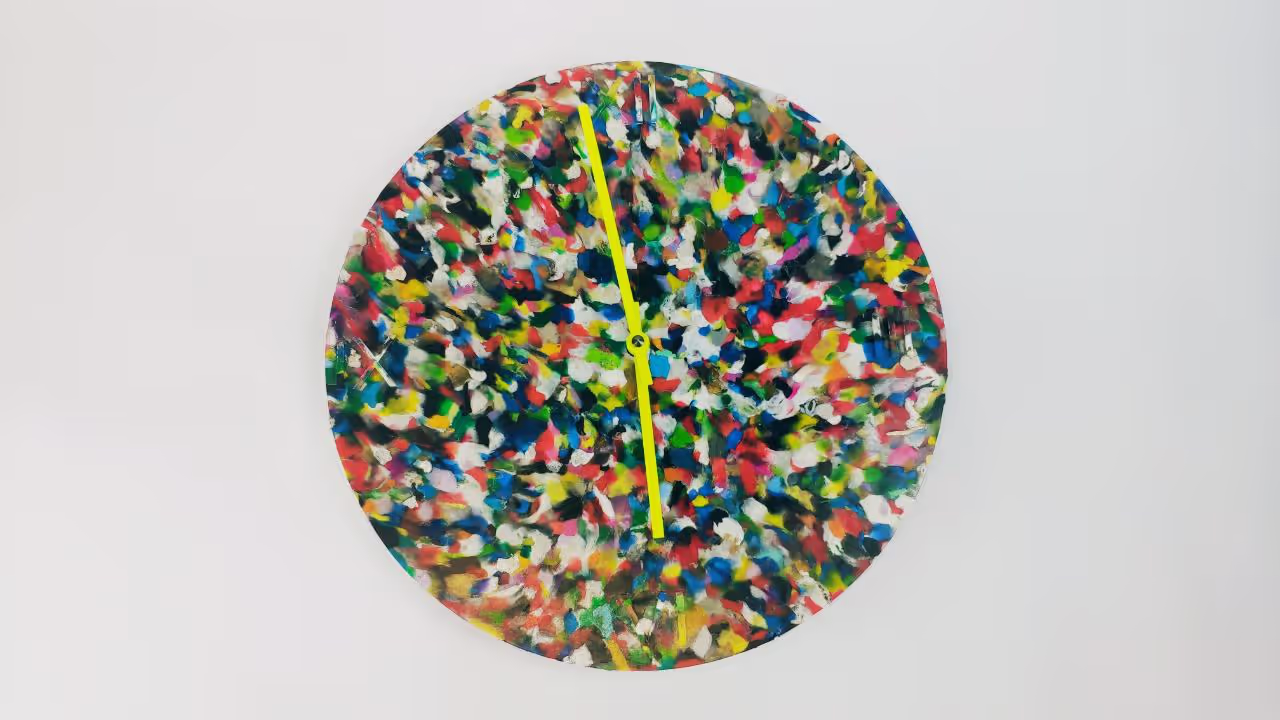
Creating a clock involves using approximately 300 grams (10.58 ounces) of material and can be completed in under two hours. A creatively designed clock makes a thoughtful gift. The process requires an electric oven, a mini press, and a simple compression mold. The clock measures 30 centimeters (11.81 inches) in diameter and 5 millimeters (0.2 inches) in thickness. The material cost is approximately 6 EUR (6.50 USD) per clock.
You can acquire laser-cut molds through various online platforms:
Transporting molds can be expensive, especially outside Europe. To assist, I offer 3D files in STP format, plans in PDF, and DXF format. If you have access to a laser cutter and want only the files, please contact me to discuss further.
Release of all models is currently withheld due to funding needs for development.
Let's begin...
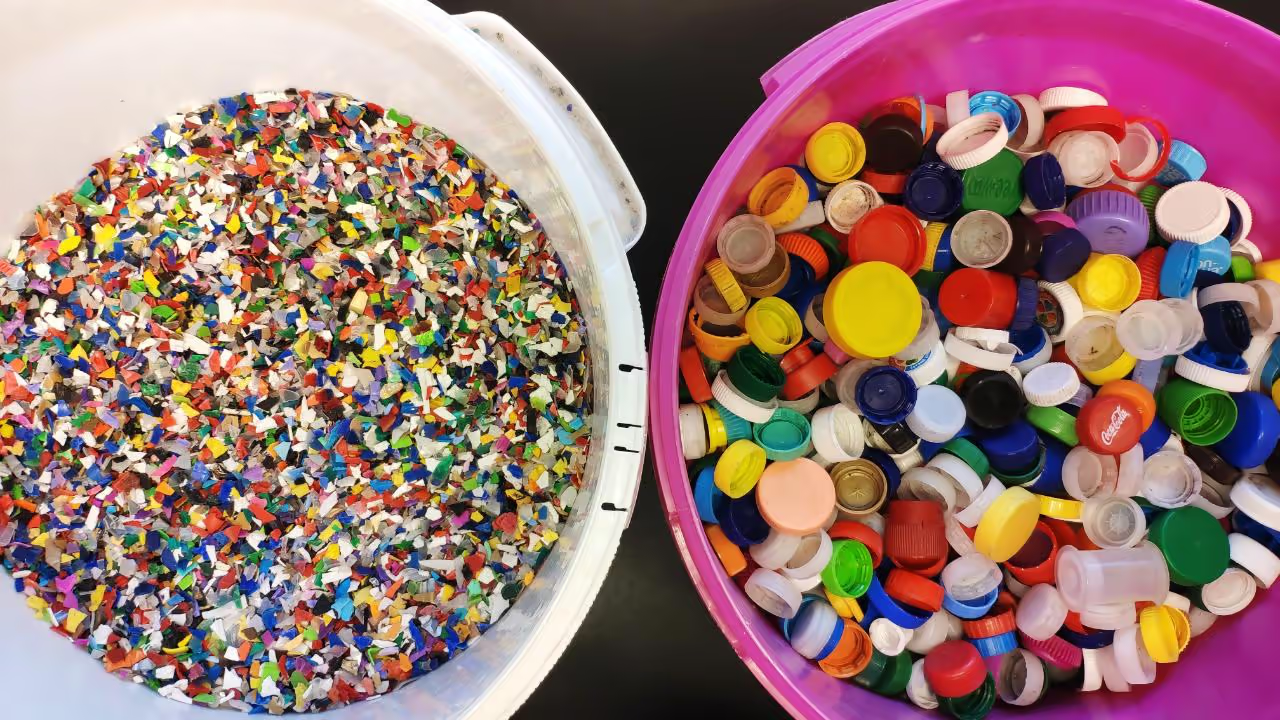
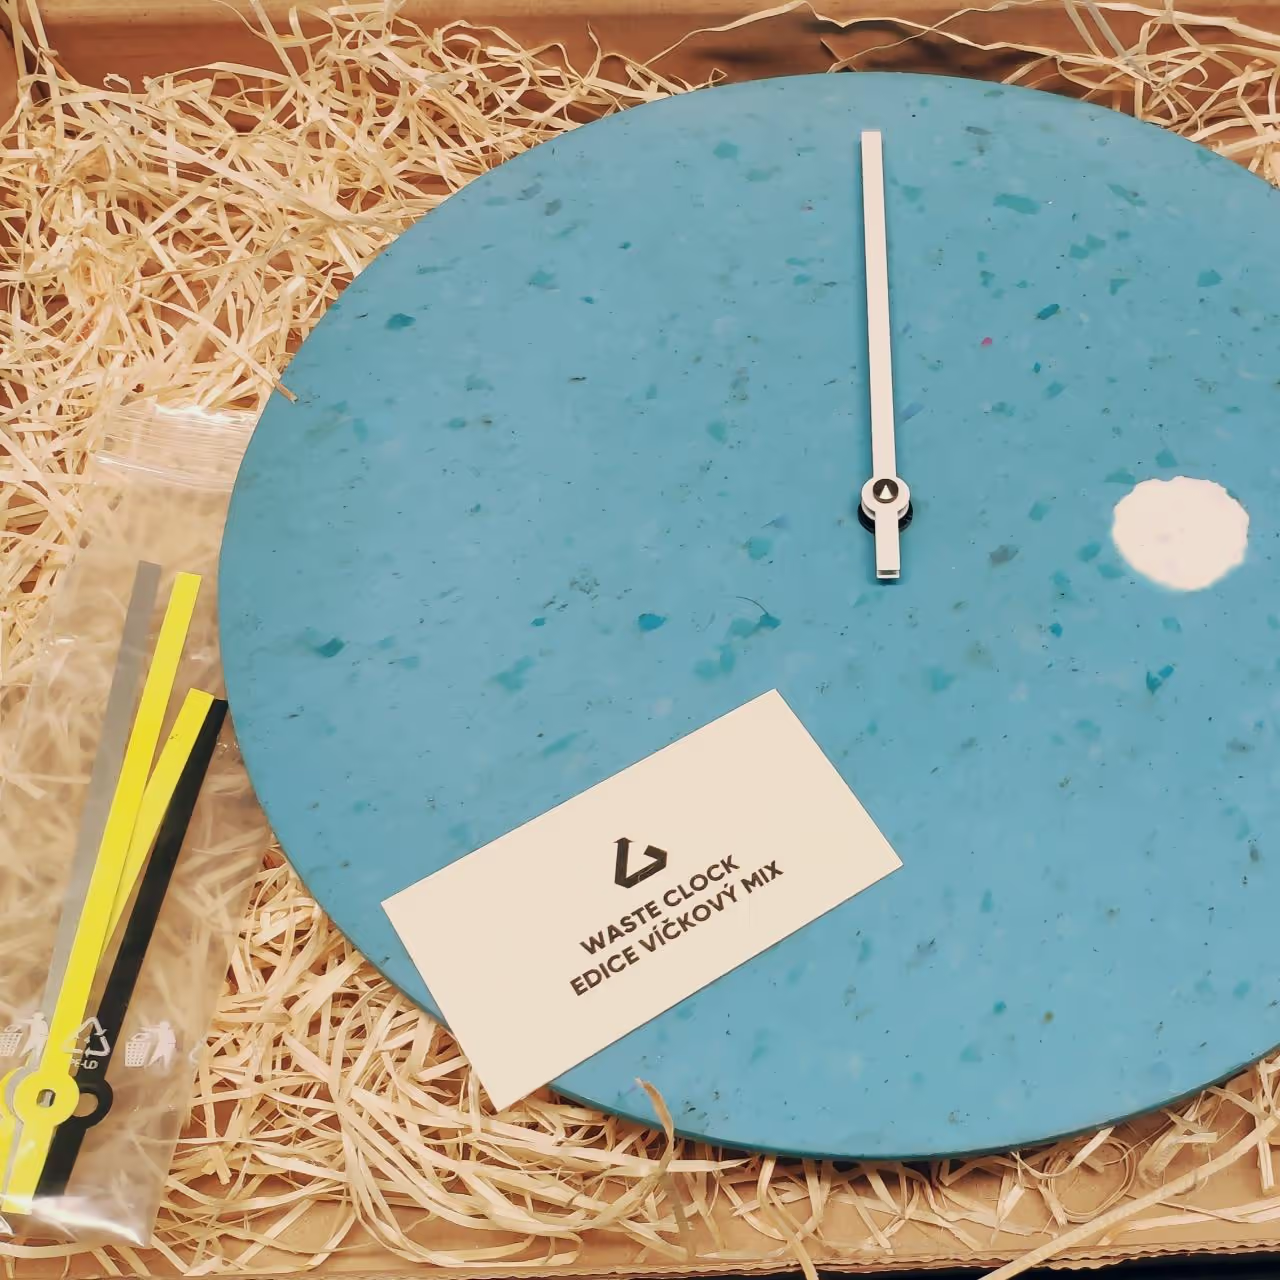
I have tested HDPE, PP, and PLA with satisfactory outcomes. Experimenting with different colors and bottle cap designs is possible. You will require 270 - 350 grams (approximately 9.5 - 12.3 ounces) per clock, depending on material density.
Before testing a new material, document the amount used with notes or photographs, which will aid in future production. I recommend using a technological sheet, available in PDF or Excel format, for record-keeping.
Ensure the mold is free from impurities, dust, or residual plastic from previous productions. Use smooth sandpaper for cleaning. To prevent sticking, apply mold release or oil. Ensure the oil’s smoke point is not exceeded: consult a reliable source for smoke points of cooking oils. Use oil with a smoke point above 230 degrees Celsius (446 degrees Fahrenheit).
I use an IKEA Görlig electric oven. Set the temperature based on the material. For HDPE and PP, use 225°C (437°F). Place the mold in the oven for 50 minutes and set a timer.
Caution: Wear heat-resistant gloves when handling the mold from the oven.
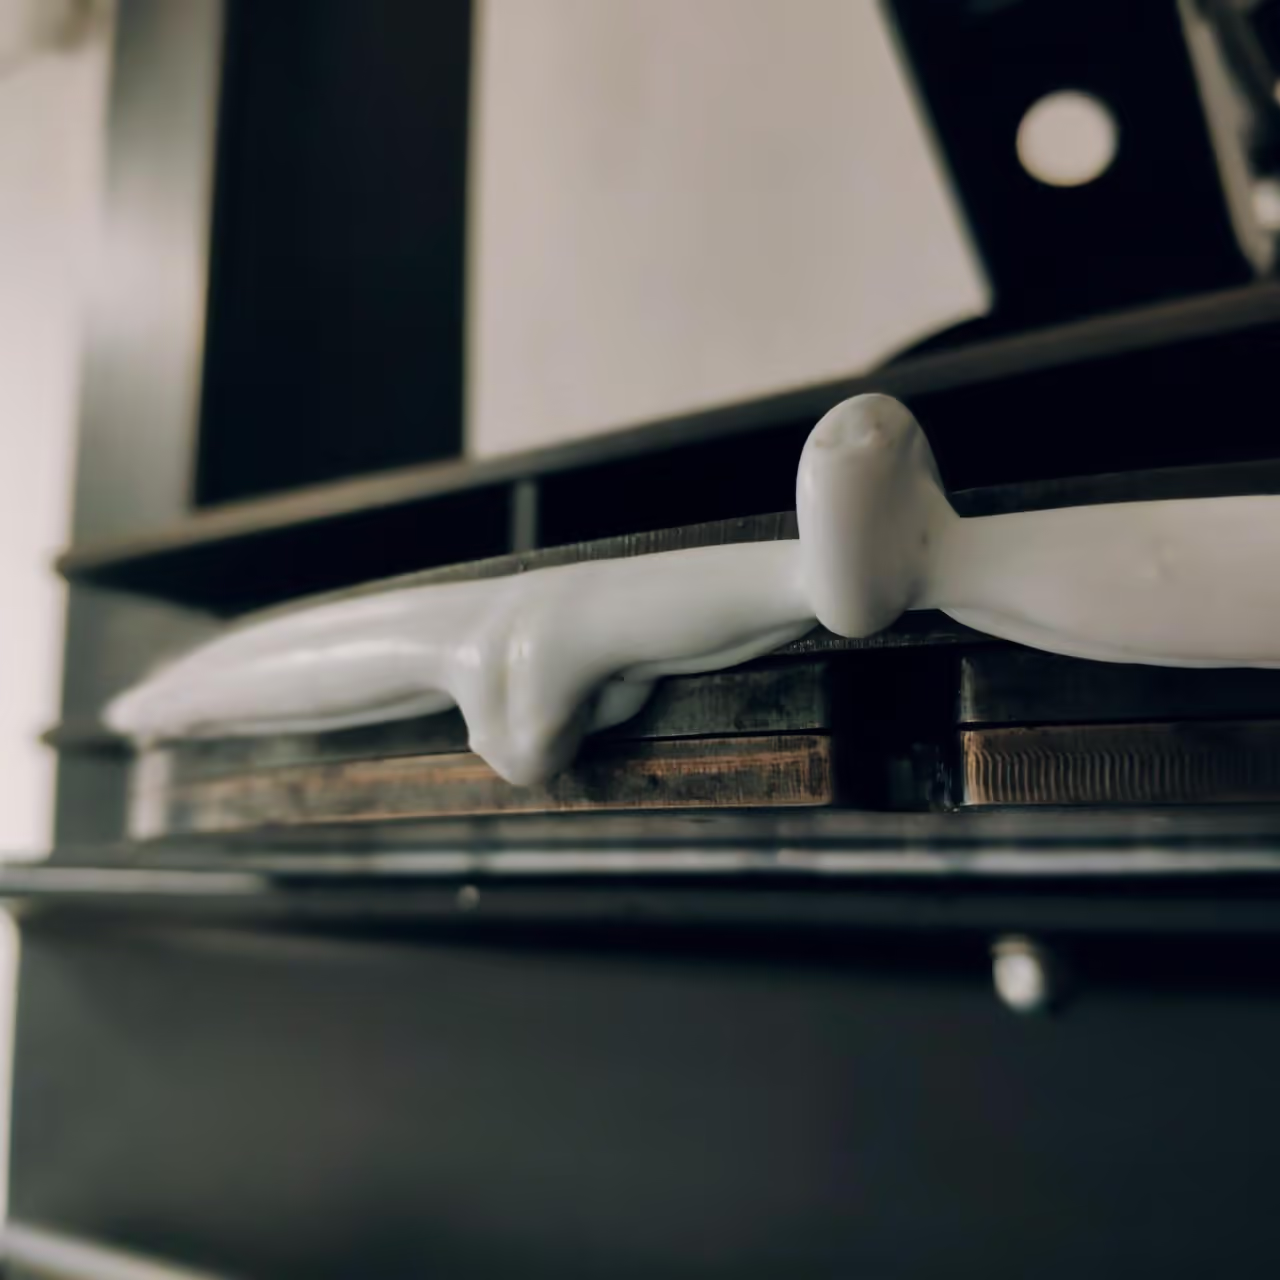
After baking, press the mold. Allow 20-30 minutes for cooling. Opening the mold earlier may cause deformation.
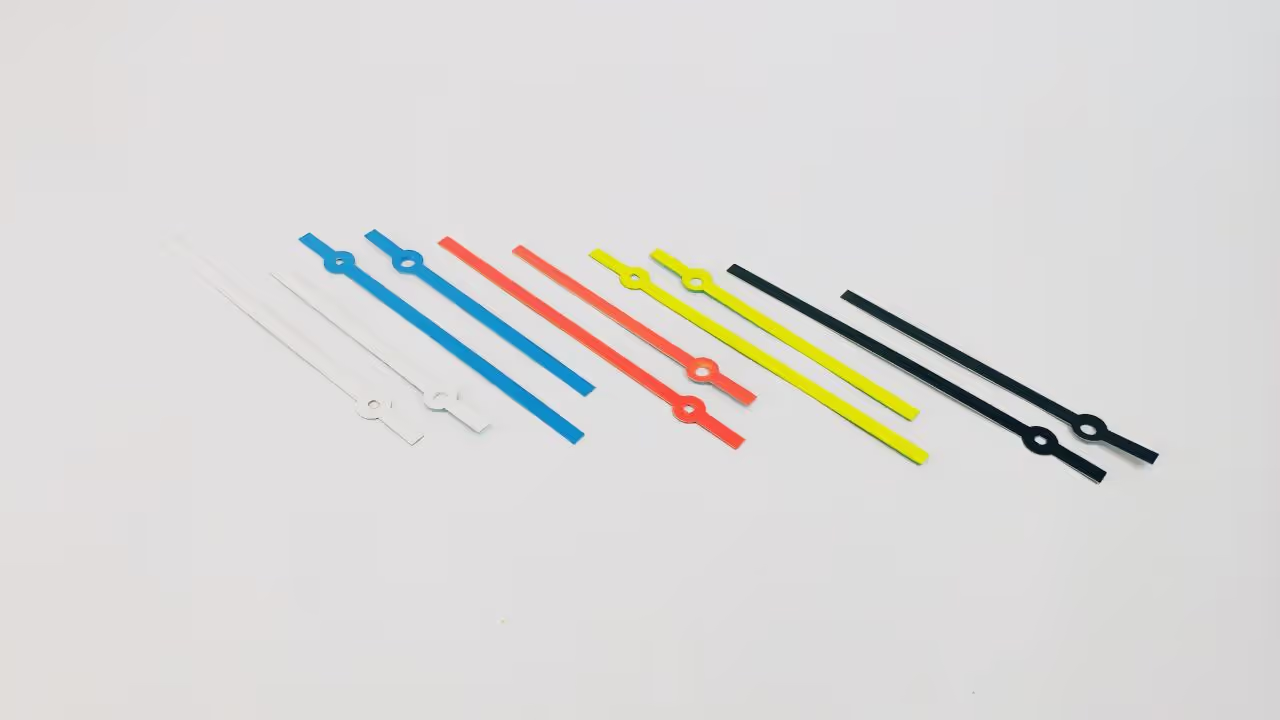
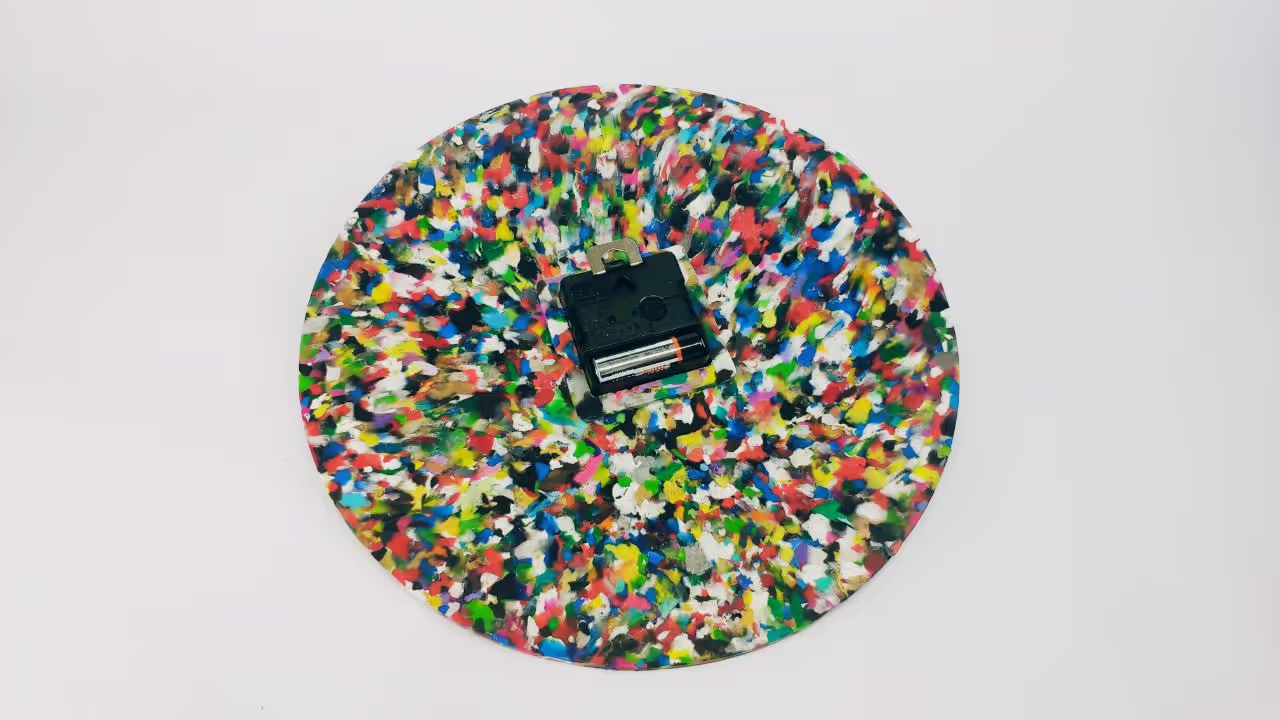
Cut the edges using a knife and sand the surface as needed. Drill a hole in the center to accommodate your clock mechanism. A list of necessary components and tools for clock assembly is provided in the supporting material. I source them from a company in the Czech Republic. The back of the clock features a small square frame designed to fit the clock mechanism. The mold can be modified as desired, but it is advisable to secure the clock mechanism to prevent rotation. Avoid sanding surfaces with numbered plates, as the area around the numbers can be challenging to sand. Clock hands are available in various colors, allowing for customization.
For more open-source content, please consider engaging through sharing, subscribing, liking, following, or commenting.
More information is available here: linktr.ee/plastmakers
Thank you.
Tom