Make beam jewelry / key rings

EXTRUSION
PRODUCT
PS

This guide explains the process of polishing a piece of PS BEAMS into a shiny piece of jewelry or key ring. You will need a machine to cut slices of the beams and various polishing grains. An electric polishing machine is recommended for optimal transparency and shine.

Browse Files

Table of Contents

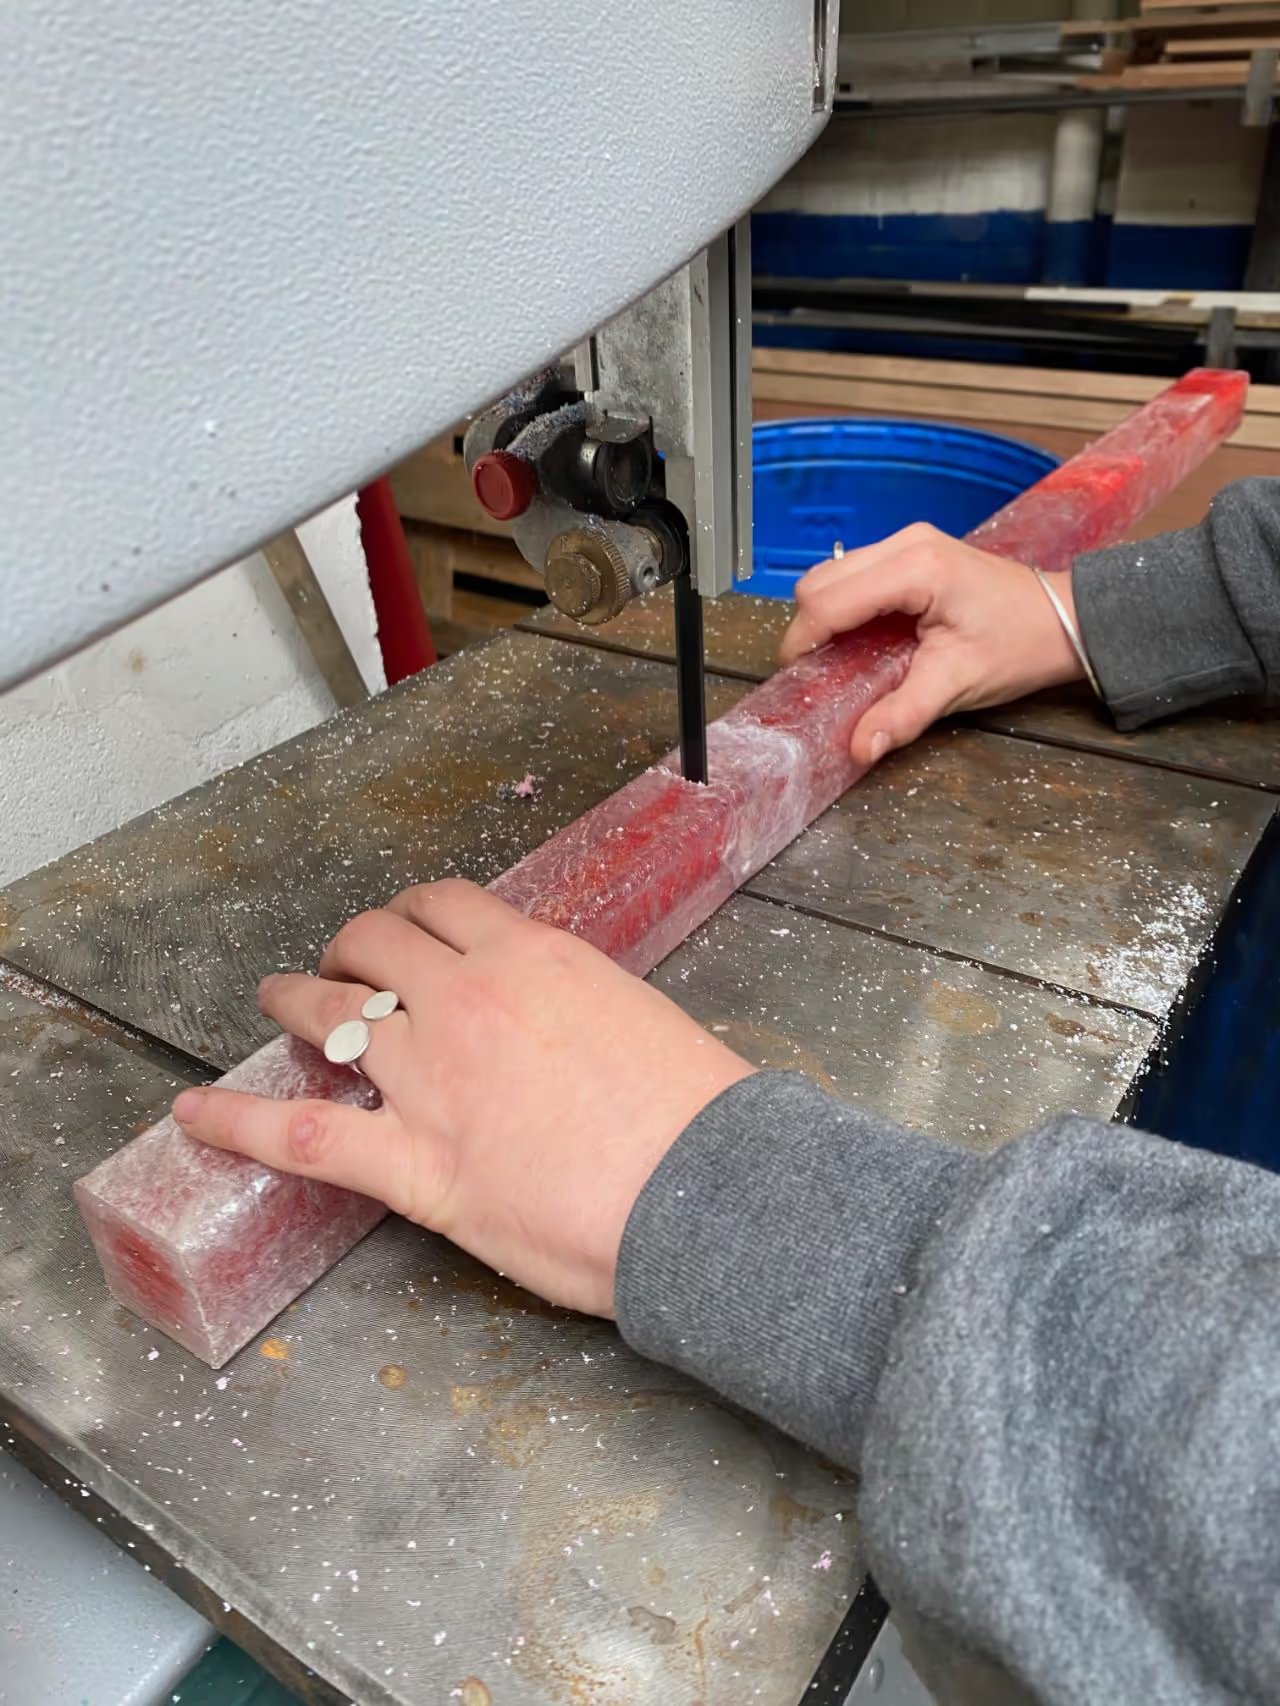
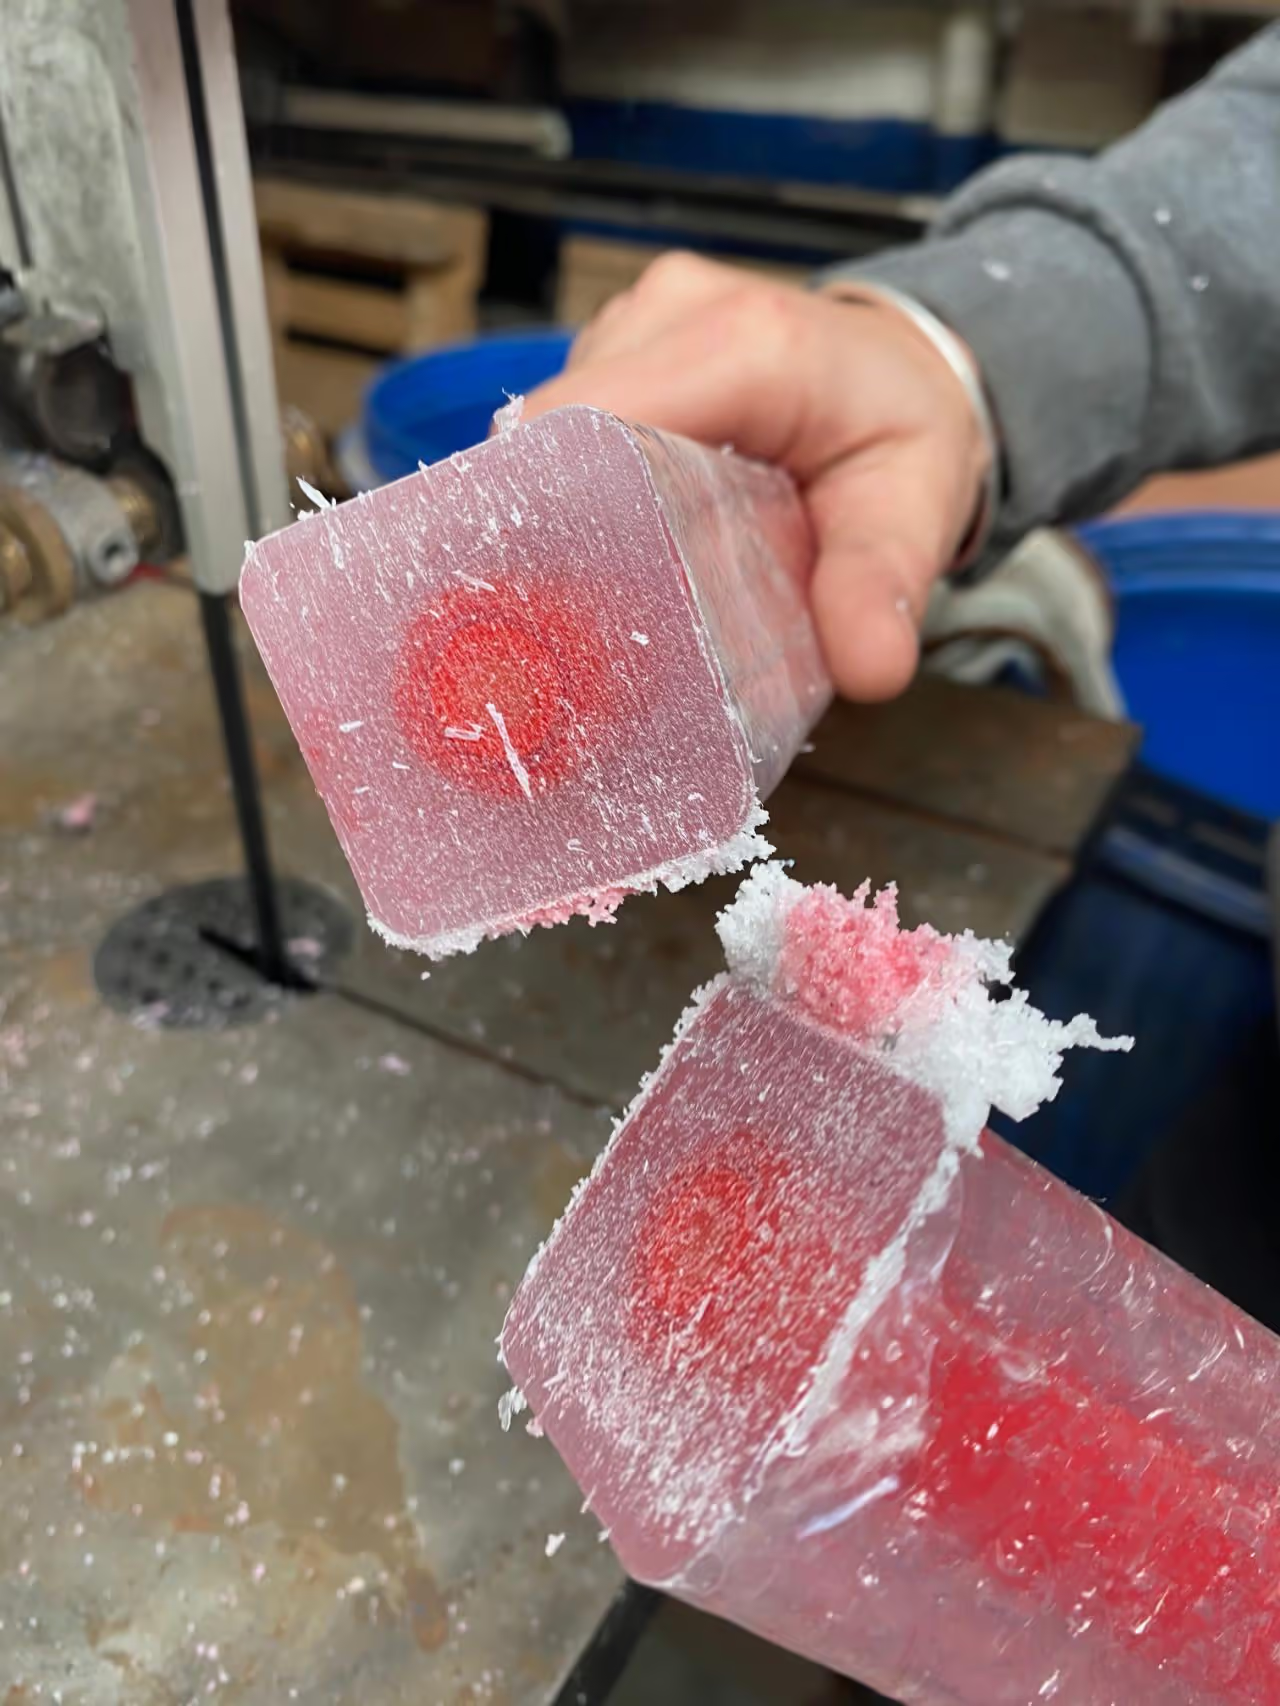
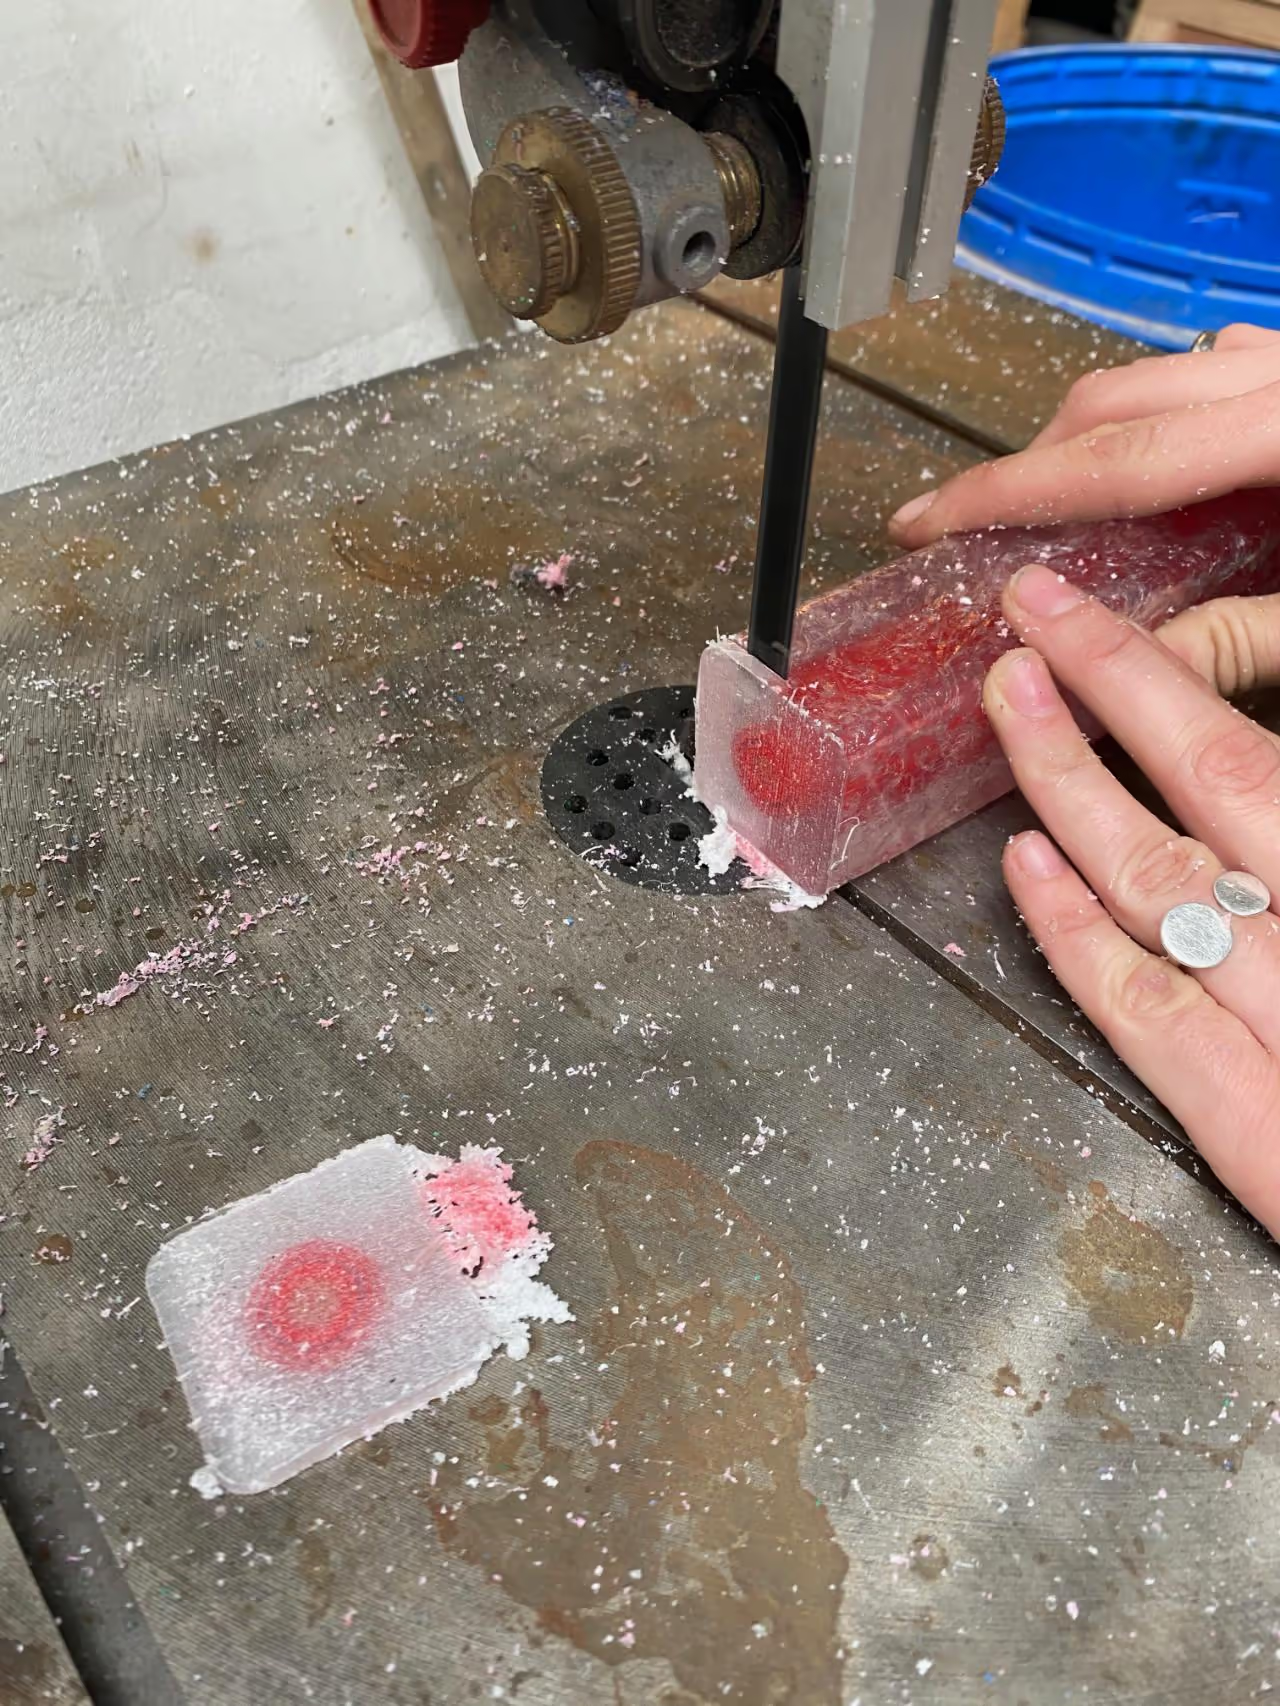
  1. Begin by cutting the beams into slices or small blocks. Slices are ideal for earrings or necklaces, while blocks are suitable for key rings. Cut slices slightly thicker than the intended final thickness, as polishing will thin them.

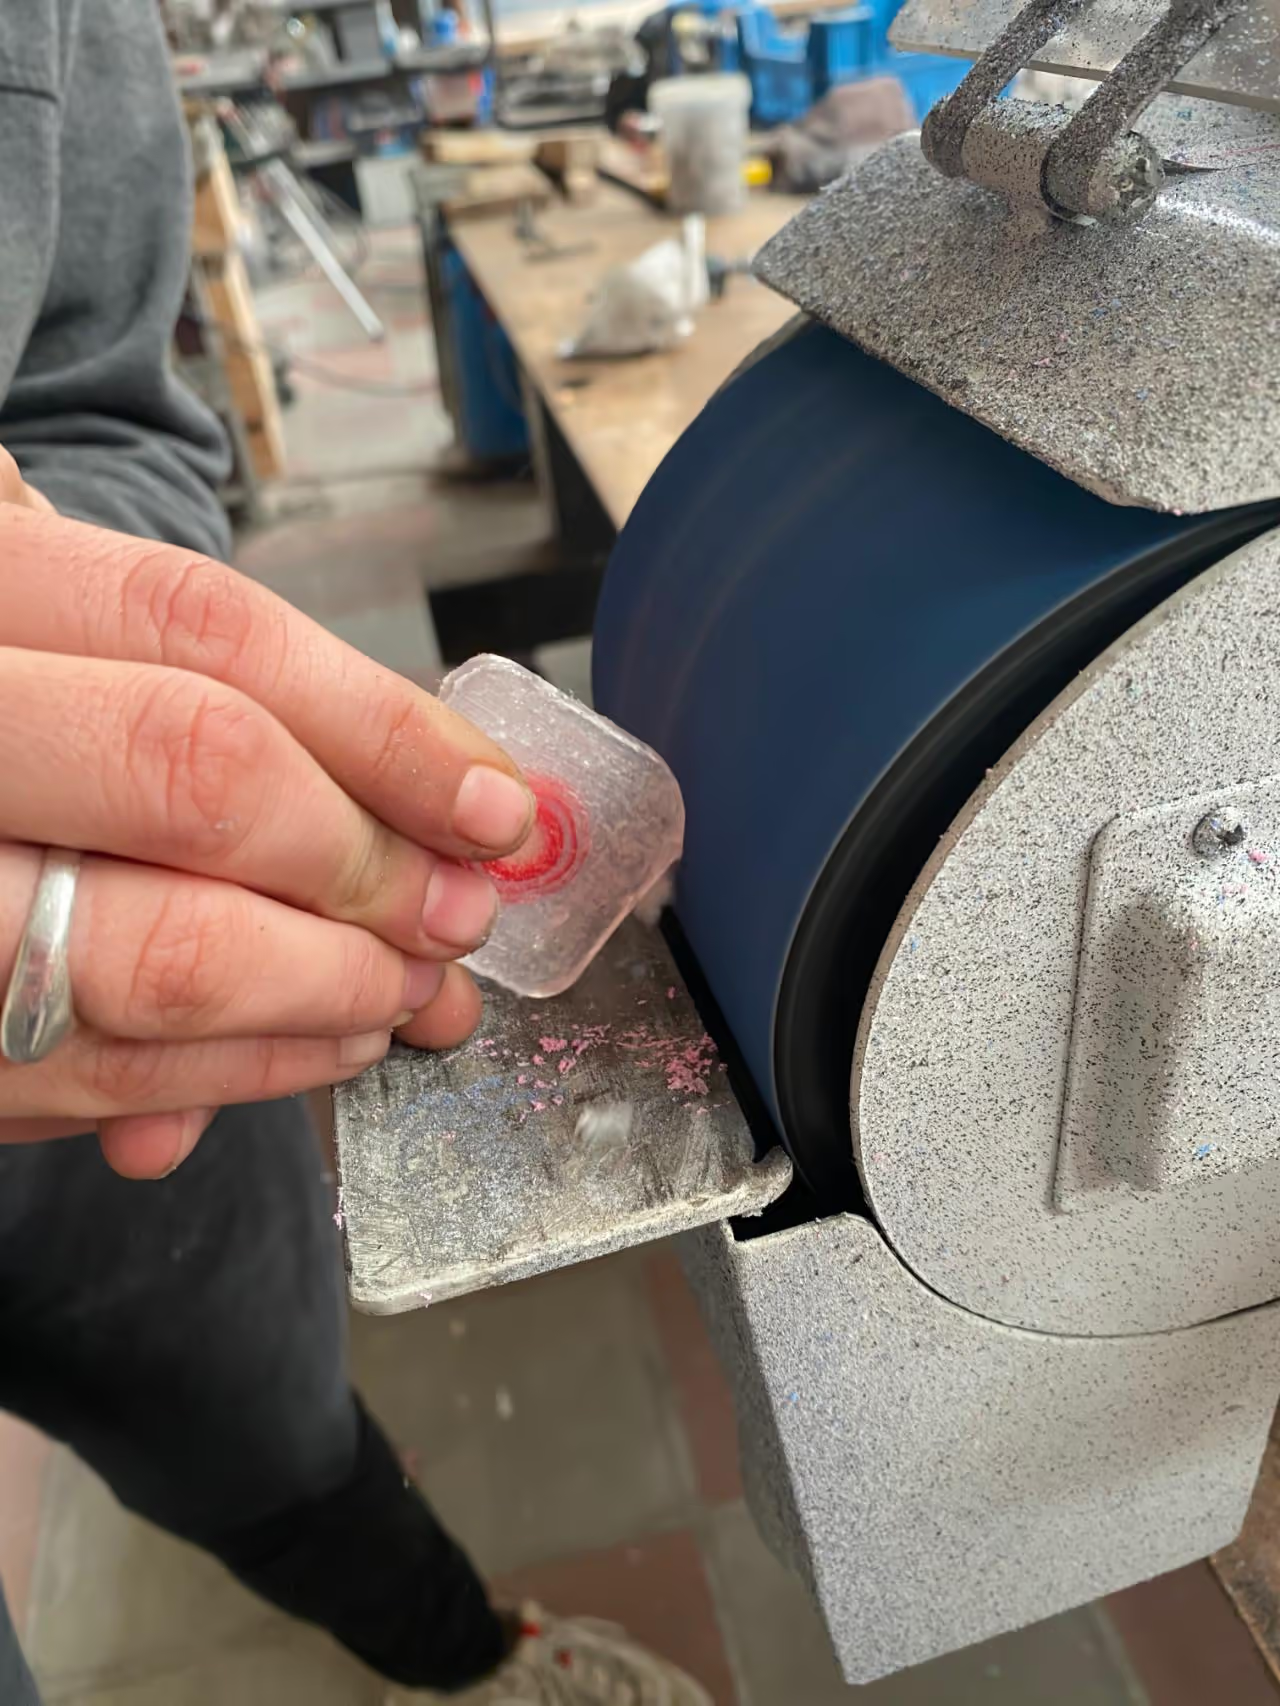
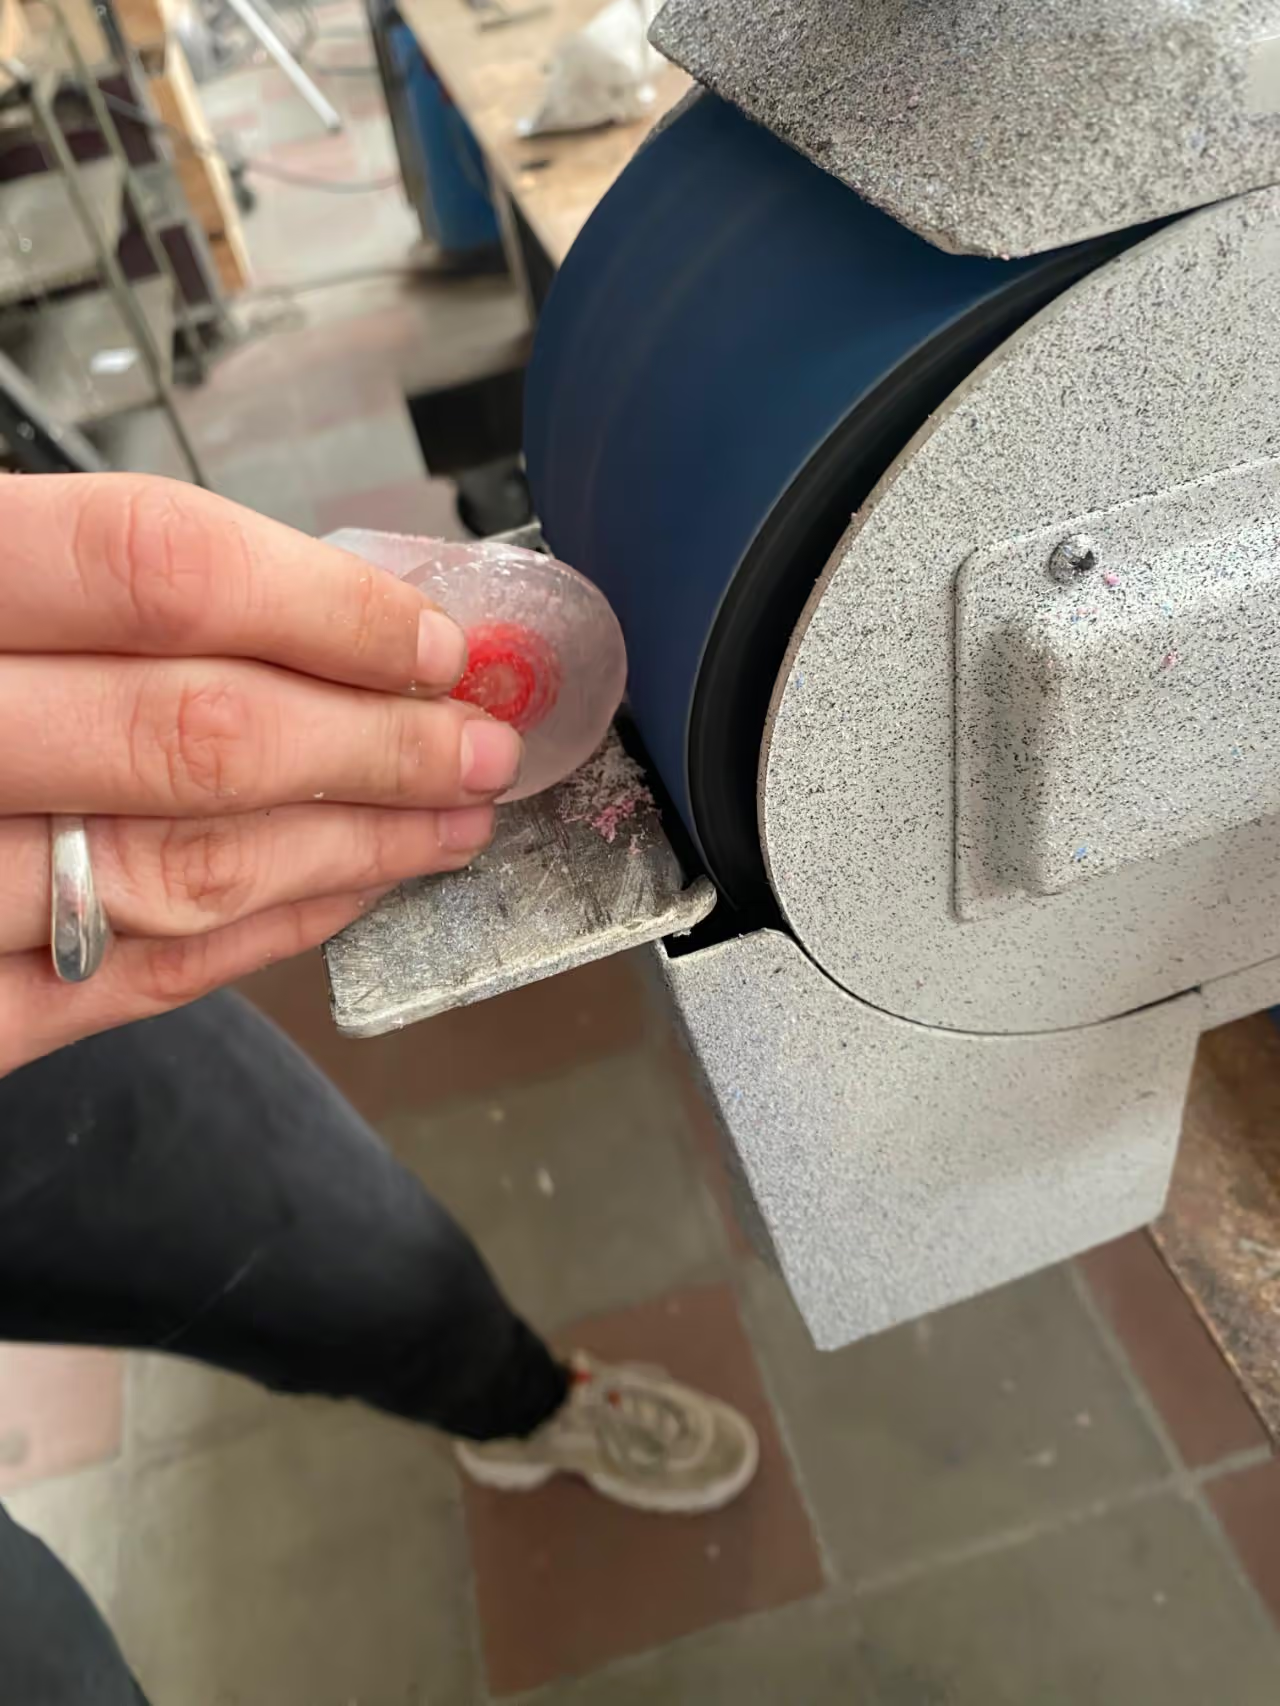
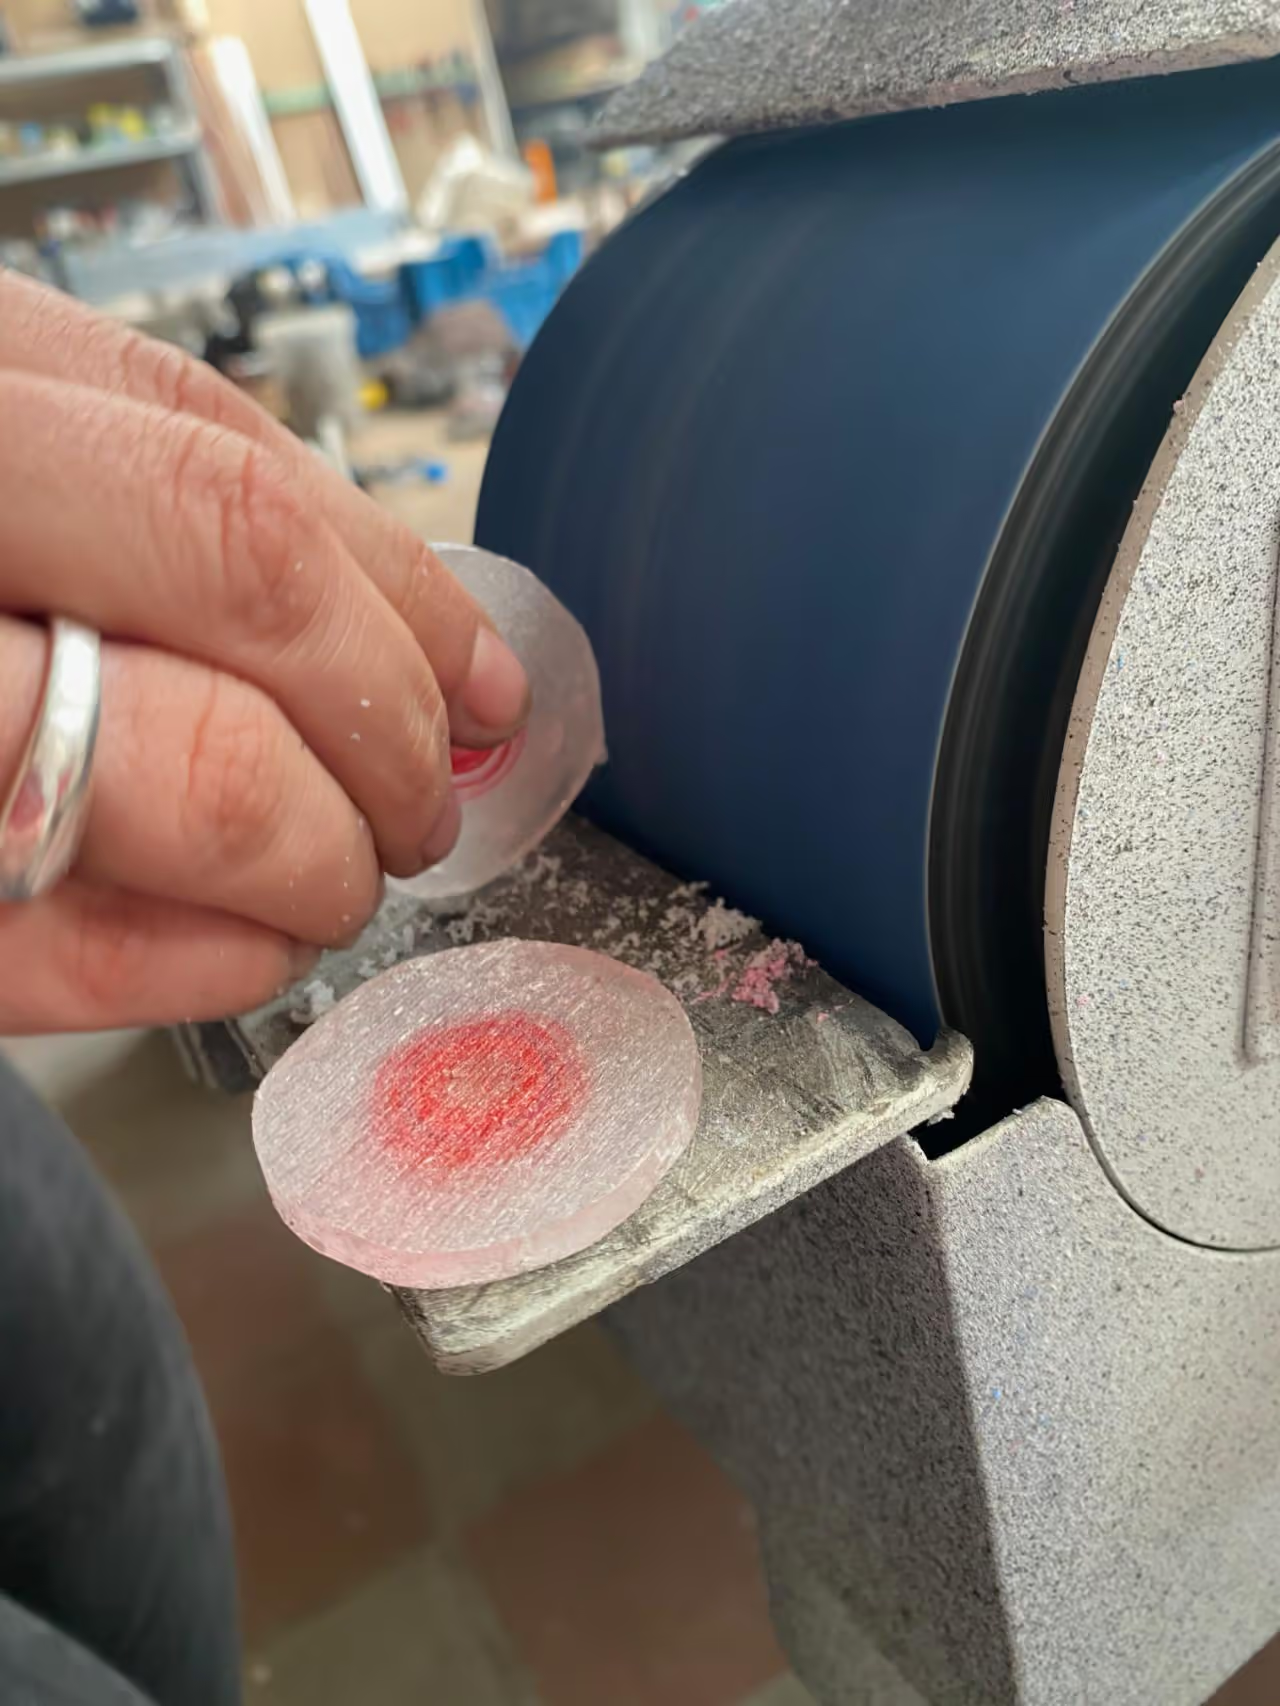
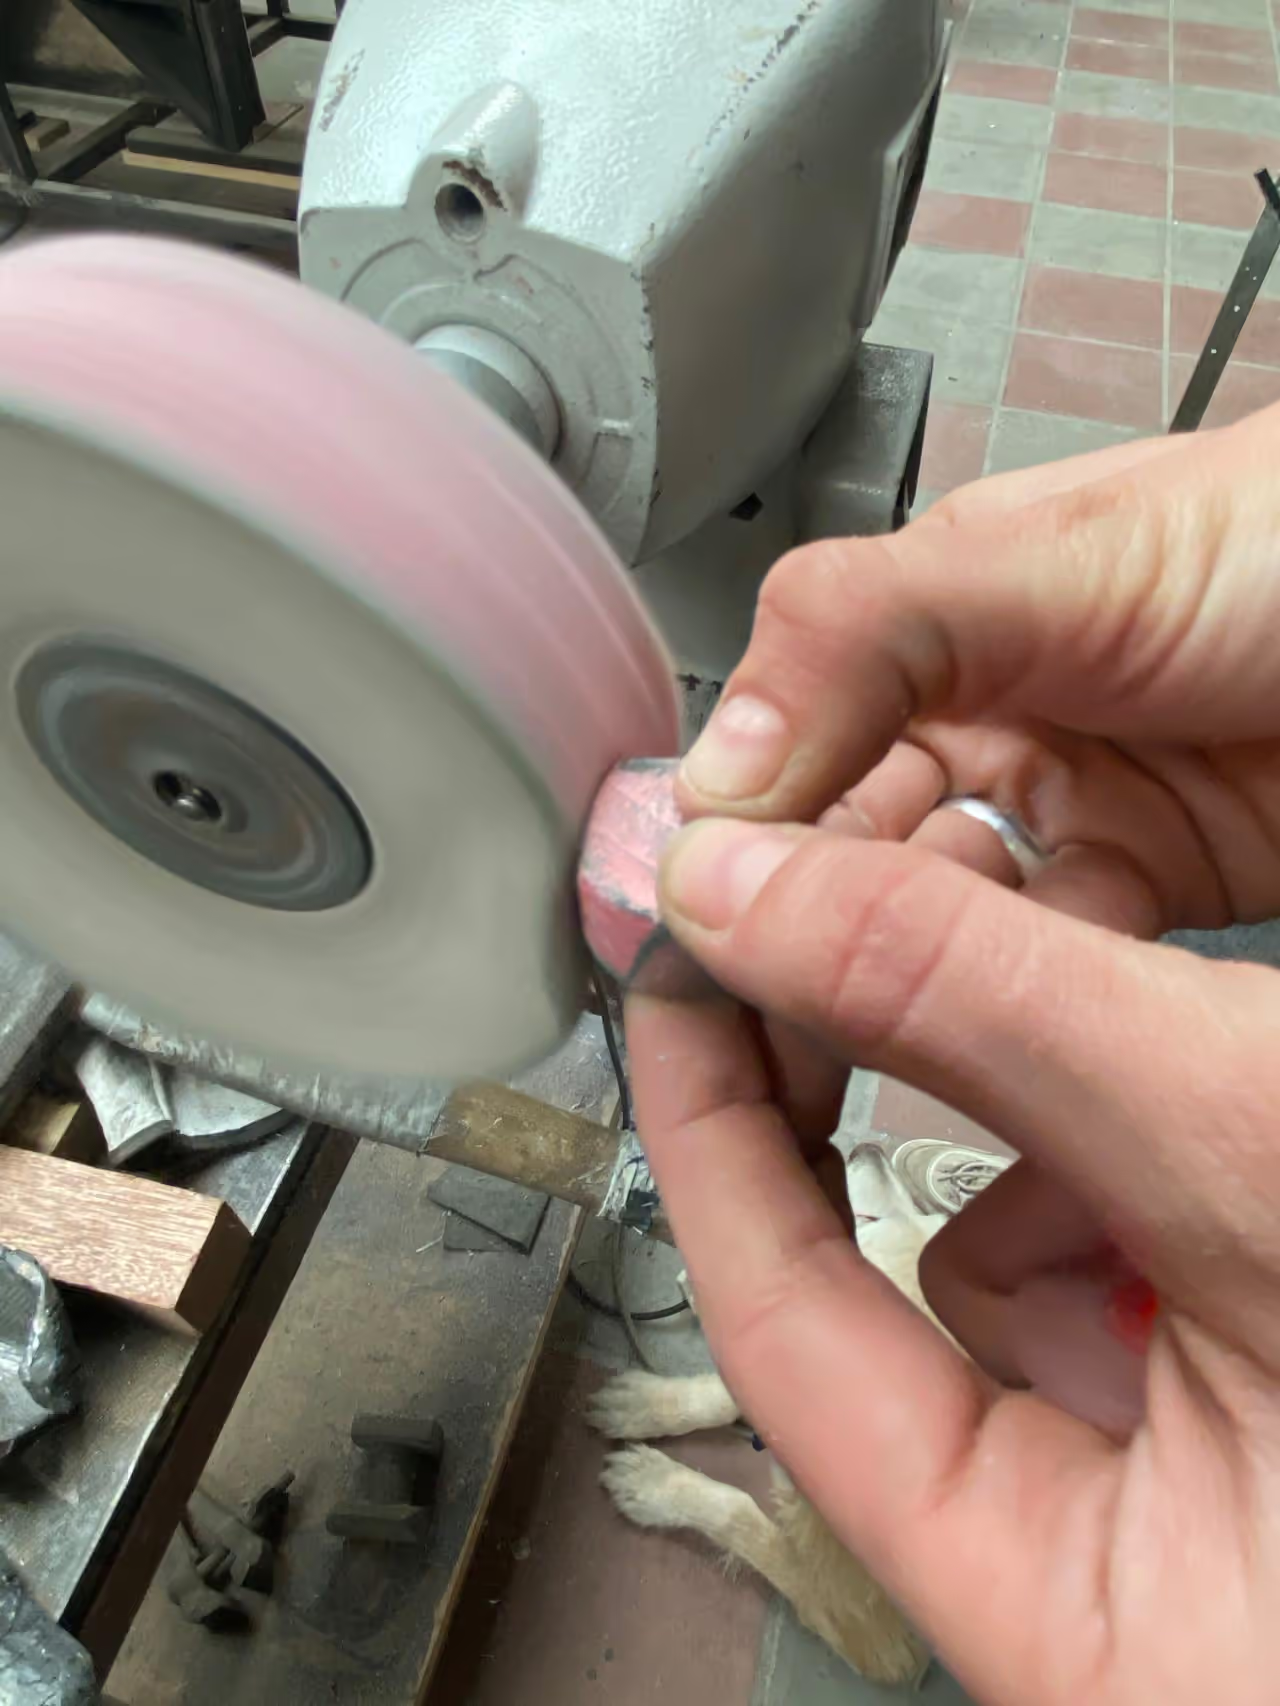
  2. Step 2 involves sculpting the slice to achieve the desired shape. Use an electric polishing machine or any preferred method. I will shape it into a round form for making earrings.

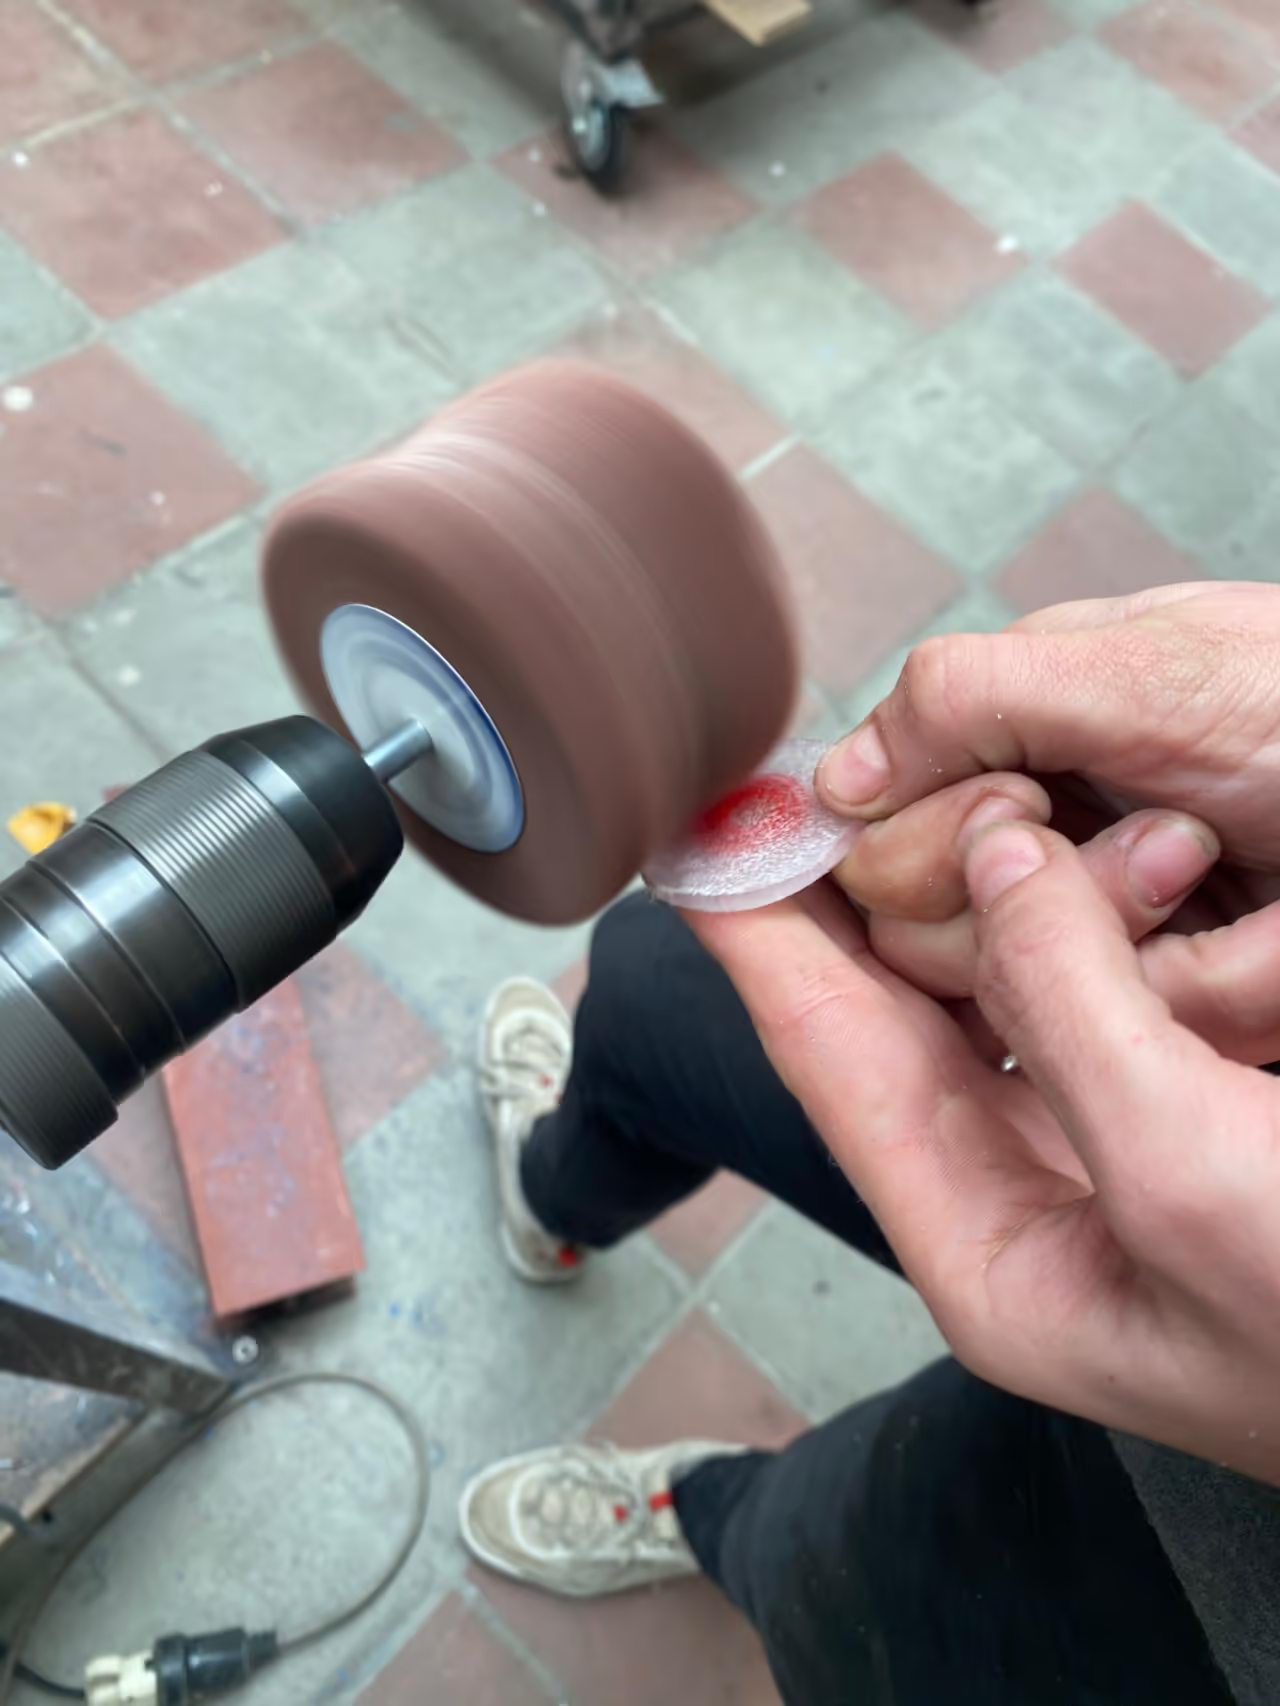
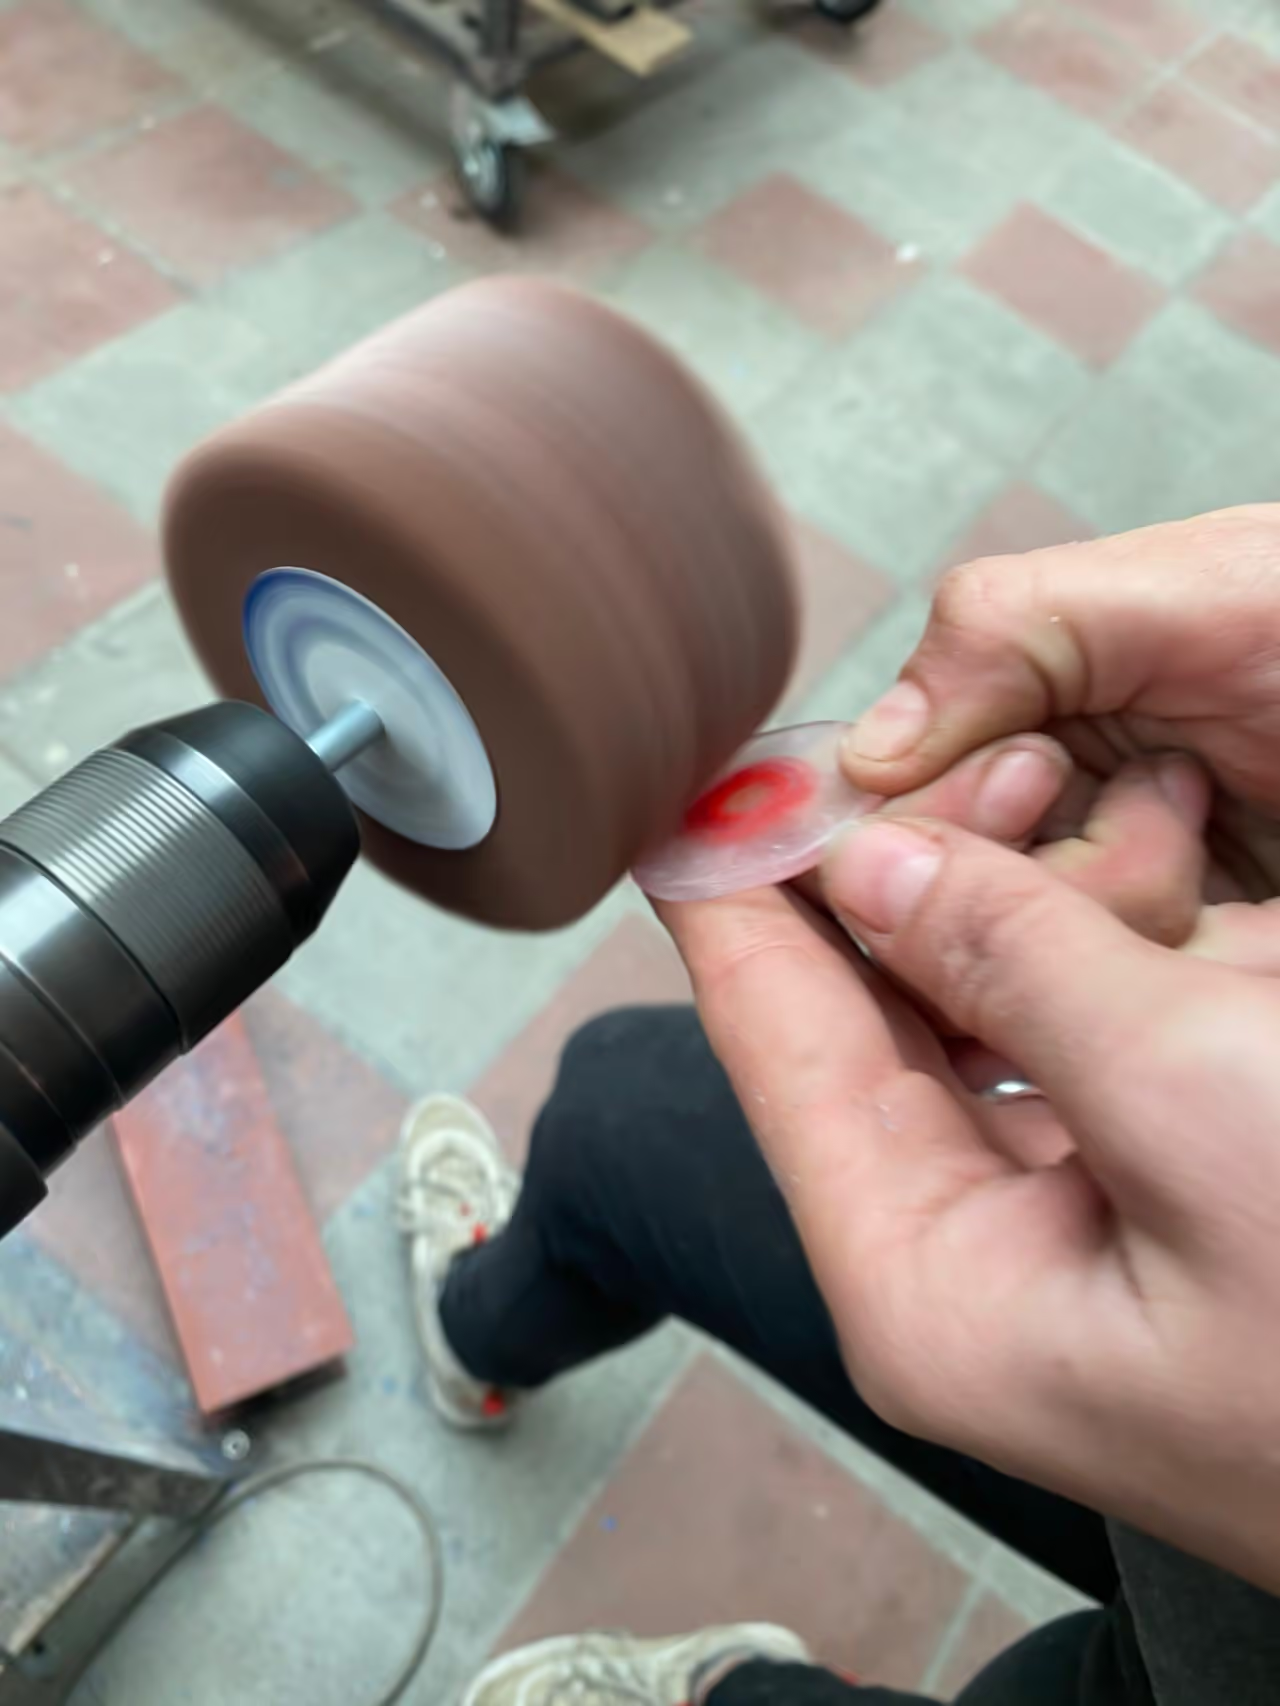
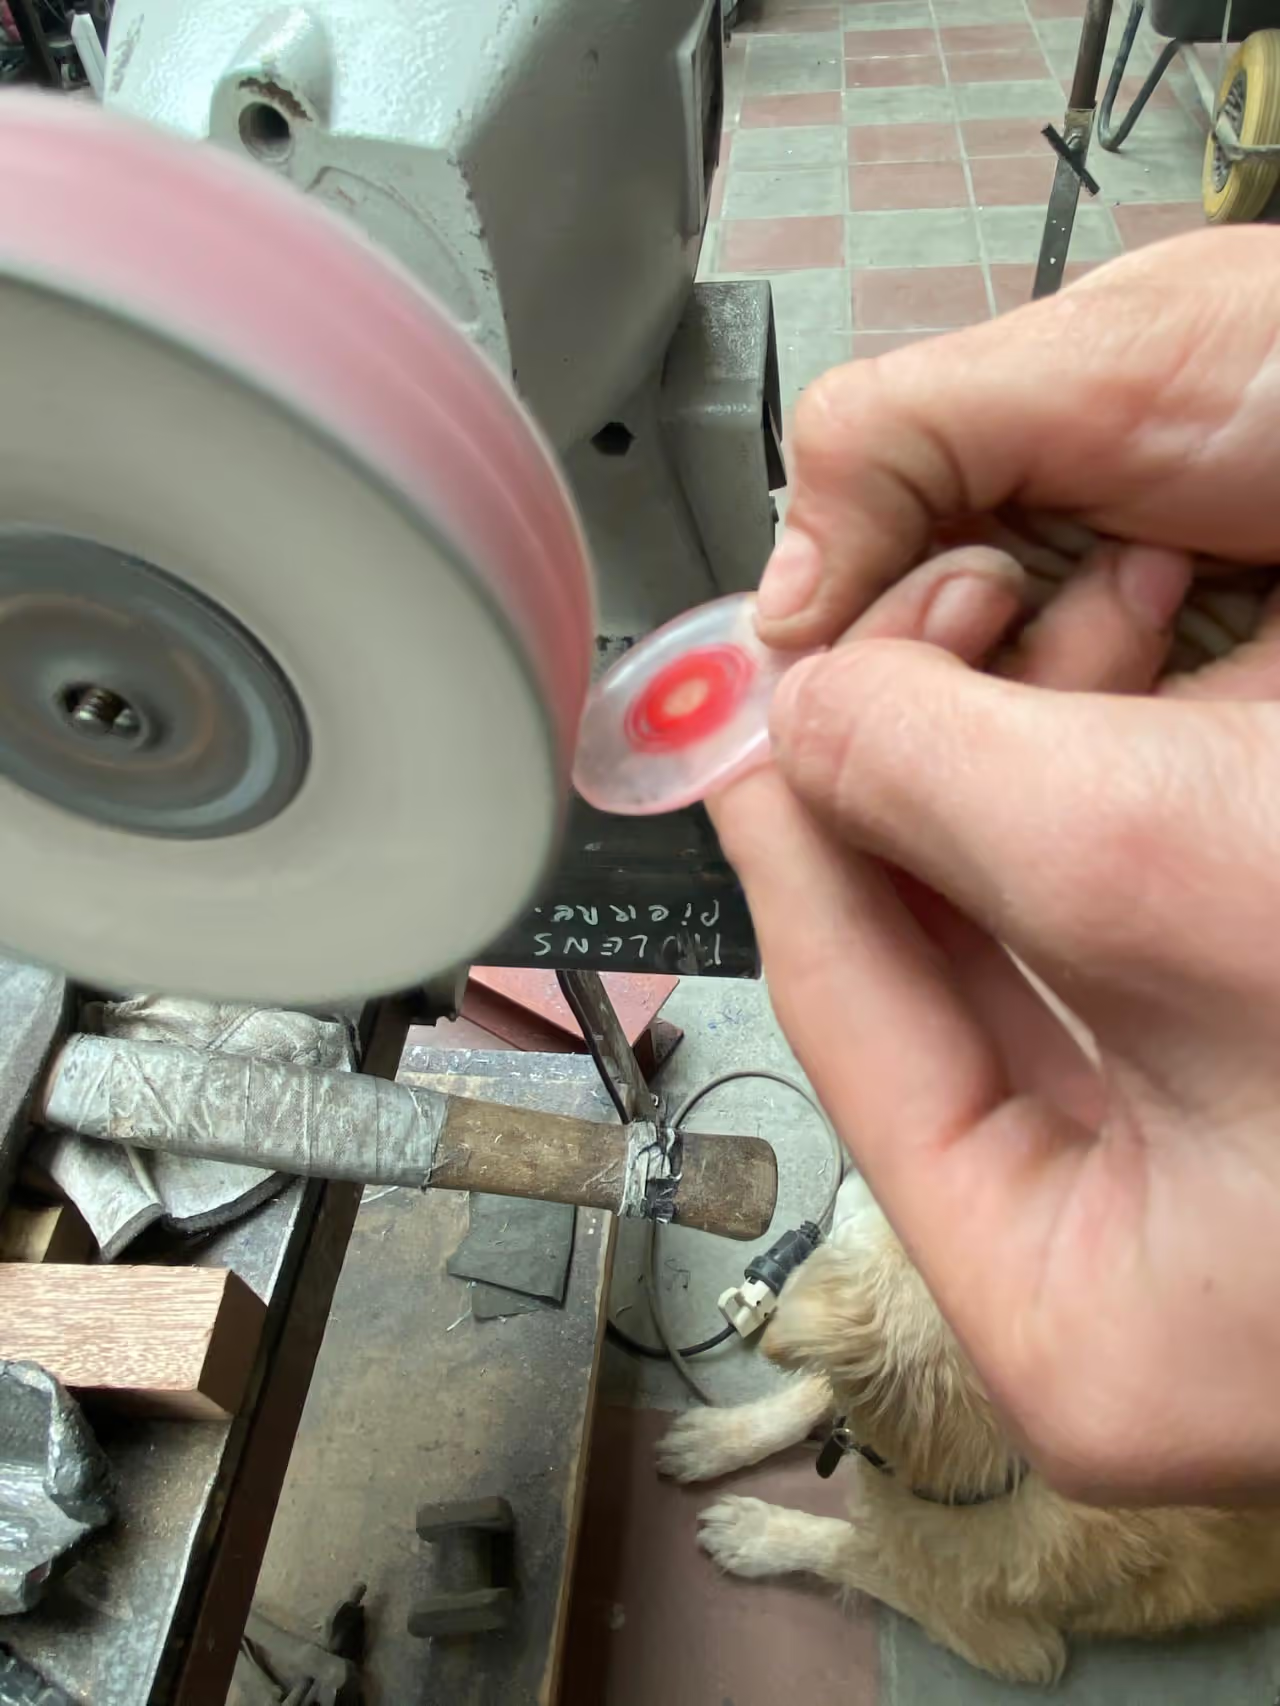
  3. Begin polishing your shape by starting with the coarsest grain and finishing with the finest grain. The thinner the grain, the smoother and more transparent the surface will be. Remember to polish the edges to ensure they are rounded and soft to the touch.

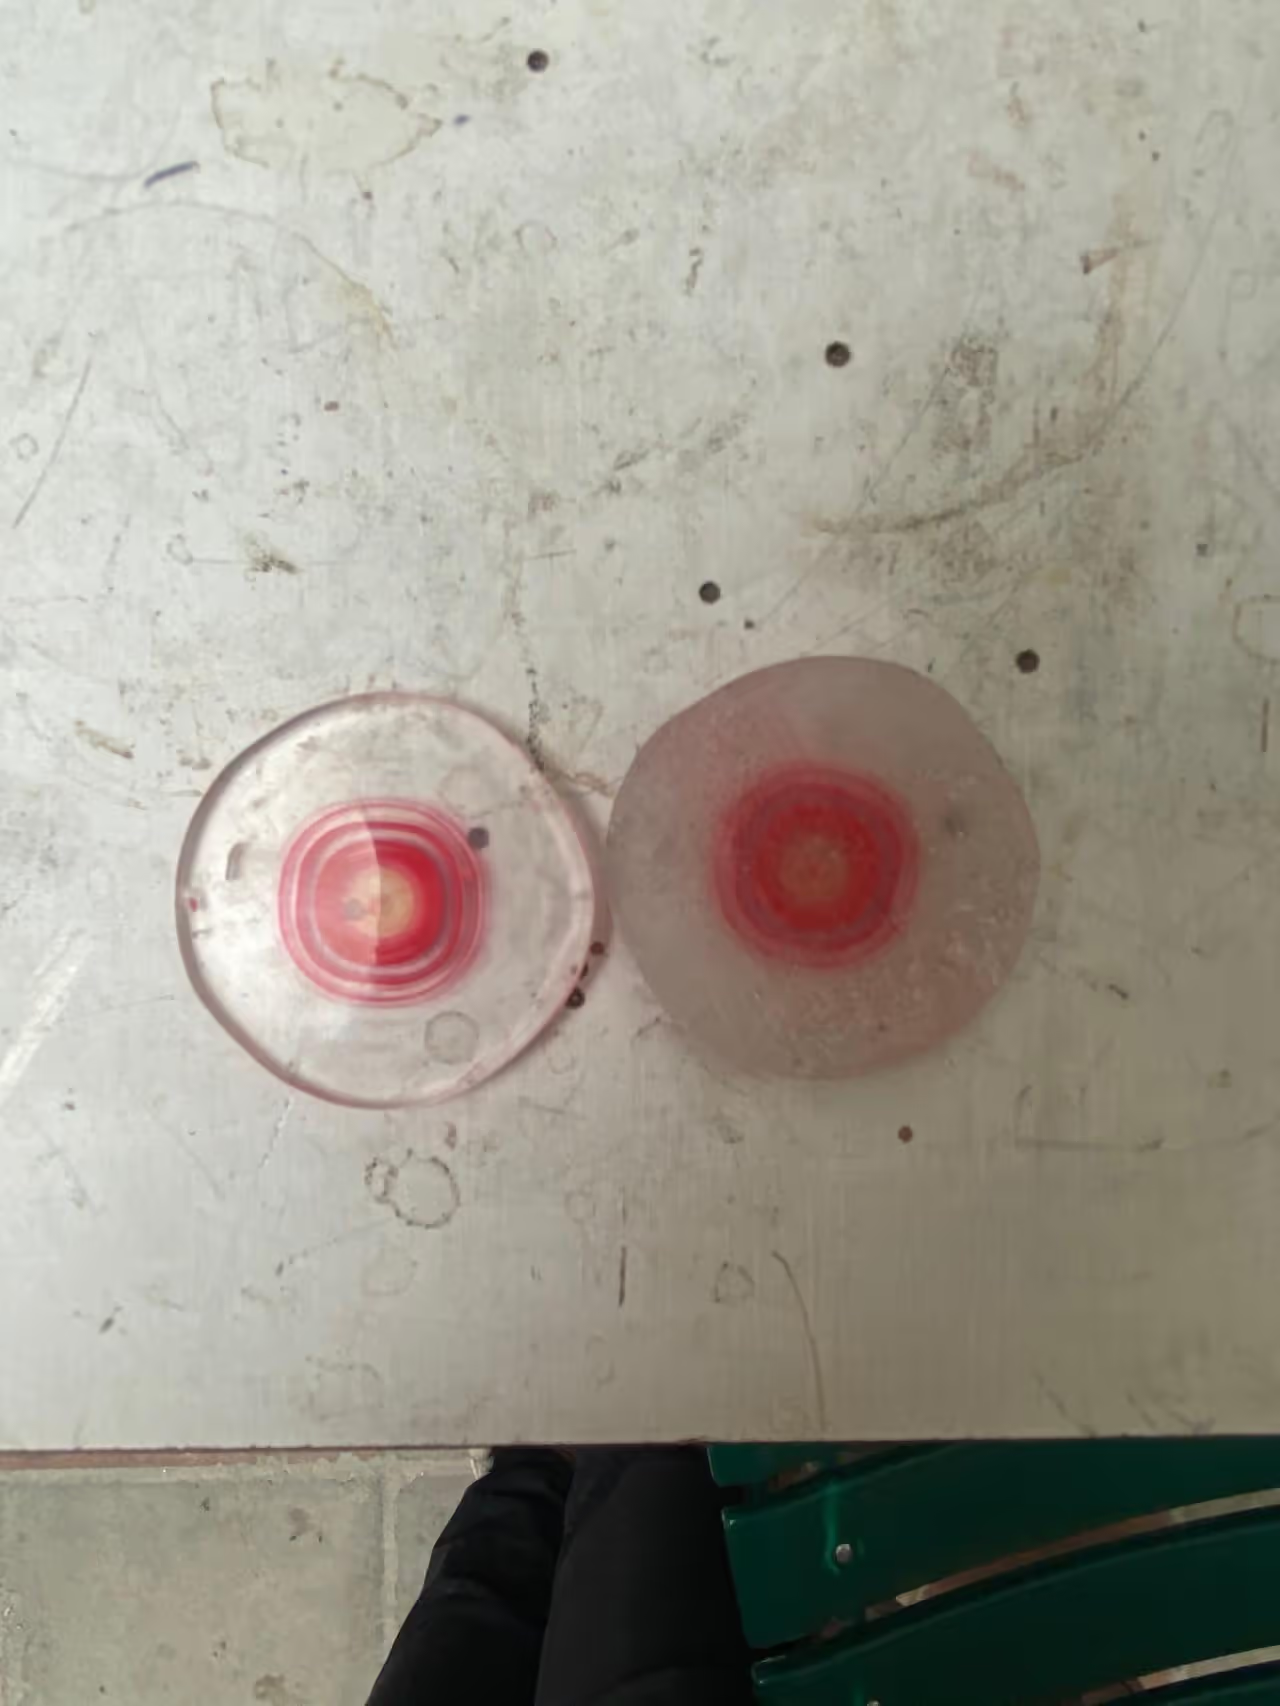
  4. Your pebble is now smooth, nearly transparent, and shining. For the final step, polish it with cotton using patinas for enhanced shine and clarity. The earrings (or necklace or key ring) are nearly ready. Simply drill small holes for attaching accessories using a screwdriver with a small metal bit.

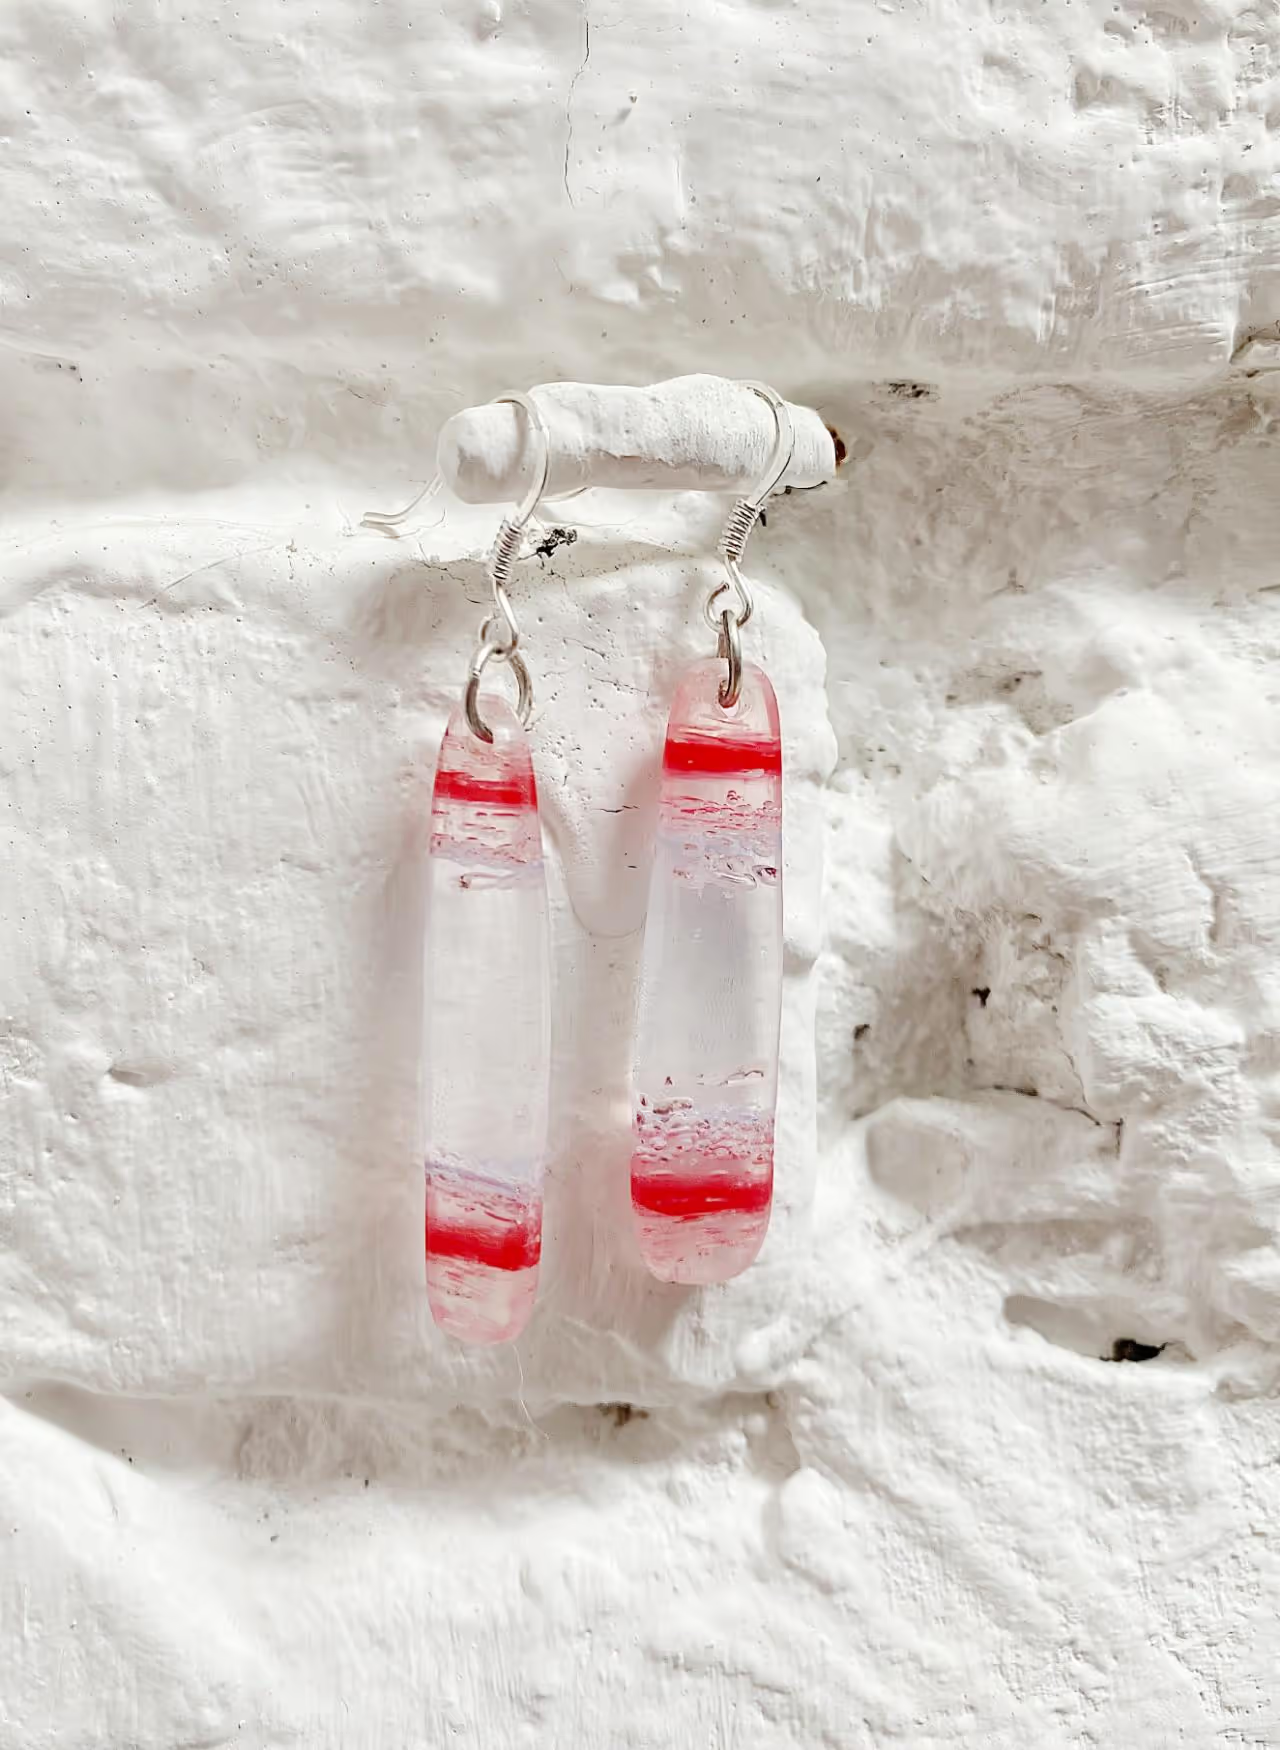
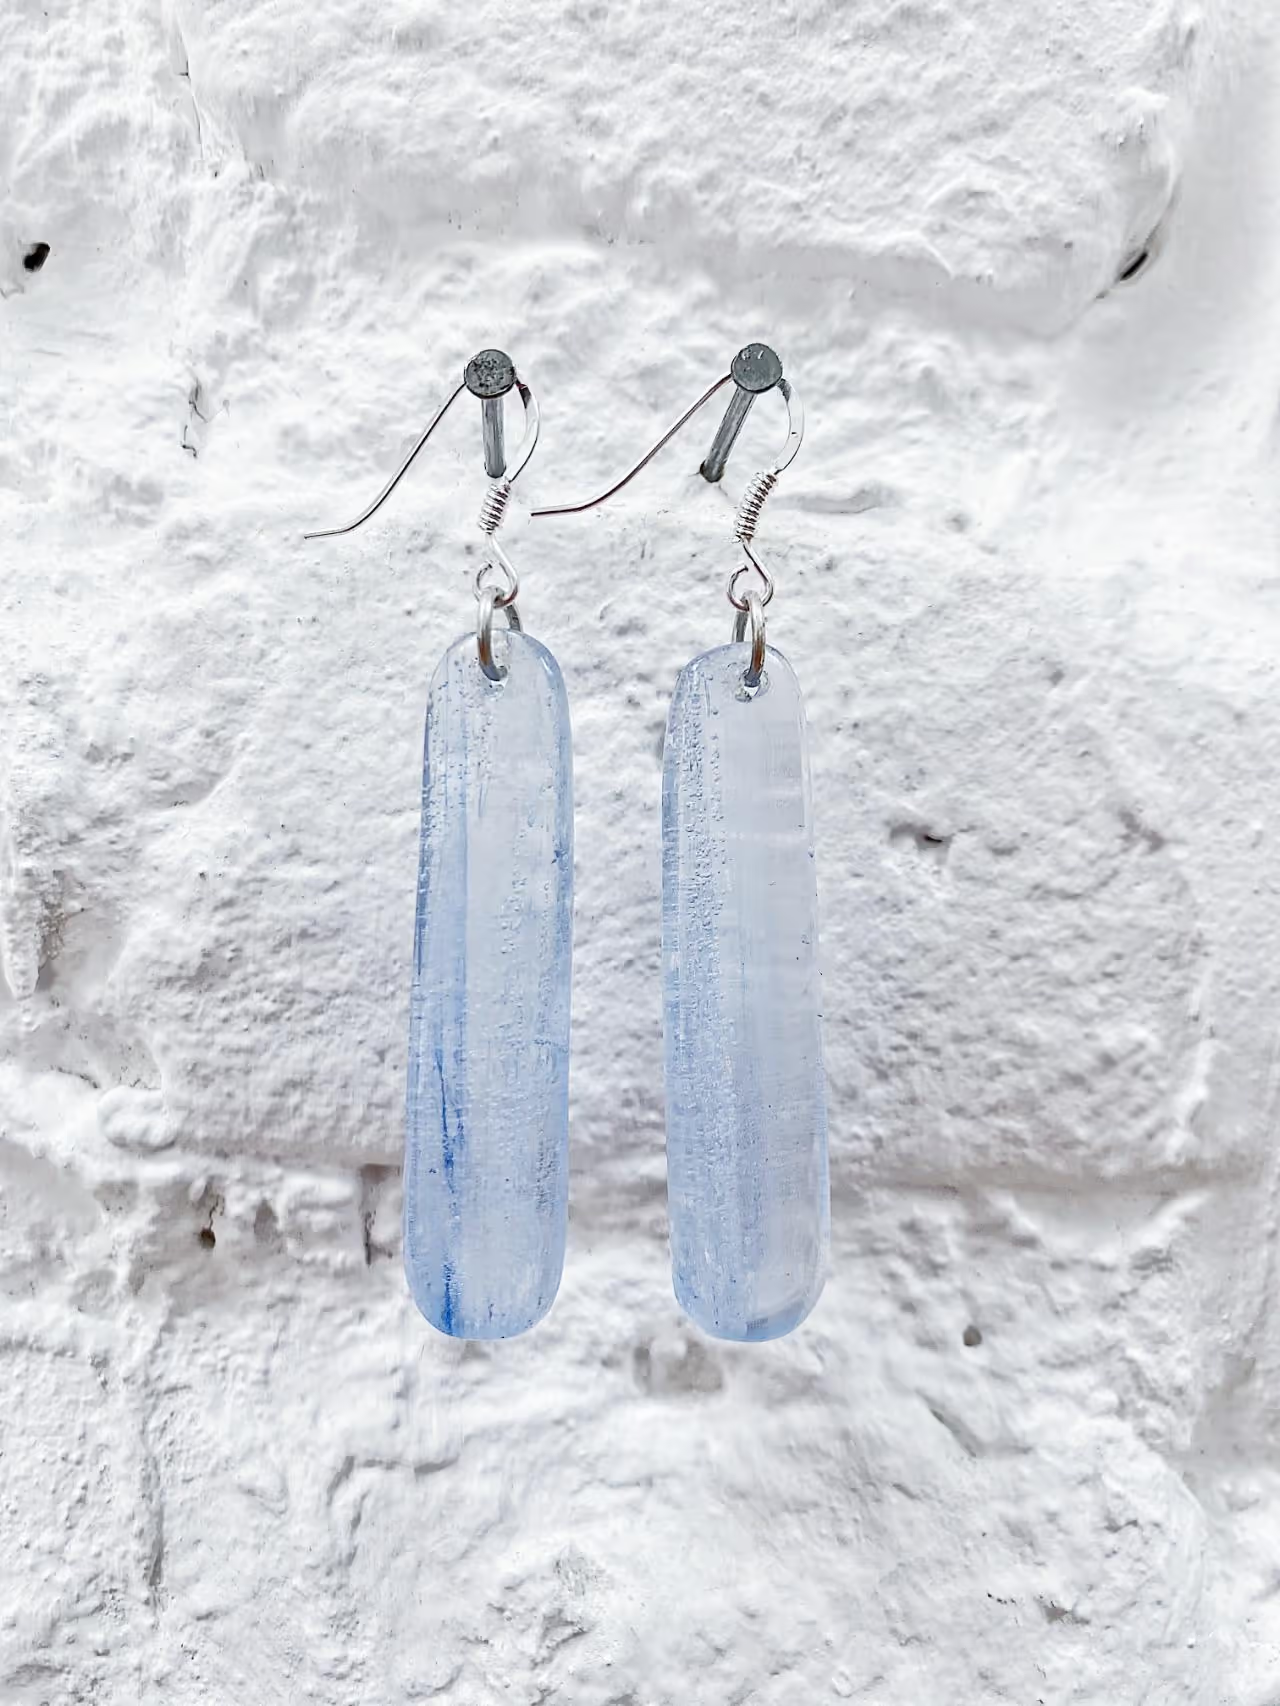
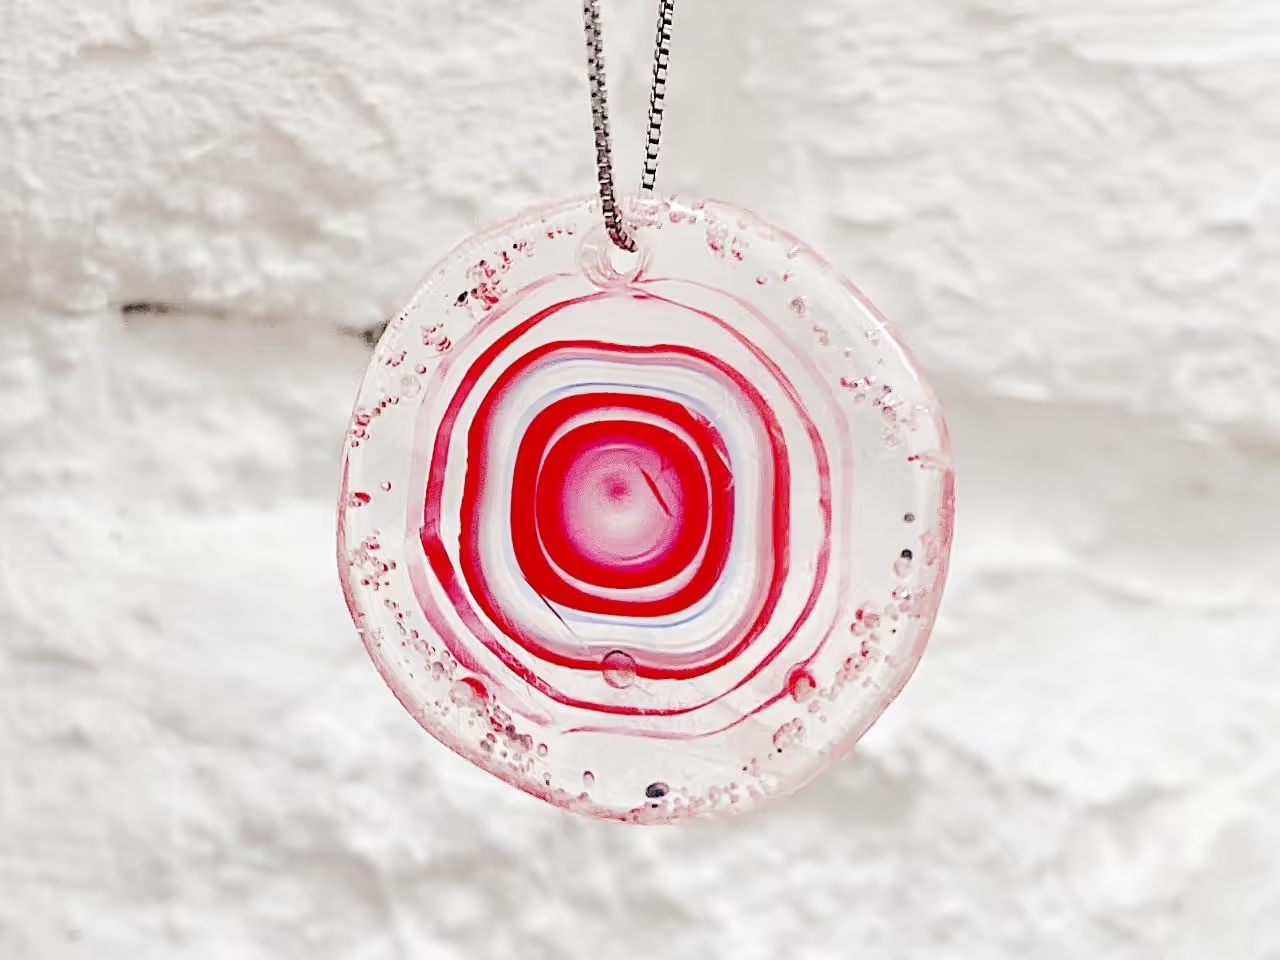
  5. Here are a few examples of achievable outcomes and their final appearance.

To create polished PS BEAMS jewelry or key rings, the following tools and materials are required based on the tutorial:

Hardware Tools

  • Machine for cutting PS BEAMS into slices or blocks
  • Electric polishing machine (for optimal transparency and shaping)
  • Screwdriver with small metal bit (for drilling holes)

Polishing Materials

  • Polishing grains (coarse to fine grits for smoothing)
  • Cotton (final polishing)
  • Patinas (to enhance shine and clarity)

Additional Accessories

  • Earring hooks, necklace chains, or key ring hardware (for assembly)

The process involves cutting, shaping with an electric polisher, progressive polishing, and finishing with cotton and patinas.

Articles

  • https://www.kernowcraft.com/jewellery-making-tips/texturing-patina-finishing-advice/how-to-get-a-good-finish-on-your-jewellery
  • https://www.kernowcraft.com/jewellery-making-tips/texturing-patina-finishing-advice/hand-polishing-with-polishing-papers
  • https://www.romanoff.com/blog/what-is-an-electro-polishing-machine/
  • https://www.ganoksin.com/article/success-polishing-platinum/
  • https://www.jewepiter.com/jewelry-polishing/
  • https://www.nationaljeweler.com/articles/6019-video-the-machine-reimagining-diamond-polishing
  • https://www.fintek.co.uk/industry/automated-jewellery-finishing/
  • https://www.inovatecmachinery.com/jewelry-polishing-machine/

Books

  • https://www.cooksongold.com/blog/inspiration/book-review-polishing-and-finishing-for-jewellers-and-silversmiths/

Papers

  • https://ijcrt.org/papers/IJCRT_186038.pdf
  • http://www.loft.optics.arizona.edu/documents/journal_articles/Burge%20Proc%20SPIE%204451%20153.pdf
  • https://www.spiedigitallibrary.org/journals/optical-engineering/volume-63/issue-10/100901/Application-and-development-of-bonnet-polishing-technology/10.1117/1.OE.63.10.100901.full

YouTube

  • https://www.youtube.com/watch?v=7Sl60R-jI68
  • https://www.youtube.com/watch?v=CaoN6m-4Yy8
  • https://www.youtube.com/watch?v=Yq2XGIFFFck