Make a Silicone Mould for Soft Plastics

COMPRESSION
MOULD
LDPE
HDPE
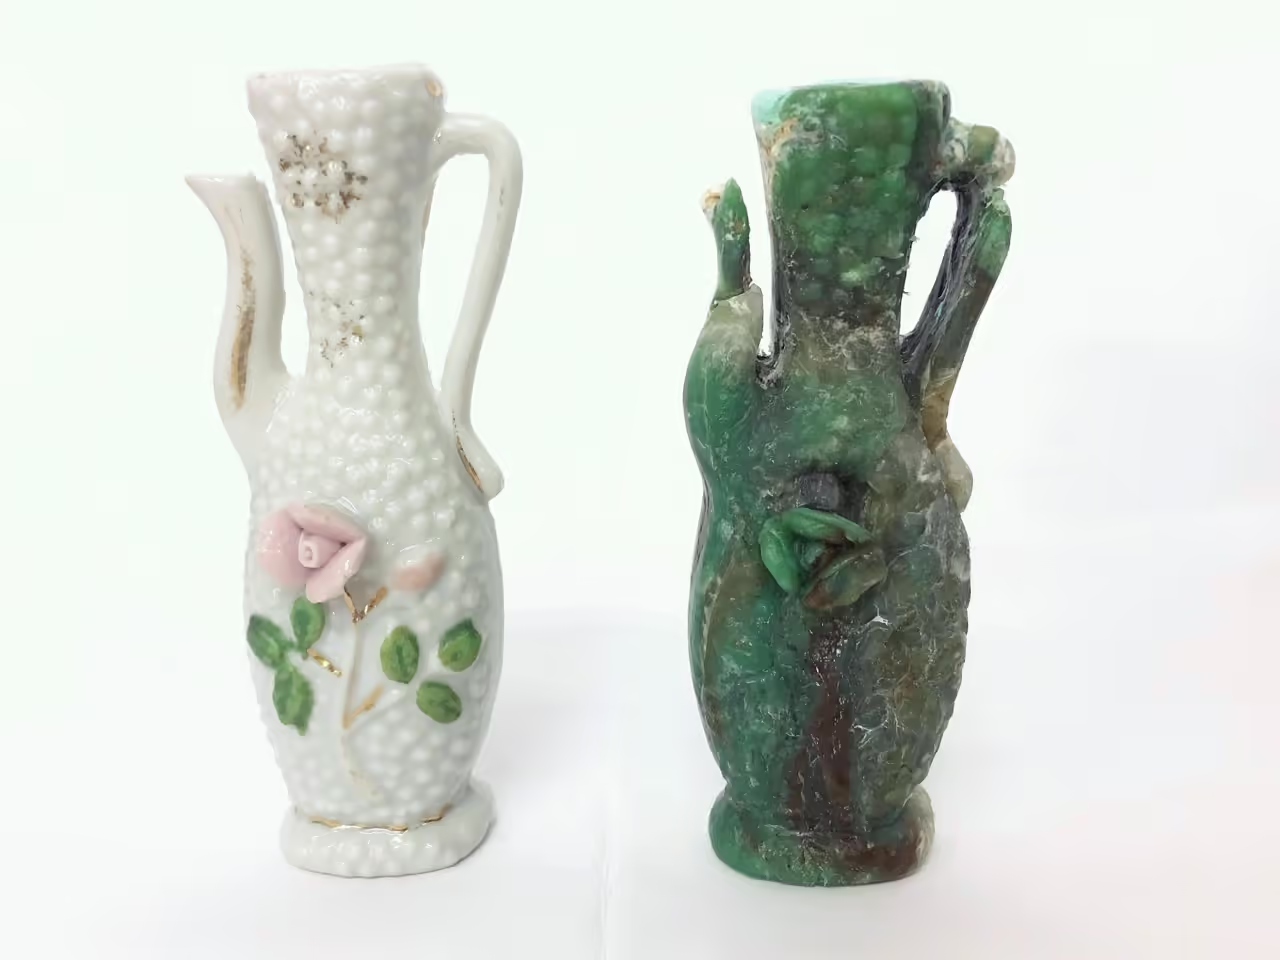
This guide demonstrates how to cast objects in silicone to create replicas in soft plastics. Silicone molds are ideal for replicating intricate or delicate items.
You can choose to cast simple items, like a vase, or more complex ones, such as a tree. These molds are reusable.
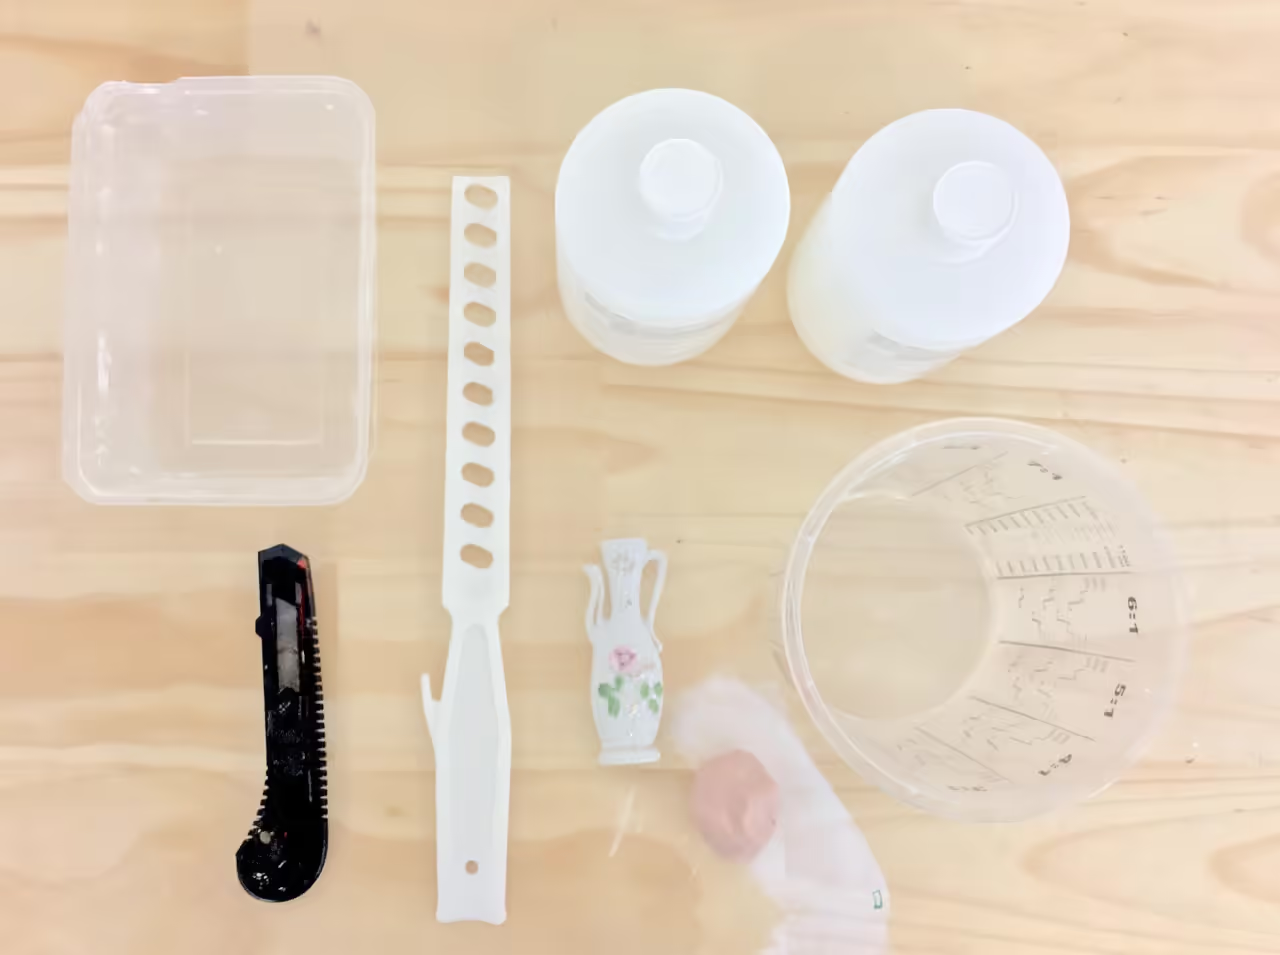
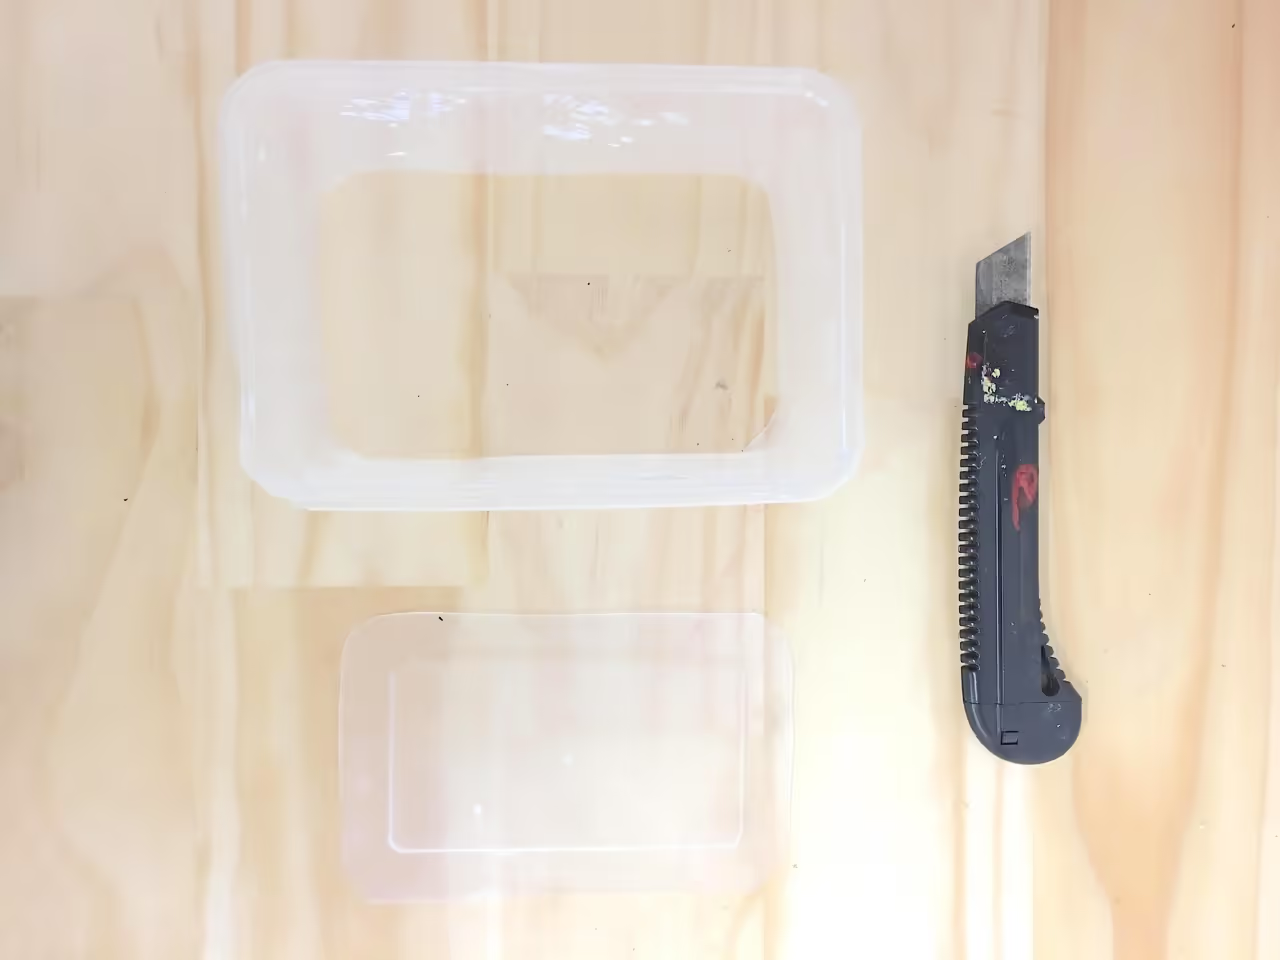
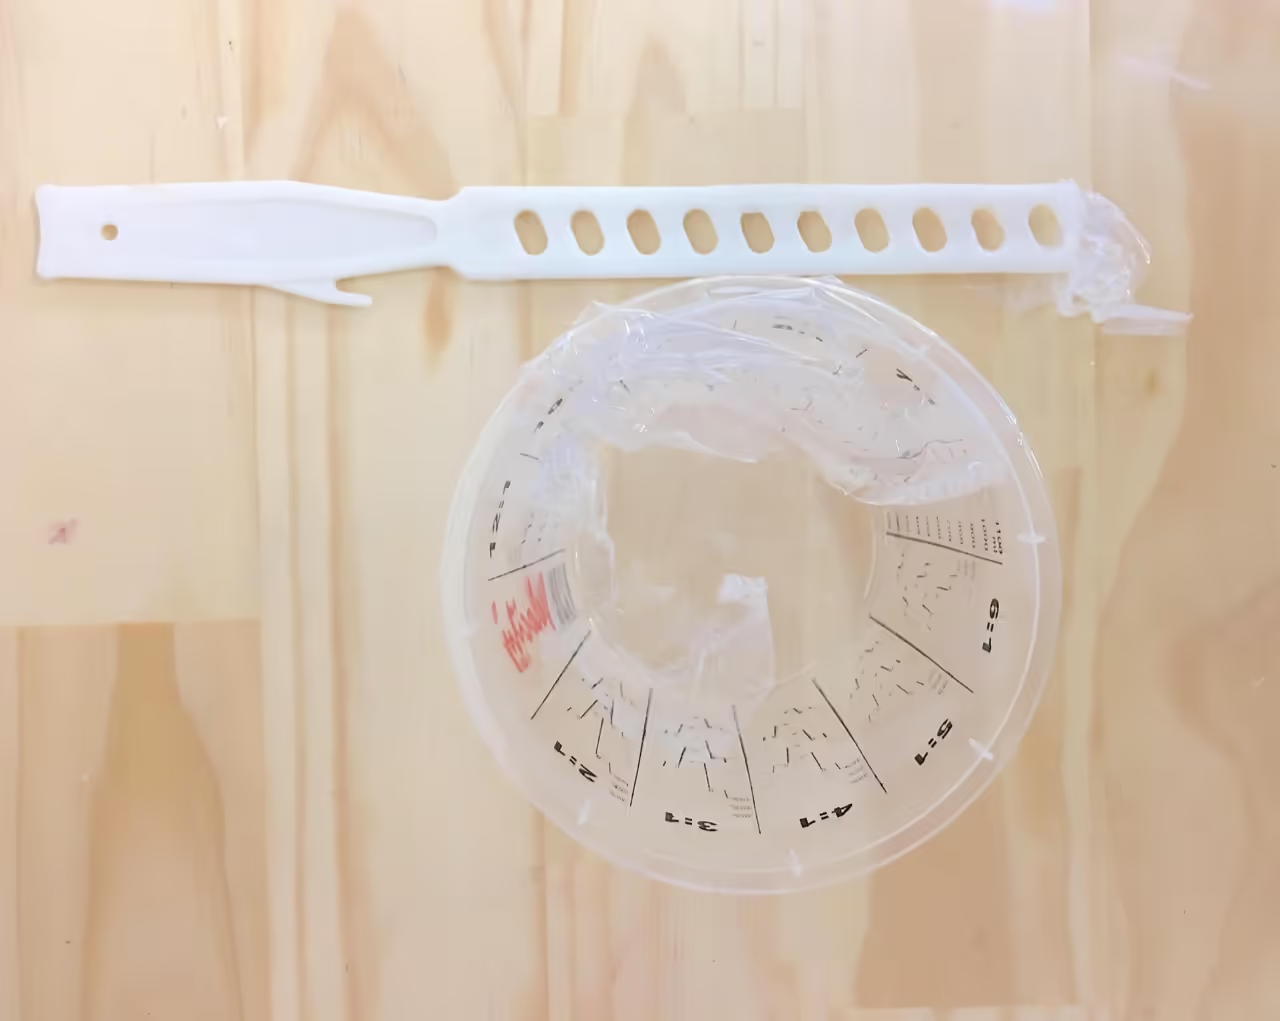
Before starting, ensure you have the correct tools:
In this tutorial, I used approximately 16.9 fl oz of silicone for an object measuring 4 in (h) x 1 in (w) x 1.2 in (l). Maintain a clean workspace and have all tools prepared, as silicone sets quickly and is costly to waste.
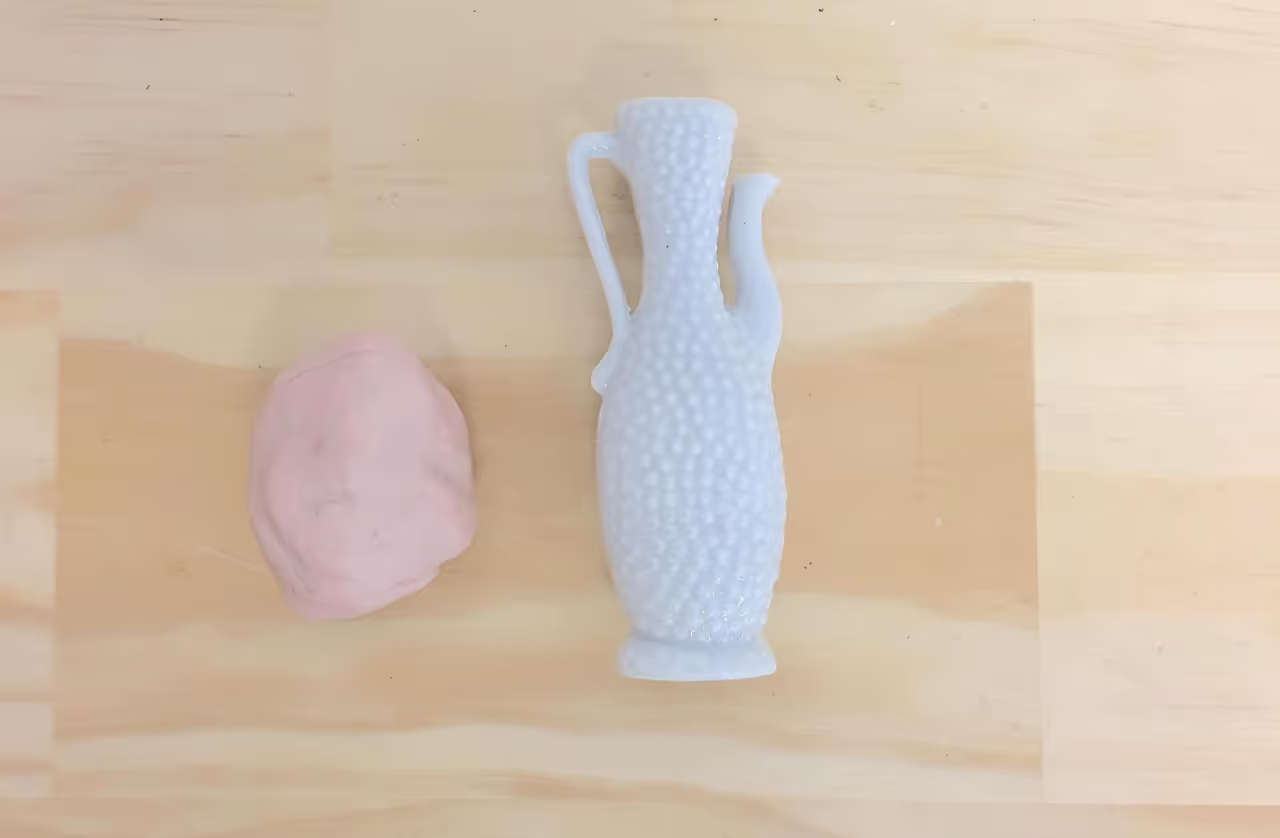
First, clean your object of any dirt or dust.
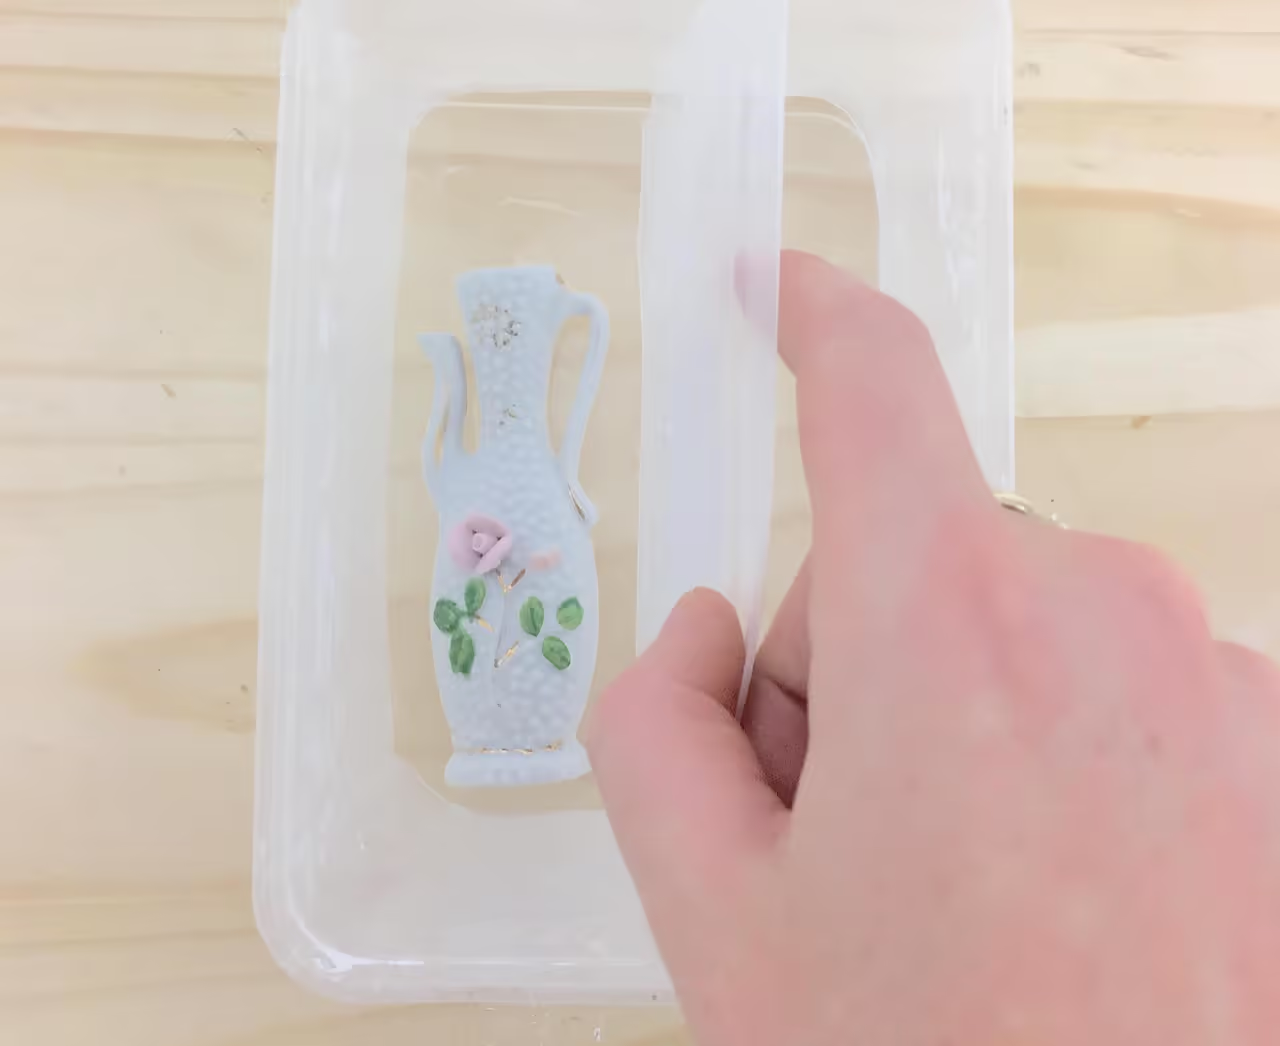
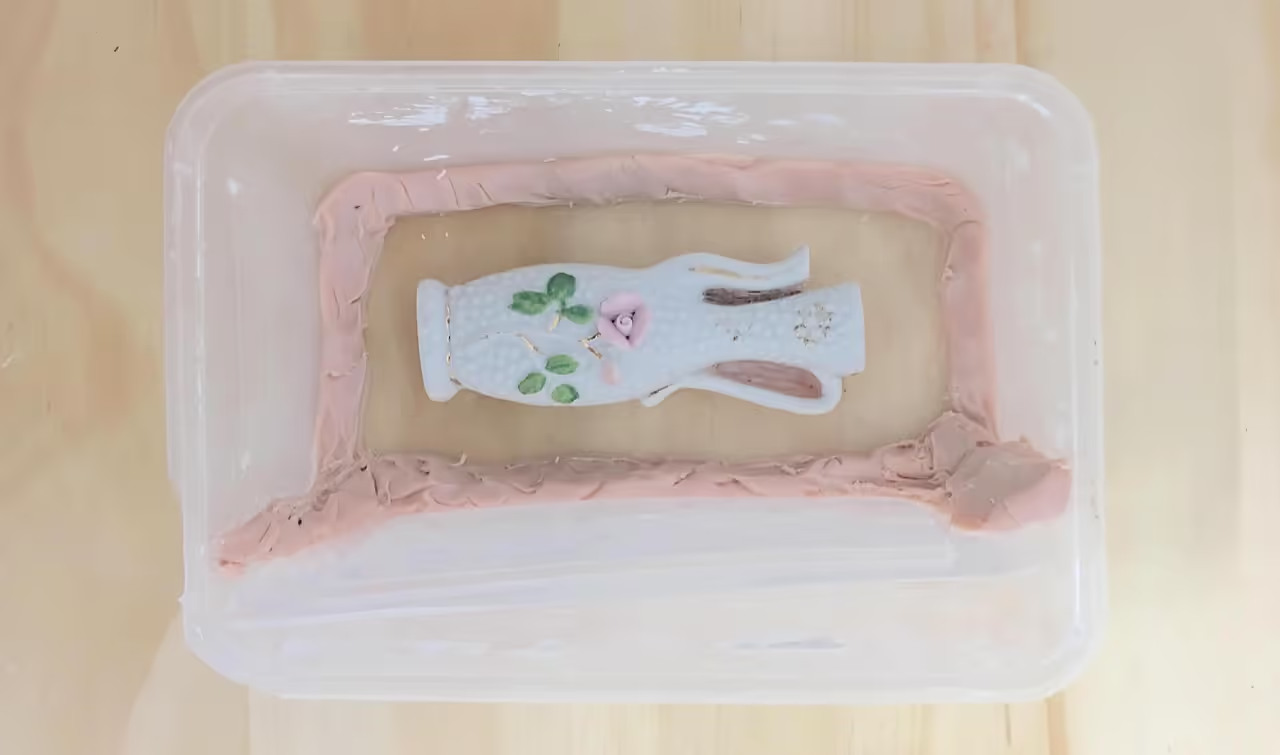
Apply a small strip of clay to the back of your object, ensuring it sits flat when placed down. This will serve as the entry point for material once the mold is complete.
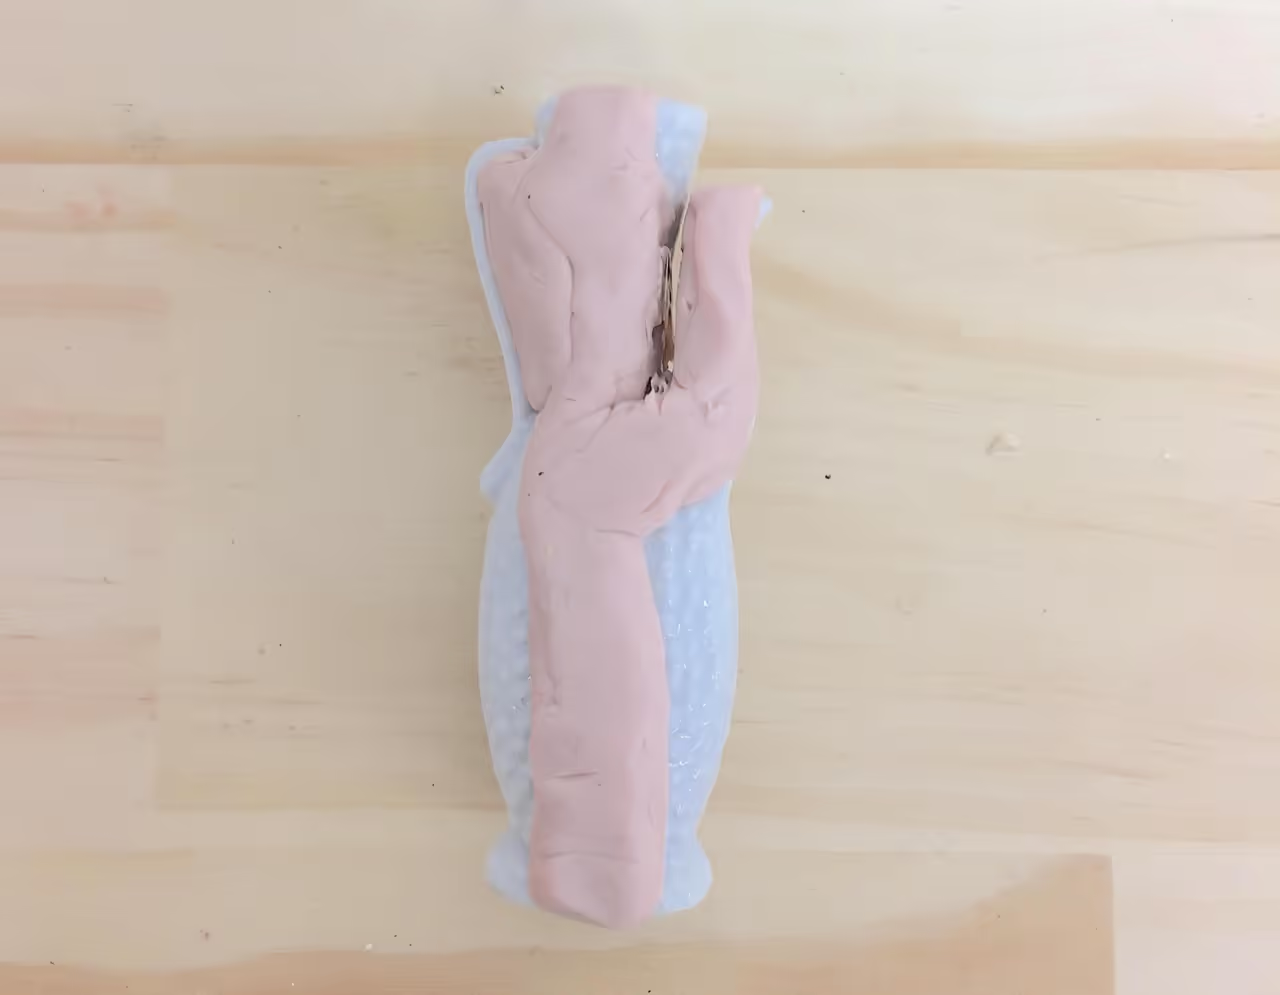
Cover any holes and trim excess clay with a knife. Position the object face-up on the container lid.
Proceed to construct the walls of your mold box.
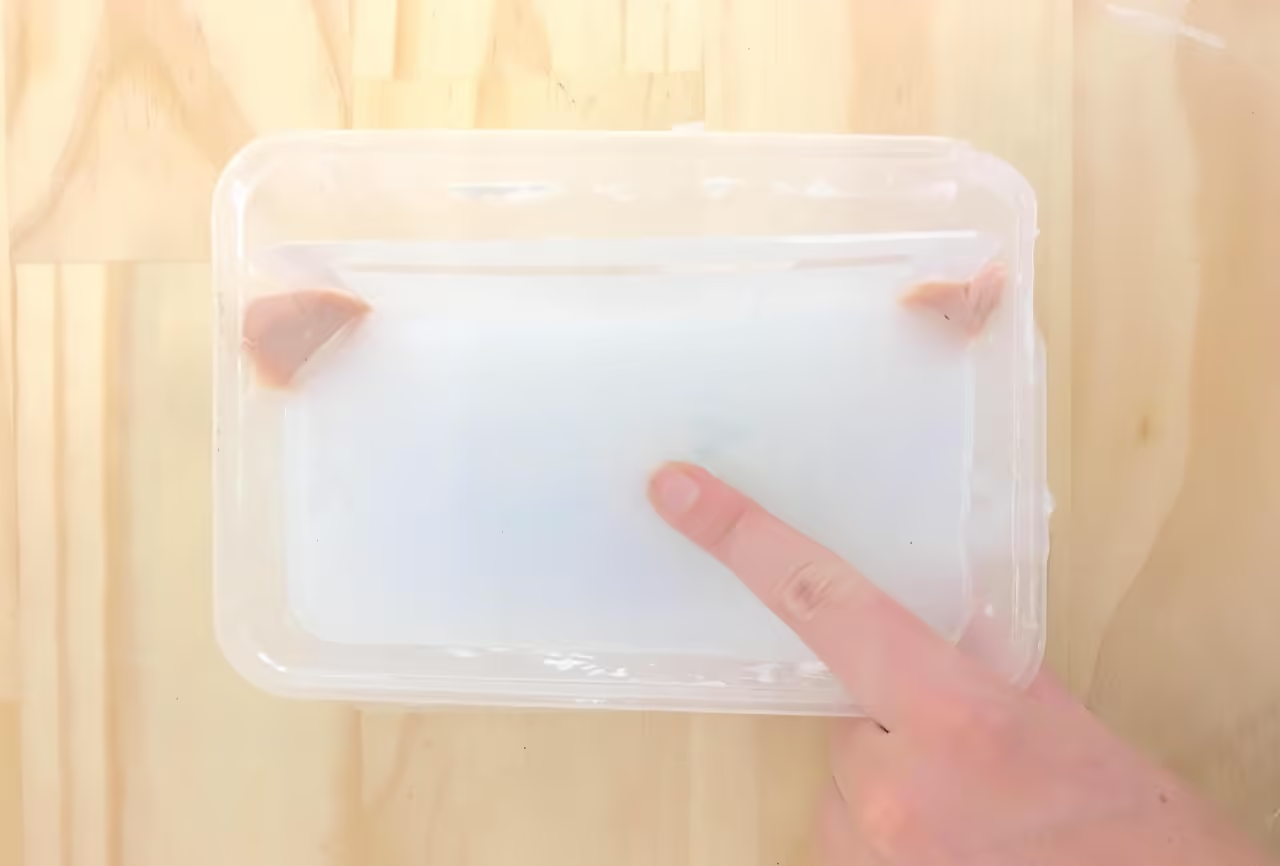
As the bases of take-away containers are often uneven, remove the bottom of the container using a knife to create separate parts: the container edges, the bottom, and the lid. The container edges will form the walls of the box; the bottom serves as an extra wall; and the lid becomes the box's base.
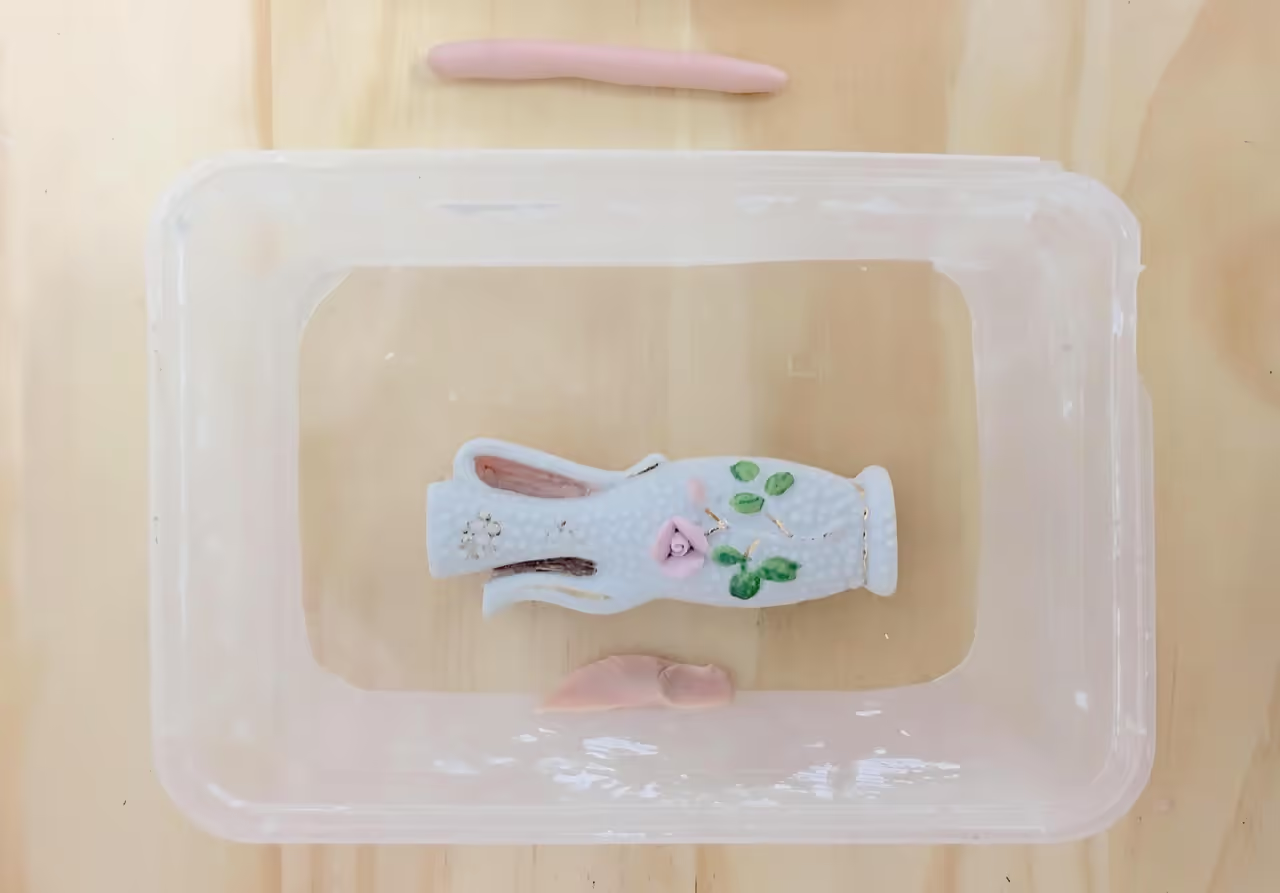
Position the container walls over the lid and object, maintaining a gap of 0.8-1.2 inches (2-3 cm) between the object and walls. Use the cut-out bottom as an insert if the walls are too distant from the object. This ensures minimal silicone usage.
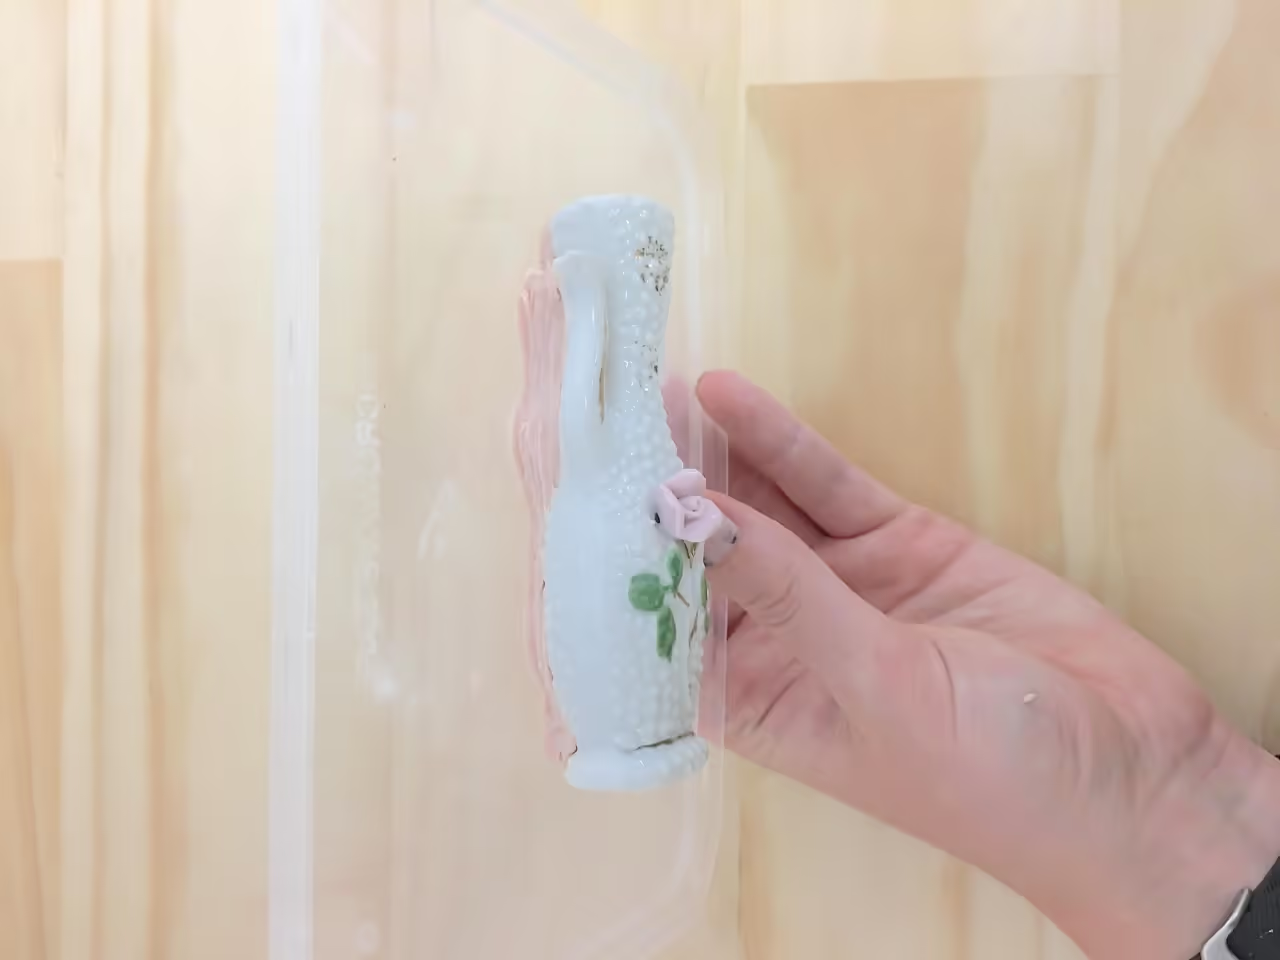
Seal the base of the walls with clay to prevent silicone leakage.
Shape the clay into a ball, then into thin strands. Press these strands along the inner and outer edges of your walls. The mold box should now be sealed effectively.
Certainly, here is the revised text in Markdown format:
The initial stage is complete; begin preparing the silicone for pouring.
Preparation:
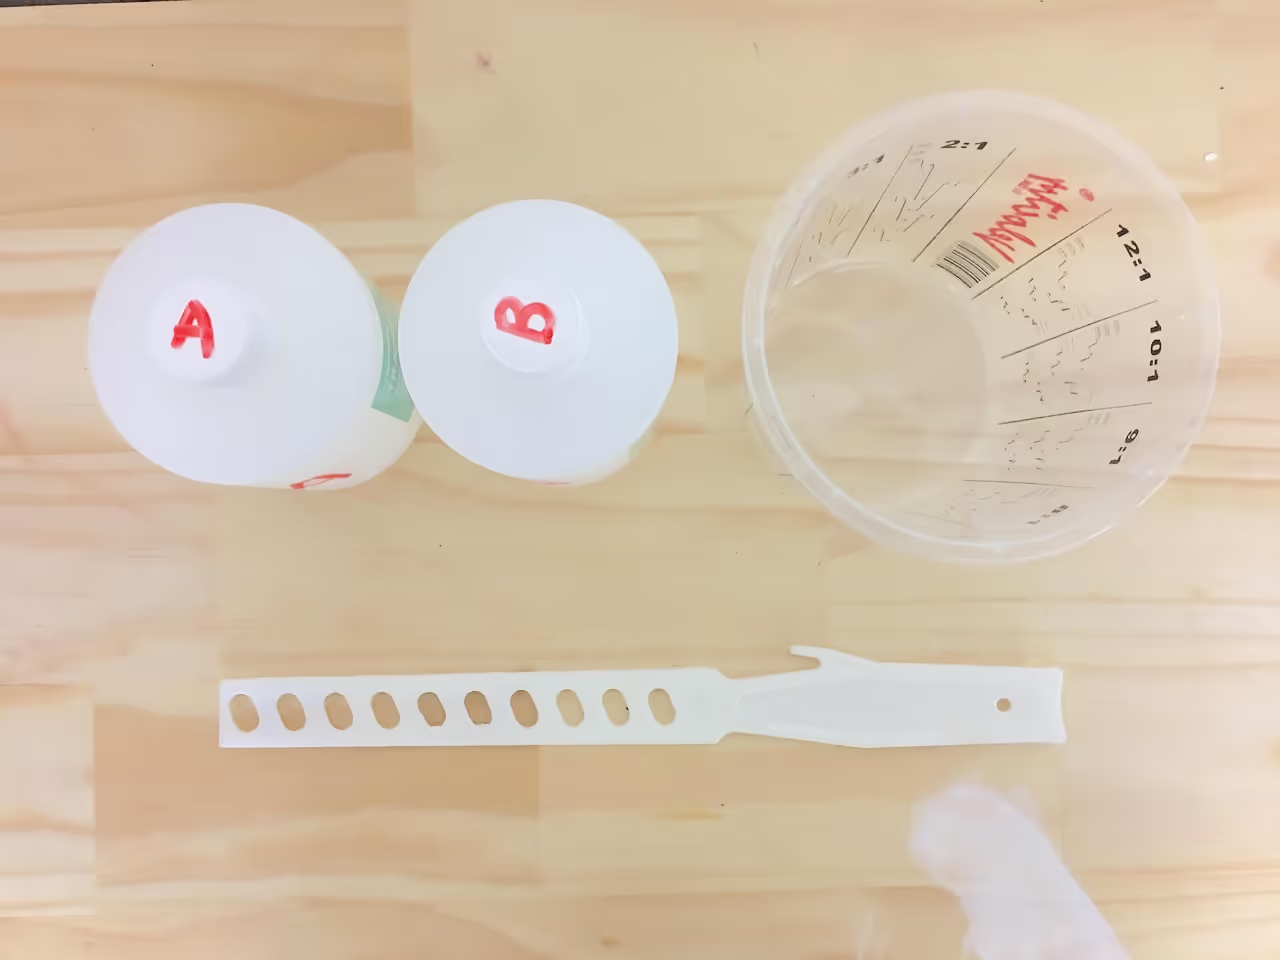
Arrange the measuring jug, the silicone bottles (A and B), the stirrer, and the mold box. Ensure all materials are ready, as you must act swiftly before the silicone sets.
Mixing:
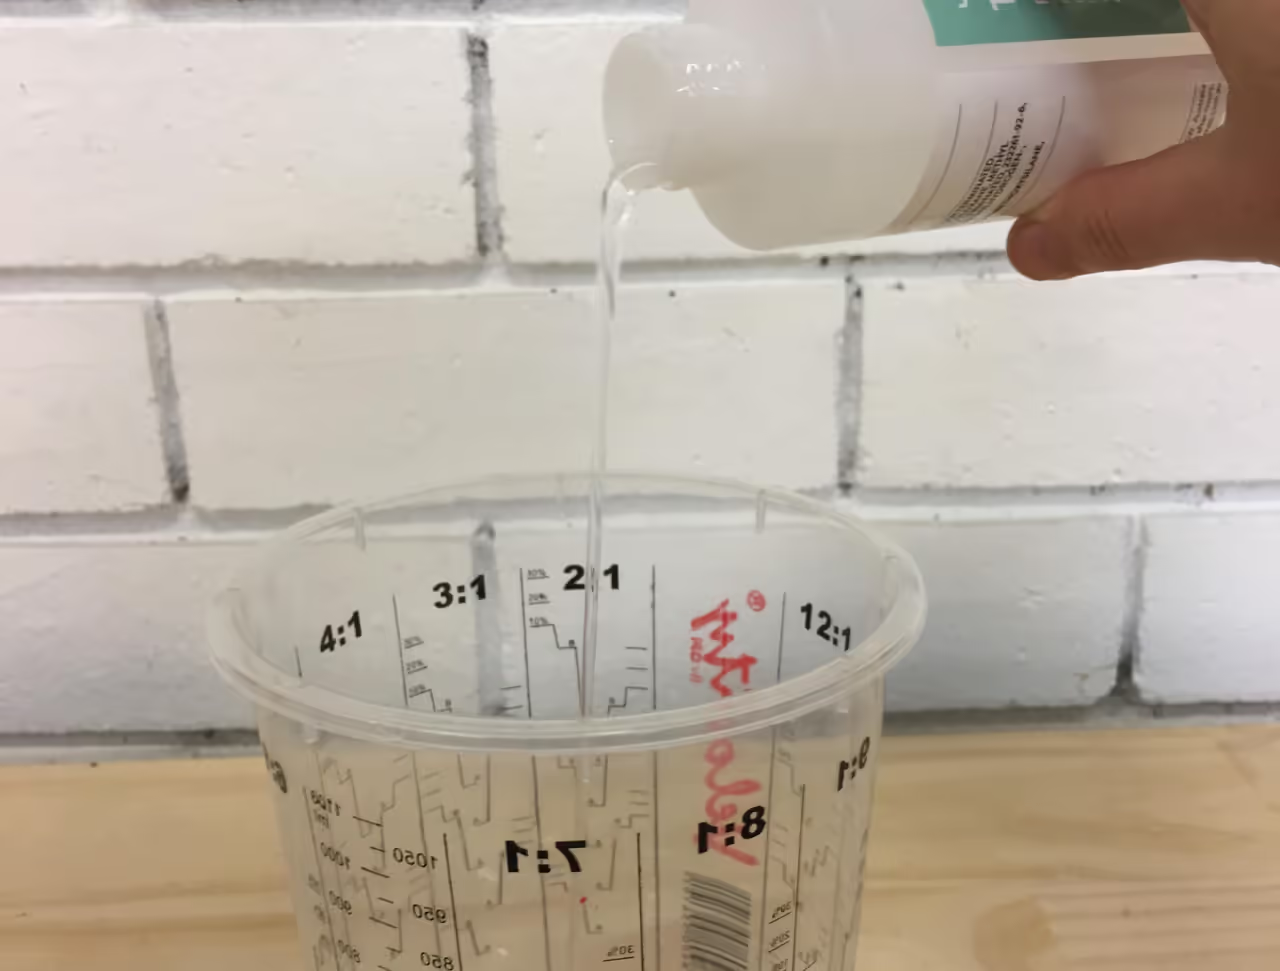
Pour 250 ml (approximately 8.45 fl oz) of part A into the measuring jug, followed by 250 ml (approximately 8.45 fl oz) of part B, totaling 500 ml (approximately 16.9 fl oz) of silicone. Mix the silicone thoroughly and quickly with your stirrer to ensure proper setting.
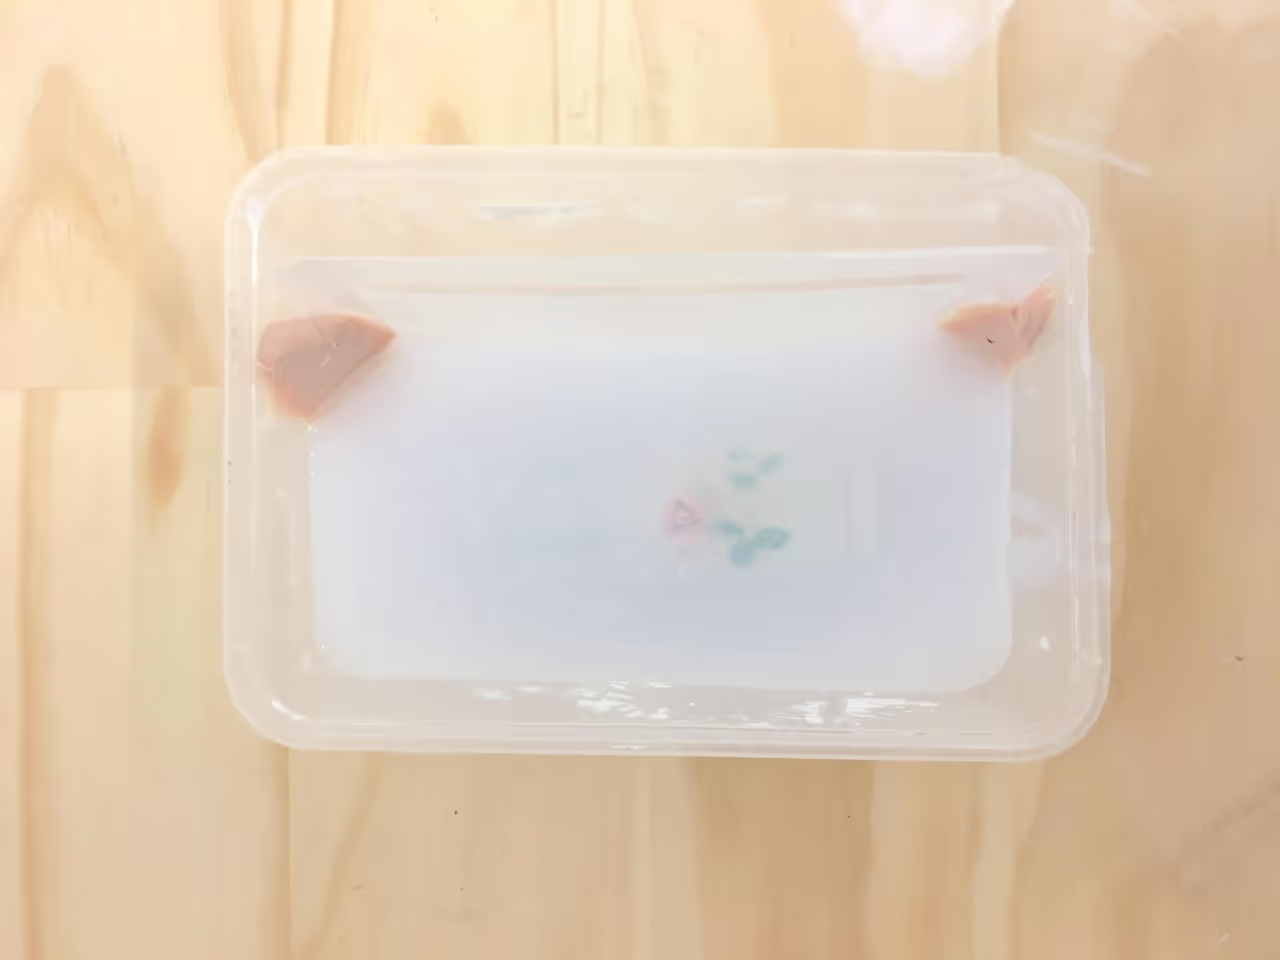
Pouring: Focus on the highest point and center of the object. Pour directly onto the most detailed section first, then move around the object to ensure the silicone covers every surface evenly. Allow the silicone to set for approximately 30 minutes.
Cleanup: Leave the excess silicone on the jug and stirrer to dry for 30 minutes. Once dry, peel off the silicone, leaving the jug and stirrer clean.
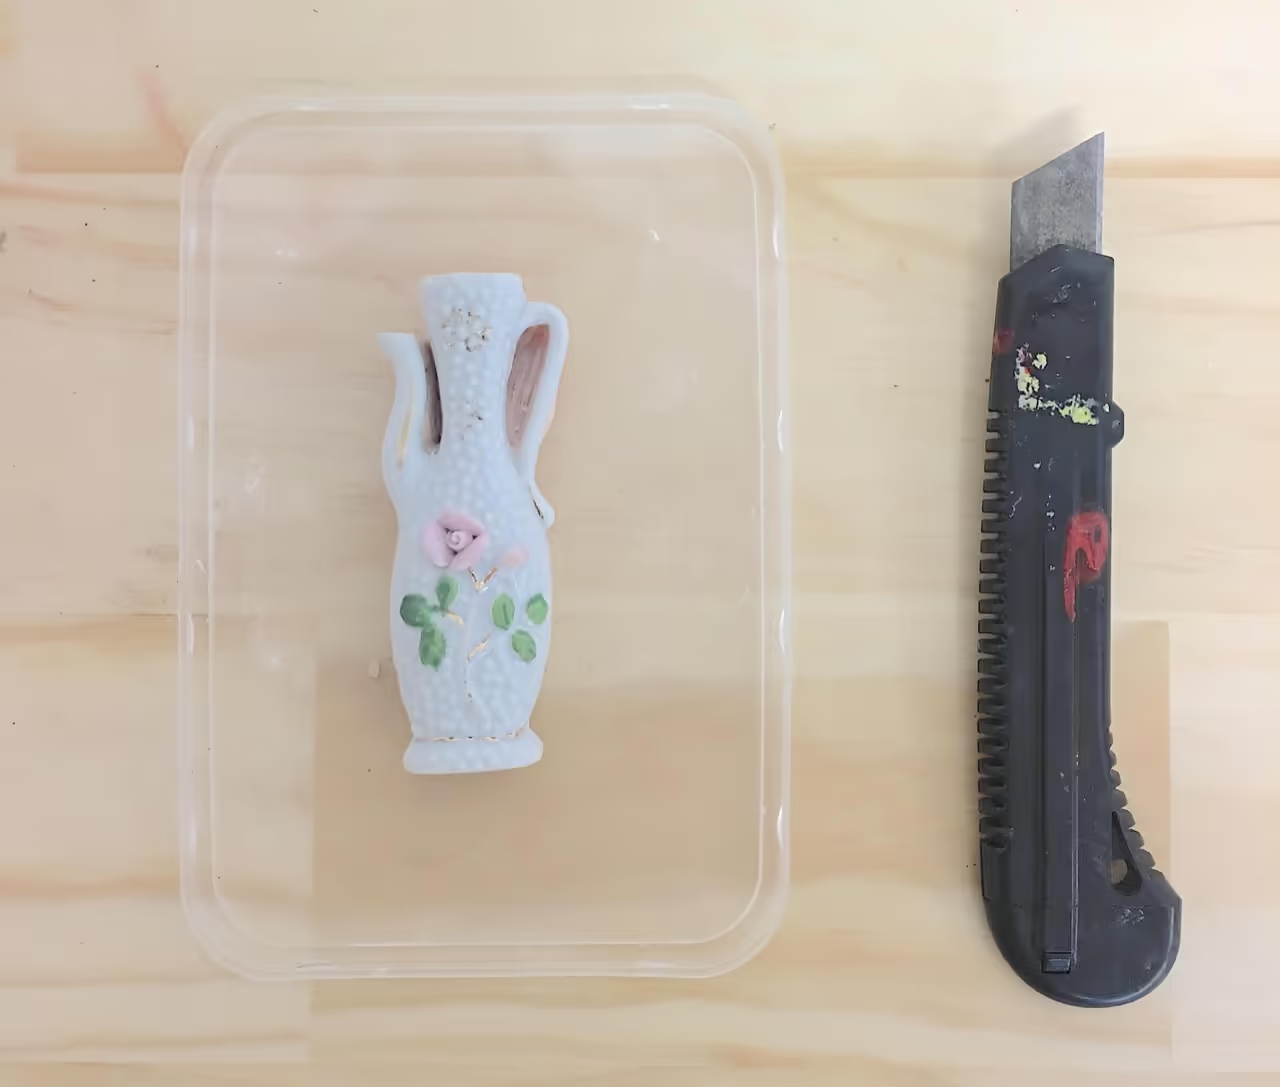
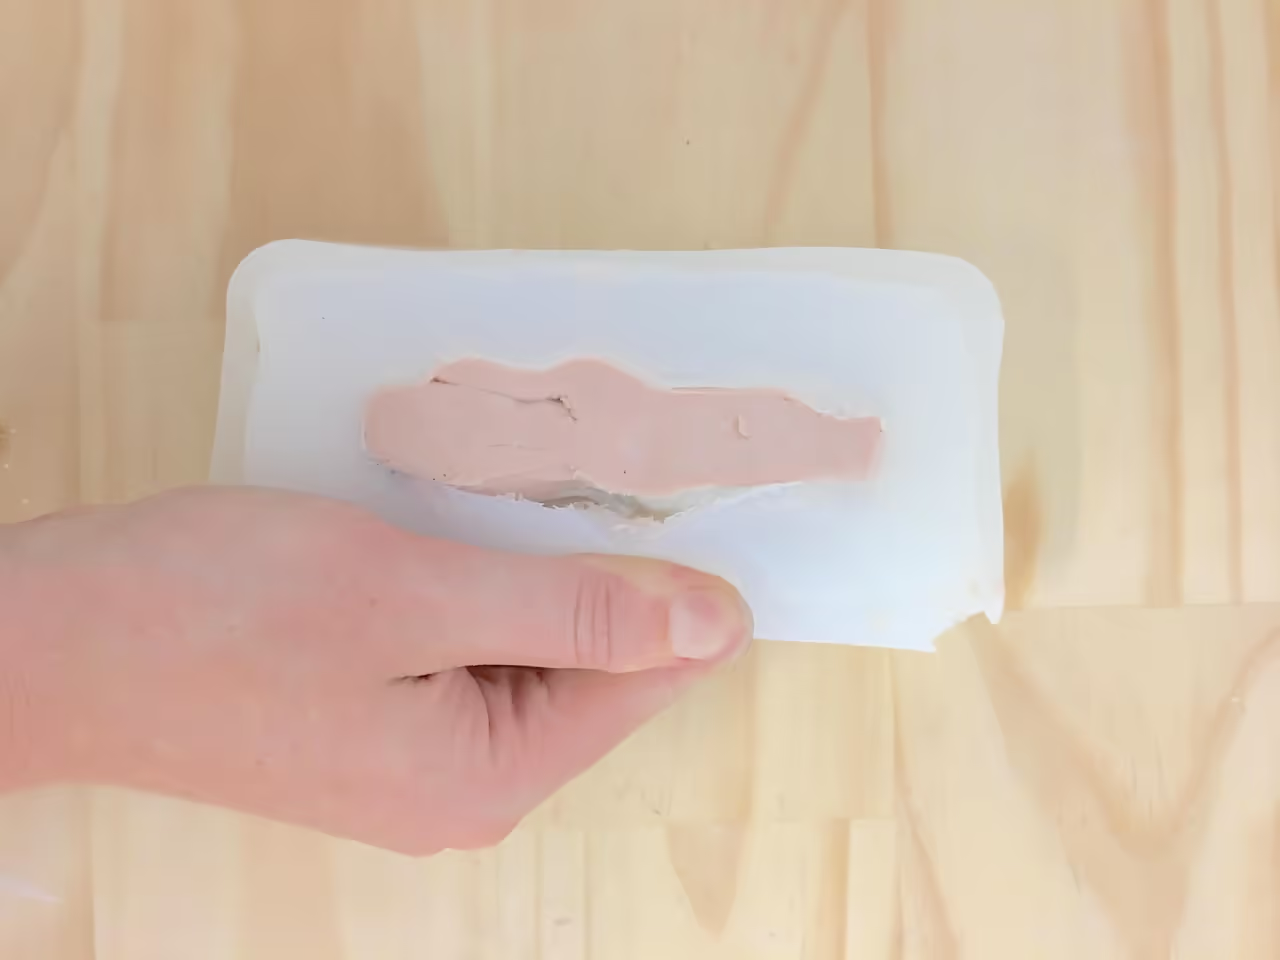
After 30 minutes (or when the silicone is no longer sticky), release the mold by removing the clay from the edges of the container and silicone mold. Stretch the sides of the mold to extract the object.
Retain the clay and plastic container for potential future use.
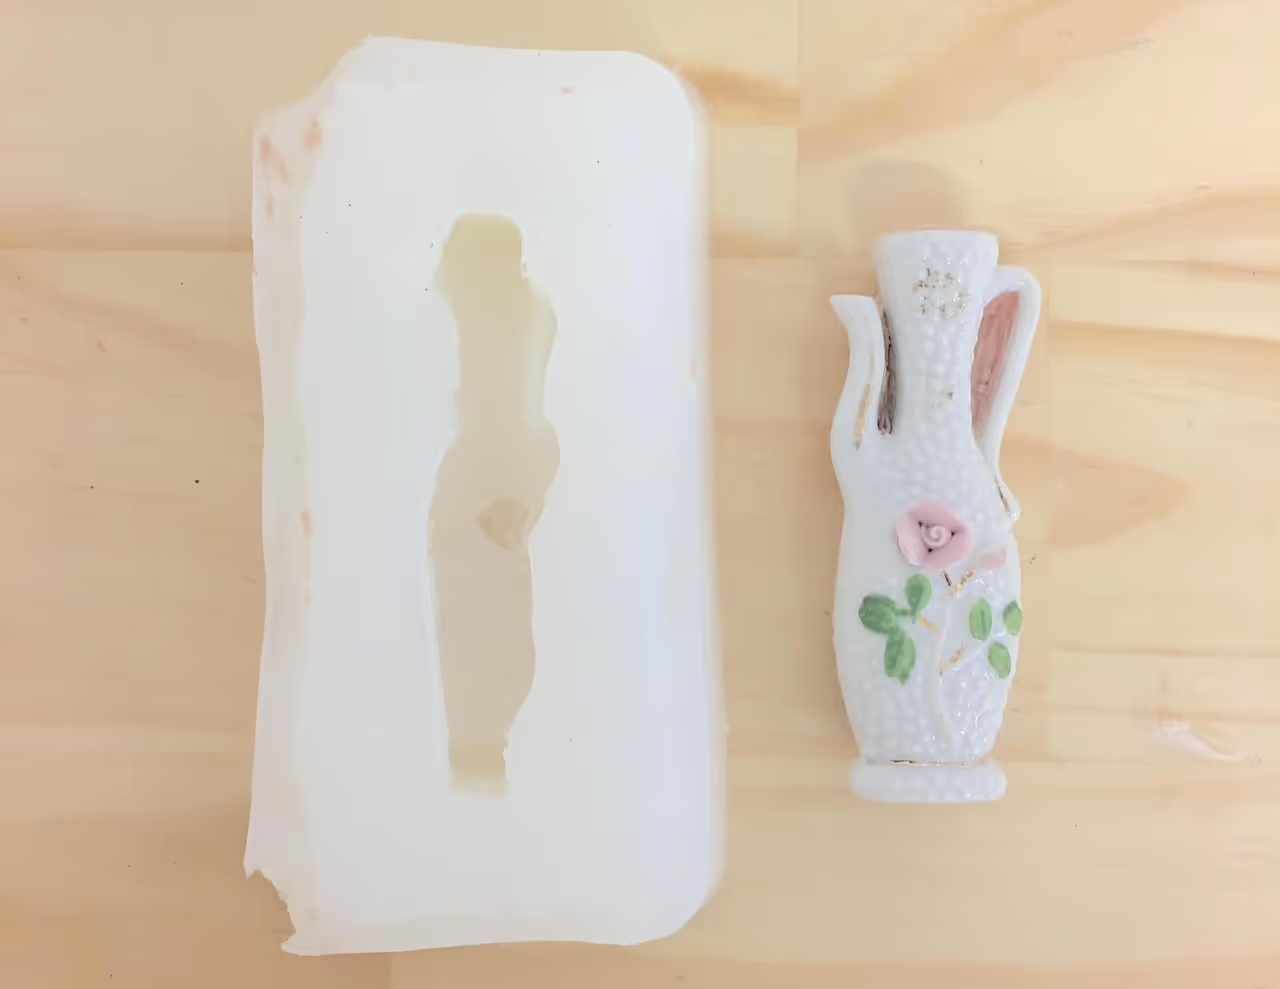
Once the object is removed, the mold is ready for use.
Once the mold is released, it is ready for use.
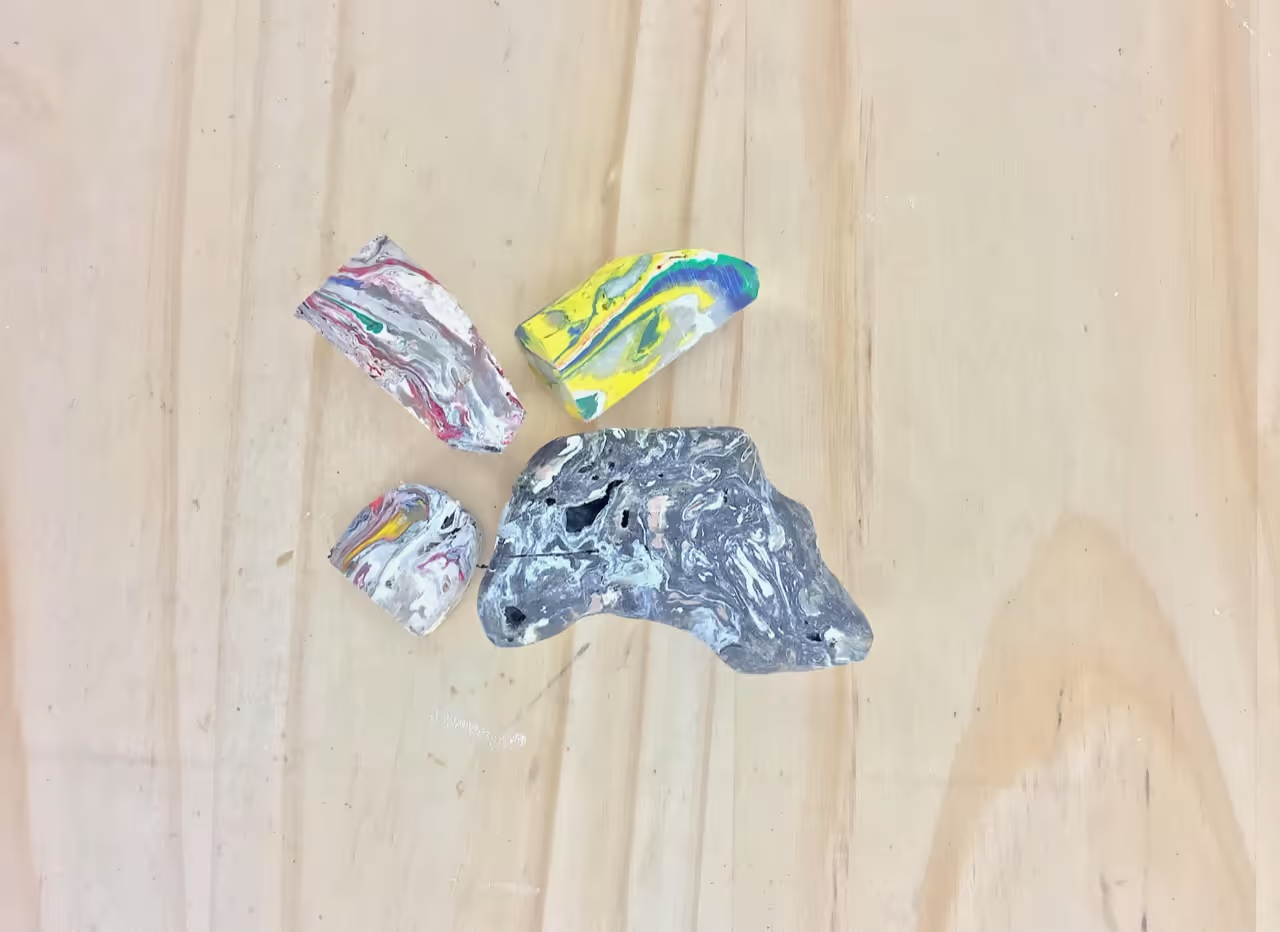
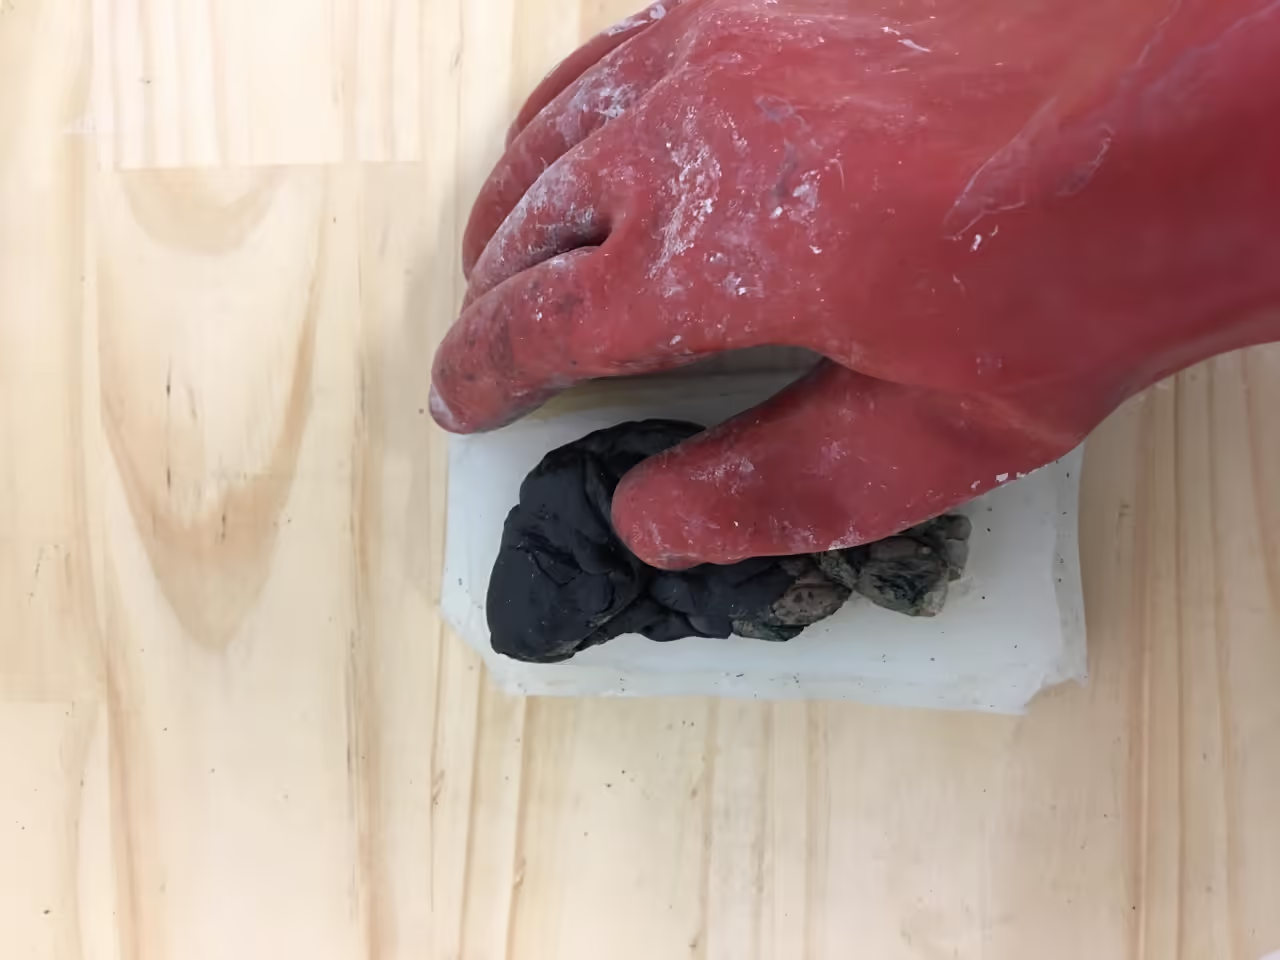
This mold is suitable for soft plastics and works best when plastic is hand-pressed. Wear heat and chemical-resistant gloves when handling plastic.
I reused plastic from another project to melt and press into the mold. You may need to sand or trim rough edges for a clean finish.
Silicone will capture any surface details, so ensure accuracy during molding.
I have used only soft plastics (LDPE & HDPE) with this technique, but experimentation is encouraged.
No specific software required for this process.