Educational resources vary globally. This guide demonstrates using Inkscape to design a laser-cut ruler mold for injection molding.
Table of Contents
-
-
Visit Inkscape and choose the appropriate version for your operating system.
-
Follow the installation guide provided.
-
A reference of intermediary and final files created through this tutorial is attached, allowing you to test or modify them according to your requirements.
0){ currentIndex--; lightboxLoaded = false; preloadAndOpen(); } }" class="product-gallery"> -
-
- Open Inkscape; a new document will appear.
- Adjust the document size via File > Document Properties.
- For this project, we selected A4 (8.27 x 11.69 inches), but you may opt for another size.
- Save the document in an easily accessible location.
0){ currentIndex--; lightboxLoaded = false; preloadAndOpen(); } }" class="product-gallery"> -
Vector Ruler Generator
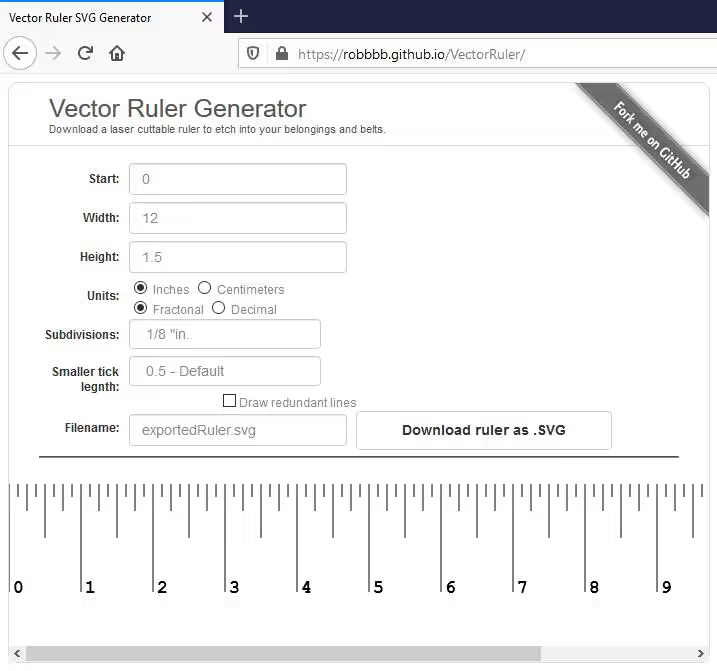
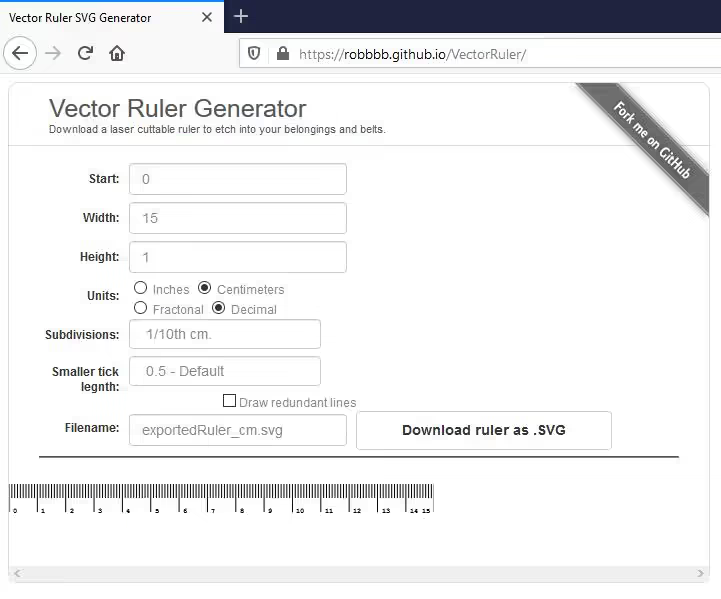
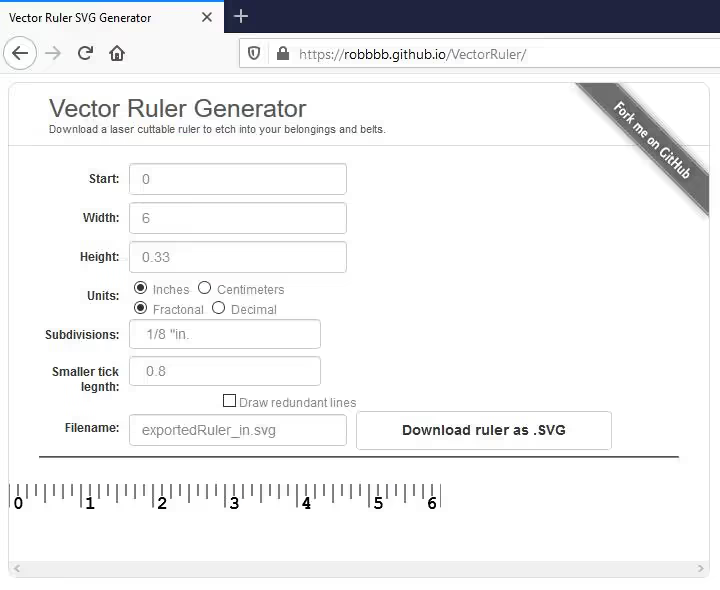
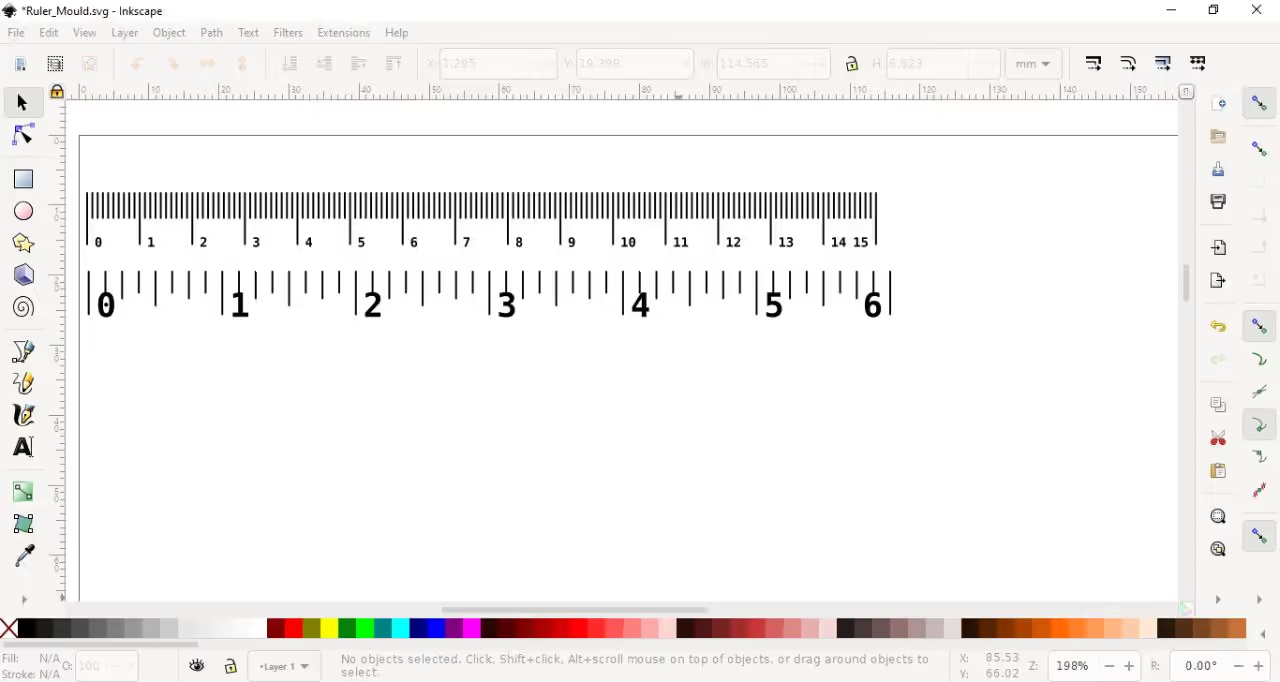
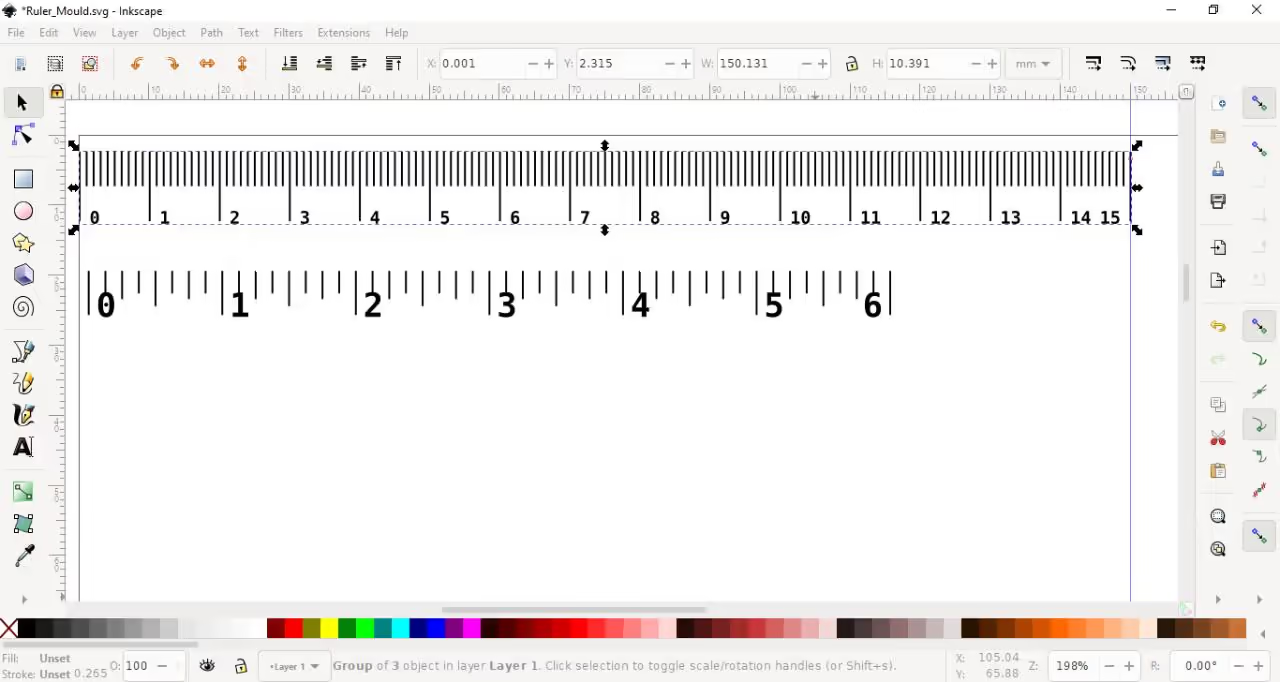
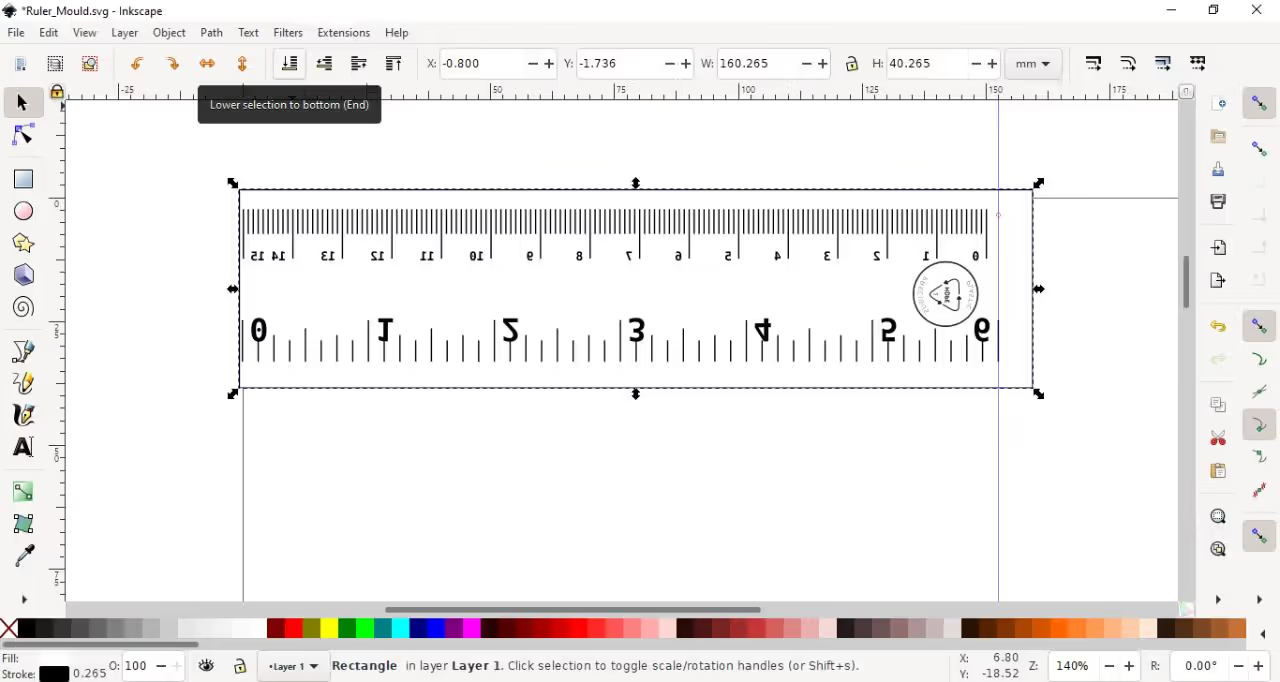
Vector Ruler Generator is a free, open-source tool designed for creating rulers for etching or laser cutting into various materials.
- Visit robbbb.github.io/VectorRuler
- Customize your ruler with desired parameters, such as including both centimeters and inches (15 cm or 5.9 in)
- Save your settings with clear file names for easy identification
0){ currentIndex--; lightboxLoaded = false; preloadAndOpen(); } }" class="product-gallery"> -
- Go to File > Import and choose the desired file.
- A dialog box with details will appear.
- Click OK to view the files.
- Repeat the process for the other unit of measurement.
0){ currentIndex--; lightboxLoaded = false; preloadAndOpen(); } }" class="product-gallery"> -
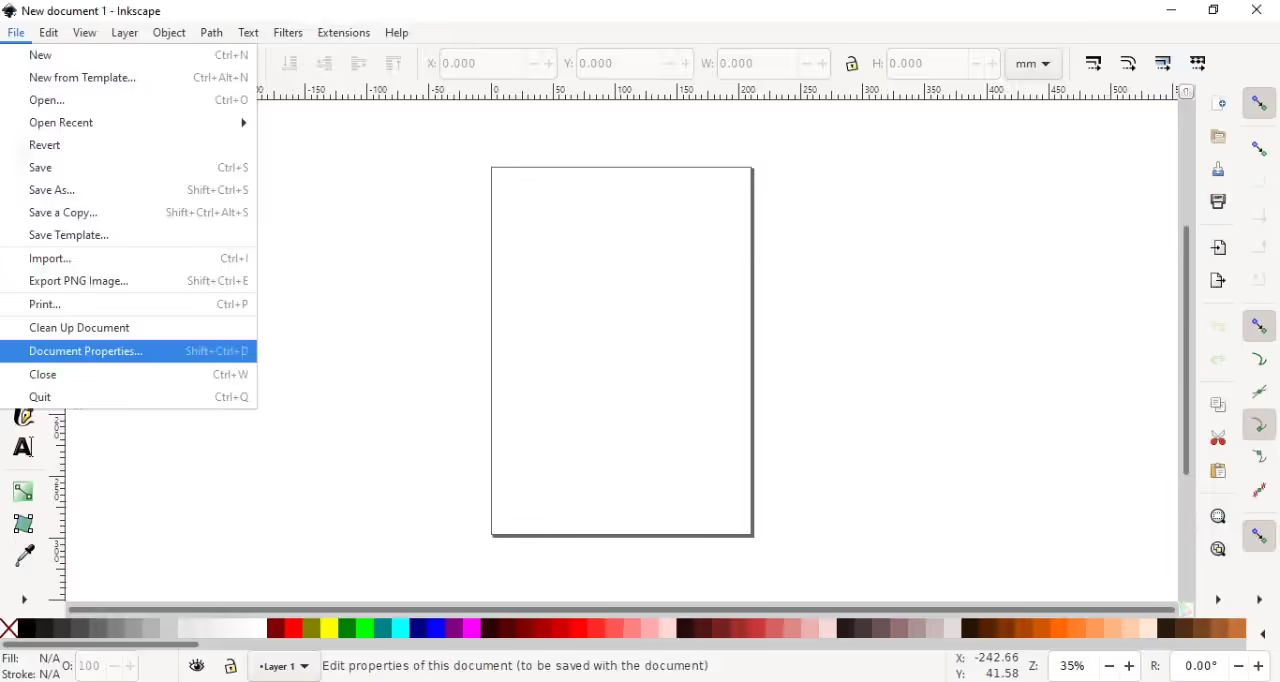
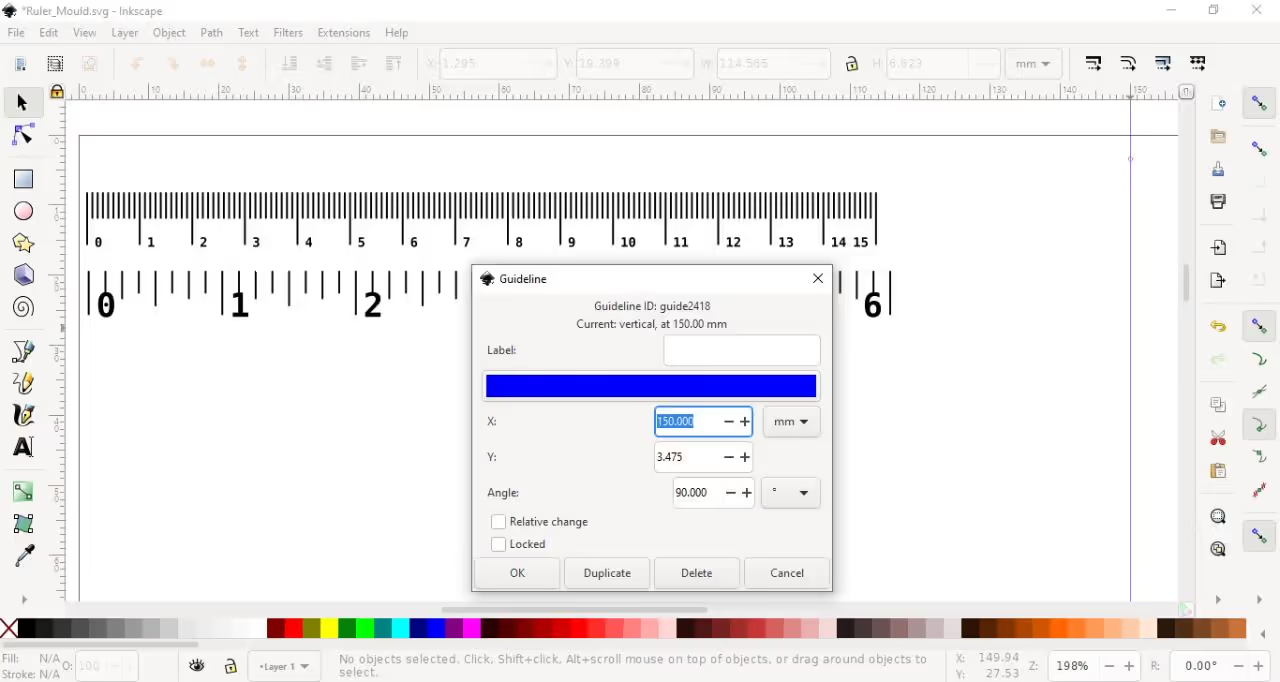
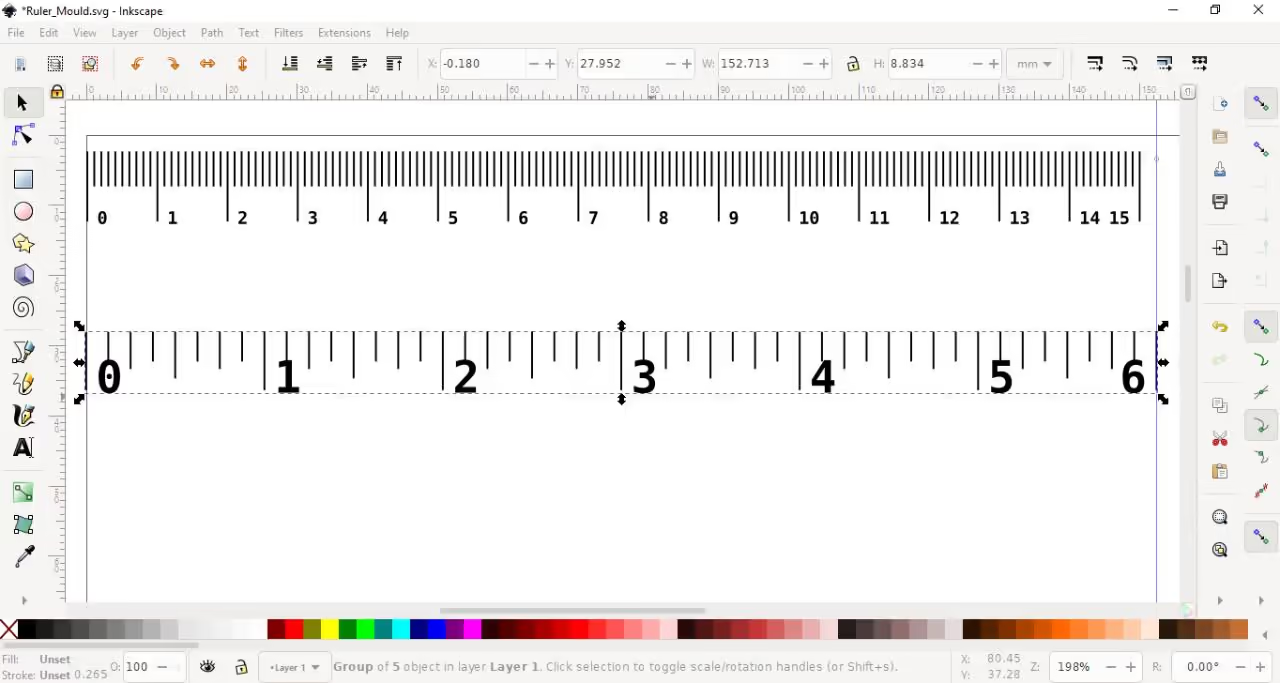
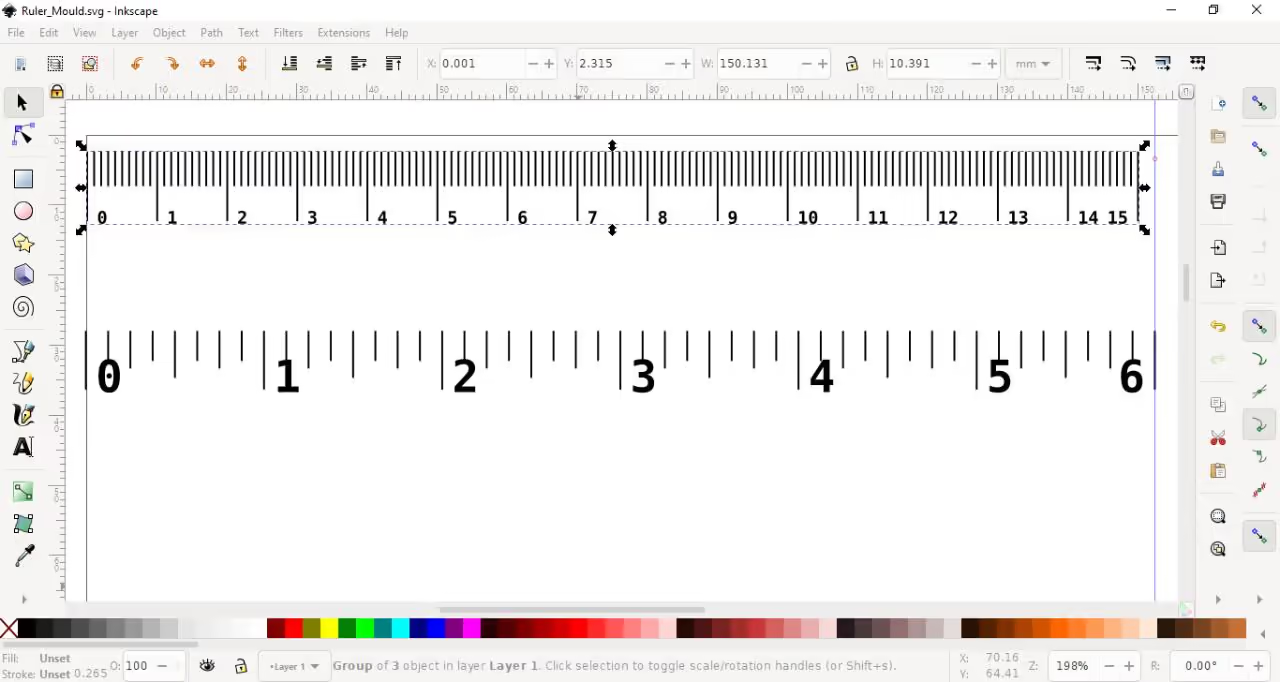
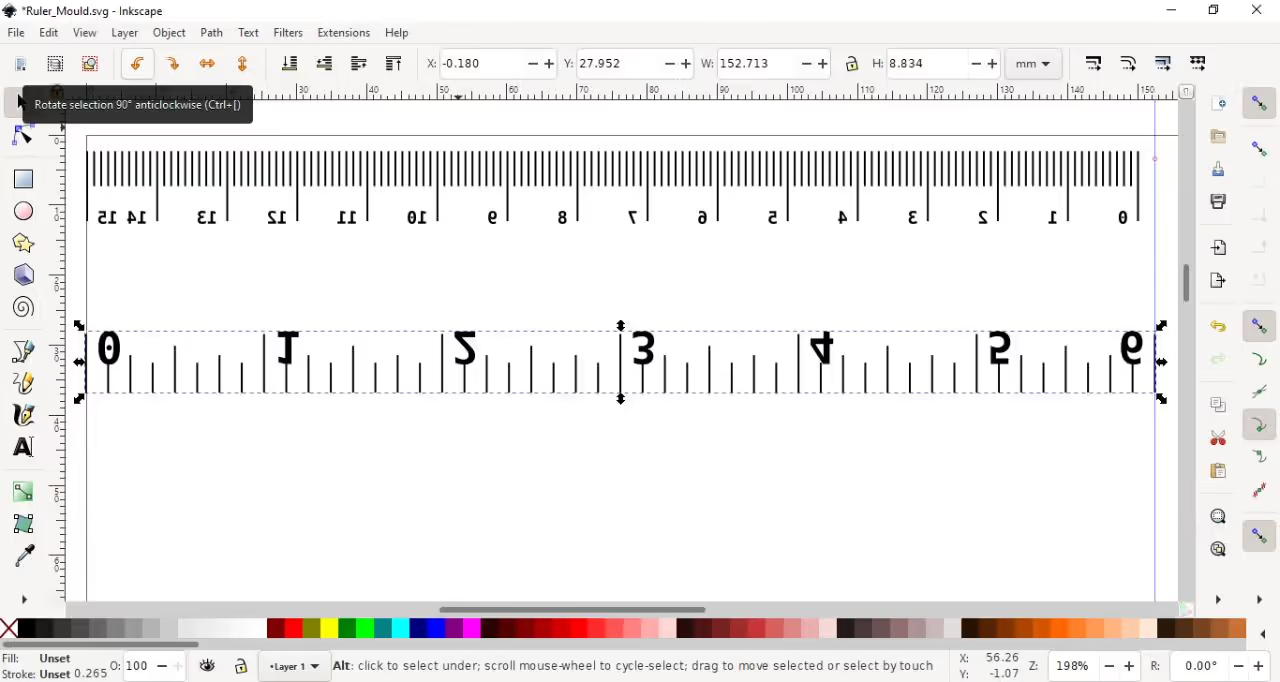
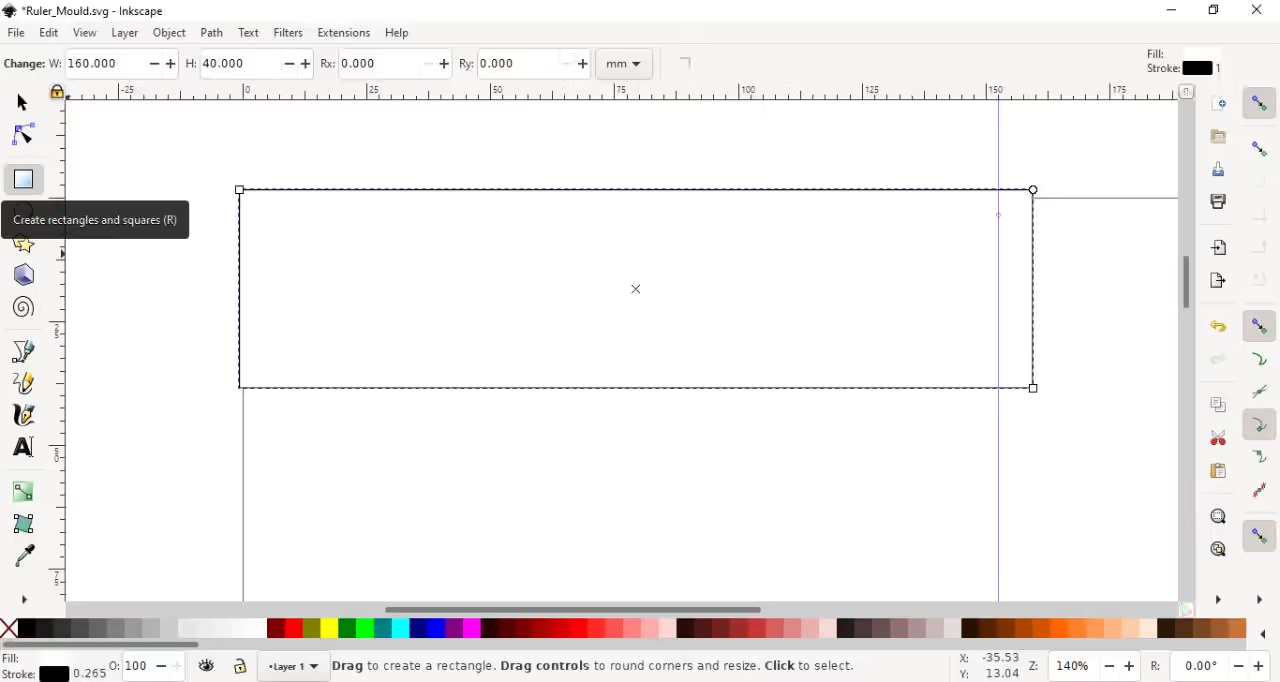
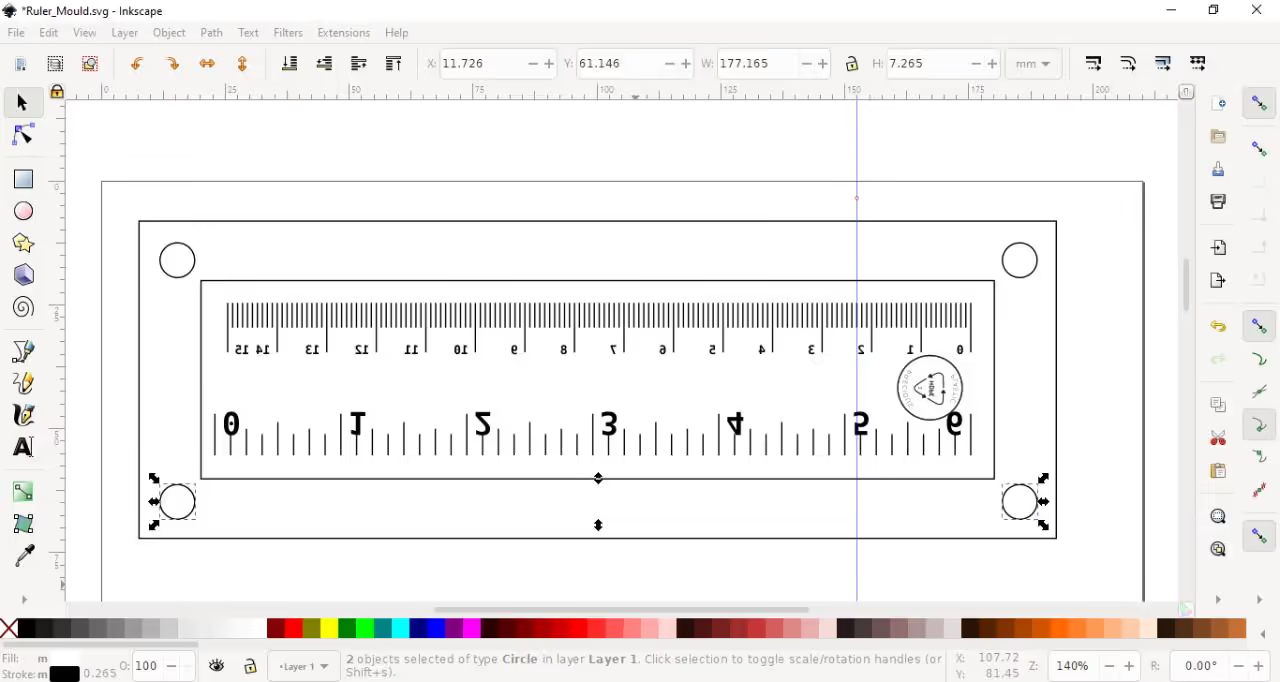
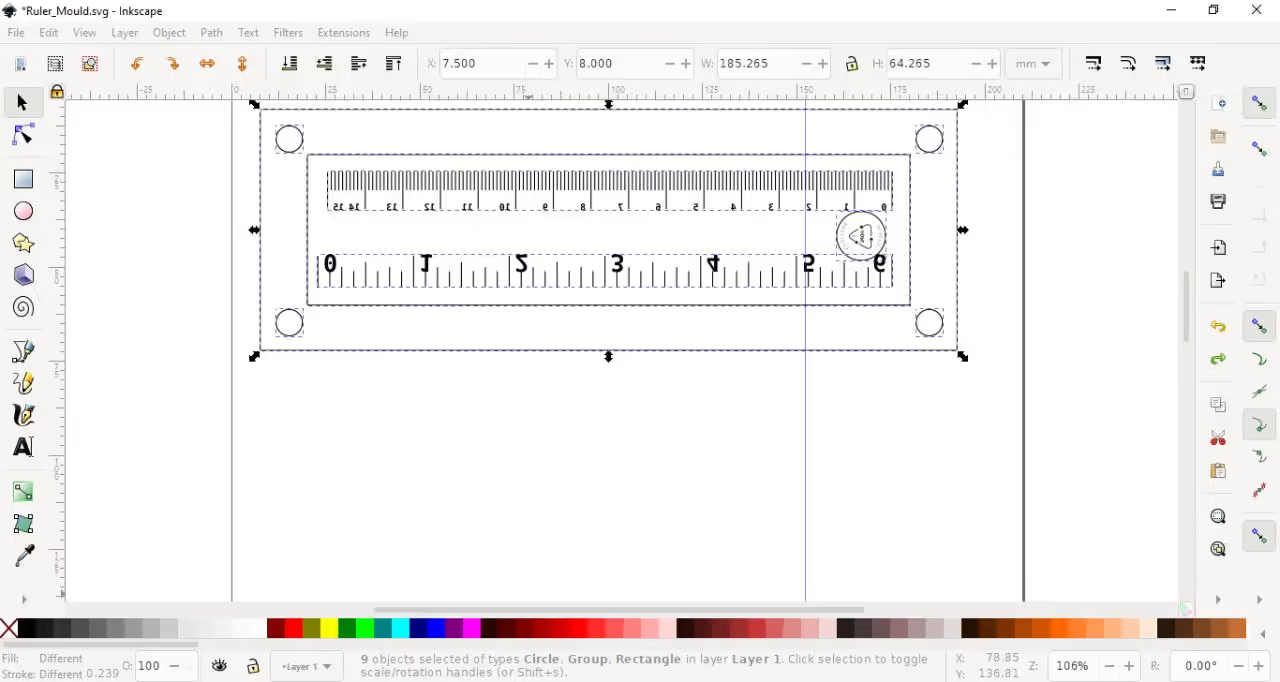
To ensure correct import into the software, we must resize and adjust for laser cutting using Inkscape.
- Create a guide by clicking on the left-hand ruler and dragging to the right.
- A blue guide will appear. Double-click it, set it to 150 mm (5.91 inches), and press enter.
- Resize the ruler so the left side aligns with the document and the right side with the guide.
- Repeat the process for the inch ruler, setting the guide to 6 inches (152.4 mm).
0){ currentIndex--; lightboxLoaded = false; preloadAndOpen(); } }" class="product-gallery"> -
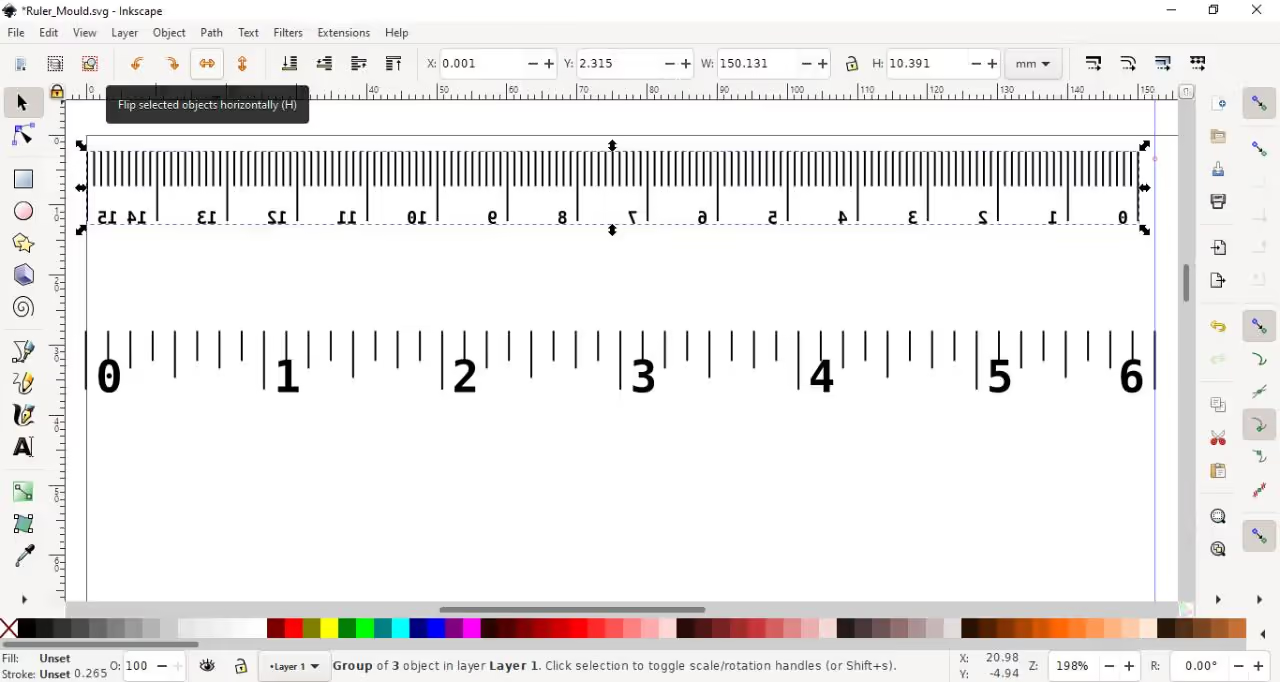
If you are laser cutting a mold, ensure the text is flipped to read correctly upon injection.
- Select the part to flip.
- Click the "Flip selected objects horizontally" button at the top of the page.
- Use the "Rotate selection 90°" buttons to make further adjustments if needed.
0){ currentIndex--; lightboxLoaded = false; preloadAndOpen(); } }" class="product-gallery"> -
Instructions for Plastic Ruler Construction
-
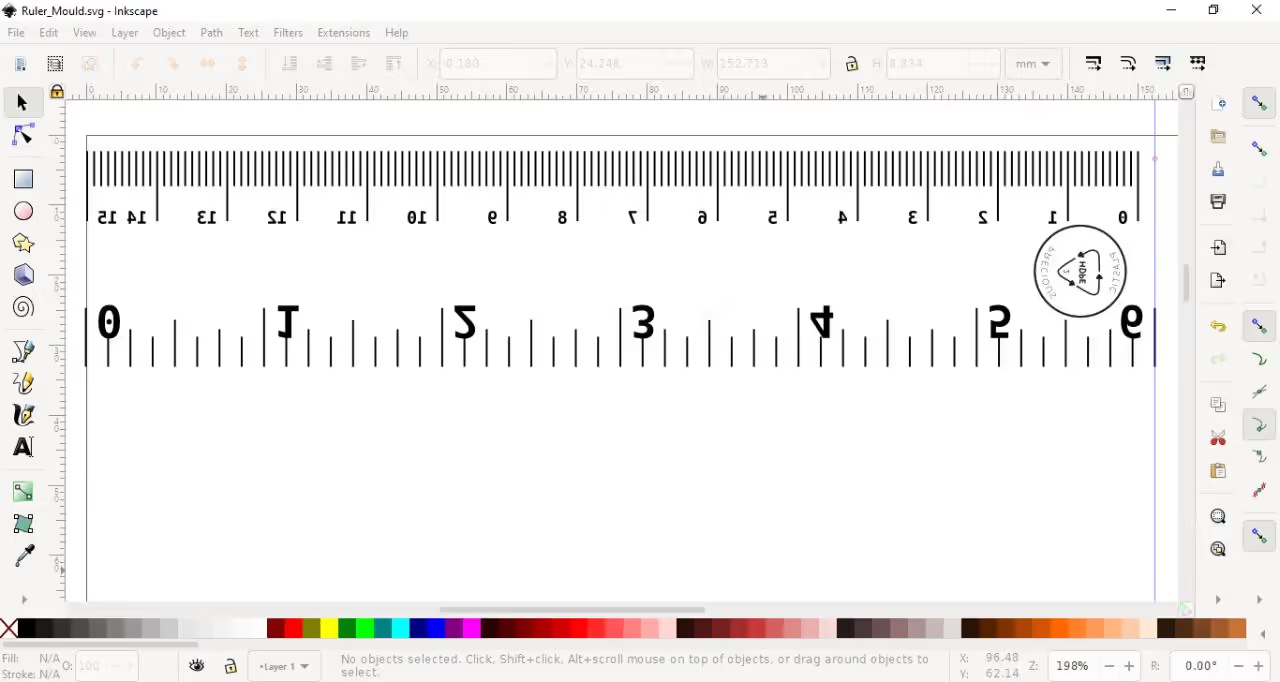
Identify Plastic Type: Determine the plastic type used for ruler production, which aids future processing. Relevant temperature guidelines are available in the accompanying files.
-
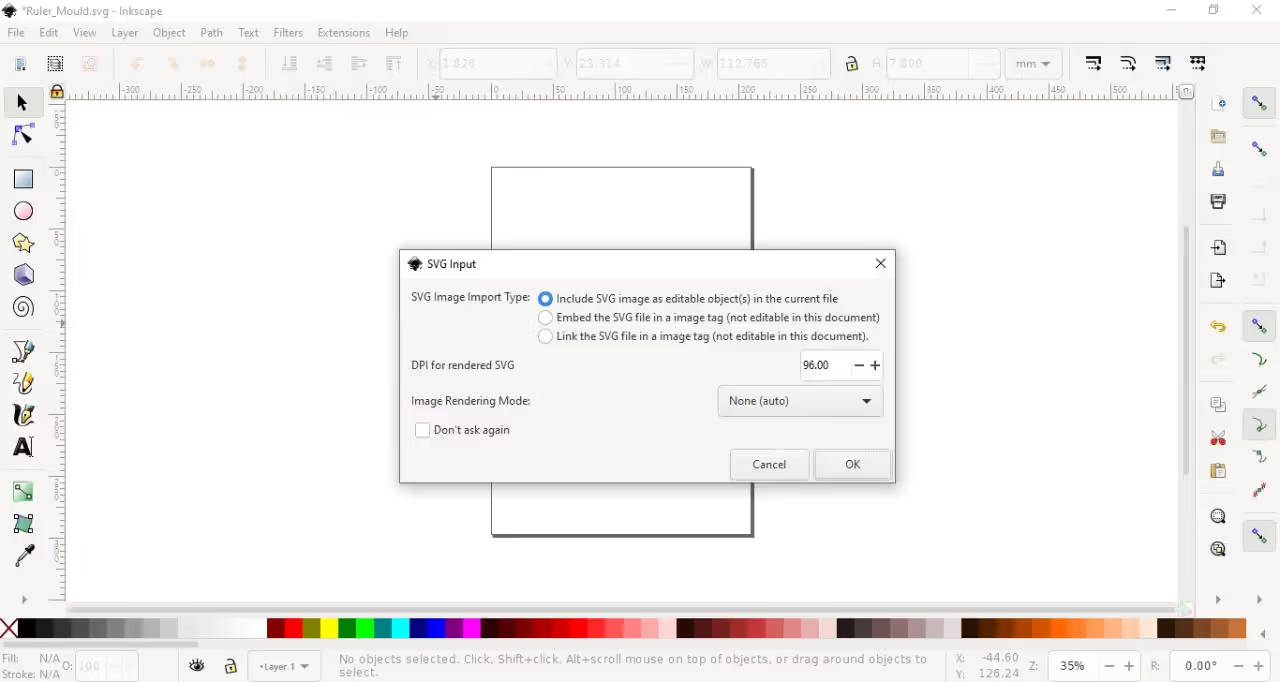
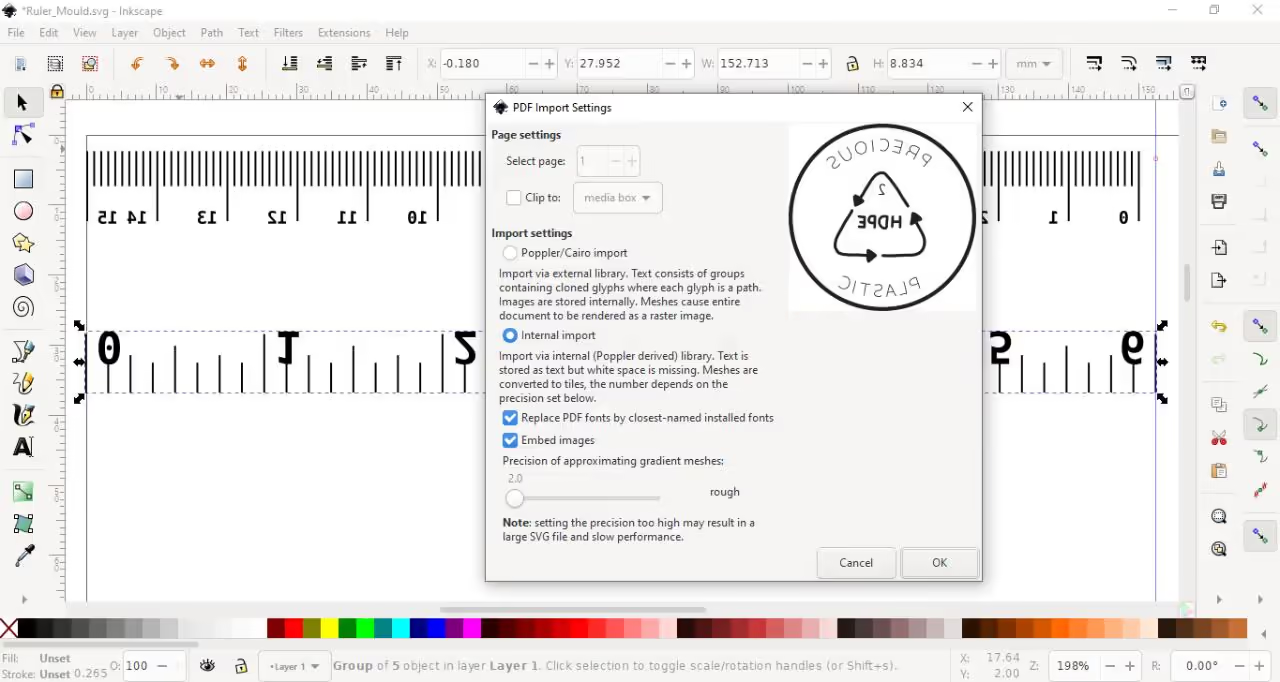
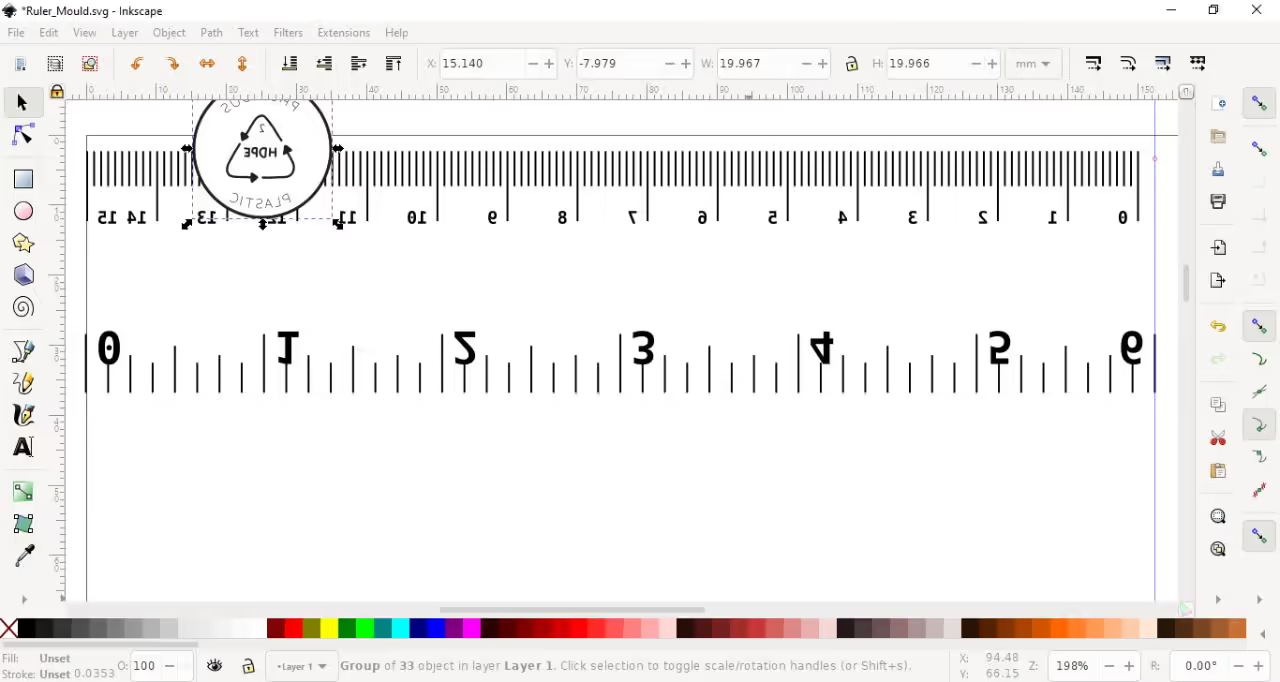
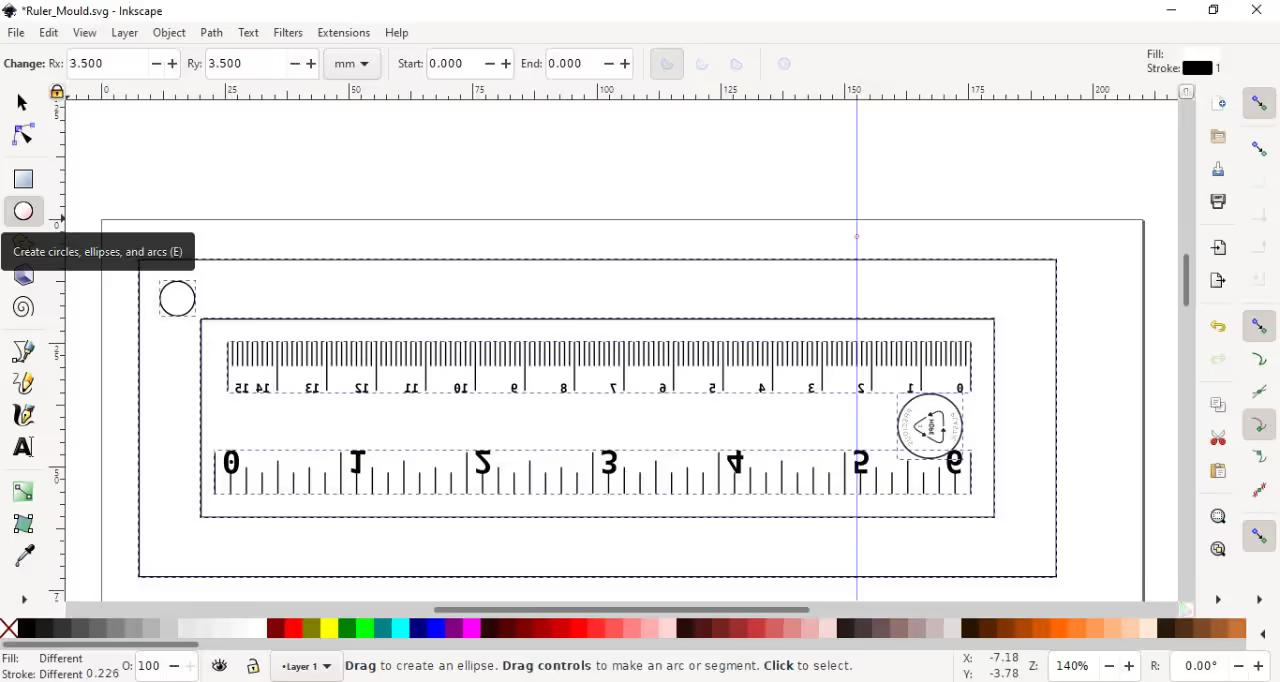
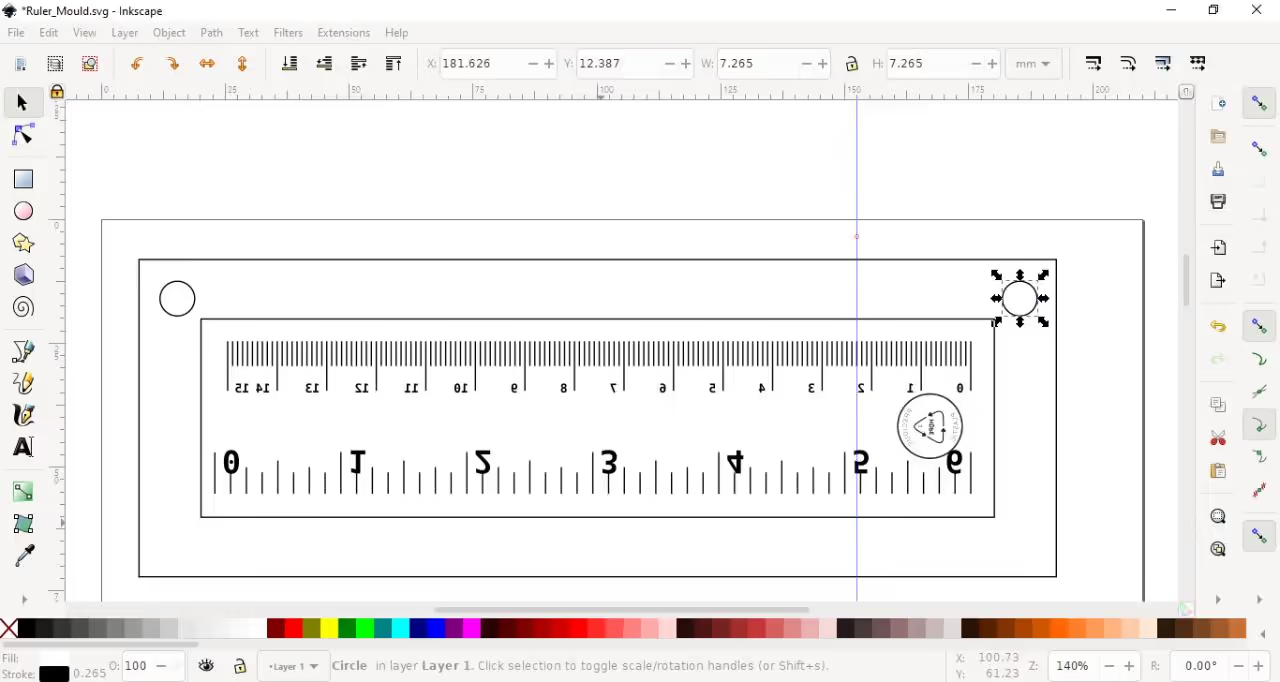
Import Symbol: Import the required symbol similarly to the process used for ruler files.
-
Adjust Import Settings: Opt for "rough" precision to minimize file size while ensuring adequate detail for laser cutting.
-
Alignment and Placement: Align and position the symbol in the desired location.
0){ currentIndex--; lightboxLoaded = false; preloadAndOpen(); } }" class="product-gallery"> -
-
- Click the Rectangle icon in the left menu to add an outline for the ruler.
- Draw the rectangle around the rulers and set the desired height and width from the top menu.
- Adjust the alignment of the rectangles to ensure the rulers remain visible.
- Select the rectangle and click the "Lower selection to bottom" icon at the top of the screen.
- Repeat the process for the mould's outer border.
0){ currentIndex--; lightboxLoaded = false; preloadAndOpen(); } }" class="product-gallery"> -
Instructions
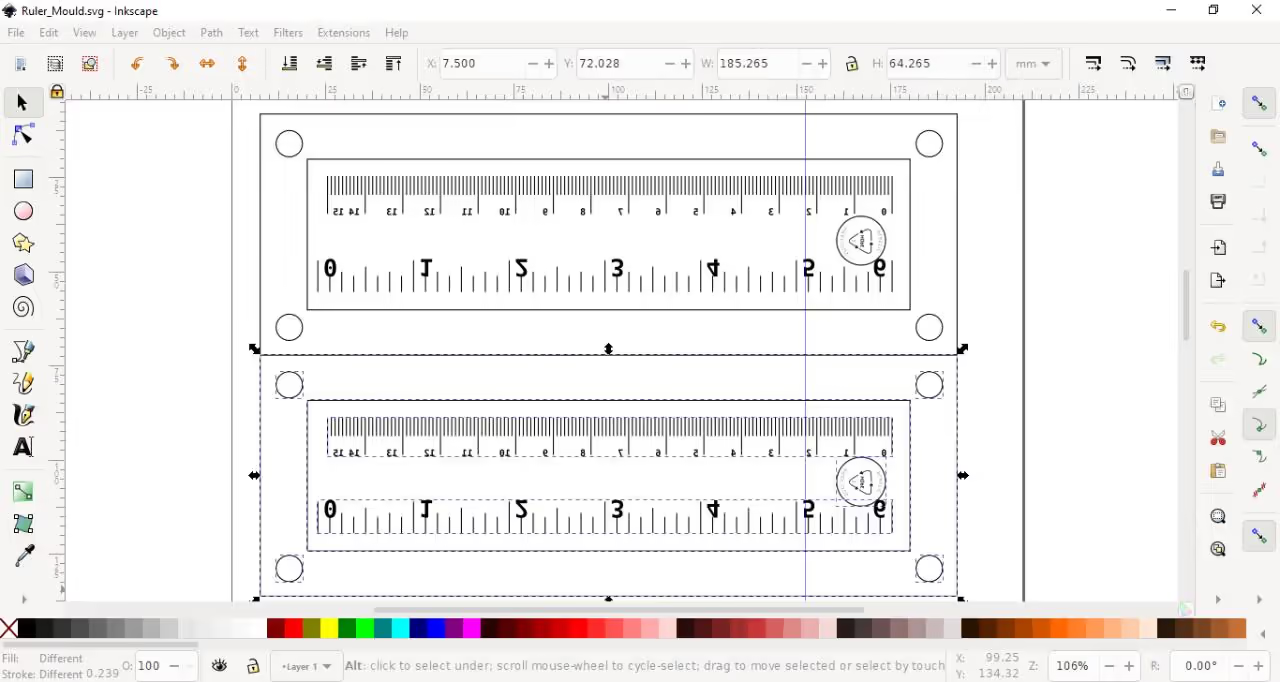
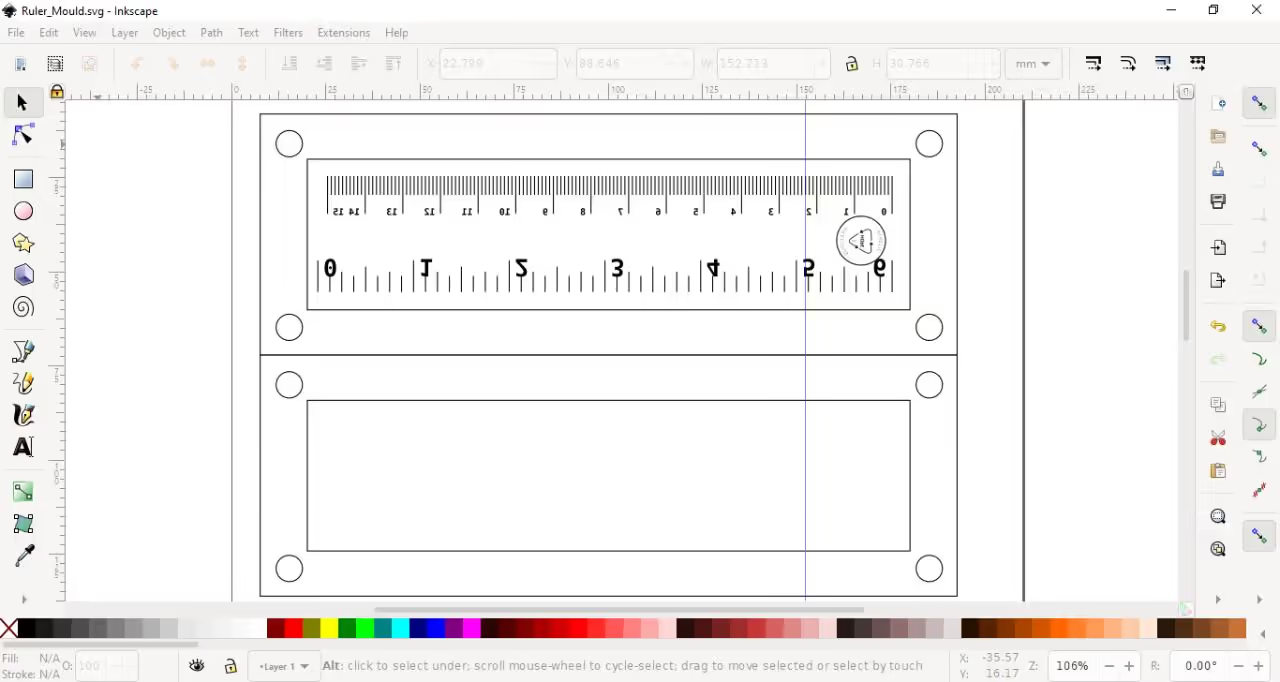
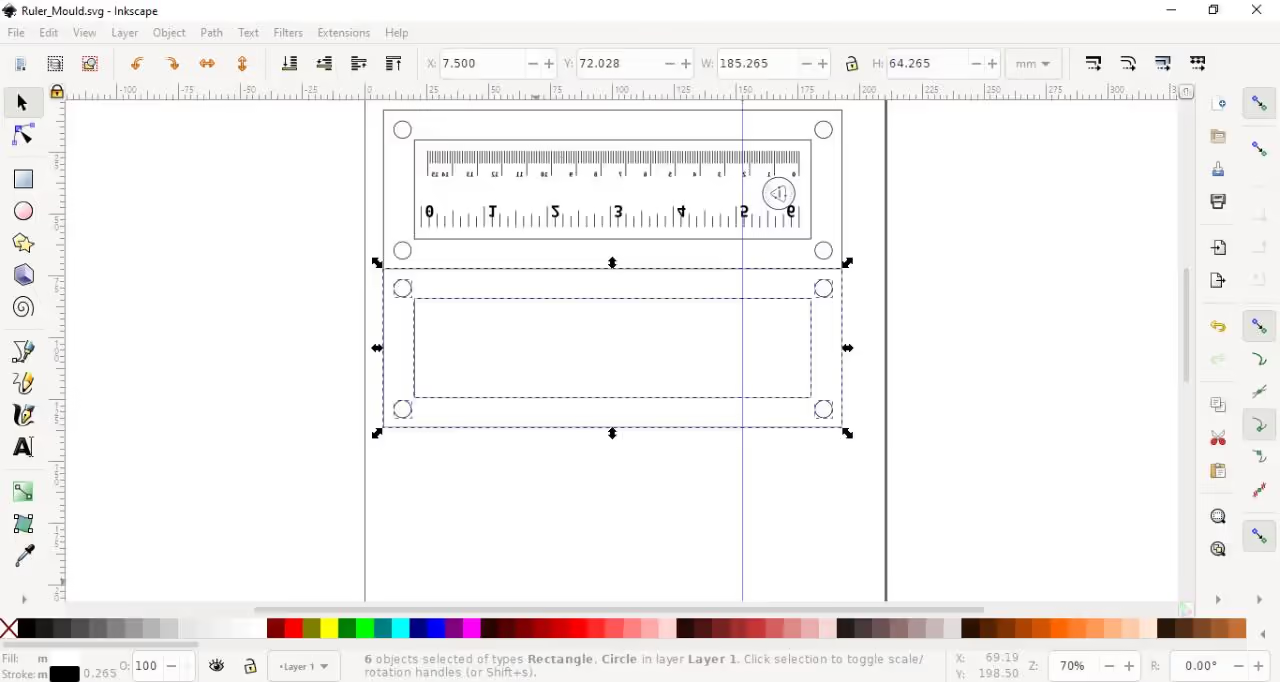
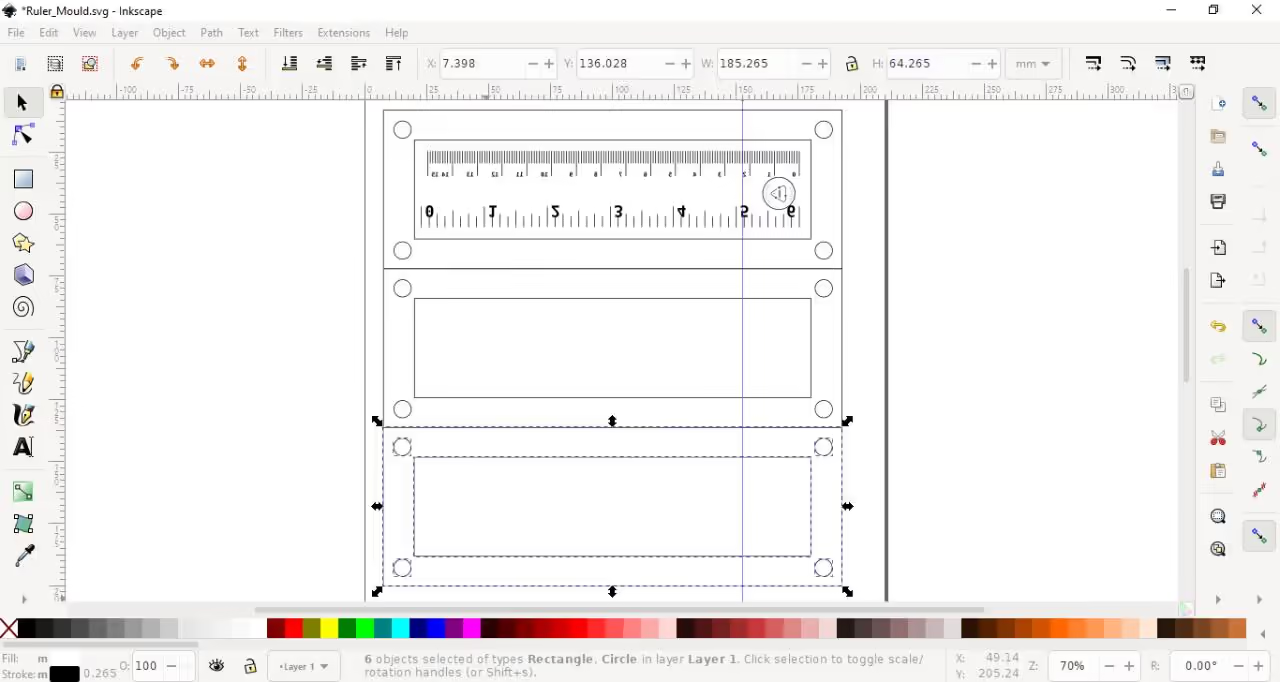
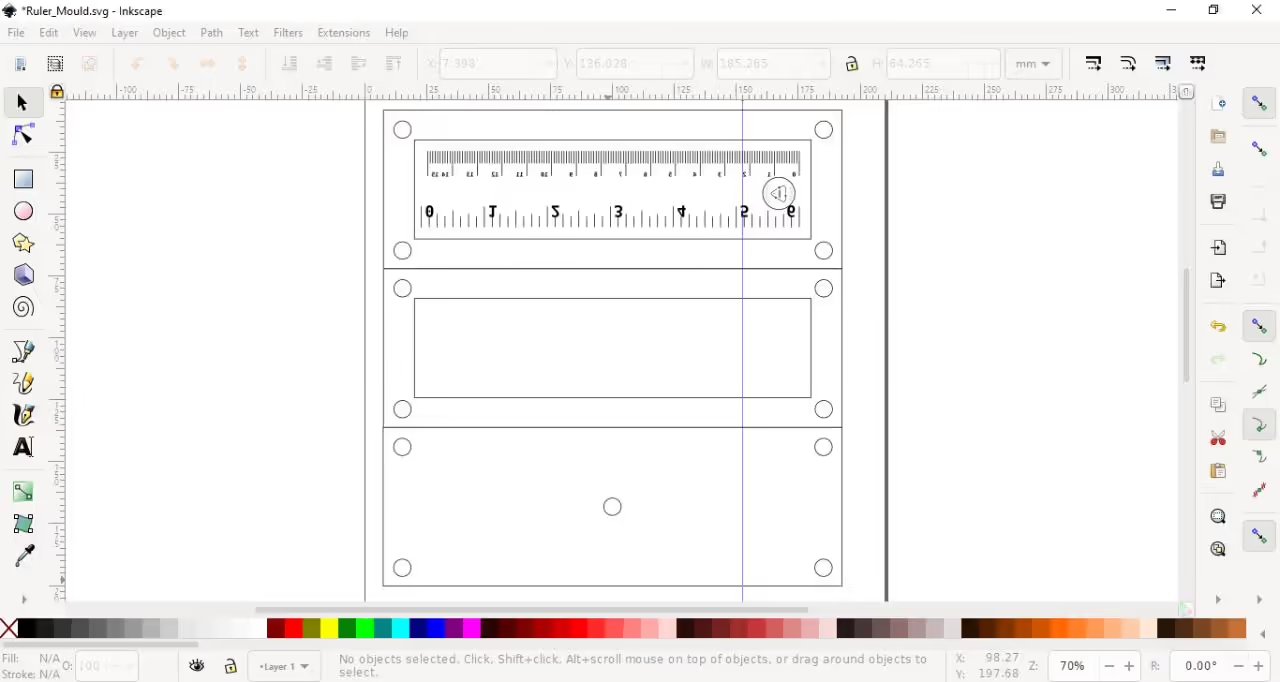
You need to create holes for wing nuts, bolts, or quick-release clamps.
- Select the circle icon from the left menu.
- Draw a circle in the desired location.
- Adjust the x and y radius from the top menu.
- Select the circle and duplicate it with CTRL + D.
- Hold CTRL and move the duplicate to the right for alignment along the x or y axis.
- Select both top holes, duplicate them, and position them to form the bottom two holes.
0){ currentIndex--; lightboxLoaded = false; preloadAndOpen(); } }" class="product-gallery"> -
- Select all items using the selection tool or by pressing CTRL + A.
- Duplicate all objects by pressing CTRL + D.
- Hold CTRL and move the duplicated objects just below to minimize material waste during laser cutting.
- Delete the rulers and logo by selecting them and pressing delete.
0){ currentIndex--; lightboxLoaded = false; preloadAndOpen(); } }" class="product-gallery"> -
- Use selection tools to duplicate the entire center mold.
- Move it downward until the edges touch.
- Delete the center rectangle and replace it with a circle for the nozzle of the injection machine.
0){ currentIndex--; lightboxLoaded = false; preloadAndOpen(); } }" class="product-gallery"> -
-
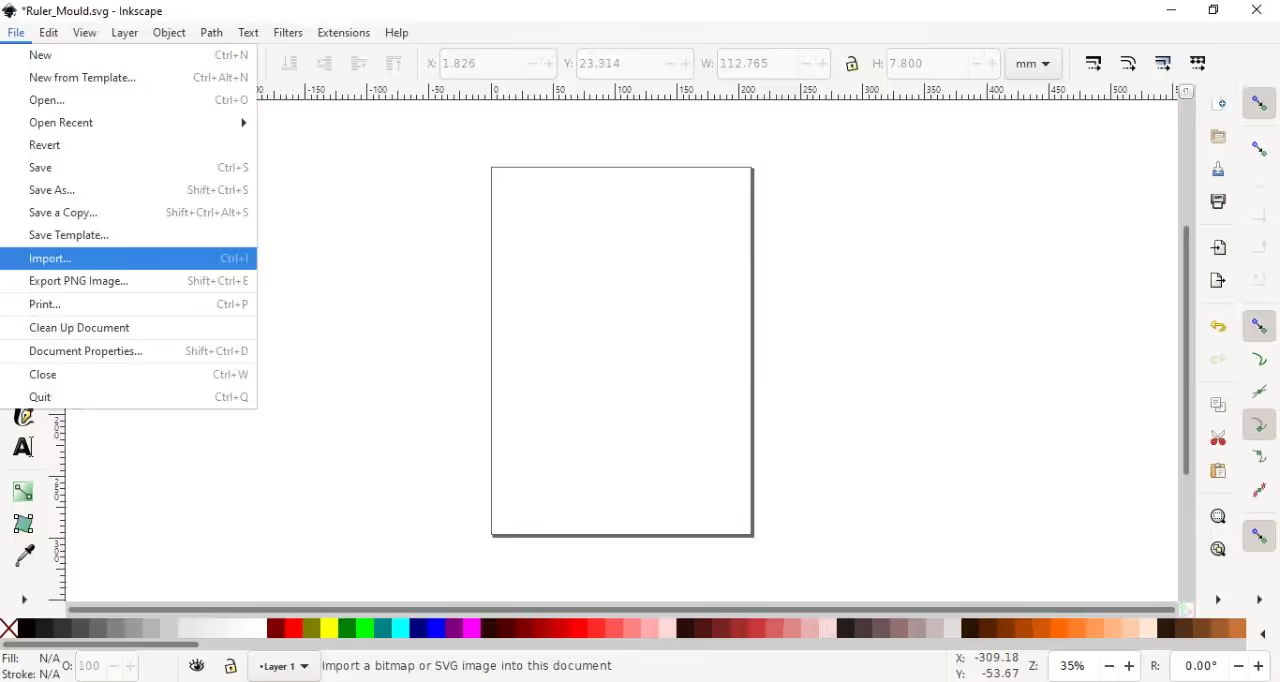
Save the file as an .svg by selecting File > Save As, and store it in an easily accessible location.
-
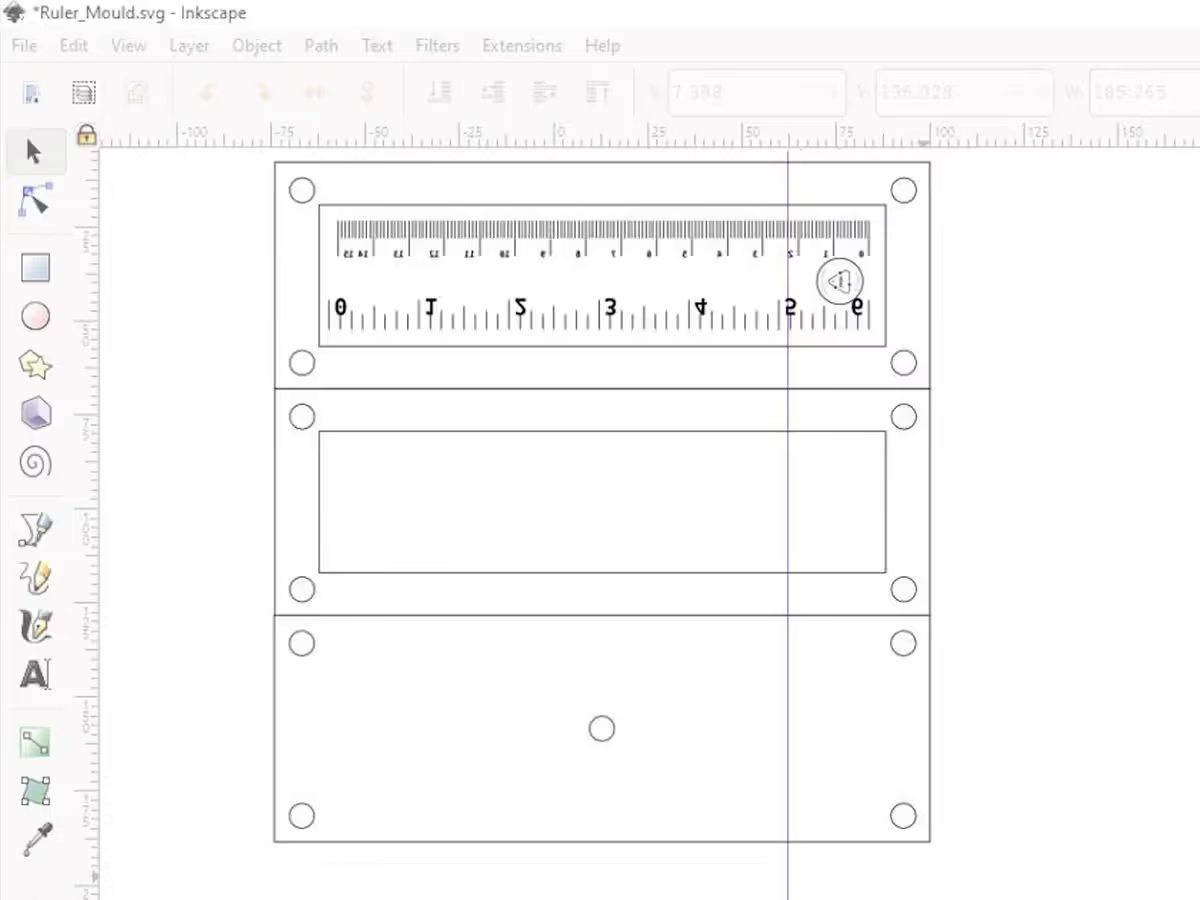
Import the file into your CAM software to etch the rulers, inner rectangle, and ID code on the bottom plate, and cut out the remaining lines.
-
Tap the threads, then proceed to injection mold using the injection machine.
-
Refer to the video by Kunststoffschmiede for detailed instructions on using Plexiglas.
-
-
- Open source requires sharing the source and files.
- Upload them to platforms such as GitHub or GitLab.
- Share your work on our social media.
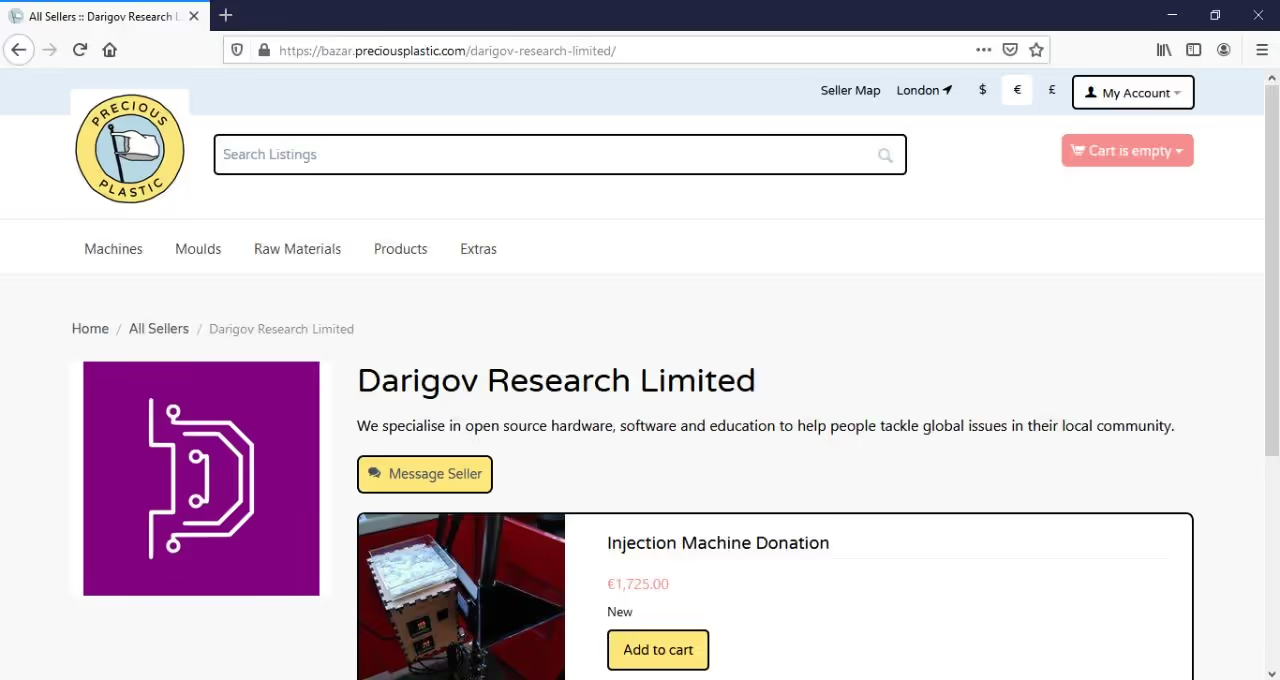
Darigov Research focuses on open source hardware, software, and education to address local challenges.
Support us through donations or Patreon:
- Donate: darigovresearch.com/donate
- Patreon: patreon.com/darigovresearch
Visit our Website, YouTube Channel, and follow us on Twitter, GitHub, and Instagram: @darigovresearch
- 14Get started
We have been constructing machines since the introduction of Version 2 and are dedicated to the progress achieved and future growth of this community.
For inquiries about purchasing a machine or our research and development services, please review our available products or contact us directly.
0){ currentIndex--; lightboxLoaded = false; preloadAndOpen(); } }" class="product-gallery">
To create a laser-cut ruler mold for injection molding using this tutorial, you'll need the following tools and resources:
Required Software
- Inkscape (vector graphics editor for design)
- Vector Ruler Generator (custom ruler creation tool)
- CAM software (for laser cutting preparation)
- Web browser (to access online tools/resources)
- Compatible OS (Windows/macOS/Linux)
Required Hardware
- Laser cutter (for mold fabrication)
- Injection molding machine (plastic forming)
- CNC machine (optional, for precision machining tasks)
- Basic machining tools (e.g., taps/dies for threading)
Required Materials
- Plastic pellets/material (type determined in Step 1)
- Plexiglas sheets (for laser-cut mold components)
- Wing nuts/bolts/quick-release clamps (for mold assembly)
All tools and resources mentioned are open-source or widely available, aligning with the tutorial's open-access philosophy.