Make a face shield (without mould)

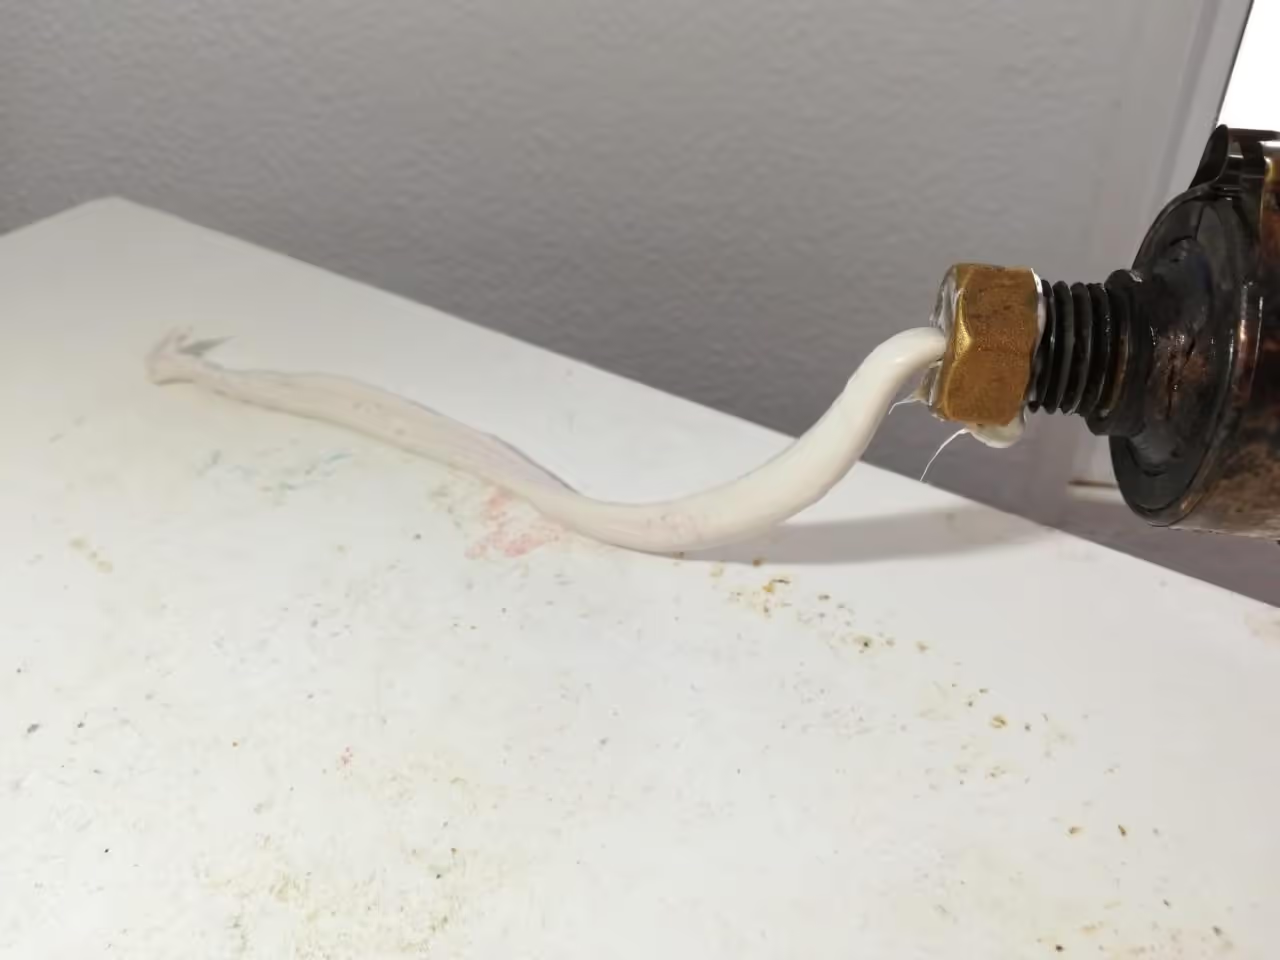
EXTRUSION
PP
HDPE
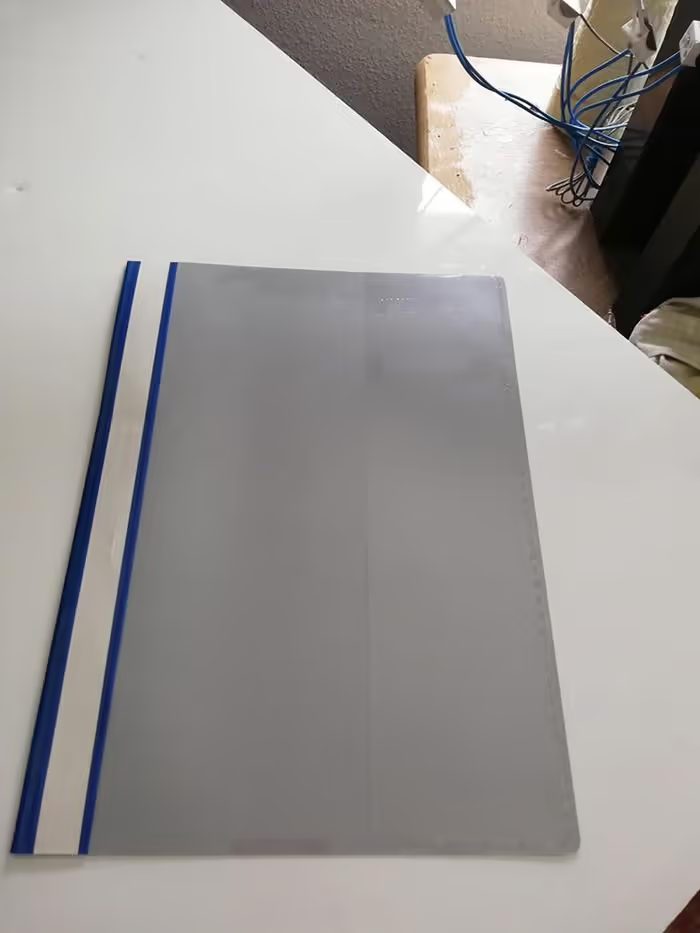
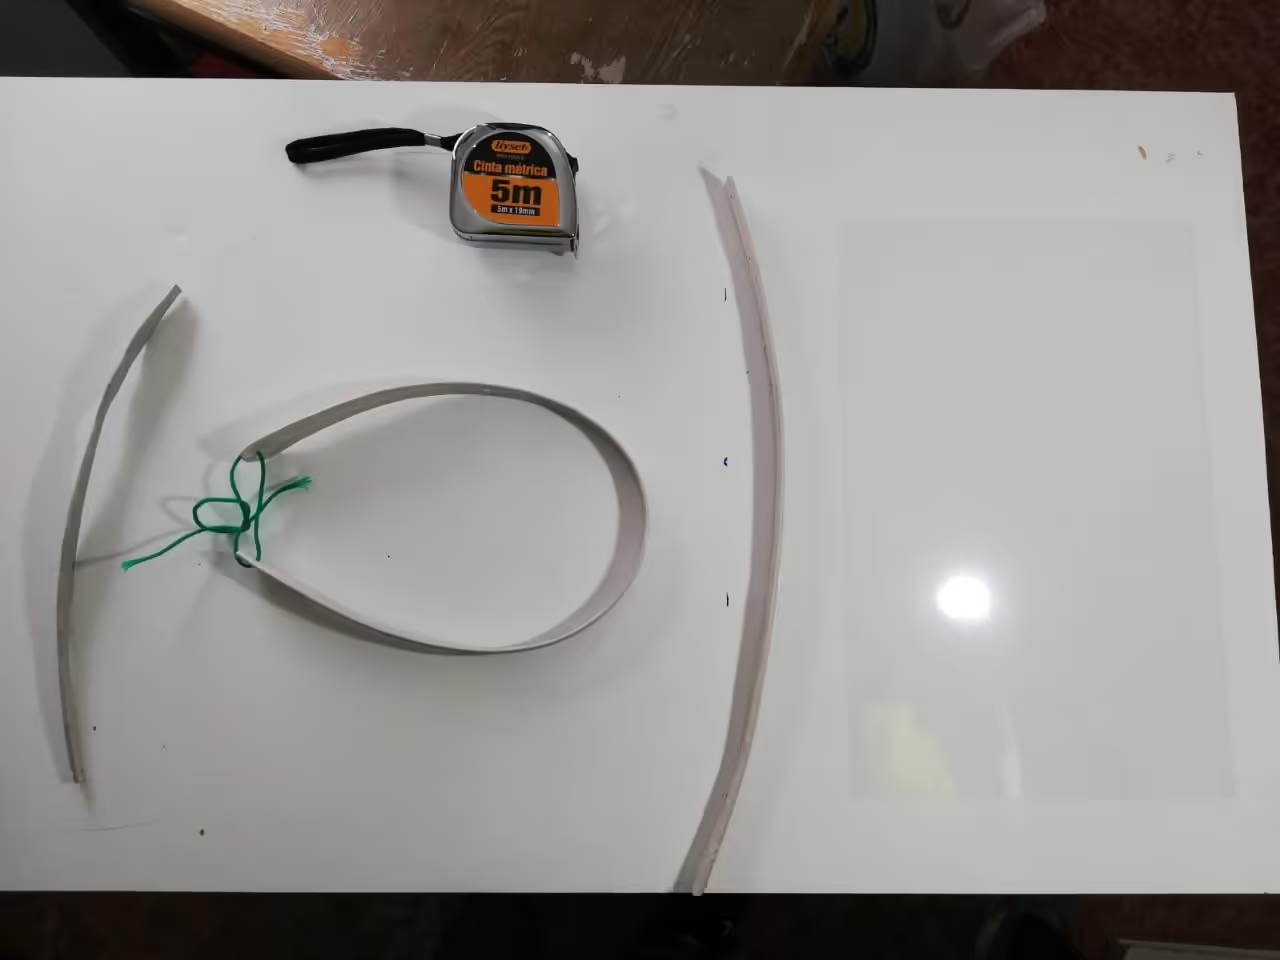
We use an extruder to create the protective mask structure without molds. Cut three strips measuring 21.65 inches (55 cm), 15.75 inches (40 cm), and 11.02 inches (28 cm). For the protective screen, repurpose an old folder.
We use the extruder to create strips for the mask. If you lack an extruder, utilize a bag strap or an old belt. For the screen, an old folder's transparent section will be cut and attached to the structure.
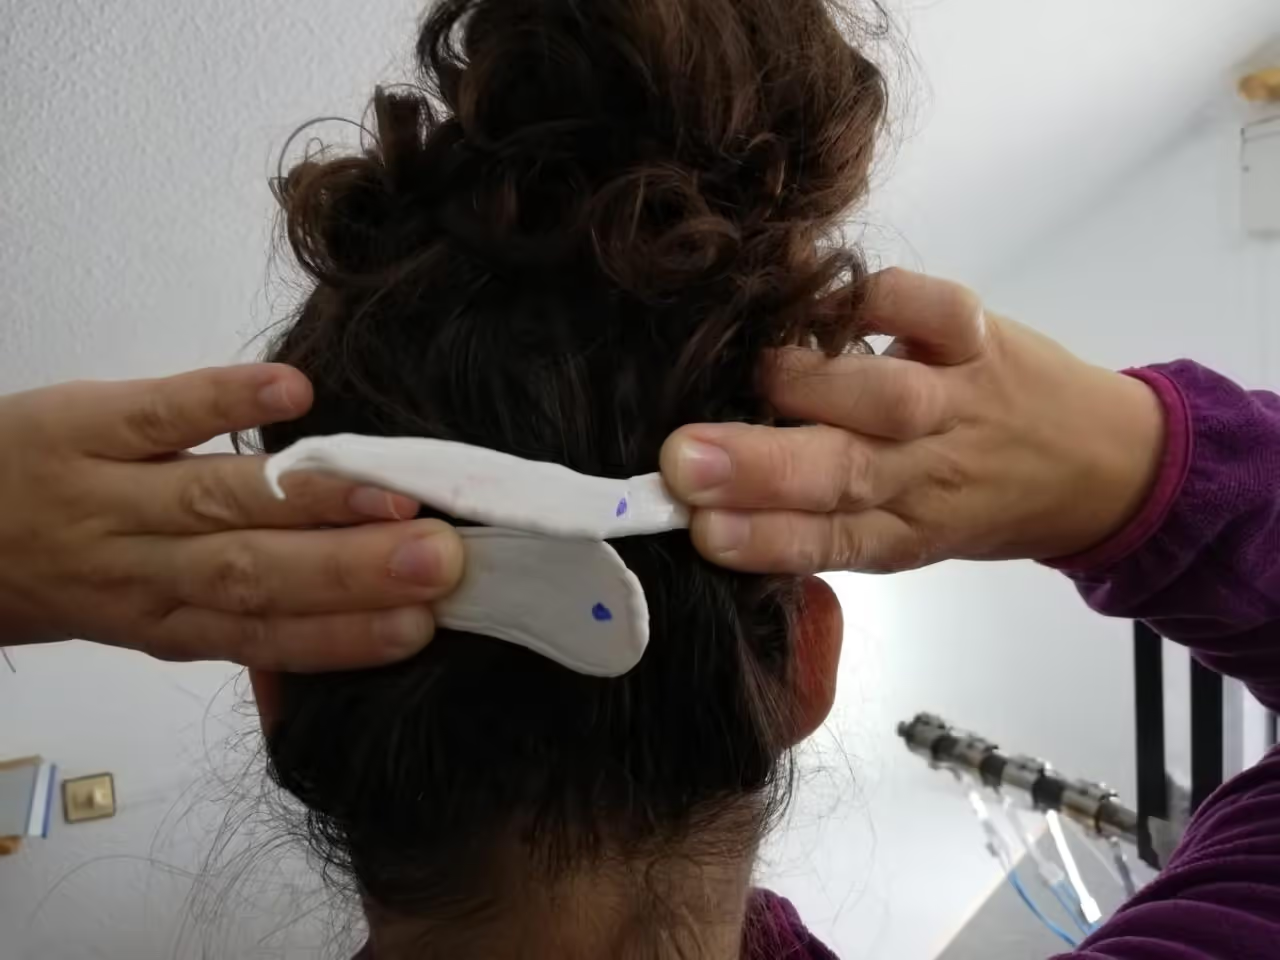
Create a strip measuring 55 cm (21.65 inches) in length and 1 cm (0.39 inches) in width using the extruder. Once cooled, wrap it around the head to mark the closure point. Use an old folder for the screen by cutting out its transparent part and attaching it to the structure.
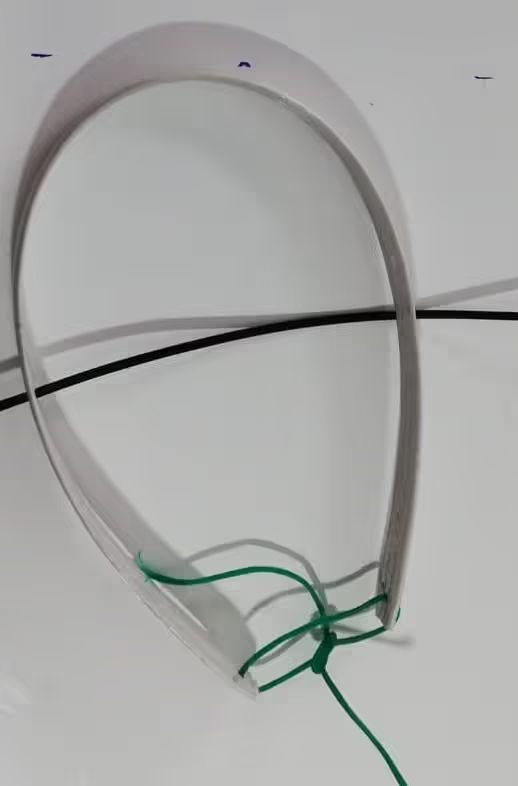
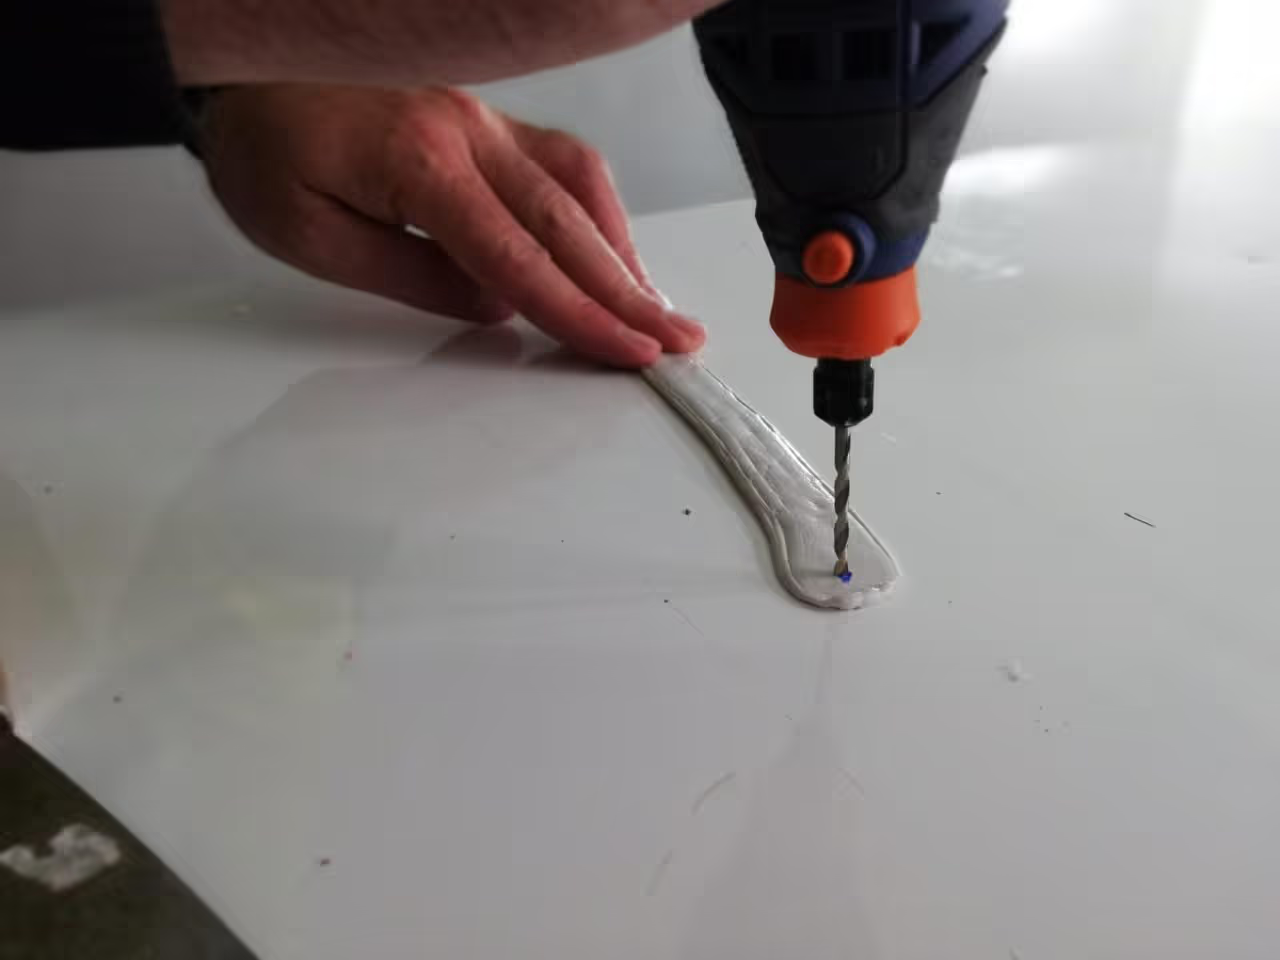
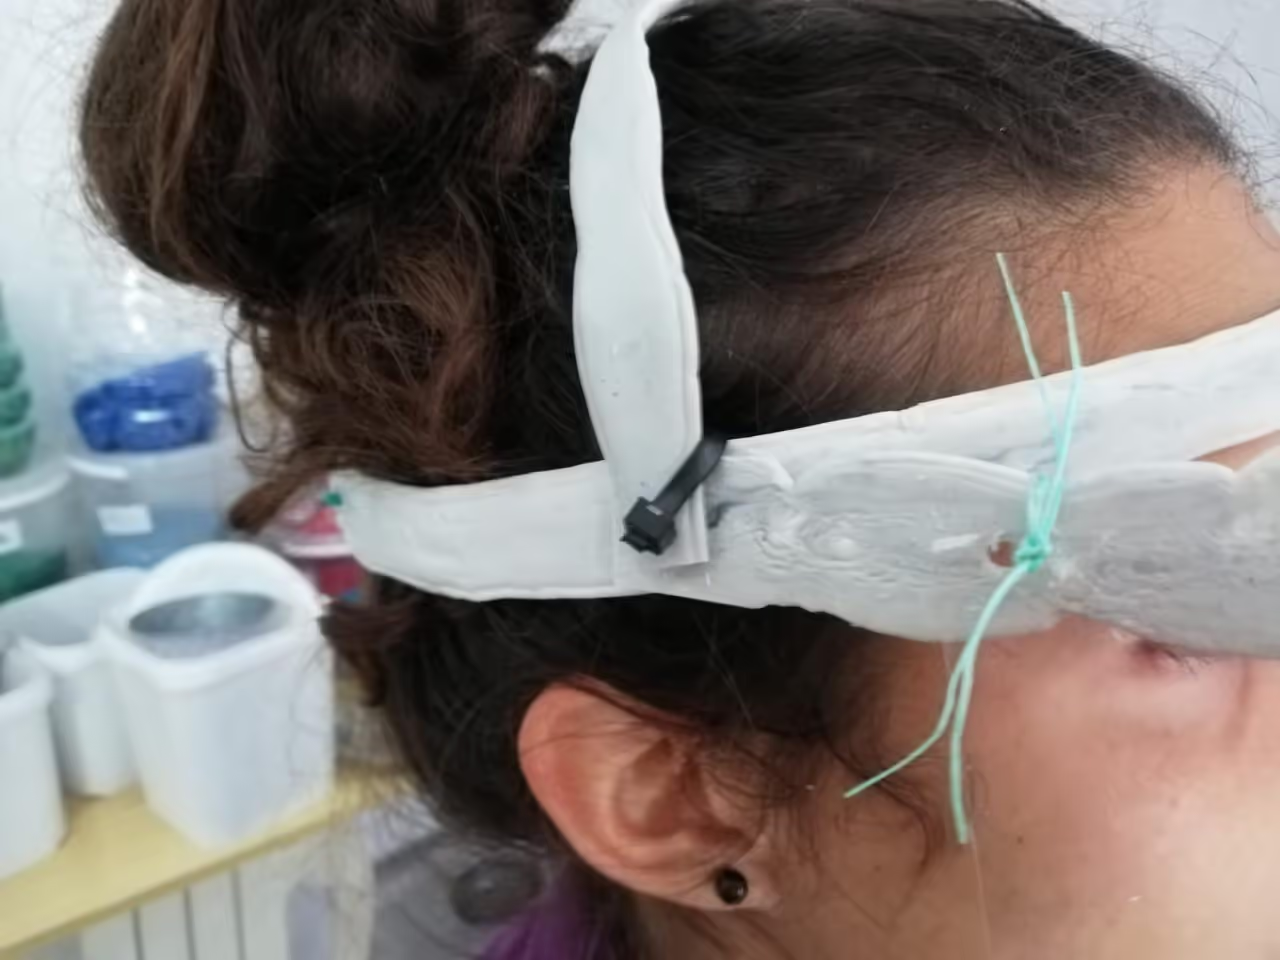
Make two holes to thread a string and close it. We used a fishing line found on the beach.
Create two strips: one measuring 15.75 inches (40 cm) and the other 11 inches (28 cm). The 15.75-inch strip will display the mask, while the 11-inch strip will help secure the mask to the head. Holes in both strips will facilitate their attachment.
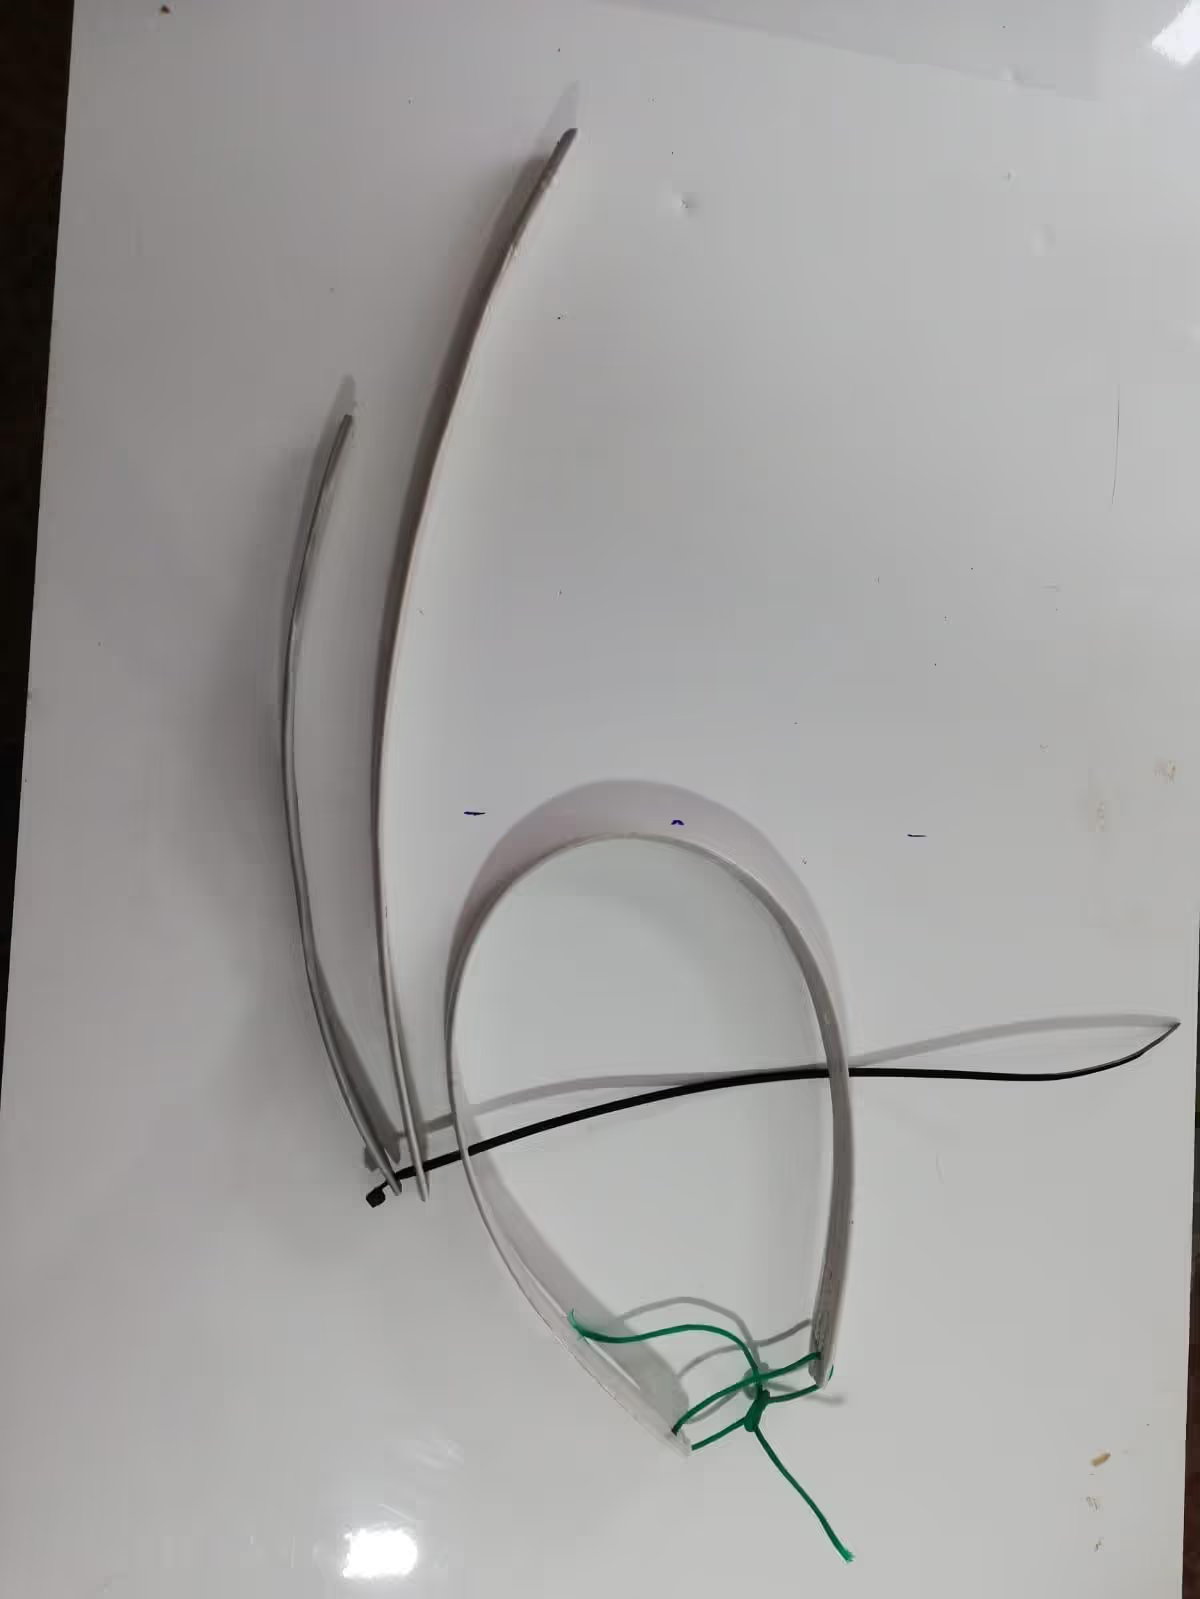
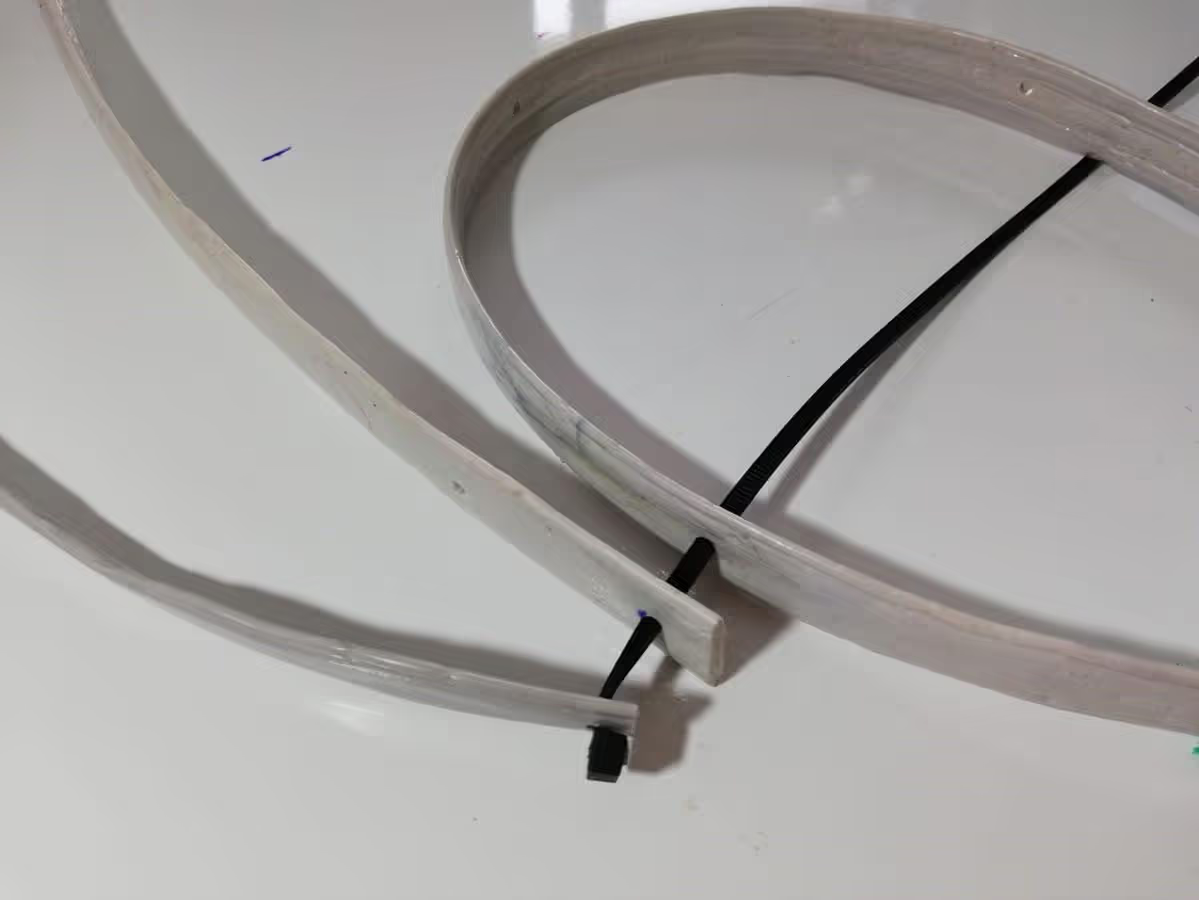
The structure will be assembled using the three strips, and the screen will be attached with a tie or bridle.
This guide will instruct you on how to create a face shield. Follow the steps carefully to ensure successful assembly.
Prepare the Shield: Cut the transparent sheet to cover the face adequately, ensuring it is 25 cm (10 in) high and 30 cm (12 in) wide.
Attach the Foam: Secure the foam strip to the top edge of the transparent sheet. This creates a comfortable buffer against the forehead.
Secure the Elastic Band: Attach the elastic band to the ends of the transparent sheet. Ensure it stretches comfortably around the head.
Final Assembly: Verify all components are securely attached. Adjust the elastic band as necessary for a snug fit.
The face shield is now ready for use. Ensure cleanliness and regular checks for wear and tear.