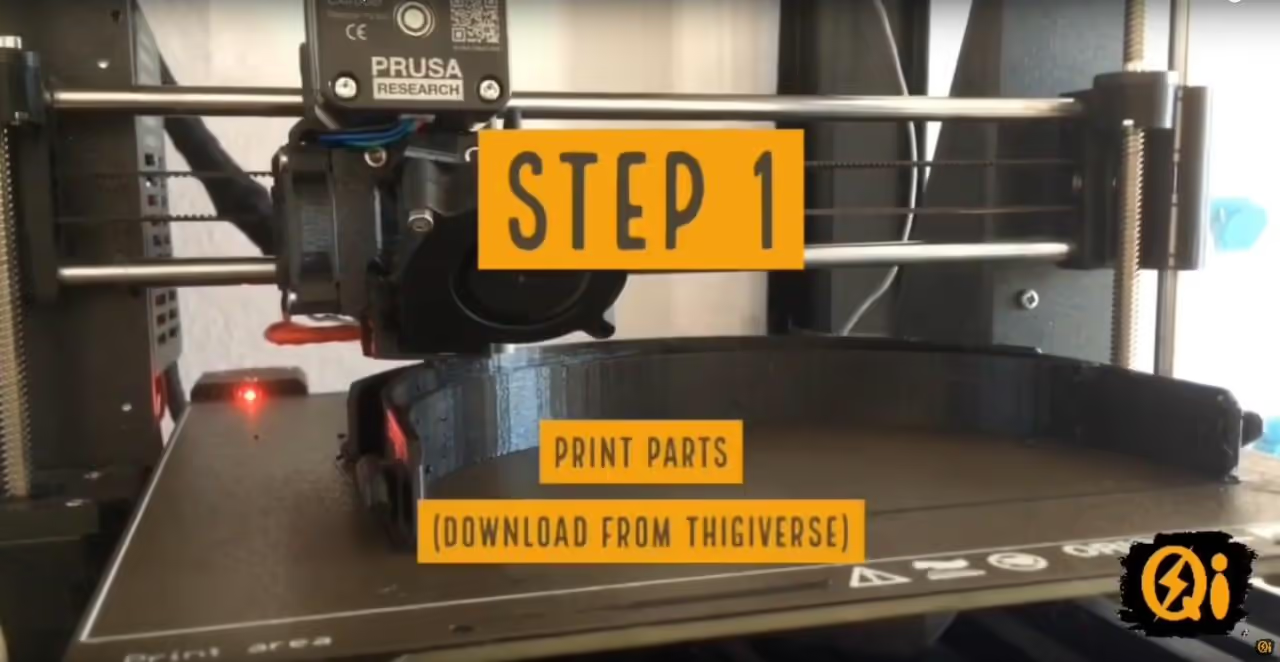
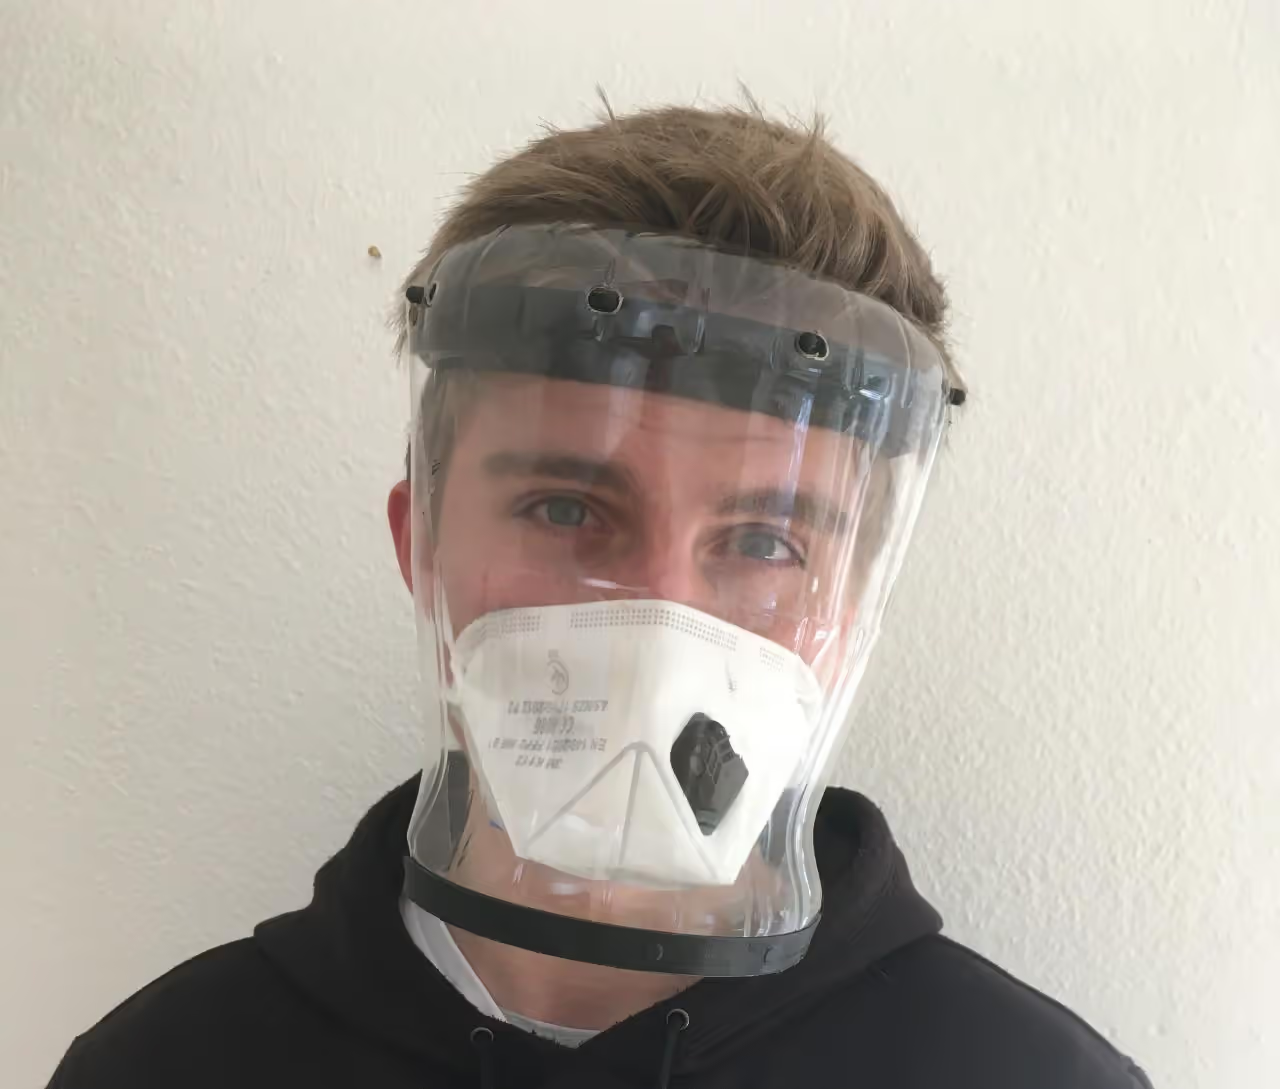
Amid a global shortage of protective equipment, individuals with access to a 3D printer can assist by producing face shields for frontline workers. This design allows you to create face shields using a PET bottle.
For assembly instructions, view the video here: https://www.youtube.com/watch?v=6u6y6gD17rk
Table of Contents
-
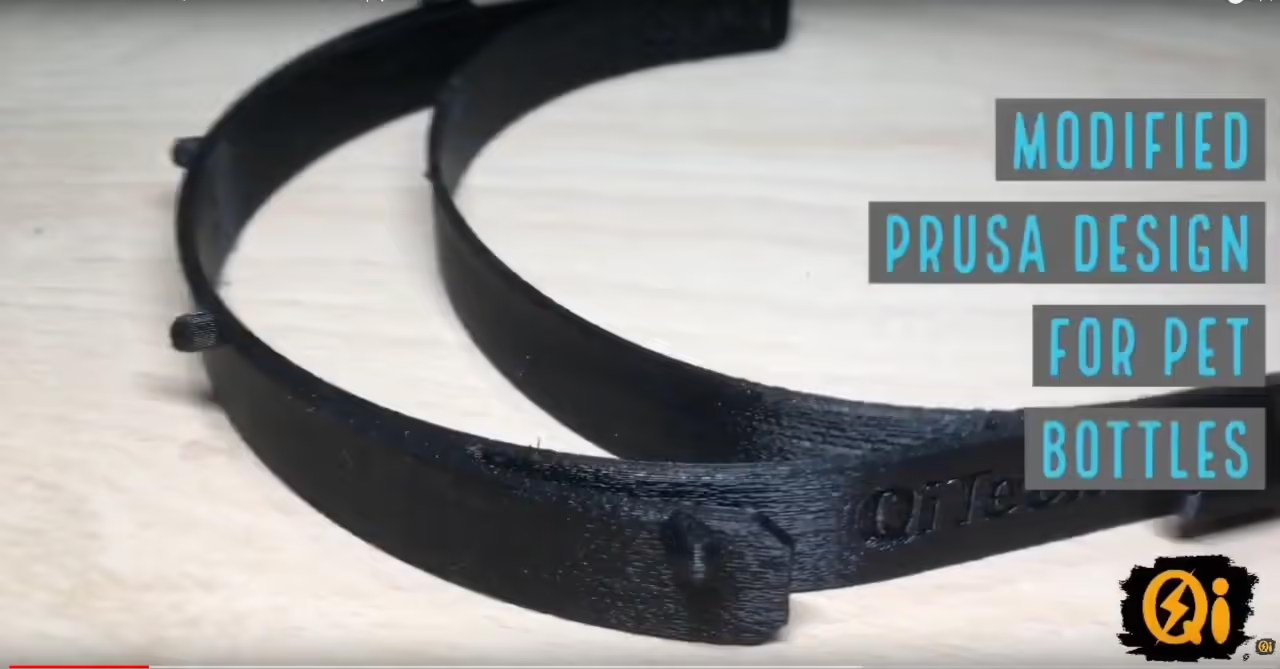
To create the shield, 3D print the top and bottom parts. Download the files for free from websites like Thiniverse or Prusa, or access them from the zipped folder provided here.
0){ currentIndex--; lightboxLoaded = false; preloadAndOpen(); } }" class="product-gallery"> -
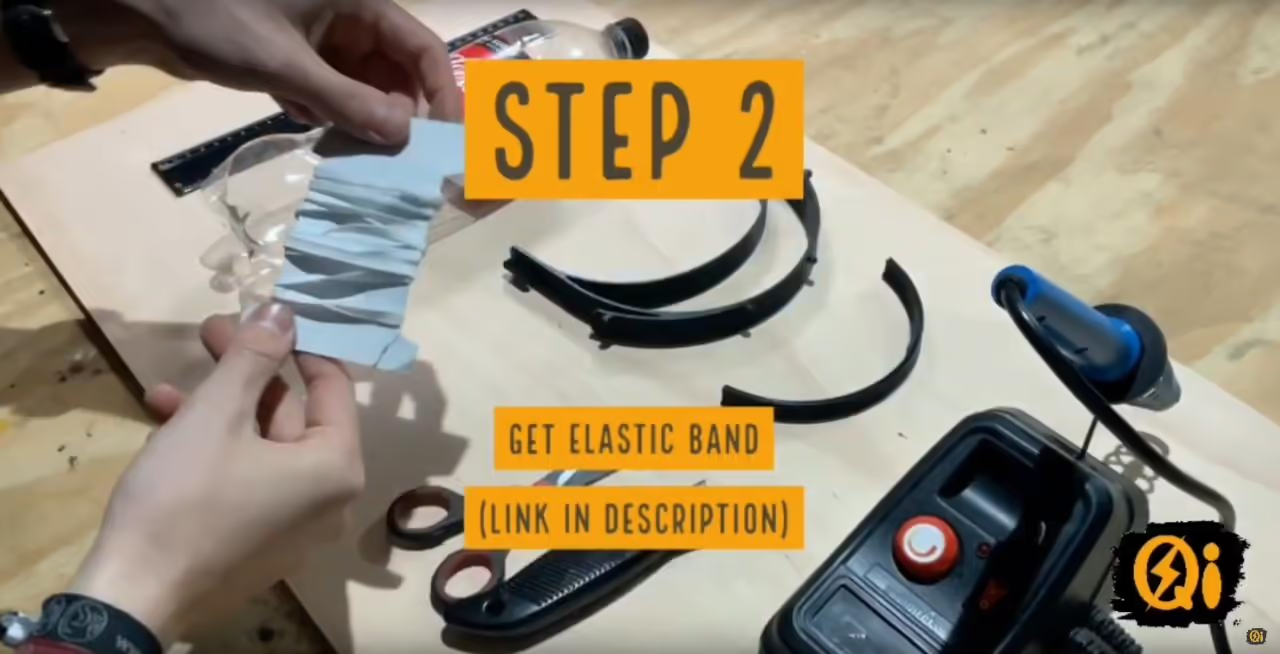
You can use a standard white elastic band, but one with buttonholes is preferable.
0){ currentIndex--; lightboxLoaded = false; preloadAndOpen(); } }" class="product-gallery"> -
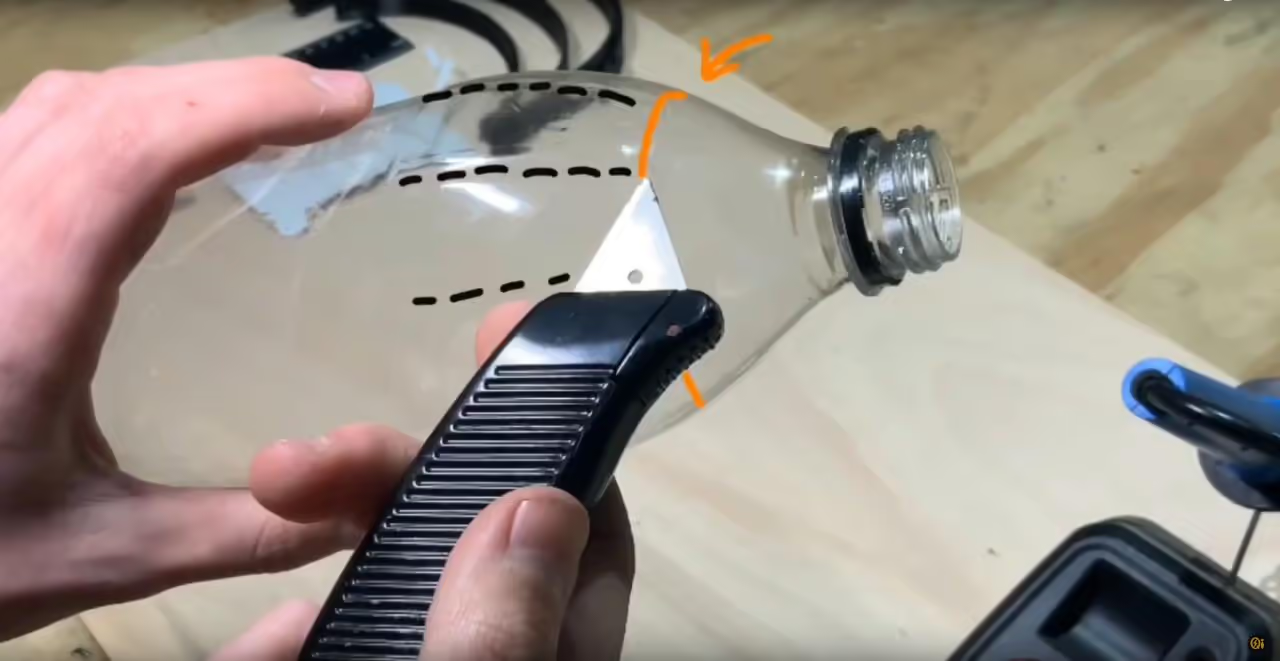
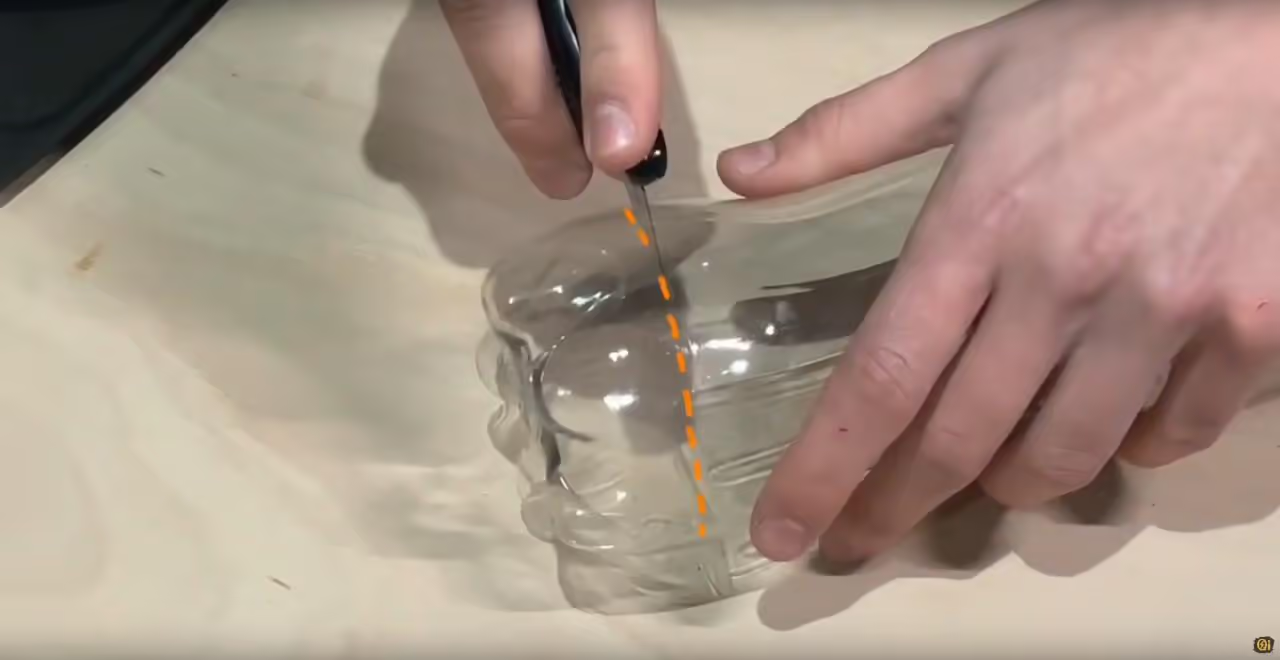
First, wash the bottle. Then, cut off the top and bottom. Finally, cut the side to open the plastic.
0){ currentIndex--; lightboxLoaded = false; preloadAndOpen(); } }" class="product-gallery"> -
Instructions for Assembling the Bottle
-
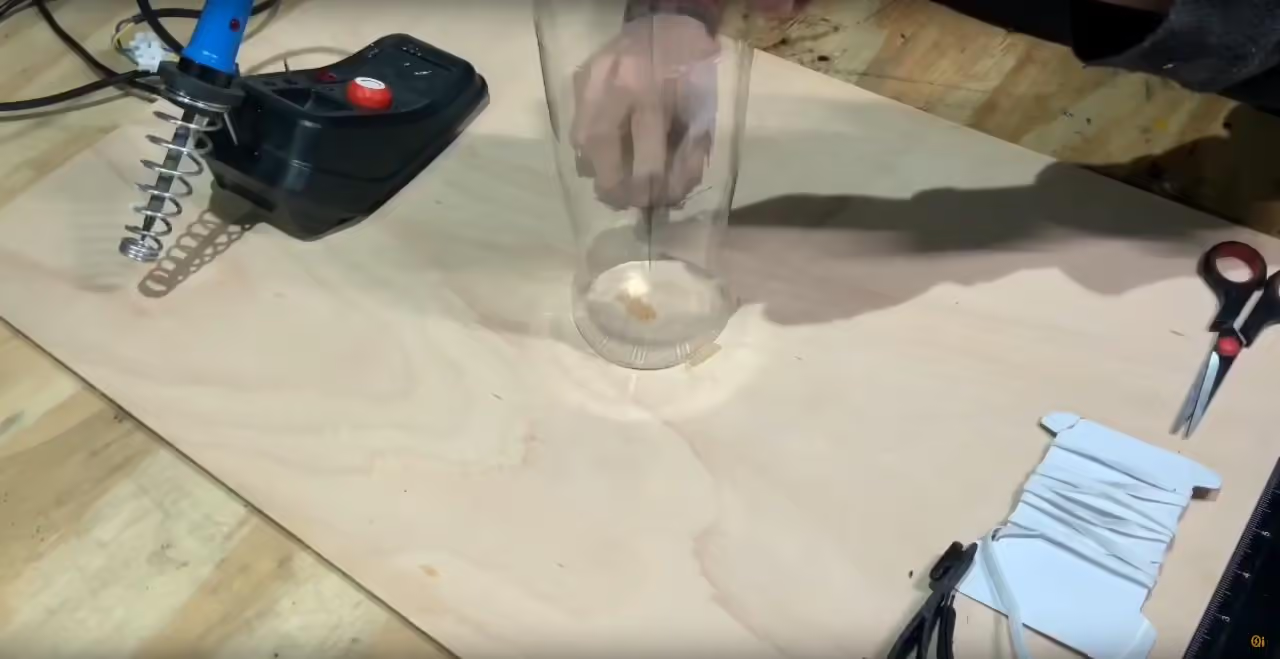
Prepare the Bottle Base
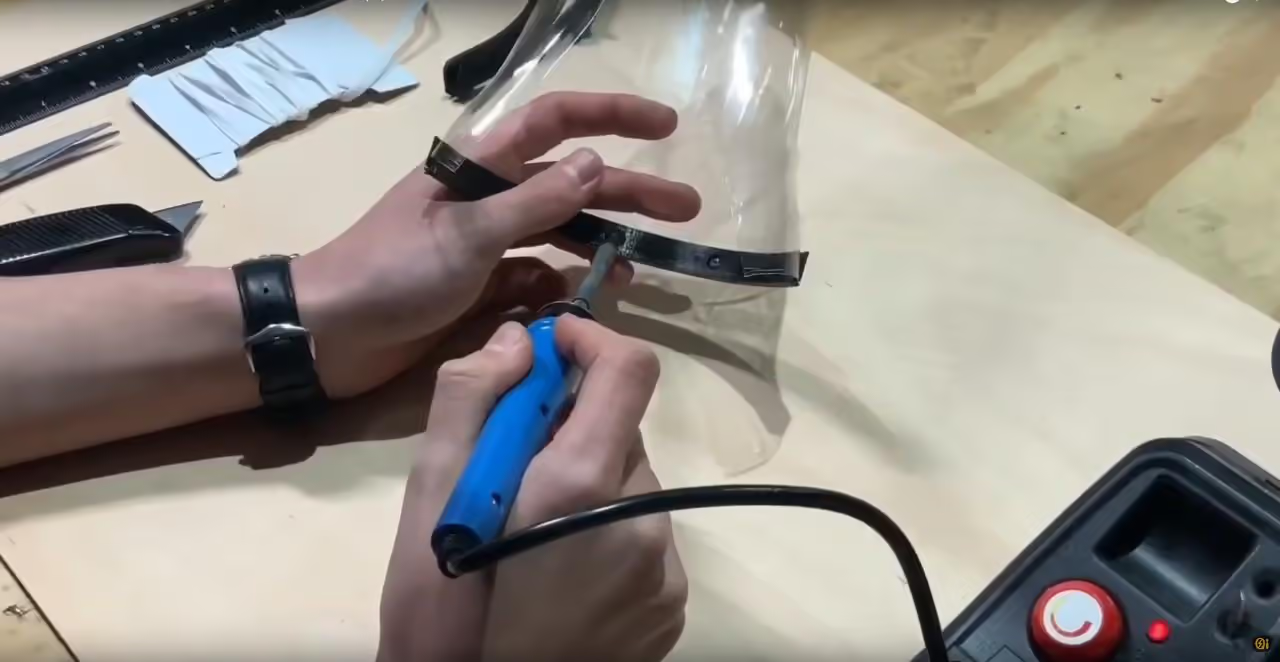
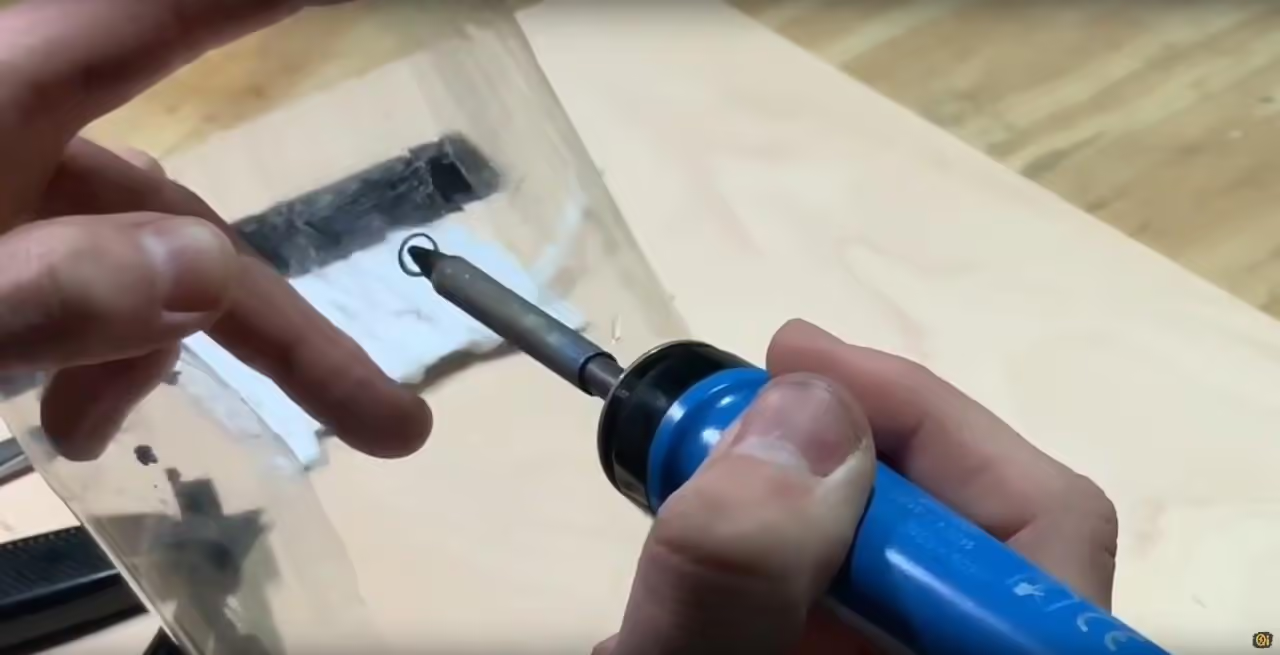
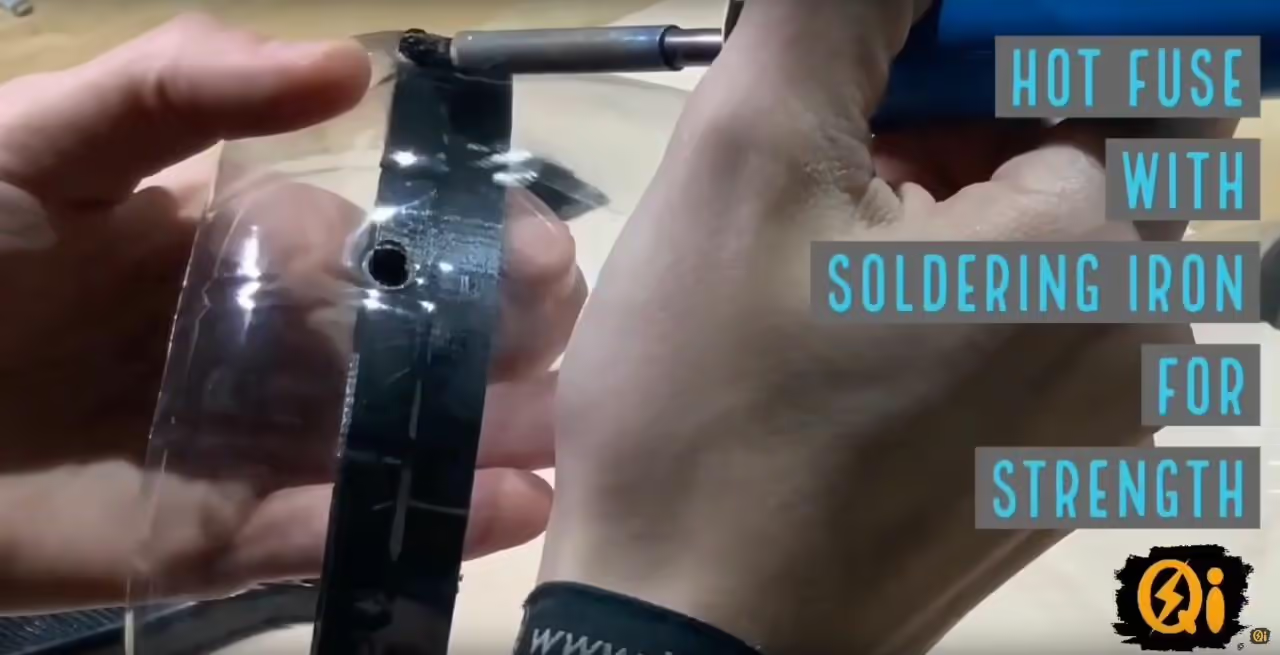
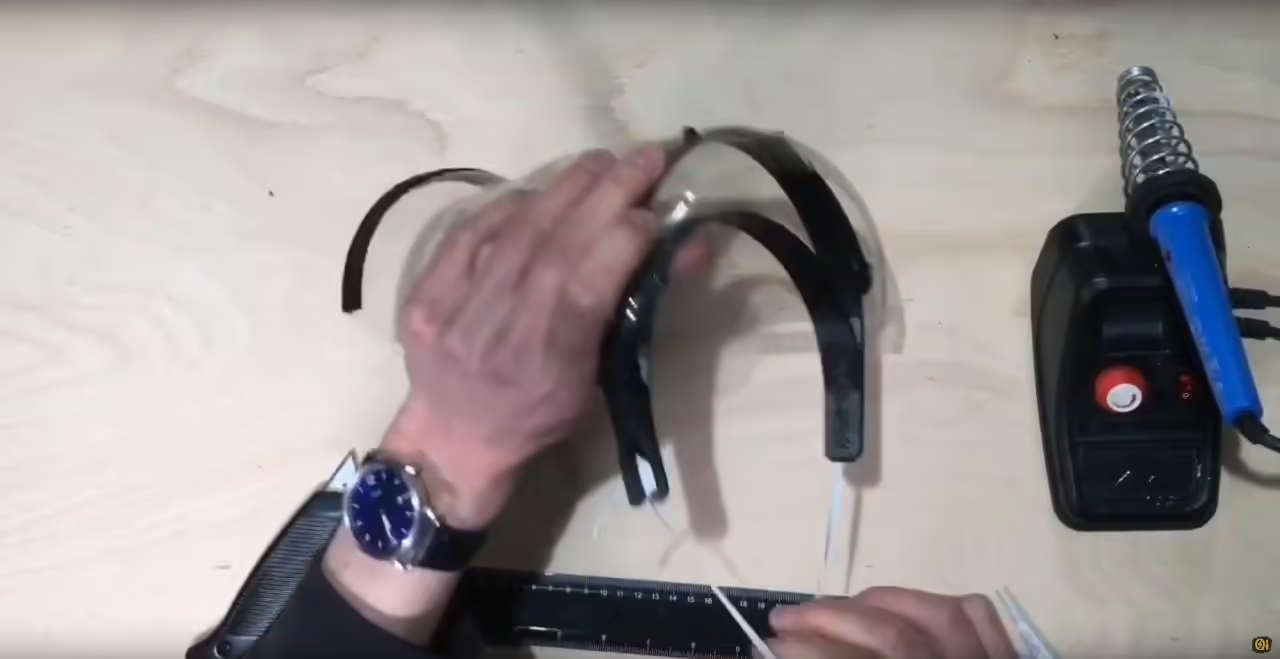
Open the PET bottle and insert it into the slit at the bottom. Use a soldering iron to melt the PET and printed parts at three visible interior points. -
Attach the Top Part
- Mark where to create holes in the bottle using a marker.
- Melt the holes with a soldering iron.
- After securing the top part, further melt the plastic together for enhanced durability.
0){ currentIndex--; lightboxLoaded = false; preloadAndOpen(); } }" class="product-gallery"> -
-
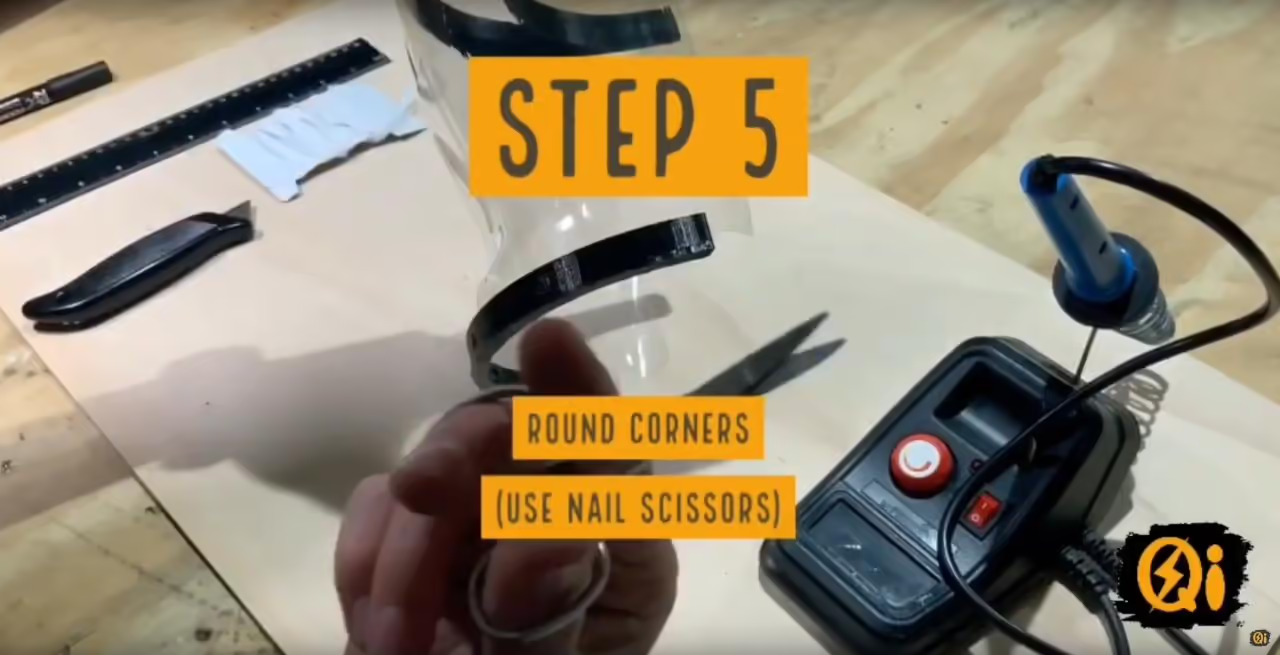
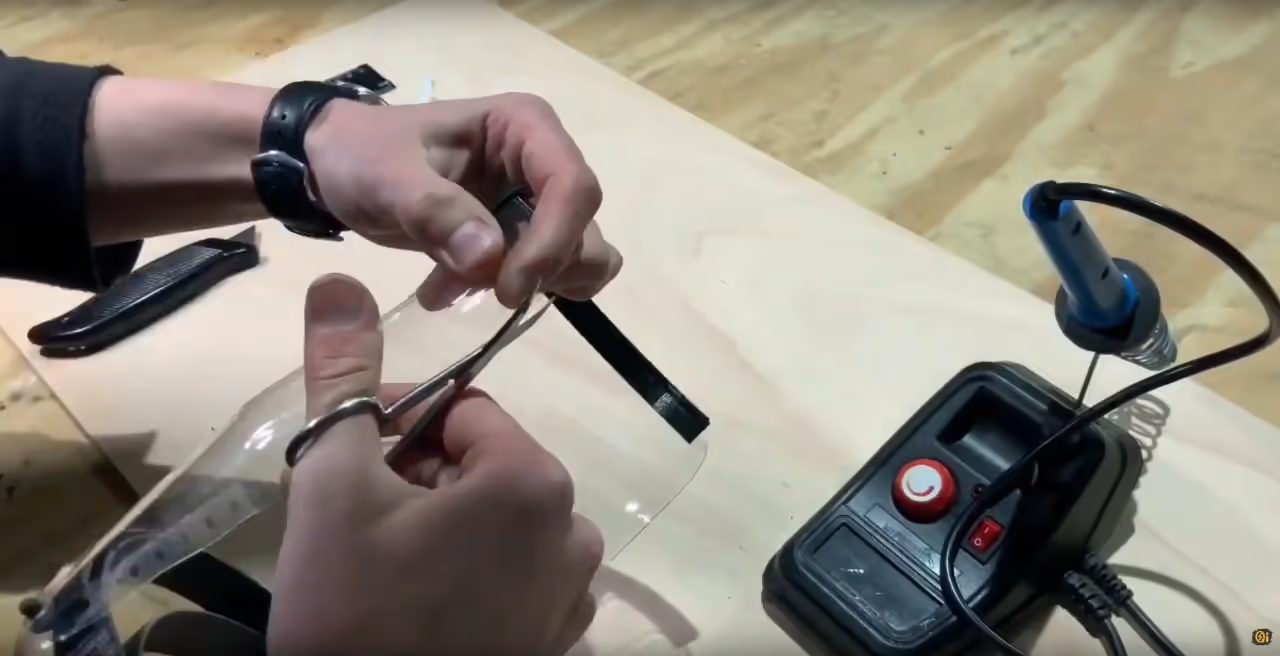
Use nail scissors to round the corners at the bottom of the PET shield. Normal scissors can be used as an alternative.
0){ currentIndex--; lightboxLoaded = false; preloadAndOpen(); } }" class="product-gallery"> -
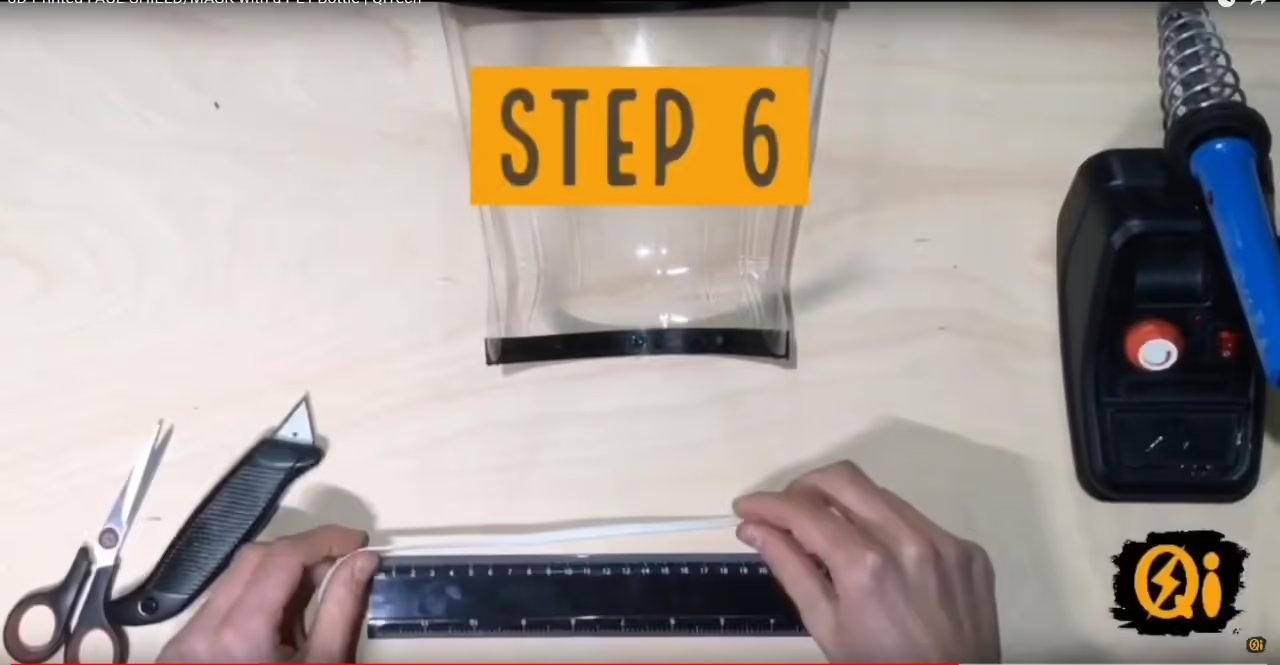
Firstly, cut approximately 6-8 inches (16-20 cm) of elastic band. Securely tie the band around the holders on both sides.
0){ currentIndex--; lightboxLoaded = false; preloadAndOpen(); } }" class="product-gallery"> -
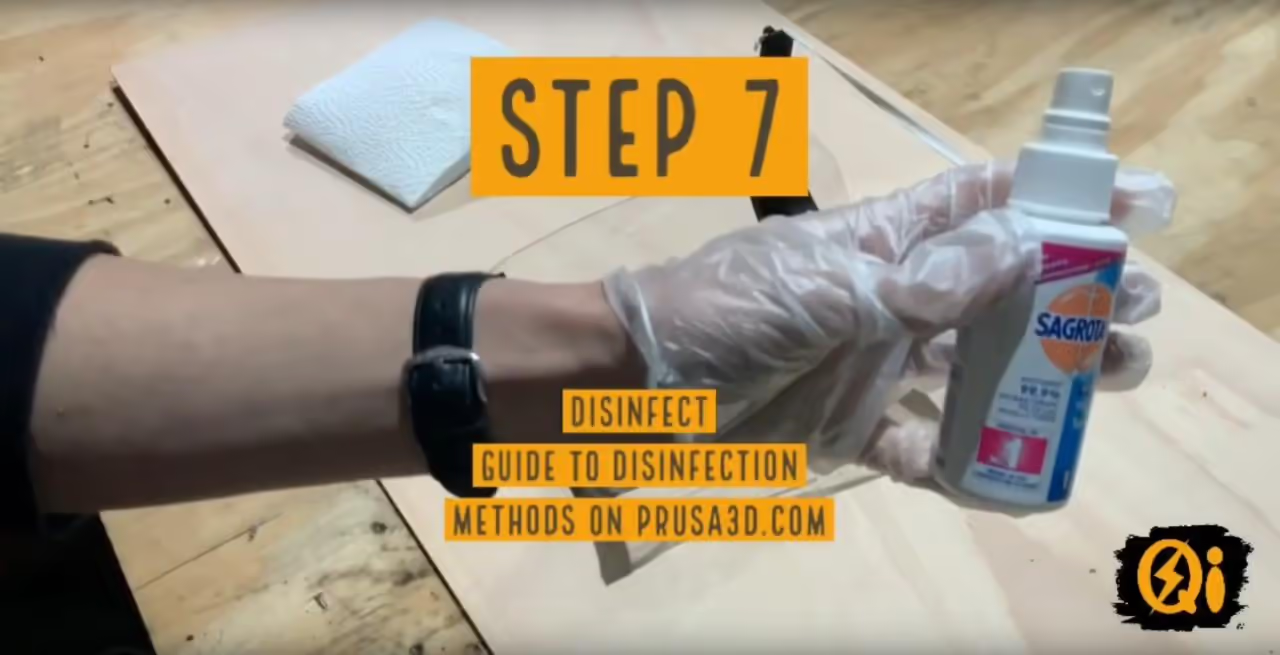
Disinfect the inner side of the shield to remove bacteria. PRUSA provides a Sterilization Guide for further details.
0){ currentIndex--; lightboxLoaded = false; preloadAndOpen(); } }" class="product-gallery">
To create DIY face shields using the described method, the following tools and materials are required:
Hardware
- 3D printer for producing top/bottom parts
- Soldering iron for melting PET/plastic components Video Guide
- Nail scissors or regular scissors
- PET beverage bottles (cleaned and cut)
- Elastic band (preferably with buttonholes)
Software/Files
- 3D printing files from Thingiverse or Prusa
- Assembly video tutorial
- Zipped design files from tutorial source
- Prusa Sterilization Guide
Tools/Materials
- Permanent marker for hole marking
- Disinfectant for inner shield surface
- Plastic-cutting tools
- Hole-punching equipment (soldering iron)
- Fastening elements (buttonhole elastic recommended)
Articles
- ~~Turning Recycled Plastic Bottles into Face Shields for Better Protection~~ [3]
- Make a DIY Face Shield Out of Plastic Soda Bottles [4]
- Can You Really Sterilize A 3D Print? Real Answers From Actual Studies [10]