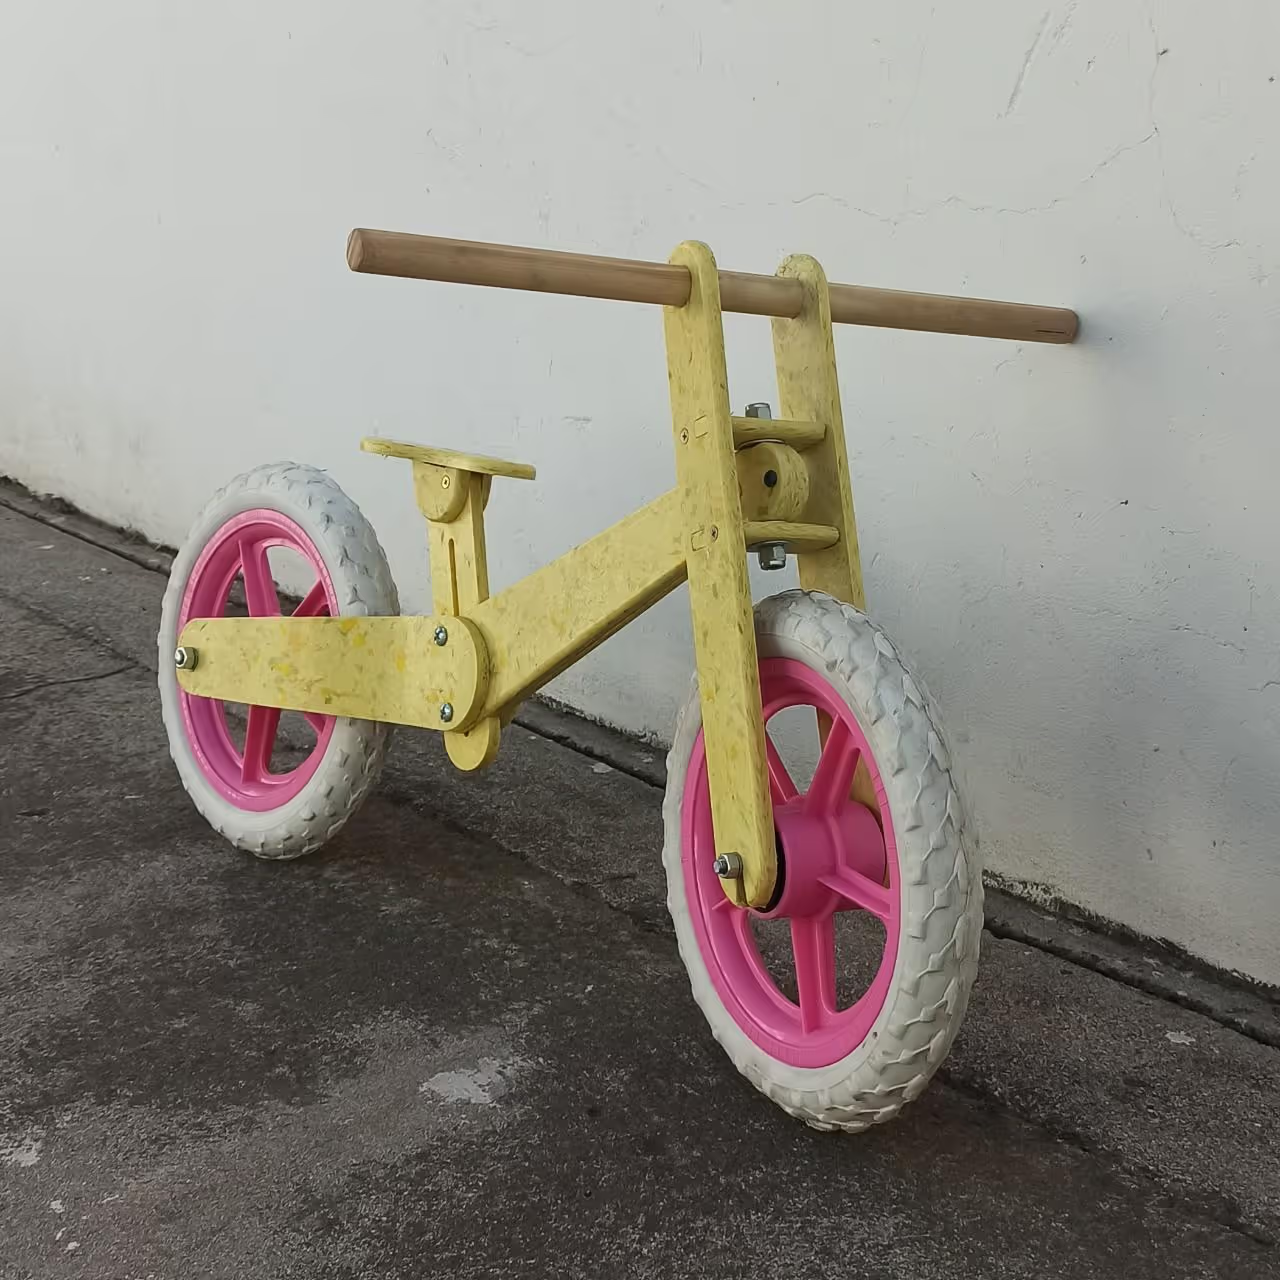
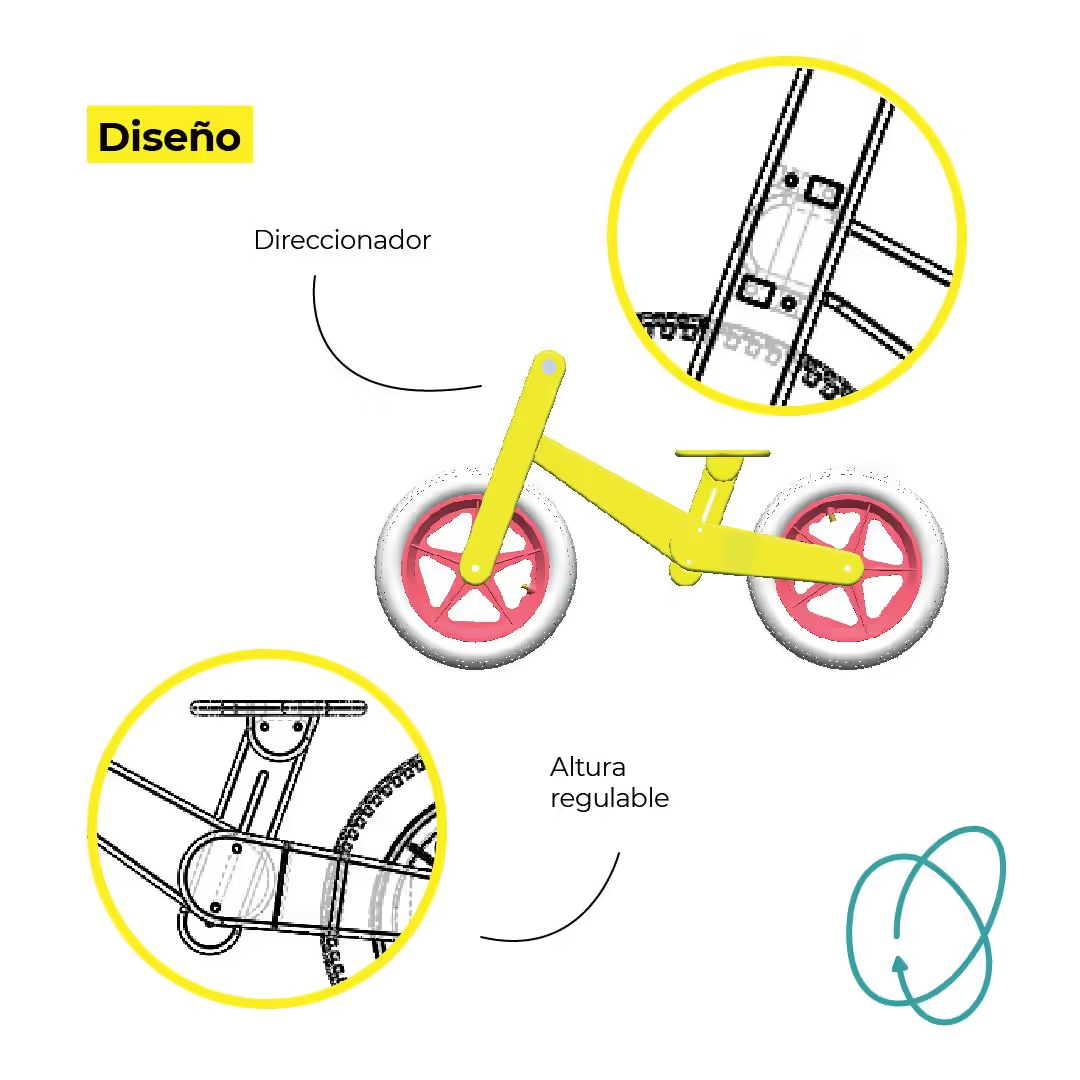
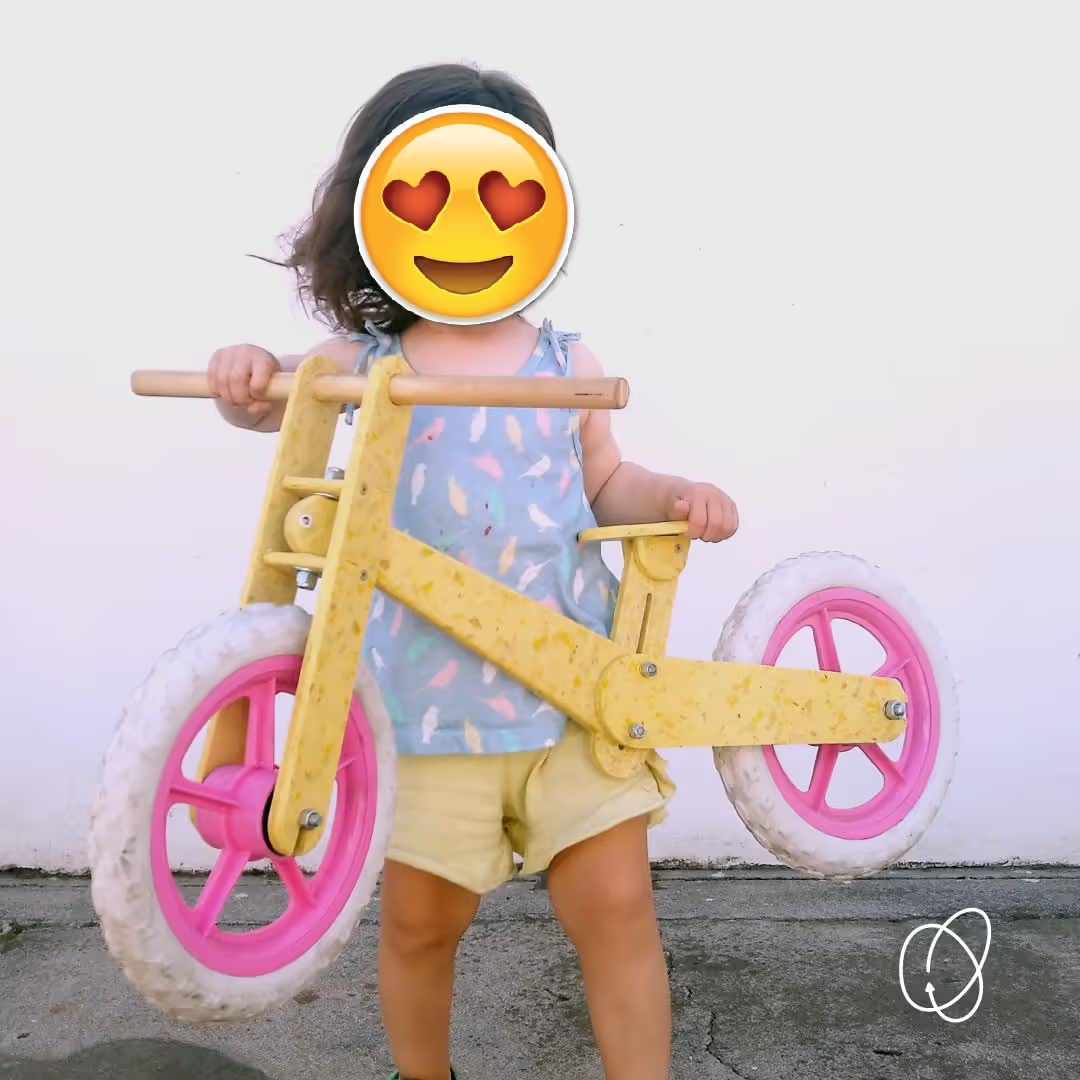
The Camicleta is a pedal-free learning bike recommended for children aged 18 months to 5 years.
Materials:
- 2 sheets, 13.8 x 13.8 in (35 x 35 cm), thickness 0.4 in (10 mm).
- 2 wheels, 12 in.
- Screws
- Bolts
- Nuts
- Washers
- Wooden stick for handlebars, diameter 0.87 in (22 mm), length 13.8 in (35 cm)
Included: CNC cut files (.dxf)
Browse Files
Table of Contents
-
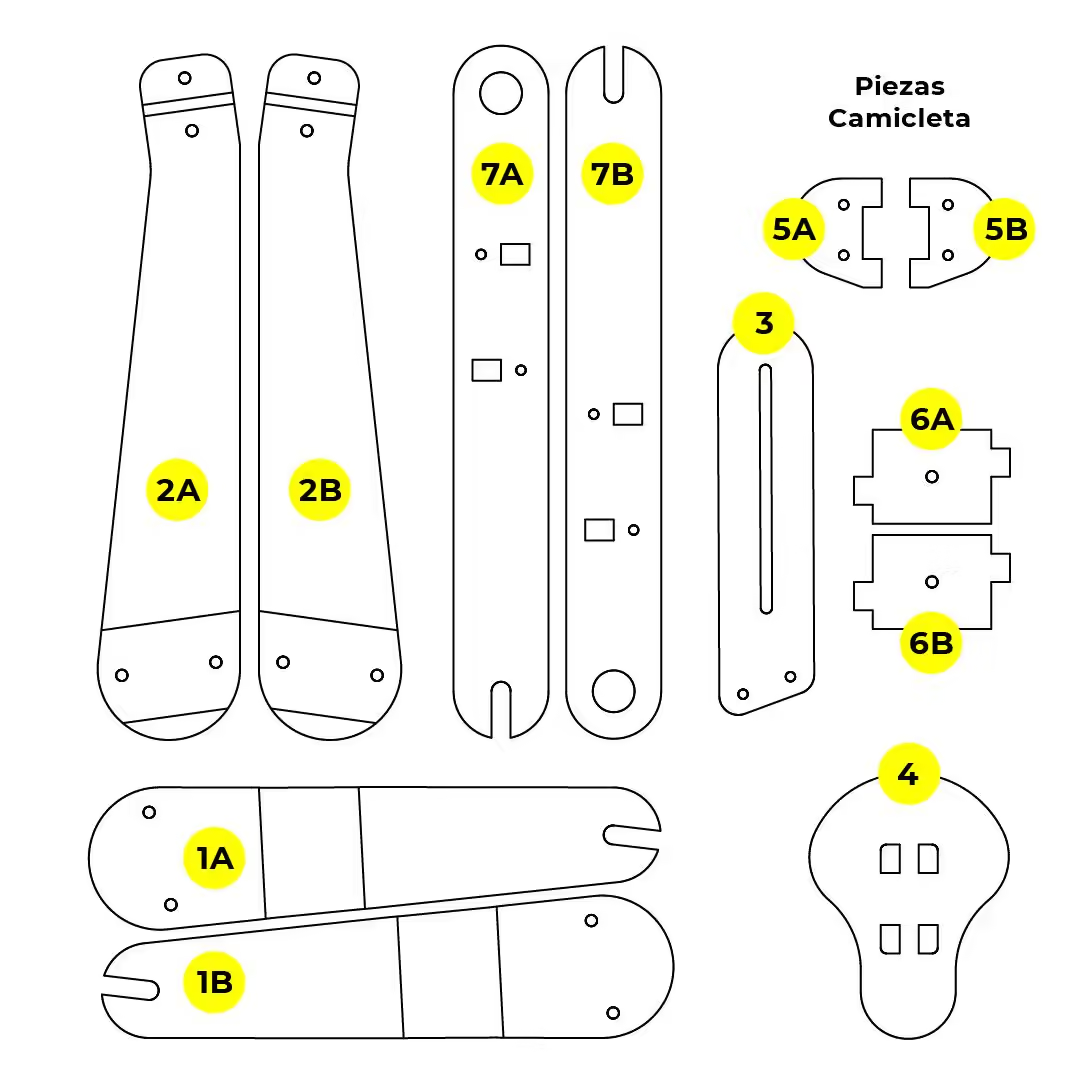
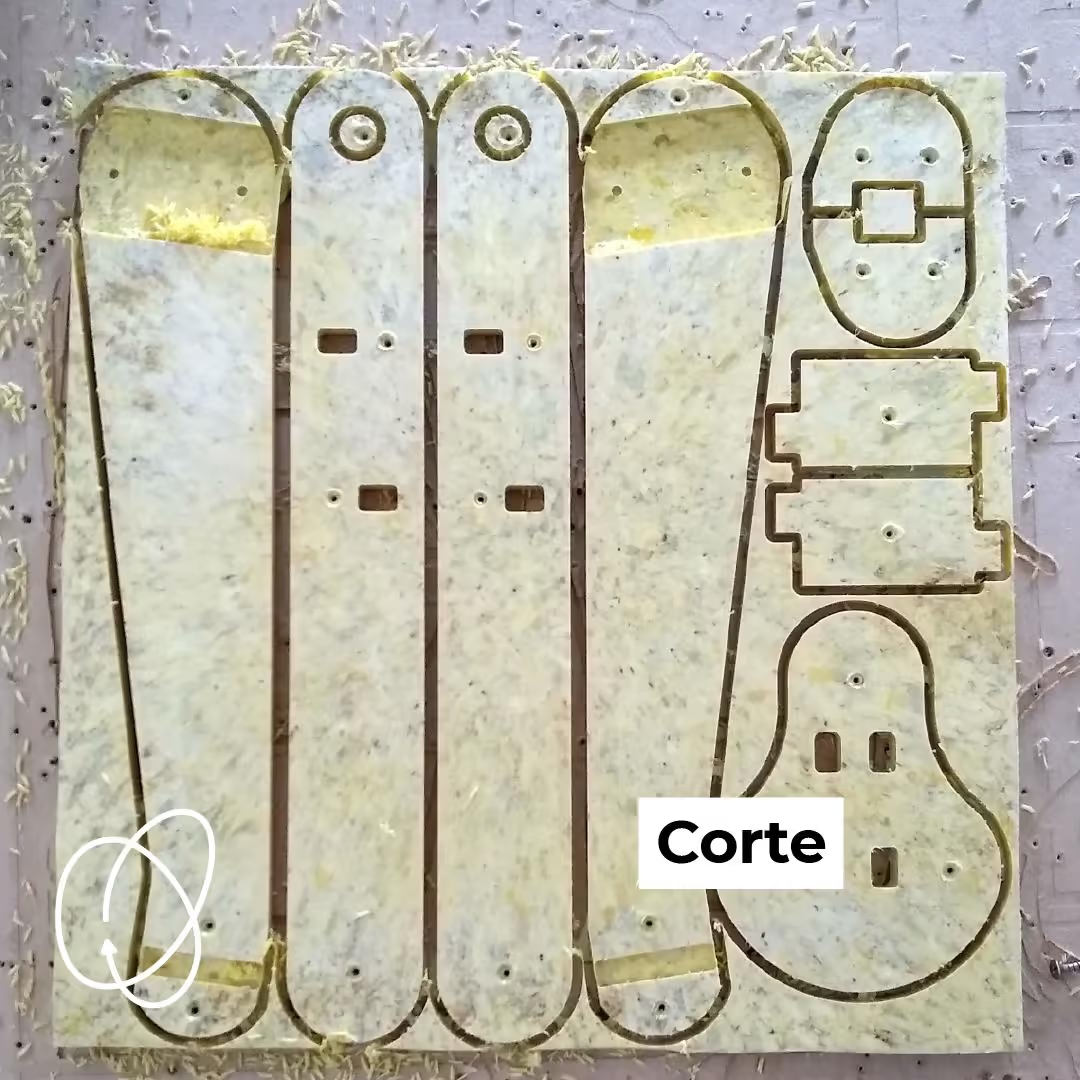
Using a CNC router, cut and create recesses in the two sheets as specified in the attached file. For a smoother finish, round the edges of the pieces.
-
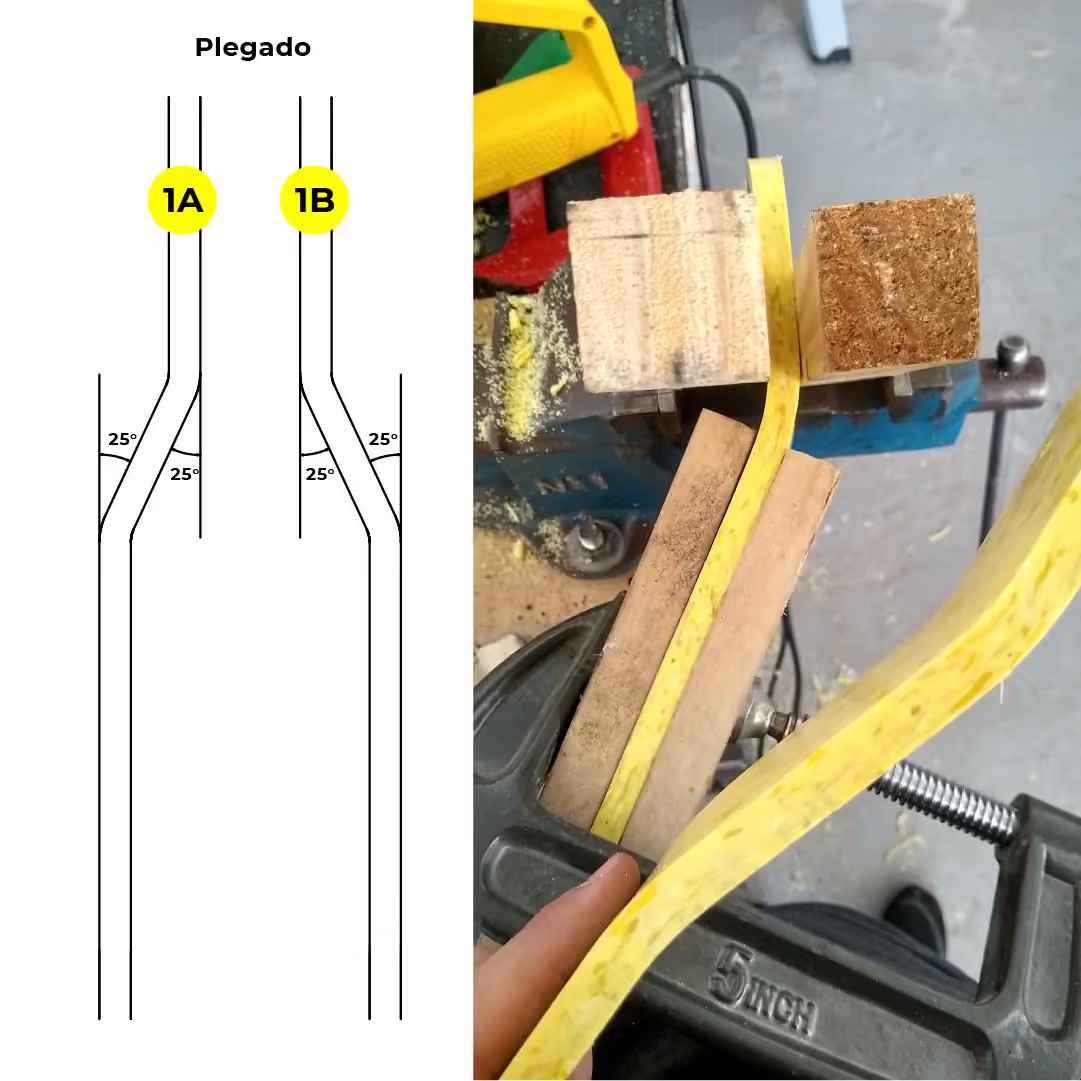
Take pieces 1A and 1B and fold them using a heat gun at a 25° angle, ensuring they are mirror images of each other, as illustrated.
-
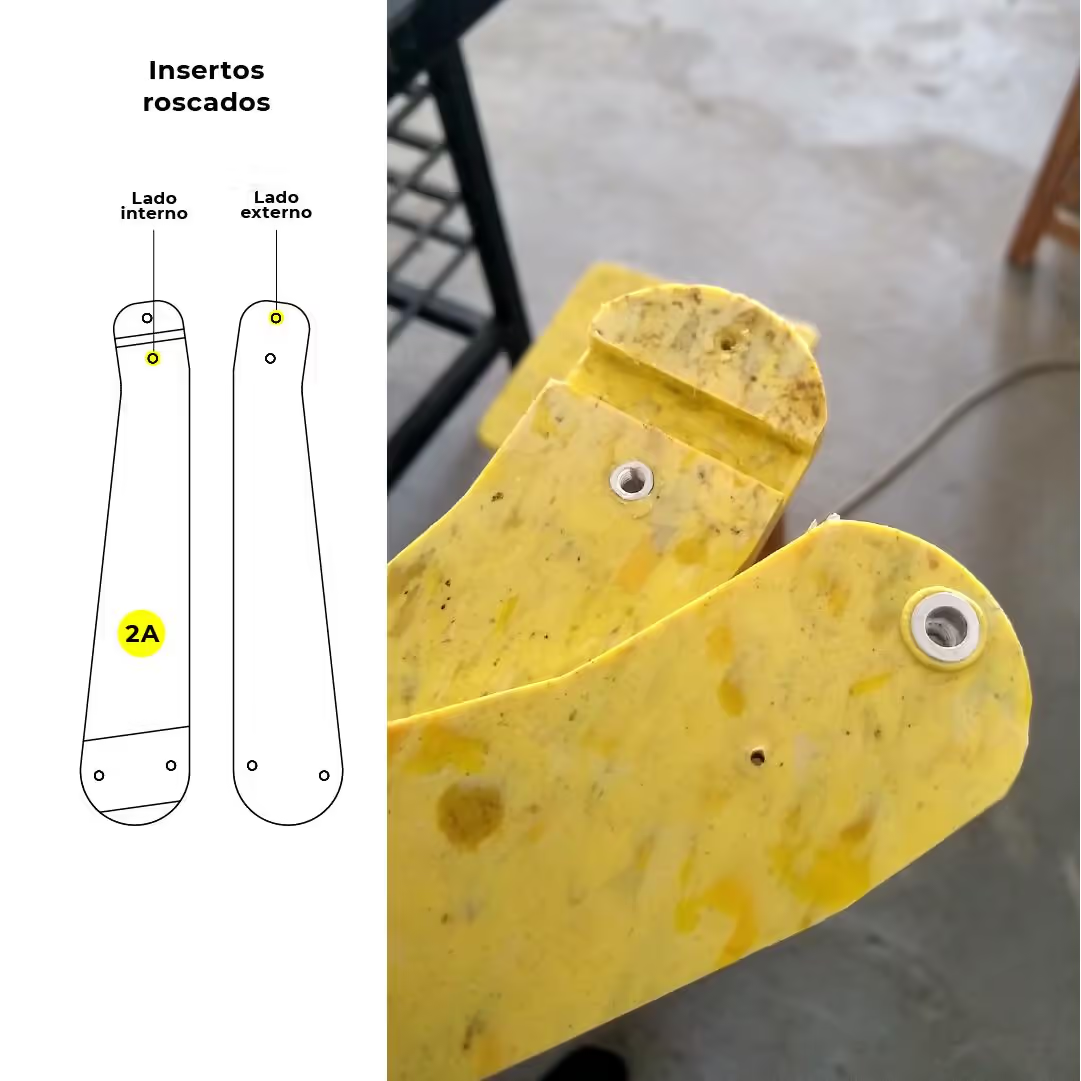
Use a heat gun to place the threaded inserts into parts 2A and 2B, as illustrated in the image.
-
Begin assembling the seat by fitting piece 4 with pieces 5A and 5B. Attach piece 3 to the seat at an angle of approximately 80 degrees (1.4 rad) and secure it with screws.
-
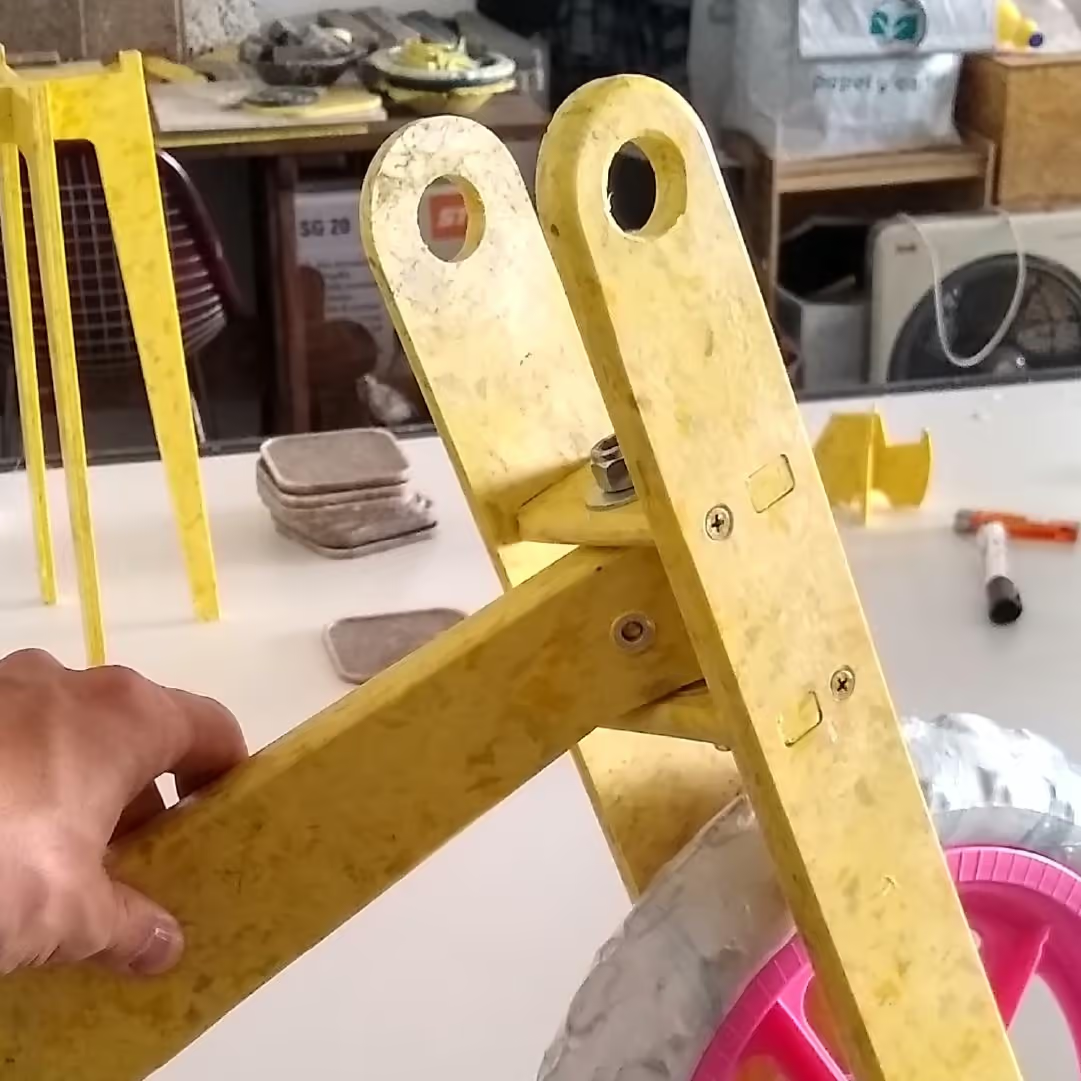
Assemble the fork by connecting piece 7A (6B) to piece 7B (6B) and secure with screws.
-
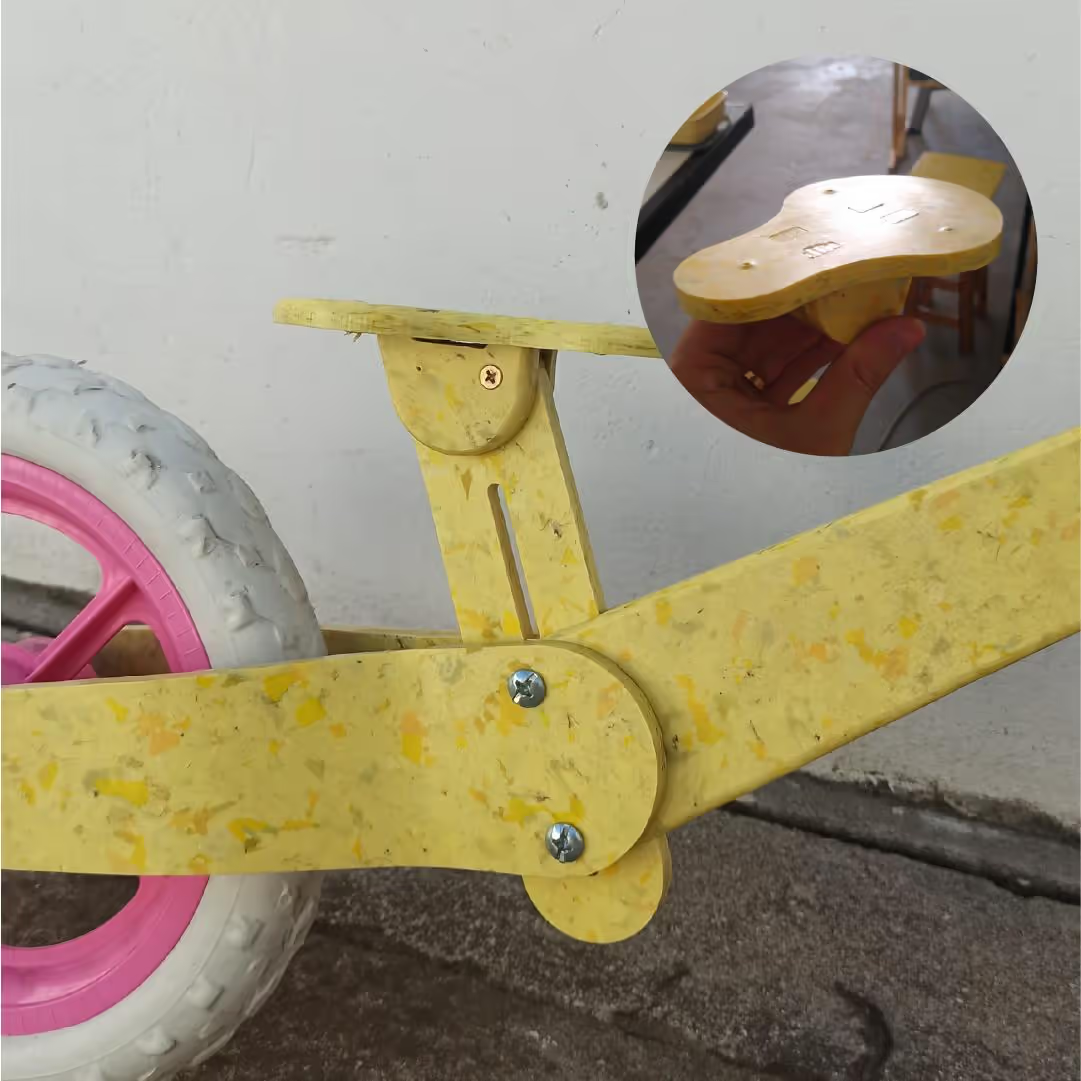
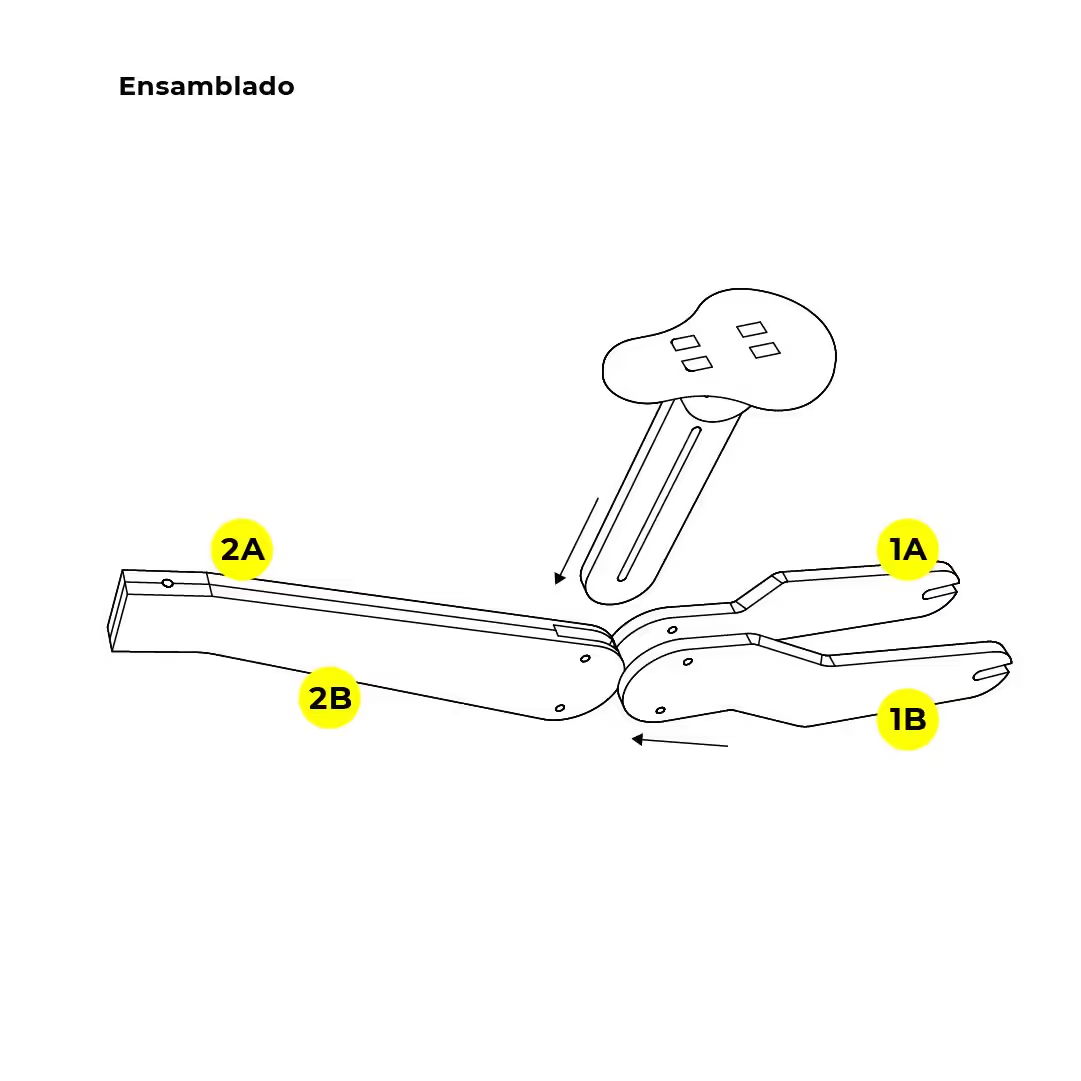
Proceed by assembling parts 2A and 2B to form the Camicleta's frame. Secure with the appropriate bolts, washers, and nuts. Adjust the seat height before fastening the sides.
-
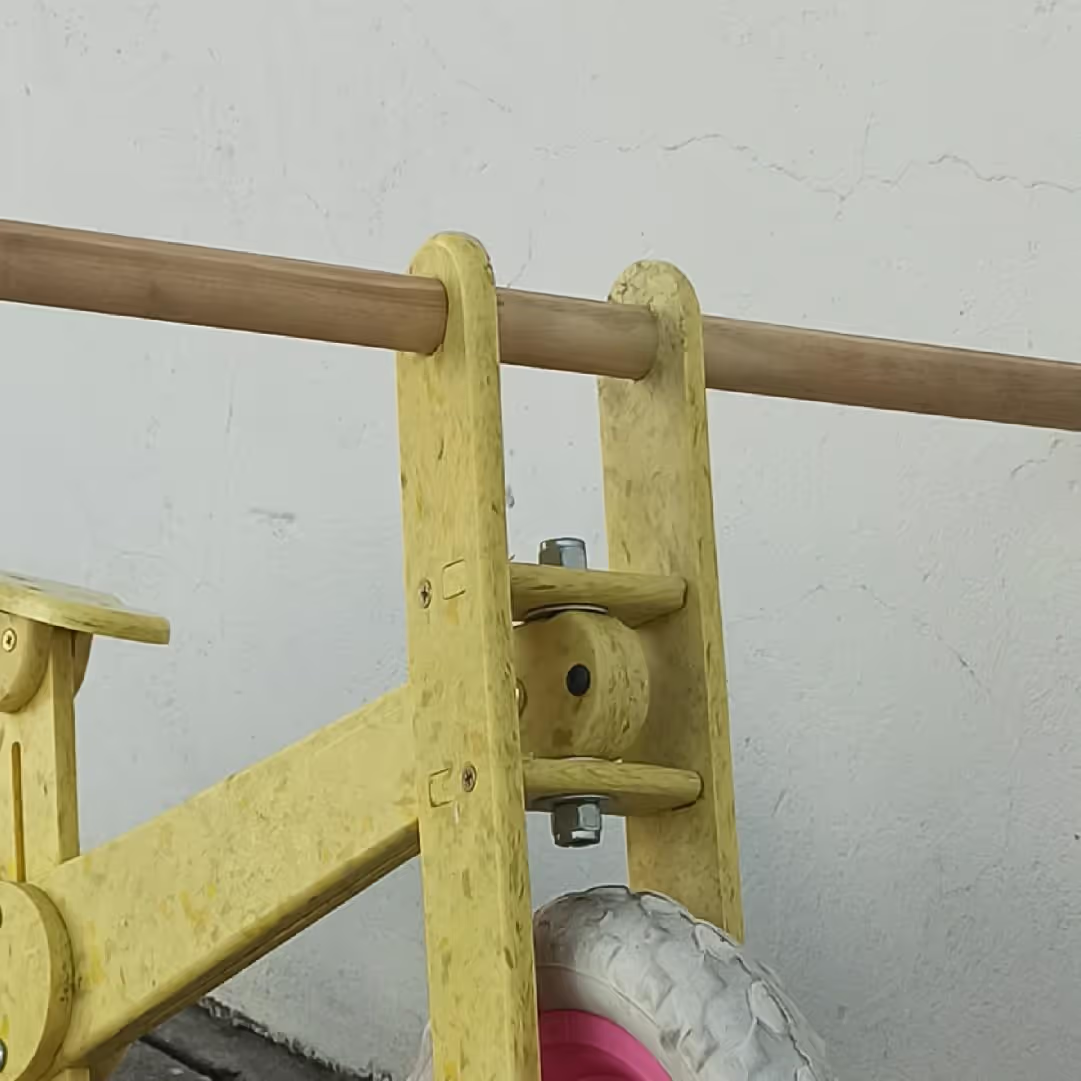
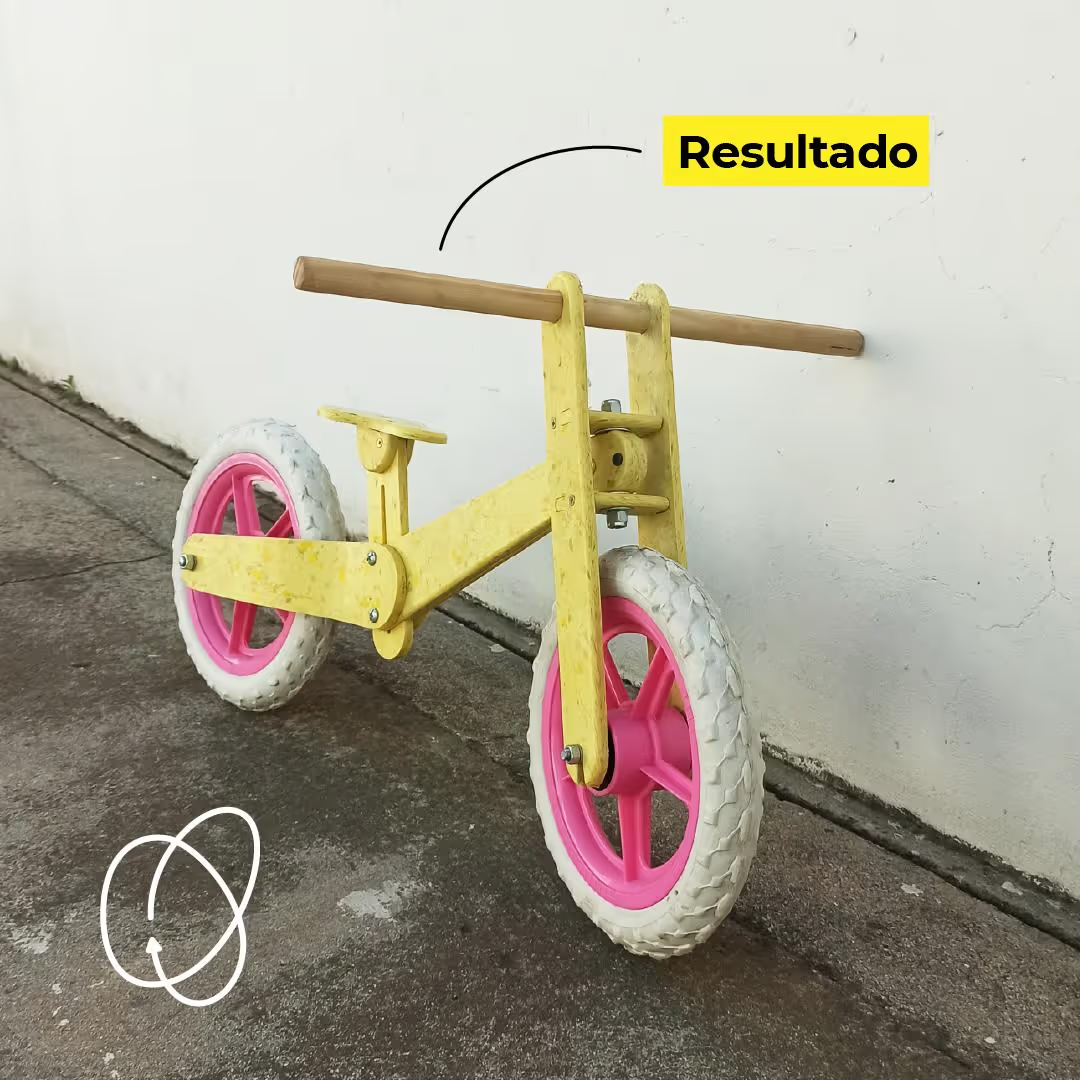
Attach the assembled fork to the frame using an axle and make necessary adjustments. Insert the handlebar into the designated openings. Finally, install the wheels along with their axles.
Tools
- CNC CNC Router
- Heat gun
- Screwdriver set
- Adjustable wrench
- Sandpaper/file for edge finishing
Software
- CNC machining software (Autodesk Fusion 360, VCarve, Carbide Create)
- DXF file viewer/editor (LibreCAD)
Hardware
- 2× MDF sheets (13.8×13.8” / 35×35cm, 10mm thickness)
- 12-inch wheels with axles
- Assorted fasteners (screws, bolts, nuts, washers)
- Wooden handlebar stick (0.87”×13.8” / 22mm×35cm)
- Threaded inserts