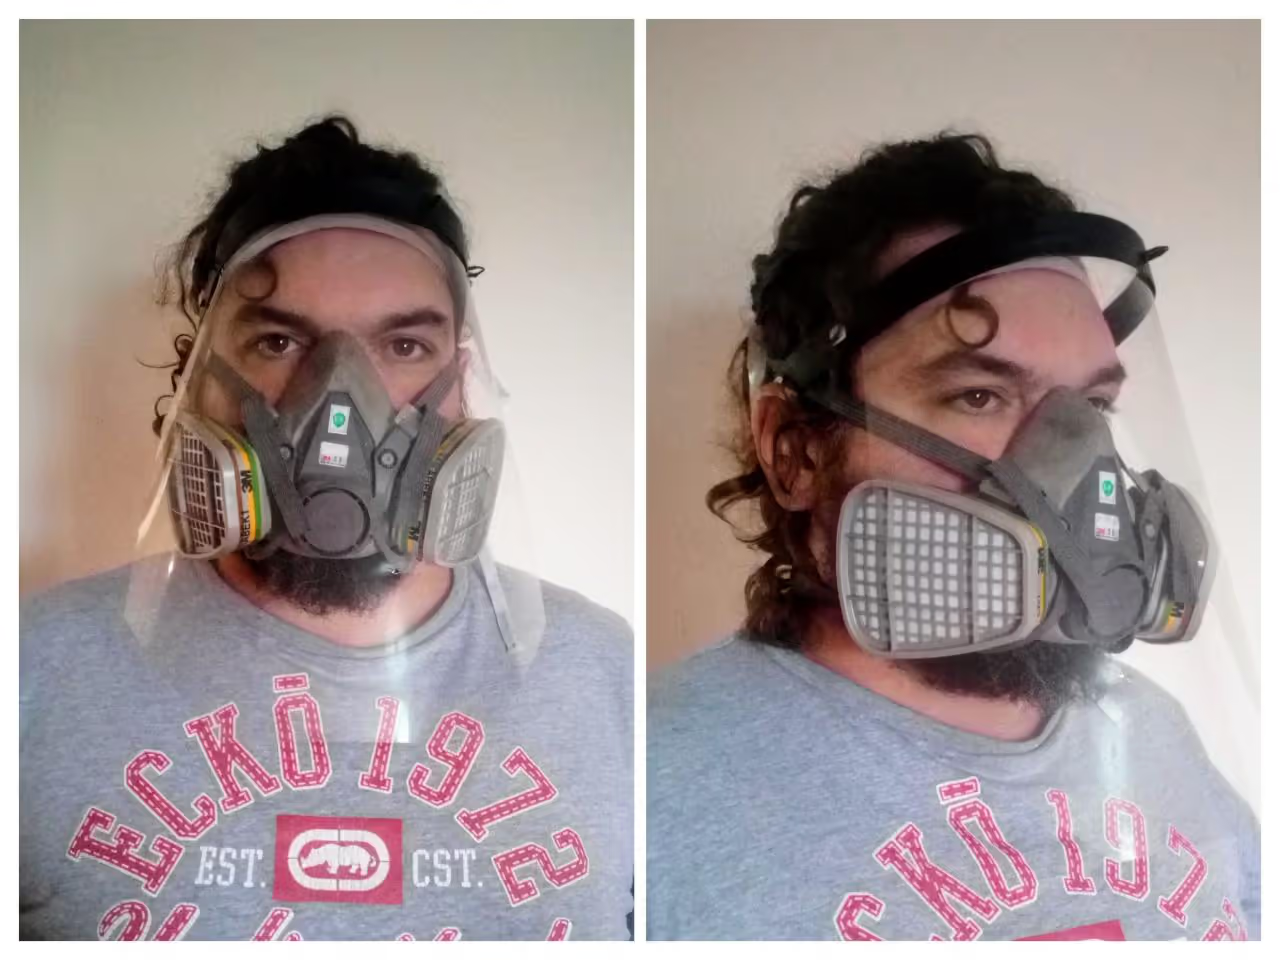
Faceshield with extrusion die and A4 clear sheet
HDPE
EXTRUSION
This guide demonstrates how to make a face shield using fundamental materials and an extrusion machine. Face shields are in short supply in many regions impacted by COVID-19, and as many as 22 may be required per patient. A fast, DIY approach to production is essential. Note that face shields are meant to supplement goggles and masks, aiming to reduce viral exposure.
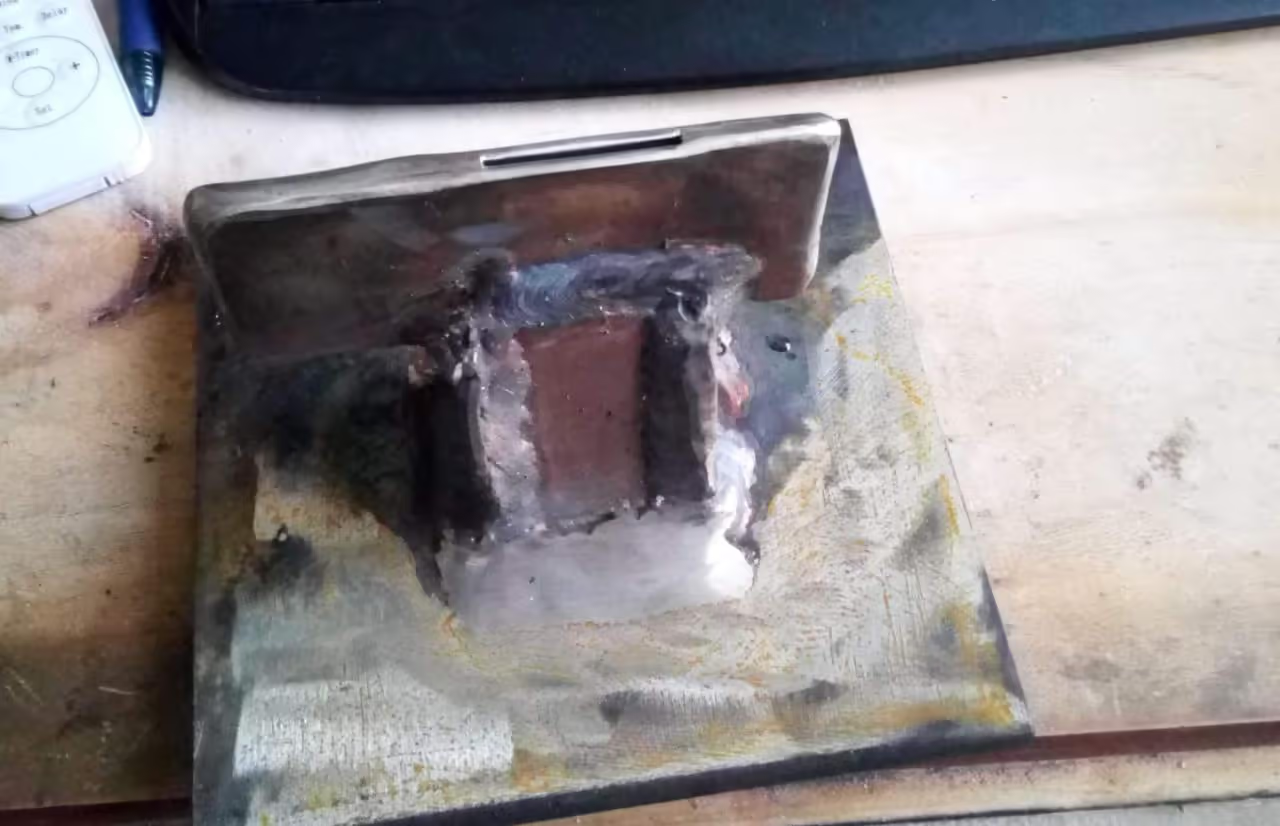
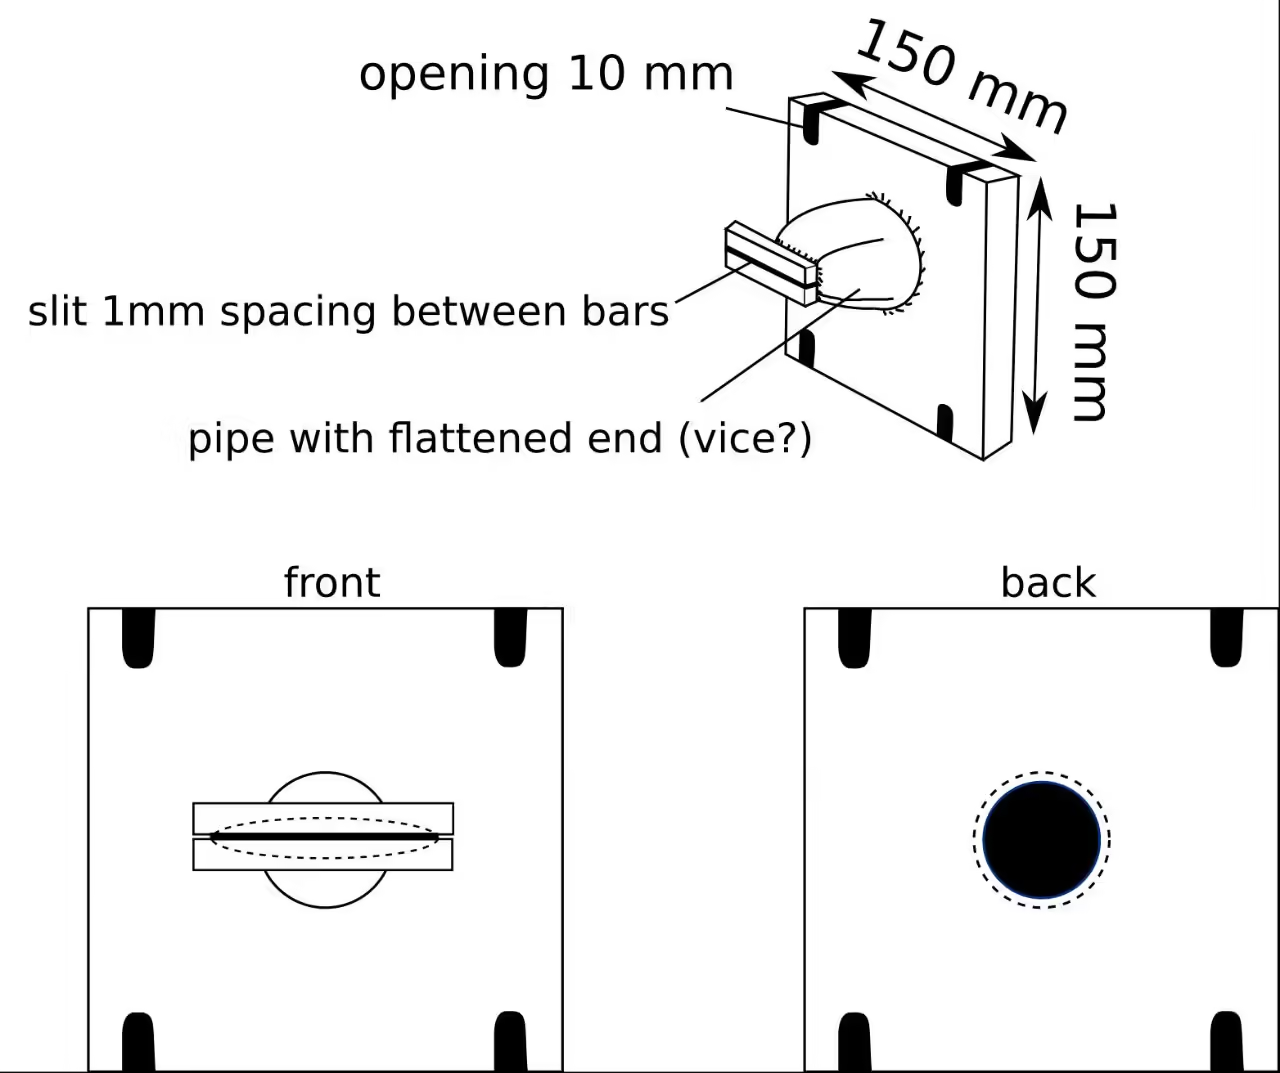
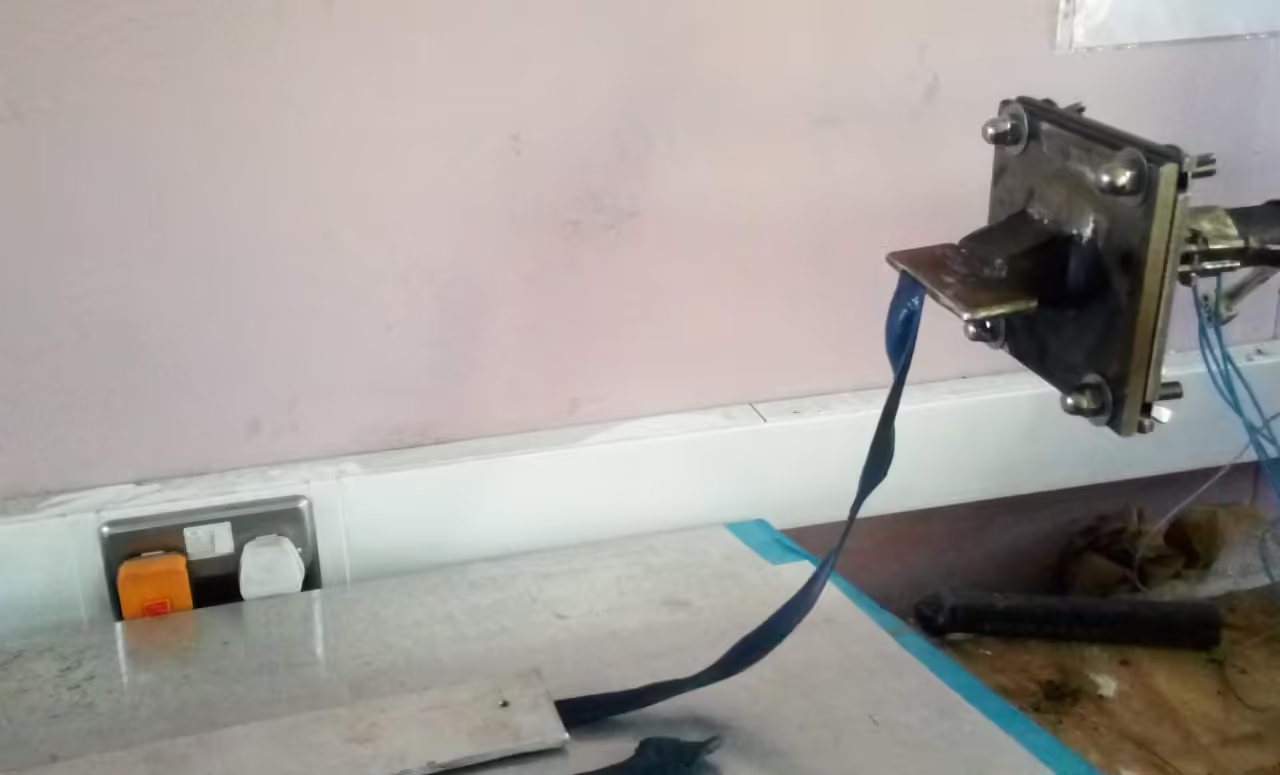
The nozzle should feature a large entry point with a tapering end. Incorporate bars to partially cool the material and guide it towards the exit. To activate, apply heat using a hot air gun. The external plates should be spaced 0.04 inches (1 mm) apart. Operating without a nozzle increases difficulty in controlling the thickness and elasticity of the resulting band.
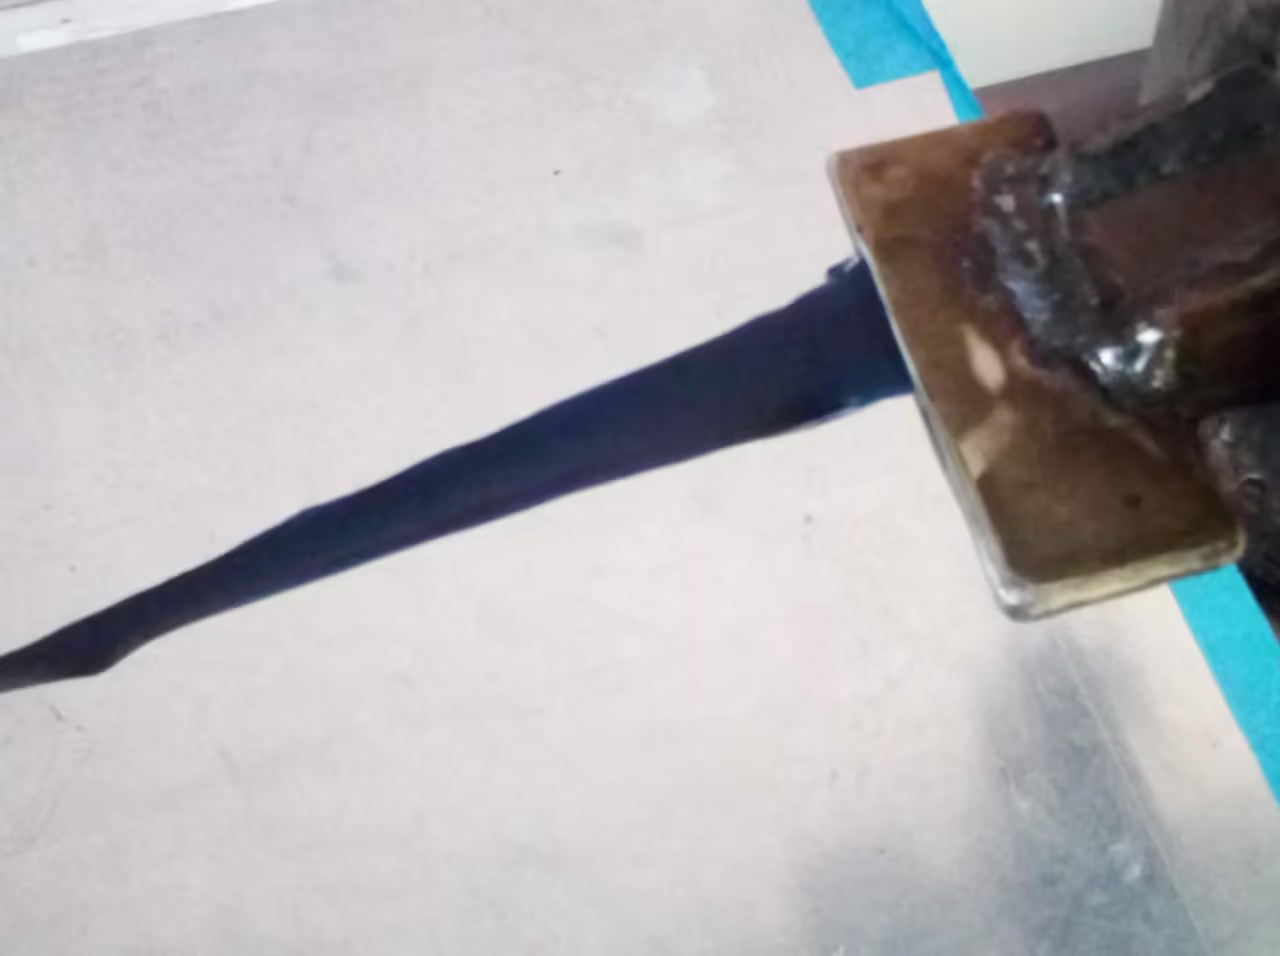
This part requires care to ensure the plastic is extracted evenly, maintaining consistent thickness and flow. Operate the motor at the slowest speed. Variations in thickness and cooling rates may cause twisting. Heat it with a hot air gun and use a metal mangle to straighten it, though the strip may remain slightly concave, which does not affect the design. Based on the Badger shield specifications, the optimal head contact is 13 inches (33 cm). Cut accordingly. We used HDPE, commonly sourced and easy to melt, from locally recovered ocean plastic.
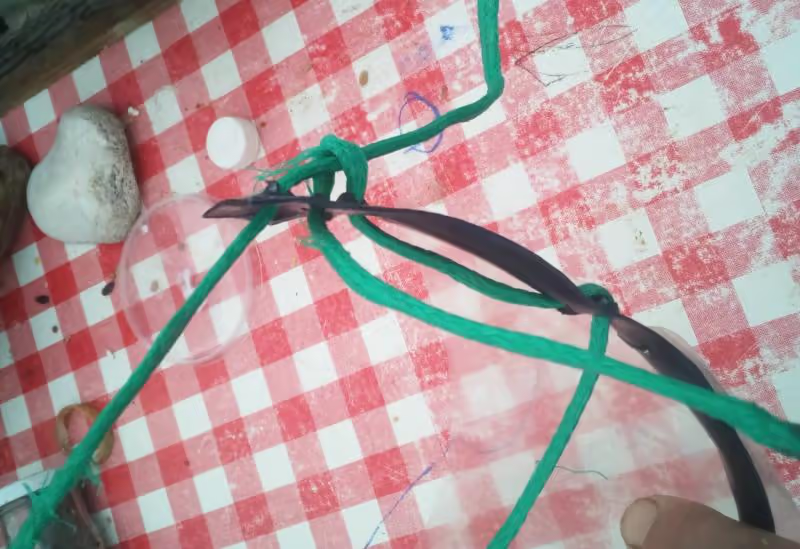
The ideal attachment is a clothing elastic band. In its absence, use rope as shown in an example from a tutorial. To facilitate attachment without knots, punch several holes. A 10 mm (0.4 in) square wood chisel is suitable. Create three pairs of holes and one set of three holes on one end, or reduce to two pairs if using rope.
Arrange components according to the drawing for optimal comfort. The two-hole design enables quick adjustment for any head size. The third hole provides a secure latch for the elastic band. For easier adjustment, use a knot as shown in the third illustration.
Center the screen with your attachment and begin stapling at one end. Three staples are sufficient: one at each end and one in the middle, applied progressively from one side to the other.
Ensure staples remain open until the screen is pulled tightly against the extruded plastic strip. If necessary, repunch the screen to achieve the desired tension.
Plastic sheets can be obtained from overhead projectors or lamination machines, where two ends can be adhered together.
The shield should only be employed in urgent situations where no alternatives exist. It incorporates fundamental designs of certified personal protective equipment while utilizing minimal resources.
For further information and updates, please visit the following link: plasticatbay.org: plasticatbay.org/2020/03/29/plasticbay-faceshield-design