Double Face ( 2 colours ) Plastic Sheet

MOULD
SHEETPRESS
  • Difficulty:
    Easy
  • Time Required:
    < 1 hour
  • Views:
    254
  • Creator:
    reverse-lab
  • Country:
    Brazil
  • Email:
  • Instagram: instagram.com/reverse.lab
  • Downloads:
    0

Building a Double Face Sheet Press

Required Materials and Tools

  1. Materials

    • Steel sheets
    • Bolts and nuts
    • Metal bars
  2. Tools

    • Welding machine
    • Drill
    • Measuring tape

Assembly Instructions

  1. Frame Construction

    • Cut the metal bars to size (ensure all bars are equal in length: 1 meter or 39.37 inches).
    • Weld the bars at right angles to form a rectangular frame.
  2. Sheet Attachment

    • Drill holes into each corner of the steel sheets (0.1 inches or 2.54 mm in diameter).
    • Align sheets with the frame and secure with bolts and nuts.
  3. Final Adjustments

    • Ensure all connections are tight and secure.
    • Test the press for stability before use.

This guide provides fundamental steps to construct your press efficiently.

Browse Files

Table of Contents

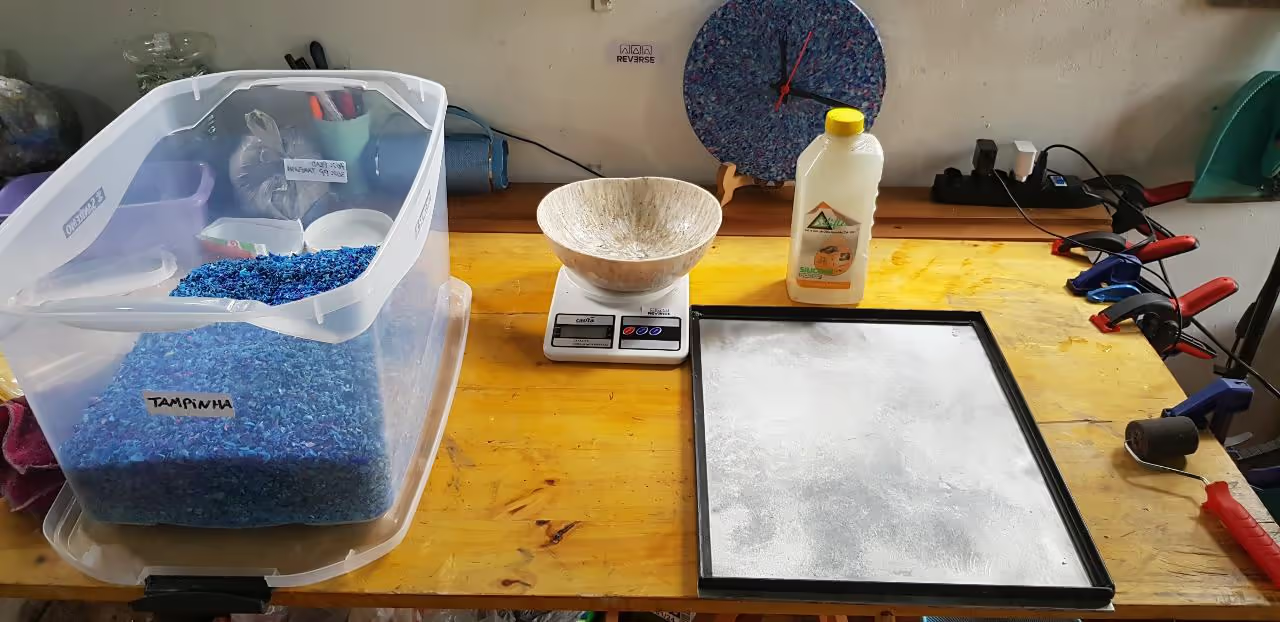
  1. Ensure that the mold is clean and silicon is applied to prevent plastic from sticking.

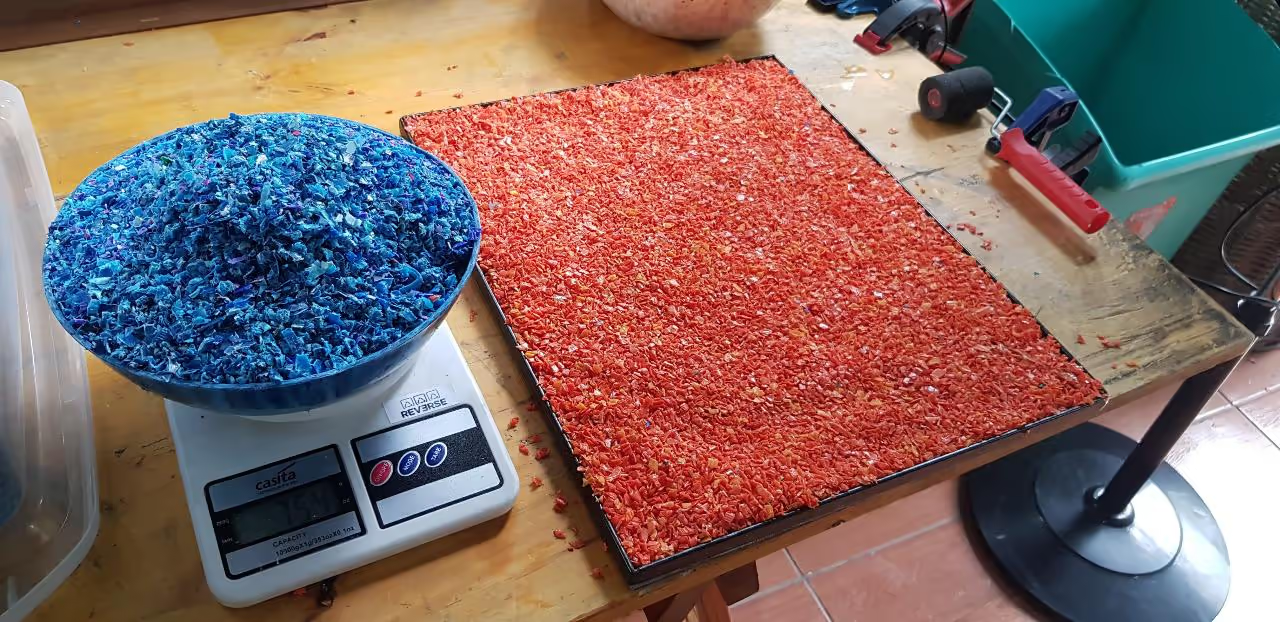
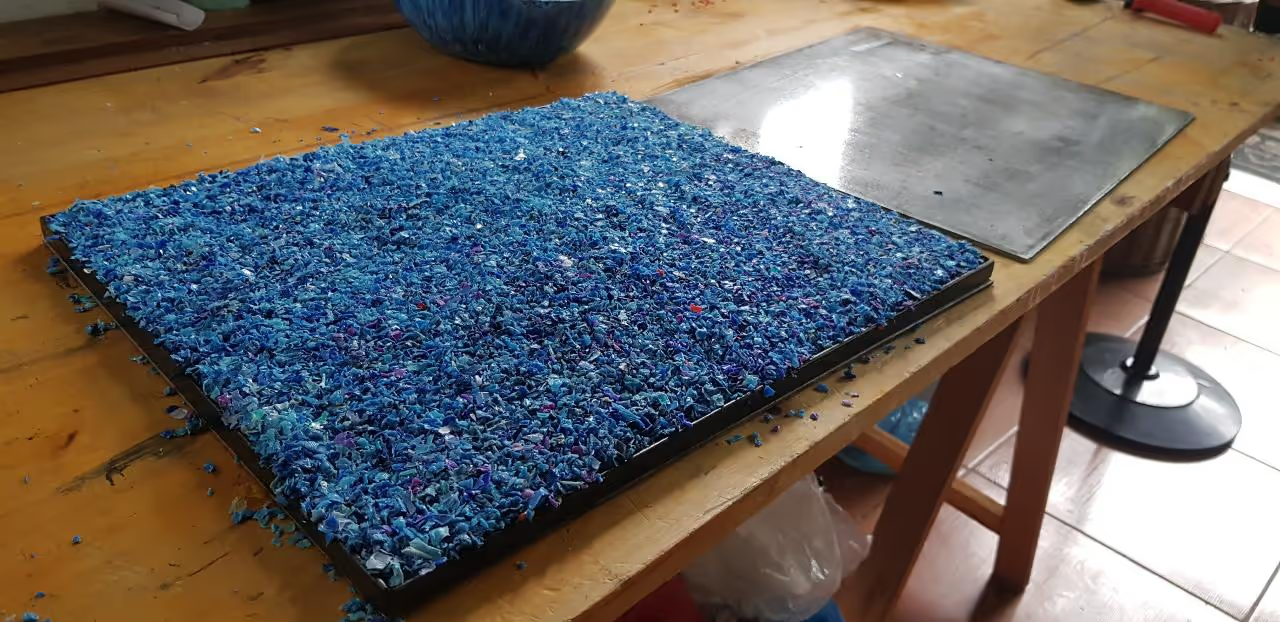
    Begin by choosing two colors and weighing the material to match your mold's capacity. For instance, if your sheet requires 3 lbs (1400 g), weigh 1.5 lbs (700 g) each of orange and blue flakes.

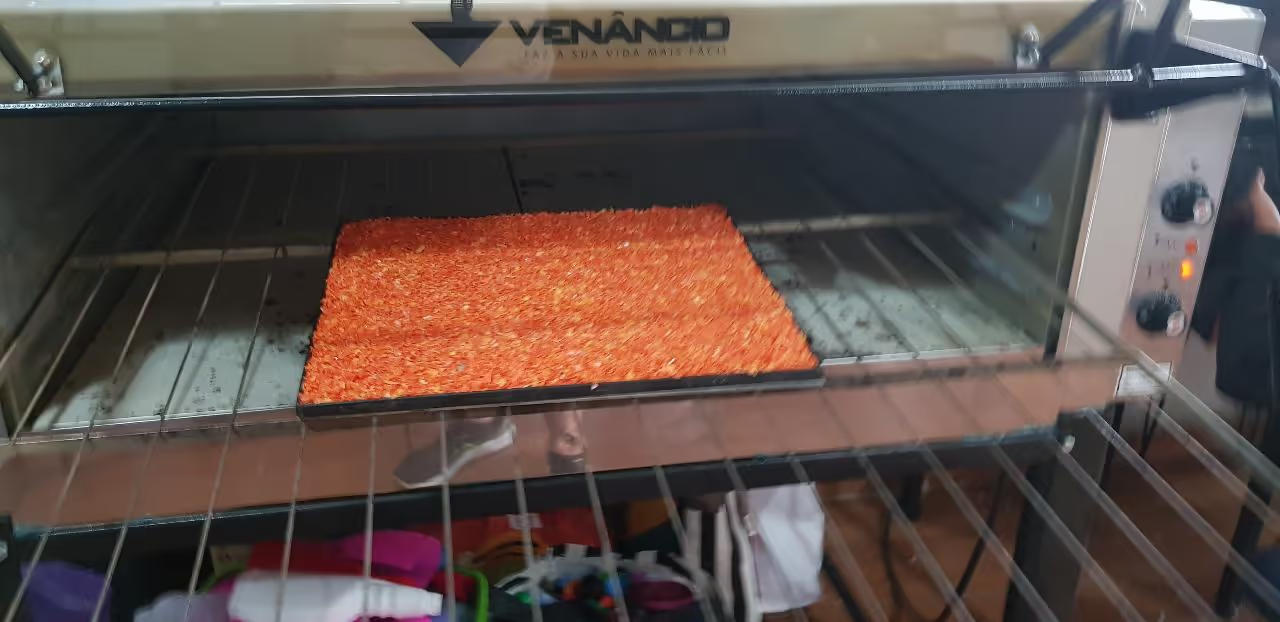
  2. Place the single-colored flakes into the molds and melt them at a low temperature, approximately 320°F (160°C). Avoid high temperatures as the cover mold is not yet in use.

    Once the first layer is evenly melted, add a second layer (such as blue) and apply the top mold. Act quickly to prevent the first layer from cooling too rapidly and forming a surface division.

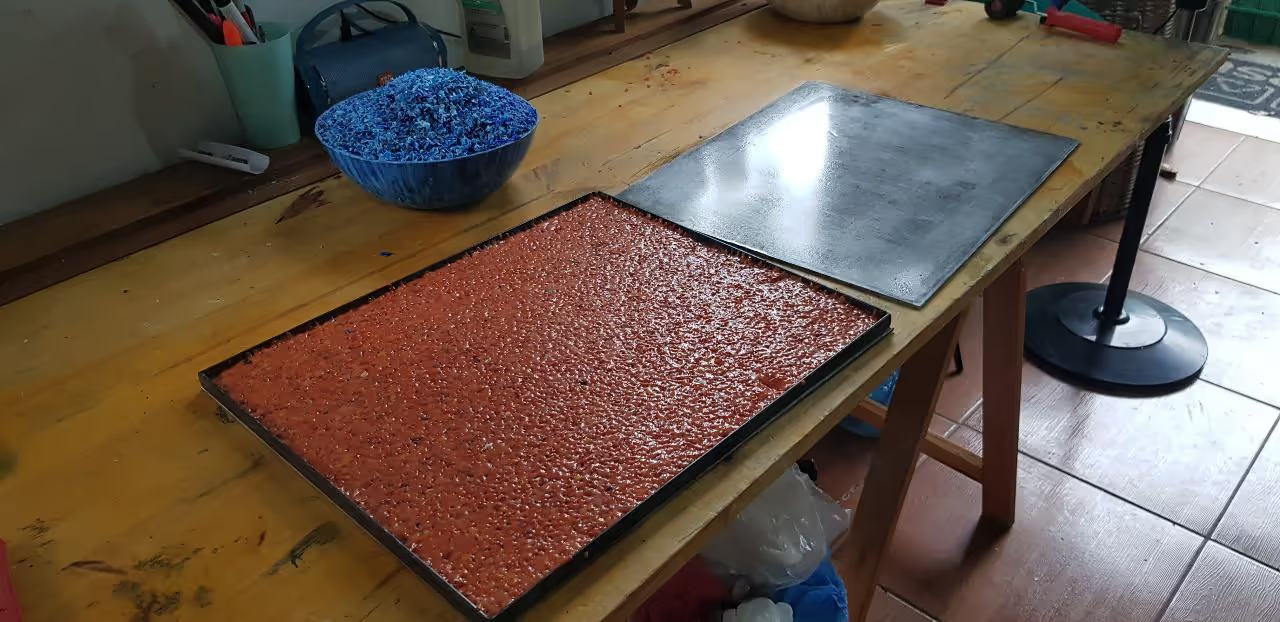
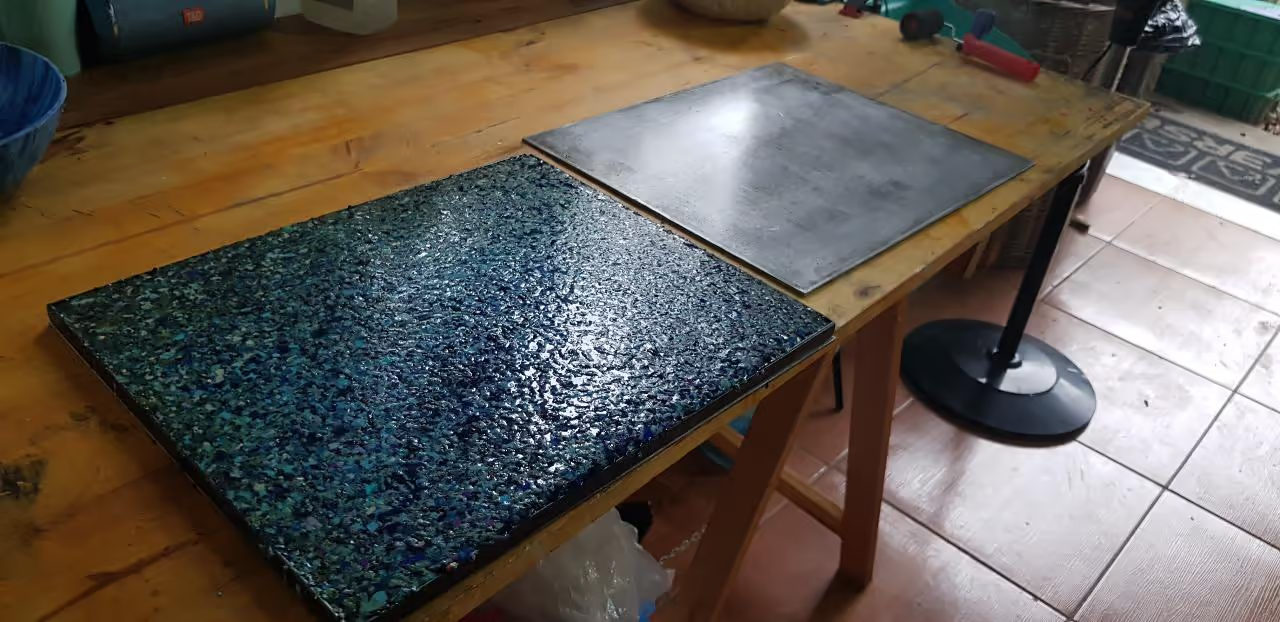
    Return the assembly to the oven until the new layer melts, which typically takes about 15 minutes at a slightly increased temperature of 356 - 374°F (180 - 190°C).

  3. After removing from the oven, press the mold in the sheet press to eliminate bubbles and achieve a smooth surface.

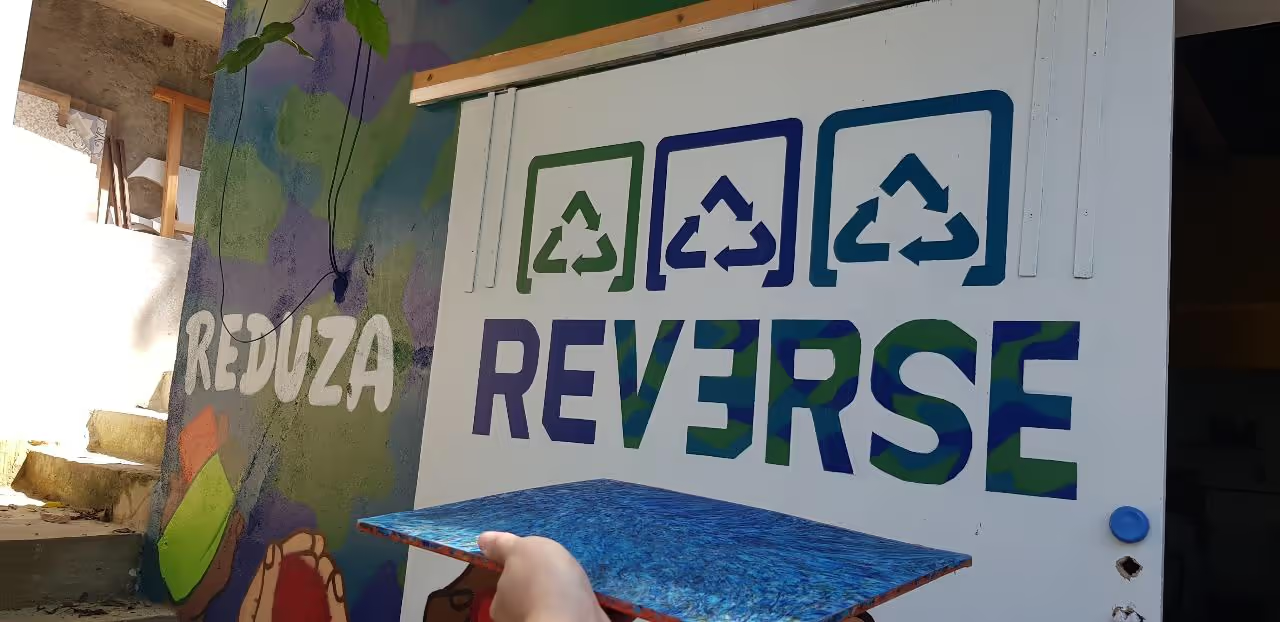
    Once pressed and cooled, your sheet is ready for use. Consider creating items like double-sided shelves, stools, or tables.

Tools

  • Welding machine
  • Drill
  • Measuring tape and other essential tools are required for assembly. Operational tools include:
  • Oven (for melting flakes)
  • Scale (for measuring material weight)

Hardware

Key structural components and materials:

  • Steel sheets
  • Bolts and nuts
  • Metal bars
  • Mold (cleaned and silicon-treated)
  • Plastic flakes (two colors)

Silicon application ensures non-stick mold surfaces[1][2][3]. Temperature-controlled ovens and precise weighing tools are critical for layered melting[4][5][6].

Articles

Books

Papers

YouTube

Open-source Designs

  • DIY Sheet Press - Dave Hakkens
  • 1.5x1.5 Meter Sheet Press machine
  • Start a Sheetpress Workspace to Recycle Plastic
  • SHEET PRESS MACHINE 1x1 Meter ( CE Certified & Factory Made)